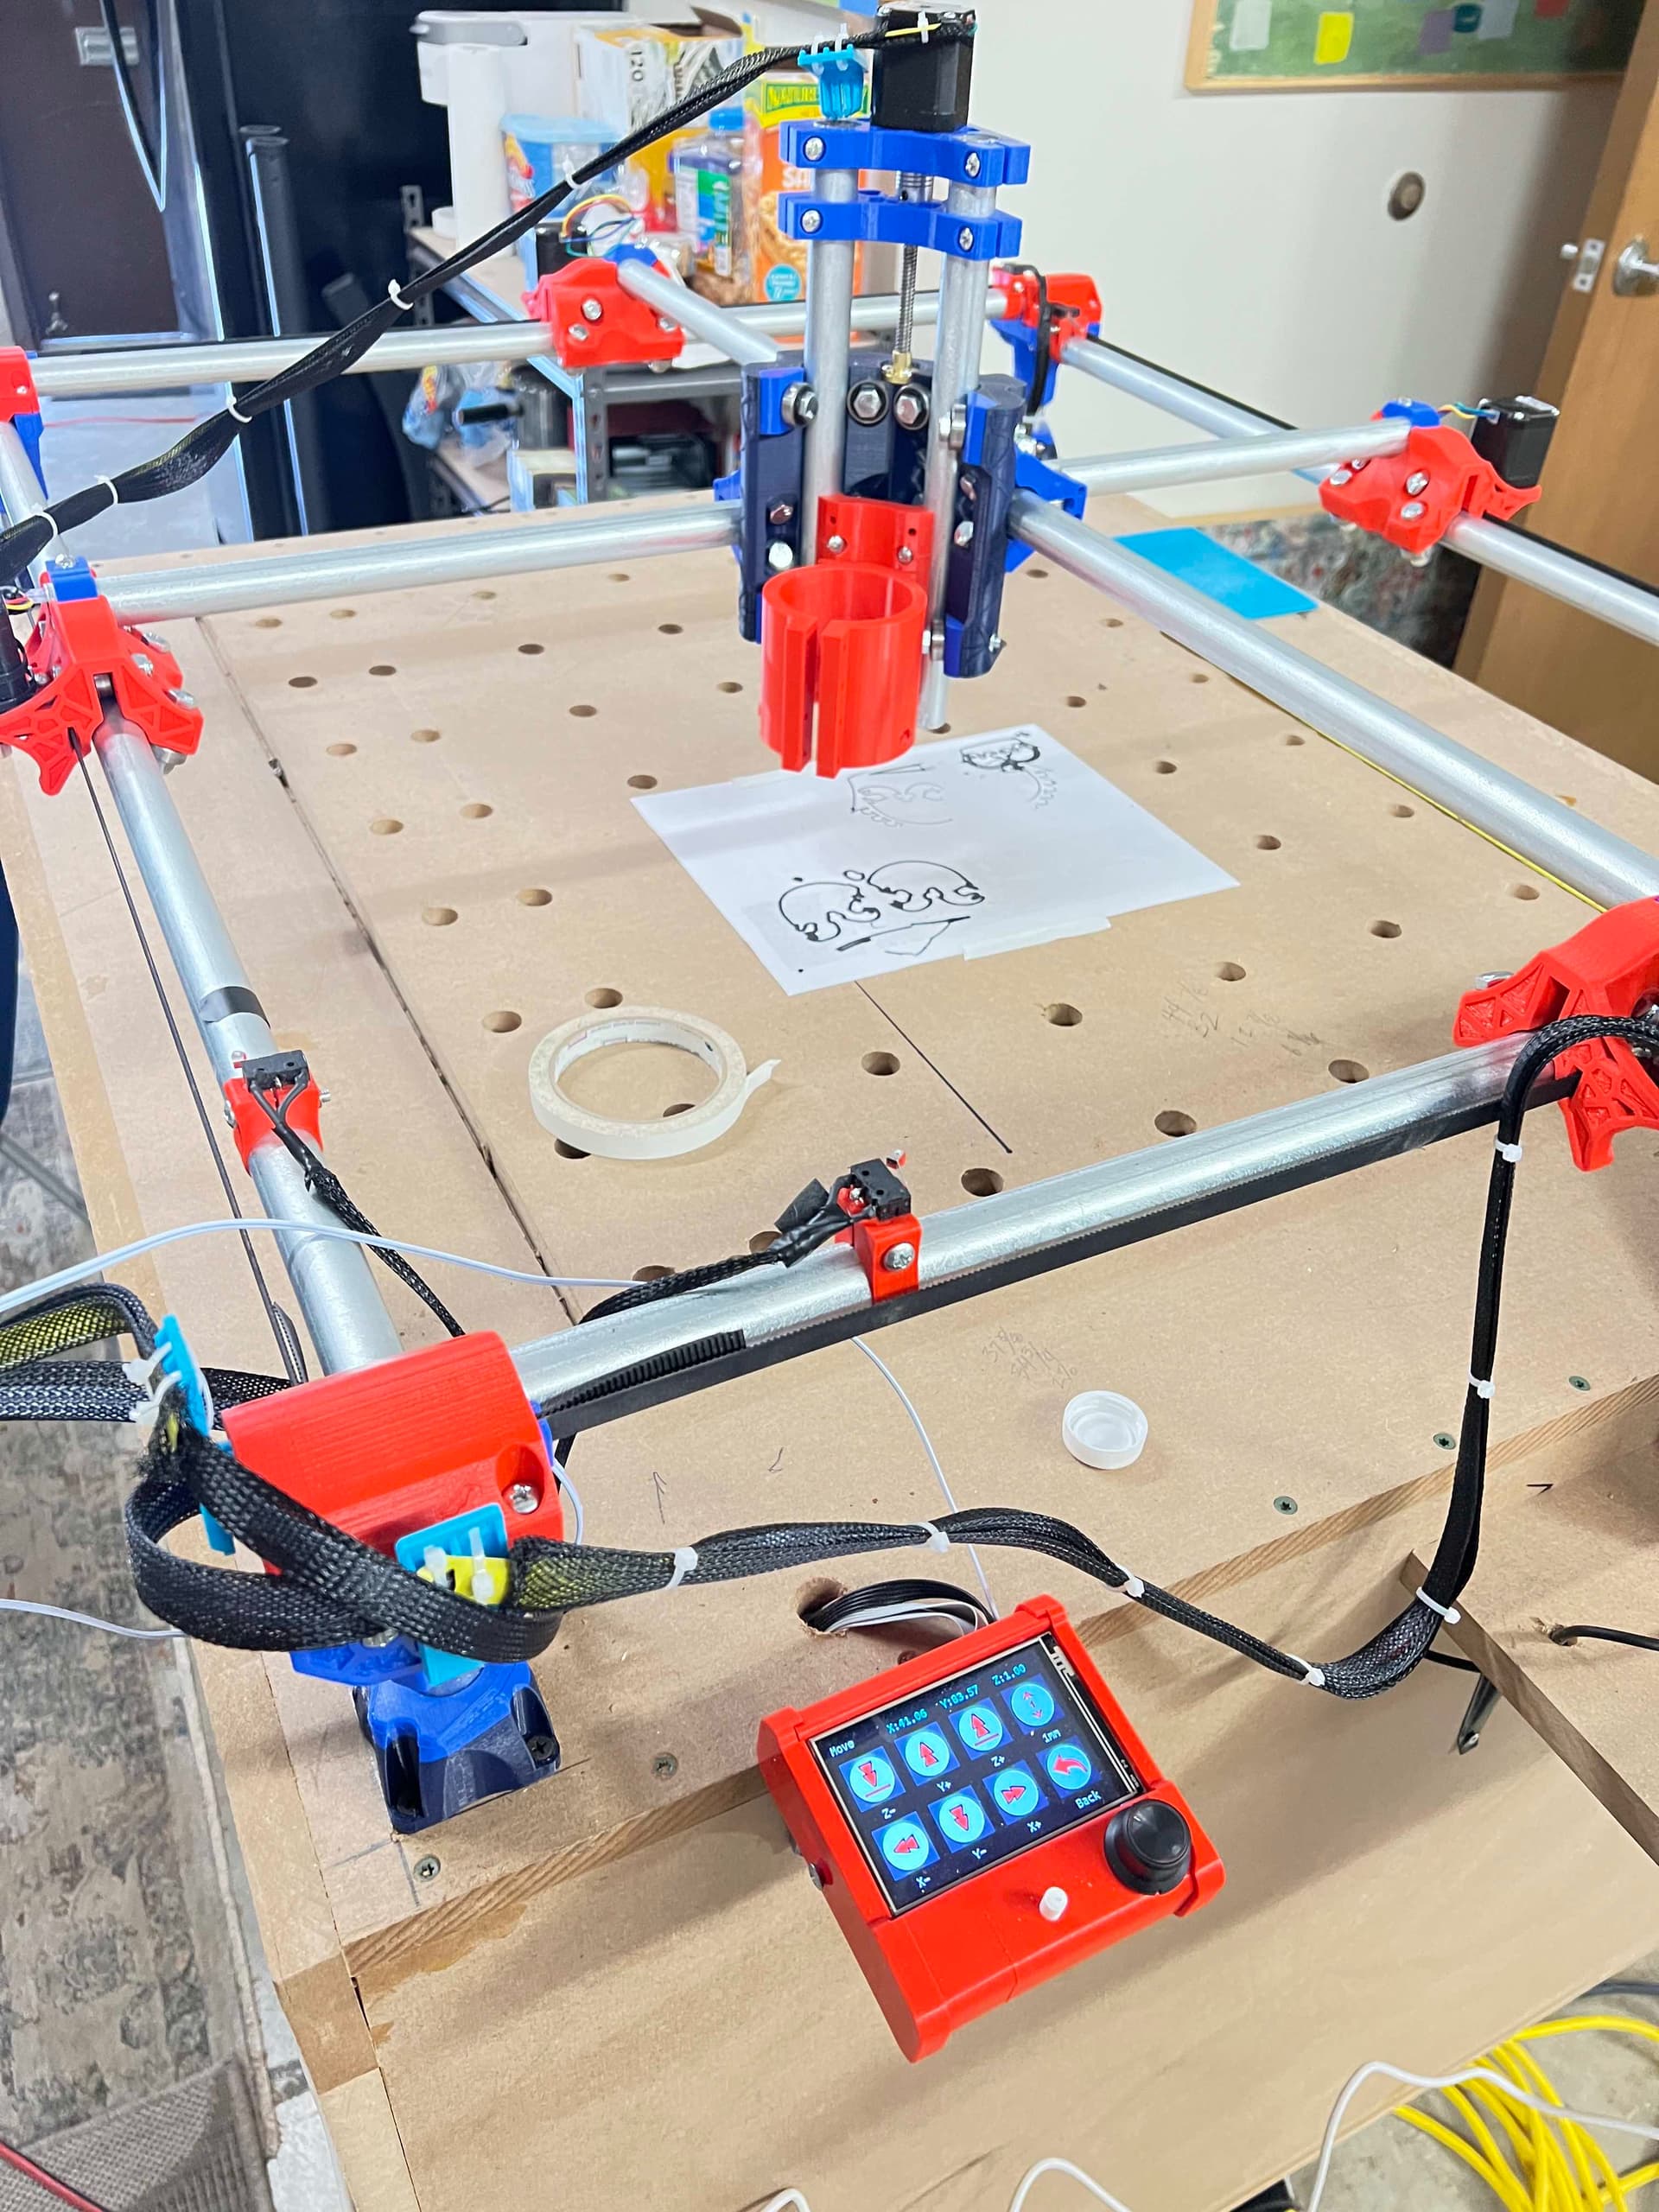
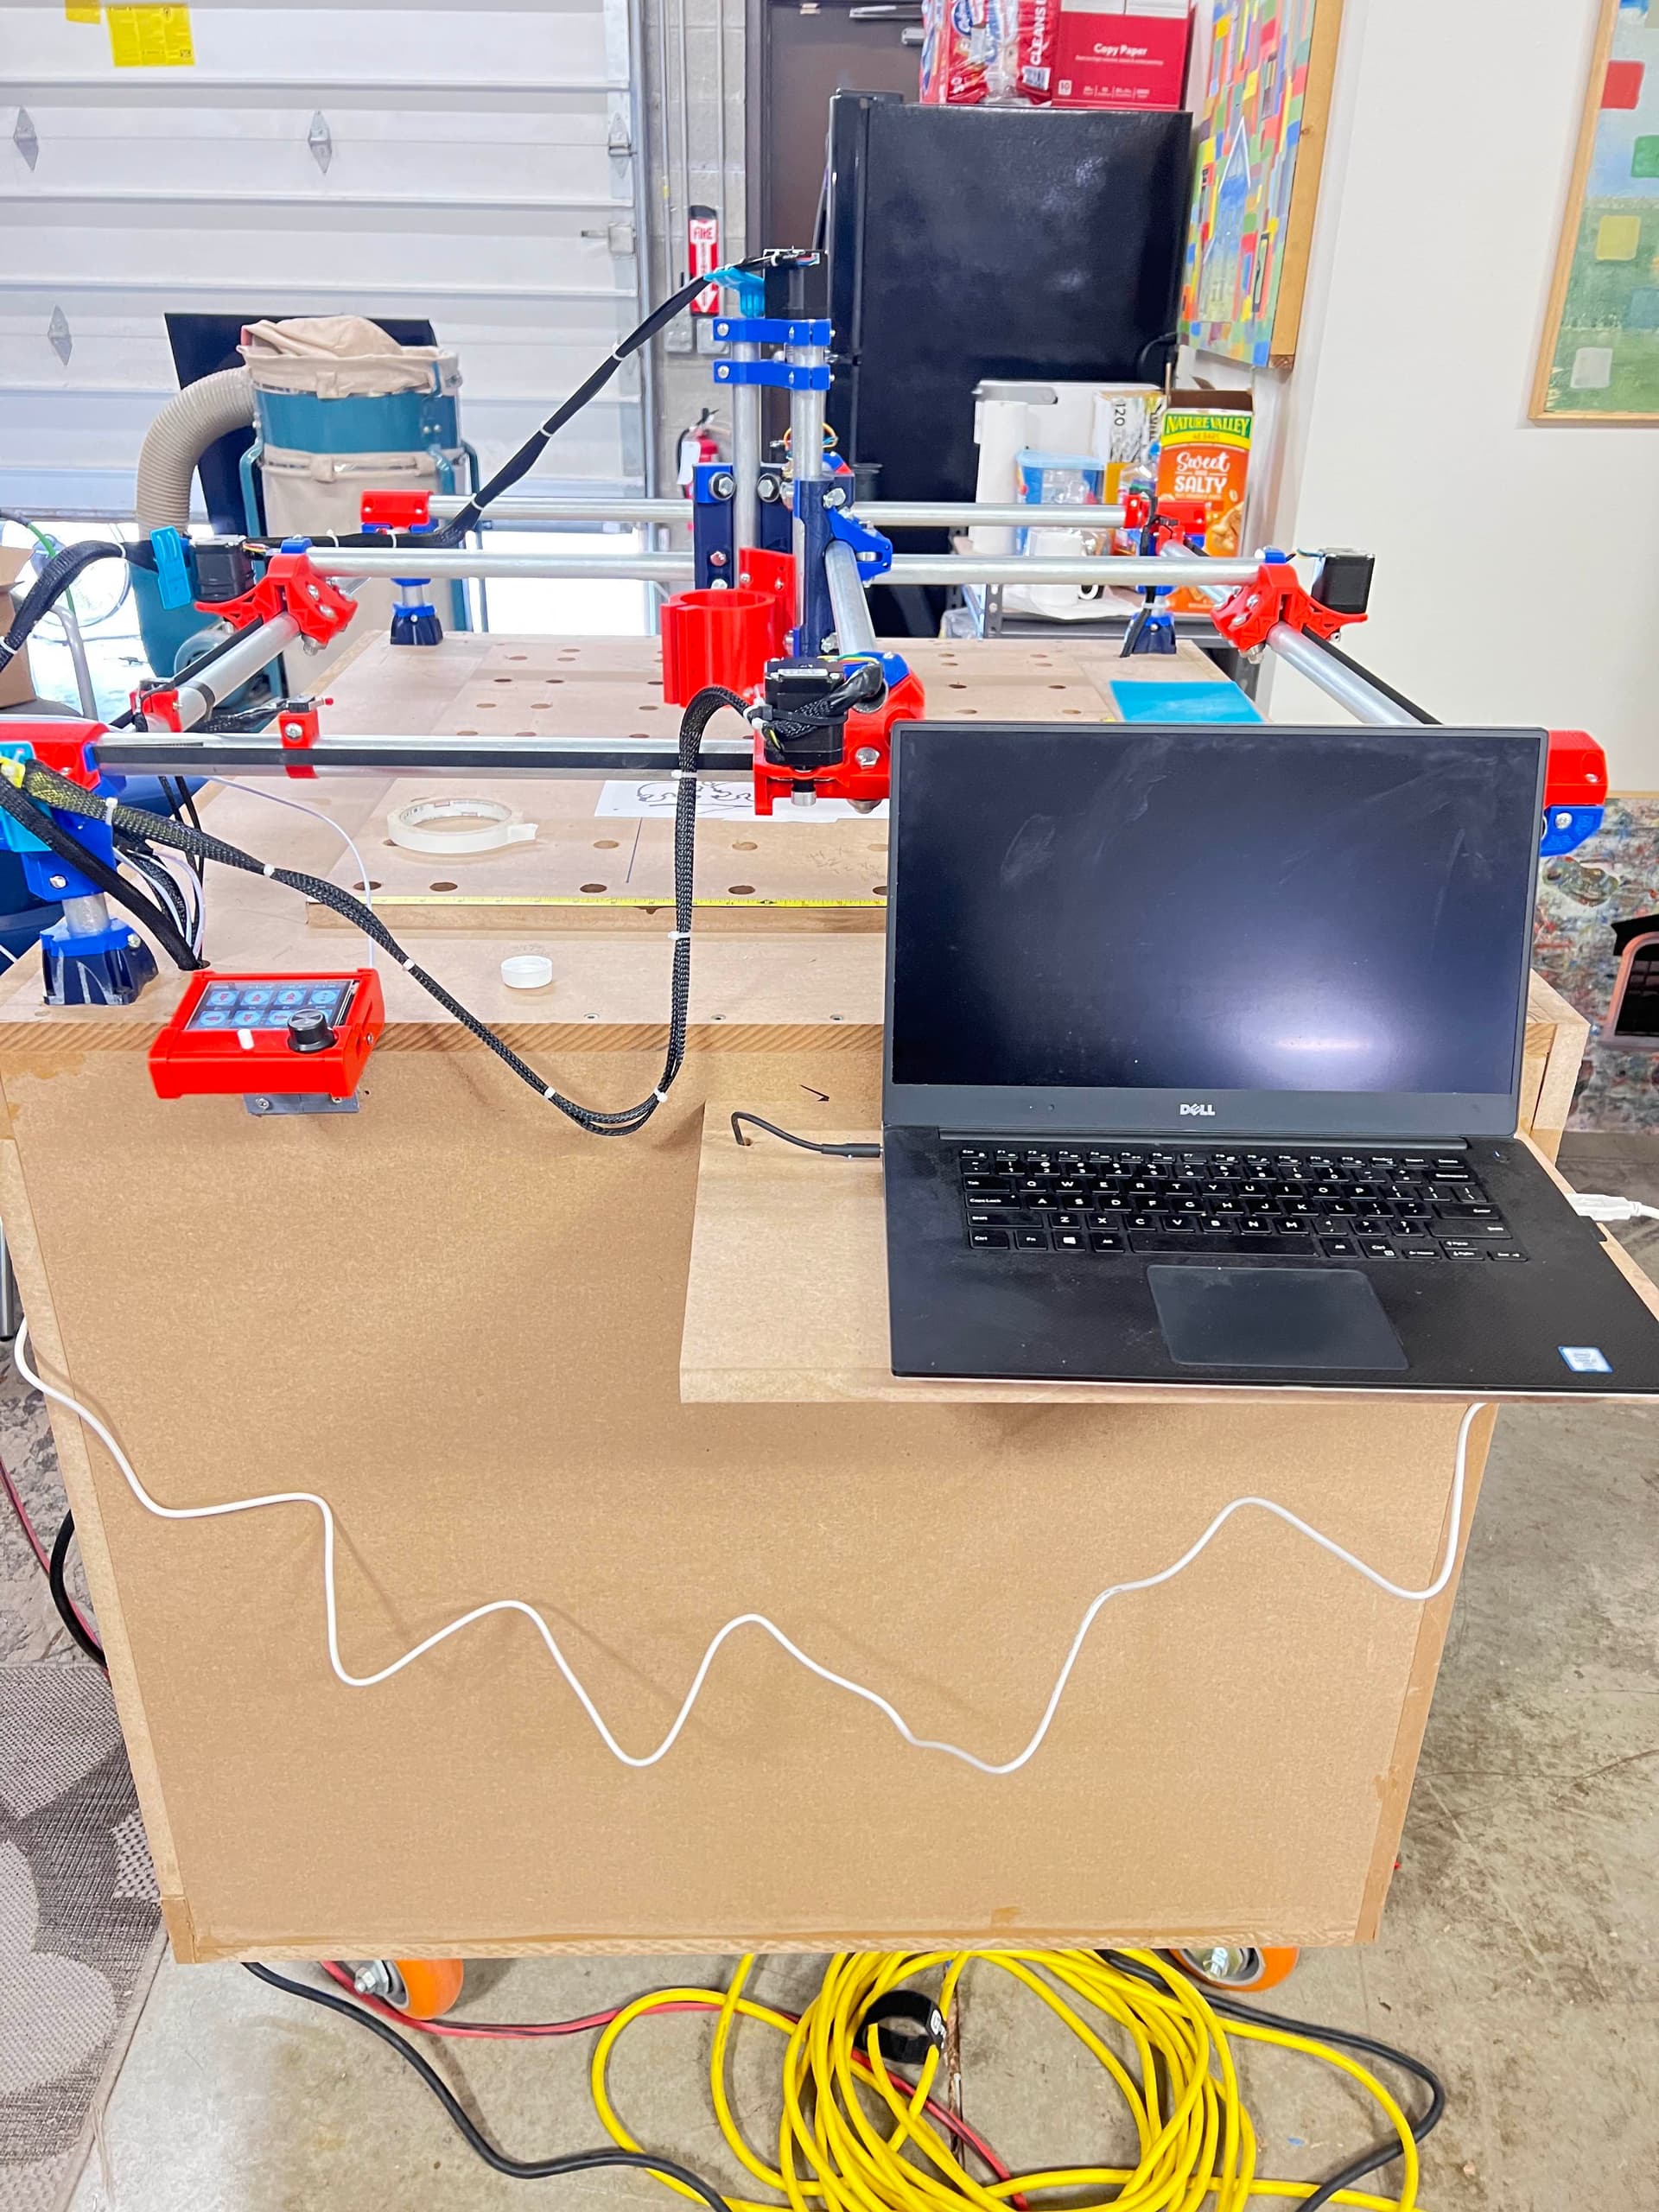
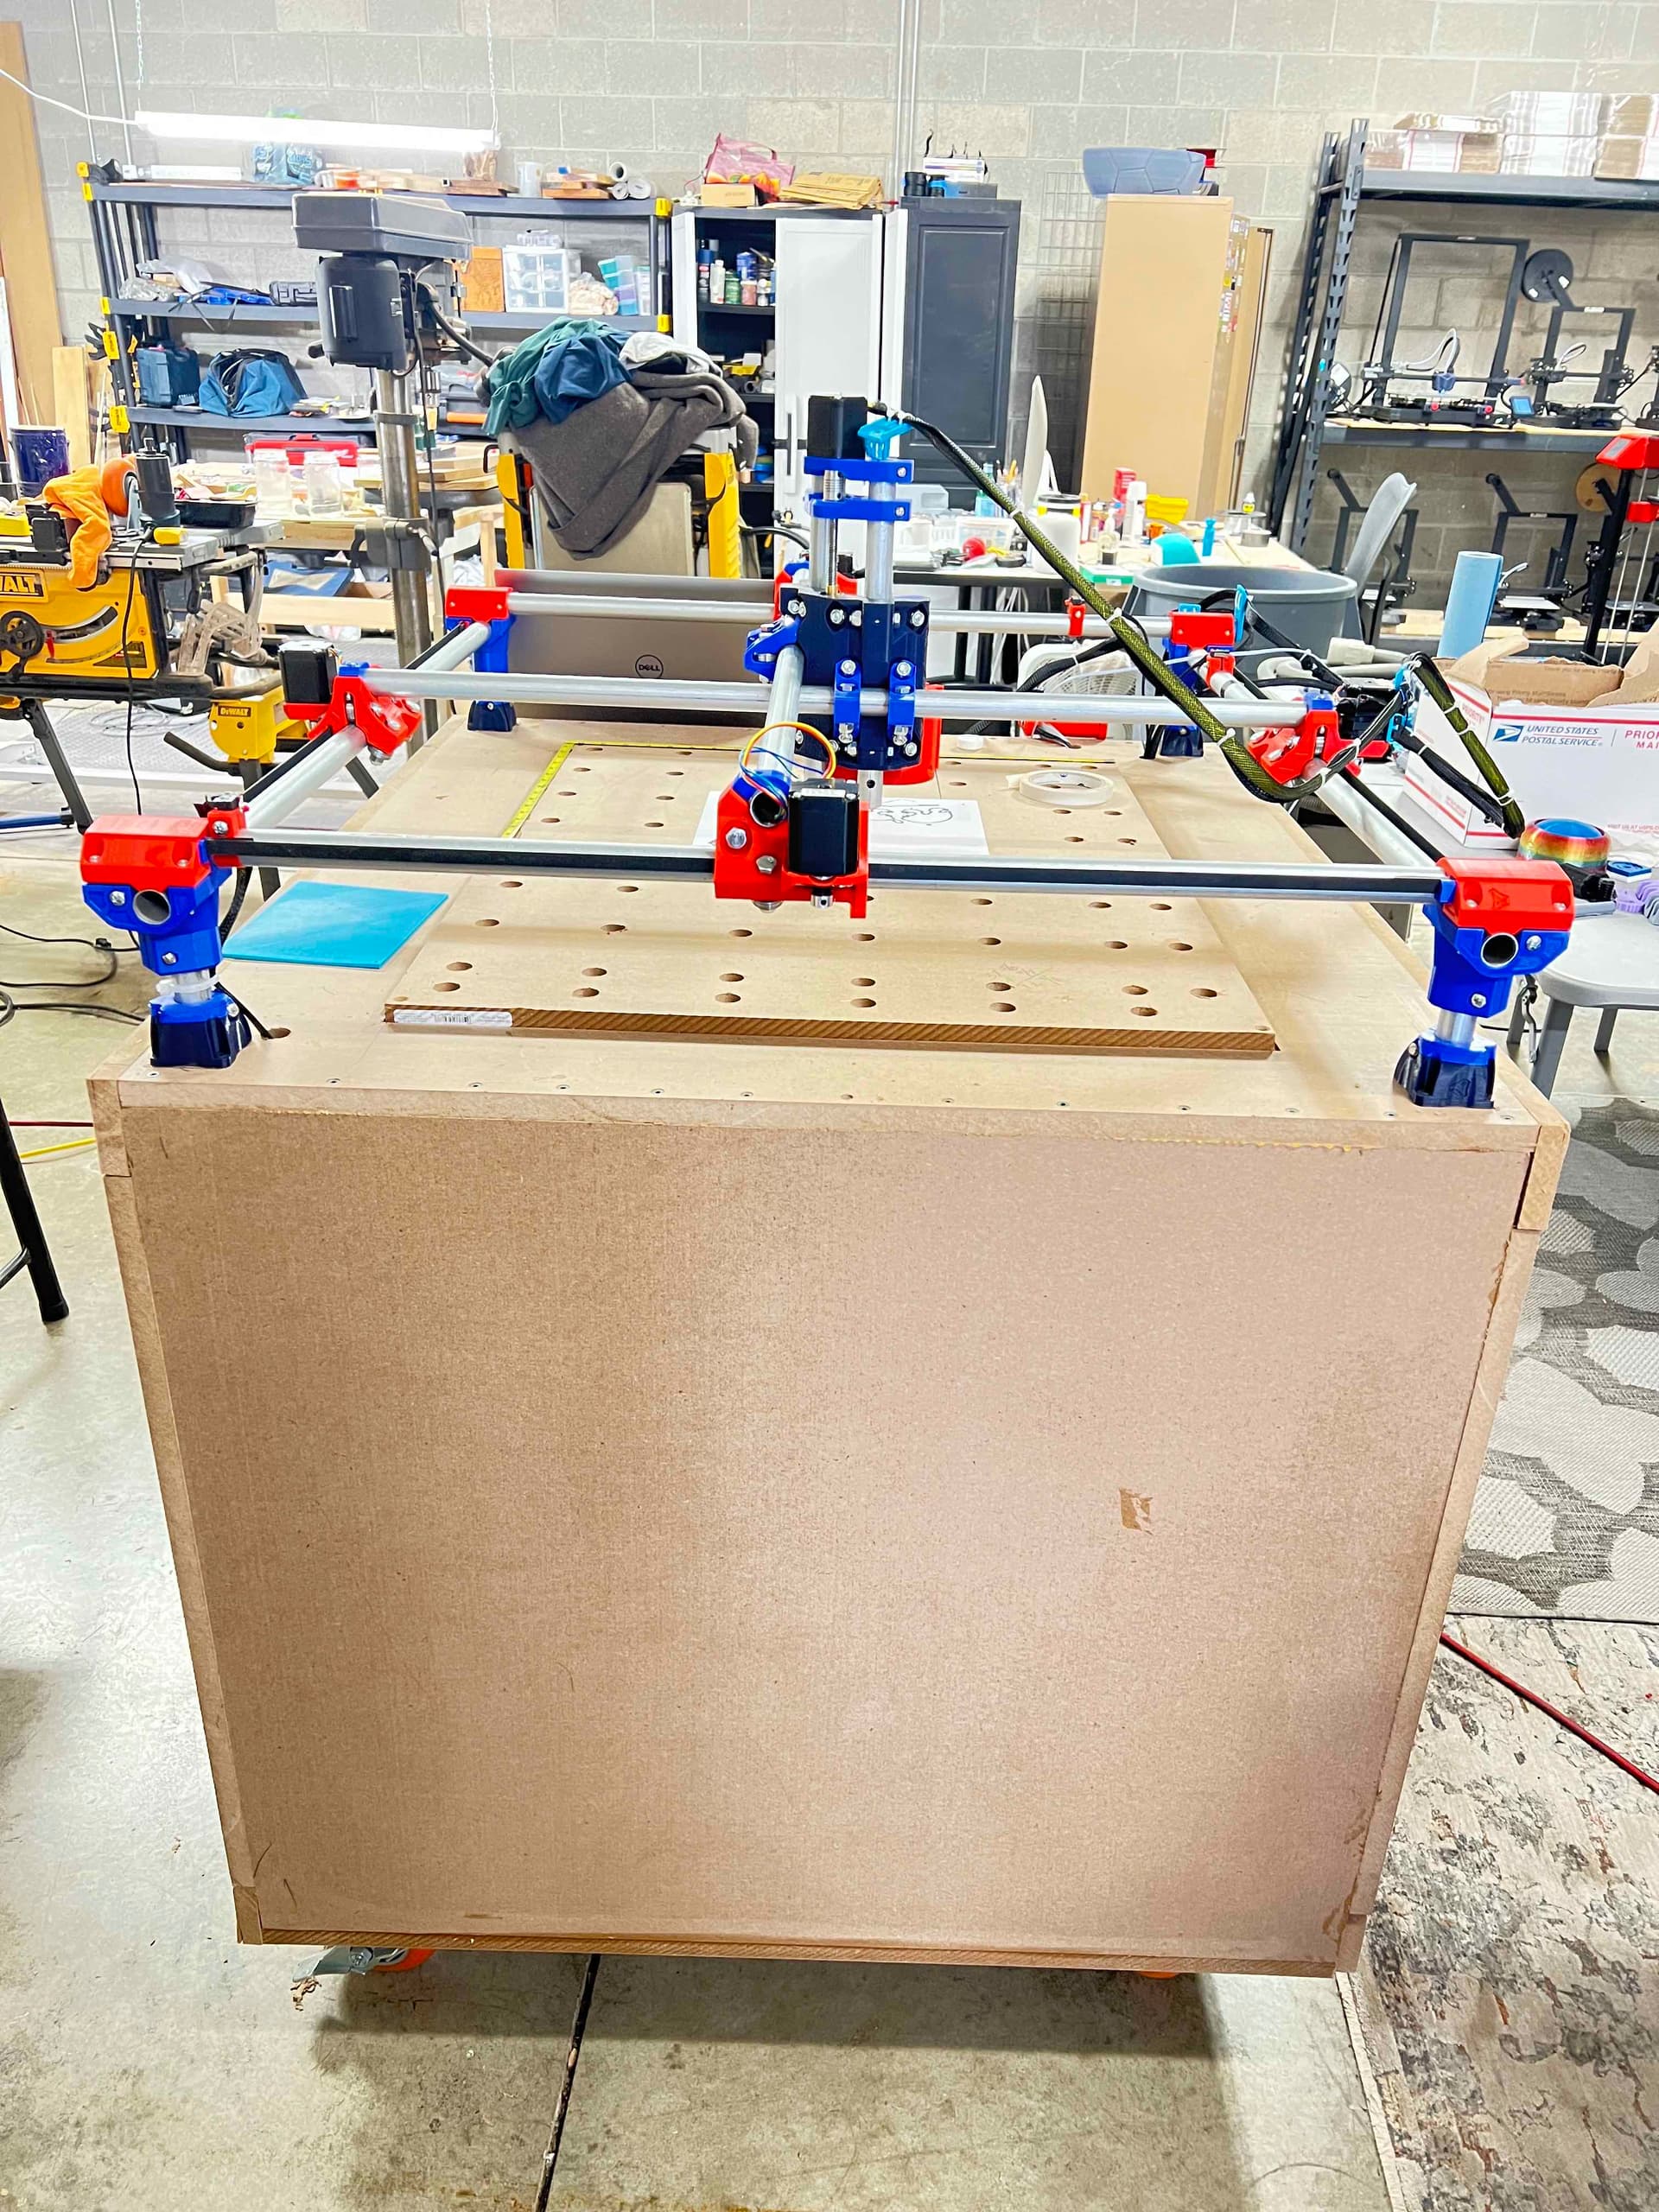
Well, folks after a few weeks of fooling around I’ve finished my Primo. Did the crown thing and it worked as advertised.I made cutting surface 24x30 to accommodate the parts I need to cut. I’ll include photos of the finished (nearly) product and if anyone wants a cut list or anything else, just let me know. It’s all built of MDF and I’m happy with the end result. You will also notice that my waste board is raised a bit. That’s because I made a cutout to hold it so that I could easily replace it.
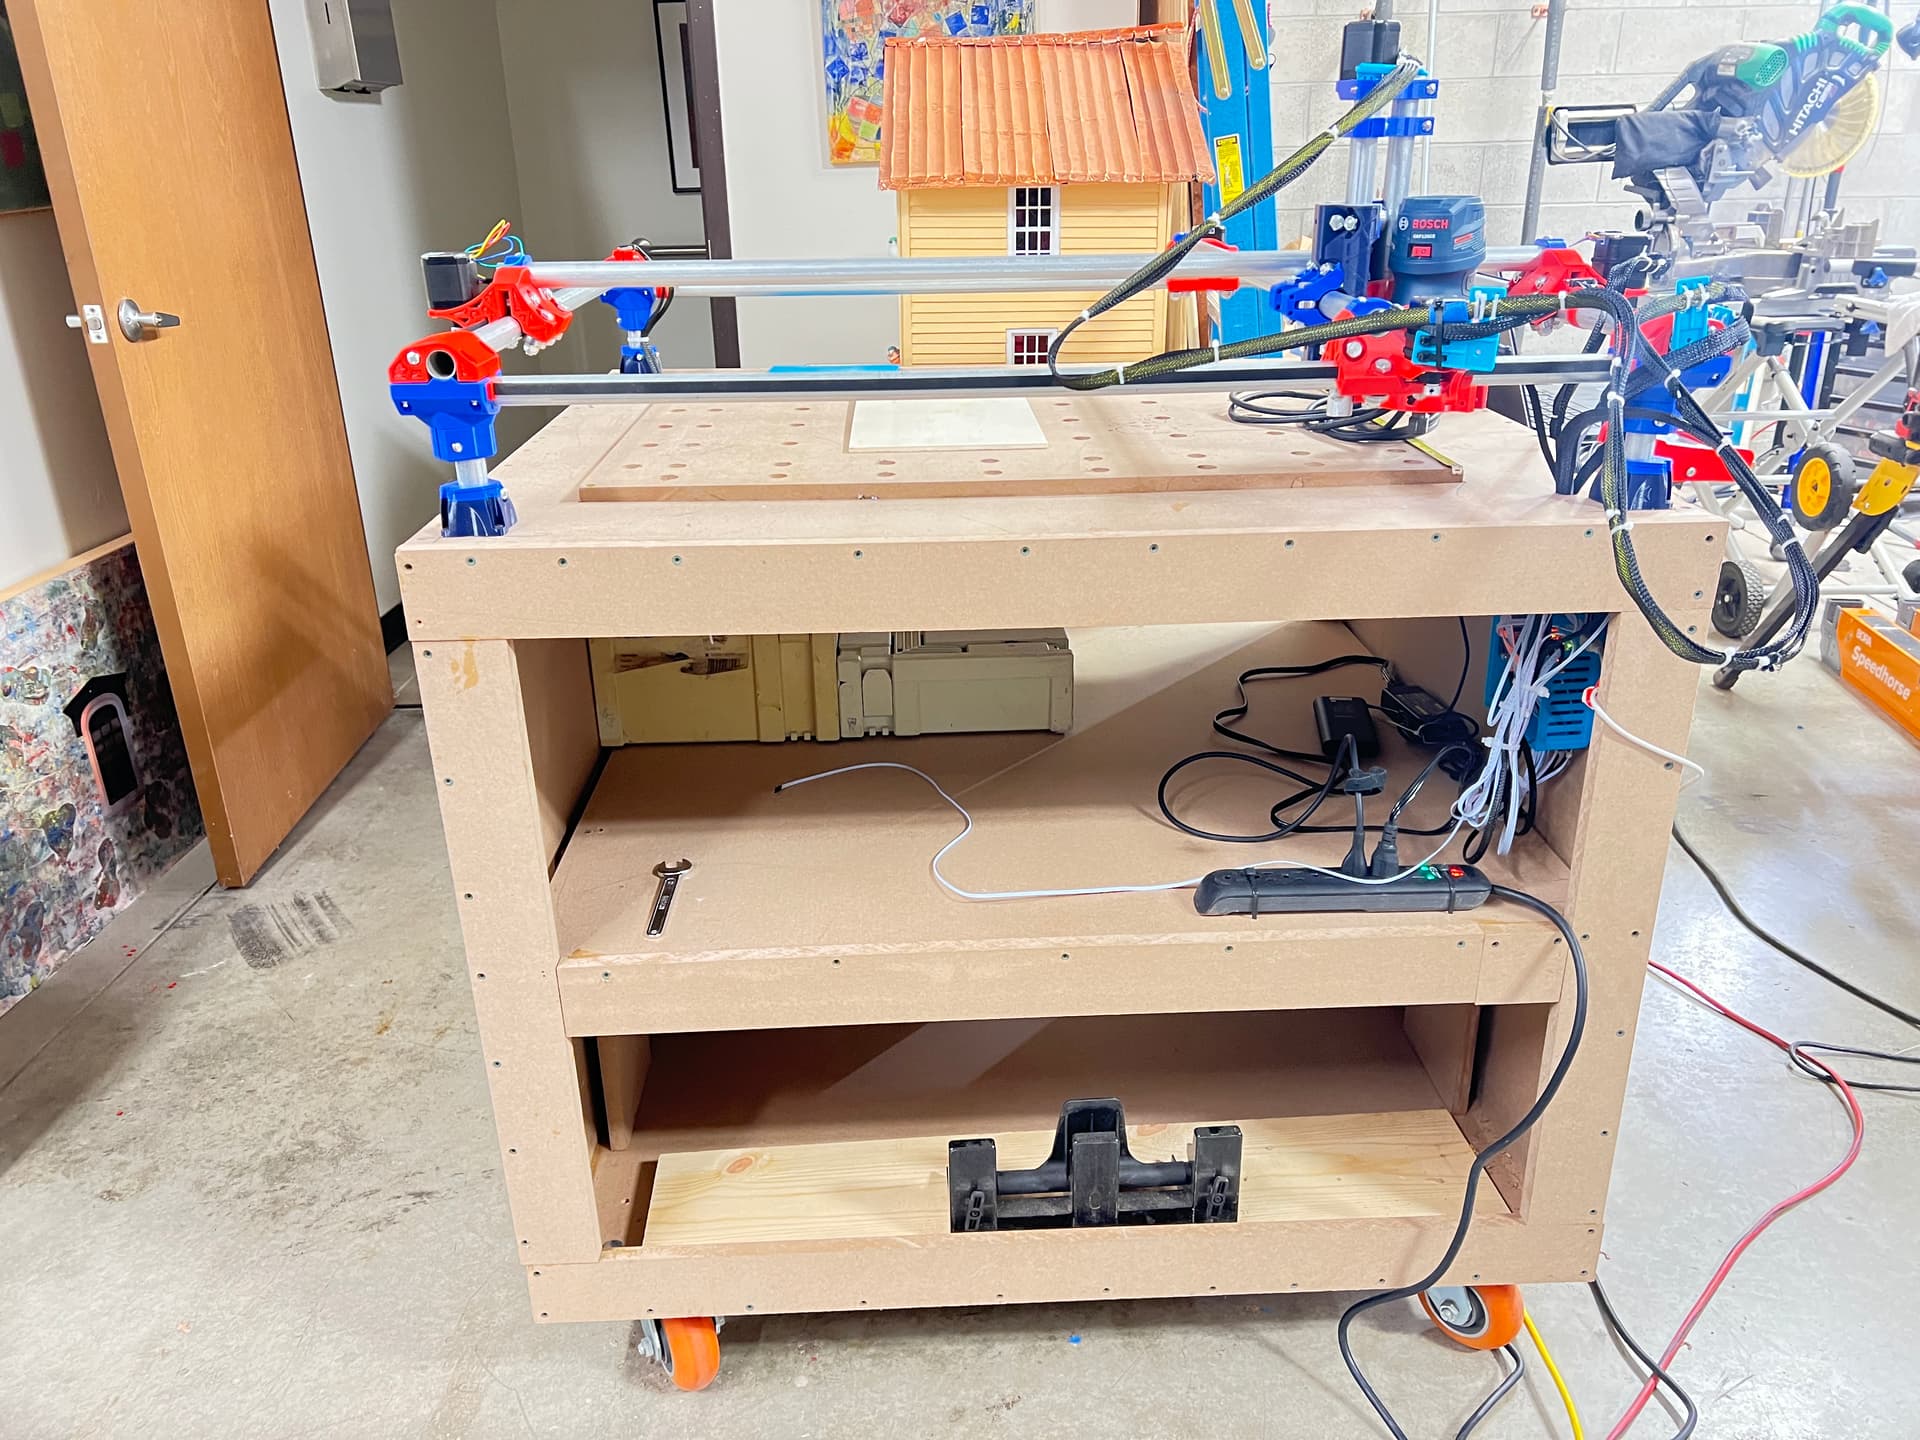
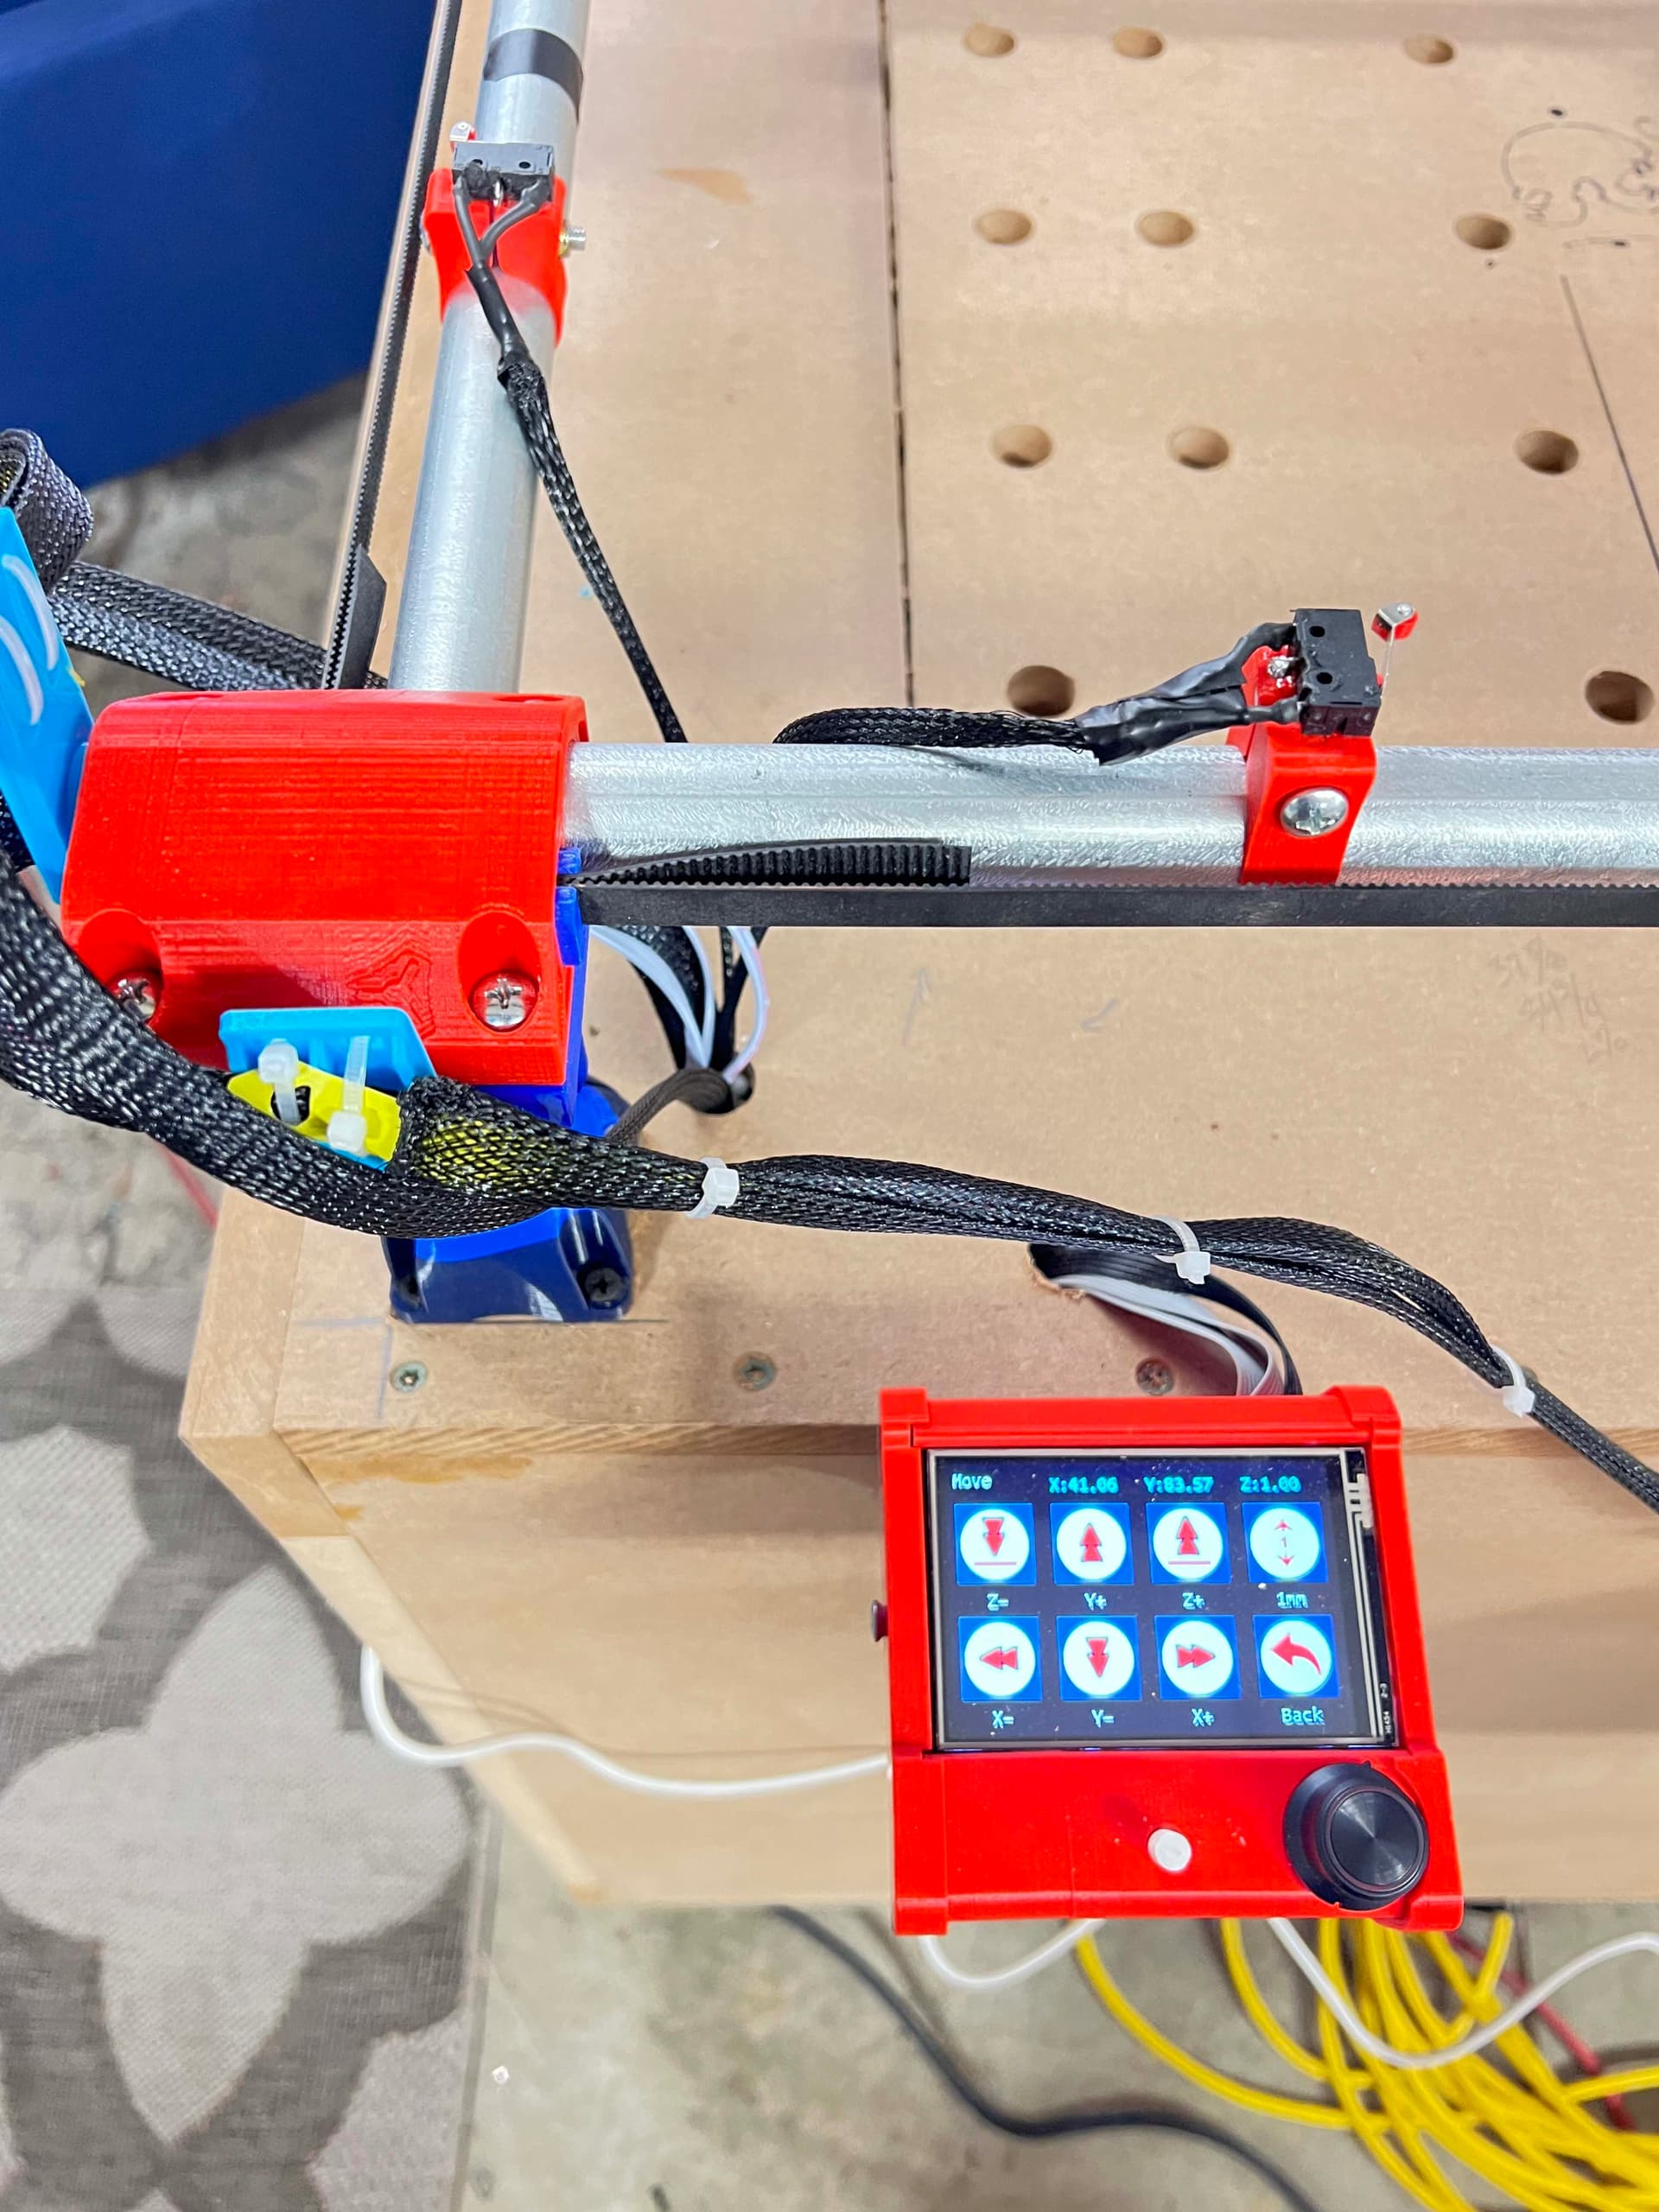
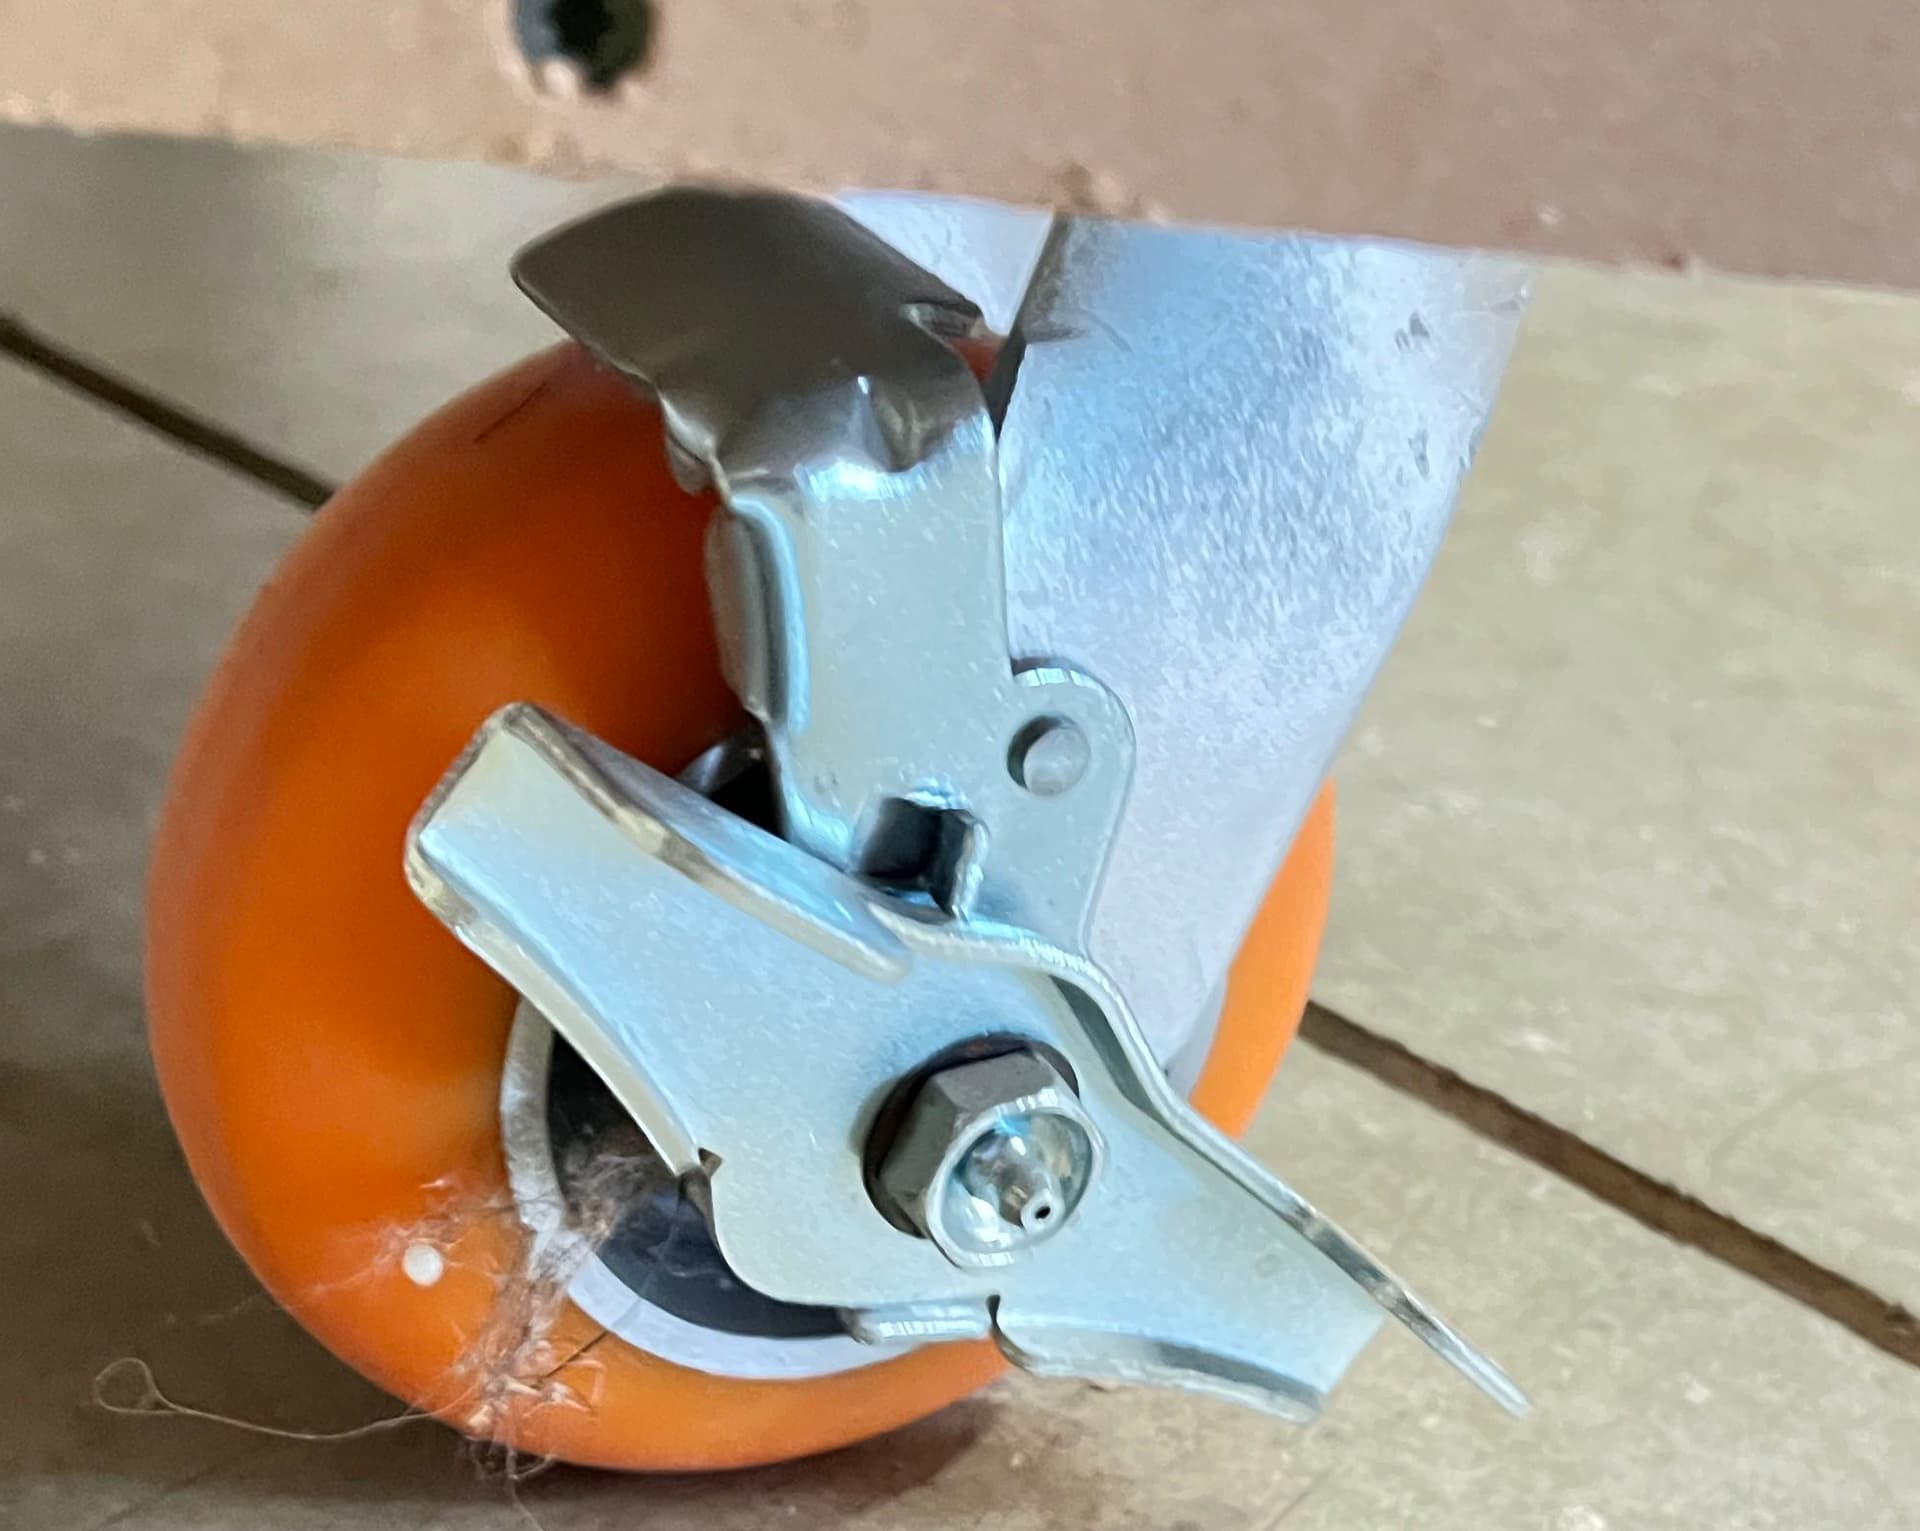
It’s built on large rubber wheels that lock and I’m hoping that is stable enough for large cuts. I used the infamous tape measure hack for cable management. Tried to run all cables through one of two holes in the top and the controller is inside the cabinet. Used one I found for SKR Pro with fans. Should work nicely.
I build electric guitars and an amplified 4-string mandolin of my design. All designs are my own/. Previously, I used a Shaper Origin for all the work (amazing machine) so I have the 2 d files. Now I need to convert some to 3d for the cutout.
Here are a few lessons learned on this. Background on me. I’m an IT executive with a long background in building things. My first career was as a carpenter and contractor. Build and rehab along with a cabinet shop where I made cabinets and furniture. My IT background helps in the electronics side of things. Also, have an active 3D printing company.
OK, enough of that. What did I learn?
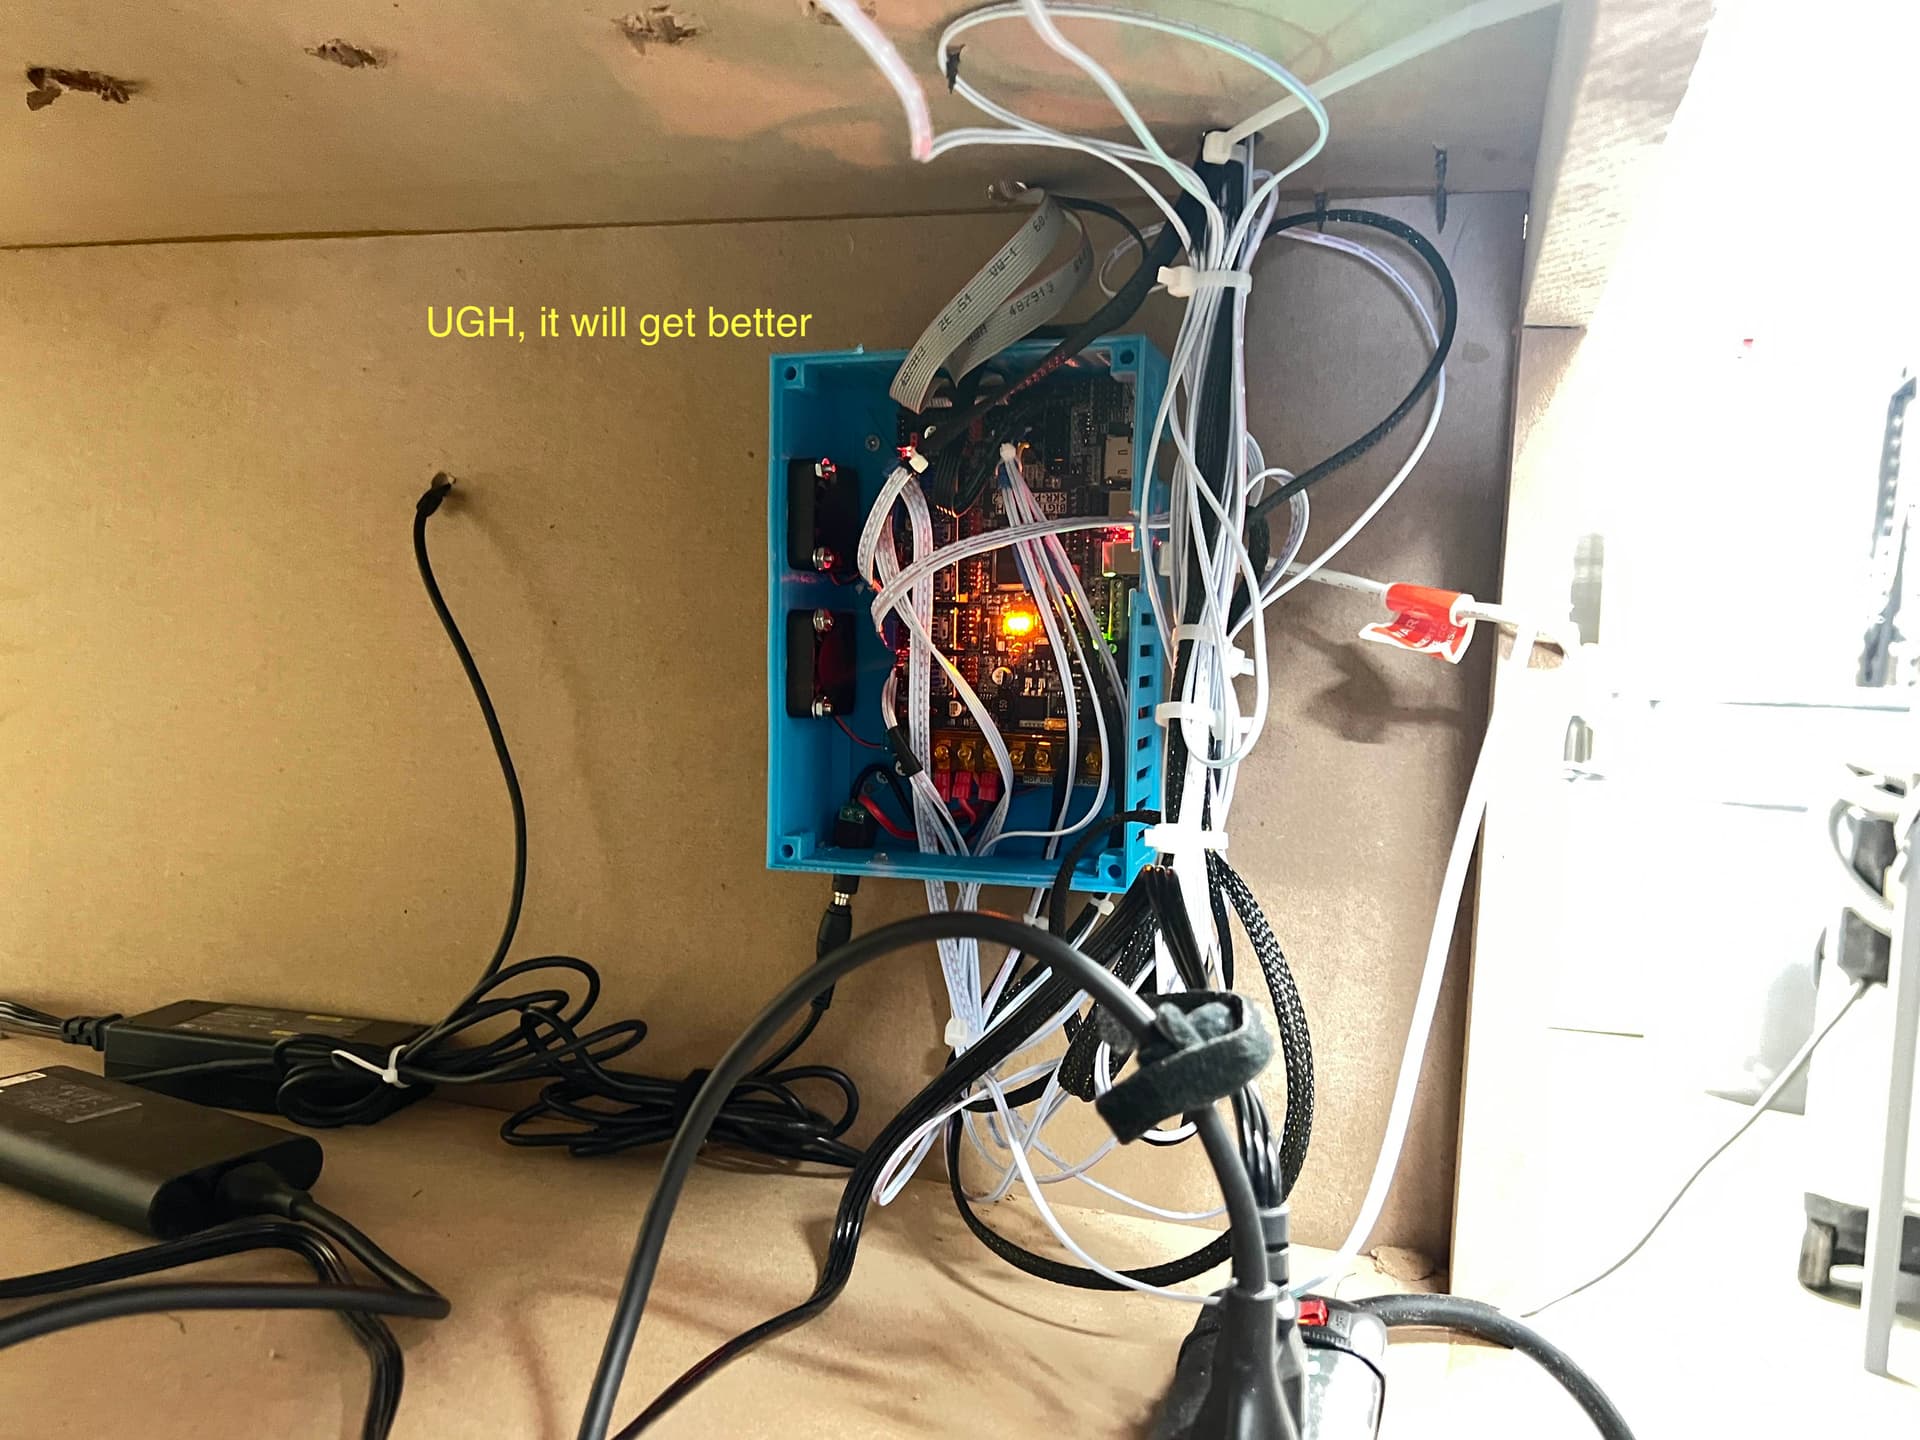
#1 When you start the wiring of the board and components, start with the board. Get all your connections right and fitting well. This is nearly impossible if you start the other end and are dealing with all kinds of wire lengths etc.
Whatever you do, don’t kid yourself and assume that you can make your own Dupont connectors. If you do, you may as well just kill yourself now. These fuckers are the worst. Another reason to start at the board and work your way out. That way you can order whatever length cable you need to wrap up the job.
#2 Ignore anything to do with Dupont connector
#3 Kill yourself if you choose to build your own cables with Dupont connector.
#4 Some of the instructions are confusing, co use the forum. You folks are so amazingly responsive and a fantastic resource. It would be nice to see some of the images in a broader format. I had writing questions about power and the photo cut the part I needed out of the picture. Little things like that, but again the community was fantastic.
#5 I’m guessing that we all want to make one as big as possible, but economy is critical when limited space is what you have. The cabinet has Shelves for storage. I may add a drawer somewhere down the road. The wheels are a godsend as it’s easy to move it where I need it. The bigger and softer the wheels the better. Don’t go with bike tires, but 4-6 inch wheels are great.
#6 Plan for upgrades. I’m guessing that I’ll get into the laser stuff since this is working. Modularity is important.
#7 Any accessories you need are on either Printables.com or thingiverse. Both great resources for extras.
8# Since I have the printers, I printed all the parts. This was handy because if I needed a mod of some sort, I had control over the process.
So that’s sorta it for now. AGain if any questions, lmk, I’m happy to share. I’ll post some guitar parts once I get them going.
Thanks again for all the help along the way.