
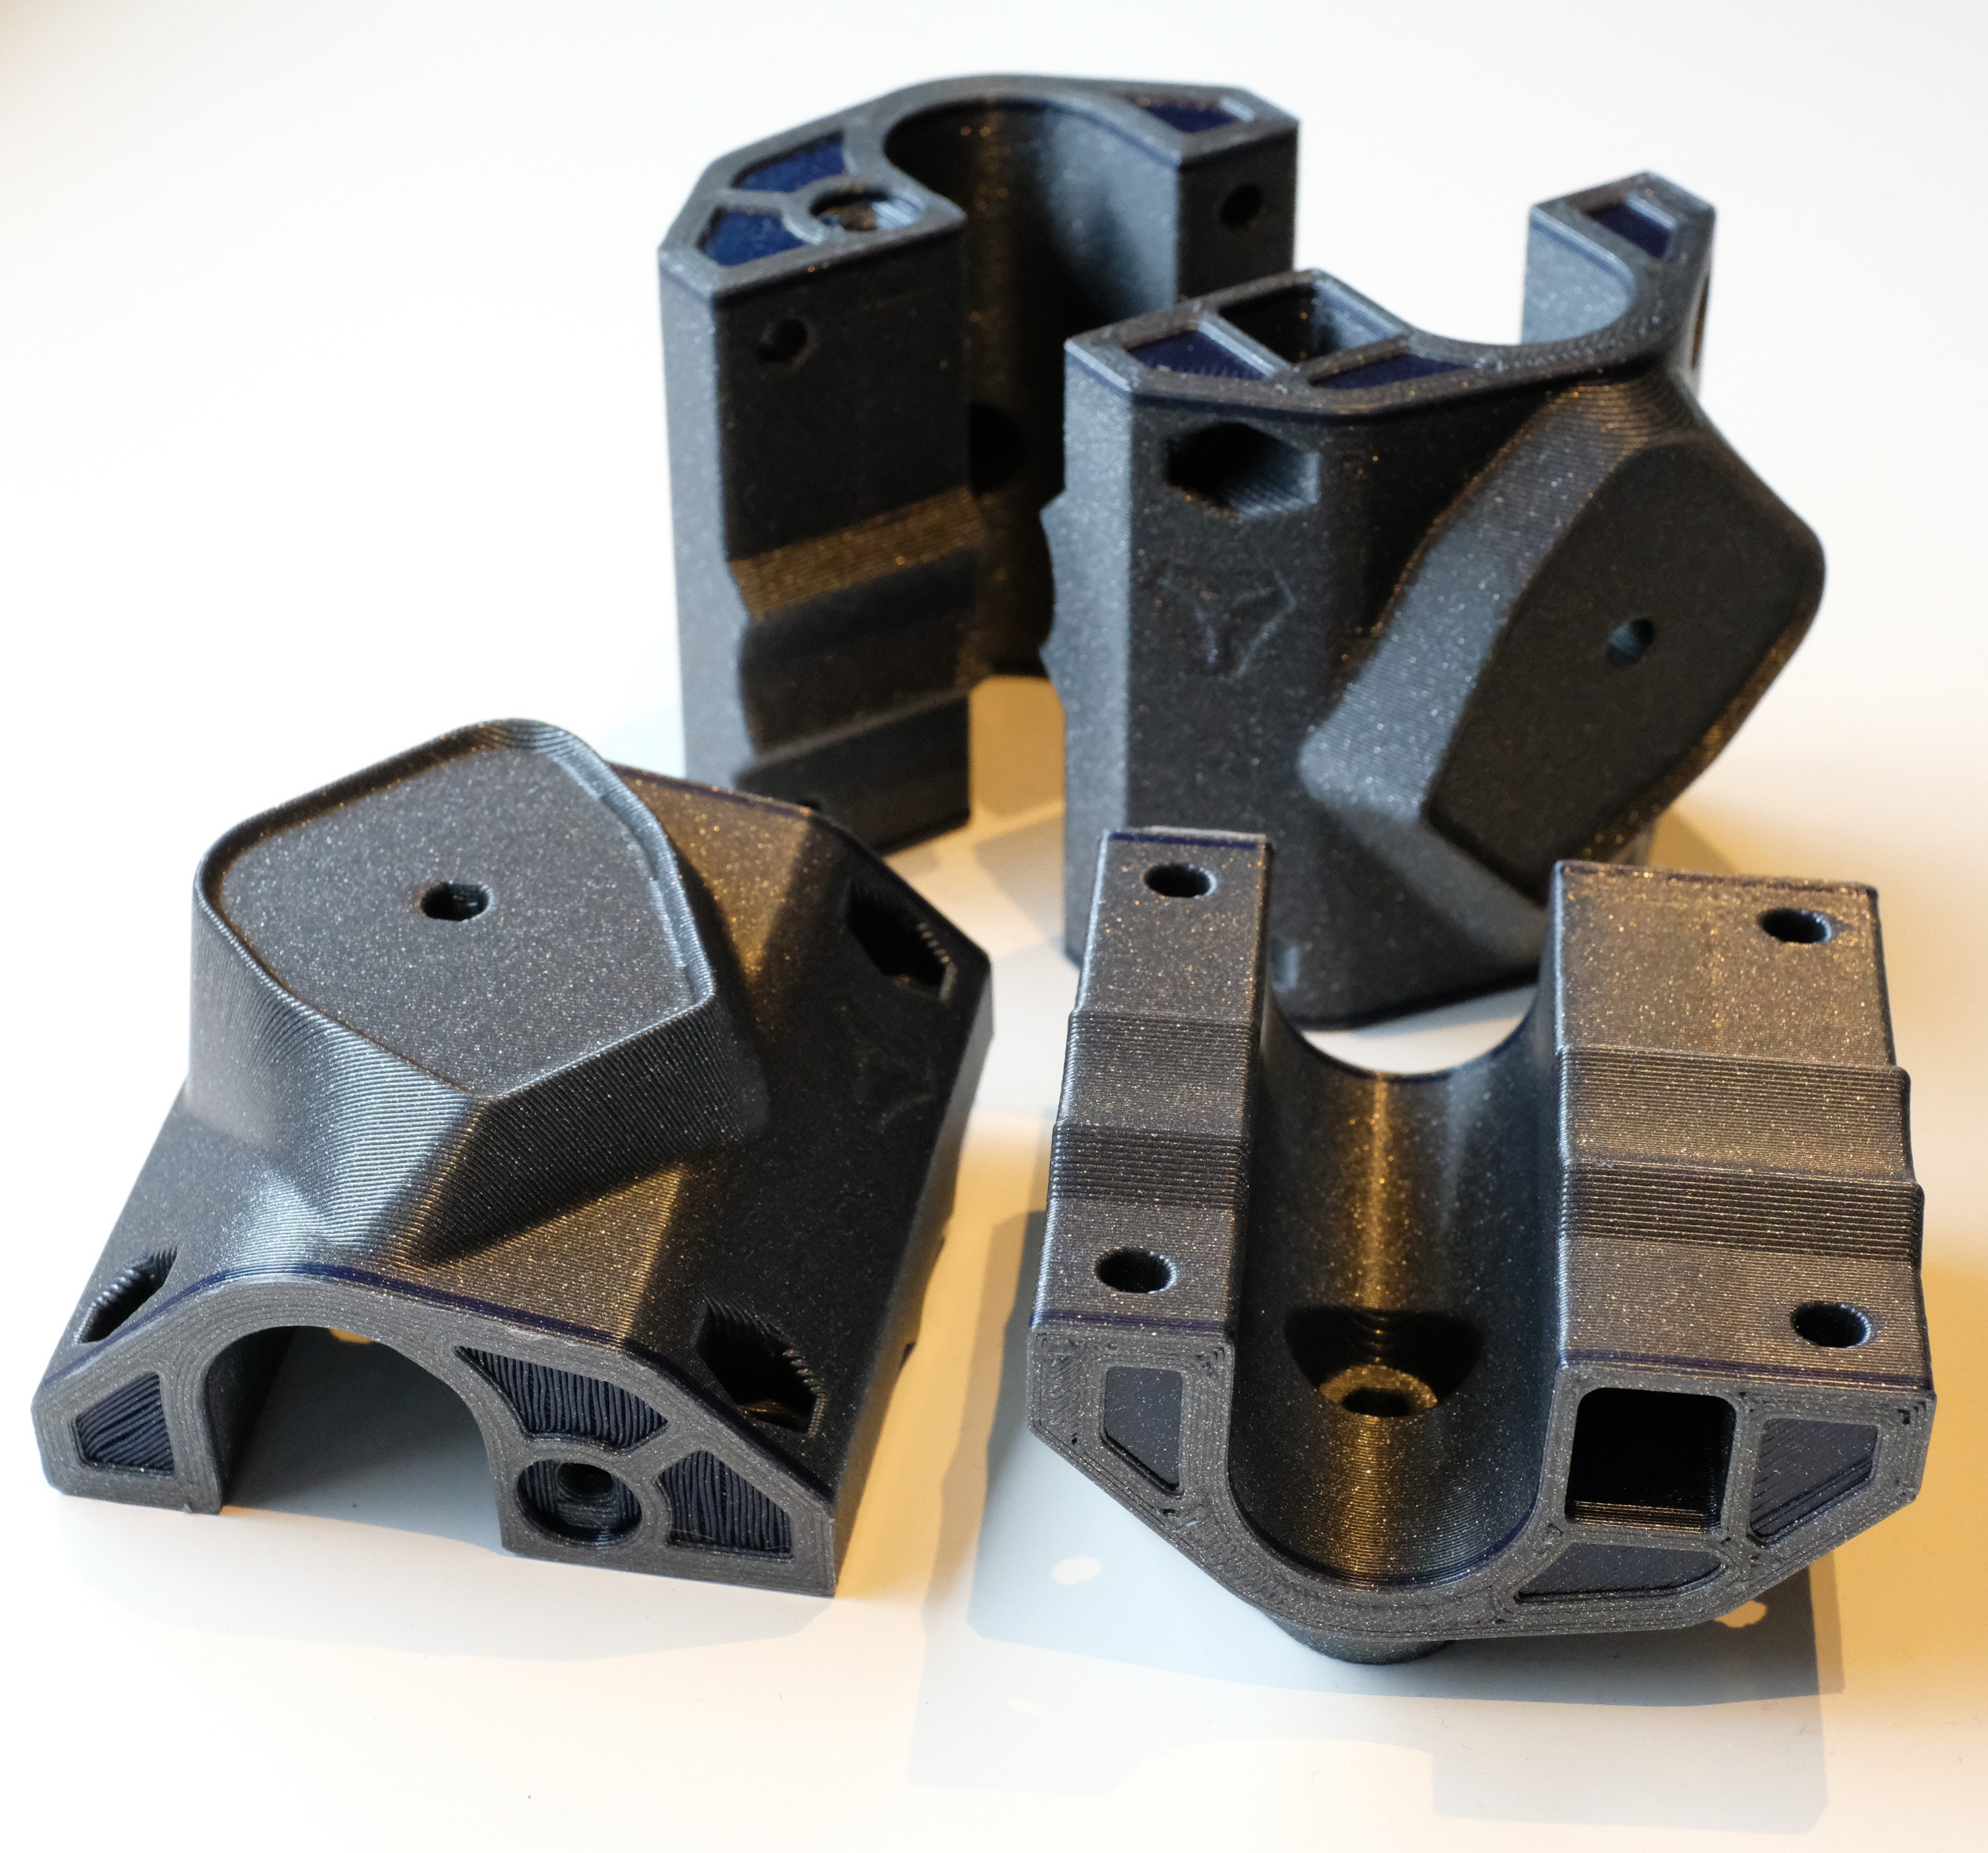
Started the Primo 25mm update adventure by printing the first TTFKAR ( TheTruckFormerlyKnownAsRoller).
I started with this one because I still remember how happy I have been when I had the first Burly roller assembled and it was smoothly sliding on a plastic tube.
And as always when I am that enthusiastic I have shown the sliding roller to everybody who is not interested.
10 Likes
You should have seen me while developing the Primo. I was so fired up about each part, showing the neighbors, little kids, my lady…all of them tried to act polite but had glazed over eyes…“pfft…I know a whole bunch of people that would love a sneak peak!!!” Didn’t slow me down, I enjoyed every second of it.
13 Likes
Greetings,
I was looking through the assembly trying to figure out where to once again put the Z-max limit switch.
The two methods I know from the prior assembly don’t seem to work for the new design. See link below.
Has anyone looked at this?
Is this something that enough people use it could be a part of the baseline?
Should i start a separate thread for this?
I like how the current trucks for the primo have the mounting holes for a axis switch and its up to the user if they want to use them. I think it would be good to mount it on the tool plate and make it relatively removable and optional. That way the cable can just clip into the motor drag train. My previous design their had to be a slack between the two since the switch was on the core and not the tool assembly.
Caveat: I am not stating this is to avoid the use of a touch plate, that is more important than the Zmax. I like having all my axes global defined that way i can jig up for repeatability or in case of power failure i just have to reload my work offsets and hit run. I also really like this for when i make a Z height map when trying to mill PCBs for surface correction so i can switch tools with good precision. I know i am a unique user so I will understand if its not critical since only maybe 10% of users use this feature.
https://forum.v1e.com/t/z-axis-limit-switch/7145
Cheers
This feels so good! I can remember one year ago, when I got my first printer - to make the MPCNC. It was a second hand buy, out of square in all axises, a terrible bed, and so on and so on. I spent so much time banging my head against the wall, learning, failing and learning more. In the end I had the MPCNC built and working, but it sure had it’s faults, and the colours where totally random and not planned for.
Now, more than a year later, I’ve been ready and preparing for the PRIMO. I’ve gotten myself a decent printer, and spent quite some time looking up filaments. I’m so looking forward to my second build, this time I will take my time and make it just the way I’d like to. (and of course - there’ll for sure be many bumps in the road, and in the end it might look like a carnival this time aroudn as well!  )
)
7 Likes
Please do. This won’t be a good place to keep useful information. It’s too long.
Hey all,
First time building an MPCNC (or any CNC router for that matter). Coming over here from the Voron community after one of their members mentioned that the Primo had been released a couple of months ago.
Currently just started sourcing and printing for a smaller (work area of 18"x12" for a true benchtop footprint) and had a couple of questions.
- Understanding PLA and PETG have been the most discussed filaments (and PLA by spec due to rigidity), does anyone have any pros/cons regarding printing all parts in ABS? I know ABS is generally only recommended if folks are truly set up to print that filament, but fortunately my Voron makes quick and painless work of ABS.
- I ordered the 1"/25.4mm stainless tubing from SpeedyMetals - to polish or not to polish?
- Also, I stumbled across what may be a dev thingiverse site for Ryan vs the production/final site for the 25.4 parts (thingiverse thing: 4550786). However, it was updated on July 23rd vs the June 23rd site that seems to be linked everywhere. Are there any issues with printing parts from the July 23rd site (as I’ve already started those).
- I was hoping Klipper would be a firmware option, as I have a lot of experience with klipper, Octoprint, etc. coming from the Voron, but it looks as if there are still some issues that require creative workarounds and Marlin still looks like the best option. That being said, I’ve also had great results with the SKR boards and TMC2208 drivers from the Voron and have some of those left over. It looks like a few of you have been running the 1.4 Turbos and similar - is that recommended or considered to be the wild west for MPCNC? Just looking to leverage past experience with some of the components that may be transferable from previous DIY machines I’ve made.
Thanks and I really look forward to this!
If you can fit it behind the Z xis and let it only trigger with the bottom of the Z axis with a special tab or something that would be ideal.
You had it rough that first round, I thought for sure you were going to dropout. Glad you didn’t.
Okay, you have my attention…this size is great.
1-Super flexible and rarely dimensionally accurate.
2-I prefer the dirty tool look, shiny is nice though.
3-All the parts should be the same. I release in many places now so sometimes I forget one or two. Or in other words, no revised parts have been released, when they are I usually give them a version number…V1..V2, so you will know.
4-I have skr pros and 2209s in the shop. Klipper sounds super interesting but I have not had any time to mess around with it. Apparently Malrin is working on something similar.
- Ok - that’s good to know, as PLA is like paint by numbers compared to printing ABS. I agree, getting consistency in dimensions with ABS seems to be hit or miss (at least at the sub 0.1/2mm level. I’ll print two pieces with identical slice params and placement and have a variance of 0.1 every time. Not to mention I’ll still get the occasional issue with small corners/edge warping if I haven’t given JoBu rum that morning (+10 bonus points for anyone who gets the reference). I should still have two rolls of eSun PLA+ that I honestly have no legitimate reason to use, so that’s perfect. I had a go with some PLA parts melting/deforming when I started printing ABS temps, so I’ve always been hesitant to use PLA for just about anything other than trinkets for the kids. That being said, the only temps I’d be concerned about for the MPCNC are the areas holding the steppers (I don’t think the Dewalt 660 will generate enough heat to even come close to deforming anything around the core, especially given the difference in use case - maybe an hour or so of cutting vs 24+ hours in a 50*C enclosure…
- Thanks - I’ll see what the surface finish looks like and see if I want to polish or not. (I like shiny just because it makes it blatantly obvious if I have debris accumulating somewhere or abrasion/rubbing).
- Perfect - thanks.
4)Good to know on the SKRs. Call me a creature of habit, but once I get familiar with how one company is producing boards it just feels like home. Plus I know I have all of the JST-XH interface connectors and other components like ferrules, etc. and associated crimpers.
Now… Klipper. I cannot say enough good about it. Once understood, the ease of use for the average user is incredible - open up Octoklipper plugin, tweak what’s necessary in the config, re-kick the service and Bob’s your uncle. For advanced users that have a good grasp of python and macros, etc., the sky is literally the limit. I’m just a standard user, but it still goes on every printer platform I built due to ease of use. If there’s one component of DIY 3D printing that I felt really opened the door to tweaking configs, customization, and general understanding of everything that is going on under the hood, it is absolutely Klipper. The downside is that if users aren’t familiar with Linux it can be a steep intiial learning curve. The other issue is that Kevin O’Connor has so many requests going on for the 3d printing world that I wouldn’t expect custom tweaks to support CNC routers on their roadmap any time soon.
My main use for this will be the initial step into the world of CNC routing and I don’t plan on cutting much other than carbon fiber, G10 and similar for small drones/rovers, etc. The ability to slip a bath under the MPCNC for cutting “dustless” CF is what drew me to it. There’s a chance I may eventually get into small aluminum parts (probably 1/4" stock at most), so I went for the smaller size in order to not push the stability/rigidity limits. I had looked at the PrintNC, but the combination of drilling steel/bulkiness of the 2x3" frame pieces, and overall cost is what led me to the MPCNC.
I’m sure klipper would work fine. Many of the benefits will be lost, because we are really just using the motion system of a 3D printer, everything else related to extrusion or temperature control of massive amounts of steps/s are all pretty pointless. We did work hard to get dual endstops on x and y into Marlin, and the lcd screens have always been there. That’s about the only things that klipper may not have, IDK.
But hey, if you want to do it, by all means, go for it. I will help think through the issues if you do. I would be interested to see it. But make a new post so it won’t be buried 2700 replies down.
Oh I’m nowhere near the skill level of being able to make Klipper work. With everyone here using Marlin, that’s a clue - I’ll just use Marlin ![]() Once I get the MPCNC up and running well I’m not opposed to trying things out, but I’d rather have a solid understanding of the MPCNC and everything involved with that before venturing into the new territory.
Once I get the MPCNC up and running well I’m not opposed to trying things out, but I’d rather have a solid understanding of the MPCNC and everything involved with that before venturing into the new territory.
If you change your mind, it is probably easier than you think. The first configurations for Marlin were basically stock, but we tricked the firmware into thinking the hotend thermistor was plugged in. That was it.
1 Like
If you are new to printing, make sure you tune your printer really well before starting on these parts.
Will do, thanks. Enlisted a friend who has owned two Prusa printers for several years now.
1 Like
Hats for bats…
2 Likes
I daughter laughed at me this morning when I said,
JoBo needs a refill!
1 Like
Hi, thankyou for all your work Ryan!
Is the core geometry compatible with burly geometry? Or to update it I have to print all the 3d parts?
Best option is to print it all, if not you are going to lose a ton of workspace.
I don´t understand. Putting together, the new core piece looks smaller than all Burly XYZ pieces together.
1 Like
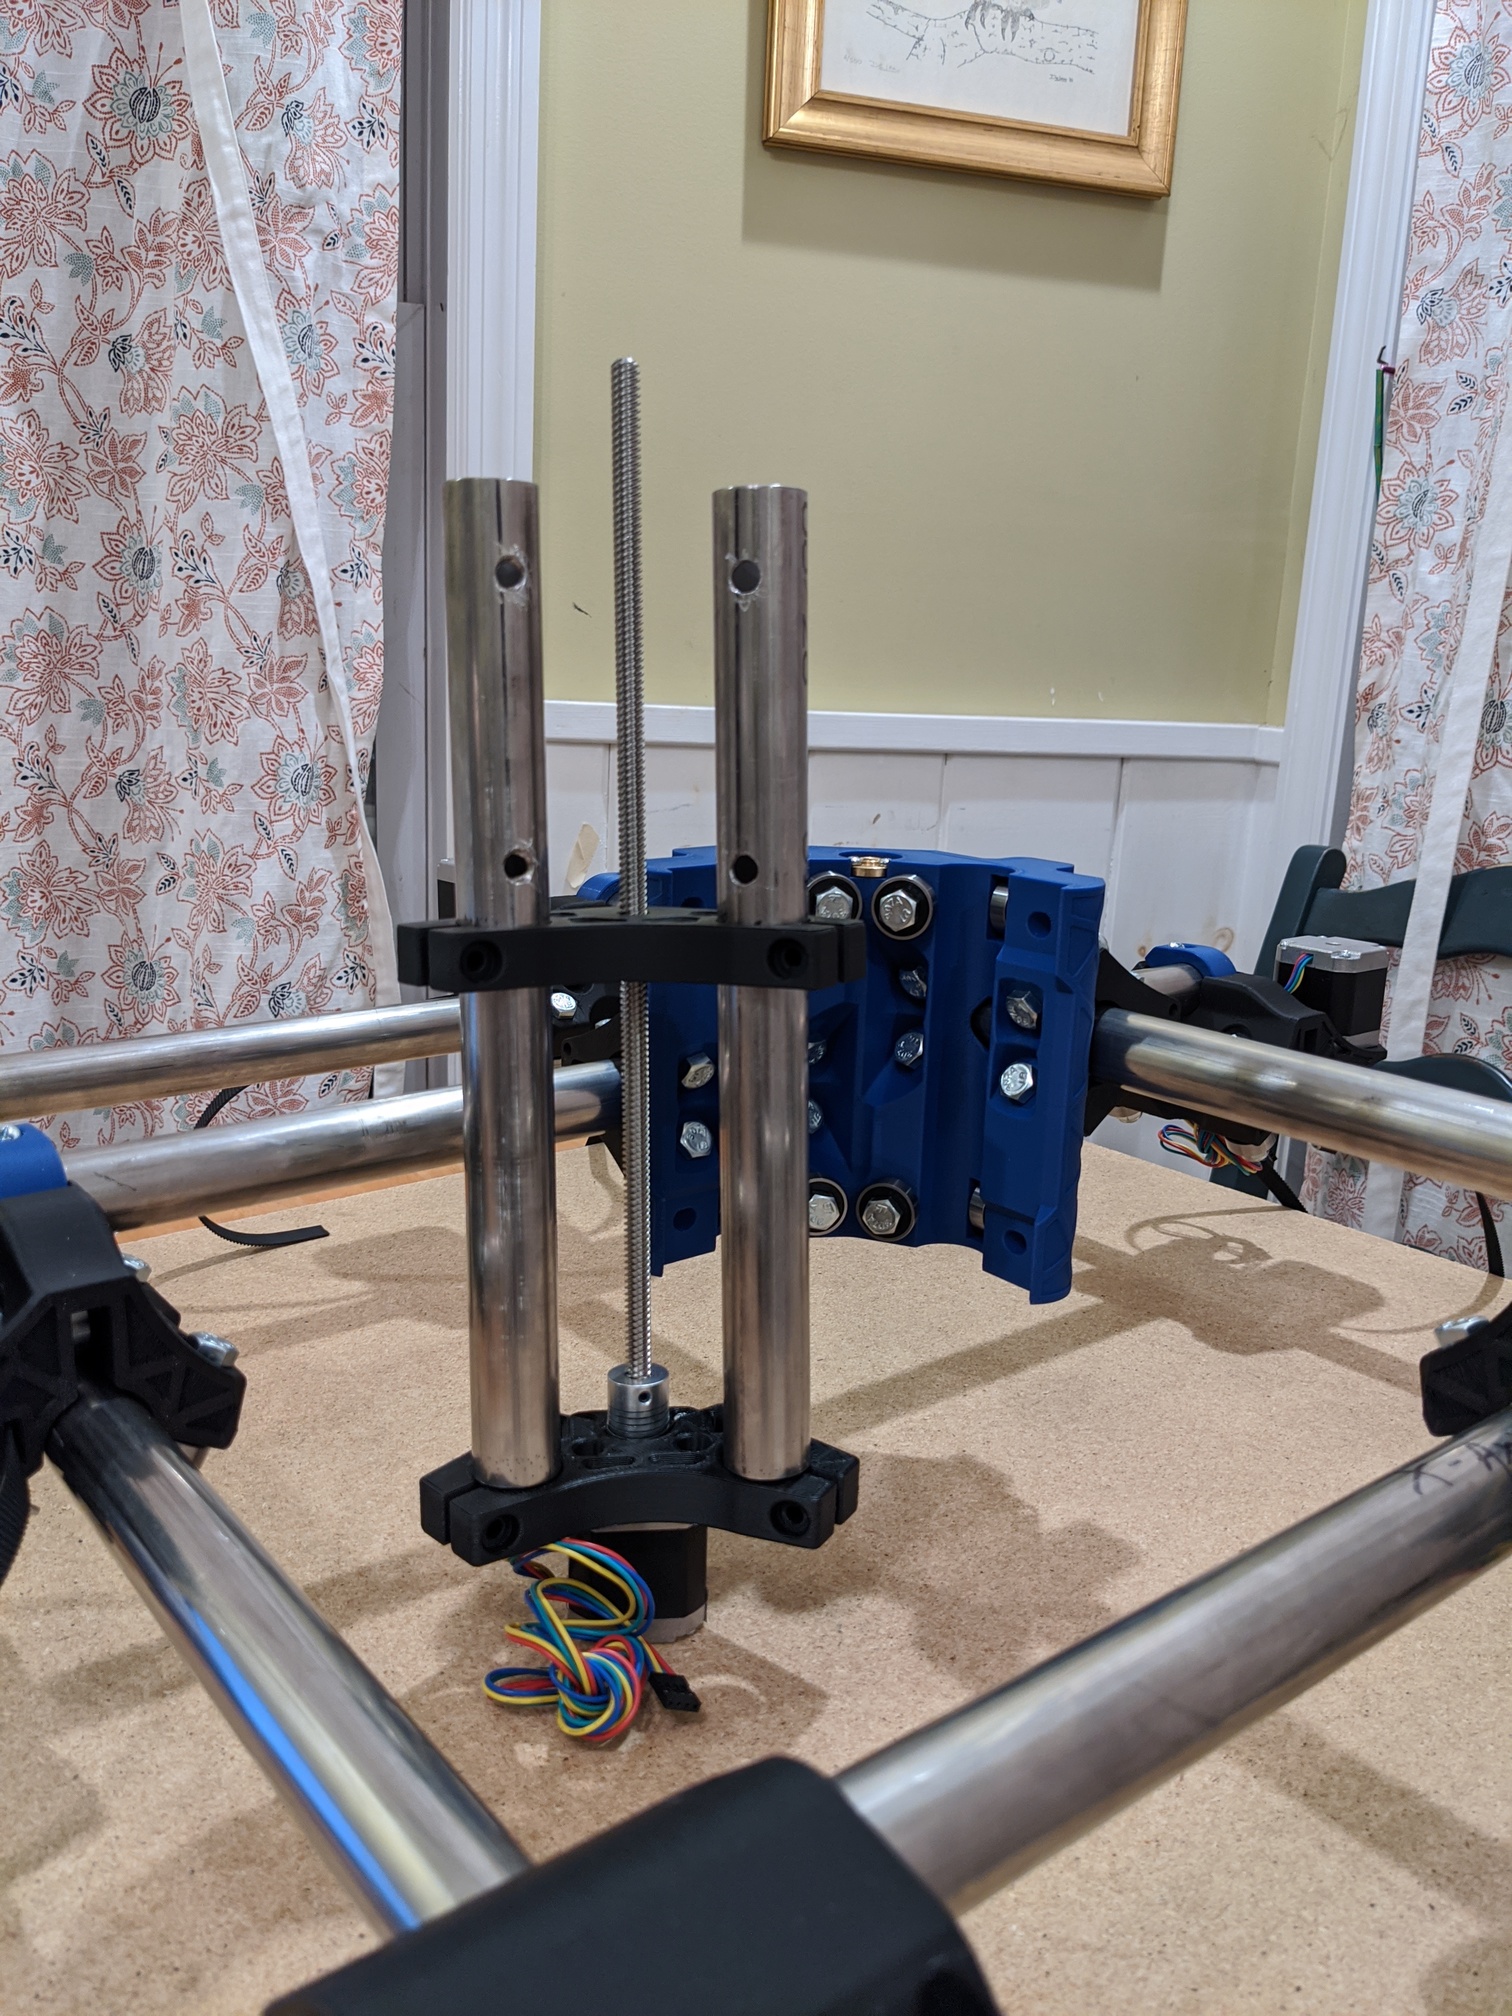
Do I have to cut the lead screw that came with the hardware kit? It looks way longer than in the directions when you start doing the thrust block stuff with the z axis.
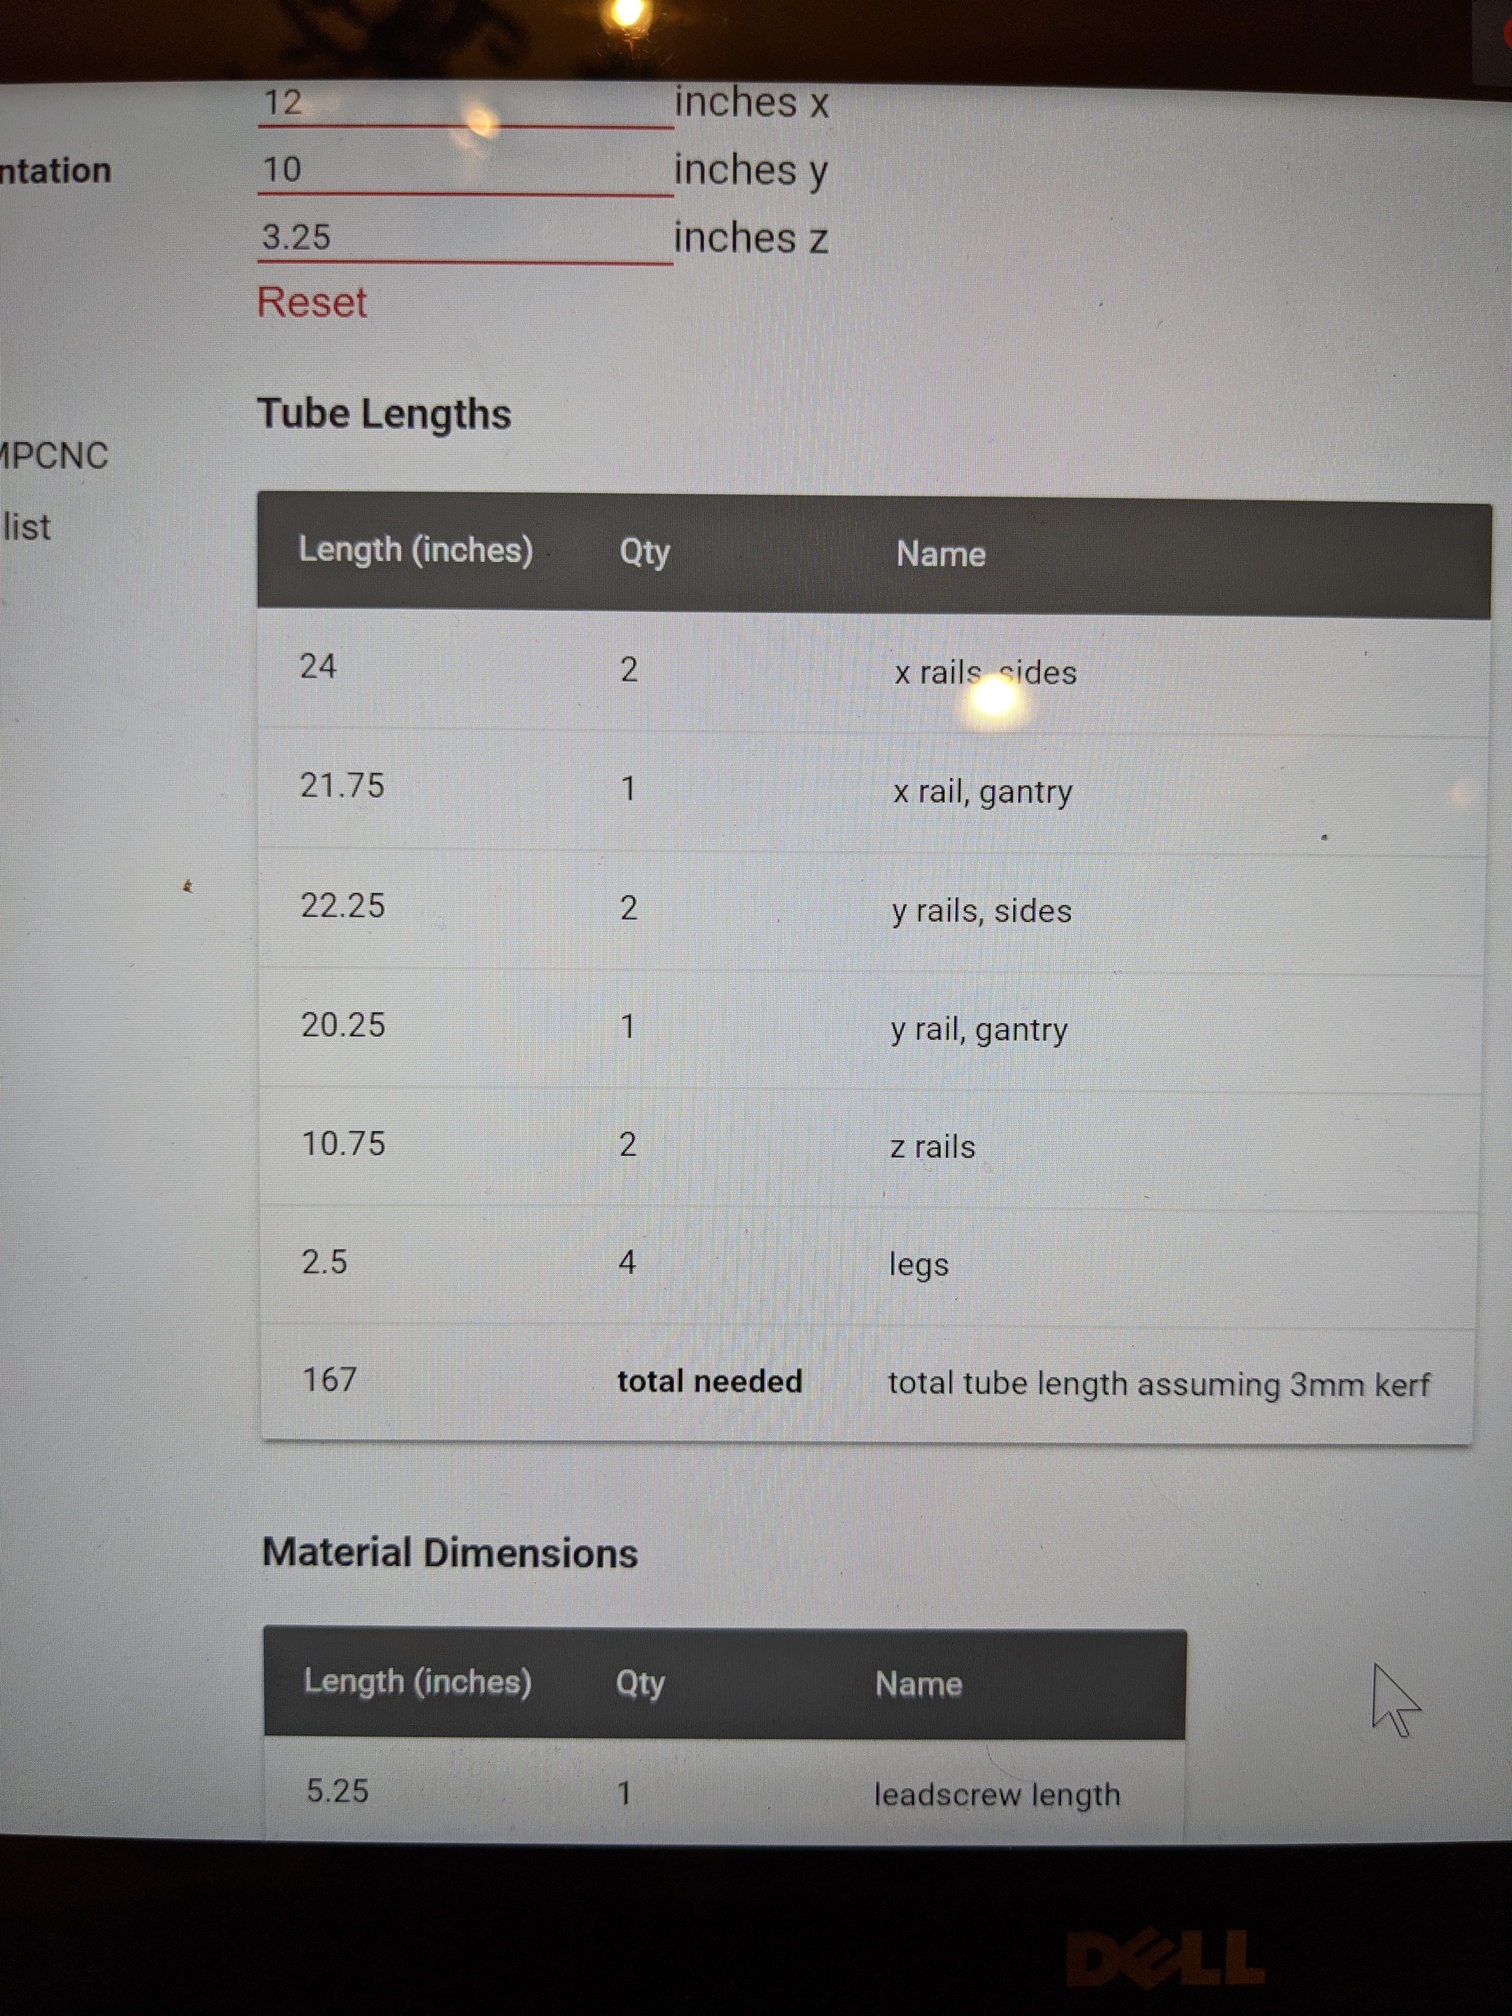
I have a workspace Z height of 3.25in
I have A rails that are 10.75in long
Calculator says leadscrew length of 5.25 (which the directions say is the minimum, but what is a maximum?)
Also according to the directions it says the maximum screw length is the end of the z rails when your axis is fully assembled. So do I have to put this whole thing together first then cut the lead screw?
I’m confused. 
I think you’re gonna have to cut it. My first mpcnc, I just left the tubes long sticking way above the xy. Or, as @EdNiedziejko said…from space!