Yep. If you play with it, you might find there’s enough screw to make a second Z.
2 Likes
I agree with Jeffeb3 its probably not that hard. I would start with Marlin so you get comfortable with another firmware and can get assistance from the majority. Sounds like you have the passion to work towards making Klipper work.
To add to the what firmeware can you use on MPCNC:
I use Repetier currently since my first printer used it and they have this nice web based configuration tool. You have to use the 1.xx versions to have dual motor/endstop but it has a CnC/Laser mode with no extruder so it can act pure CnC, supports alot of boards and LCDs.
Example of web based config tool:
“Don’t let your dreams be dreams… JUST DO IT” - Shia LaBeouf ![]()
Ok. Sooooo, where about should I cut it? Blue, green, or red from the picture? Thanks! IMG_20200725_215711~3|413x499
It mostly doesn’t matter because the extra length is just sitting inside the Core piece not doing anything. I would cut at the blue spot because you can always shorten later but you can’t make it longer. As long as it doesn’t extend beyond the tubes it won’t eat up your working space.
I used longer than necessary Z tubes so I didn’t have to cut the leadscrew. The calculator Z tube lengths are really minimum lengths and longer is ok. It doesn’t hurt anything if your Z motor sits higher.
1 Like
Well, that’s not completely true, though IRL it might be close enough. The higher the Z stepper sits, the more twisting force it applies to things when you speed up and slow down X and Y. Think of holding a rod vertically by one end and punching forward with your hand. Then think of the same thing with your hand in the middle instead of at one end… The shorter you go, leaving enough room to change bits, the stiffer everything is at speed.
Yeah, I’m released from hospital, but I stil to put my Primo on pause for a while. I suffered a mild stroke so I have a bit of problems speaking currently.
So I don’t think it will be at a month or so until I can get it an progress.
6 Likes
My BIL about a year ago still going strong keep up the fight it does get.better  I’ll pray for you
1 Like
Hopefully there are lots of cool projects happening here to keep you entertained until you are ready to keep going on your build, which I hope is sooner than you expect!
1 Like
You’re right that it’s not exactly equivalent. There is also extra weight of the extra length of tube, which increases vertical deflection slightly and affects maximum acceleration. As for applying a tilting action when accelerating, that’s true too although it could actually counteract the mass of the router to some degree, so it could be very slightly beneficial as far as tilting under acceleration. On the other hand, with a pen it would not be beneficial and that’s also the situation where high accelerations are more likely.
For me, avoiding the work of cutting the leadscrew is greater than all those considerations. Although having said, that my Z axis drops when steppers are disabled (perhaps also due to the thick-walled tube I used). That’s an annoyance which is less likely if tubes and leadscrew are just long enough.
Should’ve got the live chicken.
2 Likes
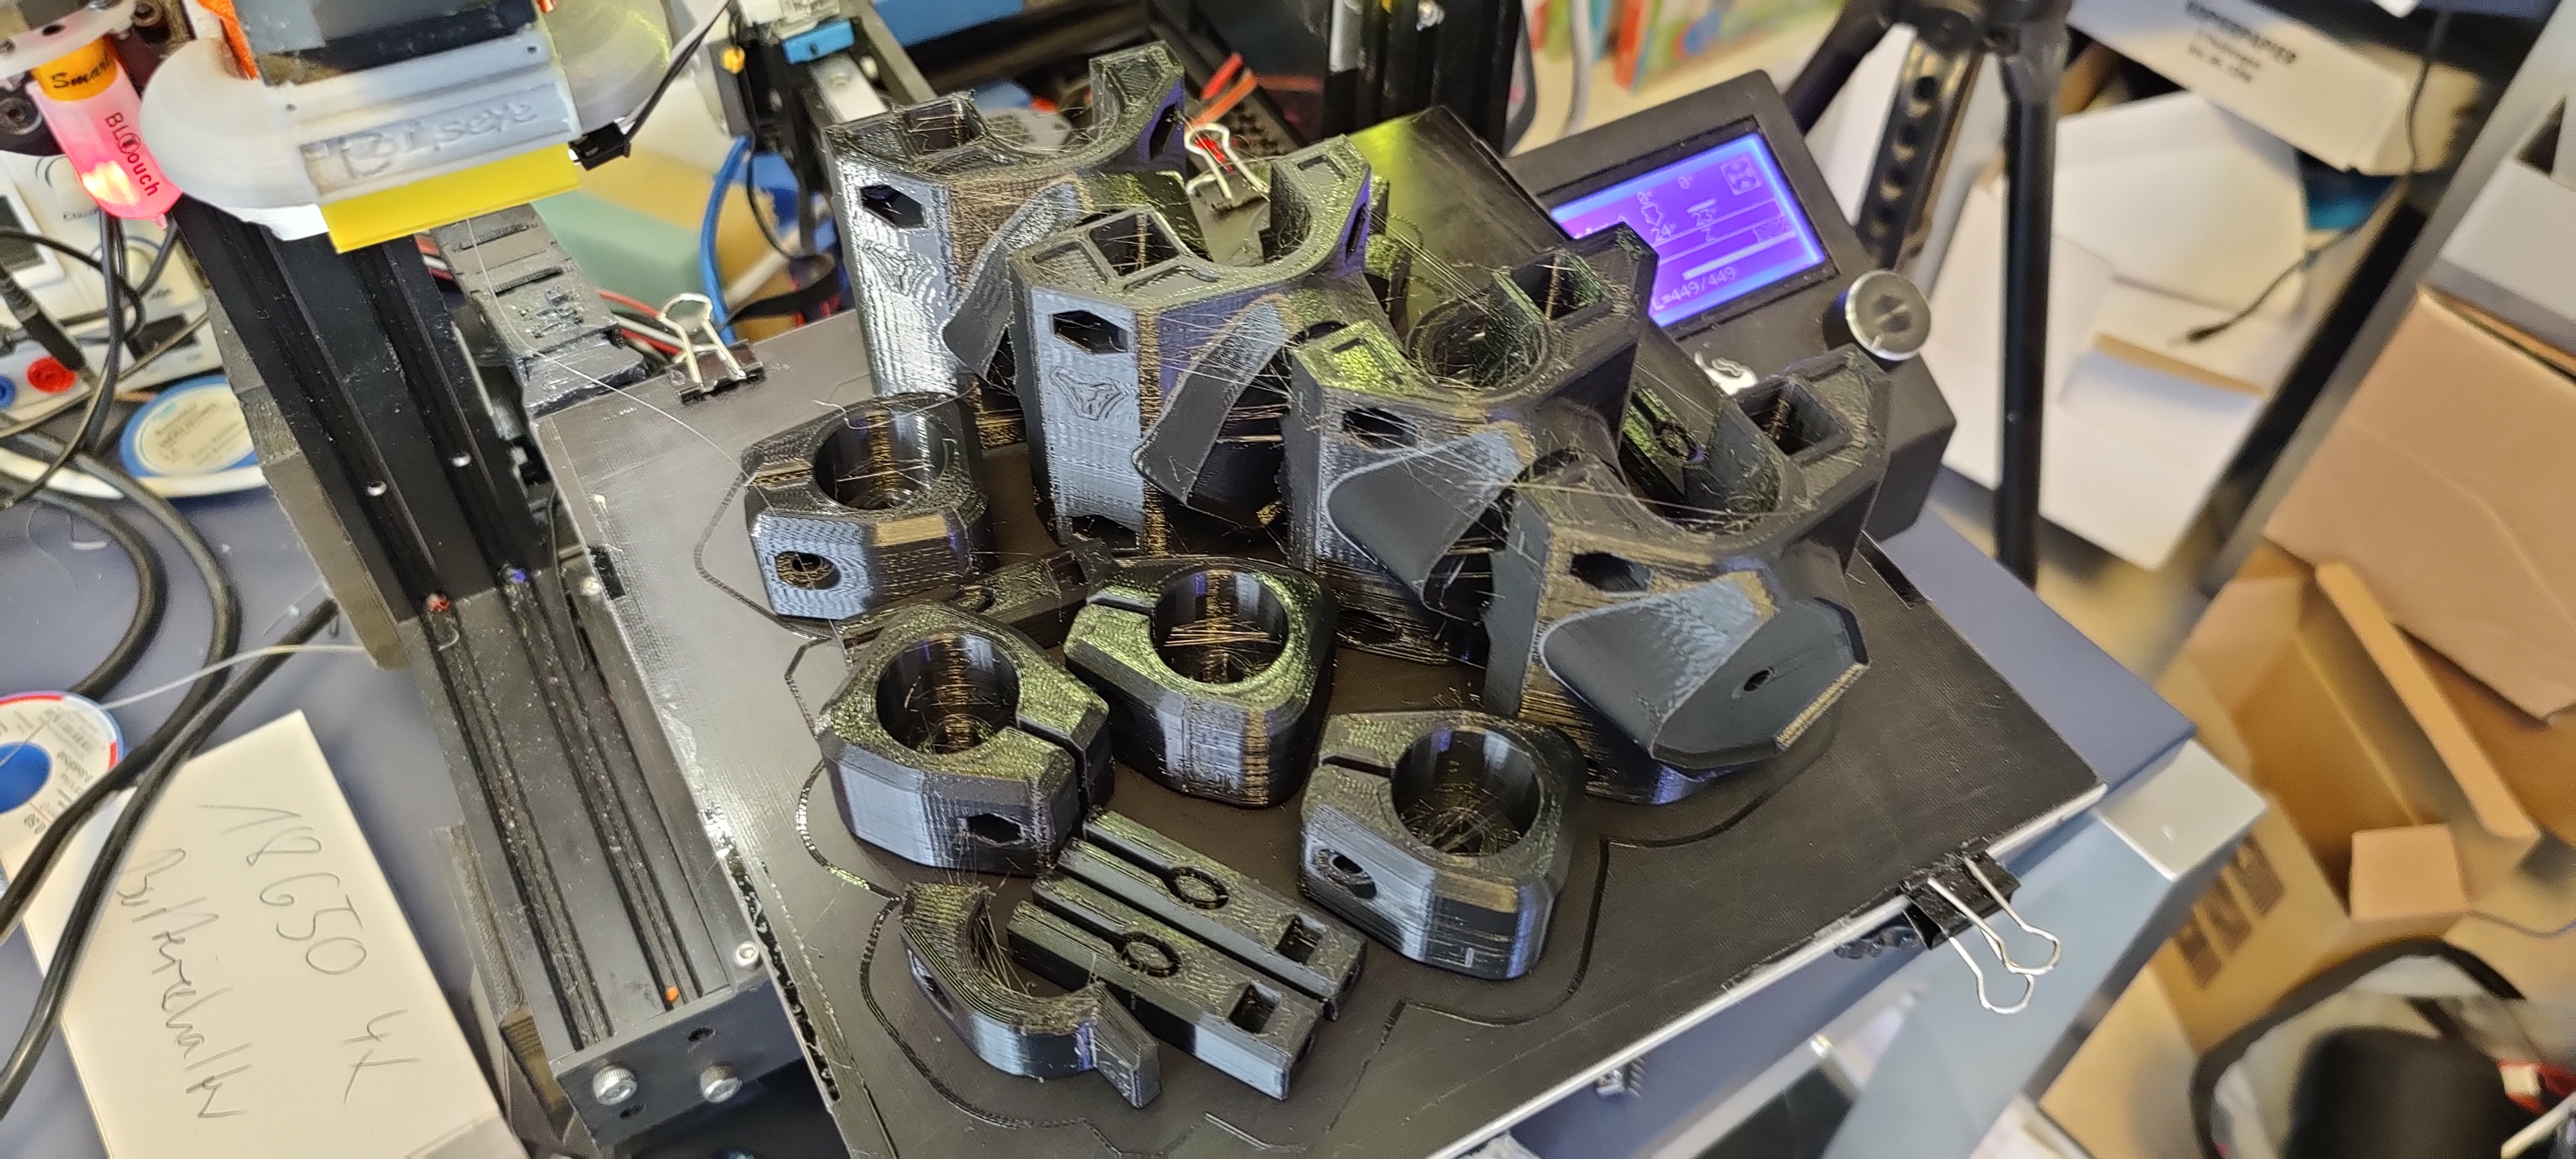
Power outages are very rare here. Maybe once or twice a year, and usually when there’s an arctic blizzard covering everything in ice… but last night we had one, very unexpectedly. Now that I feel like I’ve gotten things figured out, the power goes out! Sigh… I guess this is the back side to the octoprint finesse, not being able to resume
1 Like
I never print more than two pieces at a time in the event something can go wrong
1 Like
I know I know. On my first printer, I could only print one item at the time, and barely that. My new printer is super stable, and using a brim I feel fairly safe. But who knew that this night was the once a year event where the power went out…
2 Likes
Octoprint doesn’t have resume?
I automatically assumed it did, so I was bummed when I realized the print job was gone, and the steppers not engaged. It’s explained why in a very good way here: https://www.youtube.com/watch?v=79mS0get6V8
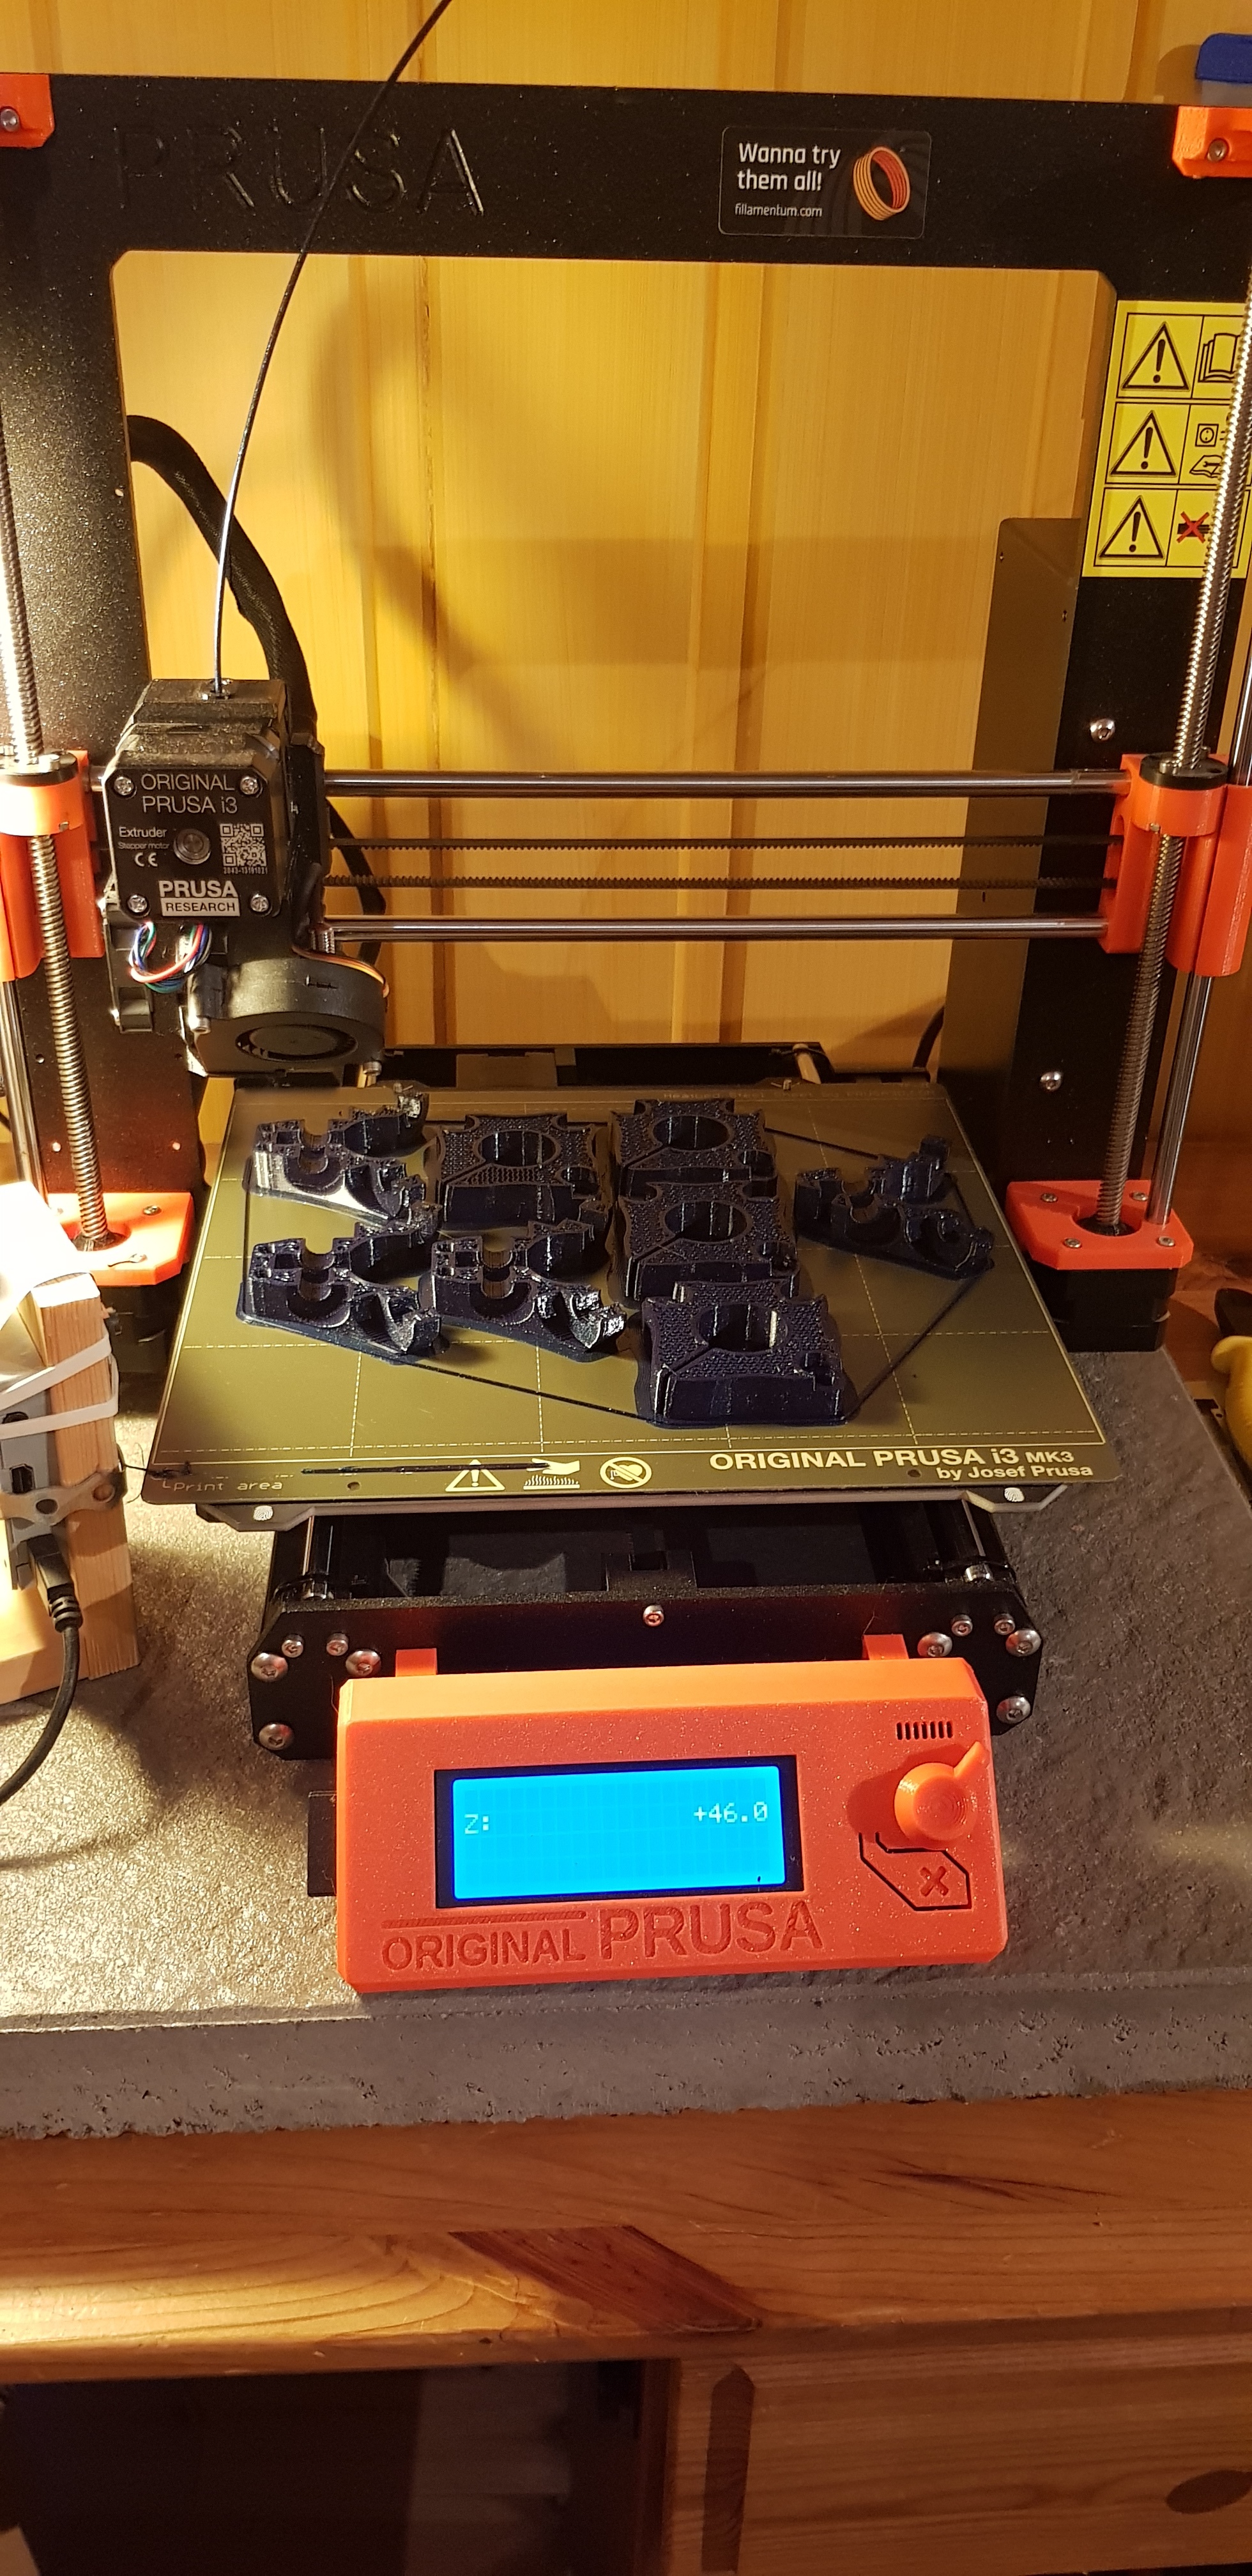
Same boat. Started on a 5x5 platform. Had to outsource some printers from work for the bigger parts.
I’m always cautious though because Murphy’s law seems to apply to me all the time
This is brilliant news to me. Since I ordered my pipes for the Burly, I have to cut the feet and thought I needed to shorten Z as well. Now I know I don’t have to. Thanks. 
Sounds like you’d appreciate the 50-50-90 rule.
Anytime I have a 50-50 chance of success, it comes with a 90% probabilty that I’ll fail.
2 Likes
Dear friends,
just on the last day of my vacation, the 25mm F Version was realeased. I call that the perfect timing!
First batch is ready, second batch is still printing on the Kossel. Ender now prints the core!
Will be fun to upgrade my burly to Primo.
Thanks a lot @vicious1 for your hard work and dedication!
One question: Do I need to drill two new holes into the Z-Pipes (thus print new nuttraps) or are the old ones the correct distance though reusable?
Cheers
Armin
3 Likes
One question: Do I need to drill two new holes into the Z-Pipes (thus print new nuttraps) or are the old ones the correct distance though reusable?
I will also convert my Burly to Primo that is why I just recently checked that part.
For both versions the instructions refer to the same sketch describing the tubes and holes to be drilled.
Burly Z-axis tube
Primo Z-Axis
I think they can be reused as is. Maybe it is even mentioned somewhere, but I did not see it.
Good luck with your upgrade, you are already quite far with printing.