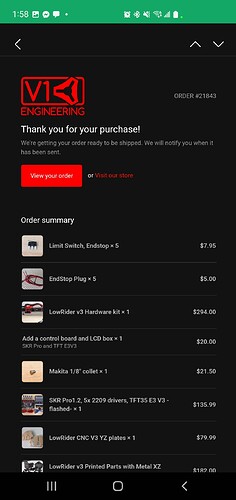
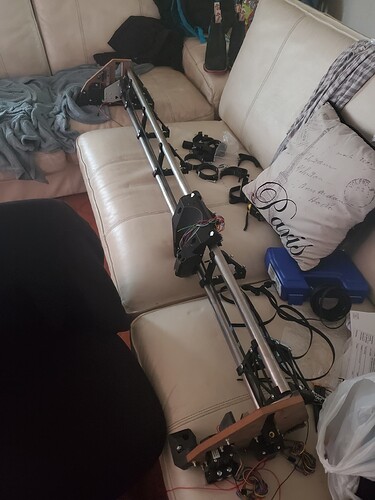
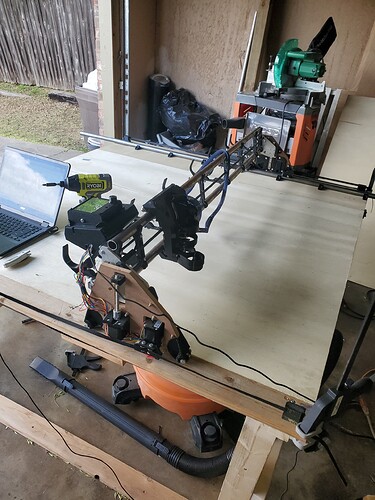
I have ordered my LR3 kit and it should be arriving tomorrow. Waited for the control board to come back in stock as it would be easier to have it pre-flashed or course. I spent 2 months scrolling through the forums making sure i understood everything. A bit worried I selected the 1" OD rail sizing and probably should have did 3/4" instead but life is full of test and somethings are meant to be. Wanting to do a full 4x8 build may start off smaller and eventually work my way up. I am new to wood working but my dream is along the line of custom furniture and engravings on bigger pieces. I realize i could achieve this with a smaller build using different techniques (tiling as one i know of) but for some reason my mind said go big or go home must be the Texas mentality. Wish me luck and I am grateful that V1 able to make this possible.
Nothing wrong with that as long as your power grid doesn’t collapse and you have to switch to hand tools. ![]()
Welcome to the Crew!
So now just make sure you are buying 25.4mm OD tubing, there are no US EMT that fit this selection. SO you are most likely buying this online or a local metal supplier. You will be looking for 25.4mm DOM Tubing or Stainless steel. Also make sure to check as some places sell 25.6mm as 1"…it makes a difference.
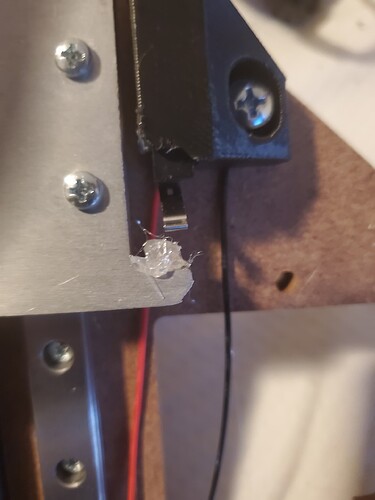
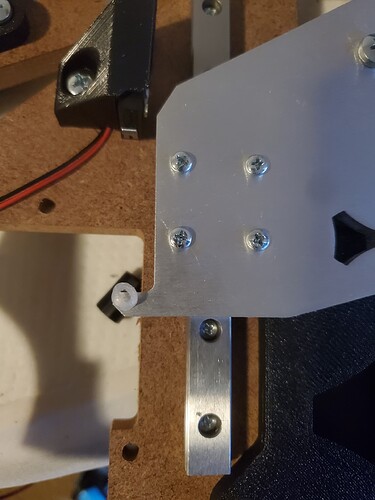
Hooking up the Z stops and decided to repurpose the stops from the linear guides. Temp hot glue to check if it works but yea just cut them in half.
Think I’ll just leave the stops at full size or 3/4 size and glue it in the 1st orientation. Its works when cut in half but not much distance from XZ hitting the top and too close for comfort.
Man, I need to remix those endstops tonight. I will add a bit more adjustment.
Instead of adding stuff, you can just bend the metal tab.
I am using these with my Omron endstops, and they are working well without having to bend the arms:
https://www.printables.com/model/252250-lowrider-3-cnc-extended-z-endstops
I hear some folks keep a spray bottle of water with a couple drops of loctite in it to spray on their LR3 when it gets too excited. Gotta break that bad behavior early, or you’ll be tramming it all the time, or having to relace lost grub screws every time it gets a little rambunctious. Don’t get me started on pulling on the dupont connectors. That’s just the worst. But since it’s new, you get to train it while it’s young and hasn’t picked up too many bad habits, yet.
Thanks for all the suggestions. Biggest problem was finding the tubing. Luckily found this thread Starting Out - How to Purchase
and i have a metal supermaket locally. Quoted at $76 plus tax not seamless but seam on the inside seamless is $180 plus tax. They did measure at 25.1-25.2 I don’t think i am getting any closer hopefully that will be fine. Plan to bring my own calipers and also a part to test fit prior to purchase. Router will be in tomorrow and i am so excited to get everything assembled. Looking at different threads for table designs. Think I’ll do a torsion box with wings incorporated and also foldable legs probably will set it up to where i can mount it on the wall and use a electric hoist to assist with lifting it. Anyone thought of something similar? So many options.
Definitely going to need to surface that workspace. ![]()
Been racking my brain on type of table I want. I originally planned to build a table similar to this (Best Budget Workbench? - YouTube). With wanting to do a 4x8 build considering doing 5x10 table or 2 5x5 tables, cutting my Y tubbing in half (considering internal couplings) and just connecting them when needing a full size table. Considering Y belt has already been addressed here for fast swap of small to big table. LR3 Mod, Mid Belt Y Tensioner block. Enables fast swap between big and little table
I considered the torsion box and Doug take on it for 2 separate pieces and for the life of me can not find a build or come up with ideals for still having foldable legs. I know a detachable base is a option and could incorporate hinges or something for that to fold but don’t want to always have to reassemble in the long run.
Lr3 up and running, just adjusting limit switched. Been reading the forum to better understand setup which led me to checking m119. My z2 max is always triggered even when unplugged. Can someone guide me on how to fix this or directions to a post already addressing this tried searching by keywords but no luck on my own. Thanks in advance.
Hmm, maybe you programmed your endstops to be normally open? Then it would trigger if it wasn’t there.
/Edit: Dan is right, I mixed it up. ![]()
Since we wire the endstops as normally closed, triggered is open circuit. Unplugged is open circuit, therefore unplugged is triggered.
Probably means that the wiring for your end stop is either wrong, or the wire is damaged. You can check if it is the board by putting a jumper on the end stop connection between signal and ground. If it then reads as open, the problem os a broken wire, bad switch or incorrectly wired switch.
You can see if the switch is wired NO if it reads as open if you press the switch. If you wired the wires to NO and NC, then it will always read triggered though. Anyway that should let you track down the problem to the wires/switch or the firmware/board
Thank you! Appears to be a bad wire/ wired incorrectly. Checking connections now.
Yep bad wiring got it fixed now.
So i am doing the initial squaring and working on the crown test. I am having trouble understanding the instructions. Kinda just gave up on the squaring for now and working on the crown. If i understand correctly based on this thread (Z - axis unstoppable, out of control - #23 by martin001), when i load the gcode to repetier add g92 x0 y0 z0 to the code and should set home at current location. Right?
It will do that at the machine, but Repetier host might not know it. If you follow that with a G0 X0 Y0 Z0 then it should work. (The machine should not move.)
