Yeah I am probably over complicating things.
1 Like
I’ve cut into ferrite lumps in inport PS that were nothing but plastic. I’ve also found actual working ferrite beads in there. It’s not bad to have the ferrite bead in place- it’s preferable. (If it’s real). You can generally tell be how heavy the ferrite lump is.
2 Likes
Could you tell with a magnet?
2 Likes
Lessons learned tonight…
- wiring sucks
- cable management sucks worse
- Bourbon makes everything better
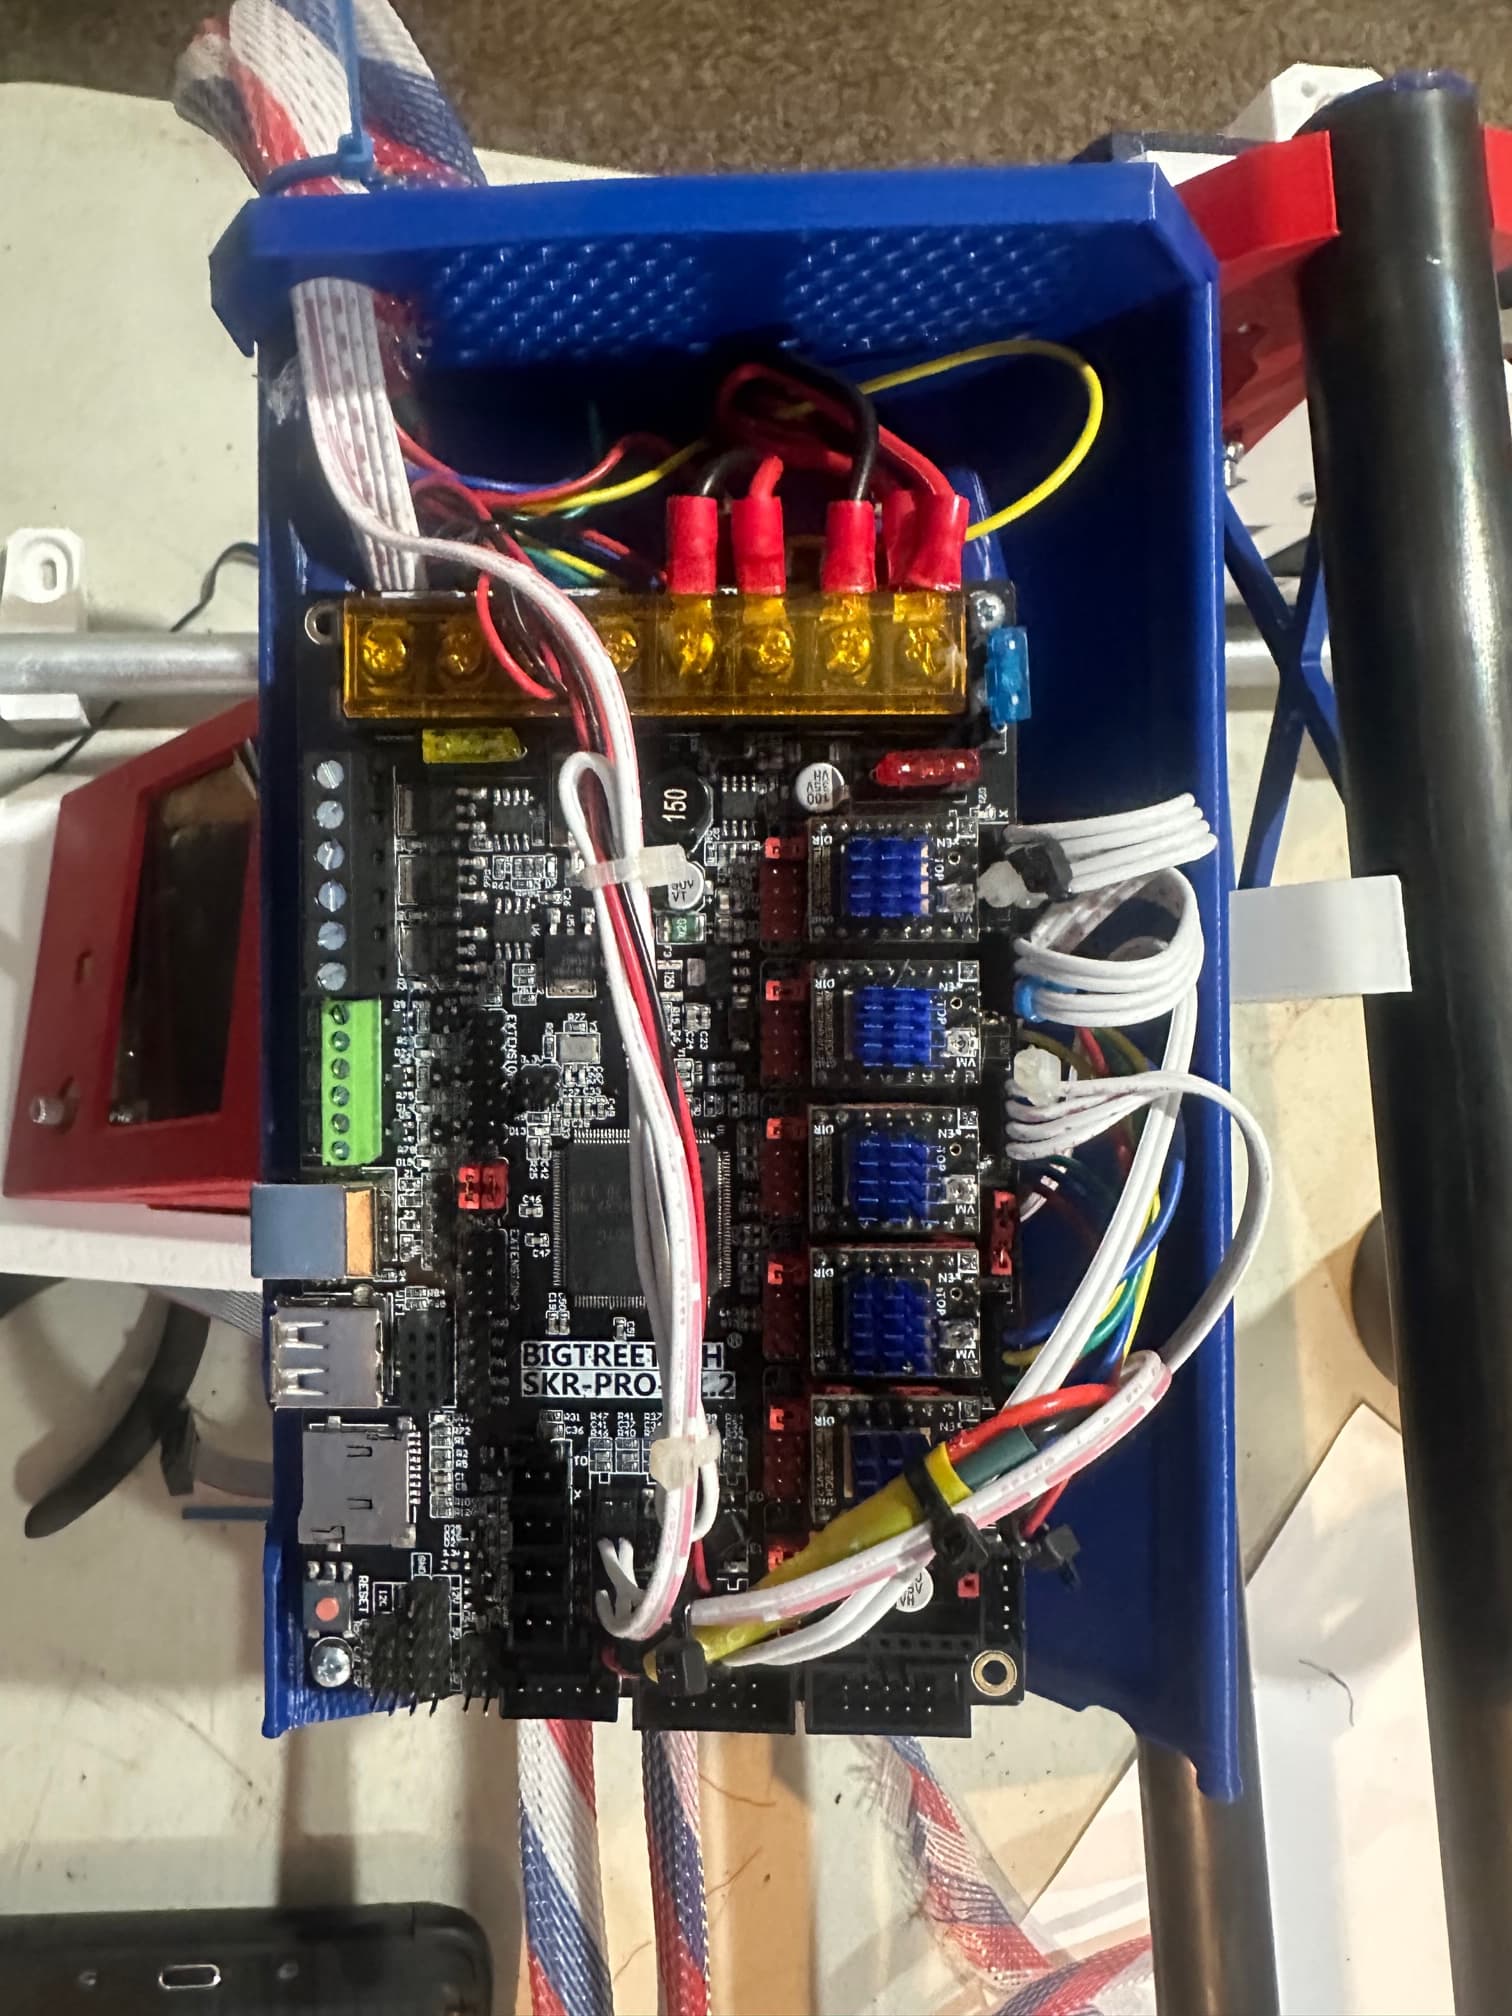
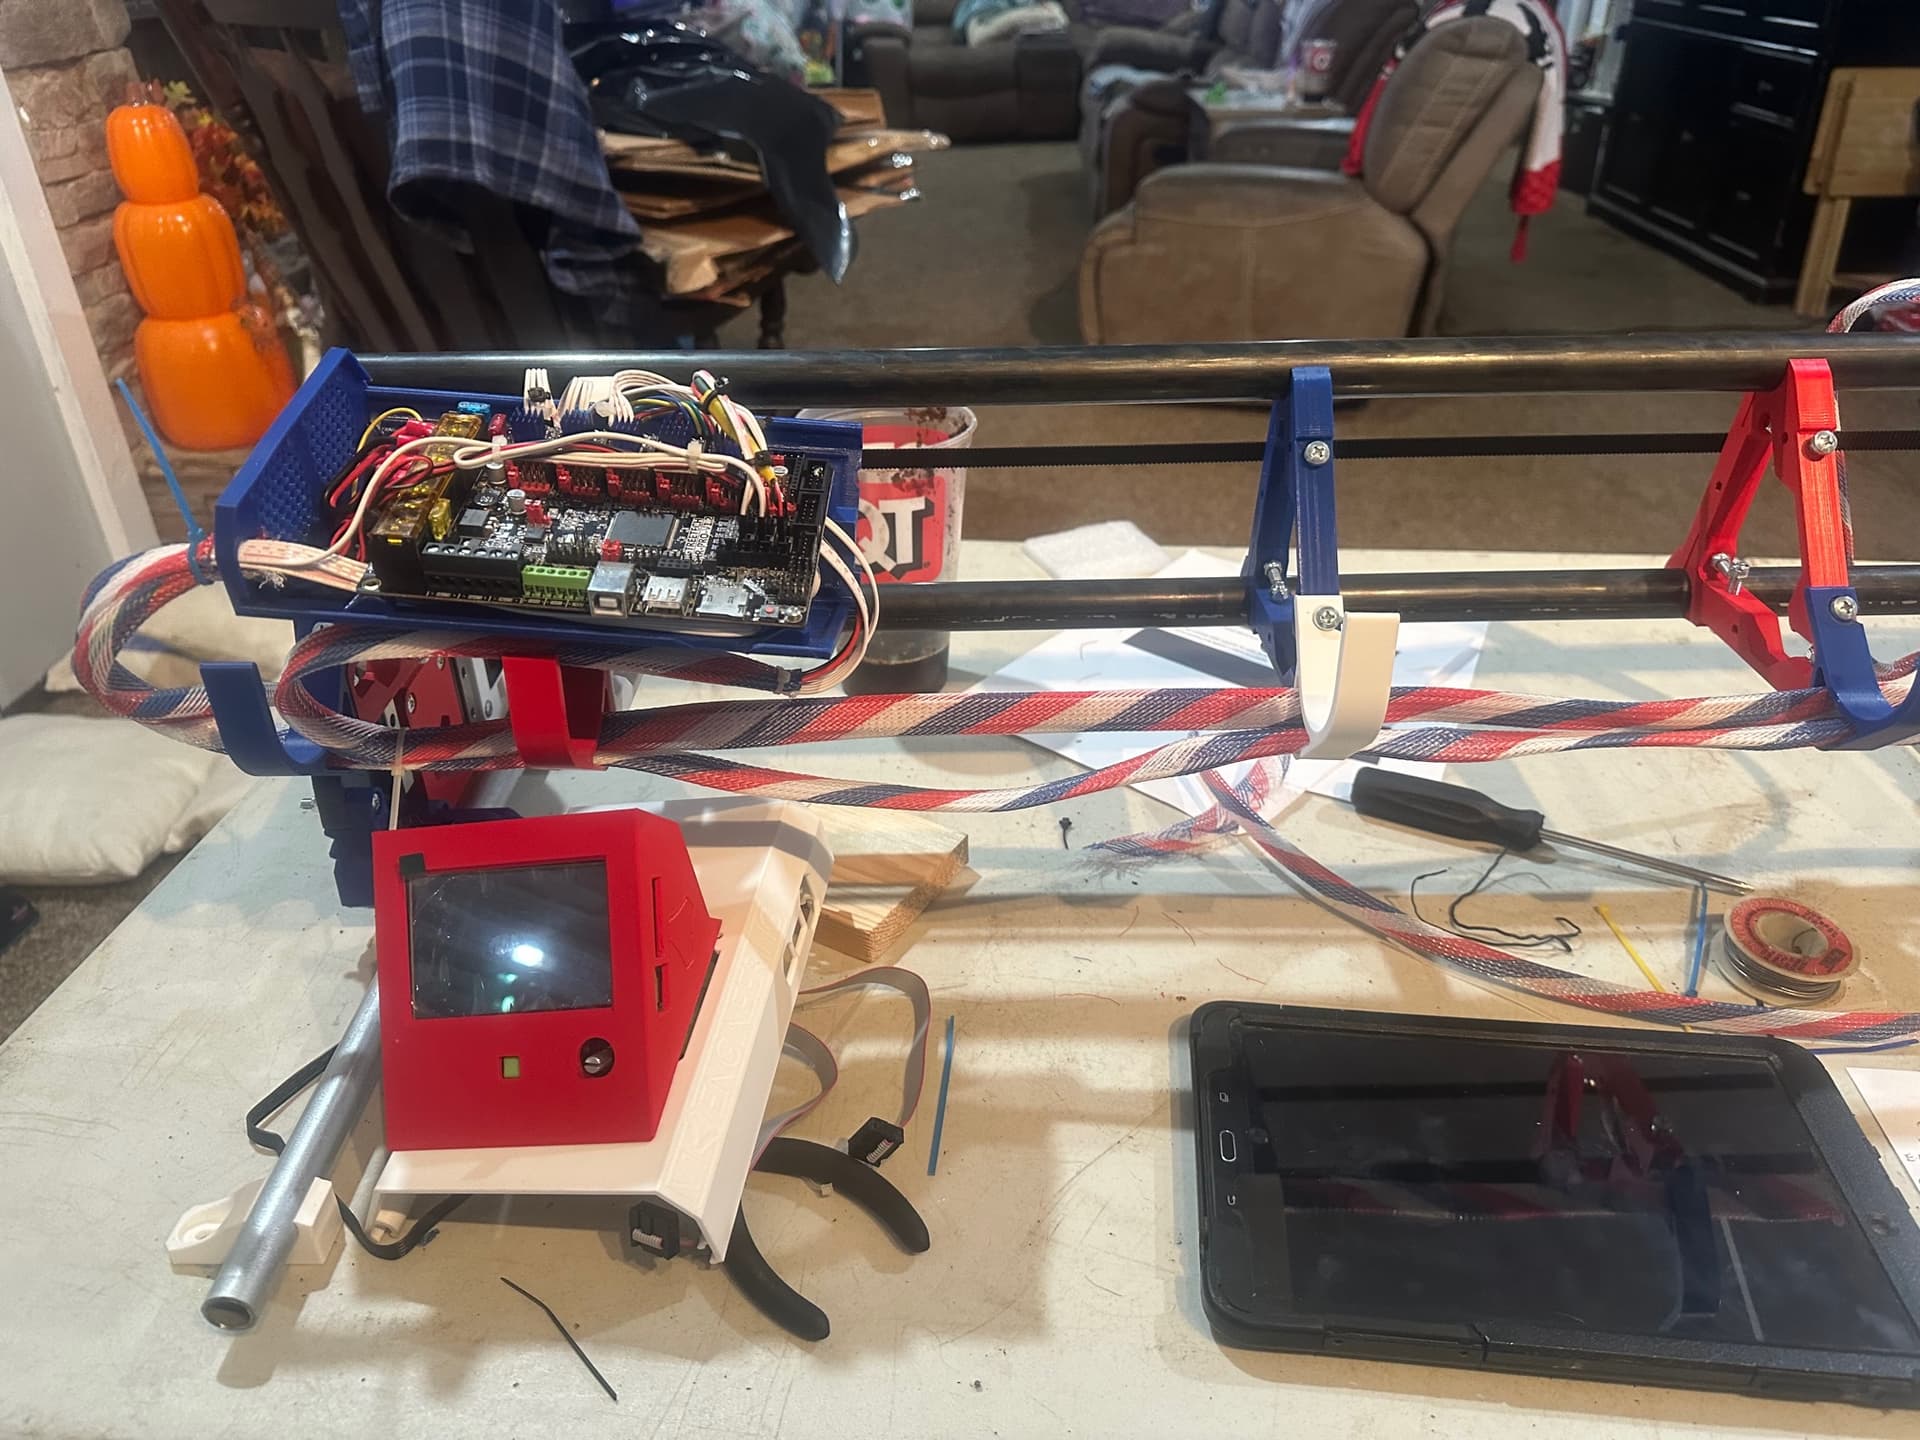
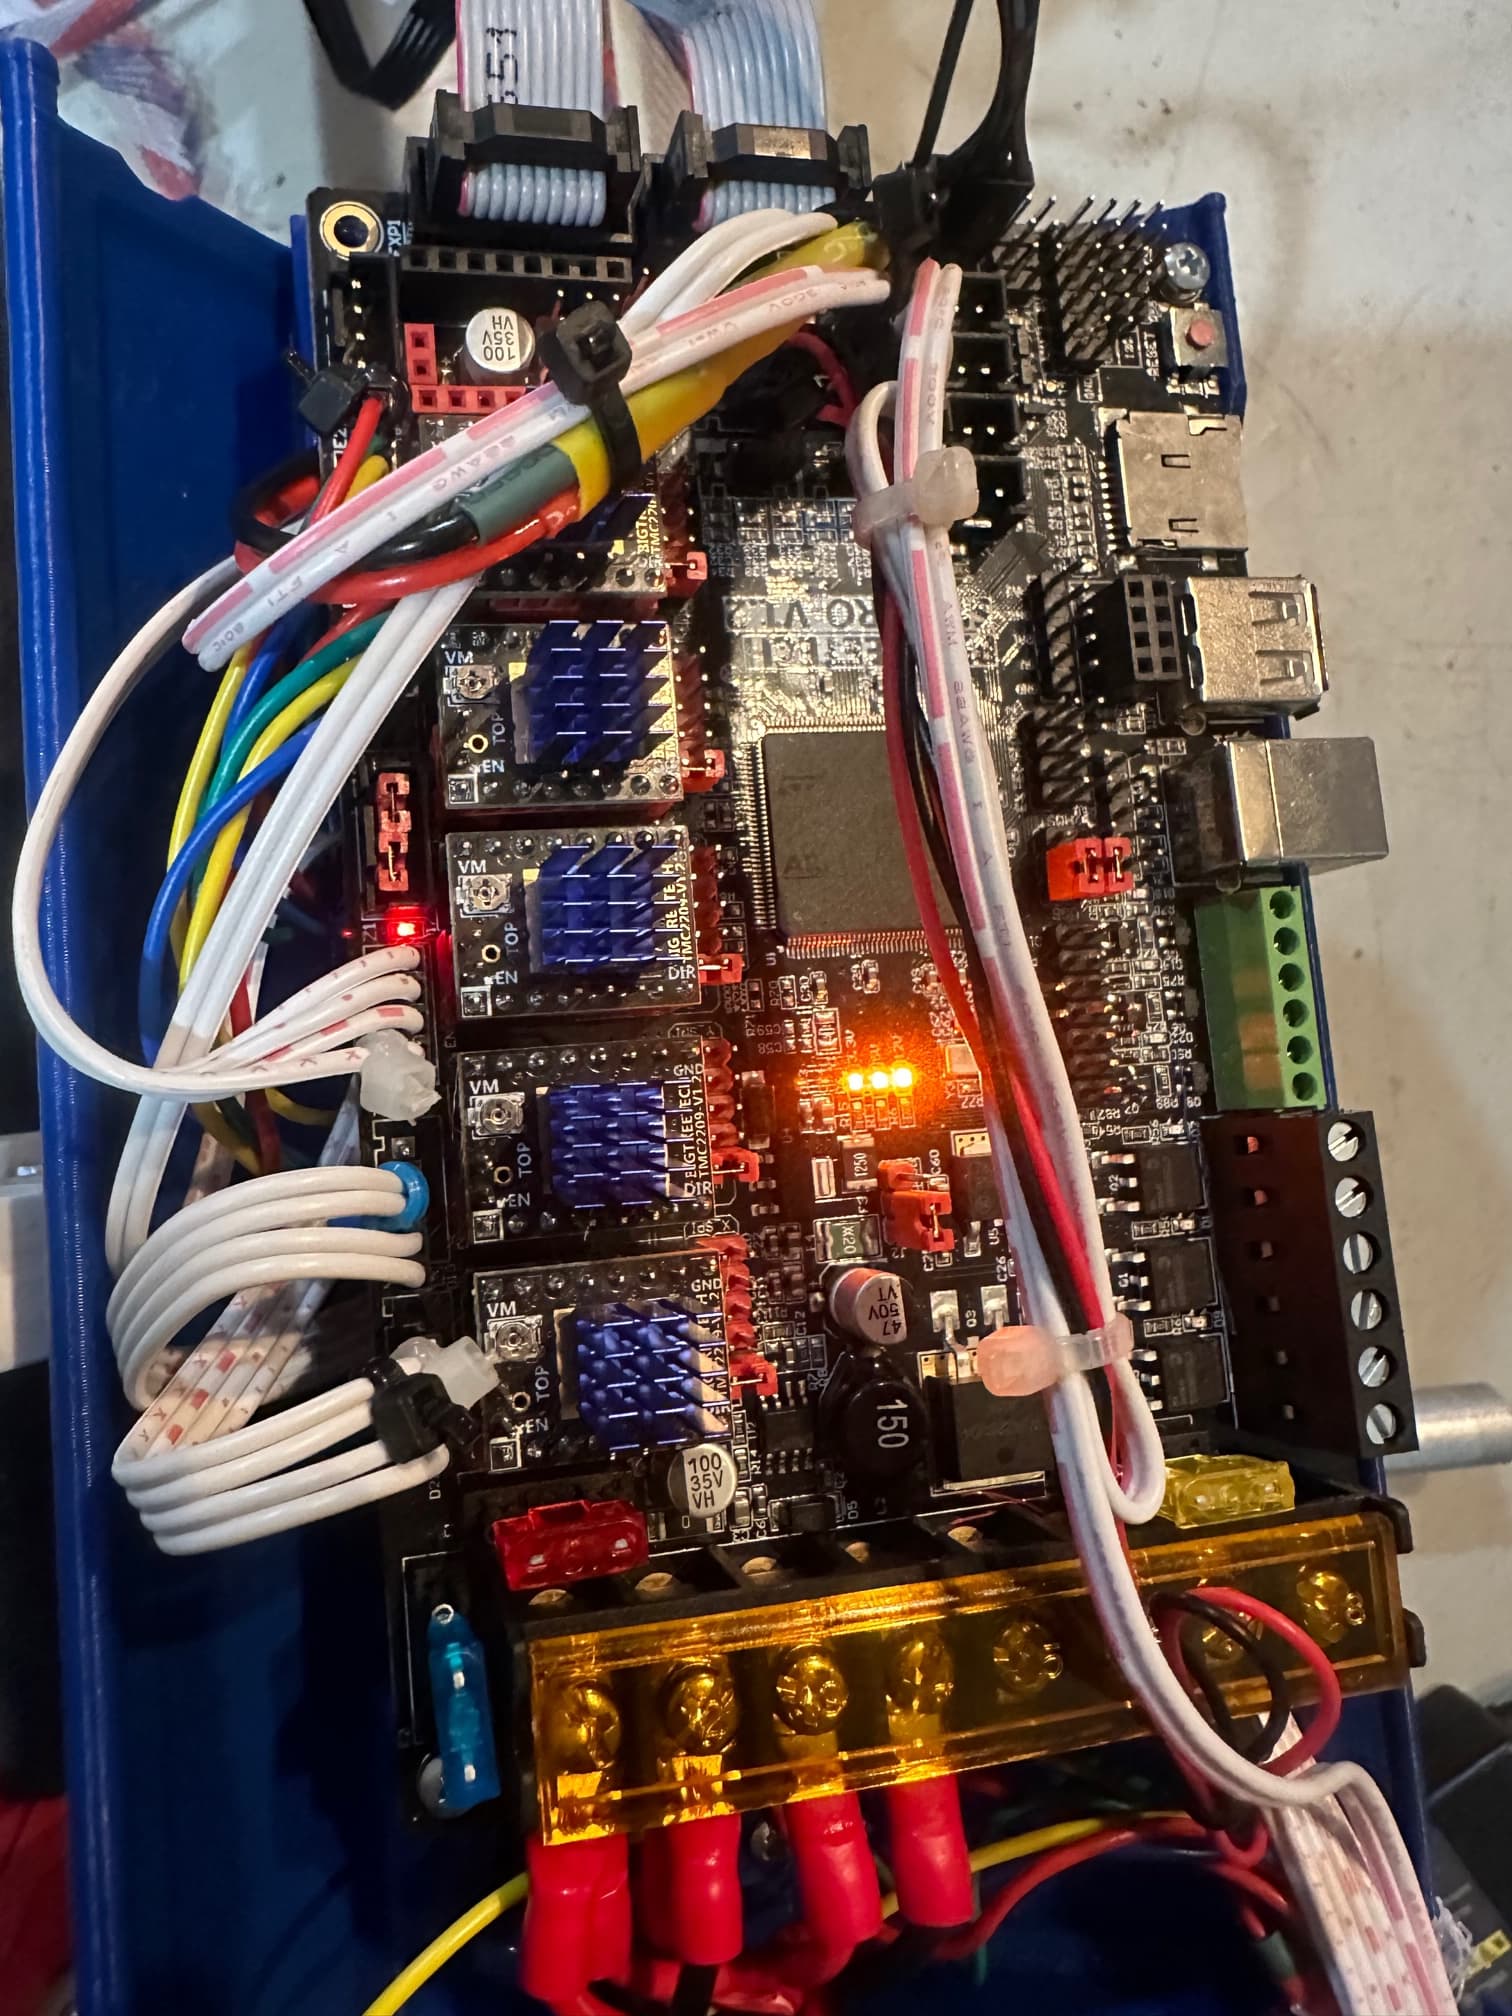
Got the steppers, limit switches, power supply input, and touch plate all wired in and tidied up. at least for now. Hope everything is in place and correct ( steppers turning the right direction). And a whole bunch of cable management. I used heat shrink to secure the extension connectors and all self made extensions were soldered and heat shrinked as well. Will finish up and power up tomorrow ( see number 3), if football doesn’t get in the way GO DAWGS, to at least test the limit switches and possibly the steppers. I guess since I am not hooked up to the actual table I can at least see if they are powering up or not hopefully that wont hurt anything.
Starting the table build Sunday. Going to be kind of primal to start off then once I get the machine going I plan to use it to make a final table. This will probably become the main station and work area in my shop for wood working.


3 Likes
I am loving the theme
2 Likes
I think I am going to name it the “Patriot” or “Old Glory” My original plan is once I get comfortable with it and the whole process, to build a second one for Plasma cutting it will be the “PatriArc”.
4 Likes
Nice!!
1 Like
Heck, Yeah. ![]() But I never seem to be near a strong magnet when I’m cutting cables with ferrites installed.
But I never seem to be near a strong magnet when I’m cutting cables with ferrites installed.
I do end up dissecting the ends because I’m also an amateur radio operator and I hoard ferrite beads because they’re damned useful for blocking RF. For example I have a TNC and HT radio that don’t play nice with each other unless I have a ferrite installed on the cable between them.
https://baofengtech.com/product/uv-82hp/
Sorry for the off-topic response and hijack. But yes, ferrites are super useful and the larger ones would probably be beneficial to install places like the long runs of AC powered devices like, say, a microcontroller controlled CNC machine with a brushed AC motor in a trim router.
If anyone ever happens to build such a thing… ![]()
3 Likes
They do exist, according to Kobalt ![]()
2 Likes
KQ4MFE monitoring…
KD0̷MKI here.
Like the one in here:

I can tell I’m going to need to dig out my organizer full of ferrites and find one sized to loop a line cord through…
What a Satisfying night!
I powered up my LR3 tonight (still on the table) nothing ignited or even sparked!
I tested all the limit switches and the lights came on when they were triggered by hand.
Even got to move the X axis under the power of the control NO pushing it around. Seriously this has been more than a reward to me. Installed the two lead screw connectors but am scared to move it with the controller yet.
Question… I do not see the touch screen mode how do I get to that? I pushed the control knob but that did not change it. I have seen on some videos that people have a touch screen display with arrows to manually move the axis but do not see that. Any help?


5 Likes
To switch between touch screen and Marlin mode, press and hold the knob for 3 seconds and you can switch.
Note1: the Marlin and TFT modes use different connectors so if one or the other doesn’t work that is usually wiring or baud rate settings.
Note2: You should be able to manually jog things in marlin mode as well, just a bit less convenient.
3 Likes
Yep I found that. That is how I moved the X axis around it was like magic.
2 Likes
Thanks, I will try that tomorrow. I remembered reading in the instructions to push the knob to switch between them but didn’t catch the hold for three seconds part.
2 Likes
No more fake robot noises for you!
2 Likes
WWWELLL… except for the y axis since I dont have the table for it done yet I actually made those noises while the X axis moved around and pushed it back and forth. Should have seen that look I got!!
3 Likes
My wife had a blast watching me make mine. But she also said “I’ve never questioned your sanity more” all said in good fun but I can definitely relate to the glares ![]()
3 Likes
Does anybody have a good reference thread that discusses the Z limit switches. I am finding that the rail side does not reach the limit switch and in the instructions Ryan mentions bending the arm however these limit switches are so fragile I am not sure I want to go at them with a pair of needle nose pliers. I have the part that holds the switch all the way down and it touches the edge of the arm but does not go far enough to make it click. I am not wanting to home it yet until I know it will trigger the switch.
Any help or input would be appreciated.
The Z end stop screw holes are slotted, so don’t forget to adjust them as needed.