Yes, please. I still have it on my to-do list. ![]()
Lol. 2000mm/s. Yes, second…
4 Likes
The appeal of the Xyla is absolutely that it comes done and beautiful out of the box. Sisyphus has managed to nail that upscale end of the market. I might be so bold to say that the price is one of the features. At some point, rich people want something that is expensive and luxurious.
There are several other commercial sand tables out there. Homedics made one that sold in costcos. Sandsara and oasis mini both have polar tables and sent me early production samples. Sisyphus also sent me a round end table.
The real thing any of those commercial companies have that we don’t is software. They all have mobile phone apps to connect, set up, and control their machines. Sandsara and sisyphus have integrated sandify into them (and forked the code). If any one of us wants to get into selling these to bars or dentist offices or high end homes, you’d need to get that part smoothed out first.
5 Likes
That is showing to fast for mass really well! really need to reduce mass!
1 Like
Has sisyphus ever shown the hardware underneath? They scale those things fairly large! The insrallations are HUGE!
this was the best i could find. But they must be using the arm type for round! Here it shows they are using steppers, belts and linears!
1 Like
I think my point may not have been clear, initially.
I’m not saying sell tables. I’m saying that I think a sand table mechanism has a different appeal to a CNC router, despite their similarities. My thought is that someone who wants to own and operate a CNC router is much more likely to either have the skills or be willing to learn the skills to construct one. Someone who wants to build a sand table is potentially not all ‘that’ much of a direct overlap, so something that’s much more like a ‘here are ALL the bits, put it together in this clear way with this pre-flashed controller, turn it on and it cycles through random patterns. If you want more, that’s when you look further’.
I see what you mean about the phone apps etc. I wonder how many people actually control theirs all that often vs going ‘neat’ at the defaults. I suspect the number of people who use smart photo frames with some default ‘landscapes’ setting or something is also quite high…
1 Like
I got nerd sniped one day thinking, how could I make the bezel as thin as humanly possible (and not making it round – that’s much easier).
I got a partial prototype proof-of-concept that’s got a super narrow bezel, and it should work on a full table, but it stalled and I never followed through. I should revisit that…
7 Likes
Using a linear rail the lost space is the width of the bearing block, go back down to 6mm belt…
If you put the rails on the walls it would take up more space.
I think the smallest, if you use belt, is the diameter of the idlers, plus half the magnet diameter.
1 Like
I think these are great. I bought his plans for these. Made one with manual tools and then am in the process of reworking his plans so that I can cut them on the CNC. They work really nice. Very nice plans for all the different pieces he has offered.
2 Likes
I was thinking of doing similar, making one with non-CNC tools, then after learning would start making parts on a LR4.
This is good to hear. It has me inching closer to buying a set of plans.
I built those with my LR4. The 3/8” MDF isn’t easy to source around here, but they work pretty well for shop cabinets. The leg/wedge system works well for me, since it gives it stability, but is easy to remove the wedges and roll it around.
I also used my laser on the LR4 to mark the nail lines on the bottoms of the drawers. Very quick. Put the drawer bottom in a designated spot on the machine, hit play and bam it draws the lines in 30 seconds. Makes the brads a breeze.
2 Likes
That is a neat idea. I went the tab / slot direction to build the drawers. They are locking together better during the build and as I can see the tabs on the bottom I have a visual line to do the nails at.
2 Likes
Sorry about the link to TwitterX - pick and place toolhead for Prusa XL - the world is going nuts.
5 Likes
A nice coffee table with a lot of ideas/inspiration on various techniques
cnc’ed structure with veneer plywood, custom fitted fridge with custom build acrylic and foam insulation, integrated leds and wireless chargers … you name it… ![]()
5 Likes
Convert a Bambu P1P/S to Klipper? I’m not doing this but cool.
https://all3dp.com/4/biqus-upcoming-board-lets-you-swap-your-bambu-lab-p-series-brains-for-klipper/
3 Likes
The other neat thing in that article is the Panda Treat that lets you use inkjet ink to print colors (including edible ones onto drink foam or cakes etc) on the A1! That would be such a hit for house parties, potlucks etc
4 Likes
that is an interesting option. Perhaps it would be worthwhile later like if maybe they big brother it more and put license fees per print in place or pull a flashforge. Isn’t the whole point in paying extra for that hardware so you get the smooth software automation that accompanies it? Not sure I’d want to pay for just the outer label to only spend more and not get the the software. Having spent too much time in klipper and configurations, it is nice to have a toaster that just works and does its thing. Very cool that there are options though. thanks for sharing that.
2 Likes
Yea, I like that there are options but I’m happy with the standard software.
Got my H2D yesterday. So far I’m really digging it.
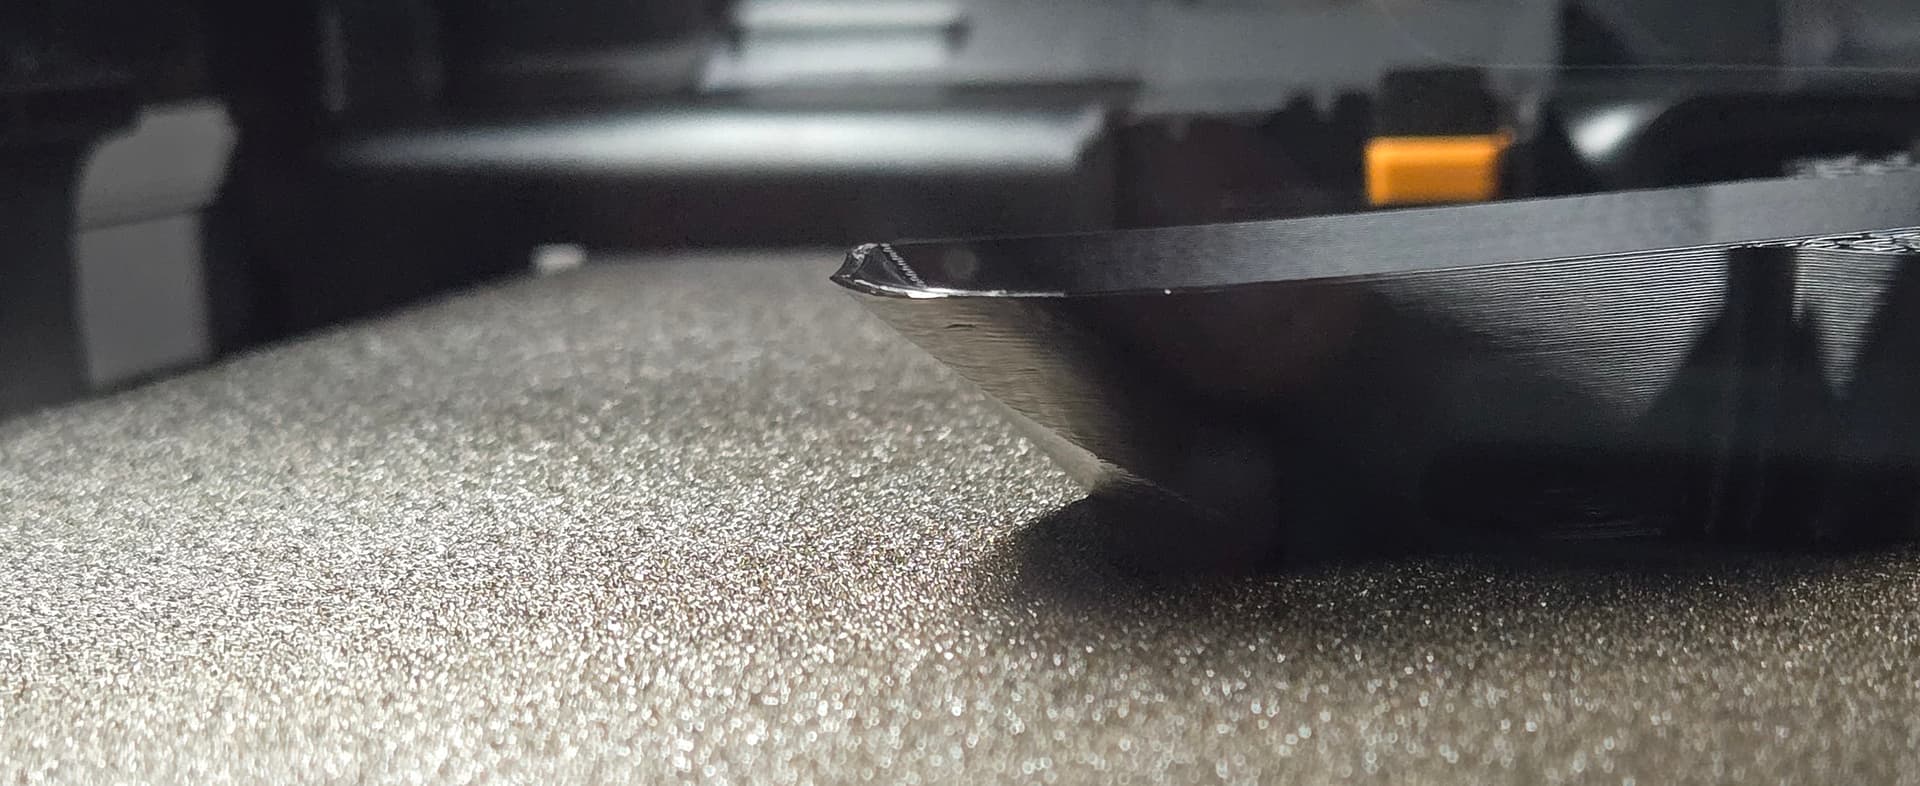
Couldn’t print overhangs this sharp with my old printer.
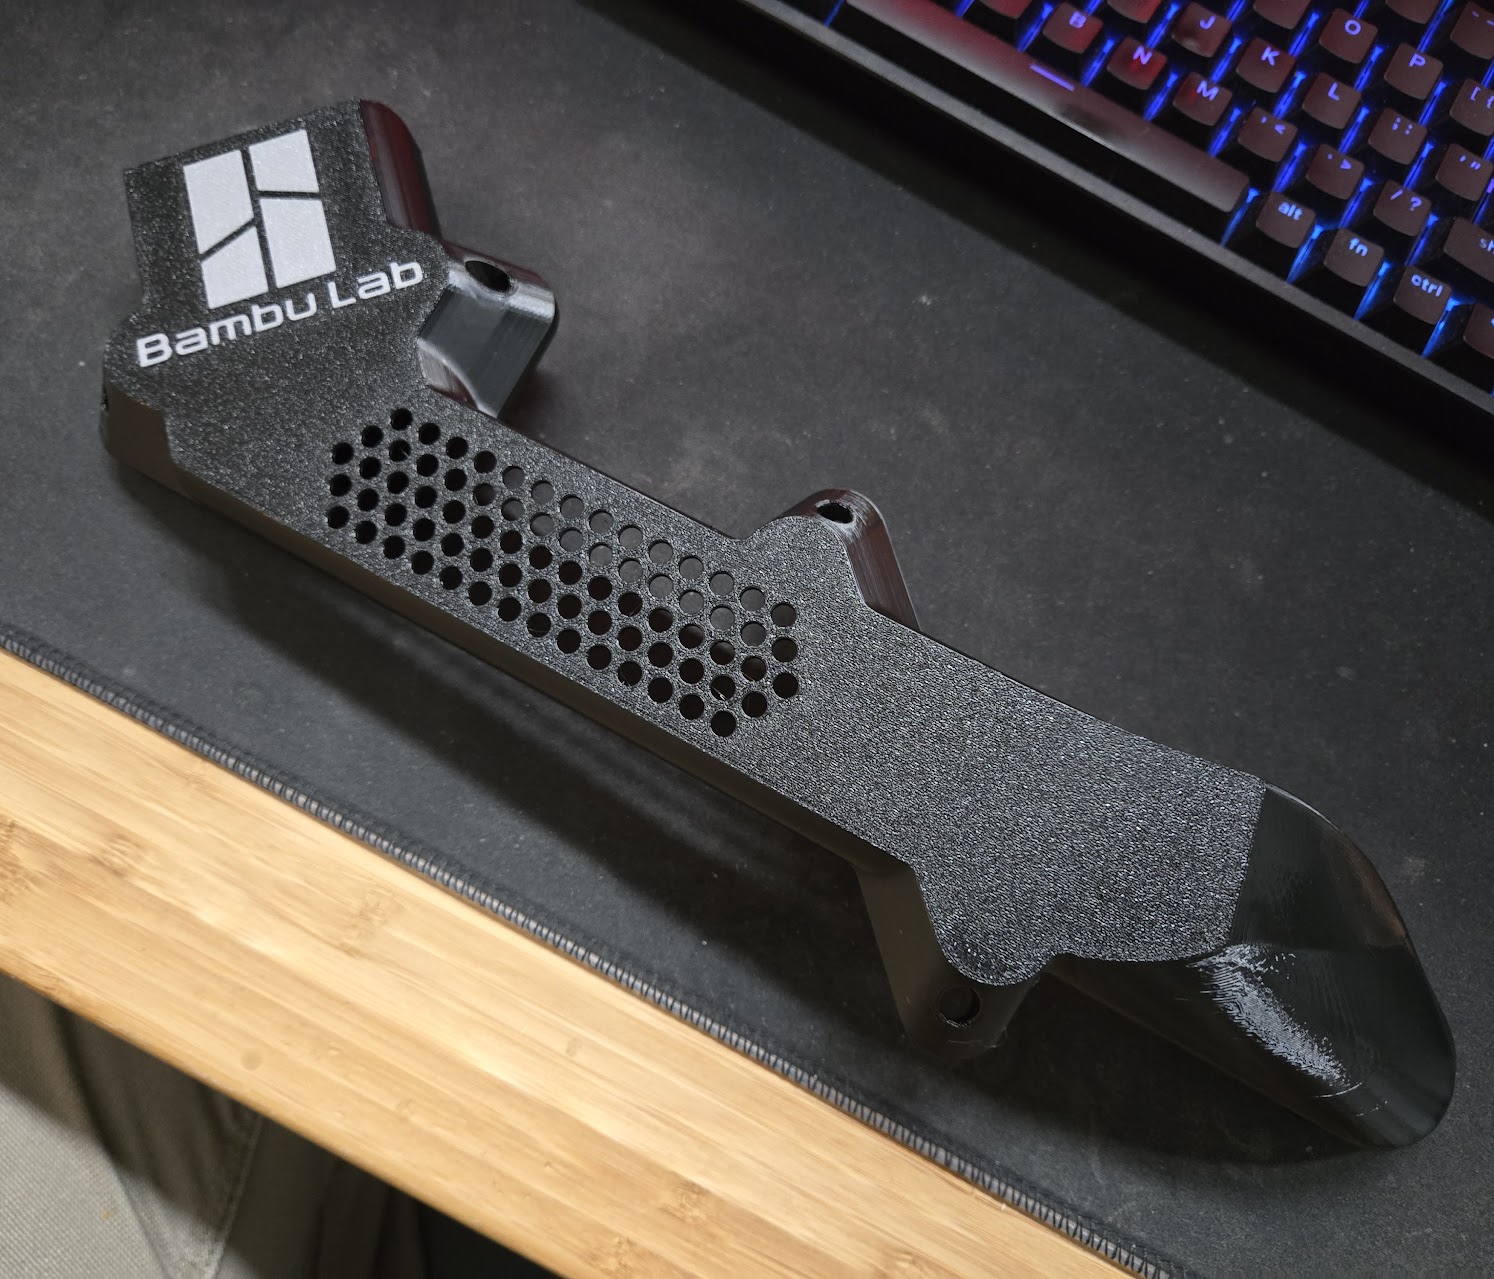
And of course one of the first couple prints would be a poop chute. ![]()
6 Likes
Oh no Barry, even you have gone to the darkside of off the shelf printers?!? We truly know DIY is only for super enthusiasts now.
3 Likes