ok that’s fine. I thought I’d try. 
I’ll probably go with the LR3 which just came out as I’ve also got a MPCNC Primo already using electrical conduit.
Thanks for the quick reply!
ok that’s fine. I thought I’d try.
I’ll probably go with the LR3 which just came out as I’ve also got a MPCNC Primo already using electrical conduit.
Thanks for the quick reply!
Just realized I never said what the aluminum parts are for!
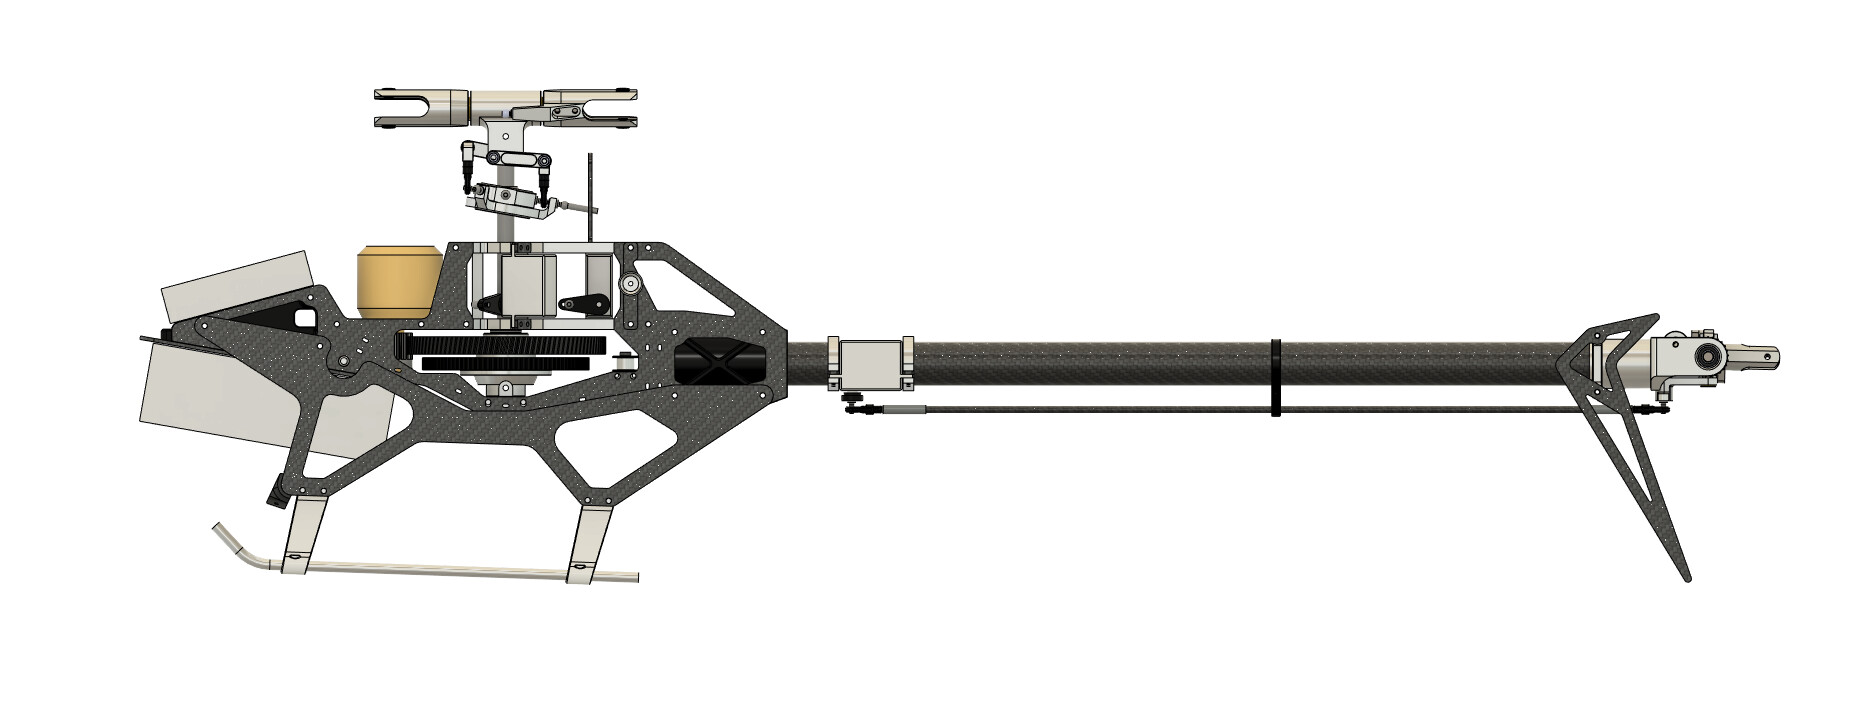
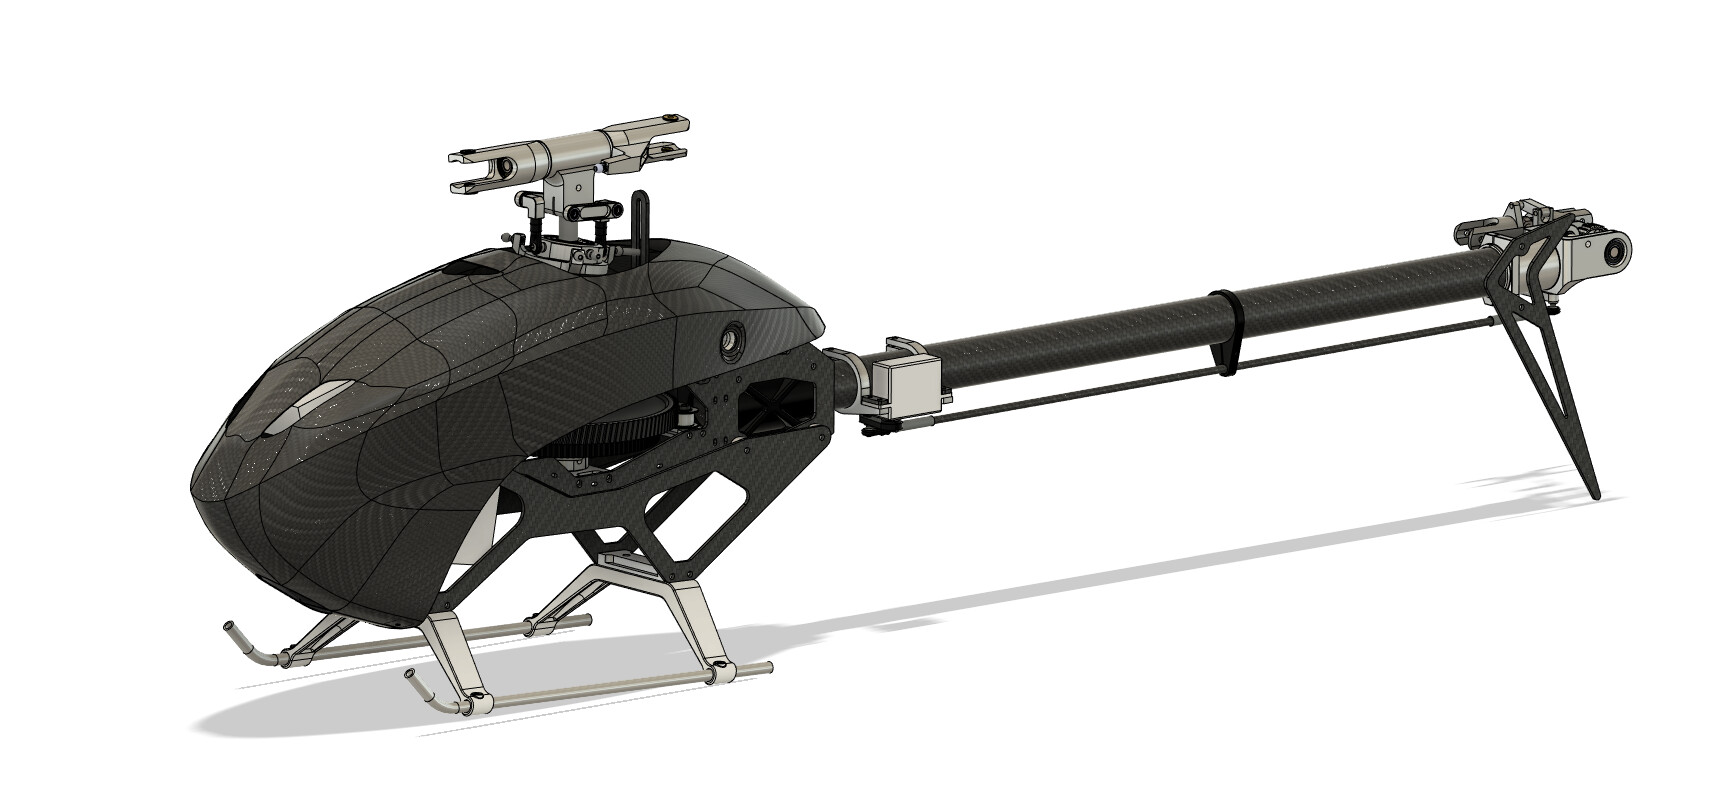
Spent a good chunk of time designing this RC heli, have made some parts for it but not many of them. Hopefully have it completed by the end of the flying season!
Oh, that’s awesome. What size is it? What kind of flybarless controller are you going to use? I have ideas of using a quadcopter/betaflight controller a loooong time ago to convert my heli to FBL. But it has sat on the shelf.
Thanks! It will be swinging ~500mm blades, good size for my yard to practice with. I have been using the Brain/ikon FBL for some time now, haven’t really felt a need to try anything else. What heli would you be converting?

That is impressive flying. I have a lot of crashes to make before I get there.
I have a mini titan e325. I have a few smaller ones, but that is my largest heli. I bought it used from an expert and only flew it a few times because I was so worried about crashing it. I jumped to quadcopters for a while and then some smaller helis. It just taunts me on my shelf now
If you are itching to get back in to them, I would consider building something newer that parts are widely available for. The Gaui X3, Protos 380, and Align 470 are all good options that are pretty inexpensive and are around the size of that Thunder Tiger you have. Otherwise, just fly it and enjoy! Worry about crashing only after it happens, not before!
 very impressive!
Oh my goodness, that was insane!
This thing eats aluminum!
What are the benefits and/or drawbacks to the single gantry design like this and the LR vs the dual gantry MPCNC?
Benefits would be simpler initial squaring/leveling, attachments are less likely to take away from total working area, and easier access to the work area for setup. Beyond that comes down to the machine design.
How much of the performance you are seeing do you think is a result of the tooling?
I have a BF16 mill which I’ve been considering converting to CNC, but then I imagine I would miss some of the manual machining ability, seeing this rip through aluminium with a reasonable bed size and relatively cheap set up is very tempting!
I’ve also been considering a small format printnc for aluminium, but the NEMA23s and ballscrews push the price up considerably…
The biggest bumps in performance would come from having the shortest end mill possible for the job (which I do have shorter, just not as 2 flute variable helix) and flute count (the more flutes, the stiffer the tool from increased core size but the less flute space you get for chip clearing). Tooling can only do so much without a good machine moving them, I just go for aluminum specific ones to get the best chance at a good finish and am not afraid to spend a few extra bucks on good end mills and collets (had a cheap set of ER40s to try in my collet chuck on the lathe, runout was horrible on most of them. Switched to a nice set and they all put me within a couple .0001" just throwing them in).
I would consider keeping it manual, I know I love turning the hand wheels and figuring out setups on my PM25.
The price of putting together a PrintNC was another driving factor for doing Brutus, just cheap linear rails and ball screws puts you at the entire cost of Brutus or the Primo or even LR3. With cheap rolled ball screws the tolerances can also be not very good (like .210mm per 300mm of travel or worse possibly for unlabeled off ebay/amazon).
How big is your printer? I was messing around with your stls and the side pieces don’t fit on mine.
Printed the big bits on my Prusa Mk3s, could possibly split the stl between the end stop mounting holes then carefully glue the parts together.
Hmmm. Isn’t the mk3 210x210? I thought that’s what i had. Better go measure now, I think, and make sure it’s right in my slicer.
Thanks.
Mine is 250x210 for the bed. If the nozzle can go past the bed can cheat that with the firmware to print past the bed, did that on my old A8 for one project (bottom of the print fit the bed, overall model didnt).
I guess this is the next project after the LR3 then!
Thank you for sharing the design!
If I disable the skirt I can just fit it on the Ender3…
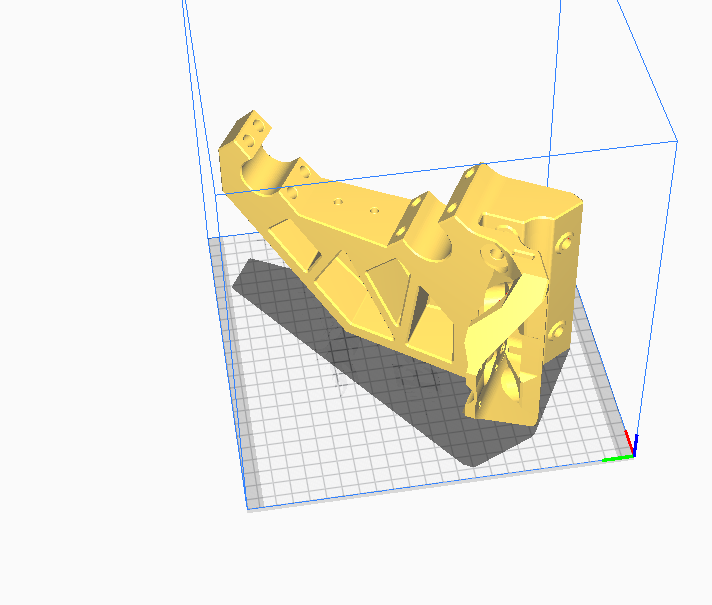
Is the part supposed to be printed in this orientation though?
Yep, spent some time getting all the parts oriented how they are supposed to be printed. Only the caps need supports. Just make sure you have enough perimeters and an infill that combines each layer, printing at the upper side of the temp range also doesnt hurt. Have abused the crap out of mine, they are solid.
Alex,
I’m liking this design and I’m now in the gathering phase for the Brutus.
Before I go out and get a router/cutter, I wanted to stick with a sharpie and perform tests/calibrations. Do you have plans for a ‘marker’ holder for this, or a CAD file for at least one of the cutter mounts so I can try my hand at CAD and design something that could “drop” in the cutter mount. Not sure which cutter I’ll get - the Dewalt/Makita/or a ‘65mm Spindle’, I’m new to CNC, so I just might stick with the Makita or Dewalt until I get my feet wet.
Thanks,
Matt