It was linear rail and bearing screws. I would change the manual and state it needs thread lock. That fix made a huge improvement.
Since then I have made a few projects, set a couple of things on fire (little ones, I was playing with some different bit types and working out feed rates and the plywood I was testing with got a little crispy.)
But the last project I did came out really well, except for an issue with internal pockets being undersized (by ~1mm, currently accounting for that in cad) while the external seem to be pretty accurate.
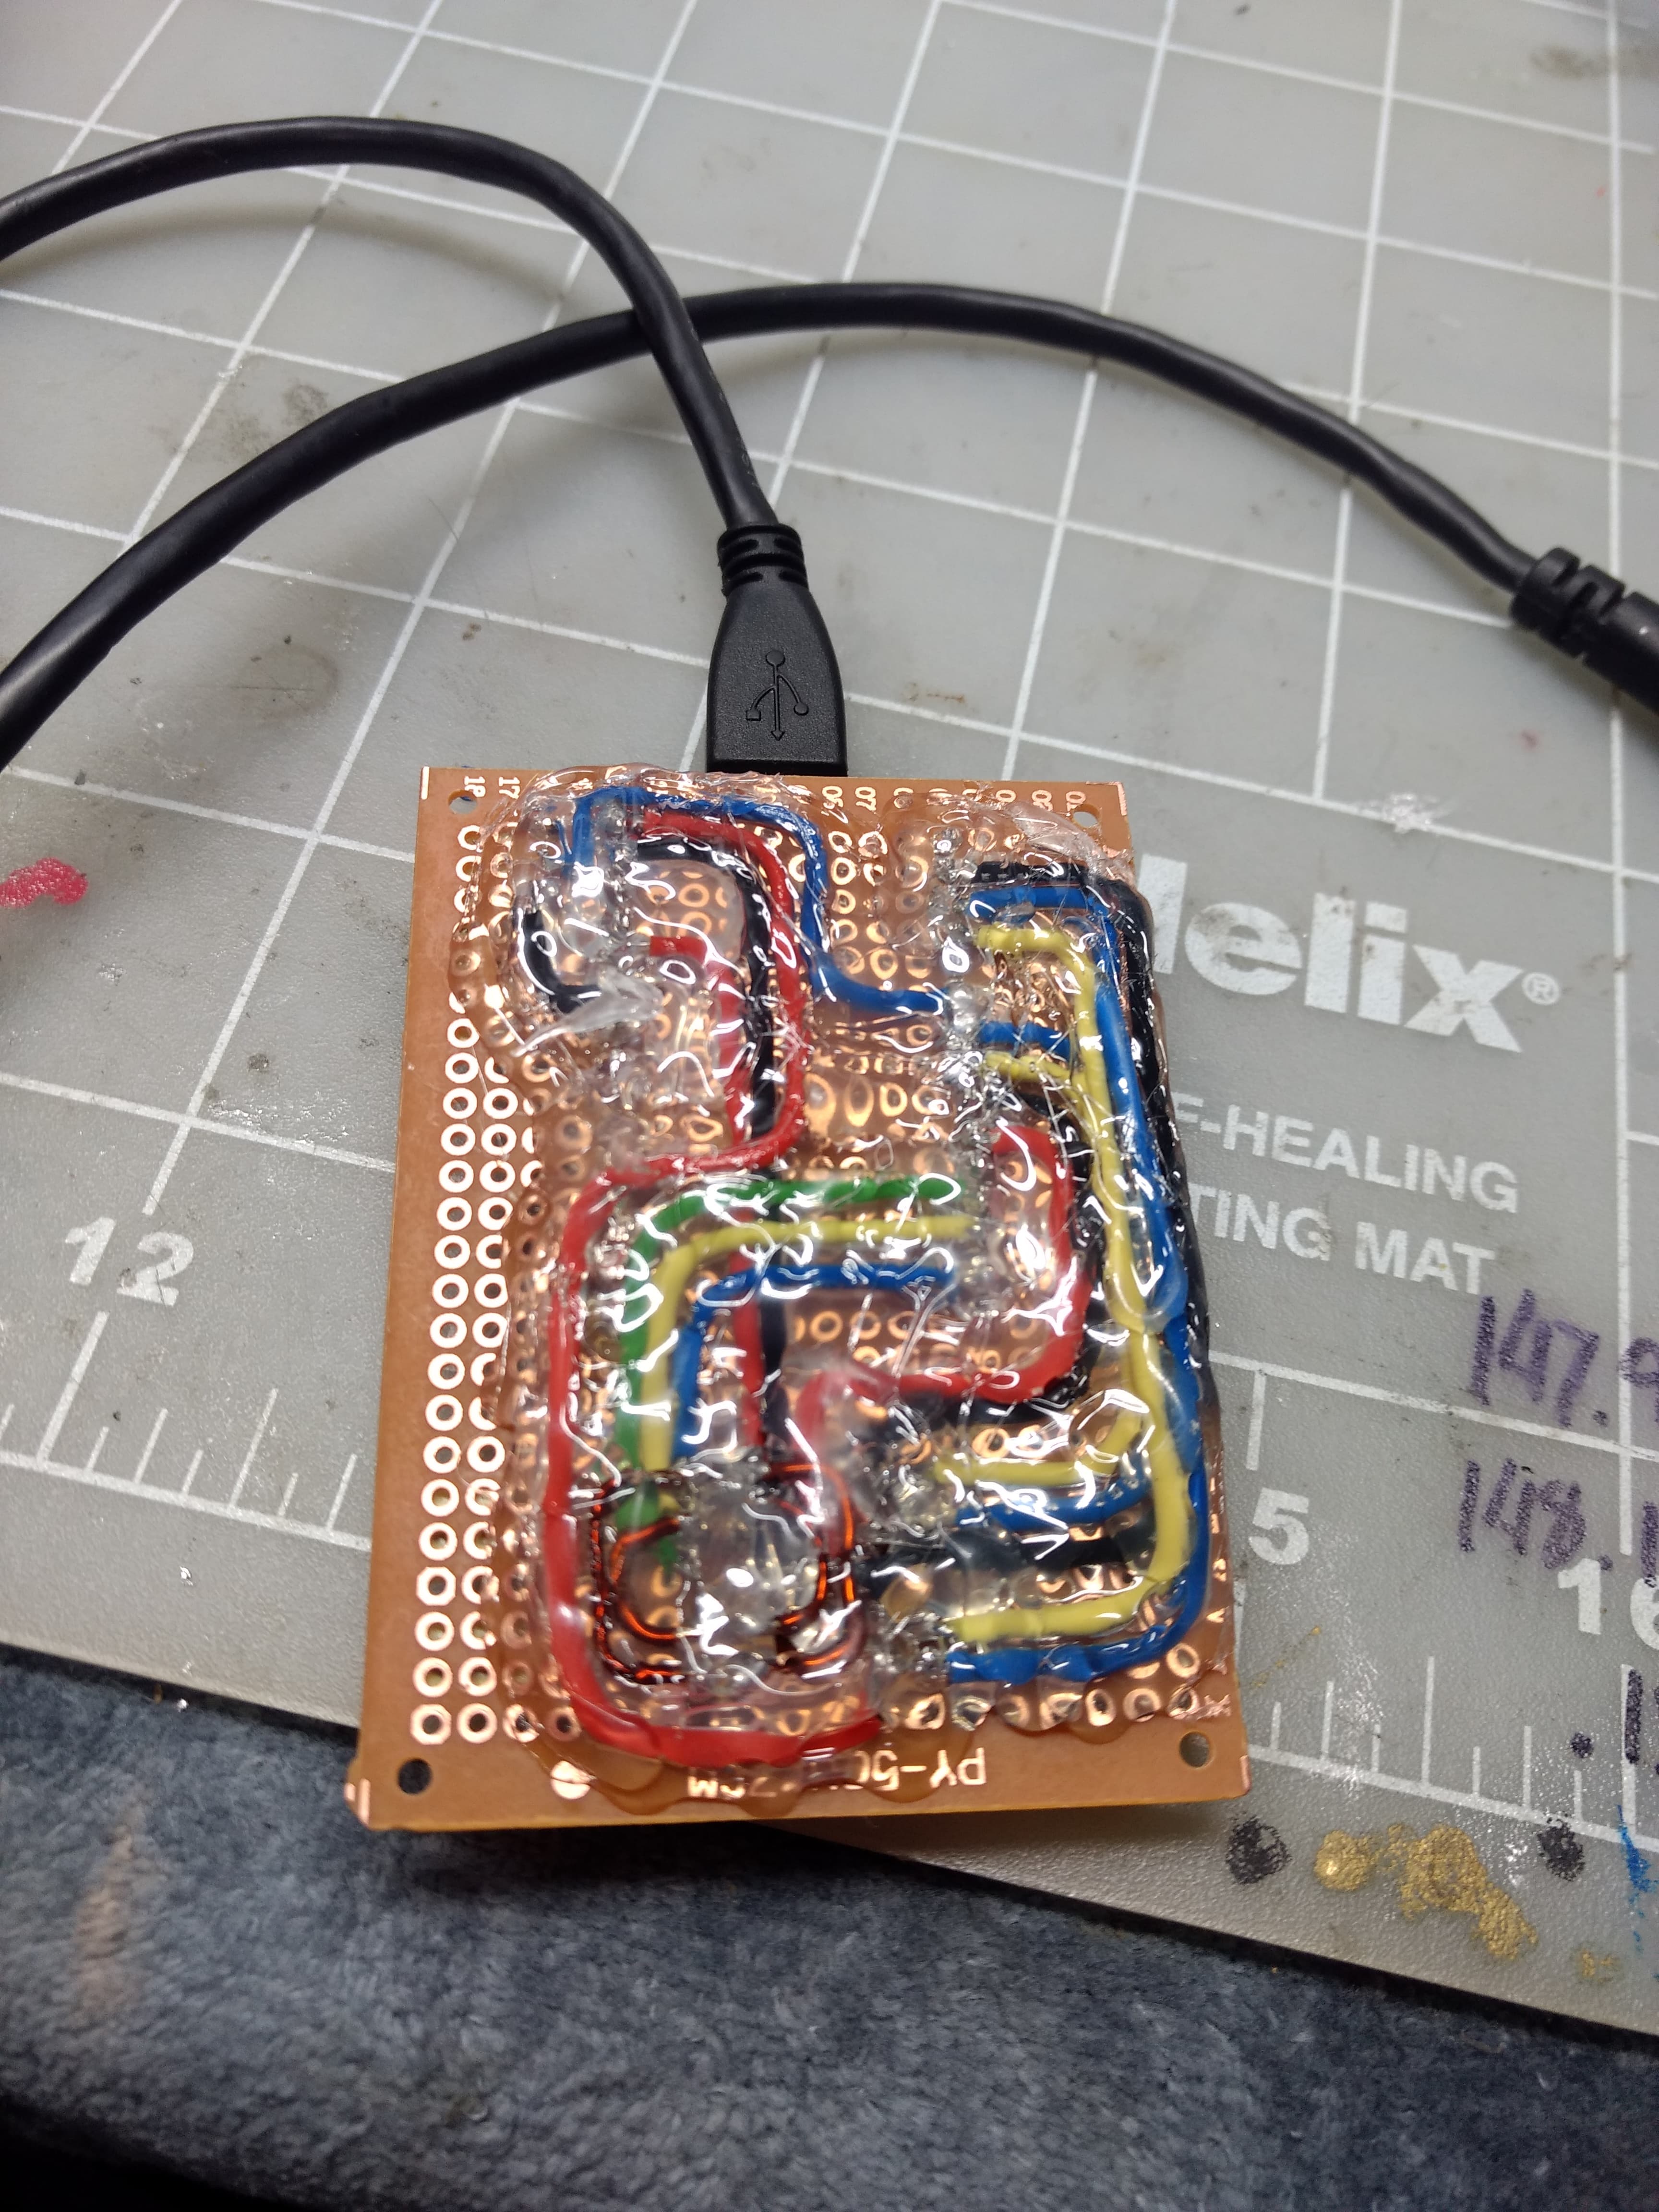
There is also an issue with my touch plate, it doesn’t trigger with the plate, but will trigger if I touch the usb port on the control board. There is some sort of feed back from the spindle, but I am not sure how, the spindle had shielded wiring and the only shared connection is the power board that powers the vfd and meanwell power supply for the control board.
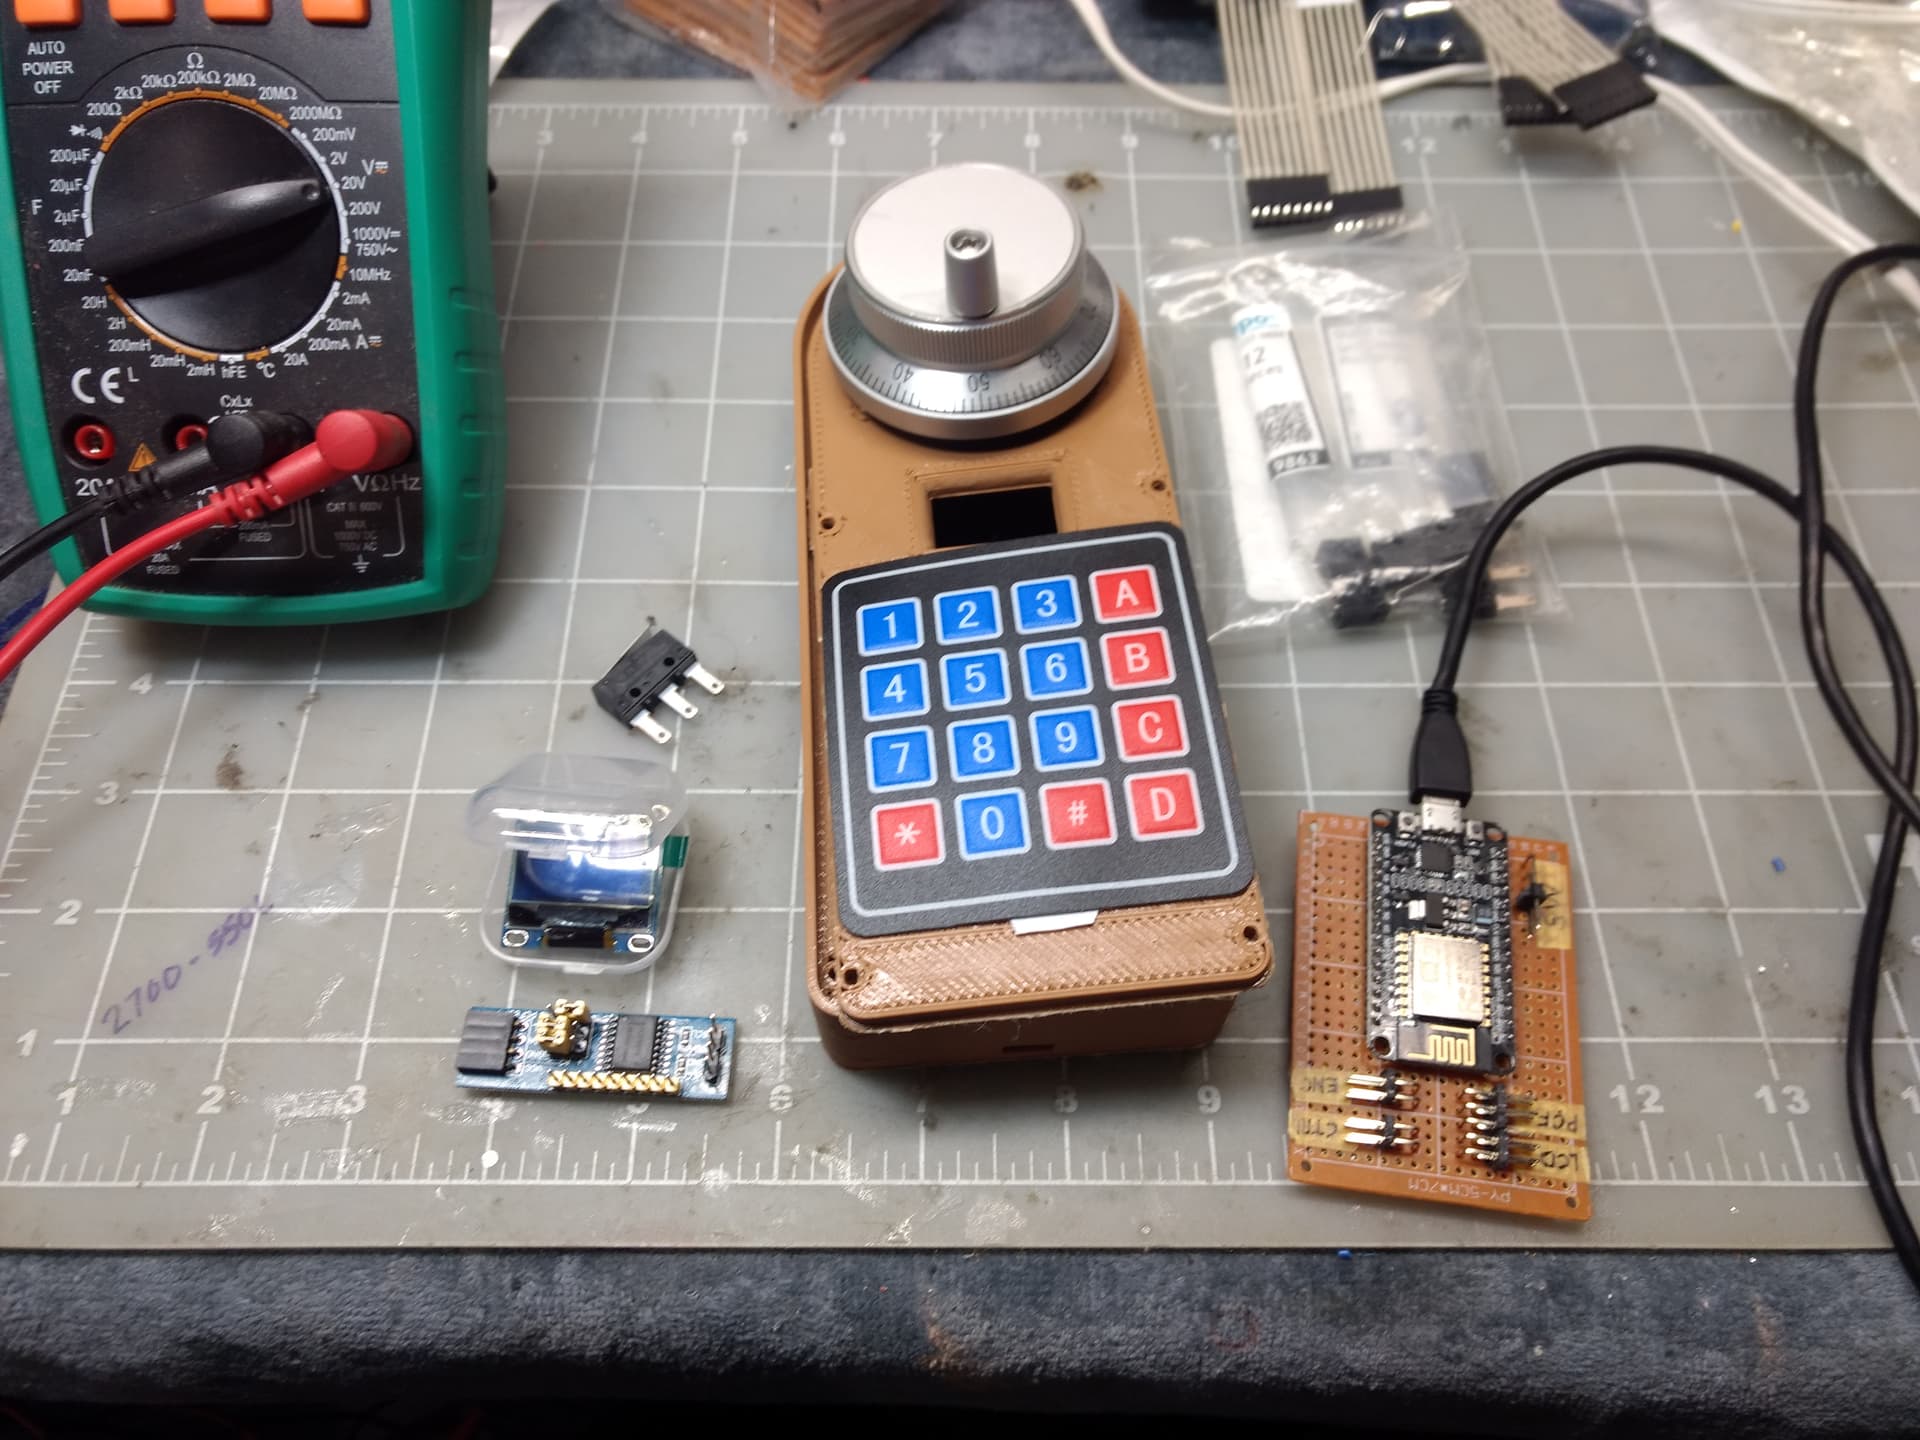
Waiting on some jumper leads for ease of service/tweaking. Also may redo the bottom for a different style of interlock switch (paddle vs the button), strain relief for the cable between the pendant and controller, and some internal mounts for the components.
I started to surface my spoil board and noticed ridges forming. How do I determine which way to move (shim) the X carriage?
I was surfacing from right to left, lifting Z up and moving back to the far right side. I feel the ridges as I move my finger (finger nail) from the back to the front. My thinking is I have to tilt the x axis (x carriage) back (shim the lower tube).
Am I correct in that thinking? Is there some reference I can look up that would tell me?
I see Alex stated to shim the upper/lower tubes (based on if I need to tilt it front/back accordingly). What do I ‘shim’ this? Do I use pieces of paper?
I’m 100% new to this and afraid to just try without asking for advice or help and I truly do NOT want to assume things
Thanks Ryan. I’ll print this (well, the Makita version) right away to see how my Makita is leaning. Then I’ll wait to get a bit more instructions from Alex on how to fix any lean on this machine.
I thought I had a note in the manual about tramming it, but I must have forgot about it!
For addressing nod (forward/backward) you can put shims between the tube and the upright, paper will work nicely for this, I used shim stock personally. Putting them between the upper tube and upright will nod the gantry backwards, bottom tube will nod it forwards. For tilt (side to side) you can just loosen the screws that hold the rail holders to the gantry and give the rail holders a tap one way or the other to correct.
Making a note to get that in the manual, not sure why I didn’t in the first place.
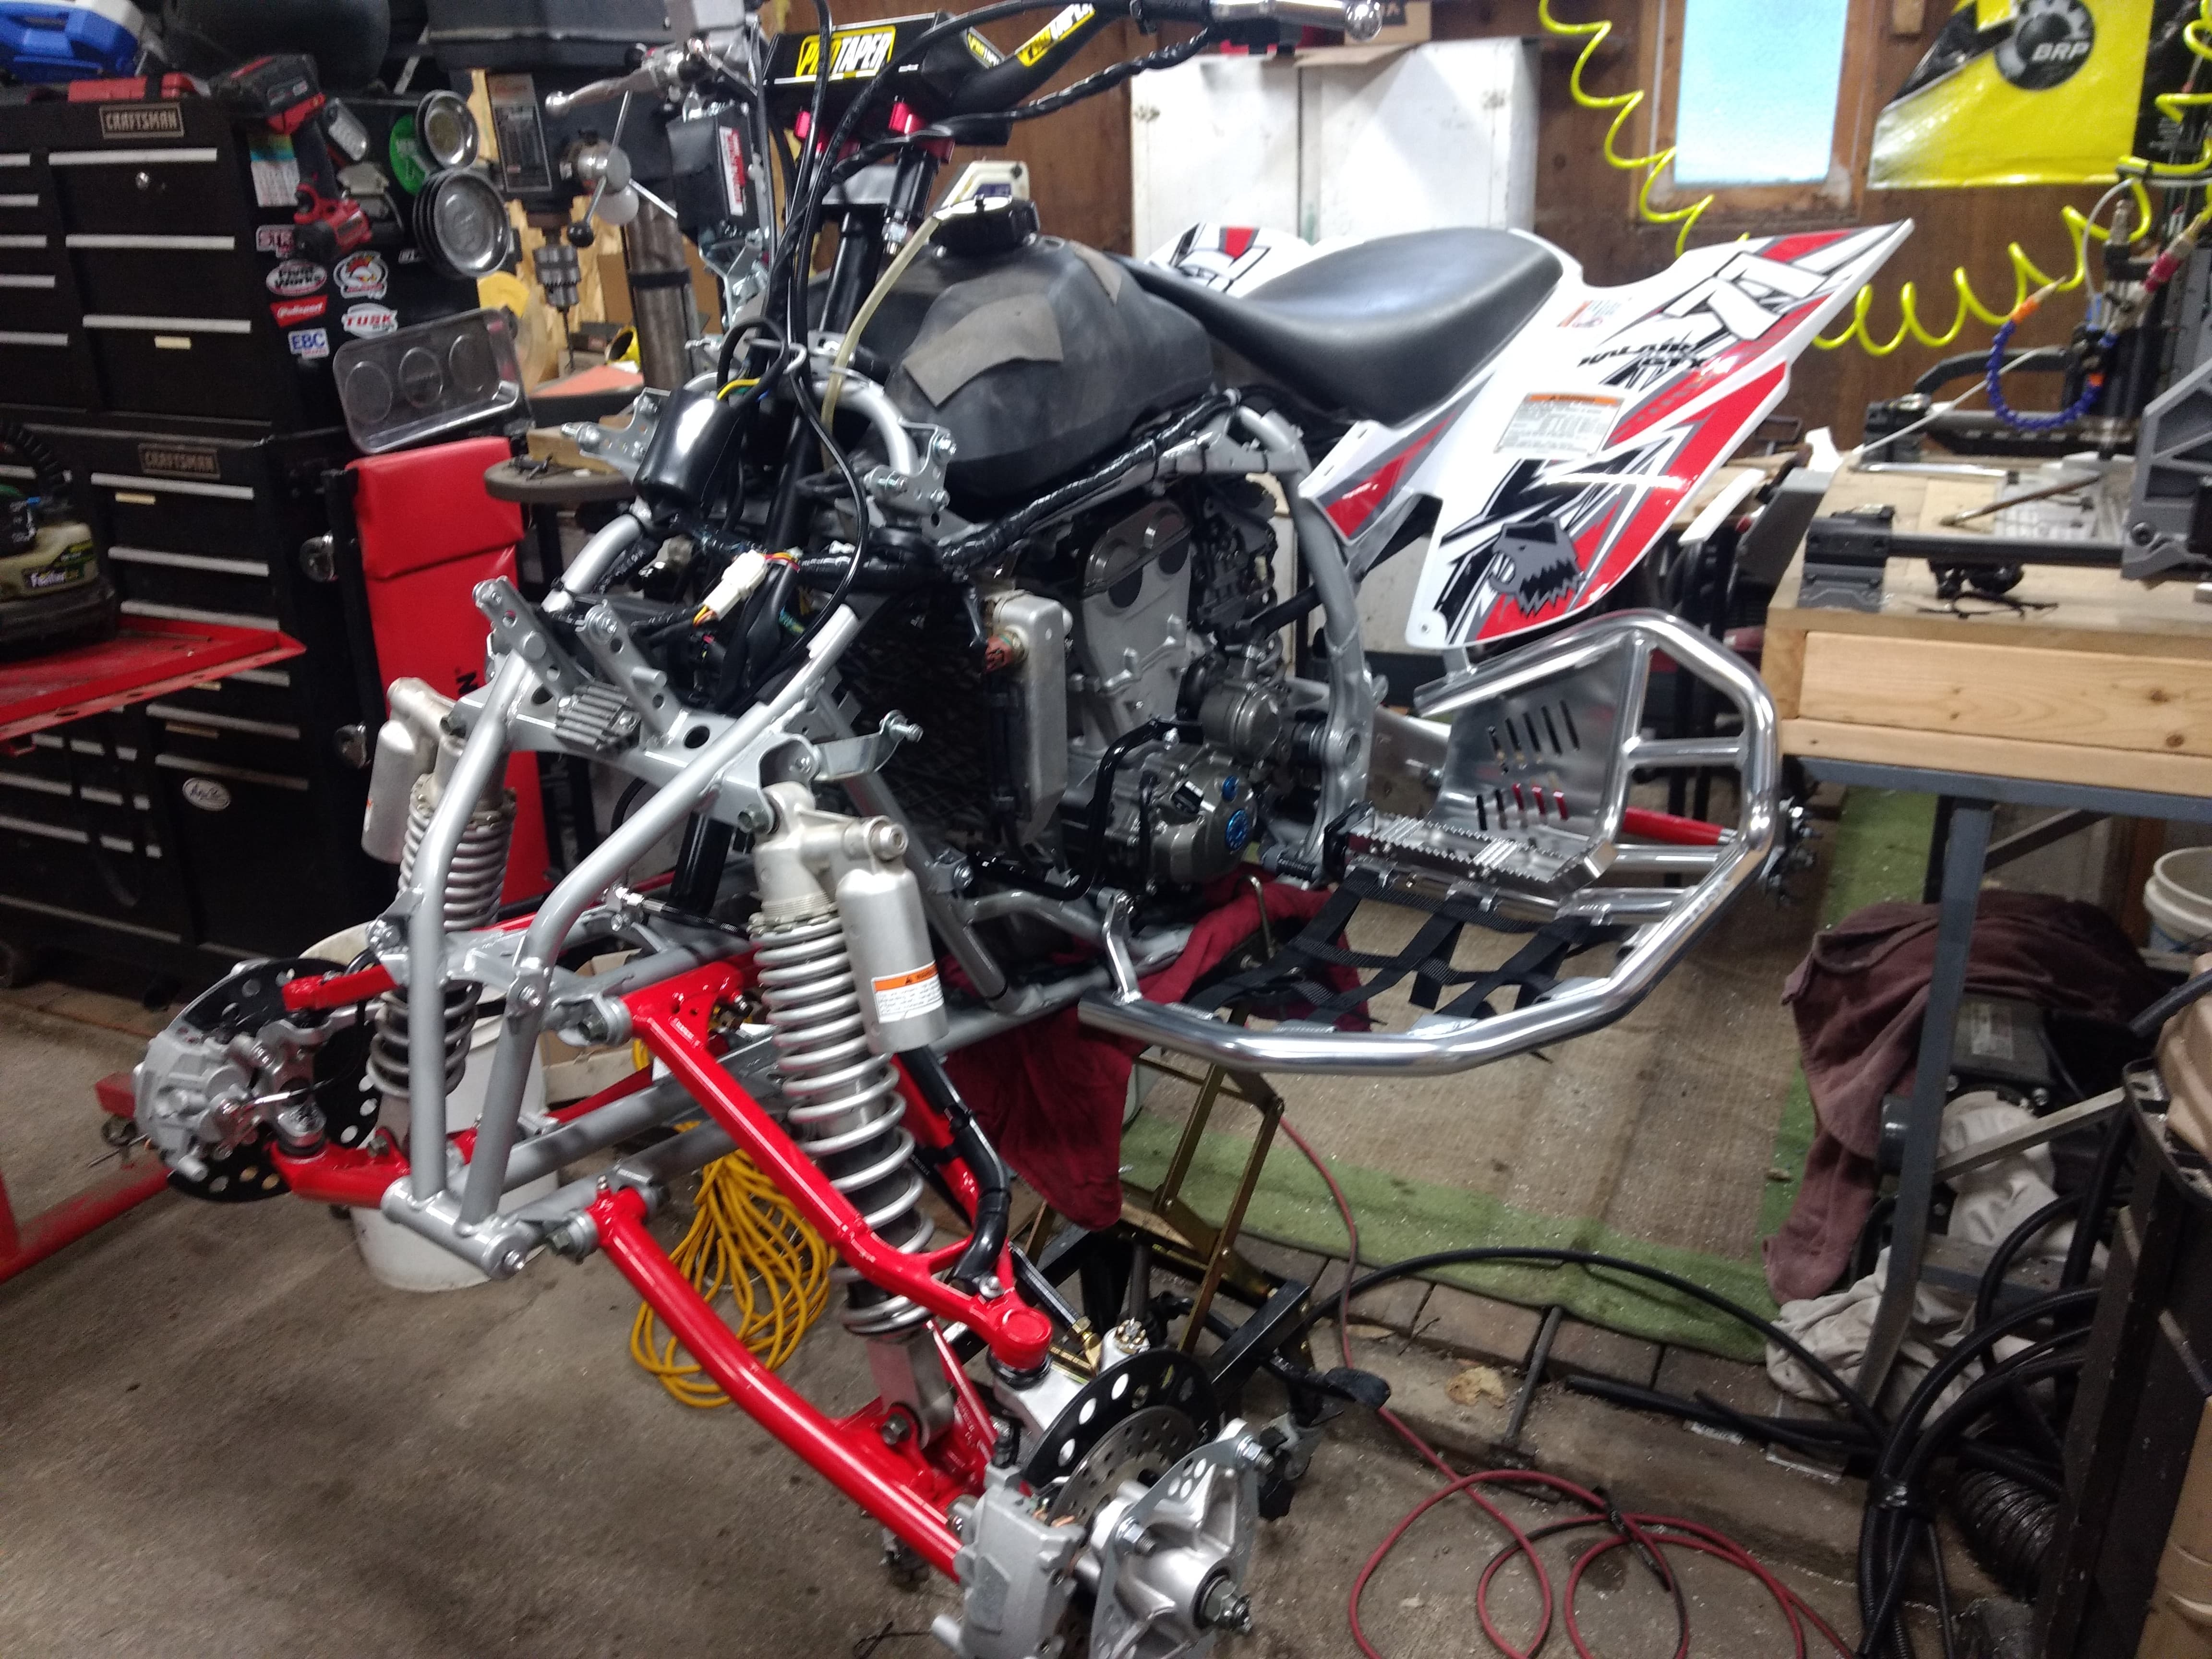
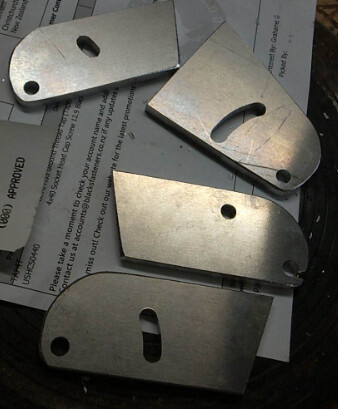
I’ve tapped out my plate (finally) everything go pushed aside with christmas, then trying to get back into work, but a job has cropped up that needs some aluminum parts cut, so I got into it today.
I think I was pushing too hard - trial by fire.
Broke a bunch of bits because I had my rapids way up to 20,000mm. I’ve taken those down and managed to get one cut out of the machine, I messed up the finishing pass so it wasn’t a great cut (one of ryans 2 flute 1/8" bits, 3mm DOC, 600mm/m)
There’s definitely some learning to be done. I managed to get these parts cut today. I urgently need to find some more endmills incase my last one breaks before I can finish this project.
They were all cut as slots - which I now realise I was probably too aggressive with.
Even slotted the round hole where I probably should have used a helictical drill
Plunge angle was 20 degrees which again, was probably too steep.
Live and learn eh!
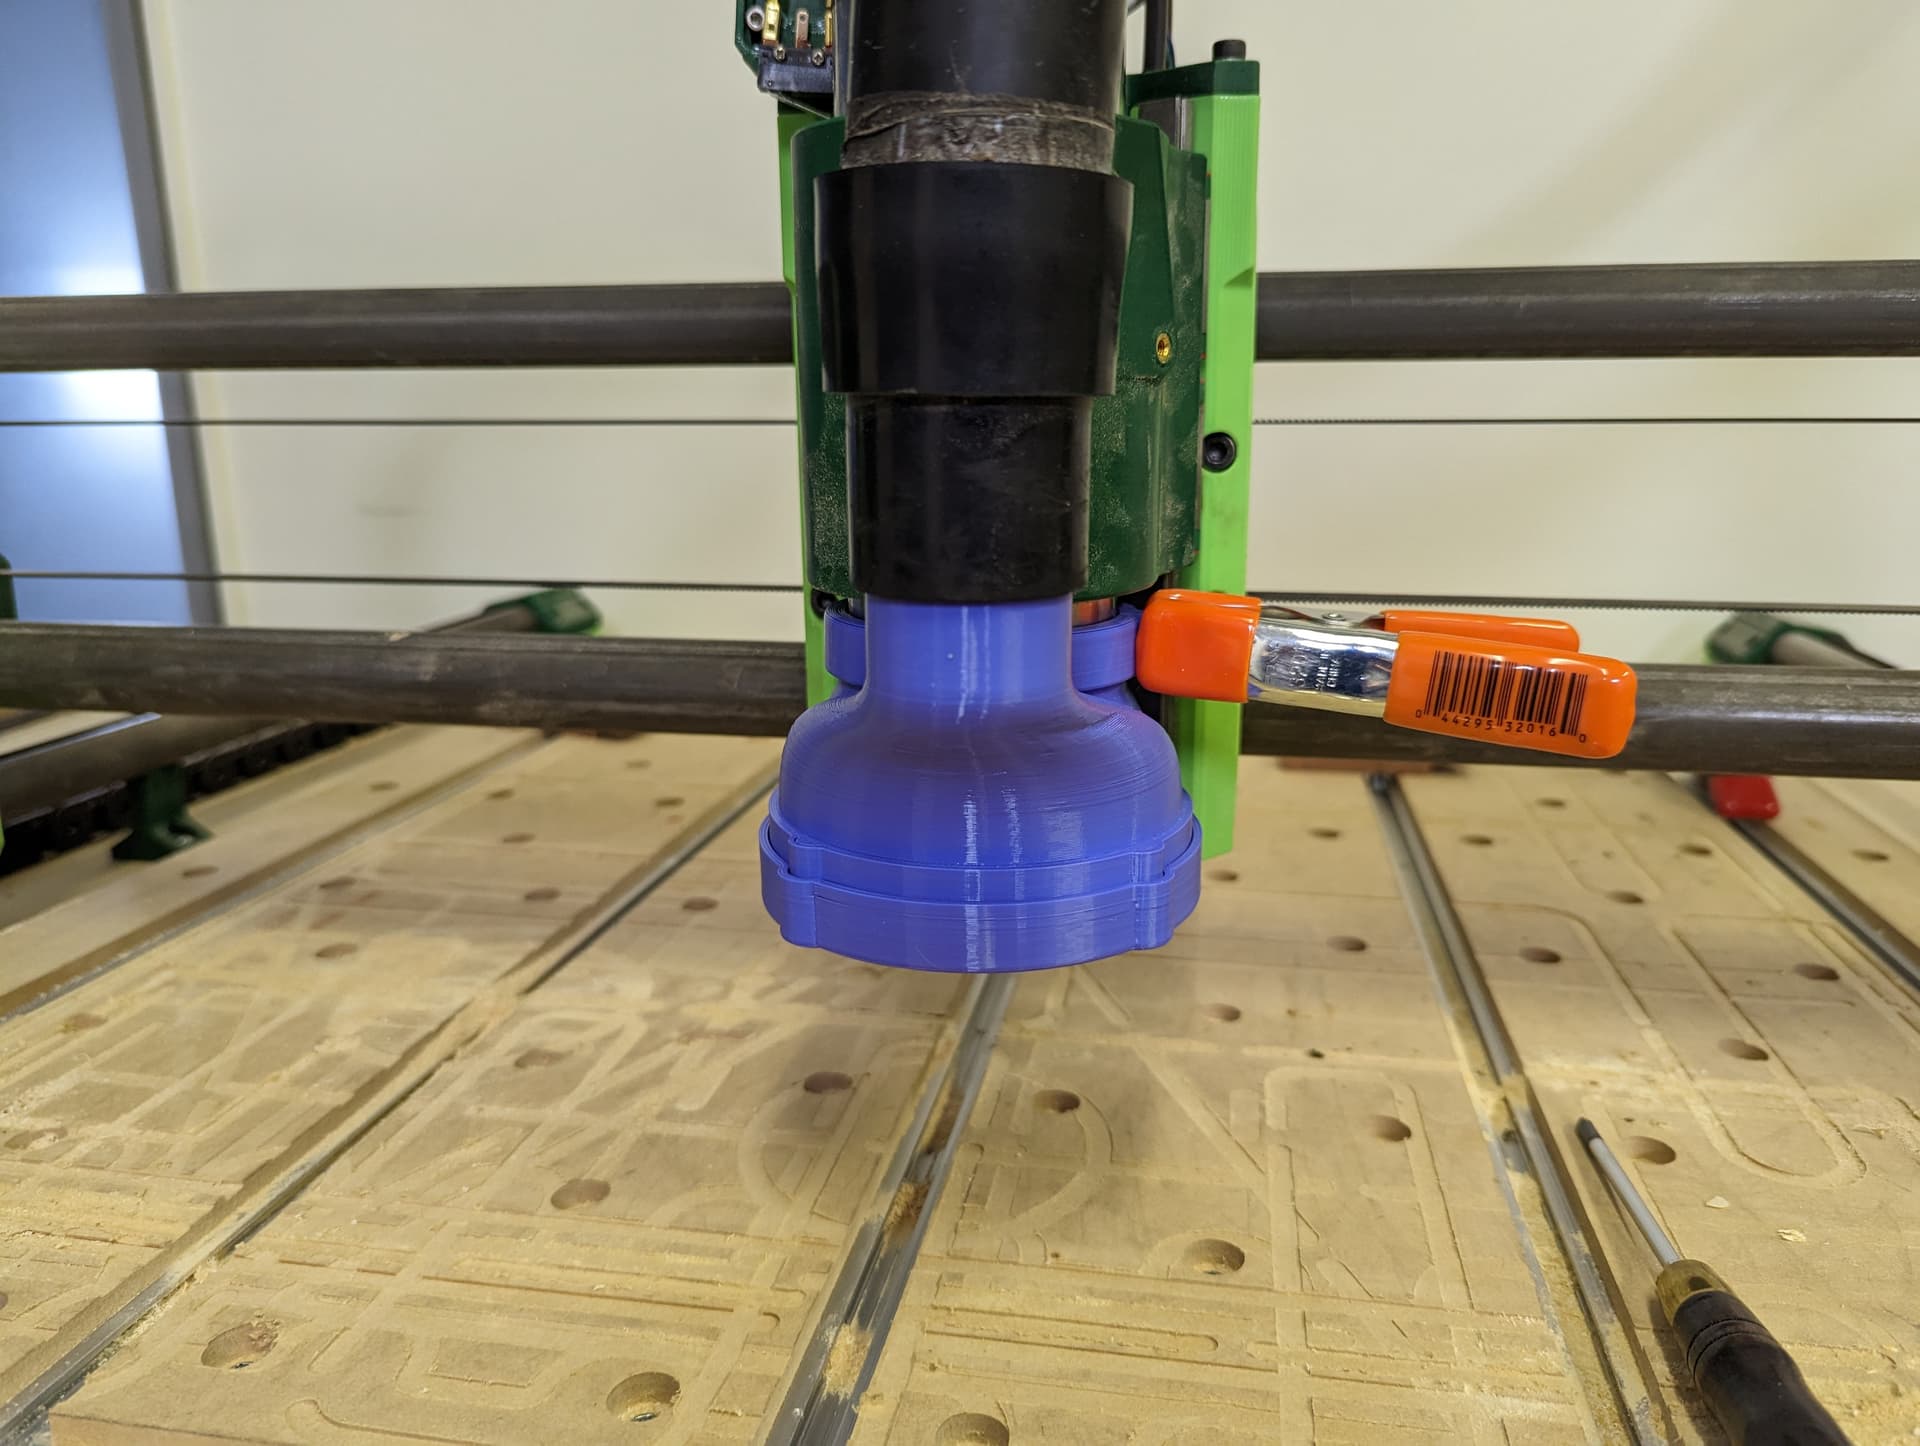
I’m very happy with my tool finder, the aluminum sheet had a plastic backing on it, and the bit cut through the aluminum and left the spoil-board untouched.
My best tip for the new end mills is get the biggest diameter one you can that is as short as possible. I use a 1/4" to clear as much material as possible then change to an 1/8" for finishing stuff. For my current parts I have been using a 1/8" 2fl .25loc 45deg helix zrn end mill (aluminum specific basically), with it my feed rates are 900~1200mm/m for my roughing/slotting and finishing ops. Might have been too aggressive for that particular end mill where it could have been a cake walk for another, only way to know is to try out some different bits and setups and see what works for you, it is part of the fun (for me at least lol)!
I’ve bought an array of new end mills - I’m scared to go all out on decent endmills while I’m so prone to mistakes.
There’s also a bit of movement in the carriage, which I believe is because the bearings aren’t tight enough to the pipe - I may need to mill some type of spanner to fit in the gap to hold the bolt. But before I do, how tight should the carriage be to the X pipe? Should there be room for rocking at all?
I’ve taken my rapids down to 800mm/m too, they were way high before, which was great for travel moves, but it seemed to kick in semi-randomly while cutting.
I’m also unsure if I’m milling 6061 Aluminum, it’s a sheet that’s been in the garage for a long while, I’ve yet to have a proper go on the 6061 sheet I have.
Should be tight enough to have no play but not so tight it is hard to move. I just pull the z-axis as one piece to get to those bolts.
Aim for a chip load (Fz) of .001~.002" per tooth and a surface speed of 800~1000 surface feet per min (assuming you are using carbide) to start and a 1~2mm depth of cut and/or 1mm step over. If it goes well can bump up your Fz or doc/step over and test again. Im still a little shy with my 1/8" end mills myself. Hopefully the above will give you a good base line to start with.
On the other hand, what might be a mistake with a cheaper endmill could be an easy cut for a quality endmill.
I learned that lesson on some endmills i just could NOT cut aluminum with. Had a half dozen people tell me they used them all the time. I broke at least 10 (at $3 each). Finally got someone to share a video and he was taking 0.1mm doc at like 300mm/min. Went back to the short single flute Ryan sells and cut with pretty much the suggestions above, no problem. Even ended up going faster once I was comfortable. When I was working my way up, i even buried a few in aluminum, got chip welded, and jammed up the machine. Peeled the chunk out of the endmill and sent it right back to cutting like nothing happened.
Tom cut some aluminum in his lowrider with those and also with some fancy coated amanas. He liked the amana even better, but I’ve never used them.
So basically, if you’re not just straight plowing your endmills into the spoilboard or your clamps and your only “mistakes” are being too aggressive or using tough strategies, I’d say just go for it, at least for one decent endmill. Future you will thank present you.