Interesting! I didn’t know nickel was magnetic!
I just tried approching a neodymium magnet to the plated parts and turns out it was attracted indeed.
Not a whole lot of magnetism, but enough for the magnet to stick a little bit. Pretty cool!
Interesting! I didn’t know nickel was magnetic!
I just tried approching a neodymium magnet to the plated parts and turns out it was attracted indeed.
Not a whole lot of magnetism, but enough for the magnet to stick a little bit. Pretty cool!
Scanning the thread, and I’ll toss in my mostly devalued two cents… I watch a lot of restoration videos (it’s like ASMR for me), and the guys doing toy resto seem to put a lot of time into prepping plated parts (and a surprising amount of powder coat, for toys that were made before powder coat was a thing). i.e., polishing to a high-shine with a polishing wheel and polishing compound, then cleaning with degreaser for good measure before putting them in the bath. Now, they are usually plating mild steel for wear (toy axles, etc.), but I’ve seen them plate decorative bits as well.
If you place your highly magnetized rare earth magnet next to the bath in close proximity to your nickel, cobalt, or iron part as it plates, you can produce a magnetized component.
Have you considered making a full sized tractor instead?
This model is amazing. Any more realistic and it could get some (small) work done.
I want one. Wife keeps saying ‘no’.
Eventually, I’m just going to go pick one up and park it in the garage where her Jeep goes just to see what happens.
I’ve got a friend a couple streets over who lets me borrow his tractor from time to time.
Much better deal for me to throw him some cash and make myself available for labor than to buy and maintain a tractor. I get by with a couple days of work throughout the year, so JUST enough to be annoyed at not having one, but nowhere near enough to justify the price.
Yeah, prepping seems to be the key. Kinda always is actually, same thing goes for paint.
But it’s easier said than done, it takes a lot of patience that I don’t have.
Actually, yes, I did consider it. Well, not full adult size, but kid size since it’s for the nephew.
It would be doable given the size of the printer.
The only thing that prevented me from putting this plan in motion is the fact that I live in china but my family live in France. I have no way to carry it there (would be very expensive), plus I’d worry about maintenance, no one there could fix it if it were to be broken.
Maybe someday when/if I move back.
Design it in modular parts. Carry it over in luggage. Build on site.
If Ikea can do it, I’m sure you can.
I want an older Ford 9n or 447. The older 9ns go for around $1500 here. There’s about 6 on FB marketplace in my area.
What kind of flowers would you like at the funeral? ![]()
That’s nuts!
She wouldn’t kill me. I cook too well.
Yeah, but I bet she’d manage a nice medium-rare, with a wine reduction over a bed of wild greens and roasted potatoes.
My wife went in for cataract surgery recently, and one of the instructions related to coming out of the anesthesia was “don’t make any big purchases.” She specifically mentioned one old guy who decided to buy a tractor “on his way home” and went through with the purchase.
They also said “Stay off the internet. This is not the day to reach out to all your old boyfriends.”
Hi guys,
It finally happened, my mostly printed watercooling system failed on me last week!
Interestingly, it didn’t fail because of any of the parts I designed, the root cause of the failure was the death of the water pump. As I had no way to see if there was any actual flow in the pipes, I did not notice it before it was too late. I was printing a small part and suddently a few droplets started coming out of the print head.
Nothing dramatic happened, just a few drops of water here and there on the build plate. It ruined the print tho, but it was a small print so no biggie. Also I believe this was the printer’s way to tell me to clean my build plate… I haven’t cleaned it for an entire year, if was abslutely filthy.
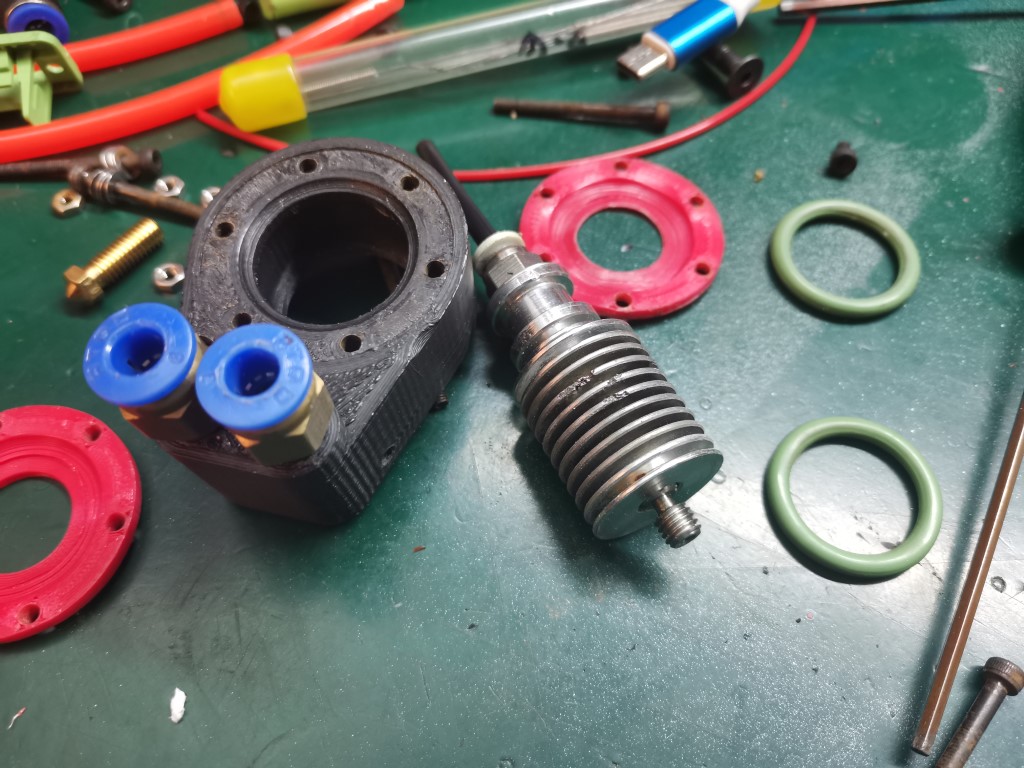
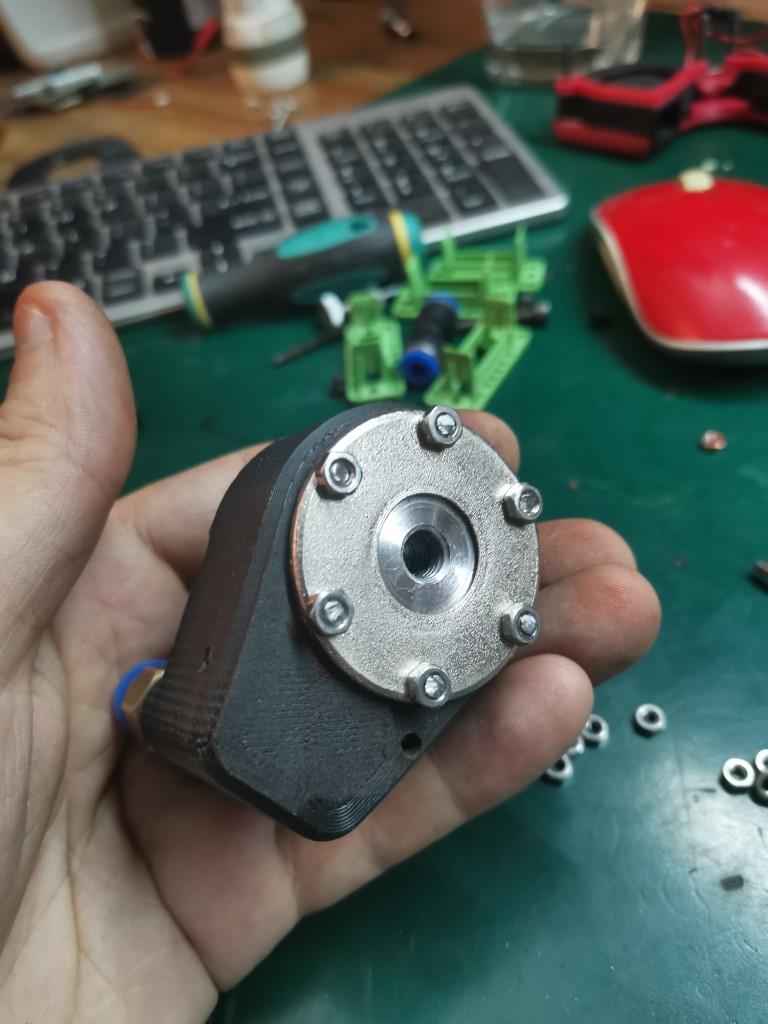
First I took apart the cooling block to check how it was inside:
As you can see, the red cover was severely bent and this is what caused the leak since it didn’t apply a uniform pressure on the seal anymore.
Also, interestingly, it seems like some fins corroded on the aluminum heatsink.
There was a little amount of white build up material inside, but nothing dramatic. I use regular water from the tap to cool the printer, nothing fancy, no anti bacterial stuff. Might be better to use some, but I’m a bit lazy.
Anyway, the cooling block was fine, the seals were fine. Seems like the only part who didn’t stand the prolongated heat exposure was that little red ring. Kinda exepcted because it sits very close to the heating block, i’ts already a small miracle that this part was able to survive for so many years and through so many prints.
I could have just reprinted that and it would have been fine again, but now I added this new electroplating skill to my toolbox so it was the perfect opportunity to use it!
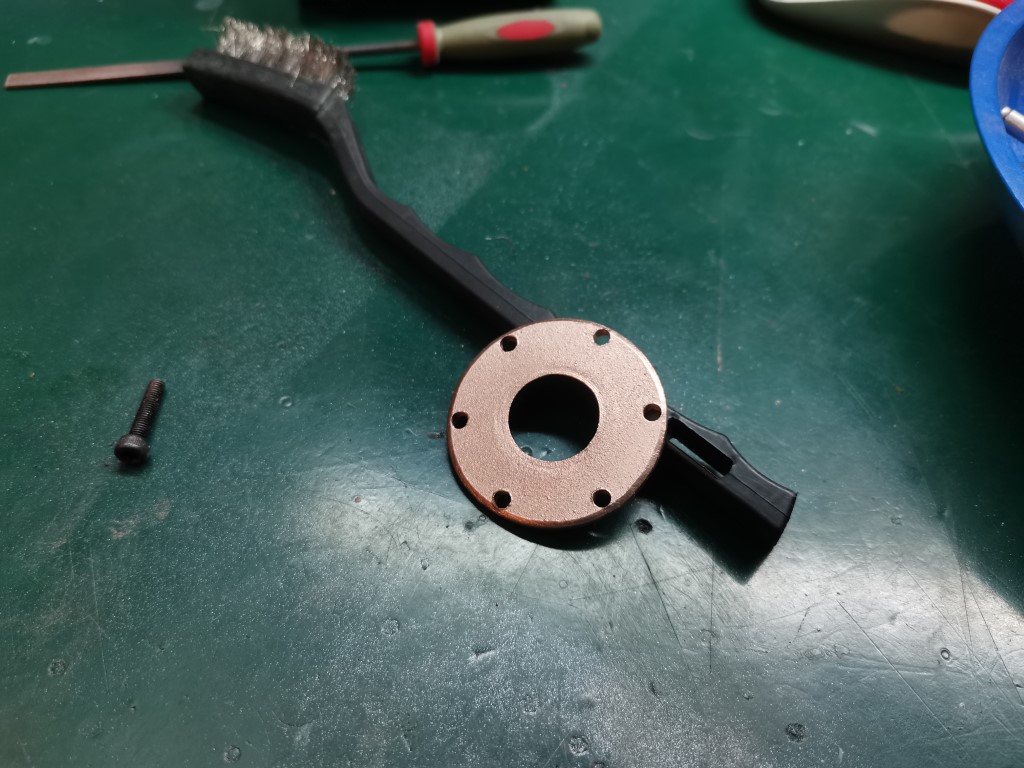
So first, I printed a slightly smaller version of this ring (to account for the metal deposition thickness, which was around 0.6mm). First plated it with a thick layer of copper:
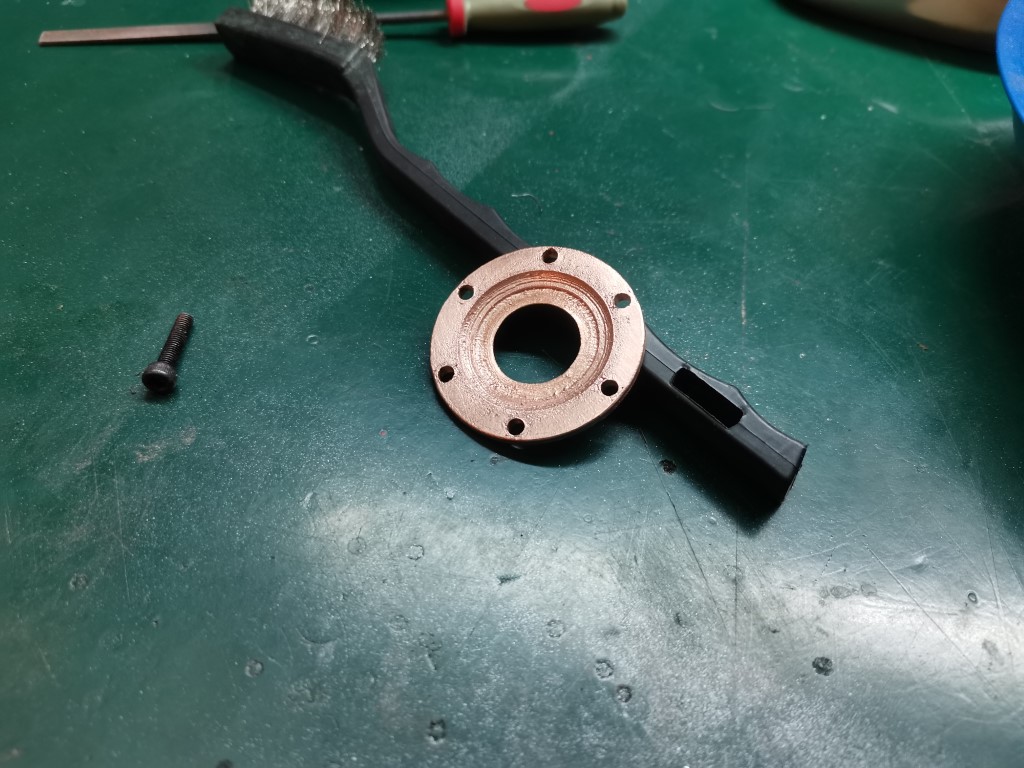
And then a small layer of nickel afterwards, which protects if from corrosion and also makes it a bit harder/tougher:
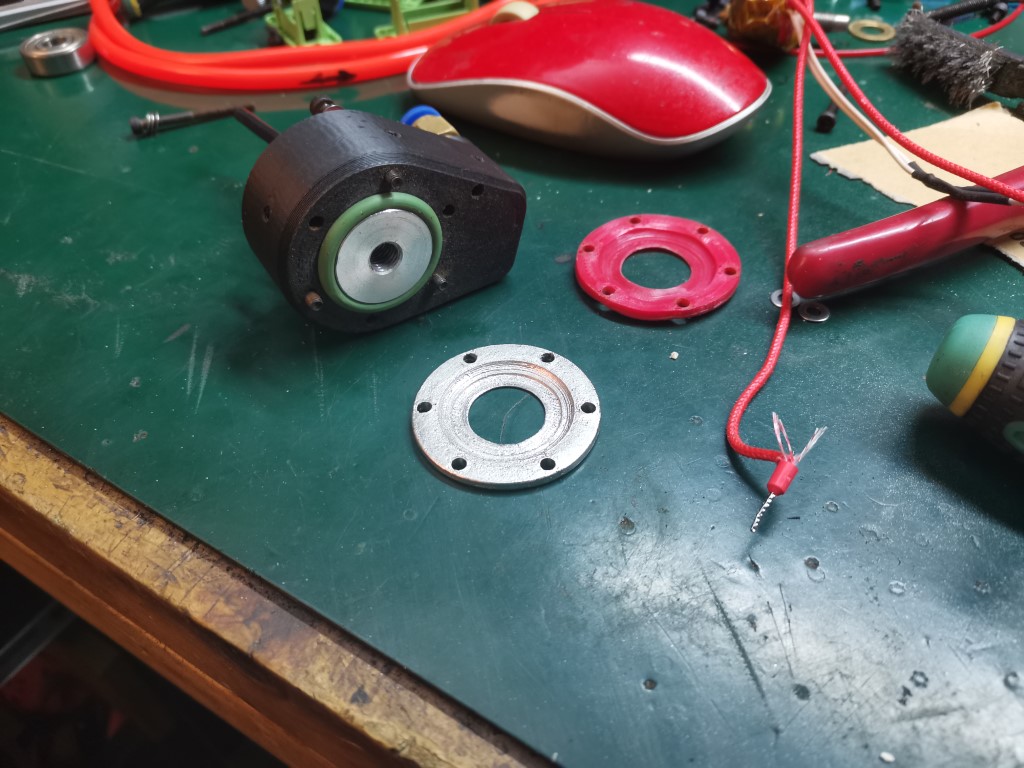
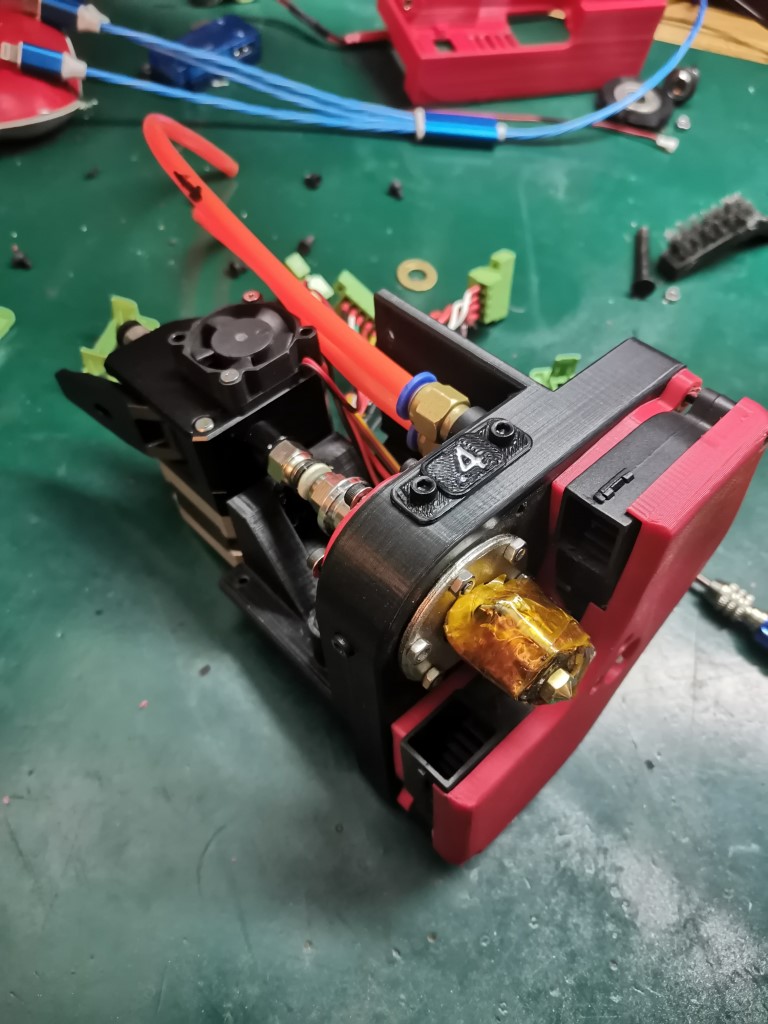
Then reinstalled this on the cooling block:
And finally the cooling block back into the print head:
Tested for leaks and so far so good. The part is a lot stiffer and stronger than its PLA counterpart. It’s also significantly heavier.
I think it will perform pretty well. Being made of copper it should also act like a small heatsink and help dissipate part of the heat. Meaning an ever colder cold side, pretty cool
Still need to be tested on a print, but I don’t see how this wouldn’t work.
I will also add a little thing to be able to visualize the water flow in order to be quickly aware in case something goes wrong with the pump. But if this happens when I’m not around at least the heat shouldn’t ruin the print head anymore.
I had a scrap part made of PLA plated in the same fashion, I exposed it to my blowtorch for a few minutes: the PLA inside the part melted and vaporized completely, but the metal shell stayed perfectly fine despite becoming red hot. So I know this plating is actually quite tough, it’s not just cosmetic. Even if the plastic melted inside it, the part will keep most of its structural integrity. I might even use this technique to make some complex casting parts on my motorcycle.
I really like this plating thing, it’s very close to having the ability to 3D print metal. It’s a little bit more work of course (lots of sanding to prepare the part and remove imperfections), but most of the work is actually just waiting for the plating to happen.
I think this metal plating thing you’ve got going is quite revolutionary. Making sturdy metal parts with different kind of alloys on your home work bench is simply extraordinary! I wonder if this is history in the making. And as it’s happened before: it started with a tractor.
You may have said, but I missed it. How are you accomplishing the metal plating?
Haha, I’m sure you know it of course but just to clarify, I didn’t invent this process, I only followed some tutorials on youtube, so I don’t deserve much credit ![]()
But yeah, that’s a really cool process, especially for us homegamers.
Also, while the parts are clearly stronger than plastic ones, they aren’t nearly as strong as solid metal ones. Also, I don’t know about the long term issues, stuff like corrosion, delamination etc. I guess we’ll see, I’ll report it here if it turns out to be a problem.
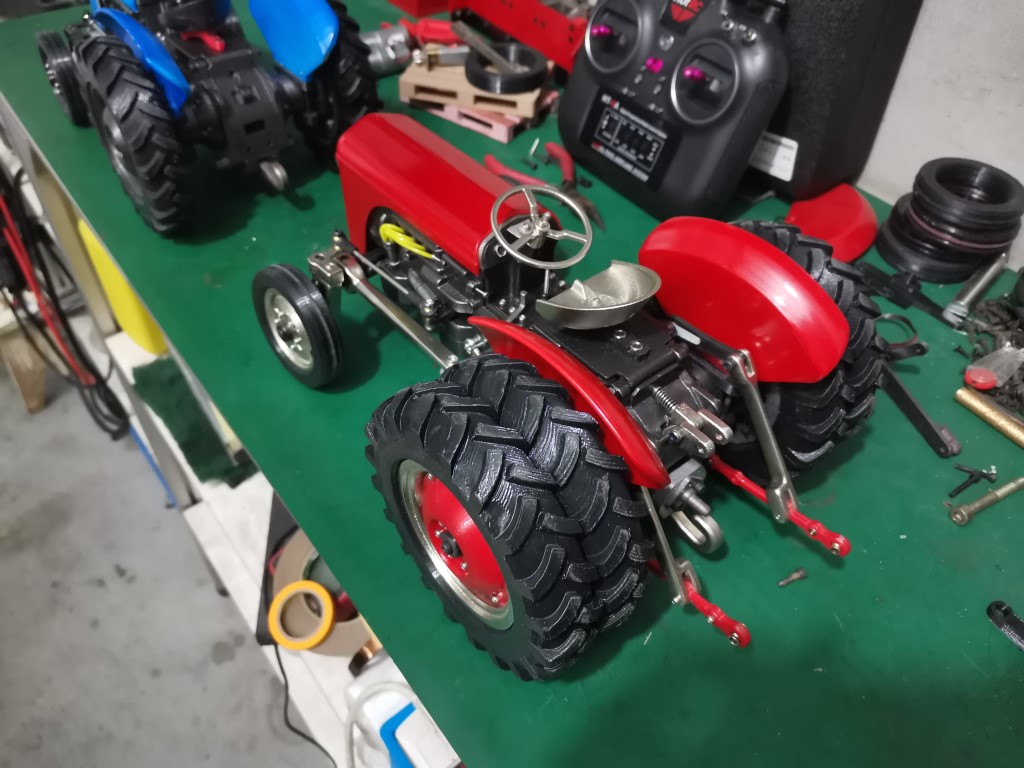
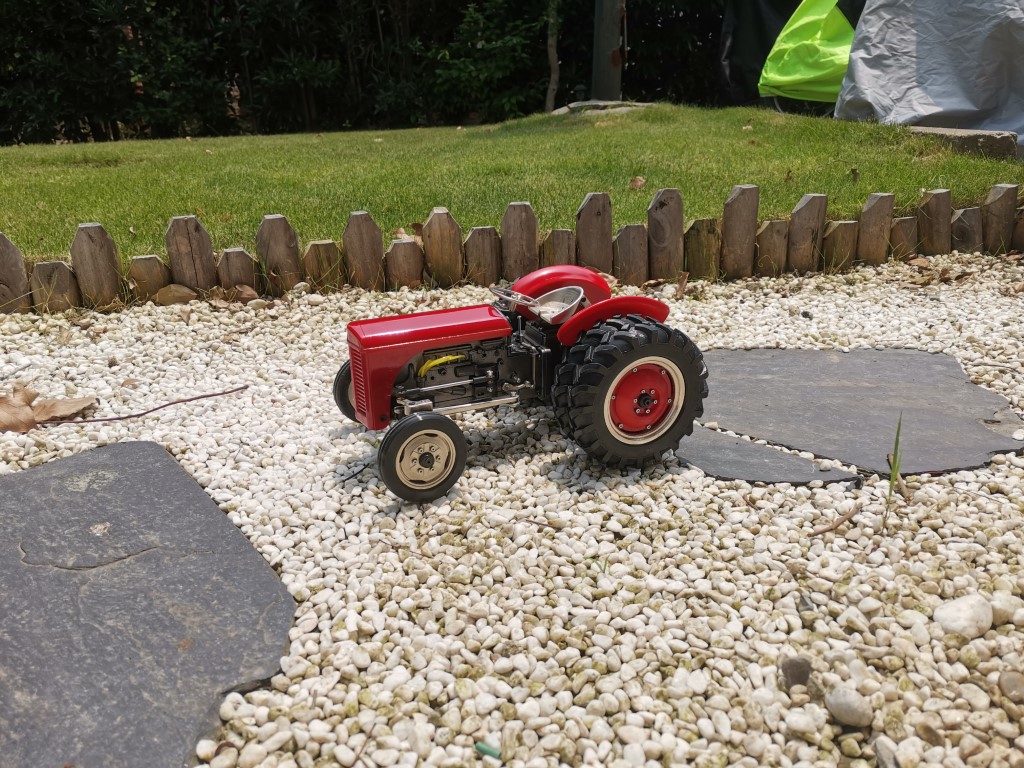
By the way, the tractor is 99% done, I still have one wheel to plate and also to sort out the battery charging/monitoring system. Many parts have been plated (basically every grey/silver part you can see on it):
I could try and explain poorly, but surely this great video will do a much better job. It’s exactly what I’m doing.

basically to sum up the main steps are:
-3D print
-Smooth the print
-Paint it with conductive paint
-Clean, degrease, etc
-Electroplate a layer of copper
-Sand it smooth, polish, whatever finish you want
-Clean, degrease, etc
-Electroplate a layer of nickel
Thanks!
There are reasonably priced electroplating kits available if anyone wants to give it a try. I’ve had mixed results but it’s an interesting process.
Getting a good conductive coating for the first stage (electro forming) was the most difficult step in my experience.