MPCNC Made In China: New Build!

Some more plating, still starting from a 3D print.
This time I made some parts for my motorcycle, it’s an exhaust deflector, because the original exhaust tends to spit some dirt on my rear wheel:

First, copper plating:

Then, nickel plating:

The finishing is a little bit rough but I don’t care too much, it’s just an experiment. I’ll make a more refined version later if this passes the test of time (so far it works great).

Installed on the bike:

One other part made using the same process, a little knob/lever thingy for the trip reset of the gauge cluster:

First I printed it with regular PLA, then spray painted it with copper conductive paint:

Then copper plating, and then nickel plating, as usual:

Then a thin layer of clear coat to protect it:

Finally installed on the gauge cluster, that was the last part I did (I rebuilt the entire thing, made some custom gauge faces with my laser cutter).

I’m really enjoying this new superpower :rofl:

I think my next experiment with this technique will be to use this for making aluminum castings molds. Basically, the plan will be to 3D print the object in whatever material, then plate it with copper, then melt/burn/disolve the plastic core out of it, pour some aluminum in there and finally remove the copper shell.
I think this will be easier and a lot more likely to be successful than regular lost PLA casting. I had a few parts I didn’t know how to cast on one of my other motorcycle and this might very well be the solution.

I’ve made a test at savagely heating a failed part. It went litterally glowing red hot for a pretty long time, but as you can see it didn’t deform one bit. The PLA inside of it is completely gone, that is just an empty shell now. It left some very nice colors, in real life the part is a deep gold and blue, looks just like flamed titanium:

11 Likes

Where is that “mind completely blown” emoji? :exploding_head:

I just want to plate my whole LR3!

7 Likes

Every time I see movement on dui’s thread I know I’m not going to be disappointed!

10 Likes

Is there a reason you can’t go straight from the copper conductive paint to nickel plating?

Industrial 3D printing machine manufacturers have been touting being able to do this for years but I have never actually seen it in the wild.

I’ve tried making plaster molds for aluminum casting but I haven’t been able to find the right recipe for the plaster mix to withstand the heat. Can’t wait to see your results.

2 Likes

@Bigchepin ,

Many years ago I did gold jewelry casting. The investment compound (looks like paster of paris) was able to withstand fairly high temperatures. You might look for that.

I’ve also seen some fine casting sand that may work. I’m not sure what the binder is.

Mike

Mike

2 Likes

@mbamberg , good idea. I think another point of failure was that I didn’t pre-heat the plaster mold enough so the temperature difference was too great. Did you put your molds in a furnace to bring them up to a temperature closer to the molten metal?

1 Like

You can get really good results using fine playsand and sodium silicate hardened using co2. Broomsgrove greensand is the other common option.

Plaster investment molds do have to be preheated to make sure there’s no water and to avoid thermal shock.

4 Likes

@Bigchepin

Yes, we were casting jewelry that was patterned from wax. We put the casting flask in the furnace to both burn out the wax and to prep the flask for casting.

Mike

1 Like

Regular plaster of paris has water chemically bound and heating to high temperature reverses the reaction. Even if it’s completely dry (meaning no free water) the water is driven out at high temperature and bubbles vigorously when casting.

Pre-baking at high temperature drives out the water ahead of time and what’s left is super fragile and easily returns to powder.

I’ve tried casting aluminum in plain plaster and it didn’t go well, but lower temperature casting like zinc or bismuth/tin is fine.

I assume the special casting formulation wouldn’t disintegrate when the water is driven out, and then high temperature metals would be ok.

I have some sodium silicate and fine sand, and I have been meaning to try that method.

1 Like

I haven’t had time to try it, I was a bit in a hurry, needed to finish everything before going back to France. I’ll try it in september, when I’ll be back. I suppose it should work, but not sure.
Also, nickel electrodes are pretty expensive, copper ones are cheaper, so there’s that.
Anyway, I’ll try that and report the result here :slight_smile:

I’ve done plaster molds as well, but using a special plaster made for investment castings for jewellery. I used the lost PLA technique. It worked reasonably well, but getting all the PLA out takes a long time and it smells horrible. Plus I think there was still a bit of debris left.

In order for the mold not to crack, first you need some proper plaster, but that’s not all, you also need to heat the mold slowly and more importantly you need the mold to be contained in a metallic enclosure of some kind, don’t just make a mold only using plaster as any little crack will split your mold into several parts if there’s no frame around it. It would be like making a sand mold without having a wooden frame all around, the thing would simply collapse. In my opinion having a frame all around is the most important thing for preventing big cracks.

1 Like

Hey guys,

For years I said I would make some kind of multi material add on, but never actually built it…
Well now I finally did!

I always wanted to try and use the “Diamond nozzle”. It’s a big 3 in one nozzle made of brass. Some 5 in one versions exist but I couldn’t get my hands on it so this was the next best thing. I fnally found one for very cheap (3 bucks) so this was the perfect opportunity.

Here it was before I attached the heatsinks:

As I discovered later, the main challenge was to get enough cooling to the heatsinks, in order to avoid heat creep.
At first I designed a fan shroud which featured a small fan
It didn’t work well, I had a lot of issues with heat creep, lost a lot of time trying to fix it. Eventually I installed a big server fan. Stepped down the voltage a little so the noise isn’t unbearable. It solved all my problems.

Anyway, the print head looks like this:

As you can see it’s not particularly good looking, especially because I had to find a way to fit the 3 extruding motors. I didn’t want a long bowden because part of the objective was to be able to print flexible filament.
But looks don’t really matter here, it’s not really a beauty pageant.

Then I had to edit a little bit my firmware, which was fairly easy thanks to the duet interface.
And last but not least, I had to learn the slicer part of things. My prefered slicer is Kisslicer, which is great (I’d say the best but I don’t want to start a fight here, haha), but the only feature who isn’t free is multi material printing.
So, well I did bite the bullet and purchase a licence. First time I actually purchased a software license in my entire life, hehe. To be fair I’m happy I had to, this slicer is being developped by just a single dude and he actually really deserve to get some financial reward for his incredible work. Really, you should give this slicer a try guys, the final print quality worth it.

Anyway, I then made a first attempt at 2 color printing with the classic frog:

For a frst try I’d say it was pretty darn good!
As you can see, the purge tower is really small. That is one of the main advantages of this diamond nozzle, the internal volumes are tiny so you can get good purging with very little waste material.

Then I hooked up the third color and made a few other prints:

I still have to add some cooling and to tweak a little bit the extrusion, but this already prints reasonably well so I consider it a success!
Now I need to buy some new colors… I always use red/black or white so that needs to change!

It was a really interesting project. If you want to try it yourself I suggest you do because it isn’t as difficult as one would think, just a bit intimidating. In my case the real struggle was heat creep, it took me at least 30 attempts to get it right so that was a real test on my patience… but the most obvious solution solved the problem. So if you have this issue too, then just drop a big powerful fan to cool the heatsink and you’ll be good to go!

Now I’ll have to experiment with multi material parts and try soluble supports!

12 Likes

Really cool! So can you mix RGB colors with this setup?

Could you run all 3 at the same same time with the same material to be able to print ~3x faster?

It is possible in theory but I think that 3 colors isn’t enough. In my opinion I would need at least to add two more: white and black.
Unfortunately I couldn’t find the 5 filament version of this head.

Also I need to figure out the slicer part of this. I red that it was possible using Kisslicer but don’t know how to do it yet :slight_smile:

I’m not sure to see how that would work. They would all have to go through the same 0.4mm nozzle, there’s only so much material that can go to this small hole size, the extruders would fight each others.
But maybe you are right, I can try and see, could be interesting because I can’t seem to find this nozzle in any size other than 0.4mm. Maybe I could do that and print at 0.8mm while keeping decent extruding speeds.

4 Likes

Hello Everyone,

I don’t know if you remember, but a few years ago I started working on my big coreXY printer. I think I mentioned it somewhere in this thread earlier.
Anyway, I didn’t finish it because many other projects got in the way. It was a a bit of a shame because it was very close to be a working machine, so I had to do something about it and actually finish building it.

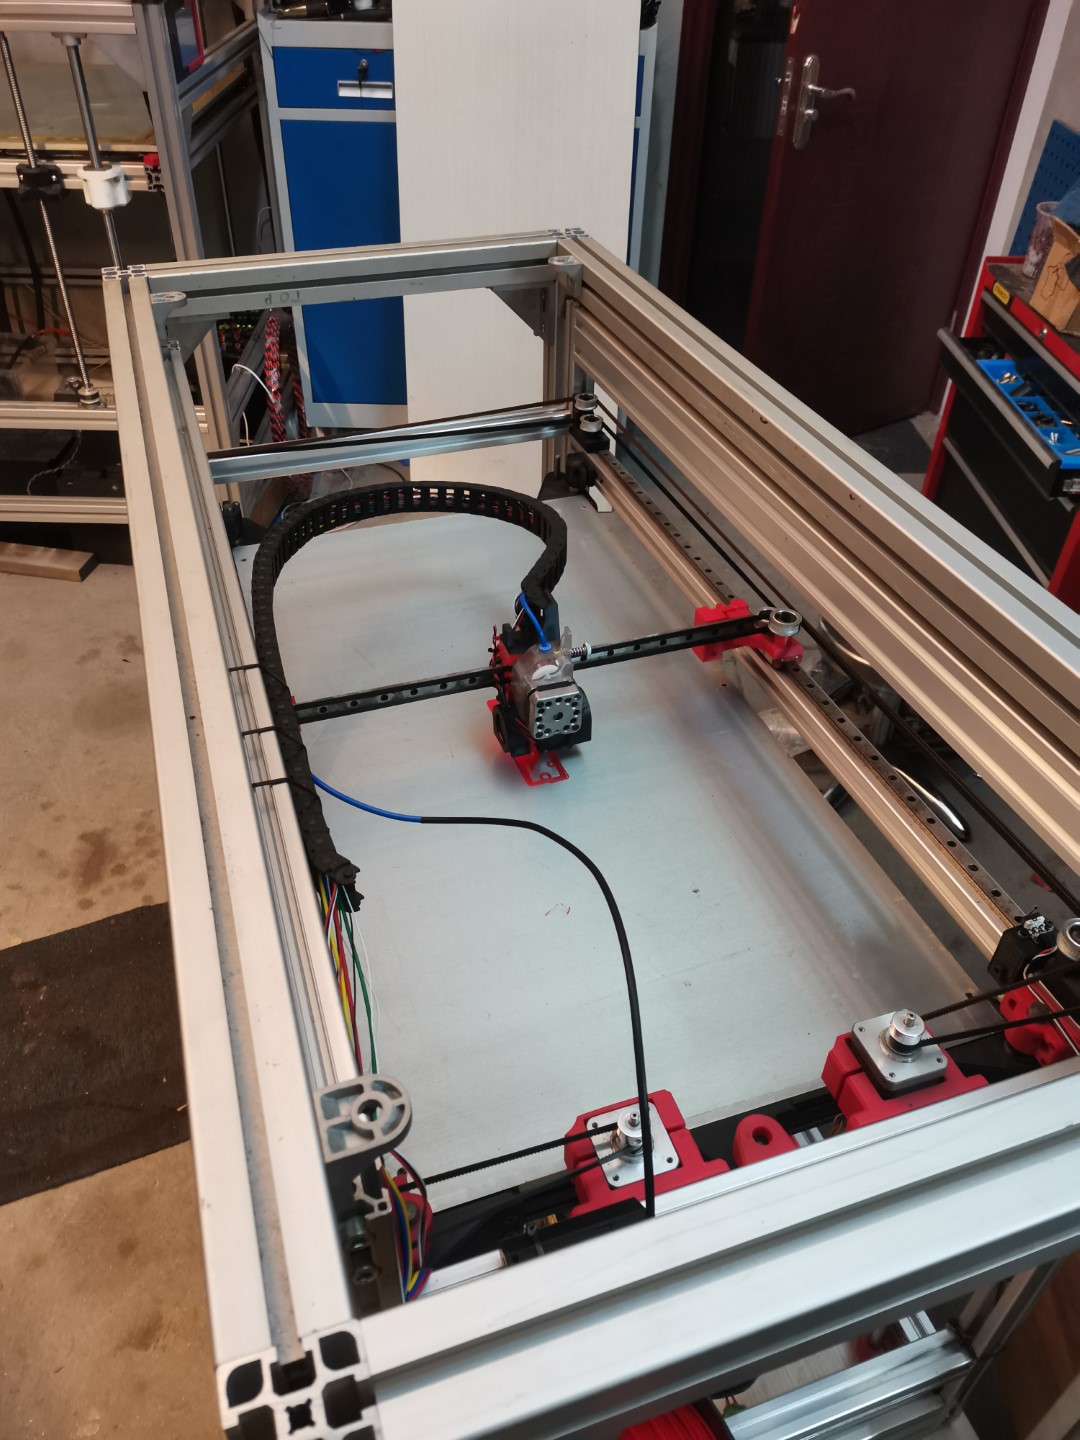
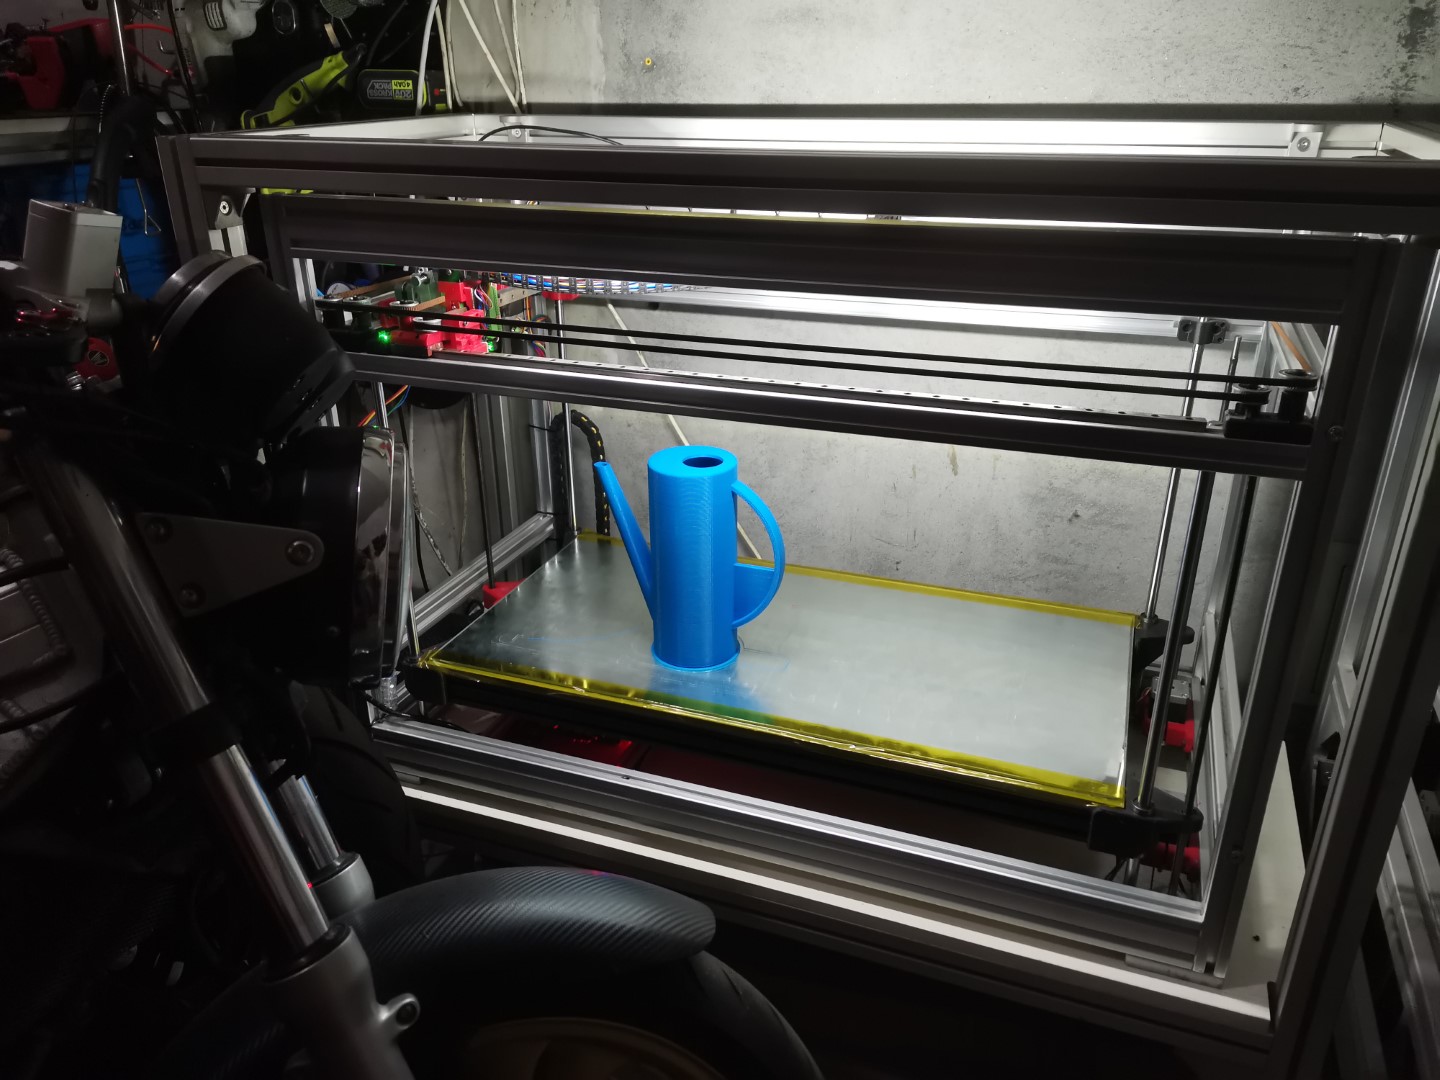
So first, I finished building it the way I designed it at the time:

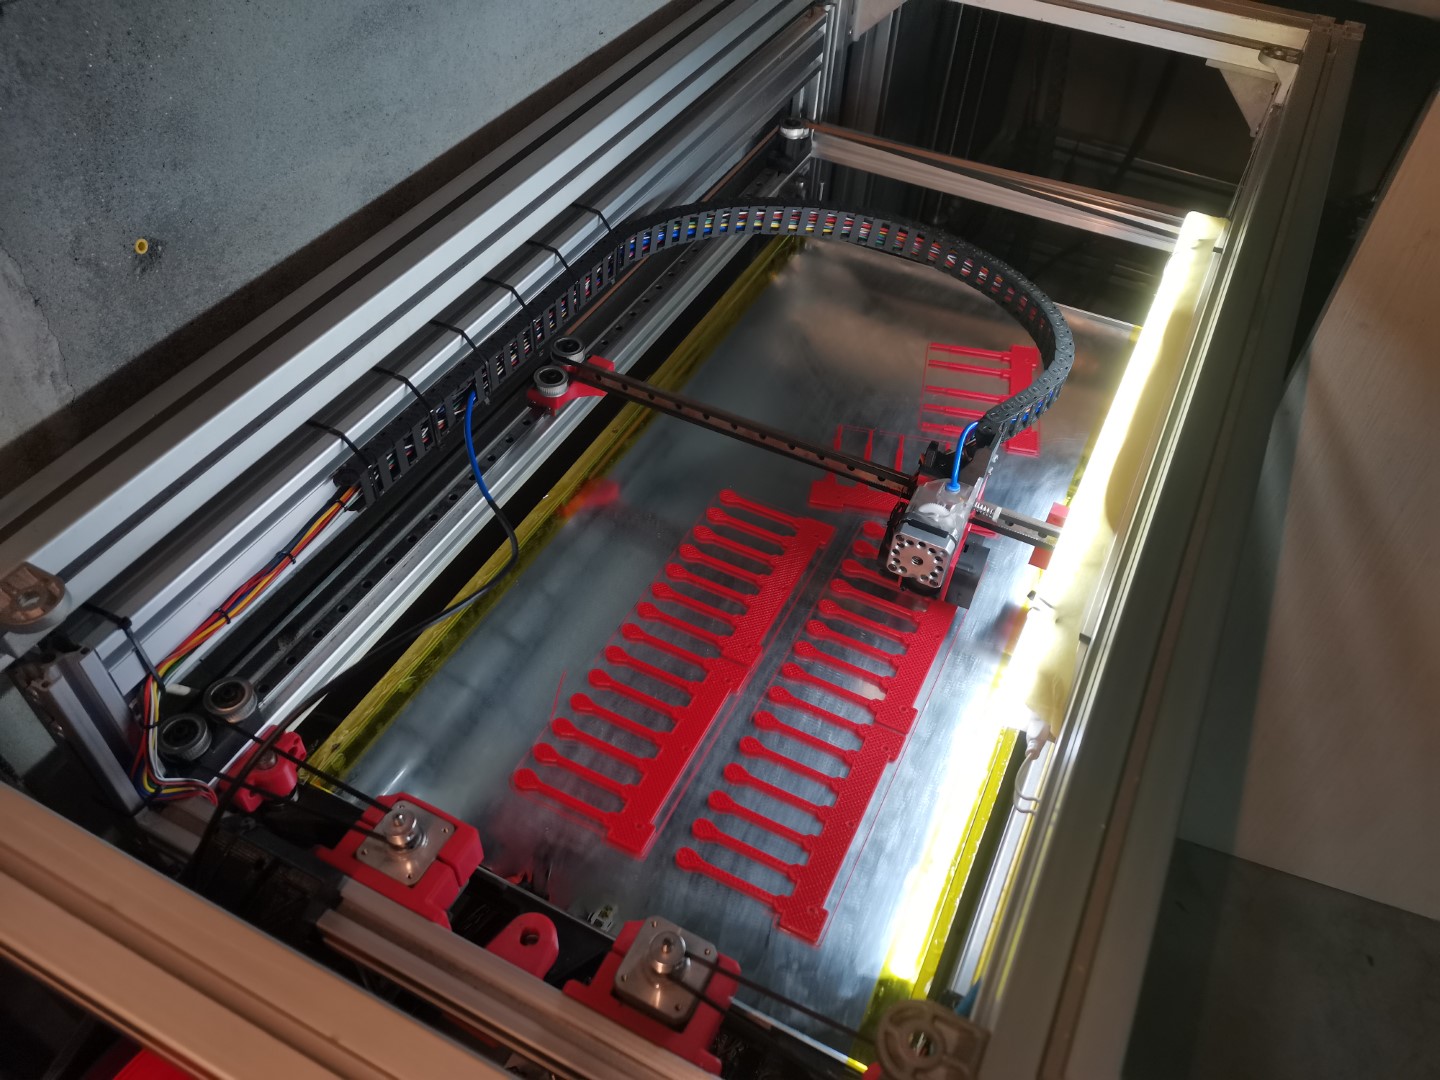
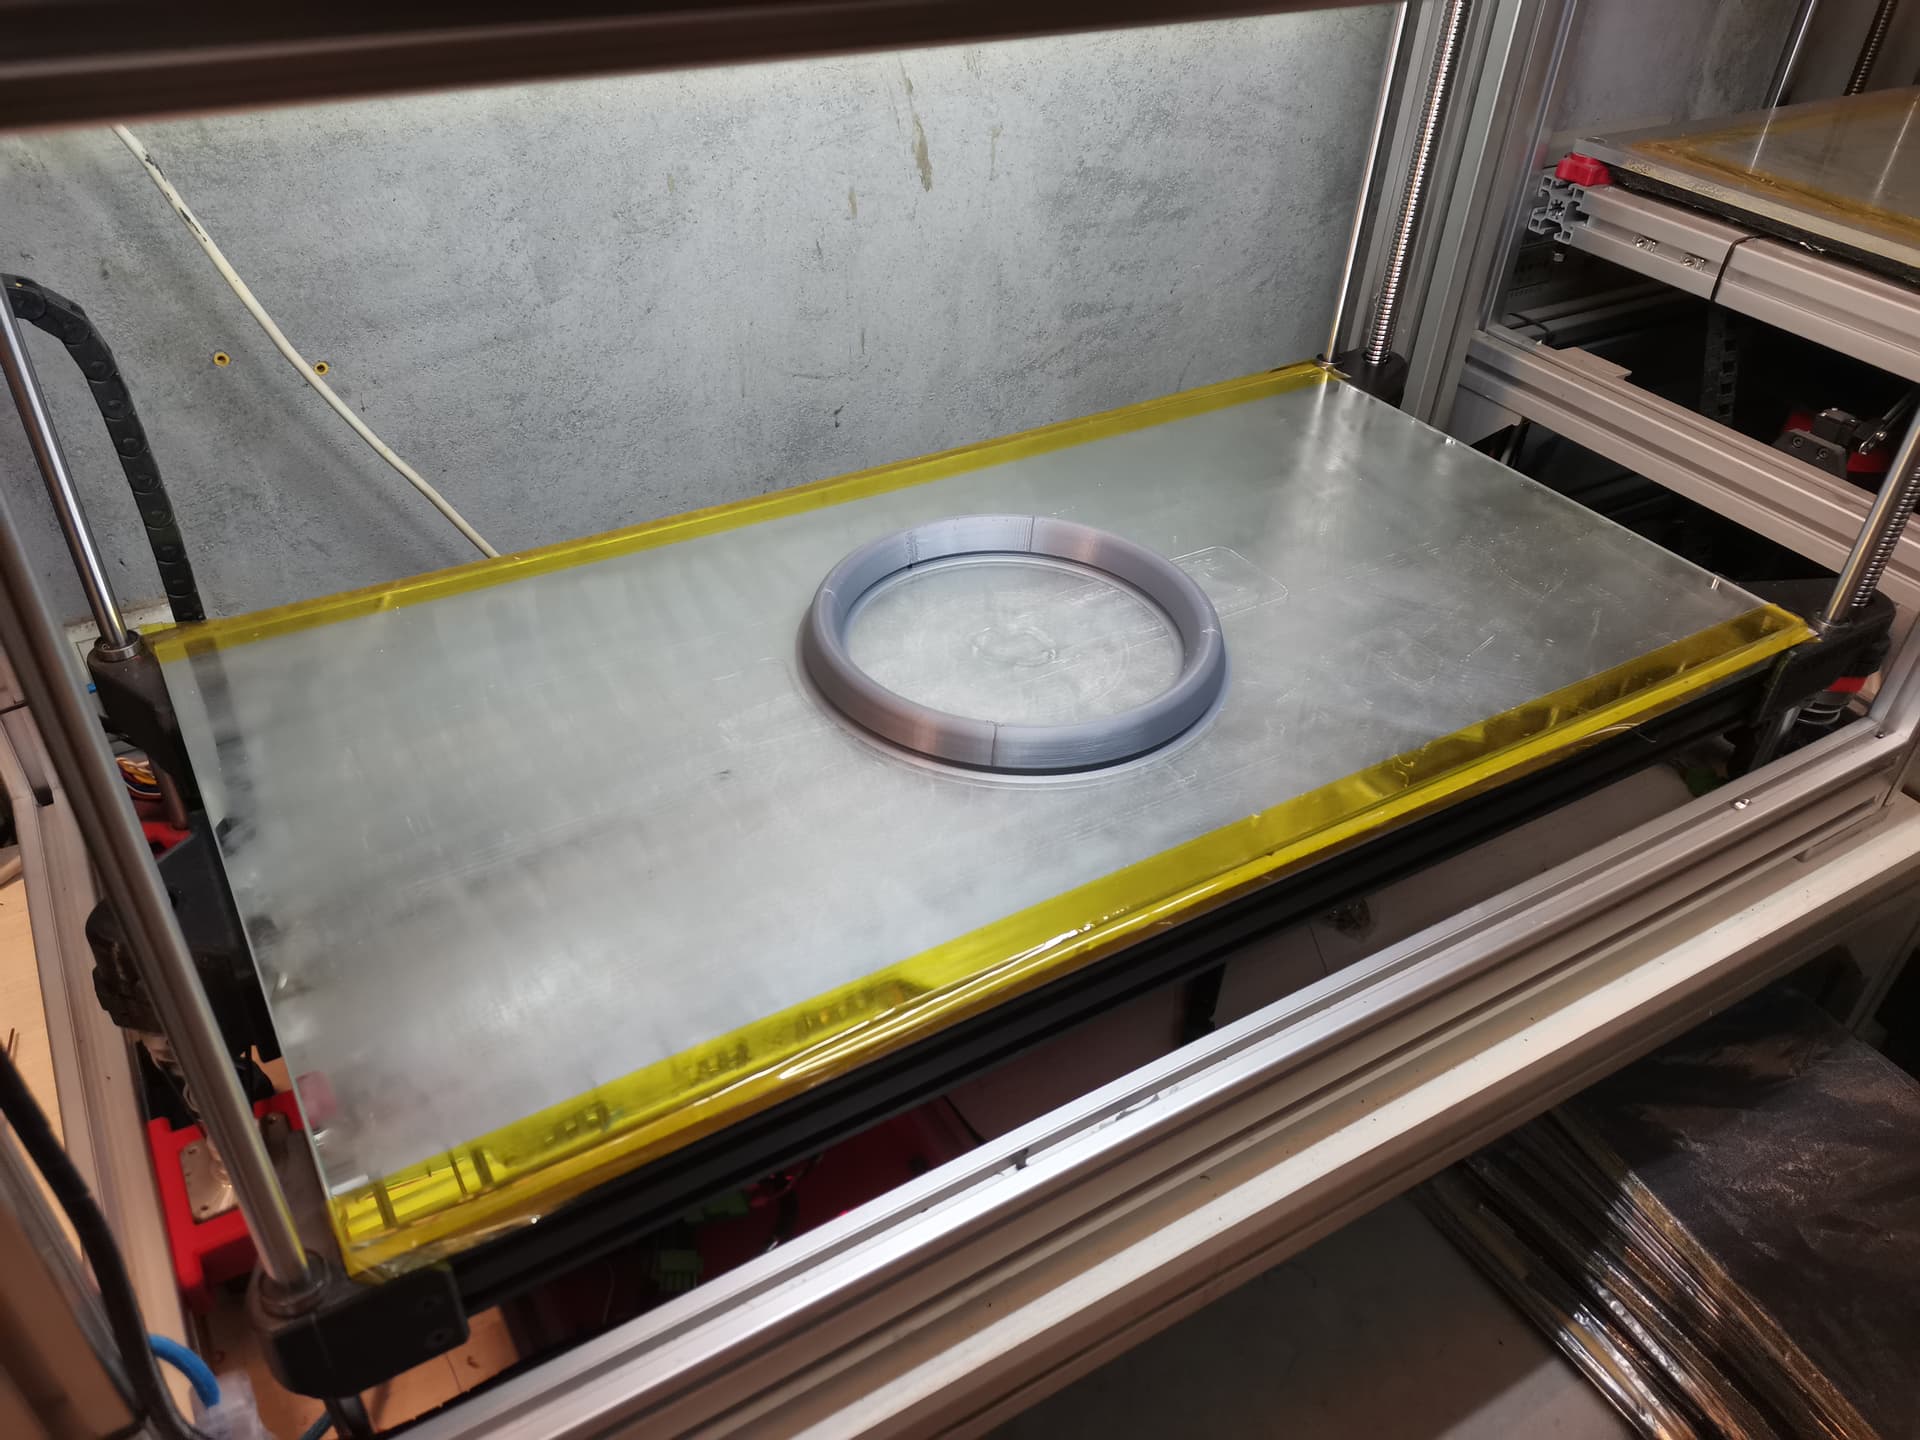
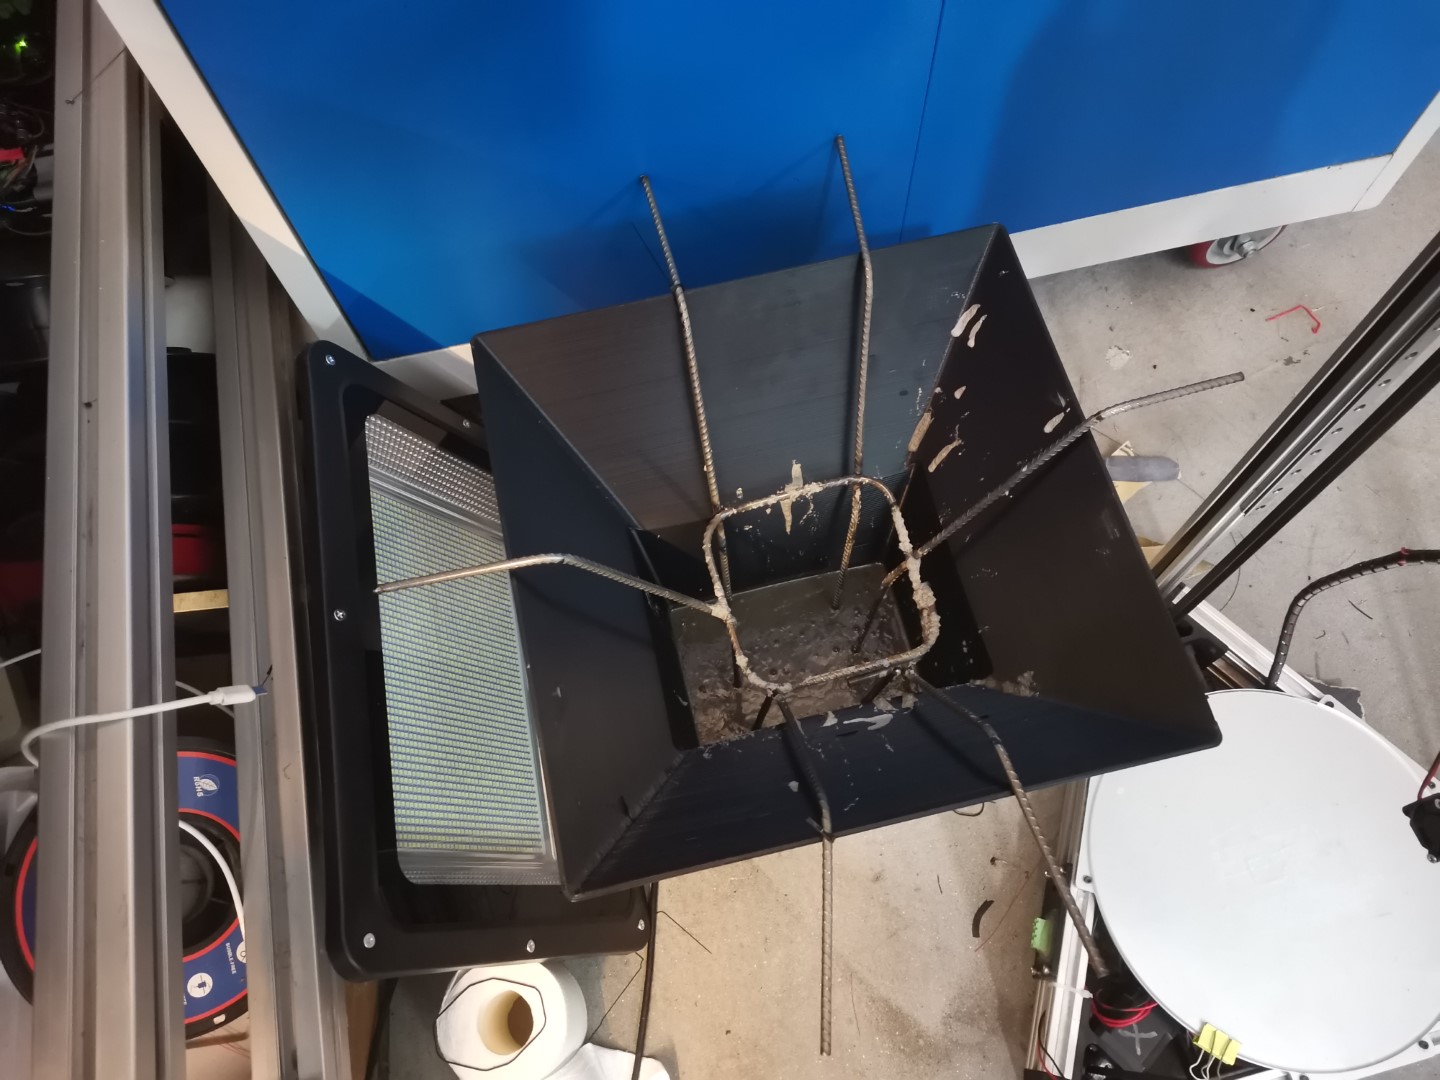
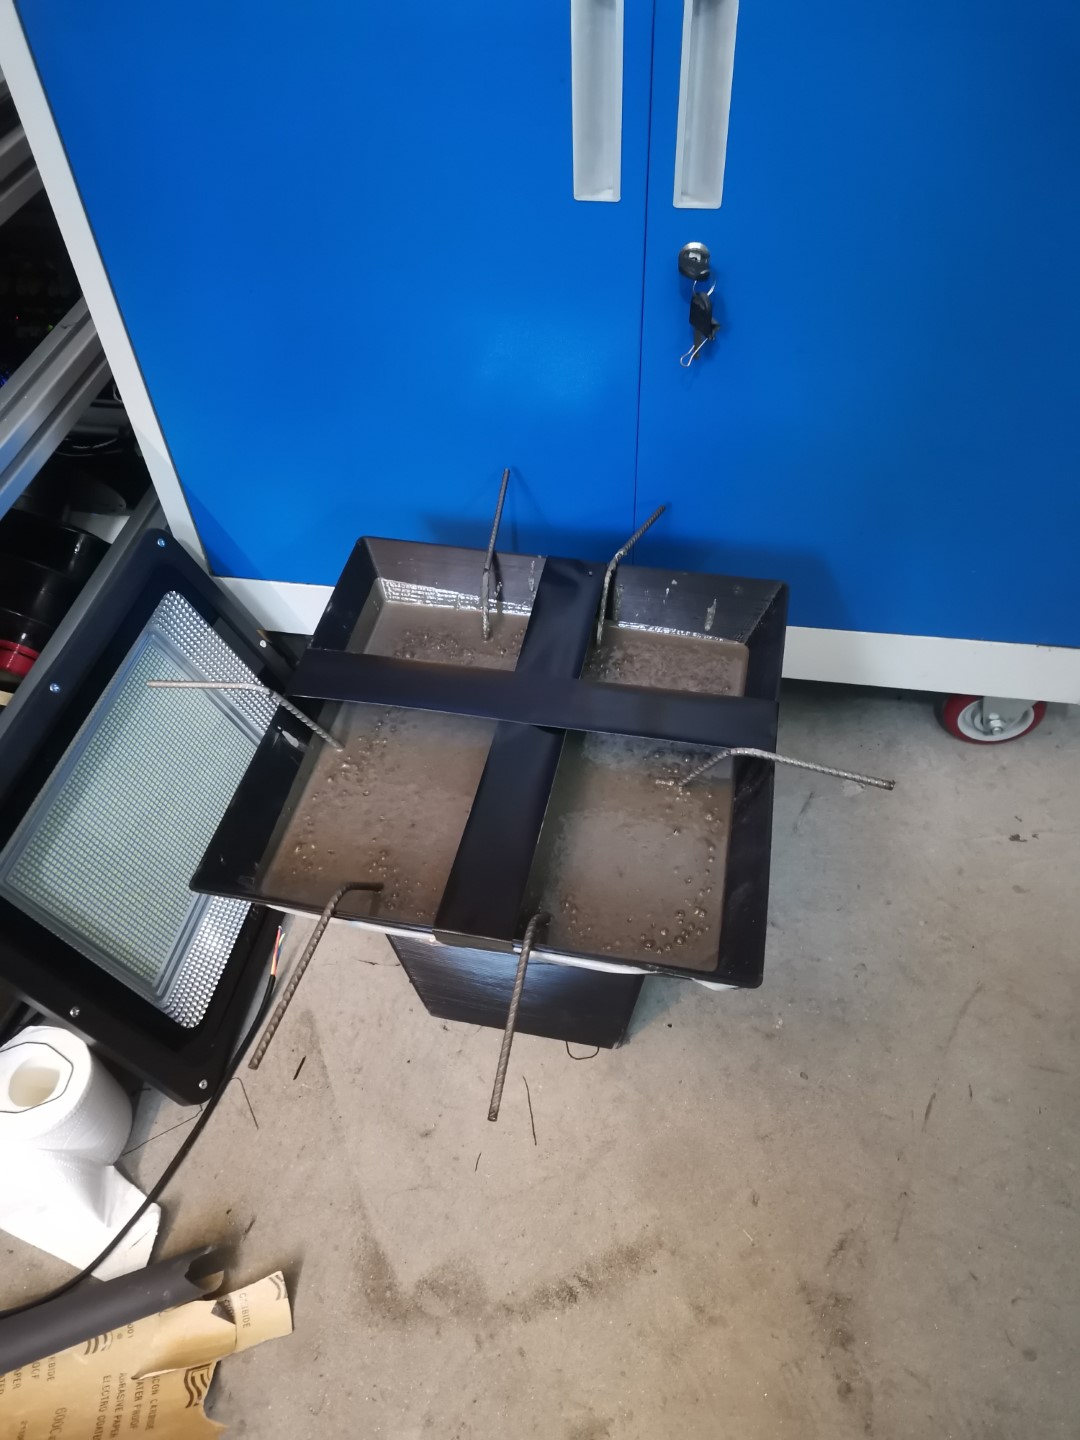
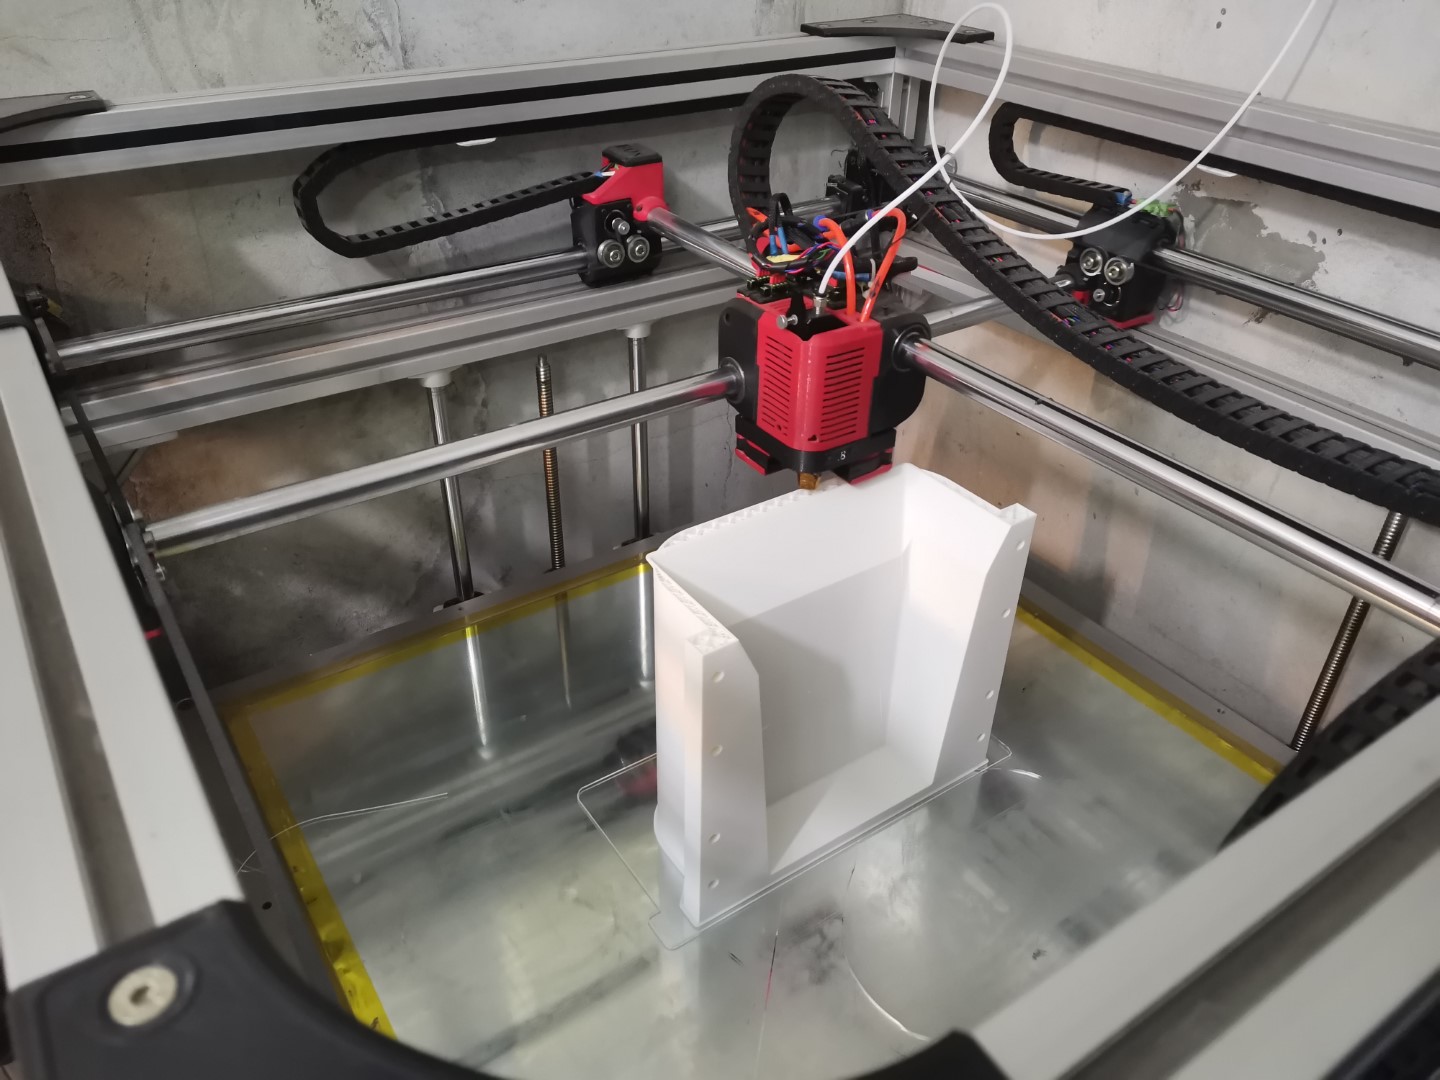
Then I printed a lot of parts for work, in order to test the design and see what needed to be upgraded:

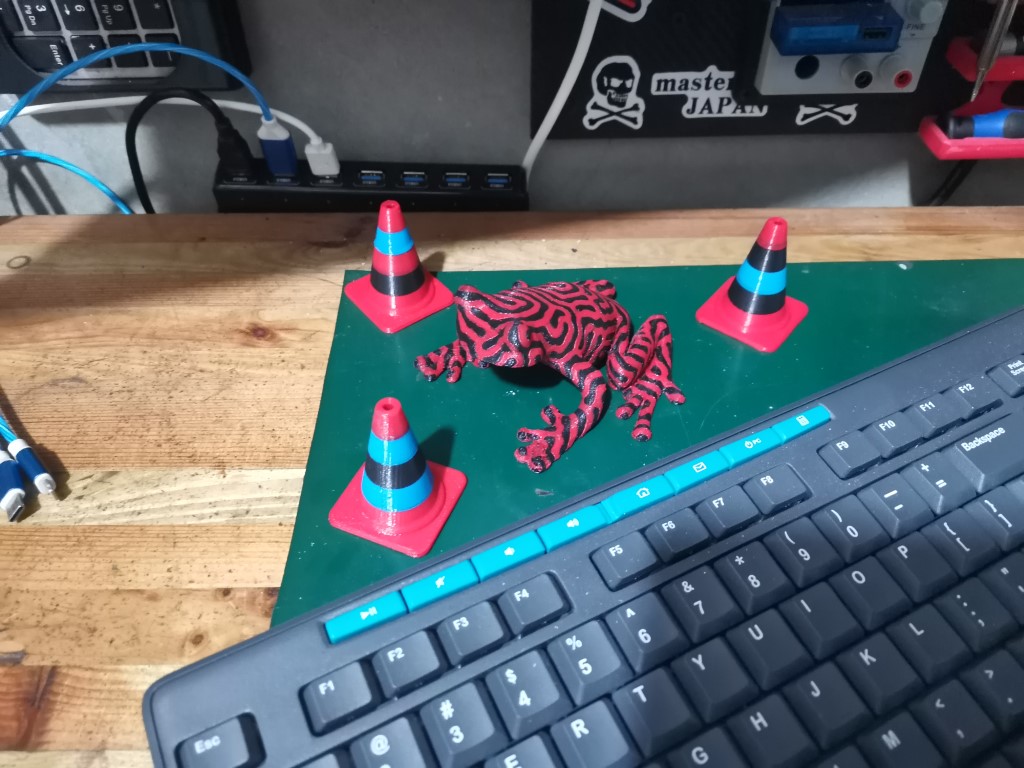
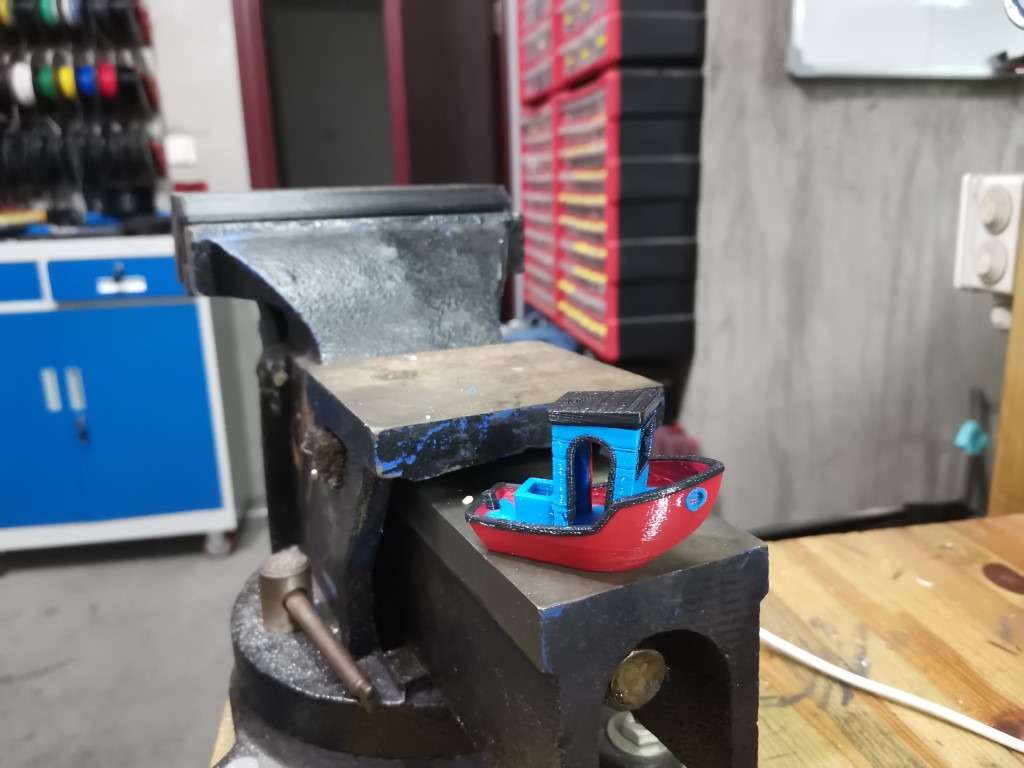
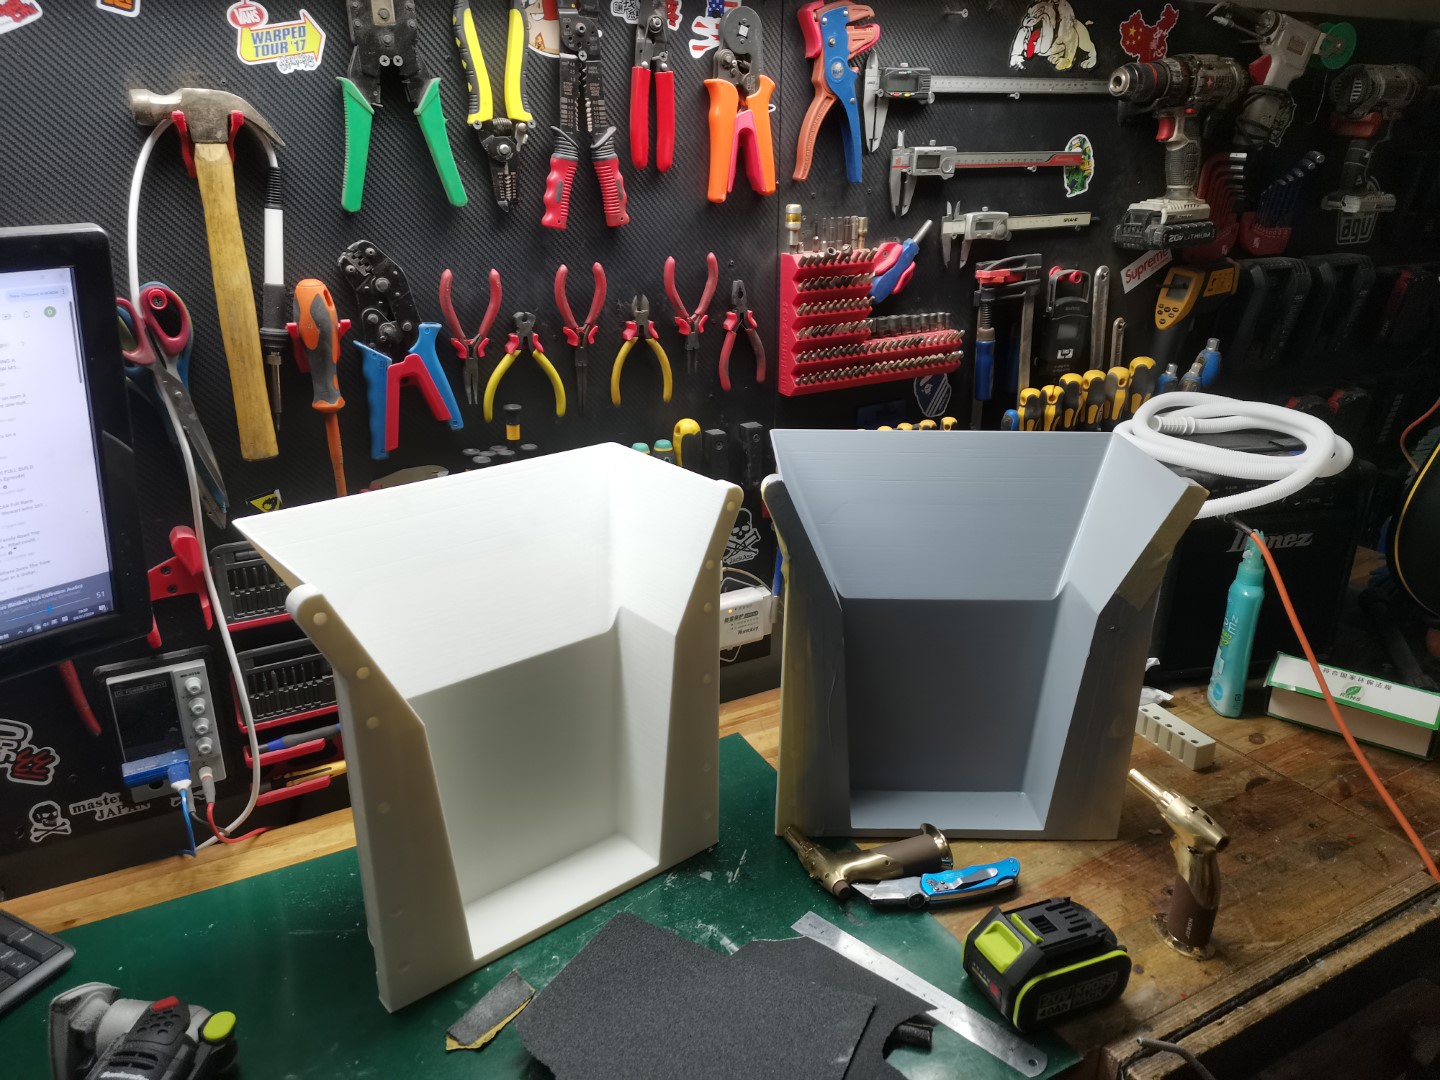
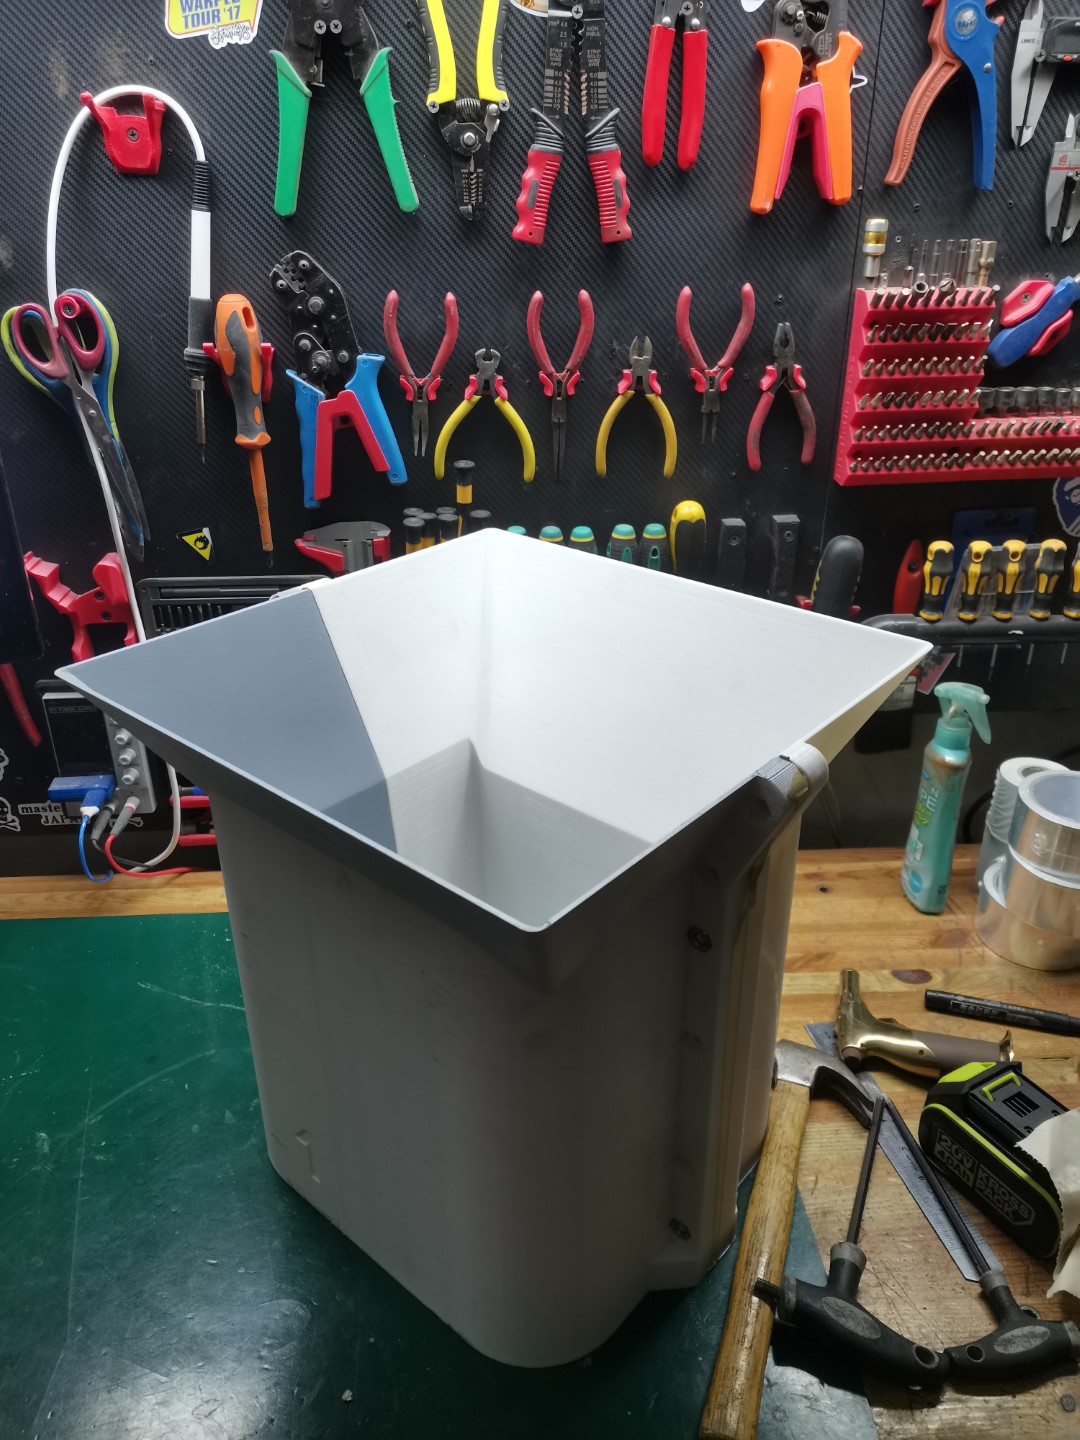
Also printed various other stuff, like this watering can for my wife:

The design proved to work fairly well, it is fast and reliable, the bed is incredibly flat so that makes for a perfect first layer everytime. But the print quality was a little bit disappointing, expecially on the Z axis where I had severe wobbling and artifacts. I forgot to took pictures, but the Z wobble was very bad, 0.4mm print looked like they were done with a 1.2mm nozzle.
It was ok for making structural/useful parts, but not acceptable for making aesthetically pleasant projects.

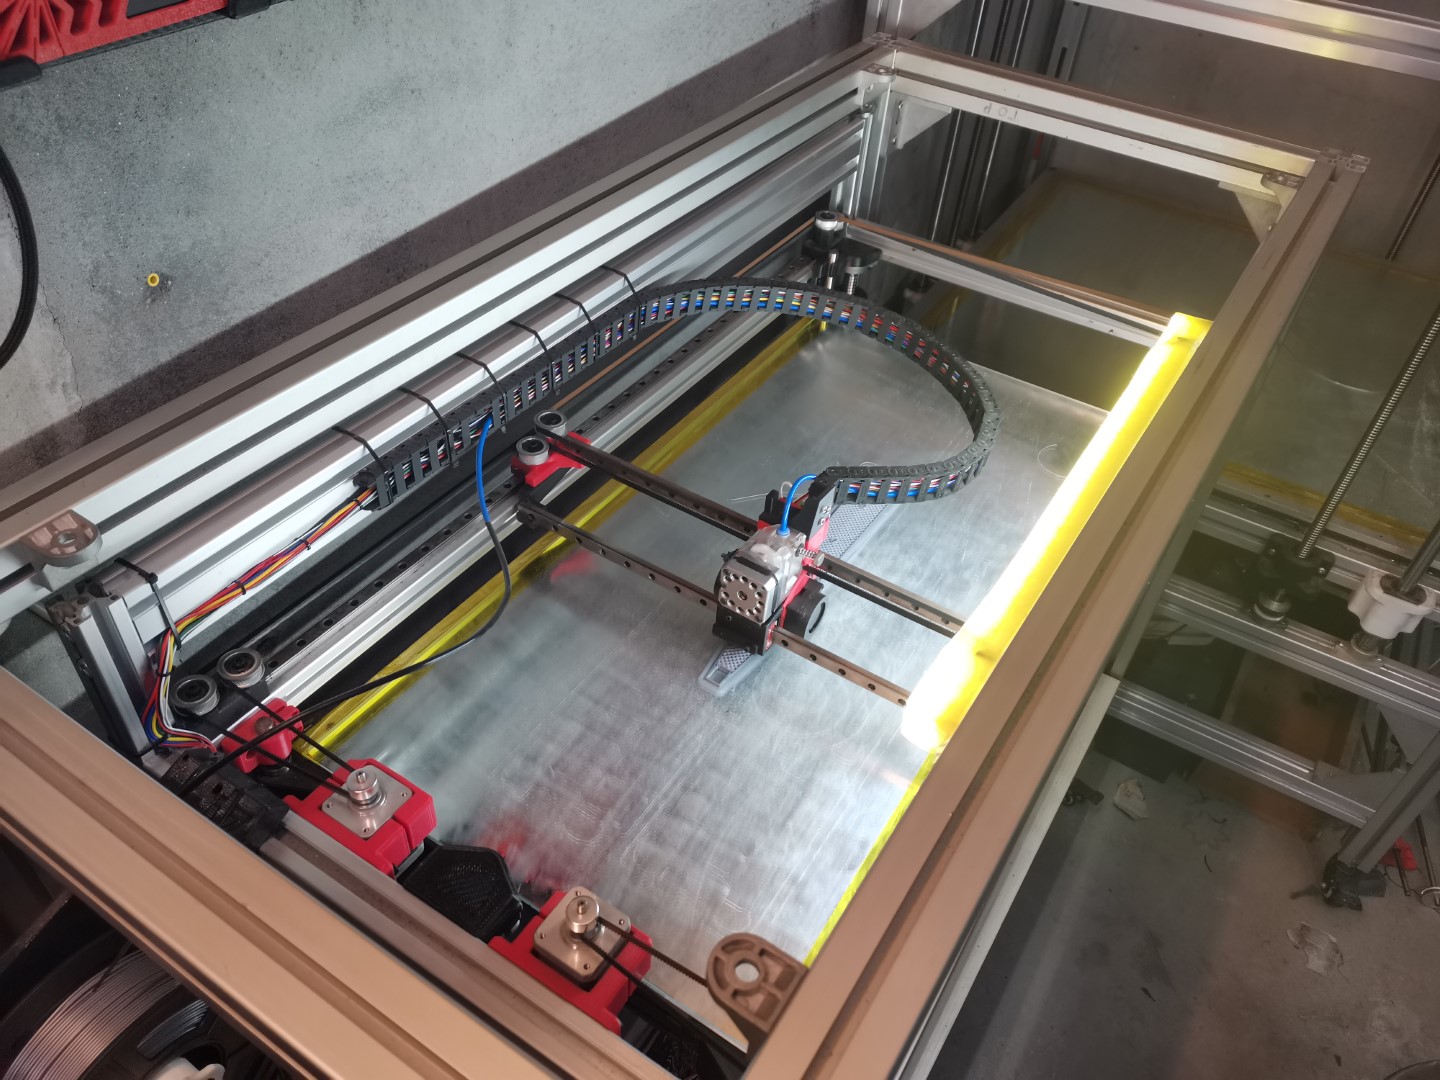
The first thing I noticed was that the head was moving a little bit during high accelerations. The reason is that the print head weight was only supported by a single linear rail and despite my best efforts to centralise the mass as much as possible it was a bit cantilevered.
So I simply added another linear rail to support the front of the print head:

It did improve the quality a little, but not as much as expected. The Z wobbling was still very significant.
The defect pattern seemed to completely correspond to the pitch of my lead screws.
I was using some regular acme threaded screws, with brass nuts, at 1mm pitch. This wasn’t really a wise choice, I thought it would add precision but it actually was quite the opposite. Moreover, the bed was painfully slow.

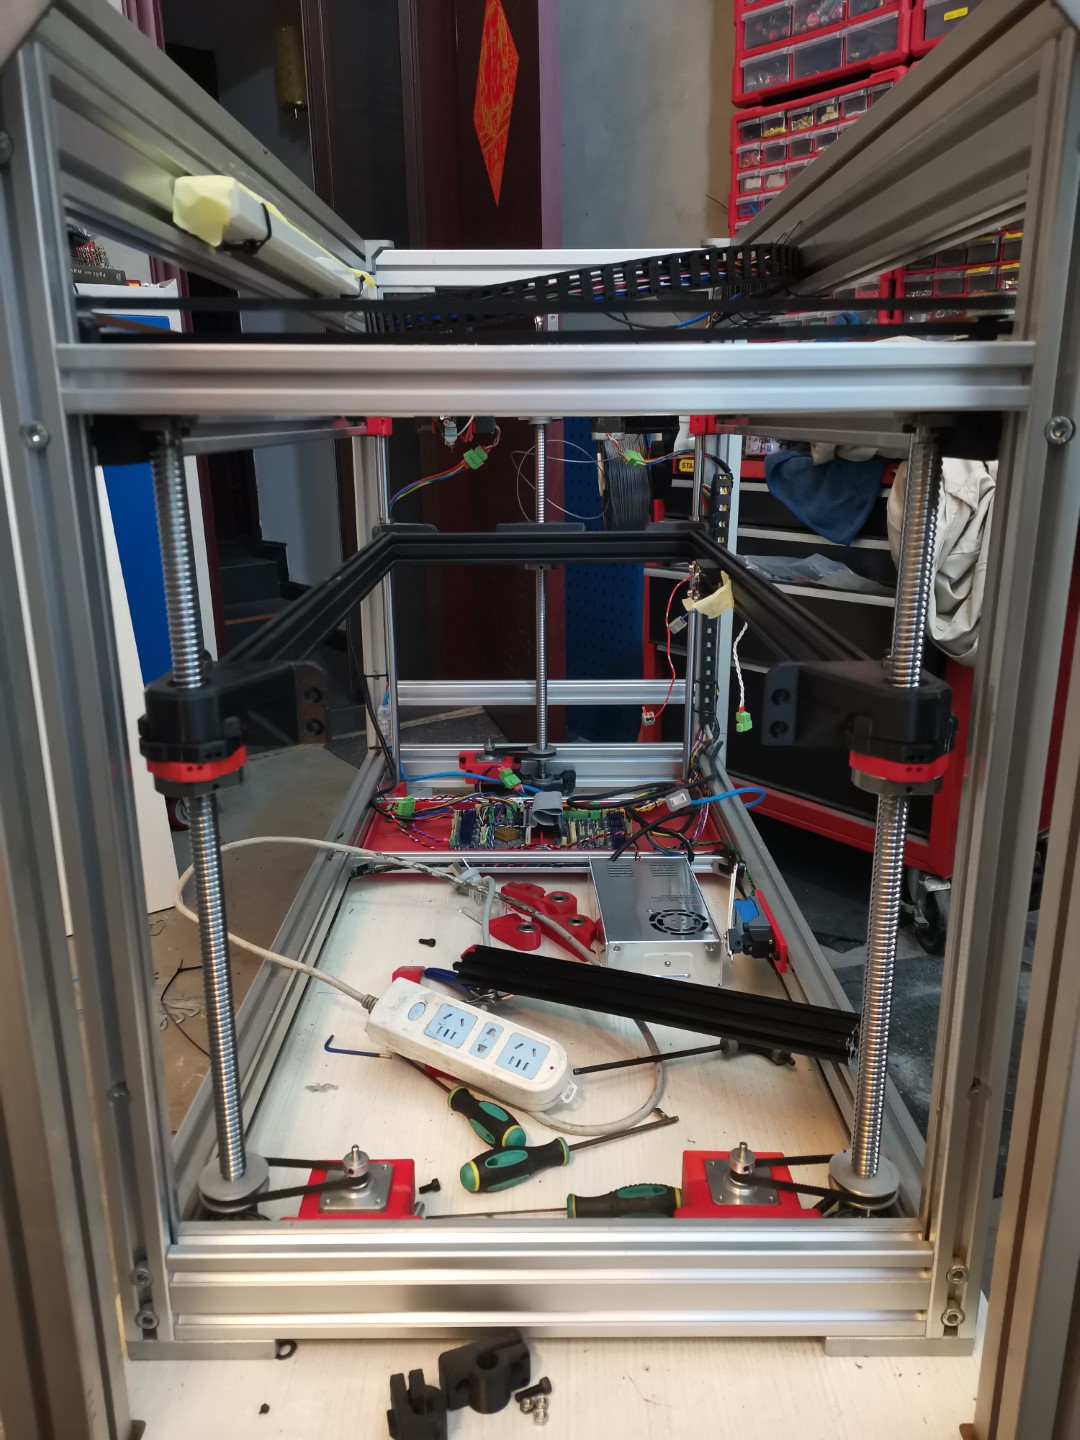
So I did a complete rethink of the whole Z axis system.
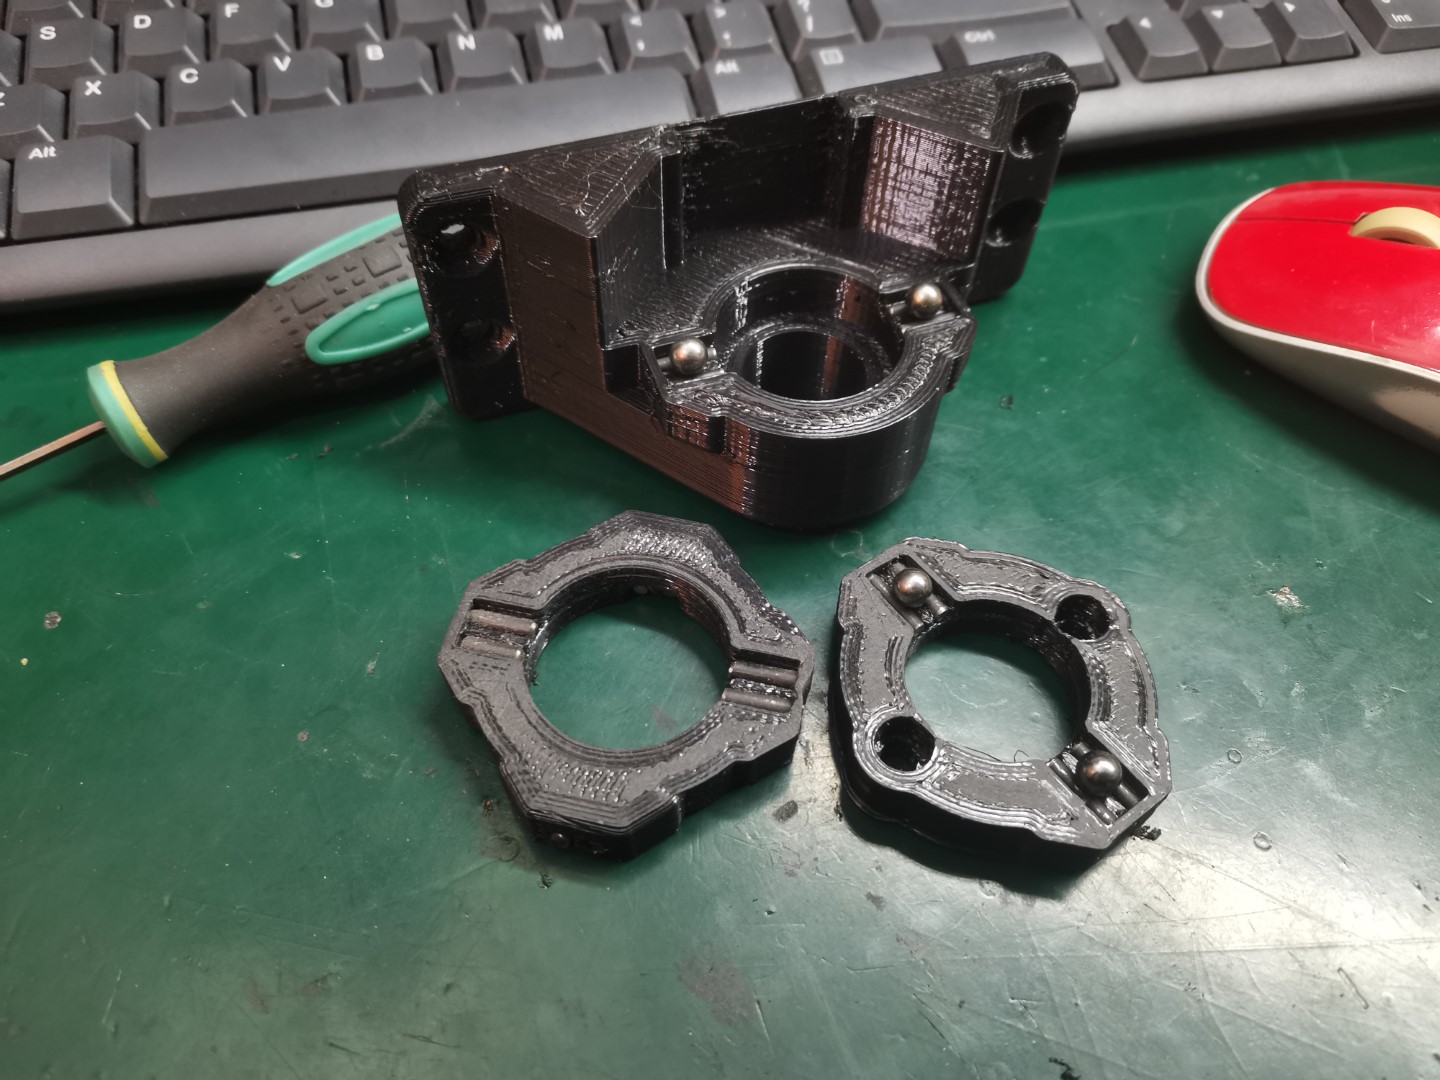
First, I ordered some nice ball screws. Then, I designed a system whose purpose is to completely decouple the ball screw X and Y movements from the Z axis. Meaning that even if the screws were completely warped it won’t affect at all the Z movement anymore.

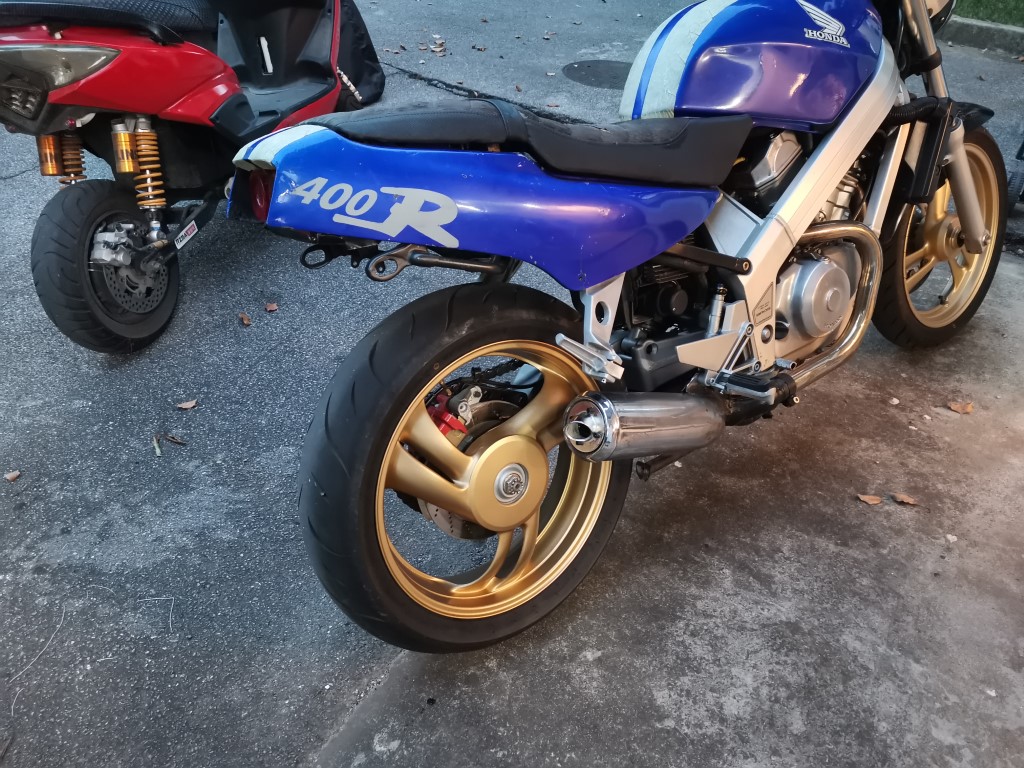
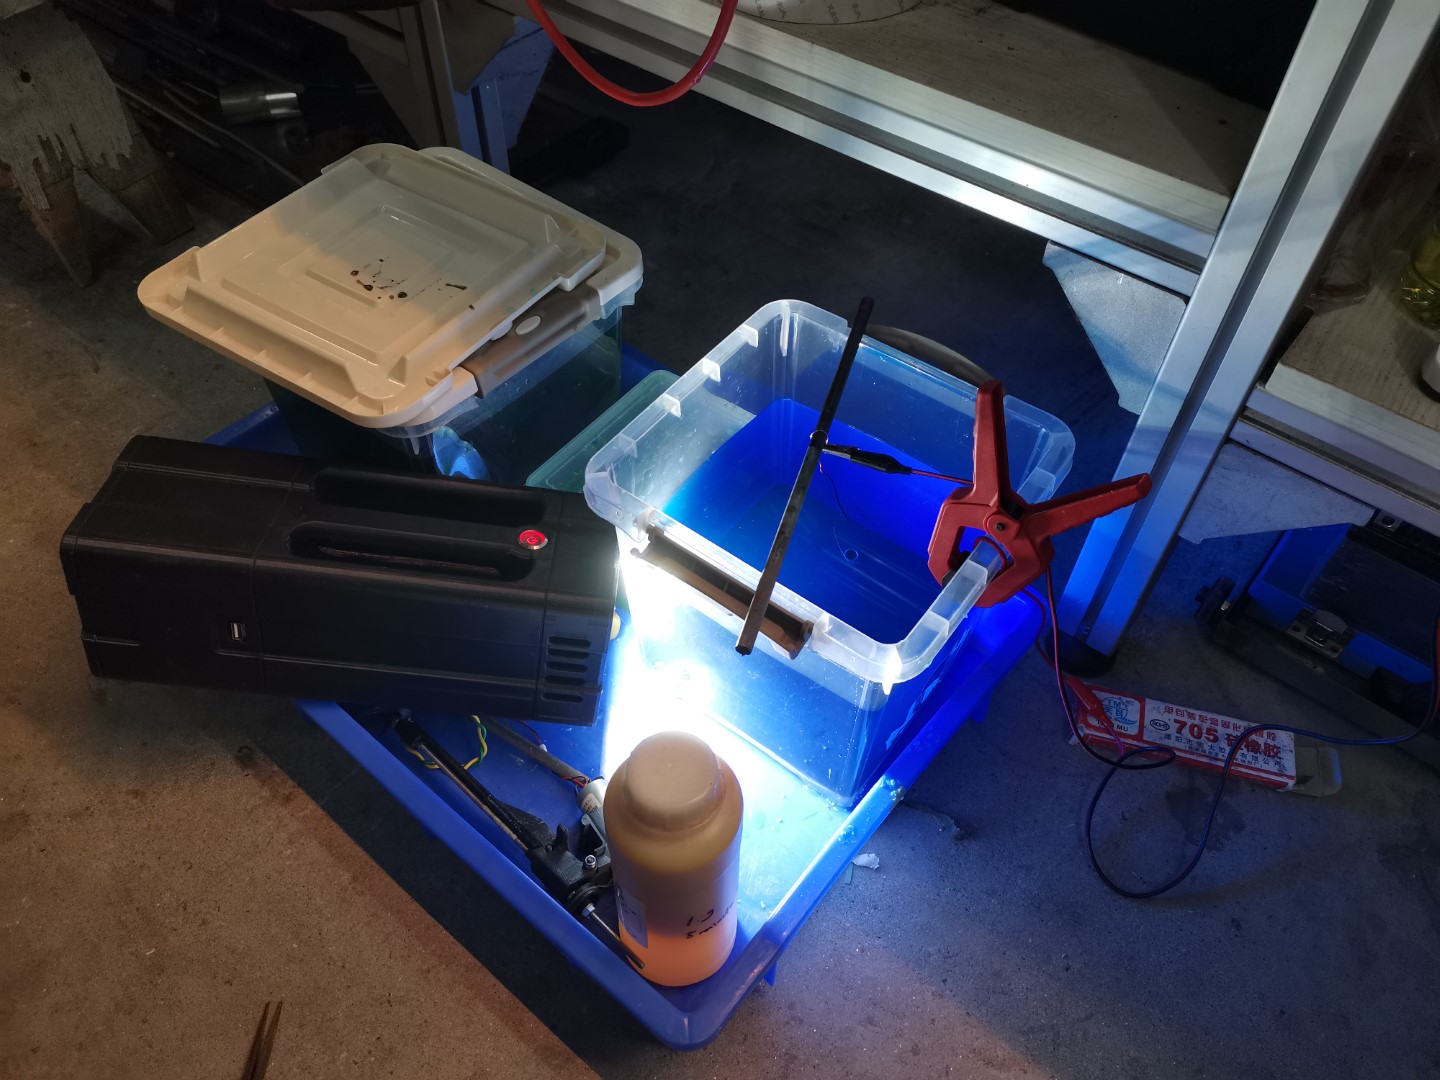
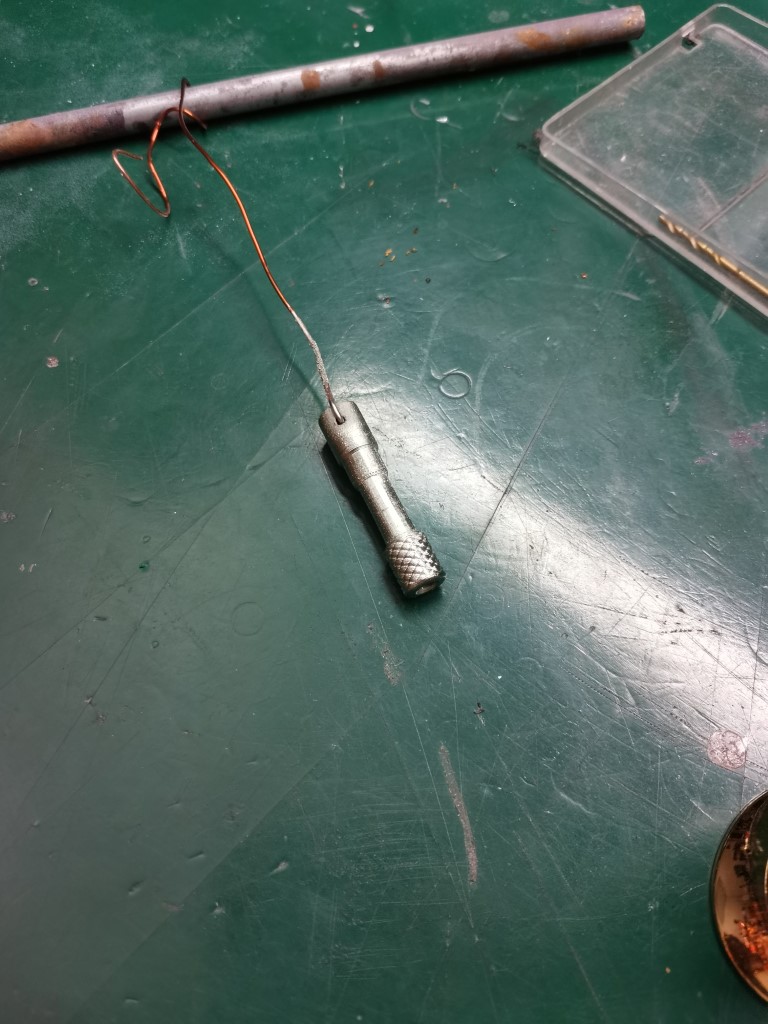
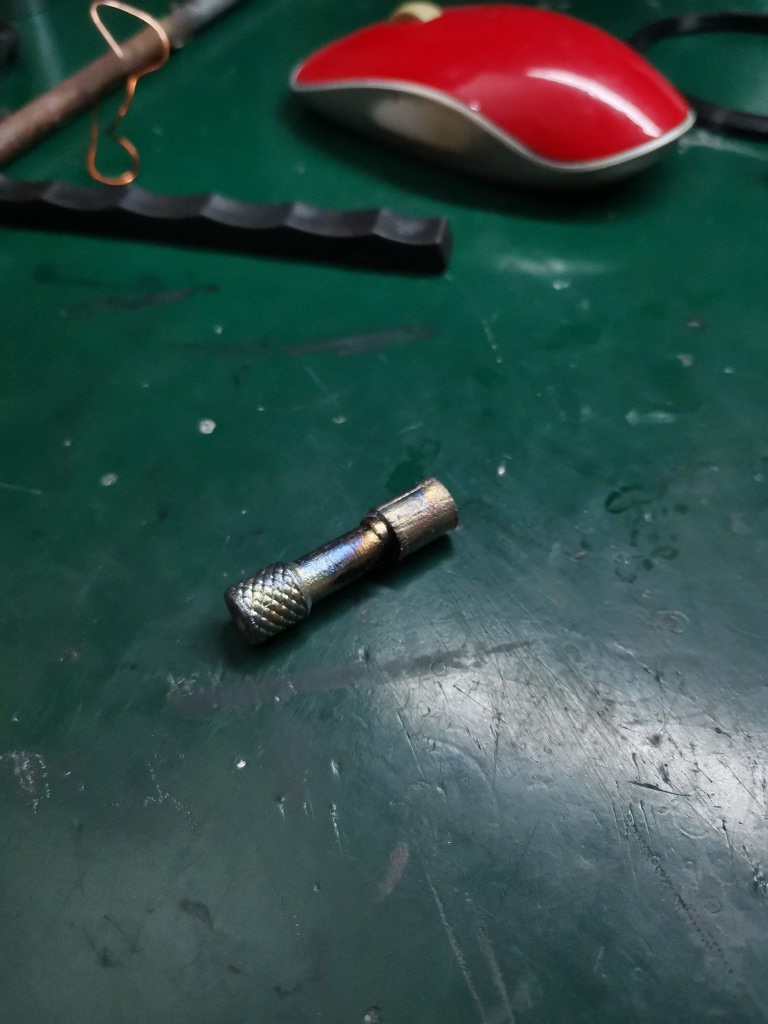
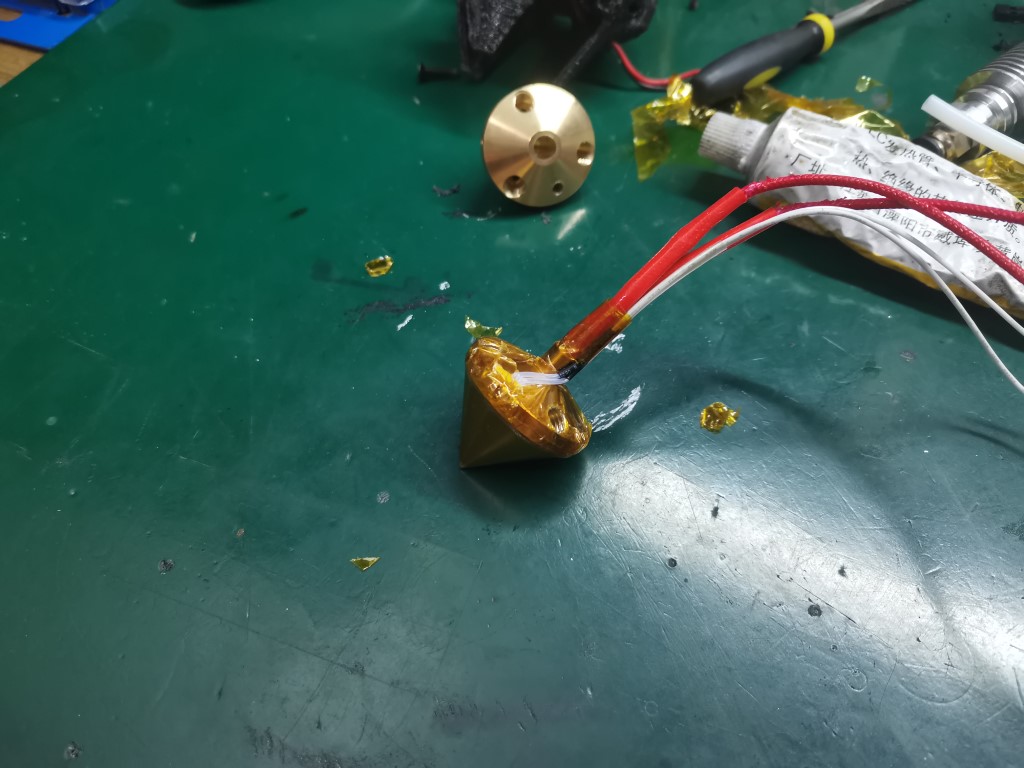
In order to to that, aside from the plastic parts, I only needed a few m3 steel rods and I used steel balls from a motorcycle steering column bearing I had around:

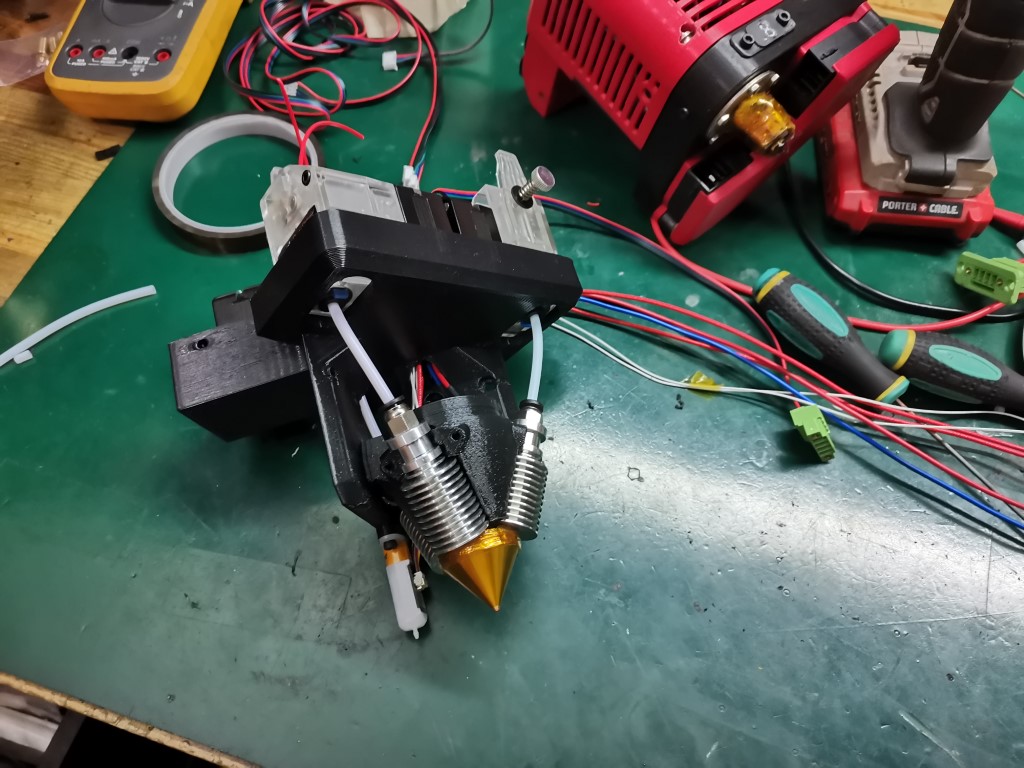
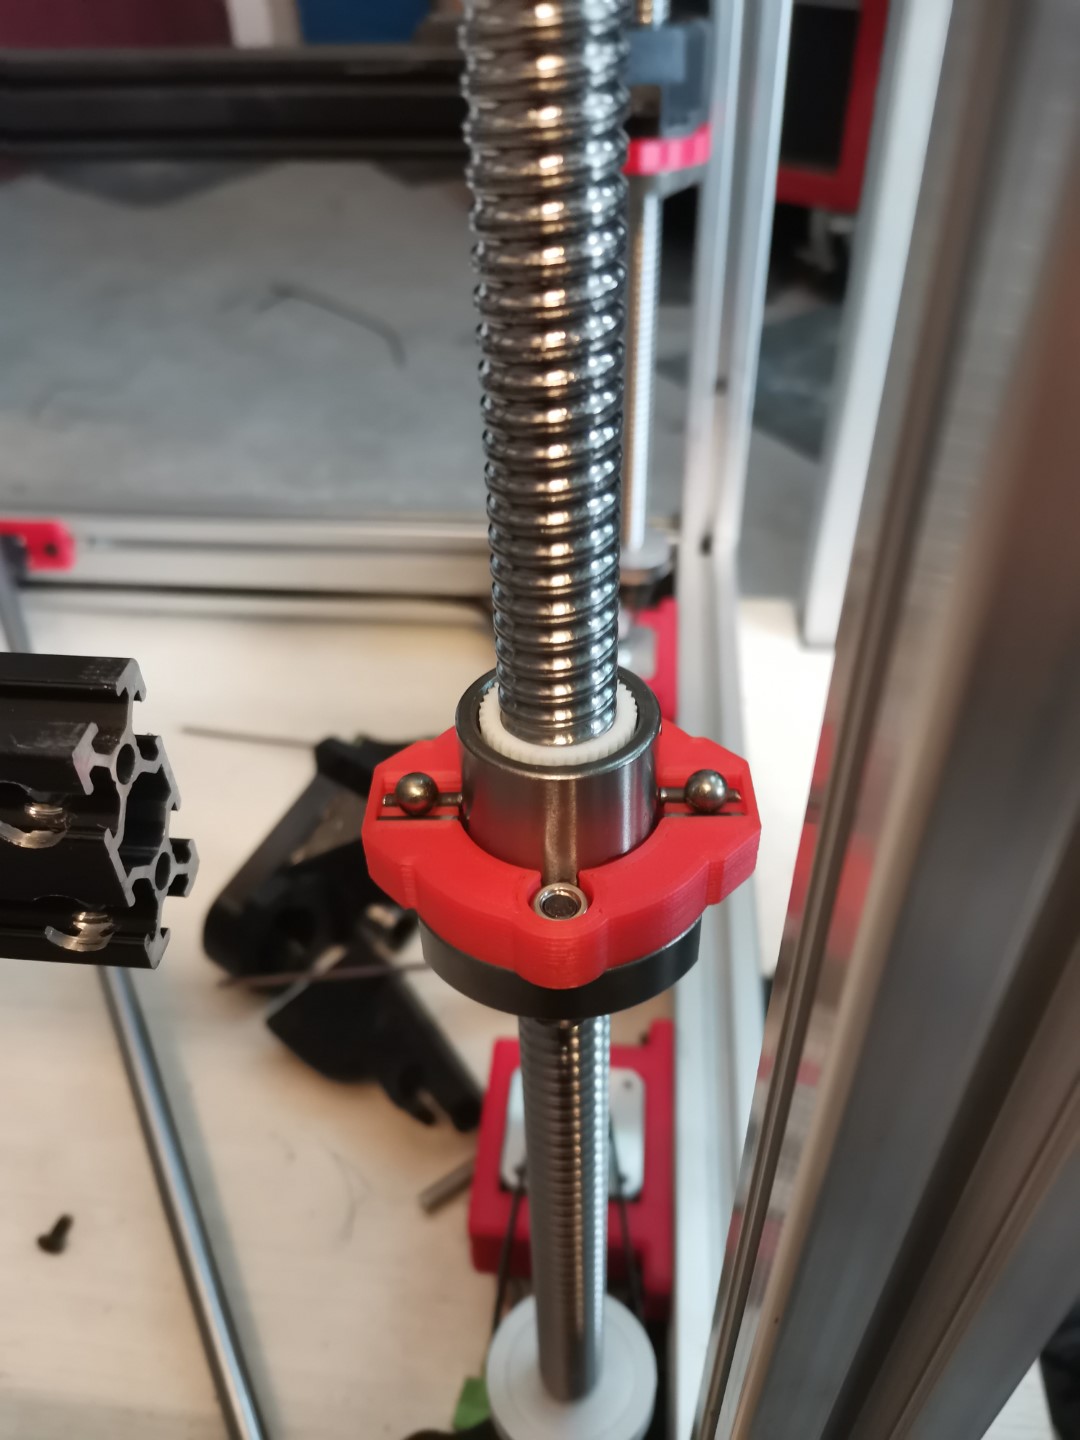
Then I installed all this system in the printer

The 3 Z axis are of course independant, which means they can correct any misalignment. It’s not intended for non planar printing because this would be impractical given the large size of the bed, I could only get some very shallow angles on X.

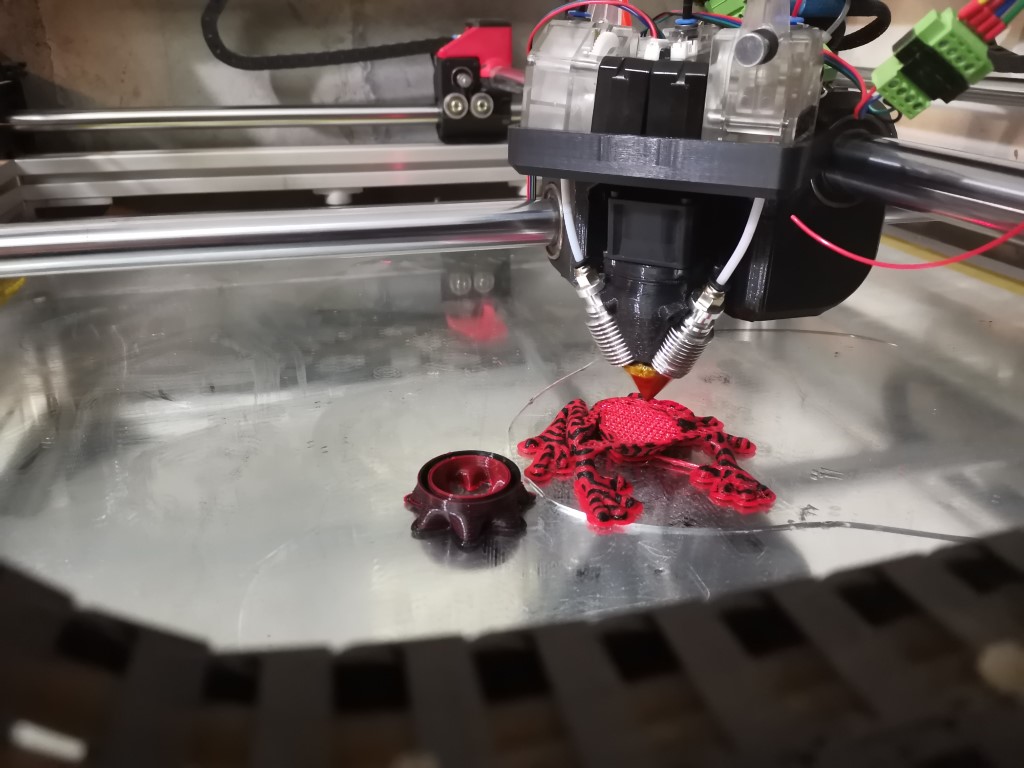
Anyway, I got the thing back together and started printing again… The Z wobble issue was completely gone, problem solved, but I then had a very weird issue: prints were slightly deformed on X and Y! circles were looking more like weird potatoes, squareness was off and straight lines were curved at what seemed to be random places. It was very puzzling and took me a few hours to figure it out as there was nothing very obviouly wrong with it.

Turns out it was the belts. The first time I built the printer I hesitated between kevlar and steel belts. So I’ve installed both to experiment and see whichever would last. Well, as everyone probably guessed already, the steel ones weren’t up to the task. The steel cores probably broke and the belt got slightly elongated at some spots, which messed up the movements.

Everything got back to normal after replacing the steel belt.

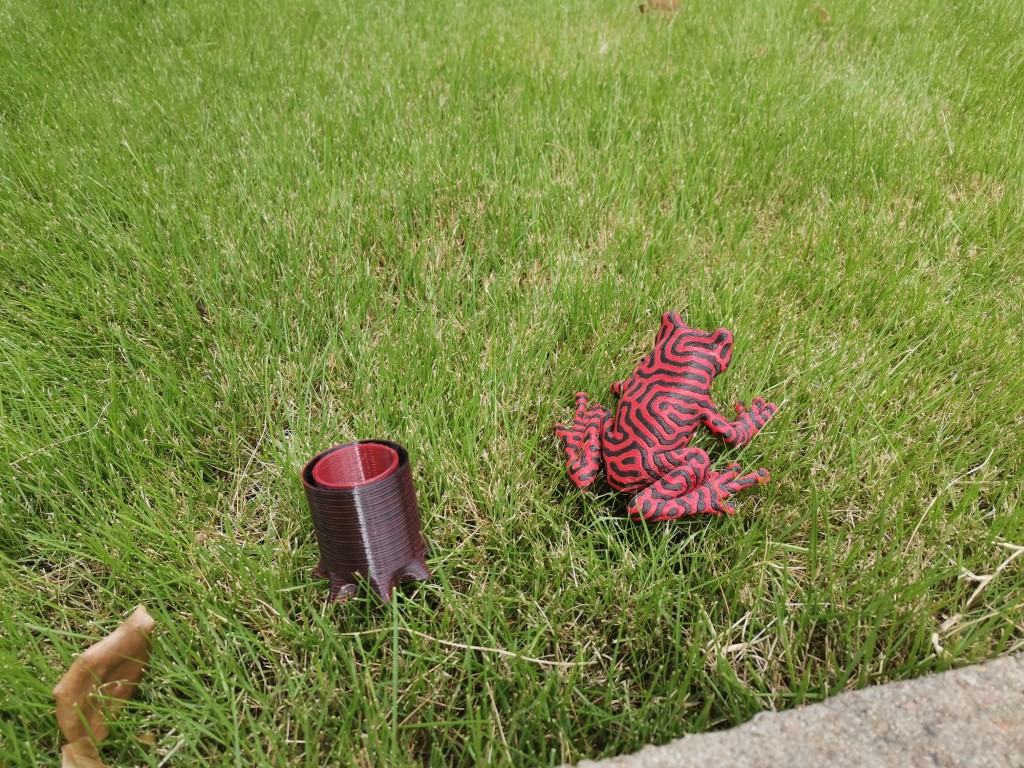
So now it was time for a nice project to actually push the printer to its limit and see what it was capable of.
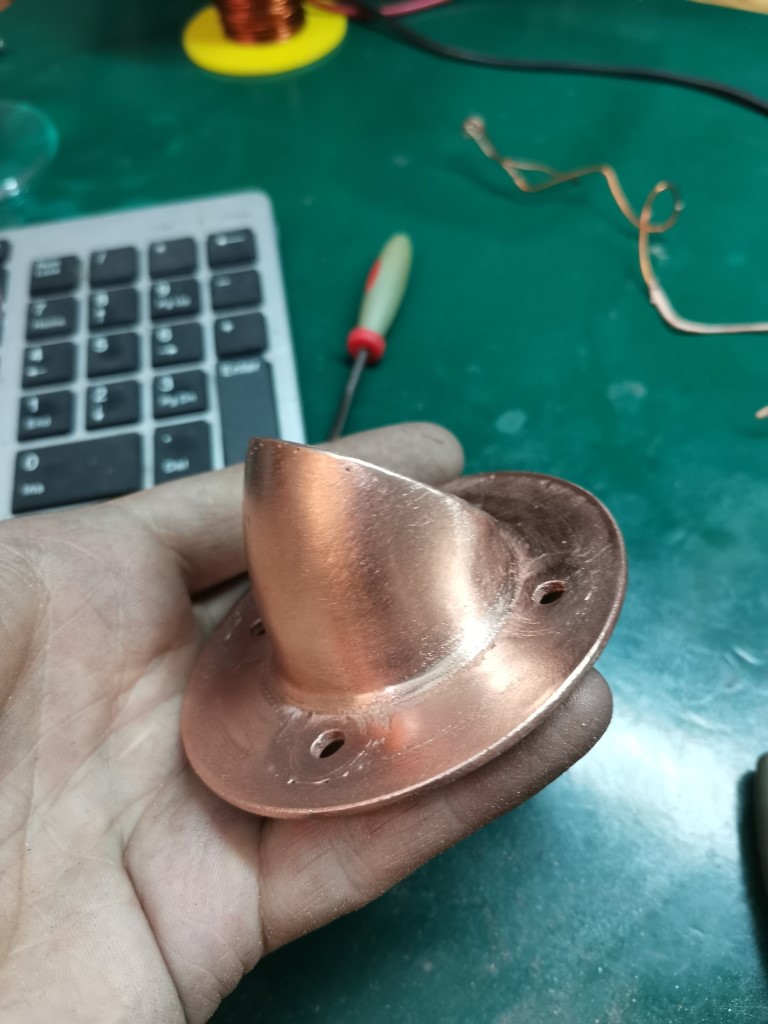
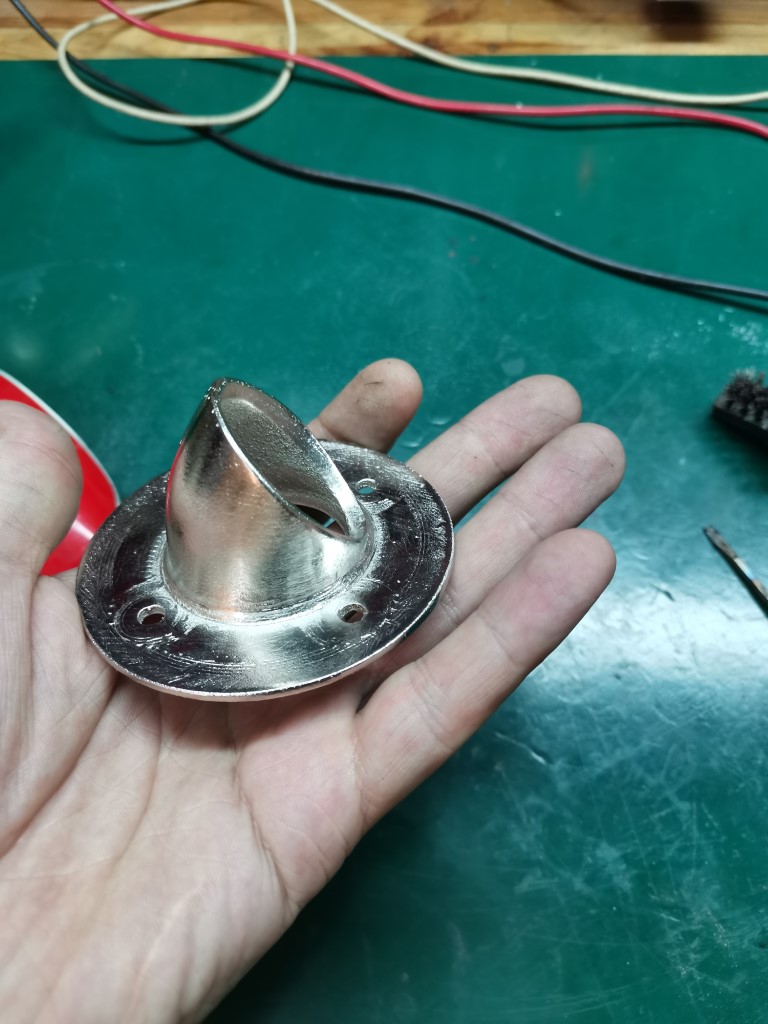
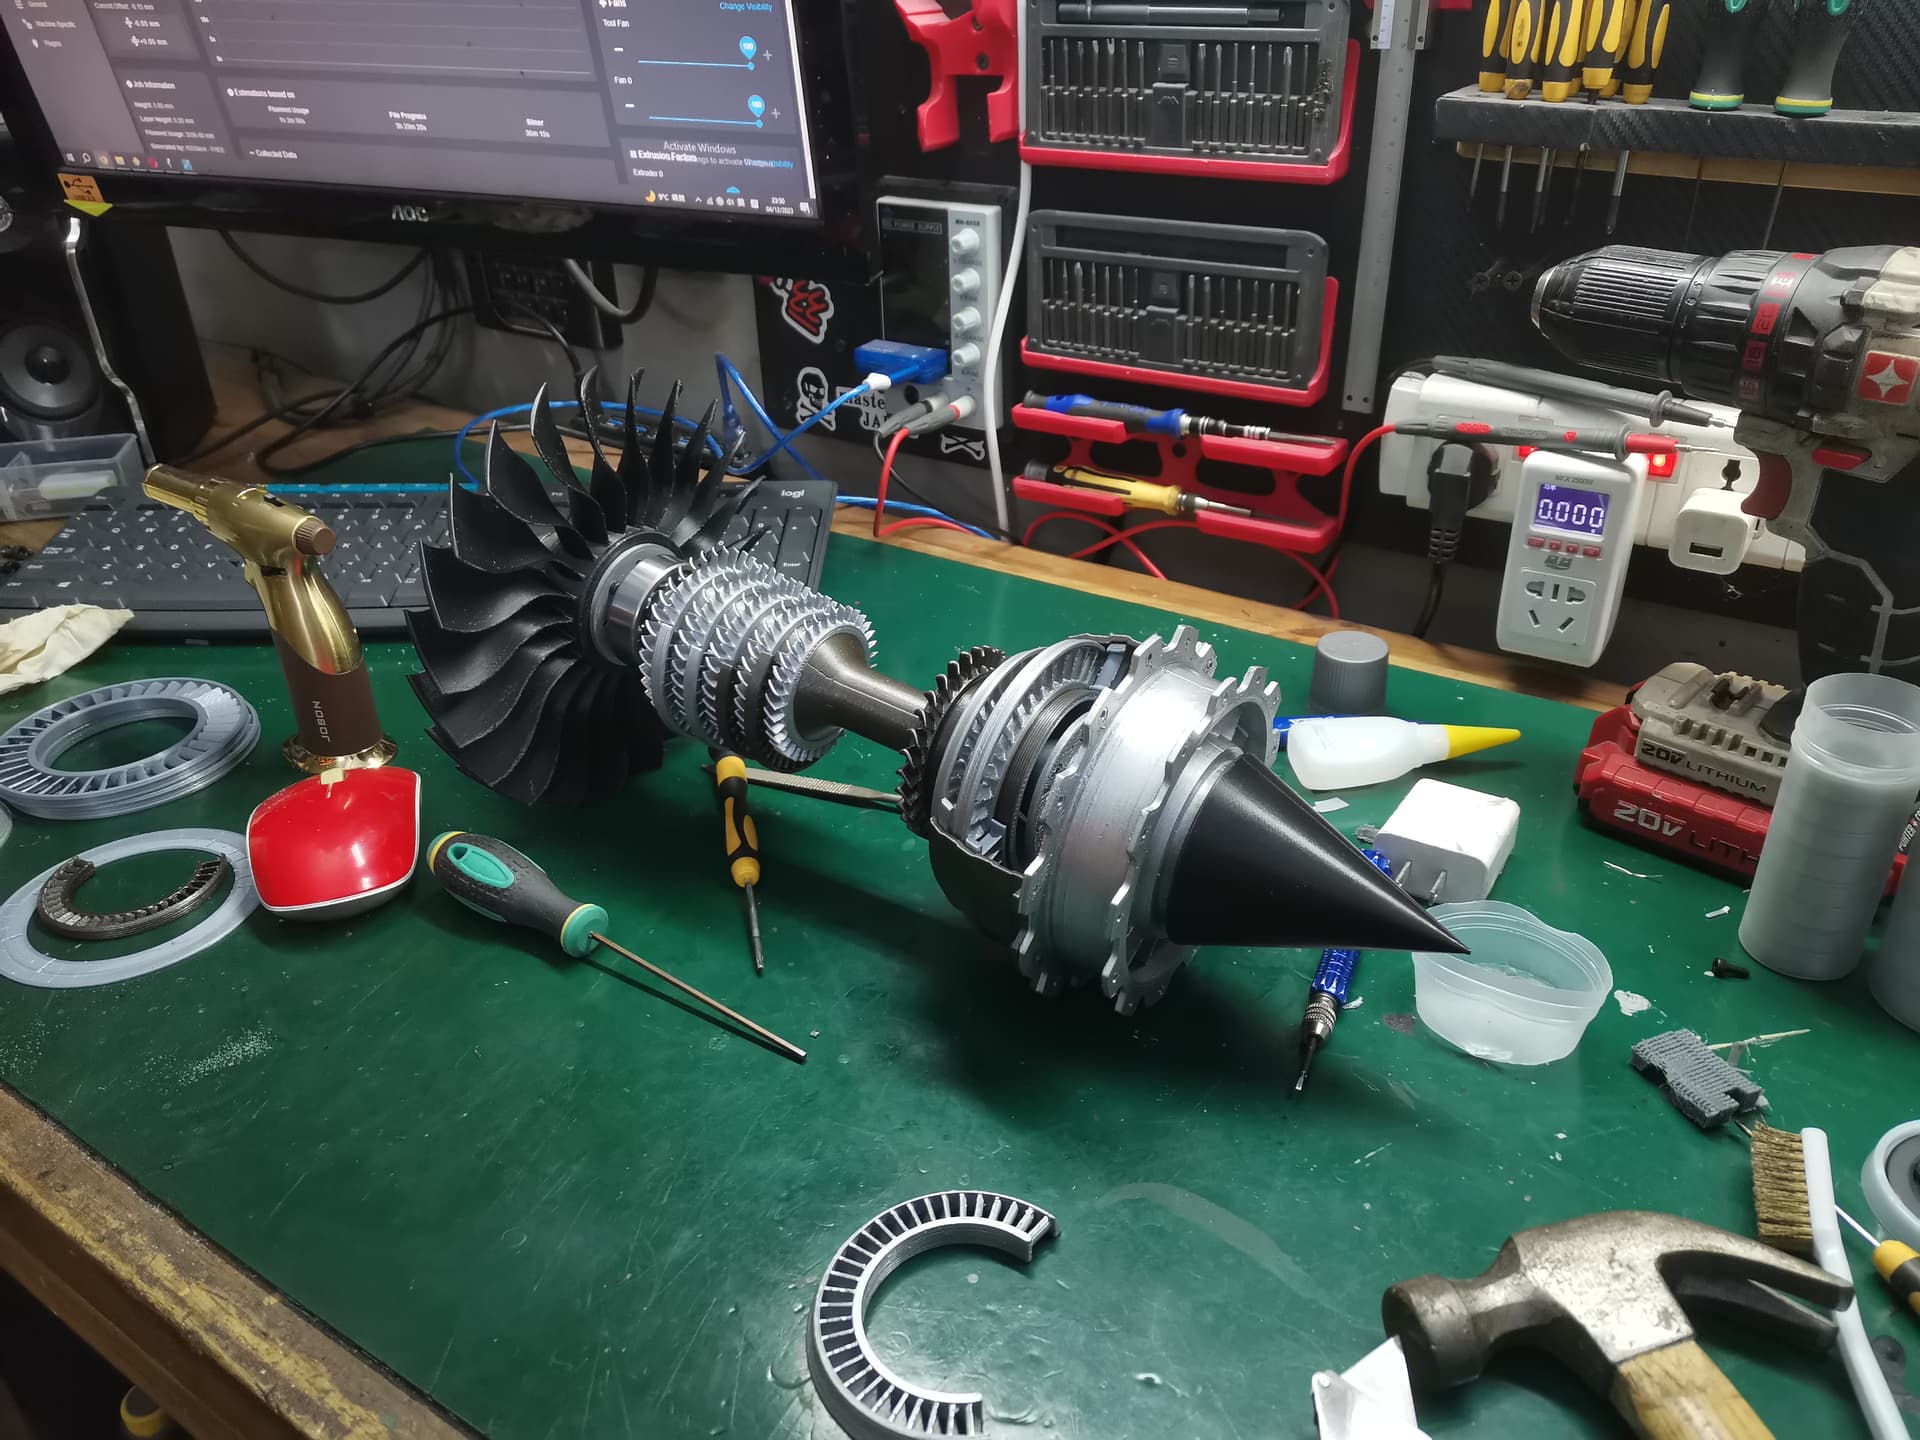
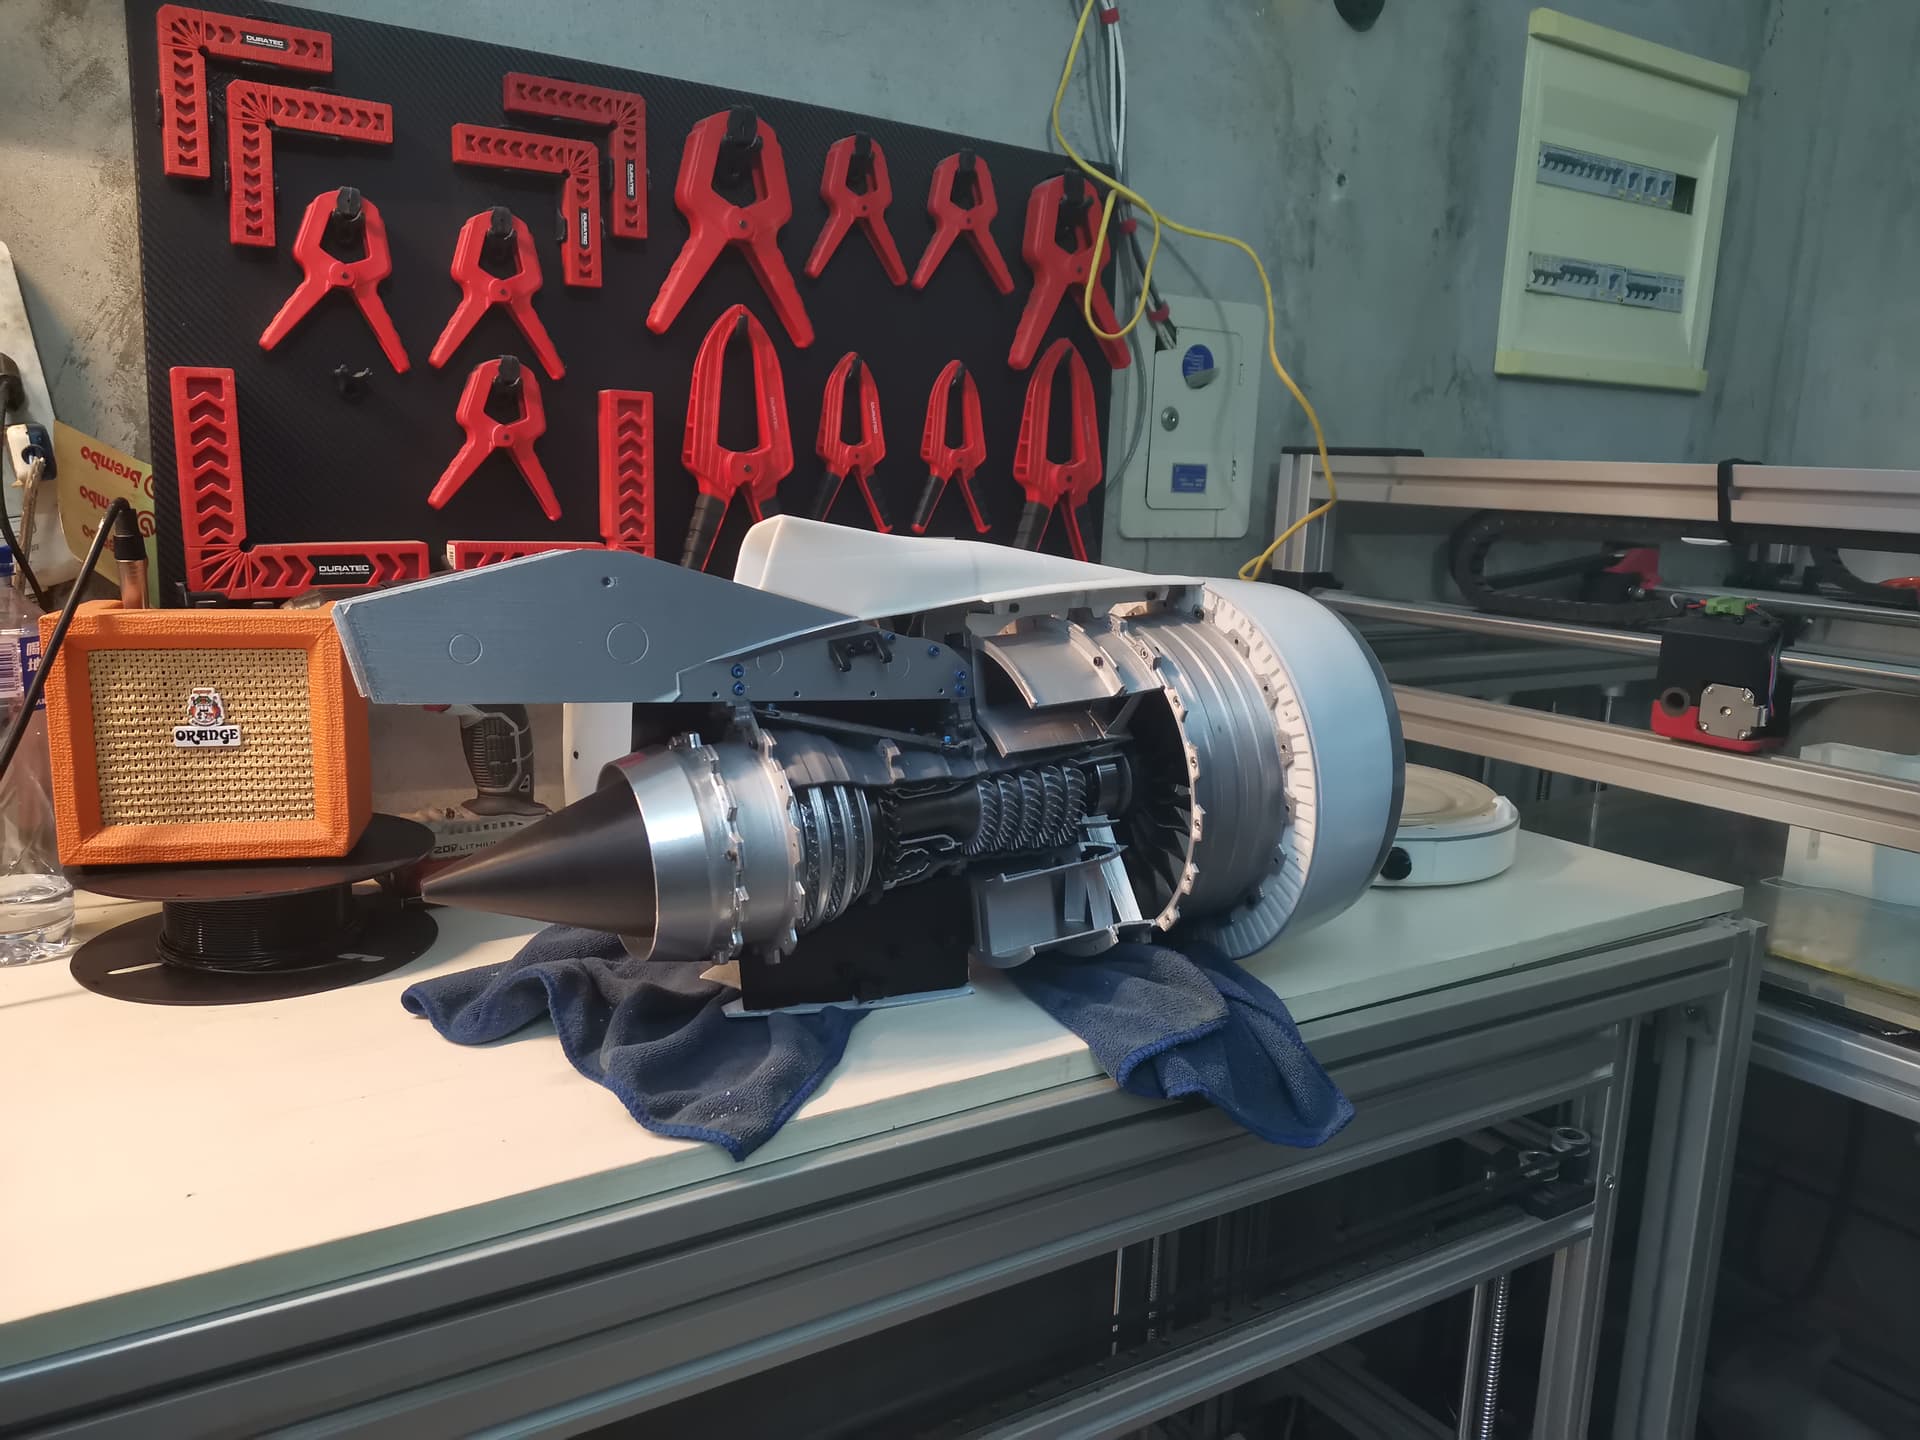
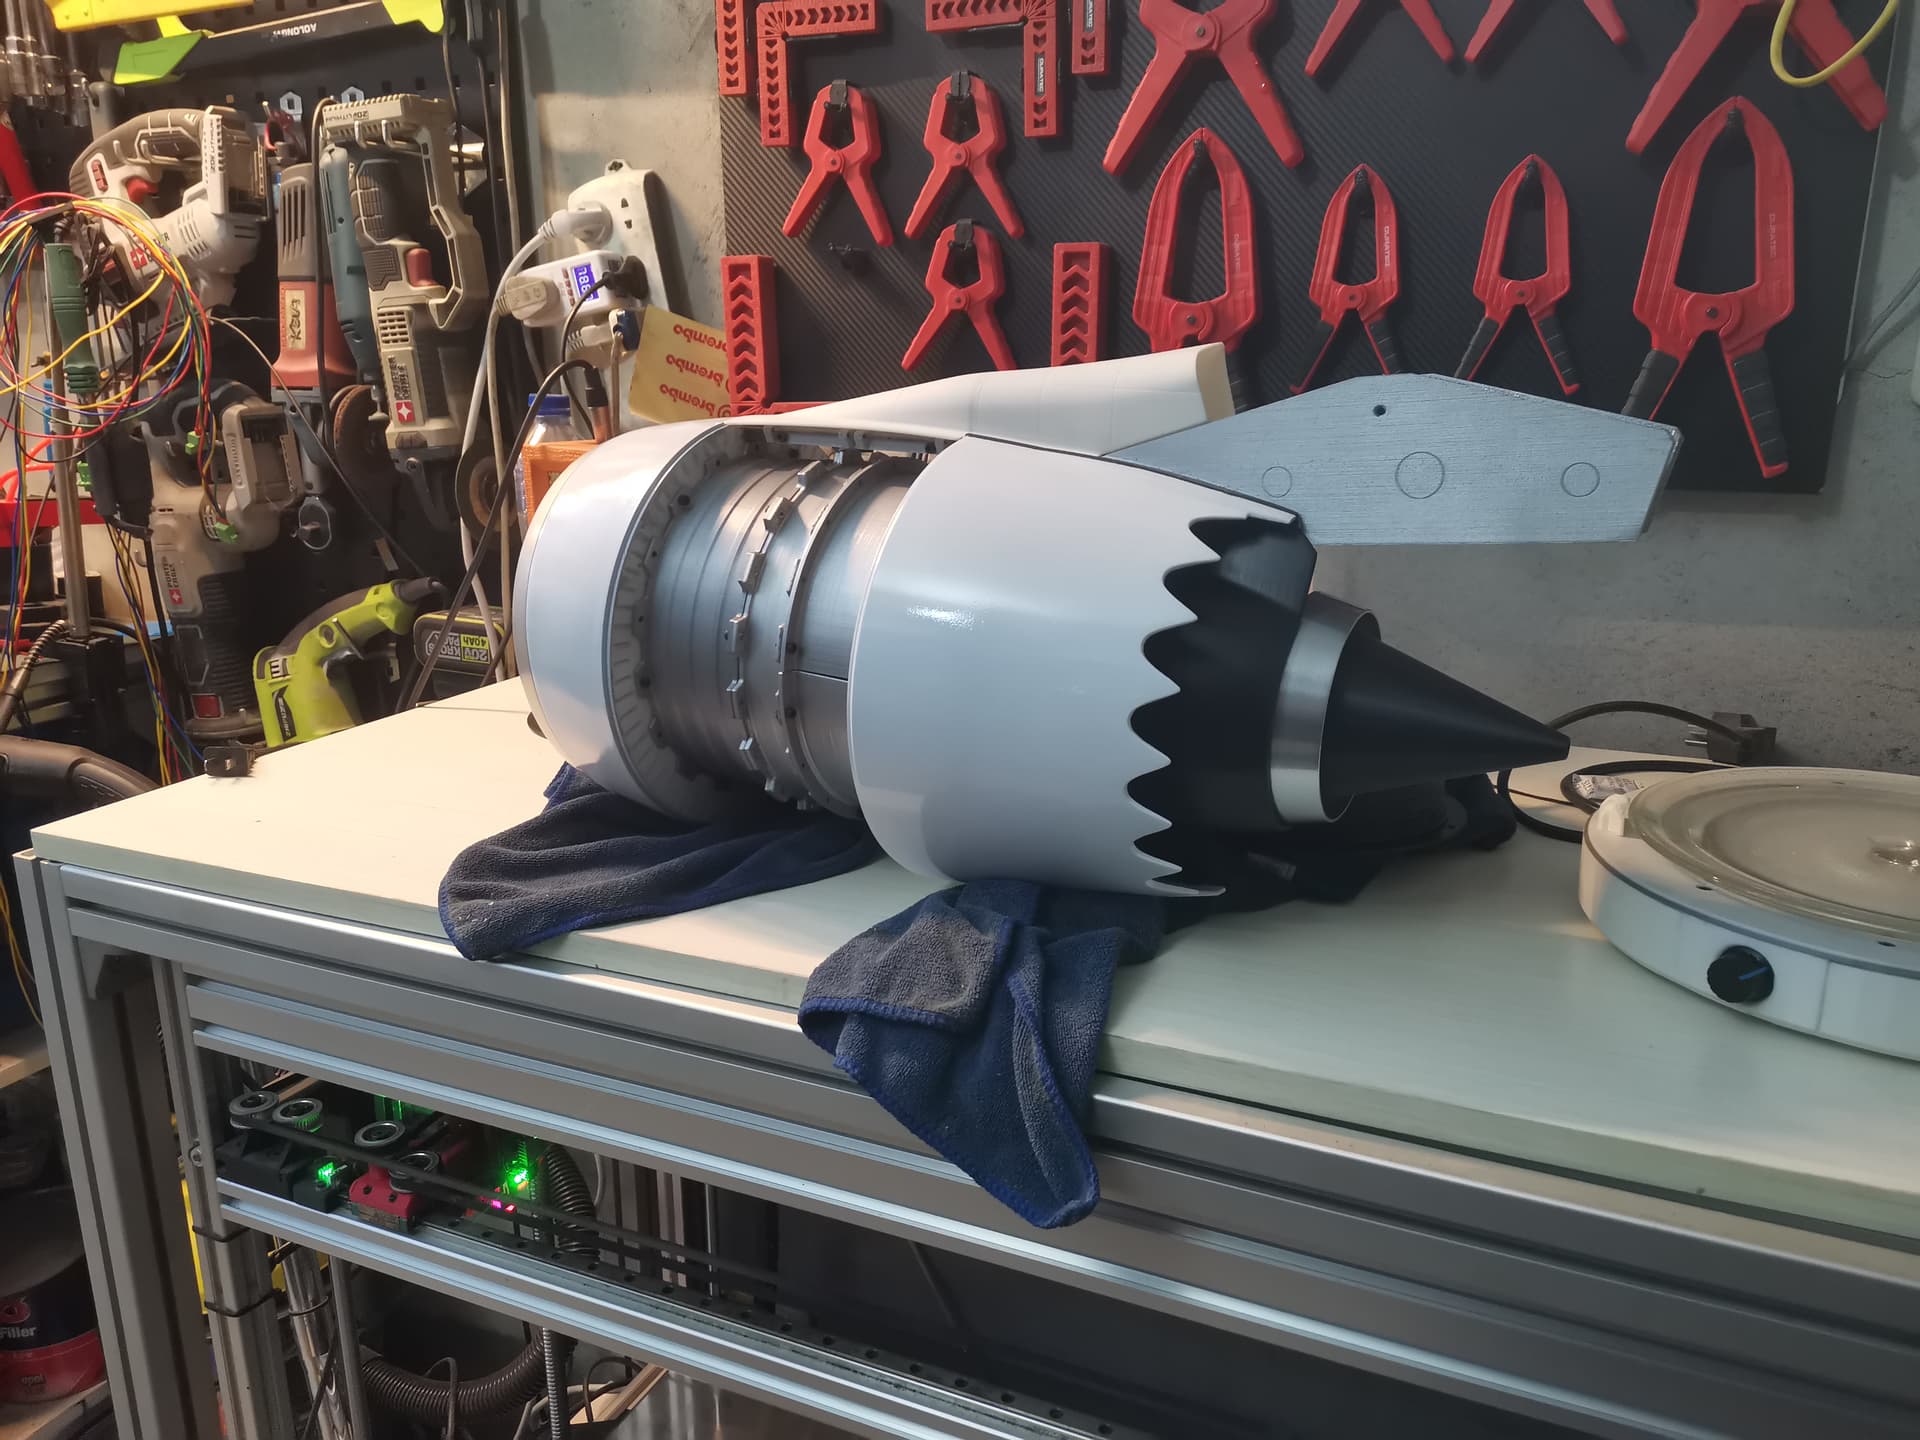
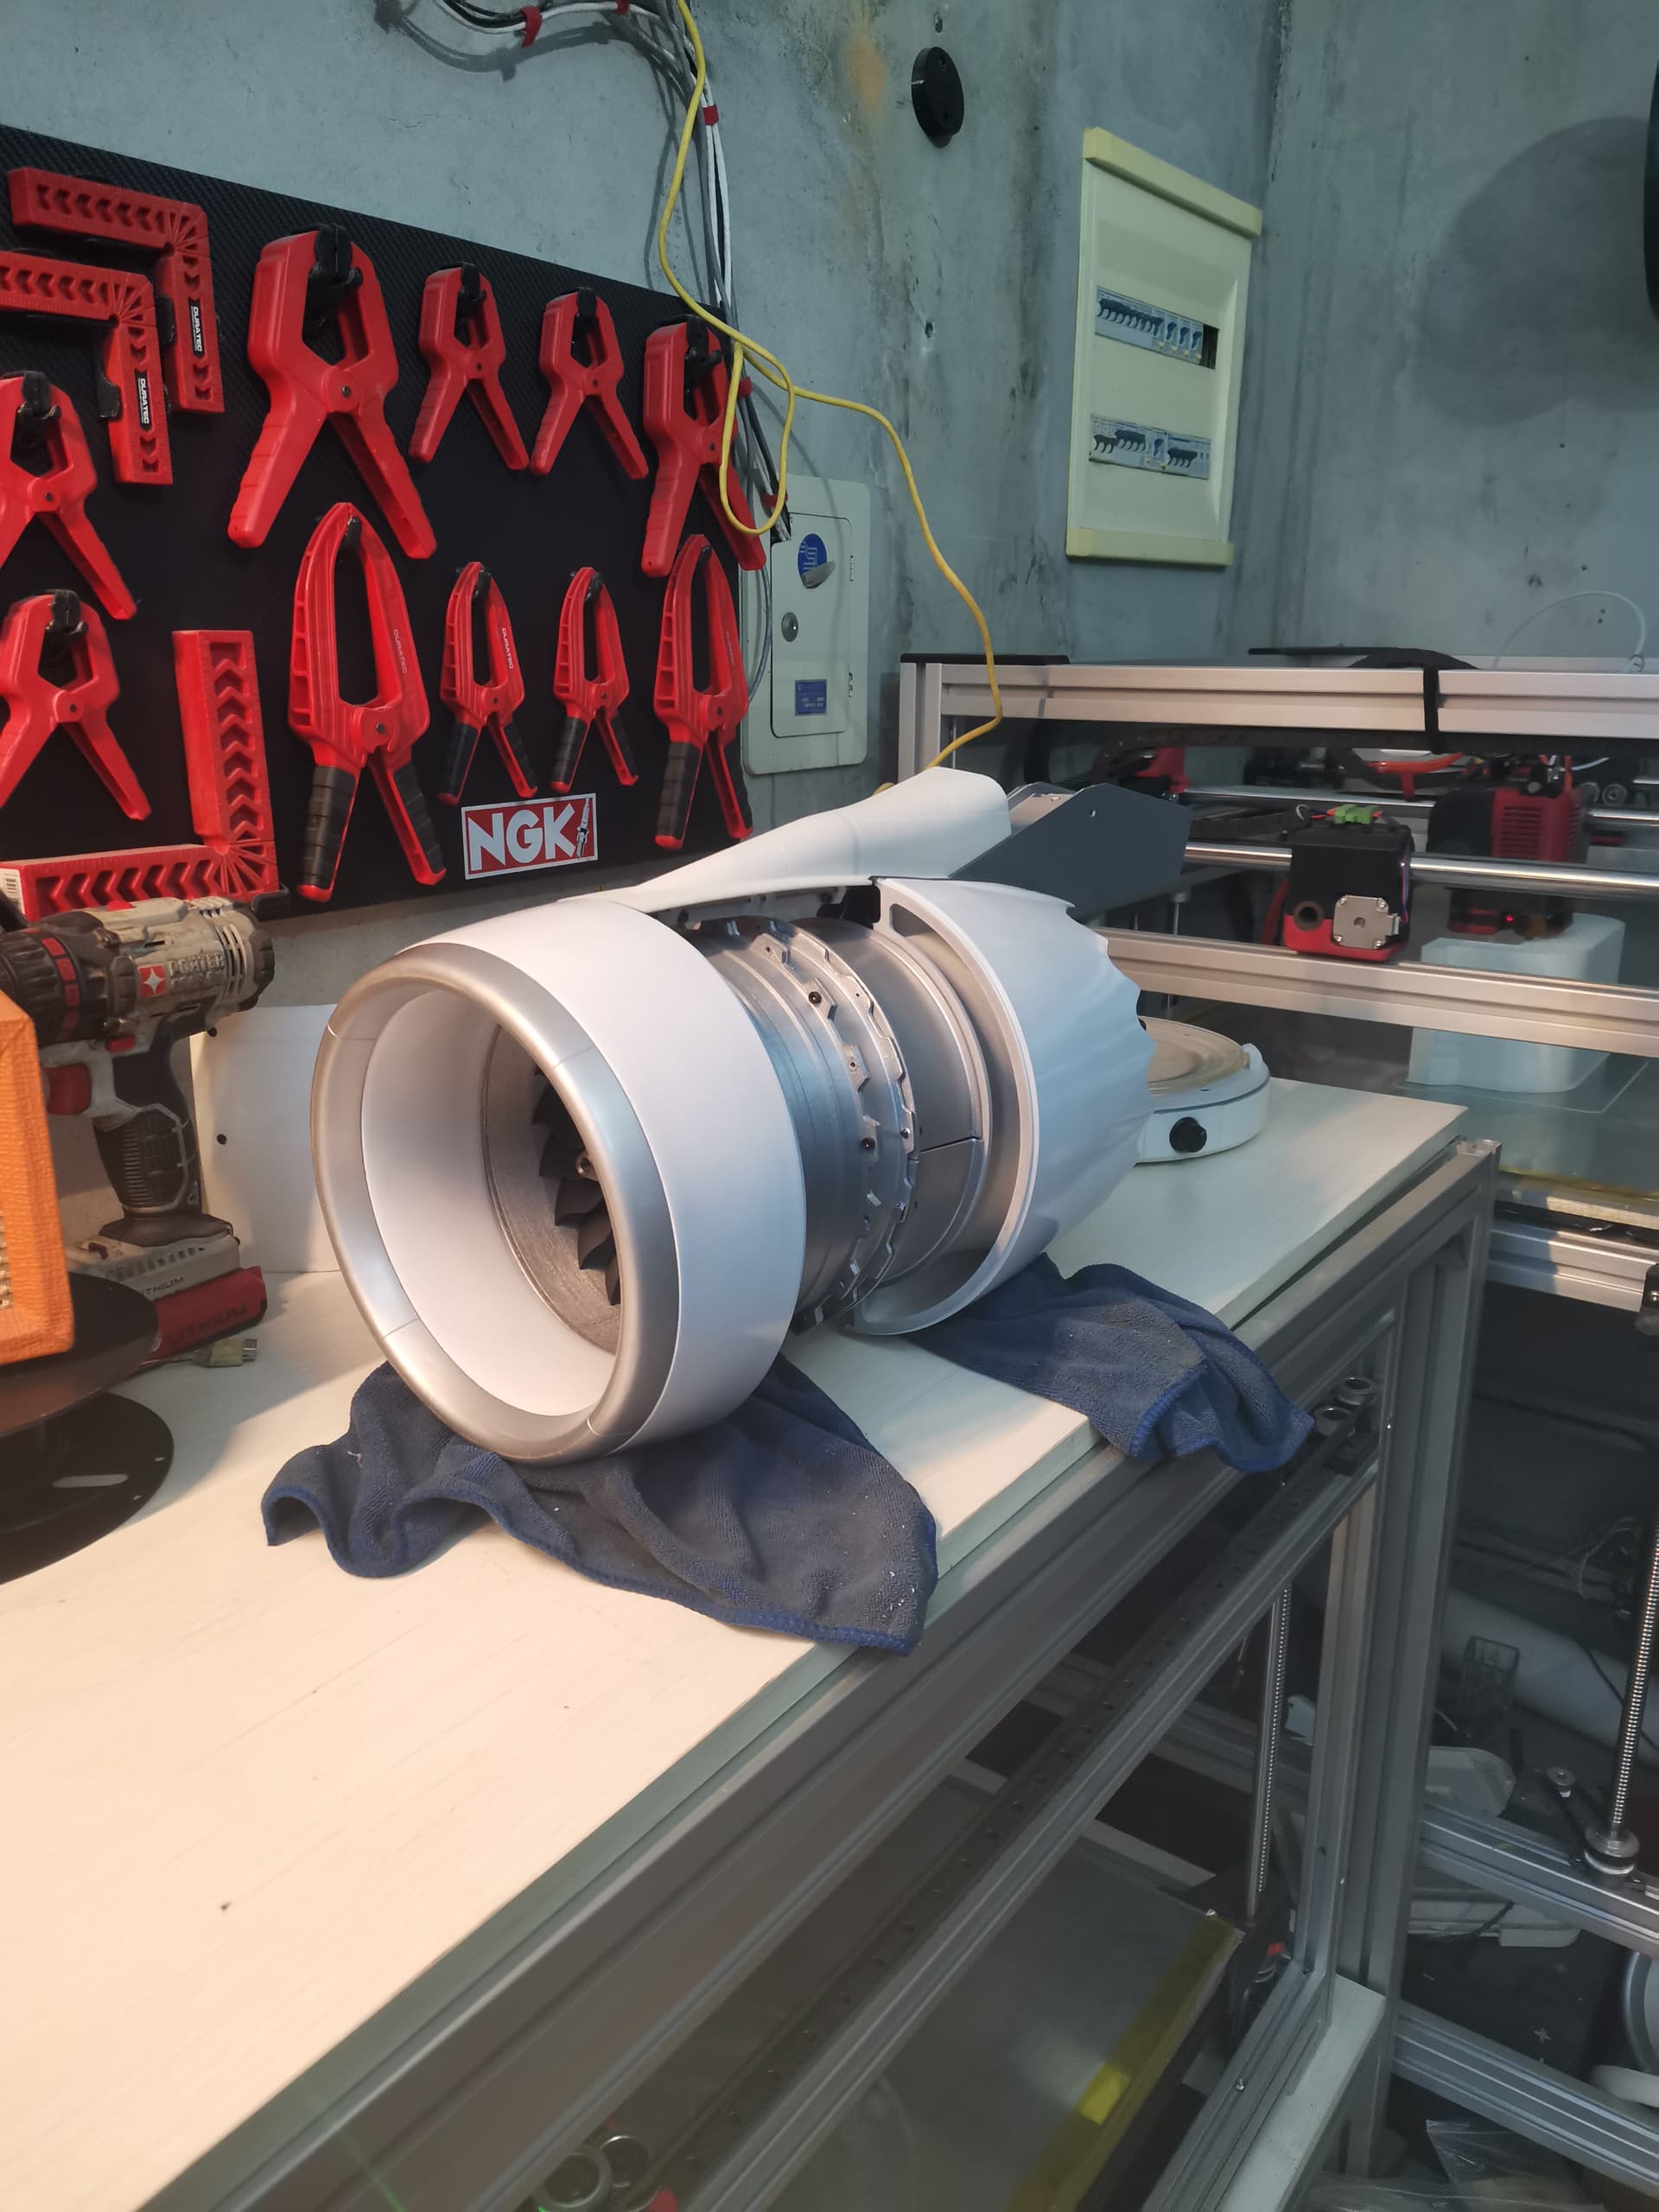
I settled on printing the Printable Jet Engine by Catiav5 (here: 3D Printable Jet Engine by Catiav5ftw - Thingiverse)
At the time the nacelle add-on was still available for free on thingiverse, but just three days after I downloaded its creator decided to remove it, so I got lucky.

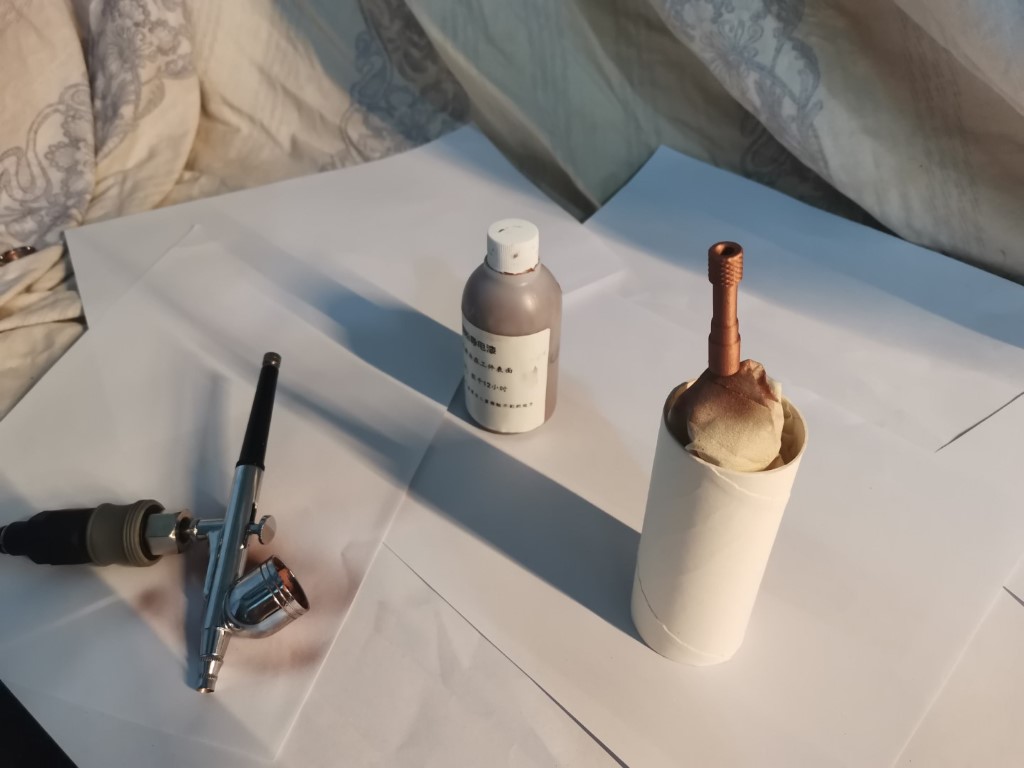
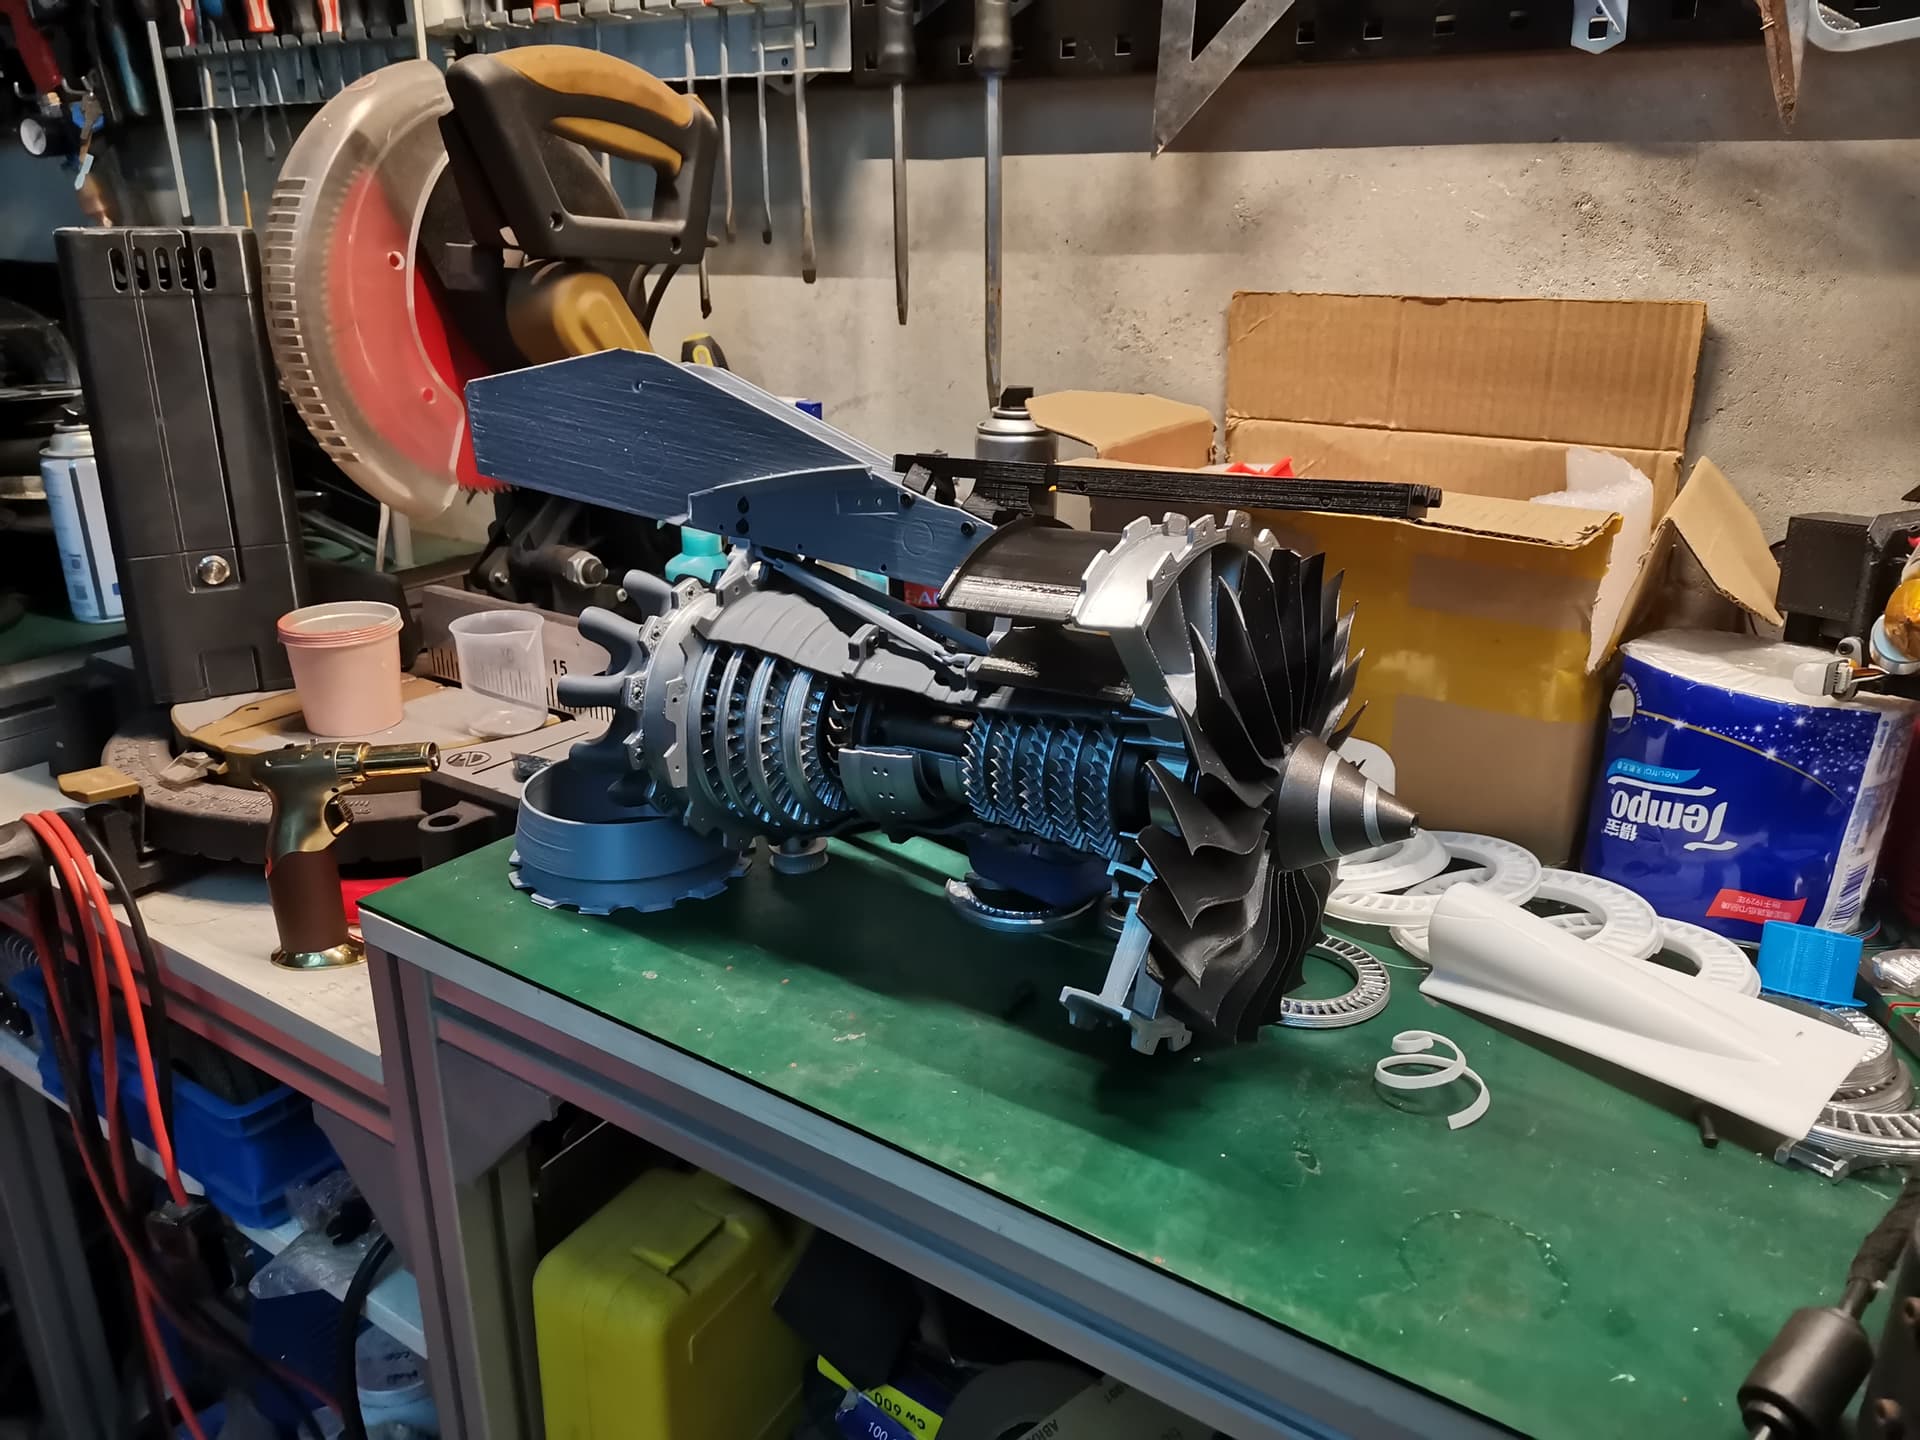
Anyway, it’s not entirely finished yet but it already looks so good I couldn’t resist to share it with you guys:


It’s a really fun project, the design is great. Having a huge printer is really a plus for this project, because the thing is bigger than it looks on pictures and the biggest parts won’t fit on regular/smaller printers. A version of the design exists for smaller printers, but then it doesn’t look nearly as nice because of the big seams and alignment problems between split parts.
Everyone who saw it in real life was very impressed, most people think it’s a real, functional engine, haha.
Maybe someday, if I manage to make a metal 3D printer!

Anyway, this coreXY printer ( I baptised it CoreXDIY) seem to work pretty well. I think the next step will be to enclose it at least partially in transparent plexiglas, because I noted that on large prints I get some artifacts and slight deformations whenever I open the garage door for too long (outside is cold nowadays). Other than that it is pretty much done, I’m very satisfied with the result. Time will tell if this setup is reliable, I hope it is as reliable as the BOx.

BTW, fun fact about the BOx reliability: it has been running for at least three months with two broken stepper motors, one on X and the other on Y!! I thought the gantry was a bit hard to move and this was the reason, two steppers fried their bearings and were very hard to turn by hand, almost completely seized. Incredibly enough, the printer kept working perfectly fine, although with a little bit lower print quality (barely noticeable). It’s really crazy how bulletproof this thing is.

May the CoreXDIY live a long and healthy life full of cool projects!

14 Likes

That had to have been hard to find. If they do not break they just stretch. Good skills on catching that one!

Looks great!!

2 Likes

I think you have to be admired for seeing it through. I am not sure that I would have even gotten half way through and said, nah, not finishing it!

That is AWESOME!

1 Like

Thanks guys, much appreciated !

Here’s a small video of it running. I tried to show some interesting details about the printer, but sorry for the bad filming skills…

Next upgrade will probably be to enclose the printer, I noticed there were some visible print artifacts whenever I open the garage door (it is pretty cold these days).
Also still a bit of tuning to do, I’ve implemented input shaping and linear advance features but haven’t had time to fully tweak it, only did the basic setting.

So far it’s running great. It’s a nice addition to the BOx.

By the way, the BOx is still in great shape and still printing. Last weekend I used it to print a large mold in order to build some concrete footing/anchors for a gazebo I’m installing in my garden. It’s an interesting little side project :slight_smile:
Started with a very crude single use mold to see if it was even feasible, as I haven’t done many projects using concrete until now :

Cut, bent and welded the rebar, then poured some fresh concrete into the mold:


Then I had to break down the mould as it was not possible to separate it cleanly (mold wasn’t smooth at all, plus it was in a single piece. it was just for aq uick proof of concept).

Ended up with this:

Big success, it was even better than expected. The 3 d print texture gets transfered to the concrete and it makes it silky smooth to the touch, which is something I was not expecting, very interesting effect.

It will be buried in the ground with a bit more concrete all around the bottom to cover the rebar, and only the very top will protrude about 2-3cm over the soil. Stainless studs wil be chemically bound in the 4 holes and the gazebo structure will be bolted to it. At least that’s the plan.
It should make for a stable base, but almost entirely invisible and my hope is that it will not affect the grass around it.
We have typhoons every year in Shanghai, so this thing needs to be strong so as to not fly away.

Anyway, the gazebo needs 6 of these, so I have to make the remaining 5 ones.
As it would be quite expensive to make one mould per foot, I upgraded the mold’s design by making it in two separate halves.
So I warmed up the BOx again and started printing. Each half took around 28 hours and more than a kilo of plastic:

Now I’m in the process of smoothing the mold, using car body filler and sanding over and over. Pretty long and boring process. It doesn’t need to be perfect as this is just concrete footing, but the smoother it is the longer it should last. Hopefully I’ll be able to get at least five concrete feets with this mold without too much damage.

10 Likes

Very cool!

1 Like

Great printer and project idea. Able to use oil (e.g. vegetable food oil) , or generously rub on some other form release agent, to help extend mold life, and avoid needing to do smooth/sand steps?

1 Like

I think I’m gonna use beeswax, same way I do for carbon fiber/glassfiber. I just need something that is not too soluble in water.
It might still work without sanding, but I don’t really want to take chances as it took a while to print and the plastic cost would start being non negligible if it failed. Typically, the smoother your mold is and the longer it lasts, even though release agent does help to some extent. The layers introduce some very tiny counter drafts and vastly increase contact surfaces between mold and part so that usually makes it hard to unmold cleanly.
Sanding will take a couple hours per half mold, maybe three. It’s not fun, of course, but I guess it’s not too bad.

These will be far from perfect, I don’t plan on spending much time, only the bare minimum as there is no aesthetic concern since the thing will be buried anyway.

3 Likes