MPCNC Made In China: New Build!

Well, to be honest I have no real good pragmatic/functional reason for this, I just really like how clean and professional it looks with everything contained within the frame instead of having the spools exposed and a filament wobbling around the print head. Plus it actually works really well so I just need to make it a little bit easier and that should be enough. Actually I had an easy idea I’m gonna try: the bowden tube is only useful for curved sections, I could just entirely remove it for every straight line and it would work just the same, while making filament load and unload much, much easier.

So I think I’ll do that instead, that’s the easiest possible solution since it only requires me to print a few little brackets to attach quick fittings.

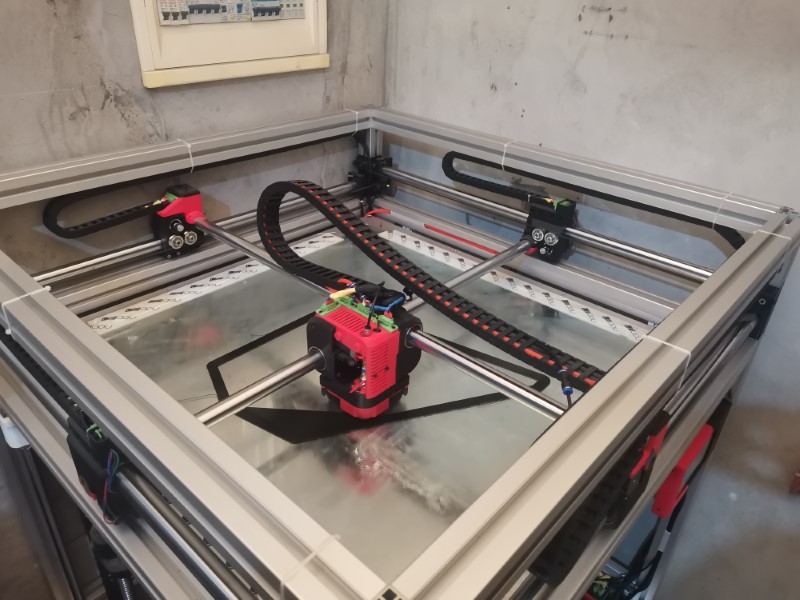
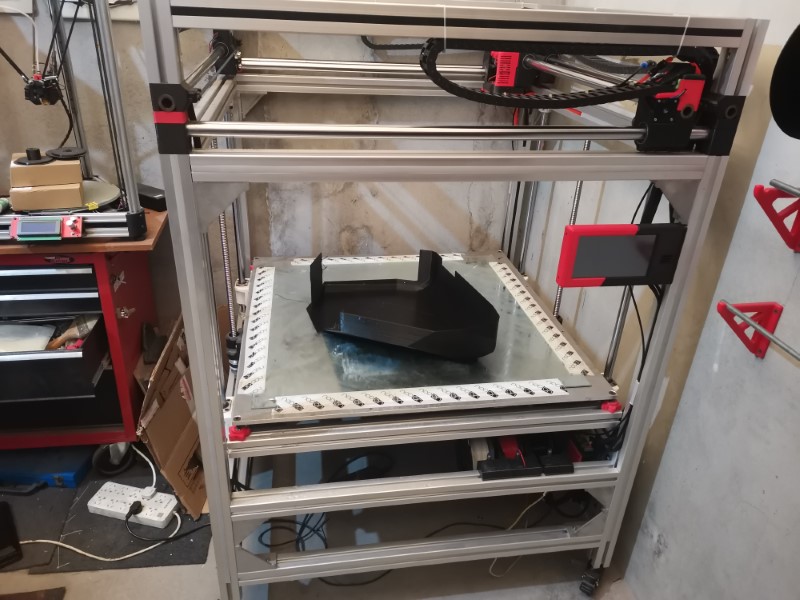
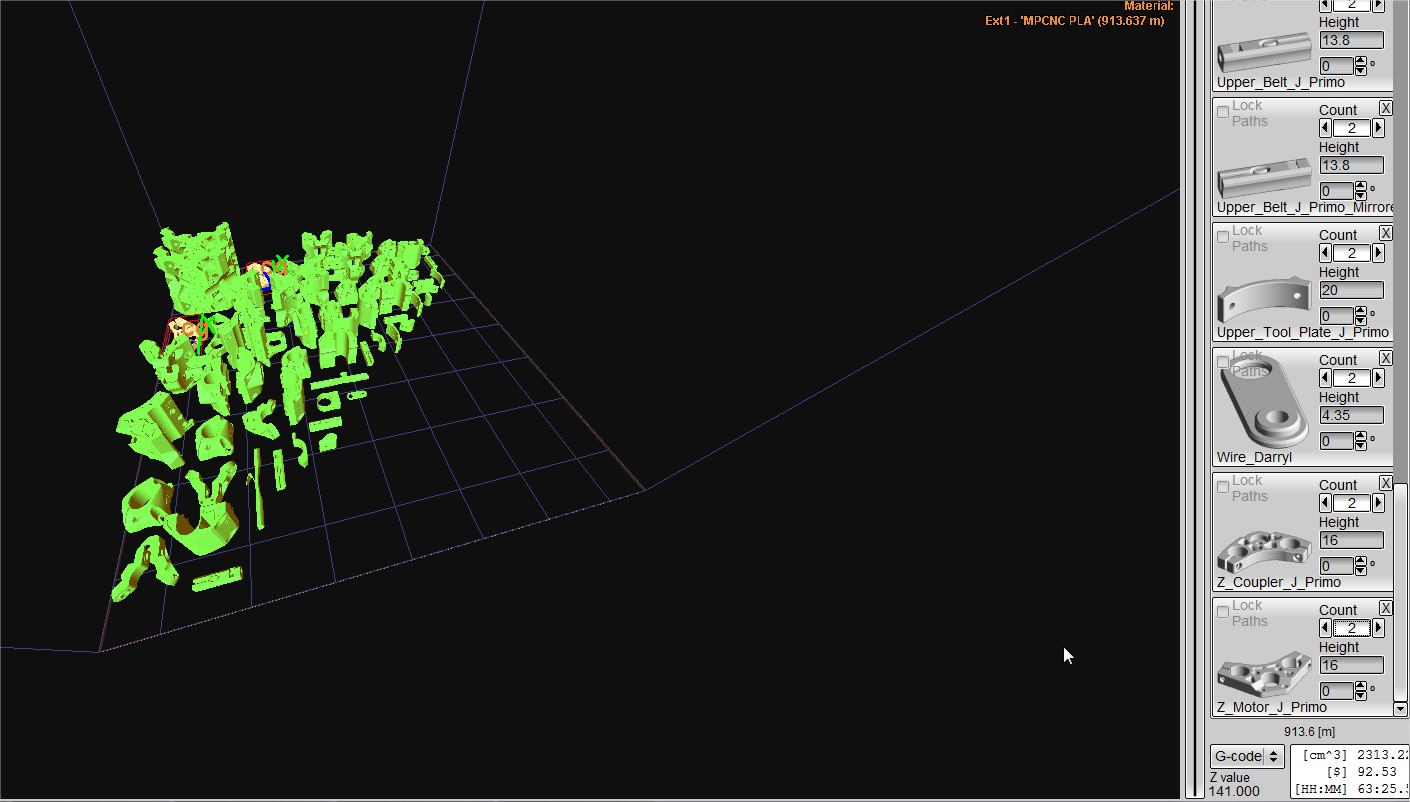
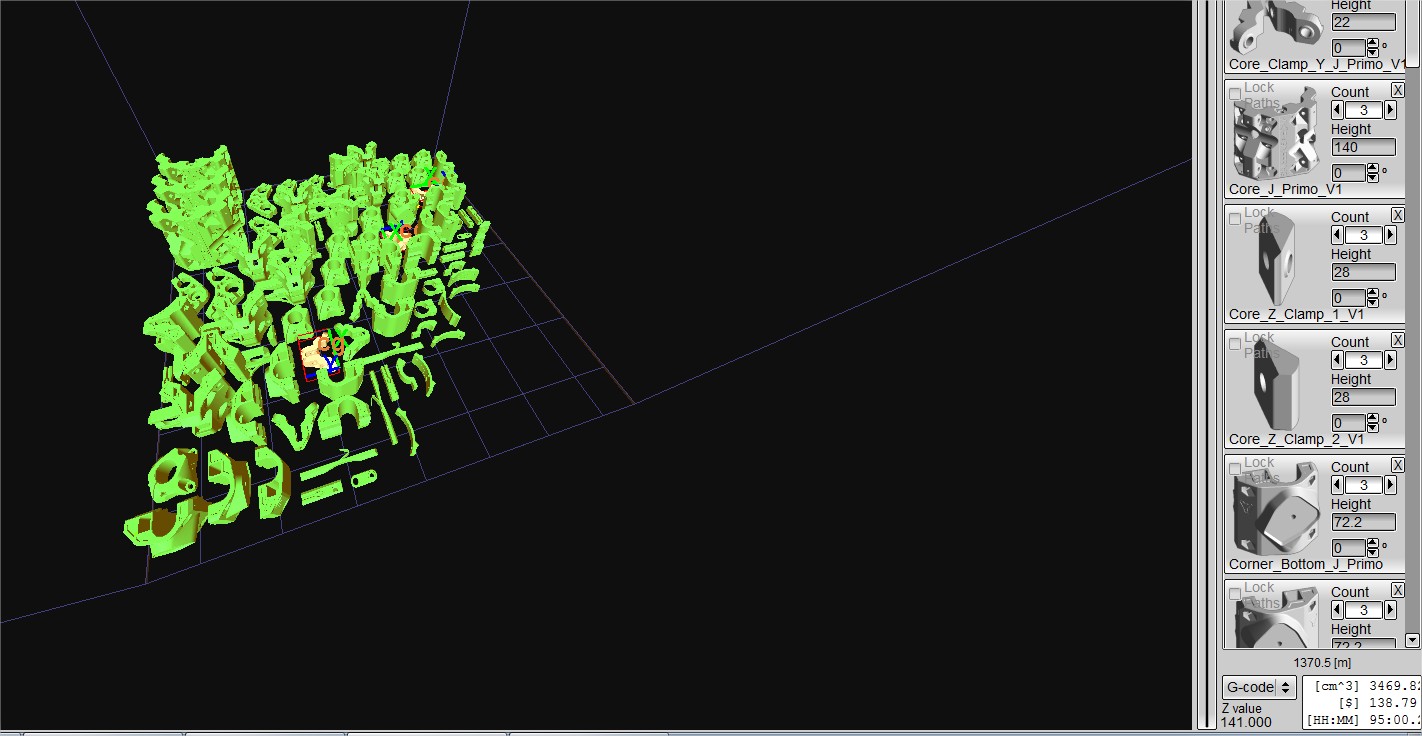
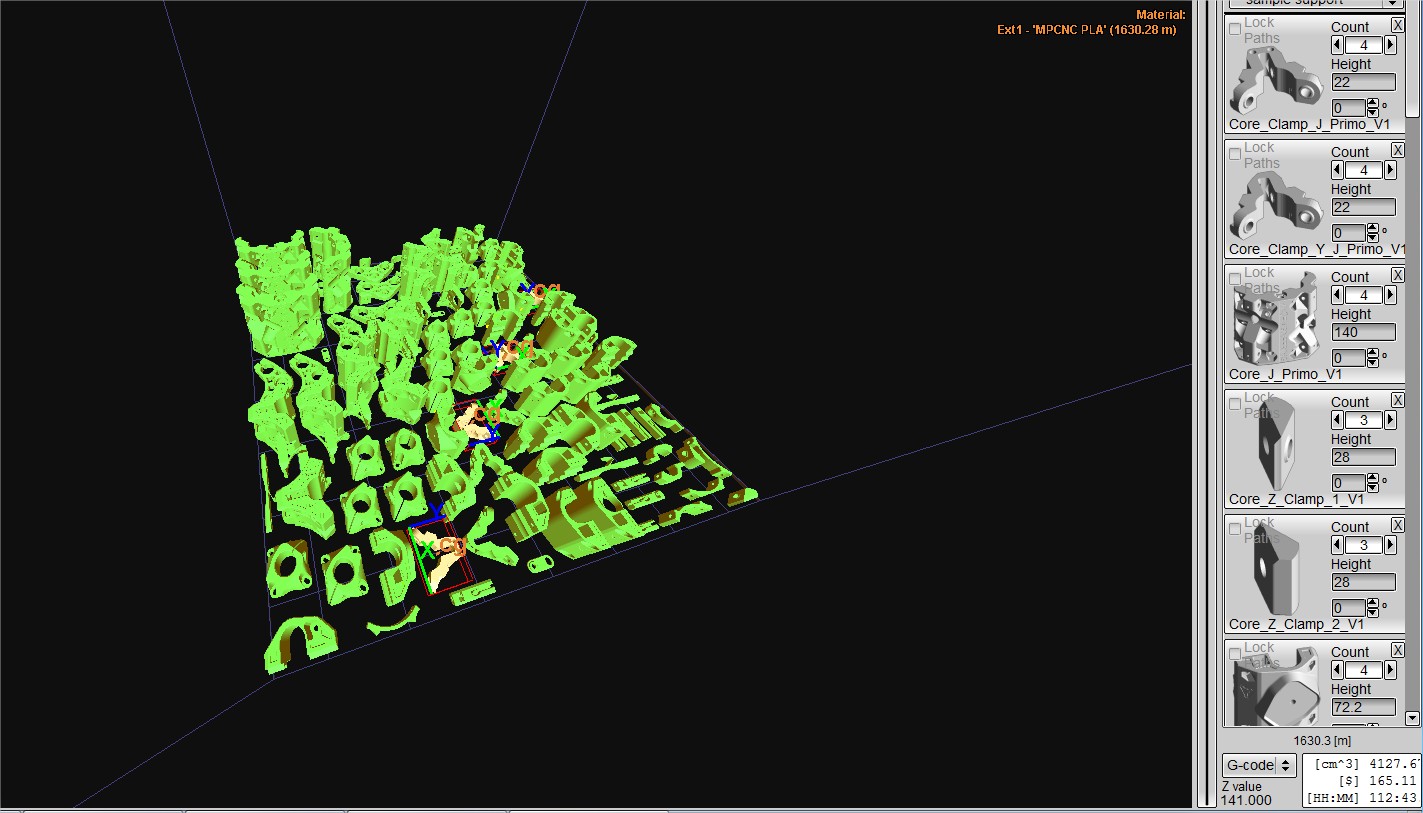
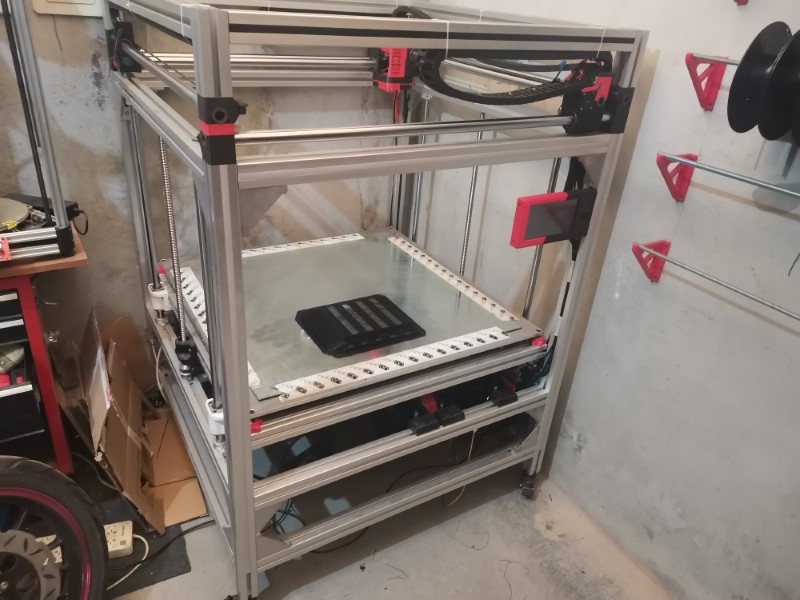
Anyway, the printer is super reliable now, I can’t be happier with it. I printed a lot of stuff and made some relatively long prints.
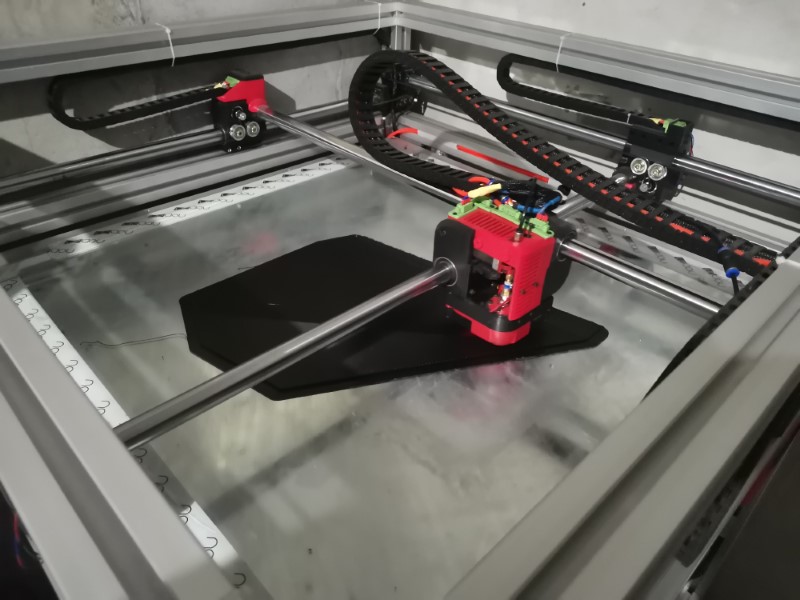
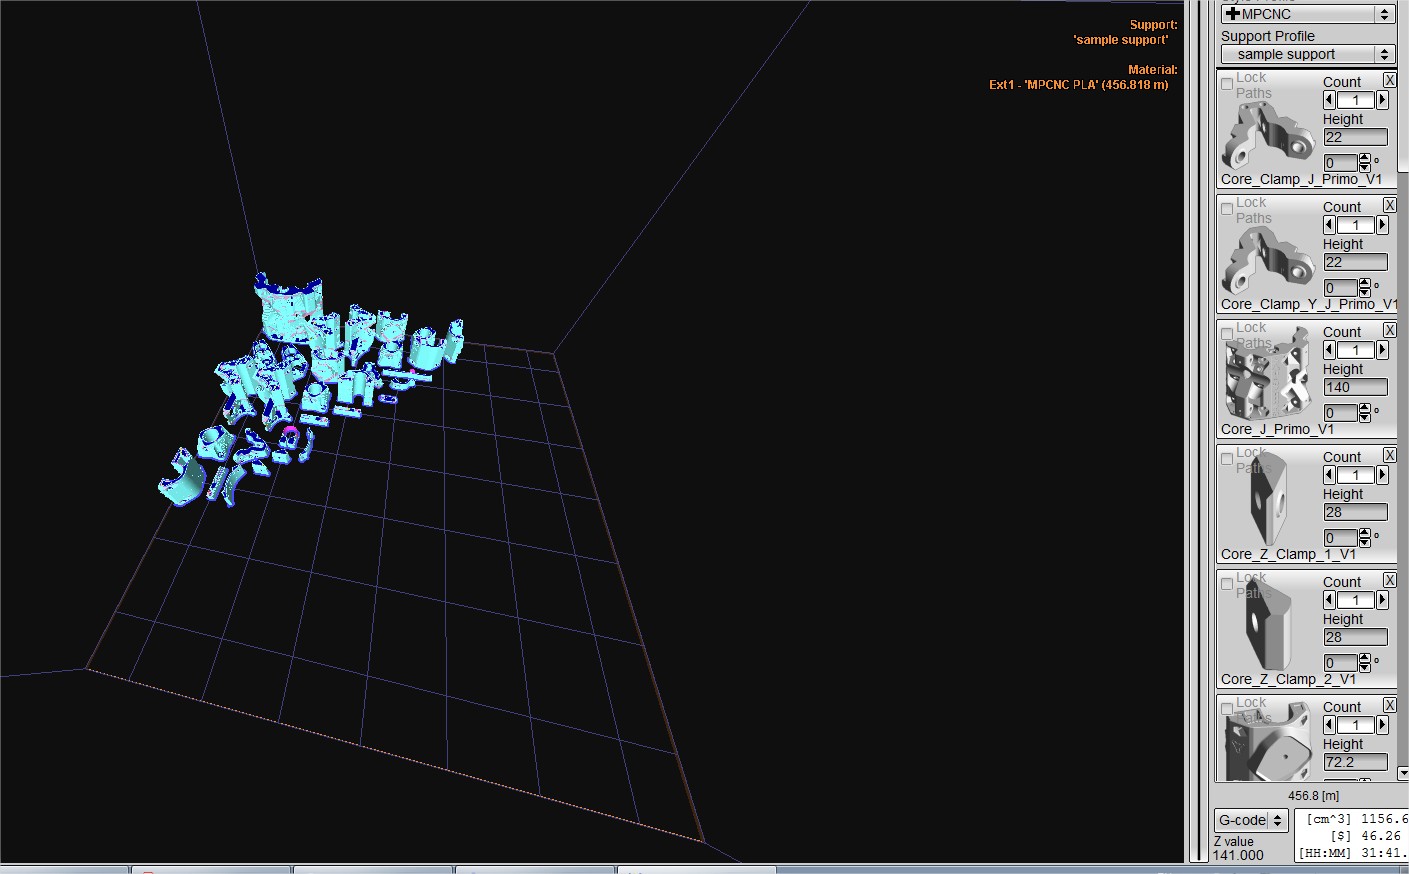
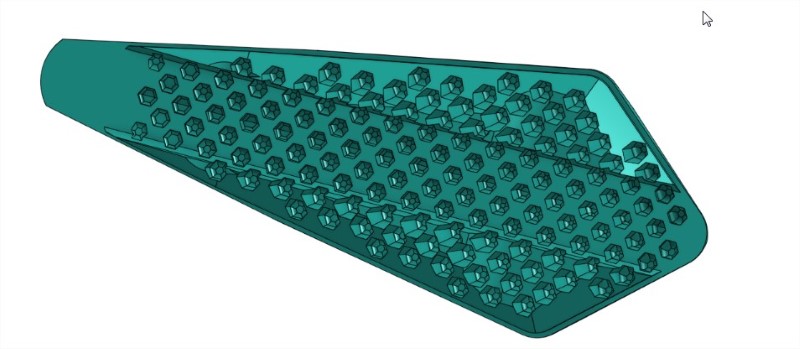
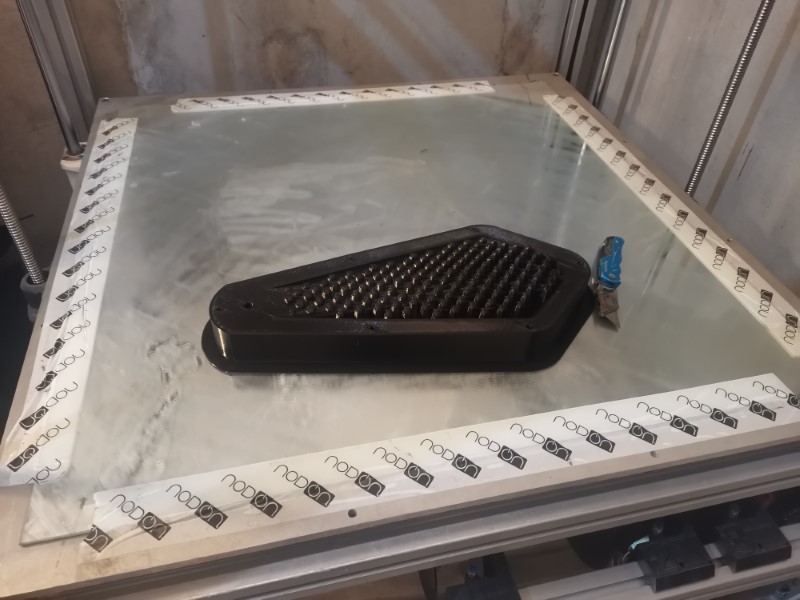
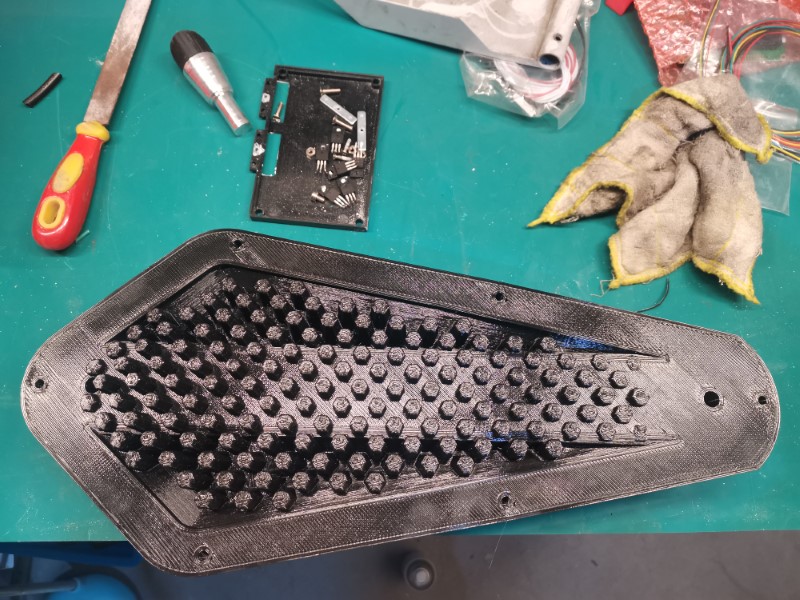
This one for instance took 9 hours, it doesn’t look that big on the picture but it is actually not a small part at all, plus I tried using a weird infill that took a bit longer to print:


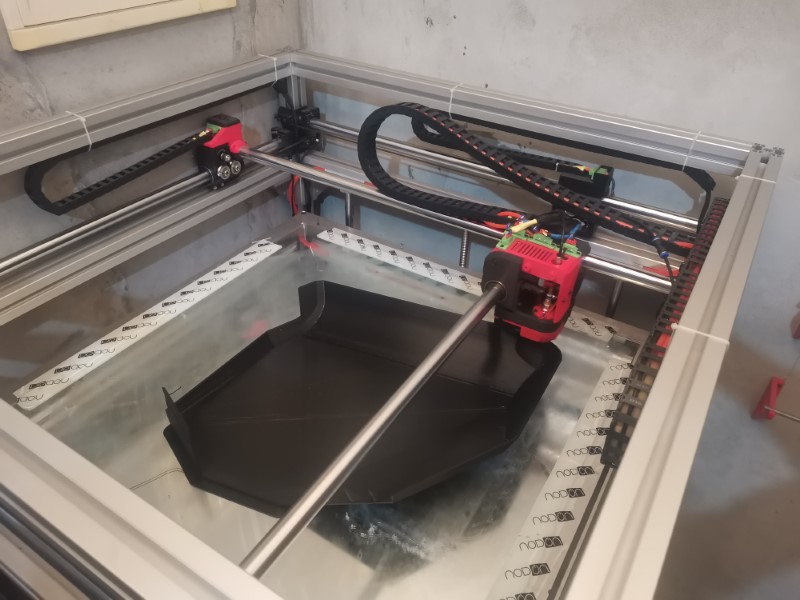
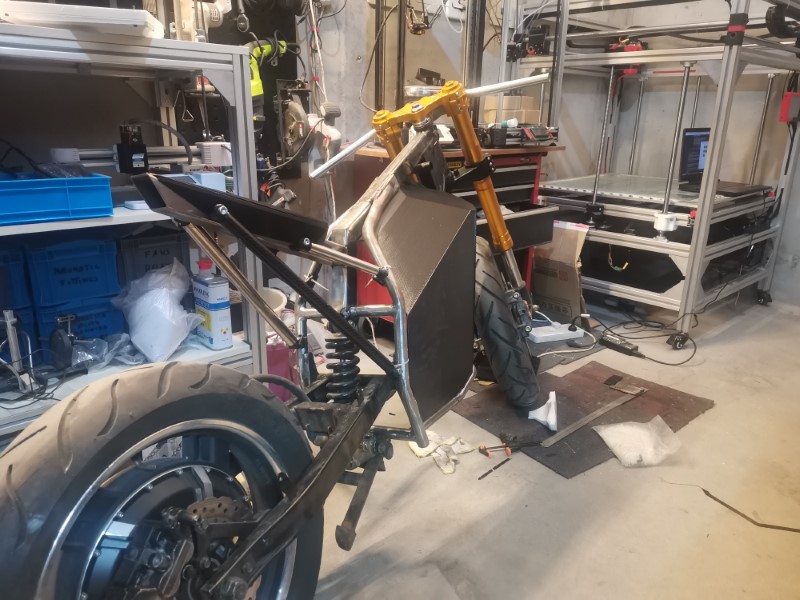
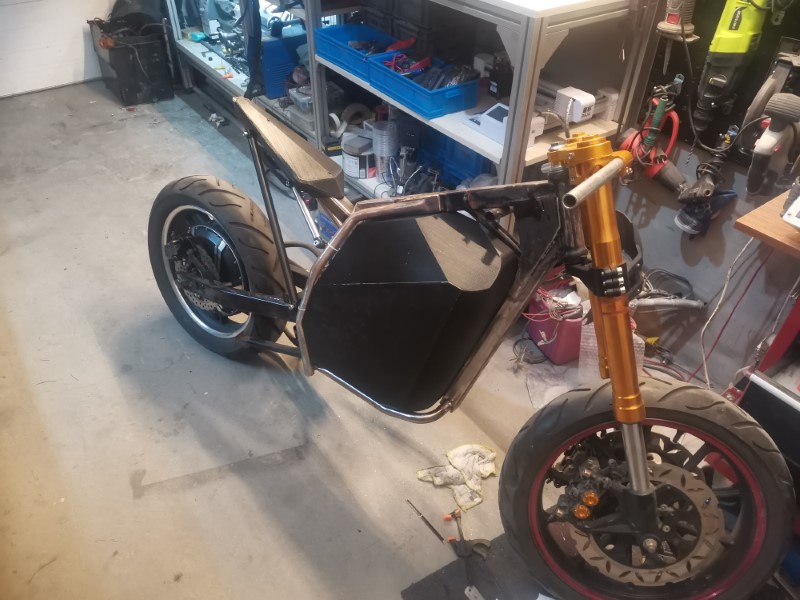
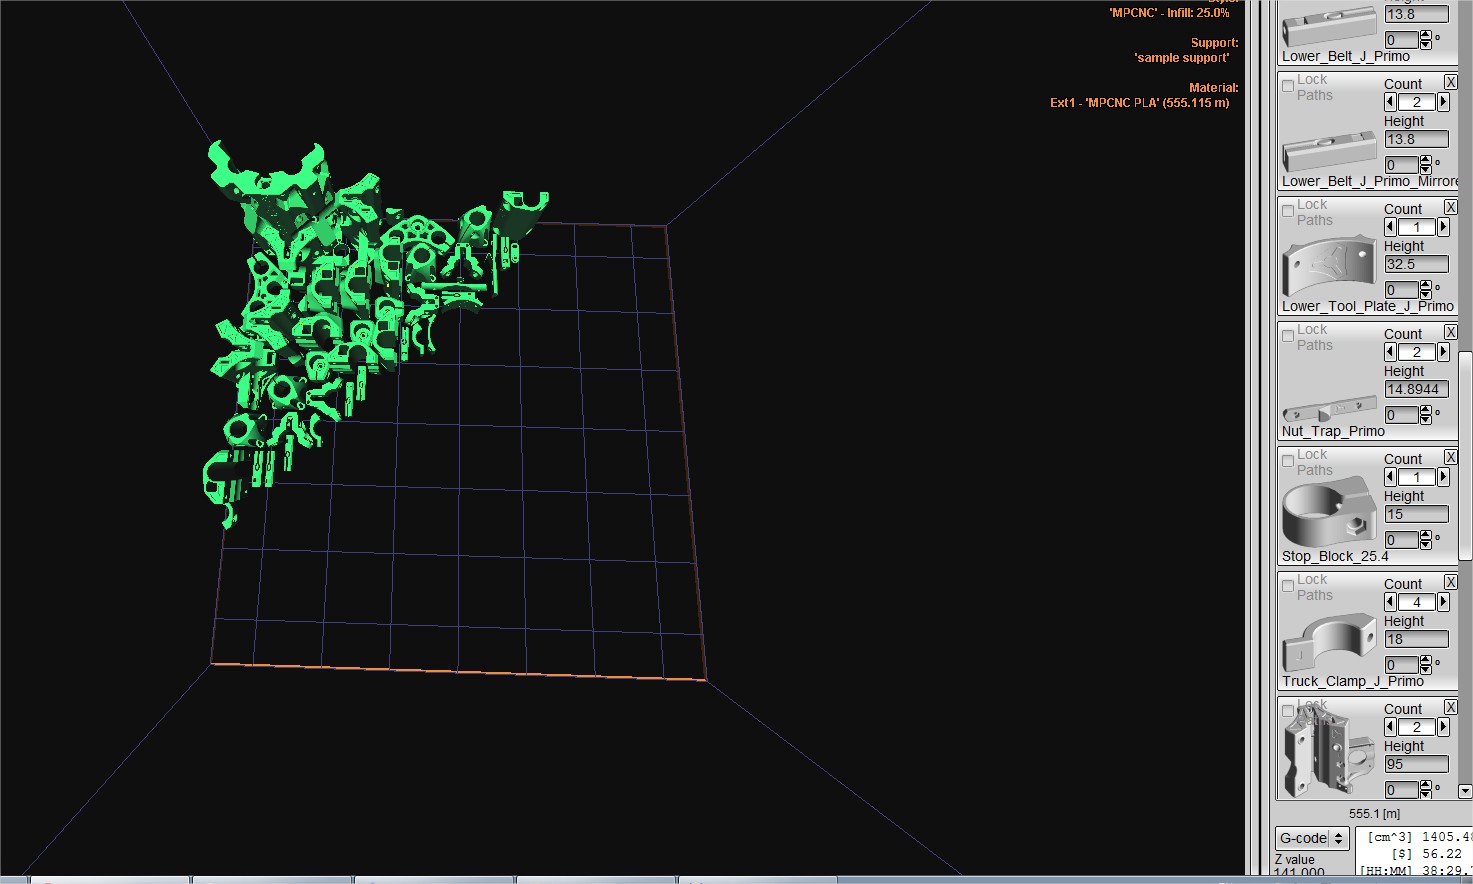
This will be the main support for my bike’s battery. I’ll carbon wrap it later but it is really, really strong already.
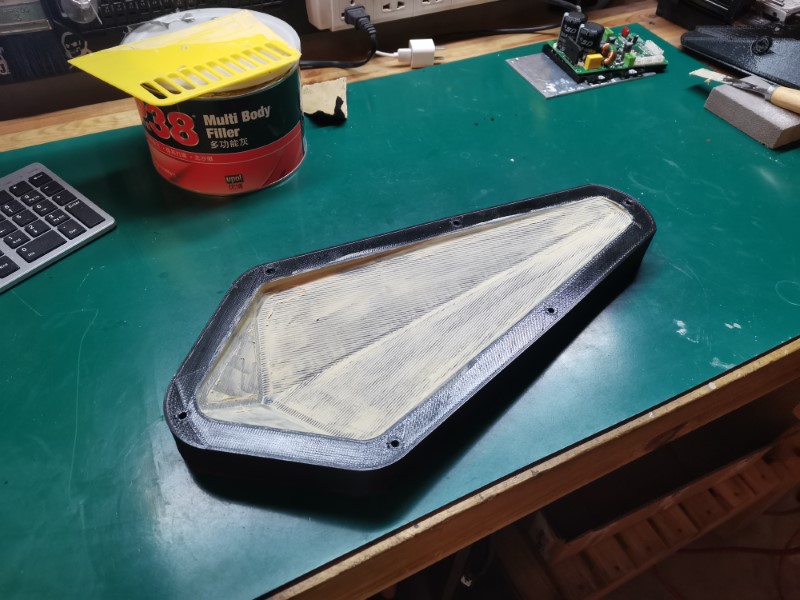
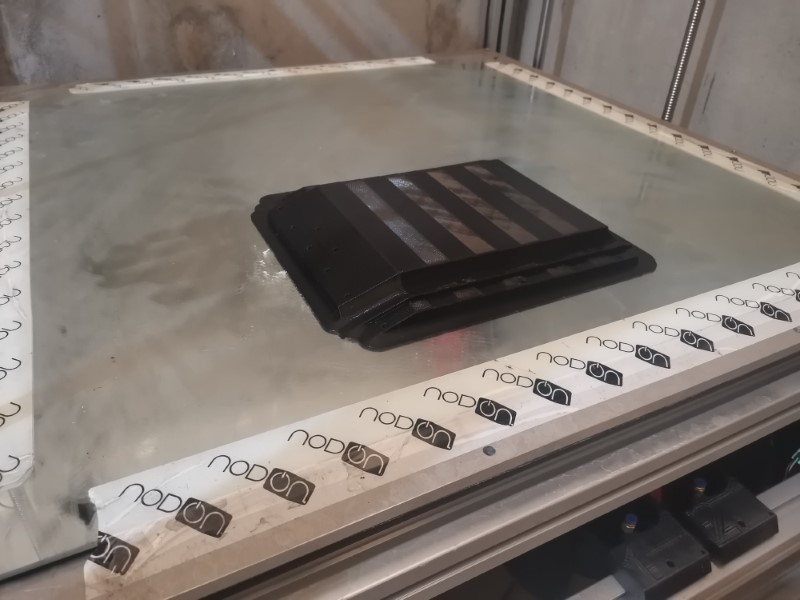
It printed absolutely perfectly, no warping whatsoever, perfect bed adhesion, the layers were consistent, the first layer is always a success, the top layer is smooth as silk and once the bed cools down the print just pops up without drama… Only thing I could tweak is my initial layer height since I have a bit of elephant foot symptoms on the first three layers, but other than that it’s just spot on.

I’ll also have to change part of my watercooling pipes since I’m using some very soft natural latex on some parts and it doesn’t age well, I have a few leaks. I was expecting that, this was just some random scrap I had layin’ around in the shop. I’ll replace it with some higher quality stuff.
Also have a few little things to take care of, nothing important, just some finishing touches like cleaning the wiring, printing a few brackets here and there to replace the ugly zip ties, wiring the screen again since it’s not connected since I’ve redone my wiring, etc.

Last time issue with the filament sensor was just that I wasn’t careful and cut the signal wire… so once I figured that out that it was an easy fix. Now I have lots of confidence in this machine, no failed print whatsoever, nothing broke or overheated, perfect! Printed two more kilos of PLA since then, not a single issue.
All this hard work paid off, this machine works great!

One improvement I’ll try to work on soon will be to add a little webcam on it. The Duet web interface allows to do this, so it will be very useful for me to monitor from a distance that the first layer did go well and make sure that nothing catastrophic happened during a print. I just need to educate myself a little to see how to do that.
I’ll be able to check the printer easily with my phone, that would be super convenient.

4 Likes

Ok guys, so today was the first really serious test for the BOx: printing a really big part for my motorbike’s project.

So it all started with a very, very long first layer (one hour just for it):

Continued during the night

Then the next morning

And finally around noon, the part was finished

It took around 18-19hours in total, printing almost exactly one kilogram of PLA (a tiny bit less than an entire spool), and it was a huge success!!
Only real defect was some under extrusion on one particular layer for some unknown reason, but it doesn’t really matter since the part is still really, really solid. No warping whatsoever and the part popped off right away from the build plate after it cooled down!

I’m particularily impressed at the quality of the overhangs, I was afraid they wouldn’t print well without supports because they were pretty steep but they turned out almost perfect. I’m also impressed at how solid this is, I had to break a small section to make it fit the bike and I just couldn’t do it by hand.

Test fitted it into the bike, it gives a better idea of its size, it’s gigantic!

MPCNC.

This part was supposed to be just a mockup to correct my dimensions. I made the 3D drawing by hand measuring the frame so I was expecting my measurements to be pretty far off the reality. But as it turns out they were almost spot on, so the part actually fits!
It doesn’t fit 100% perfectly, but with a little bit of massaging it does, meaning my 3D will need very little adjustments, so that’s really great!

So now, I’m not sure what will be the next step. I wonder if I will just print a new version then carbon wrap it, or print a mold and do the whole part out of carbon. I’m not decided yet. The mold would be a really crazy print.

Anyway, that’s so great, this one was my biggest print ever, I never attempted something this big with my old MPCNC

15 Likes

That is frigging NUTS! 1kg in under 24 hours?
Now I gotta ask…could you fit all the primo parts on your bed at once? I’m just curious, because I like to make comparisons, and I can’t wrap my head around printing a part like that because I don’t have anything that could even start it.
I see a lot of posts about people taking a week or two to print all their mpcnc parts because of batching, and it took me closer to 3 or because I didn’t manage it very well and printed each part separately. If you were there for the filament change (or had a larger spool) and could fit them all, might you be able to complete the entire job in like a day and a half? Two tops?

1 Like

Thanks Tony!

That’s an interesting question, I’m not sure of the answer yet so I’ll try downloading he models and see what the slicer will tell me.
It is to be noted that I’m using a 0.8mm nozzle, so that is significantly faster than a regular one, but you do lose a few details. I’ll try to compare at similar wall thicknesses and infills.

I’m pretty sure I could fit several entire bundles of the primo onto the bed, my guess would be 2 or 3, but that’s something I would never attempt unless I was dead sure that the printer was 100% reliable… or if I was sponsored by a filament making company :sweat_smile:

2 Likes

Two or three? The bed must be even bigger than I’m imagining, which is definitely bigger than it looks!

This is bonkers. You are now a real master of matter. I’m not sure I have any projects that could use that large of a volume. That might be one of the hardest challenges. Just rethinking what you can do.

Instead of, “I need a bin to sort parts in my drawer”, it makes sense to think, “I can print a whole drawer”. Or even, “I can print a new cabinet”. But then, cabinet design is built around essentially table saw construction. There’s no reason to stay with right angle or any angles at all.

It is mind expanding.

3 Likes

3 Likes

Nice pic from the Lewis Carroll school of cabinetry. :crazy_face:

2 Likes

That’s funny. My FIRST thought was “What in the names of Alice and Wonderland…”

1 Like

We’re all mad here! :crazy_face:

1 Like

Great minds think alike! :roll_eyes:

It’s funny, I never read ‘Alice’ until I was way past middle age. Though it was written in the 1860s, had I not known better I would’ve sworn it was from the 1960s and likely had Timothy Leary as a consultant. :scream:

1 Like

Ok so I made the test and it seems really crazy to me: Apparently, if I’m not mistaken, I could fit 4 full bundles!

One:

two:

Three:

And finally, four:

For the fourth one I was not able to fit 3 little parts, but all the big ones were there so I guess it still counts:

All the estimations hereunder are to be taken with a grain of salt, my computer had a very hard time to keep up with so much parts, so I didn’t try to rearrange better to fit some more, it’s also possible I forgot to account for some parts since I’m not familiar with the primo, but at least all the big ones should be there. Anyway, 3 full kits is absolutely certain, 4 is likely possible by packing stuff a bit closer to each other, and the following times should give a ballpark idea.

So, according to the slicer, which usually is quite accurate, printing a full bundle would take around 32 hours for around a spool and a half of plastic. This was simulated with a 0.8mm nozzle, 0.4mm height per layer, two perimeters (that’s 1.6mm shell thickness) and 25% infill.

Printing two would take 64 hours, then 96 for three, etc.
If you could trust the machine to be perfectly reliable and if you had the ability to get big enough spools, then it would be a really nice tool for semi mass producing kits, that’s for sure!

4 Likes

Interesting…I might need to build a couple larger printers. Big enough to fit all of the same color parts so roughly half. Could be worth it, and I am loving the 10kg spools I use already.

2 Likes

I realized I made two mistakes in my previous test:
-Didn’t account for many parts since I wasn’t familiar with the primo, so I had a closer look at the quantities needed for each part and there were lots of differences, even though the biggest parts were all there.
-I had a large distance set up for brim, so the objects were packed pretty far from each other.

Turns out both issues almost cancel each others in terms of space, so it doesn’t really change how many bundles could be fit since one bundle seems to occupy a similar space, but now it is really, really densely packed and the time for one bundle moved up to 38 and a half hours and around two kilos:

2 Likes

Maybe you could stack some of the smaller parts with a small air gap to allow you to print multiples. Like they were doing with the masks. Then just crack them apart (almost like a raft made of another part).

I realize you are not really trying to solve the problem, but imagine if you filled the whole volume…

2 Likes

That’s just amazing! Thanks for spending the time on that, dude. 3 full kits plus…just… Mind boggling! This exercise really puts some perspective on your build for me.

1 Like

Hi everyone, it’s been a bit more than a month without update already, time’s flying!
The reason probably being that everything works perfectly fine, I haven’t had any issue whatsoever with the printer!

I’m currently printing molds for my electric motorbike, so that’s the start of a real long term reliability test challenge for the machine.
I’m starting with the smallest mold, which is the one I’m using to make the saddle of the bike. Since the saddle will be a bit small comparatively with other motorbikes, I’d like it to be as comfortable as possible. That’s why I’m trying to cast it out of some very soft silicone rubber.

The mold is quite complicated as you can see, reason being that I wanted the saddle to be quite soft, so I designed these hexagon shaped pillars who will create voids in the silicon, hopefully making it more squishy.

So anyway, I first printed the top of the mold, which took only 7 hours. I chose to go for no solid bottom layer, this way it wouldn’t use too much material and I gained almost 1 and a half hour. It’s a bit hard to see on the pictures but that thing’s huge, it took 1/3rd of a spool of filament to print

Then I prepped it using auto body filler and sanding, which took a while. Result won’t be perfect but I don’t really care since the silicone will be covered with leather in the end, plus I don’t know if this hole thing I started will work anyway…

Meanwhile, I printed the bottom part fo the mold, same here, no solid bottom layer:

This part was my longest print time with this printer so far, it took almost 22 hours. Reason being that I went for a lower speed than usual, I preferred to play it safe since this was quite a lot of plastic to print, a lot of small tubes and quick travels/retractions and the cost of a failed print wouldn’t be negligible. It took around 80% of a spool. Came out perfect, and after the plate cooled down it just popped out by itself without any kind of deformation.

Both halves of the mold:

Finally I filled it with the silicone:

Now I’m waiting for it to cure… I really hope taking it out of the mold won’t destroy anything. It’s the very first time I’m doing stuff like that so I don’t really expect it to go as planned… but I sure hope it will!

Anyway, that’s only the first mold of a few ones… I’ll have to print a few really gigantic molds: the ones for the side panels. I bought two 5kg PLA spools for this, first time I’ll try big spools so I hope they’ll work fine.

8 Likes

That’s awesome.

1 Like

I love seeing your updates!

1 Like

You’re always doing something cool.

1 Like