MPCNC Made In China: New Build!

Ok, thanks Barry. Yeah, that’s what I’m doing also too, but with only two Z motors I can only adjust one one axis.
So I’ll just add one more later.

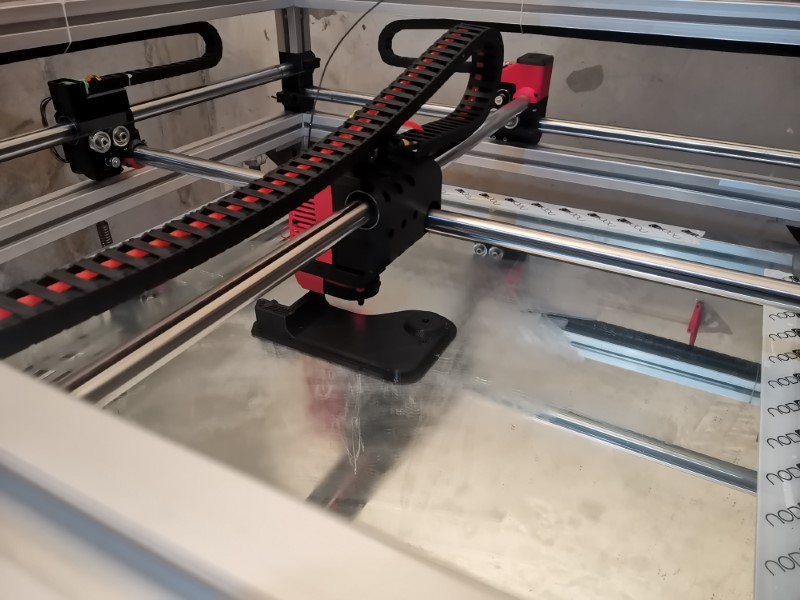
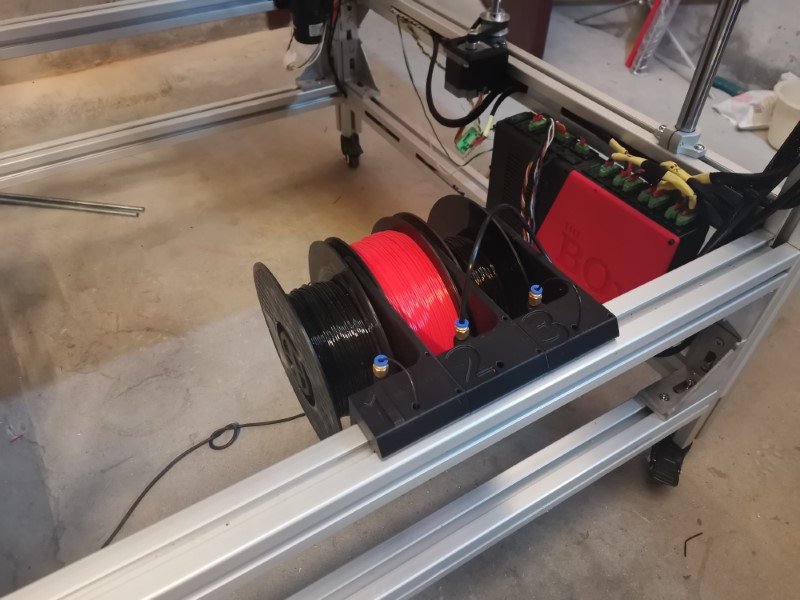
Good news, the BOx seems to be reliable so far. I’ve already used one kilo of plastic without failure (well, without machine failure, because I stupidly failed a print because I ran out of filament… I really need to install that damn filament sensor!!)

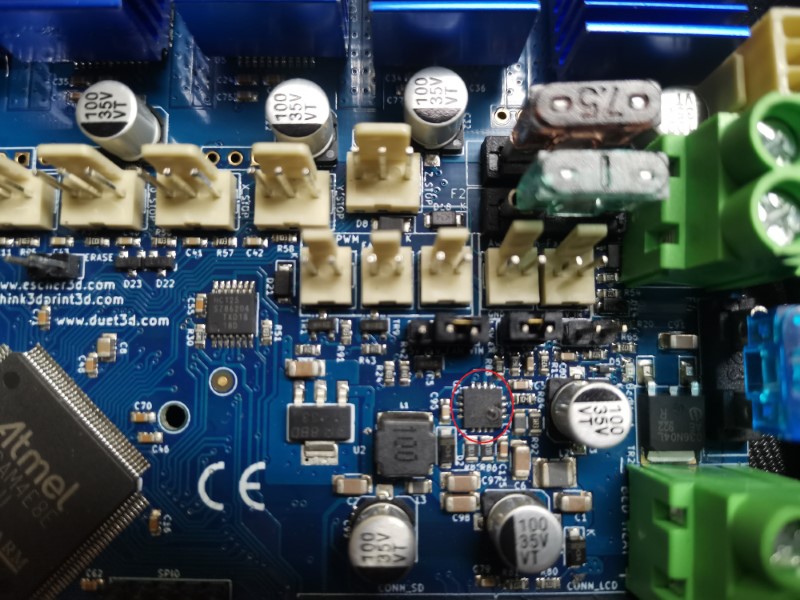
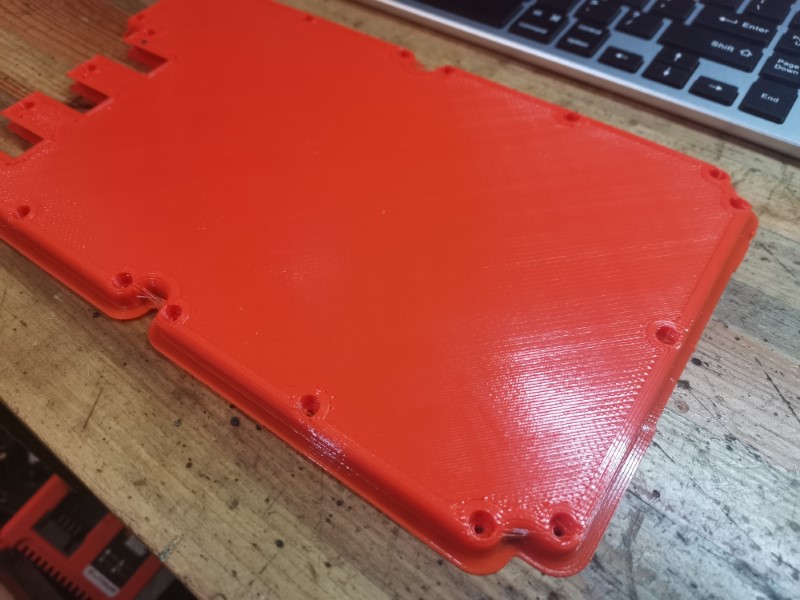
This part was supposed to be the lid of my battery monitoring system’s box. It printed really well until it ran out of filament. I did try to change it, but after pausing, changing the filament and hitting resume the printer just stopped. That was a firmware mistake that I corrected since so it shouldn’t happen again.

Too bad because the result was really, really good. The pictures don’t do it justice but the top layer is really smooth.

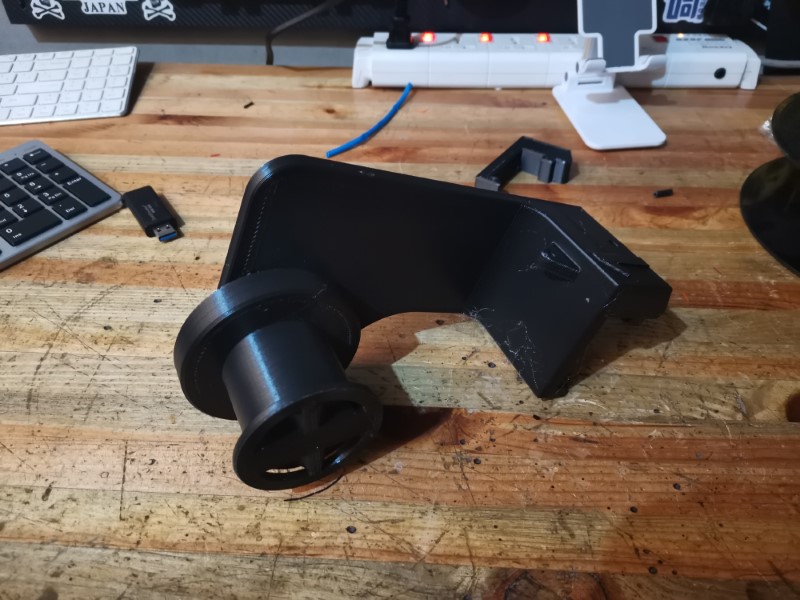
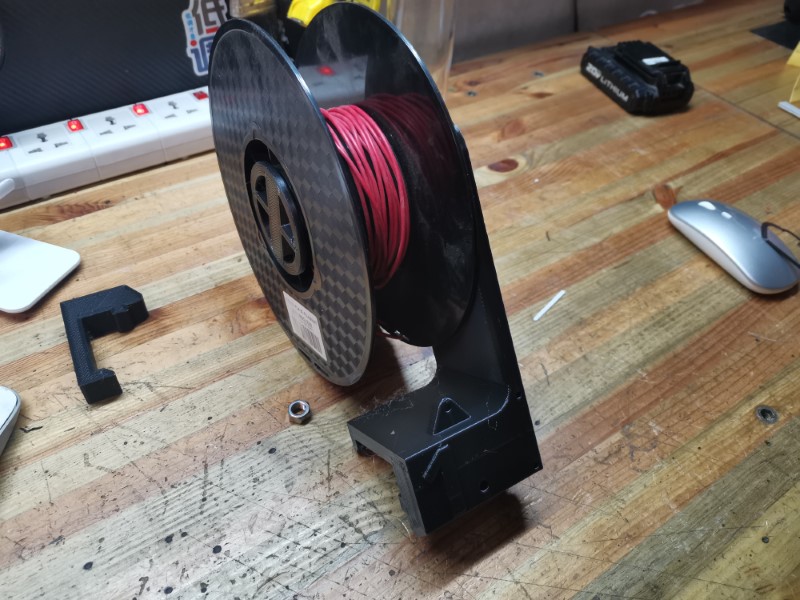
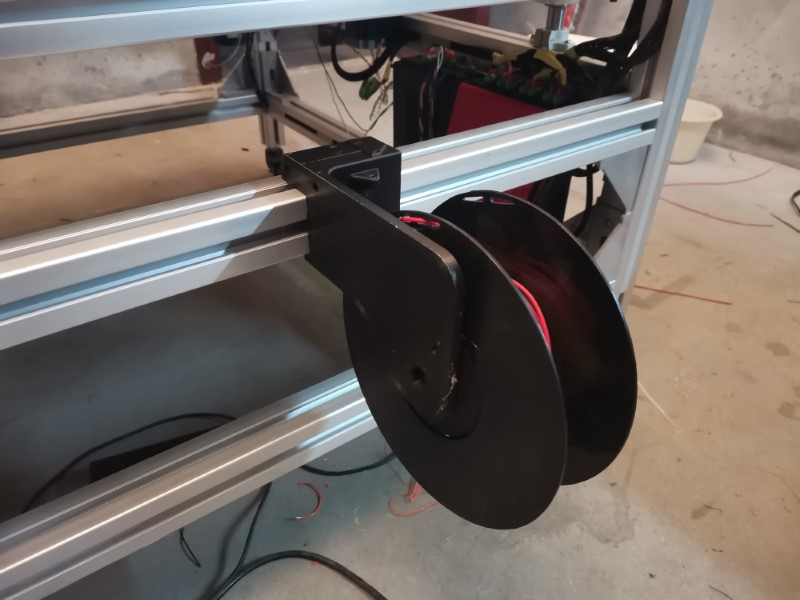
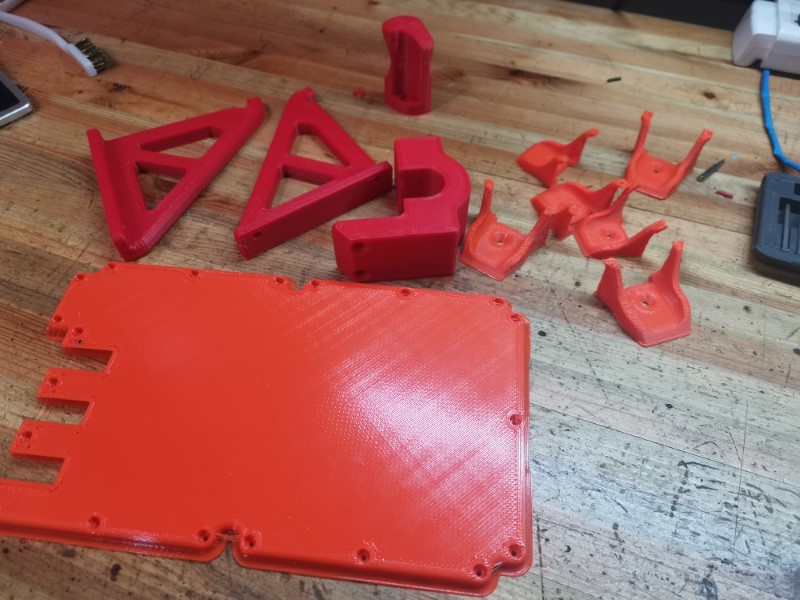
Some random stuff I printed also:

And now for the longest print yet: the battery monitoring system’s box. It took a bit less than 7 hours, and even if I didn’t really want to do that just yet I did let it run overnight. Well I didn’t really sleep well and I woke up a few times just to check, but that did worth it in the end.

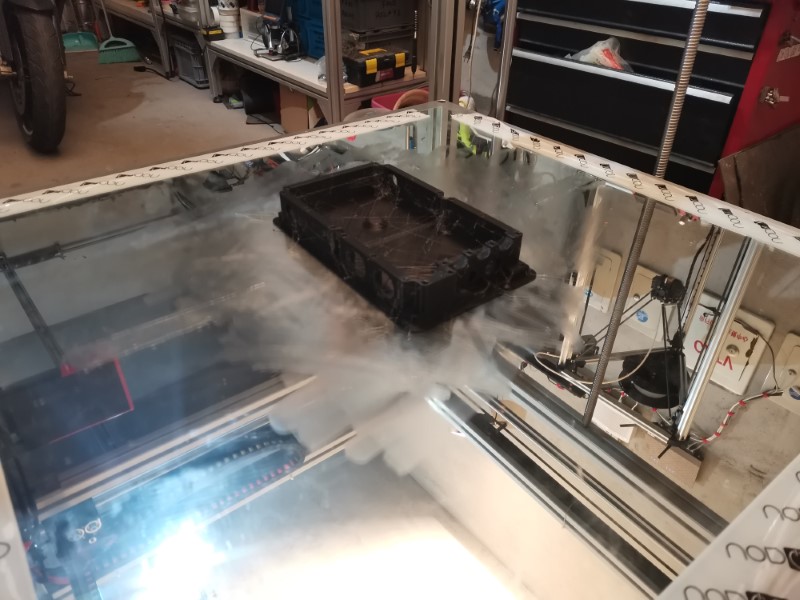
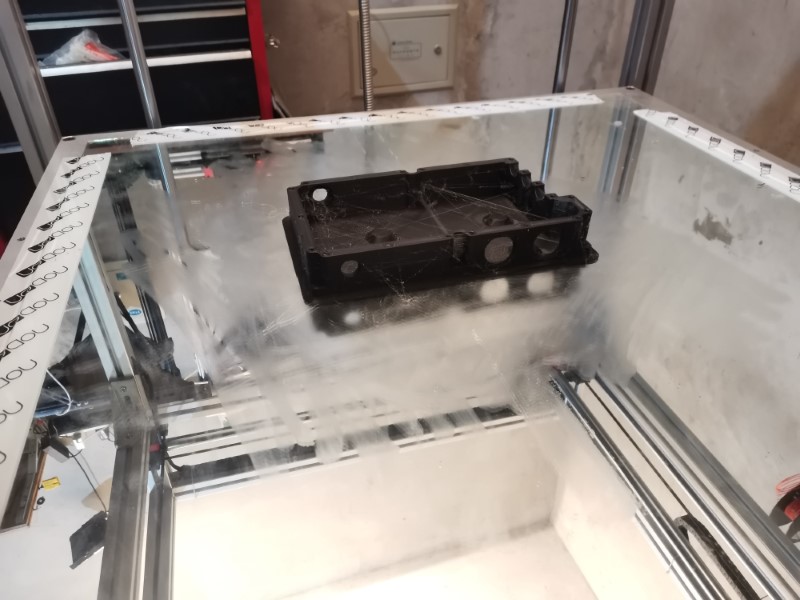
This part printed very well, no issue whatsoever. It looks like there is a crazy amount of stringing, but that’s actually extremely thin stringing, much thinner than a hair. Something like a spiderweb so it’s super easy to remove.
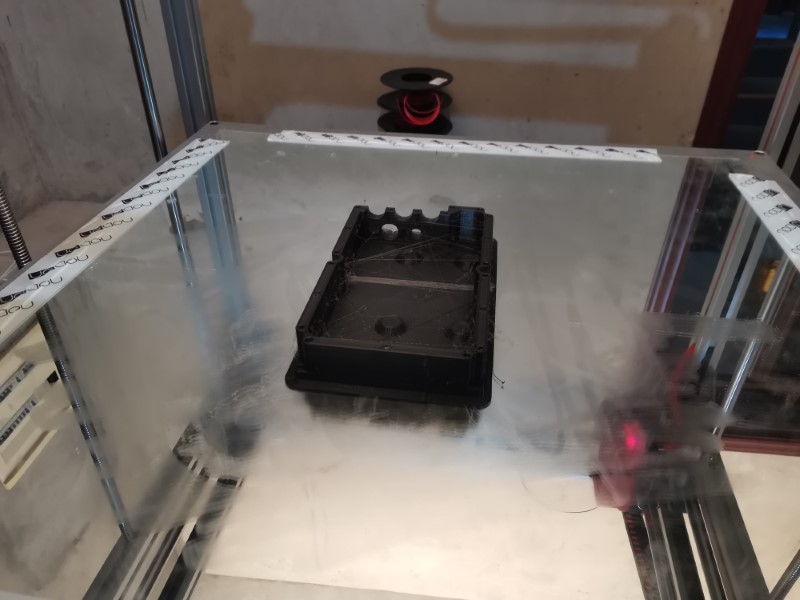
After the plate cooled down it almost separated by itself from the glass. And best of all: no warping whatsoever, the part is dead flat! I always had a bit of warping on such kind of parts before so that’s great to see.
The quality is good overall but I can surely do better, For instance my Z offset isn’t well dialed in so I have some elephant foot, I also need to tweak the linear advance.
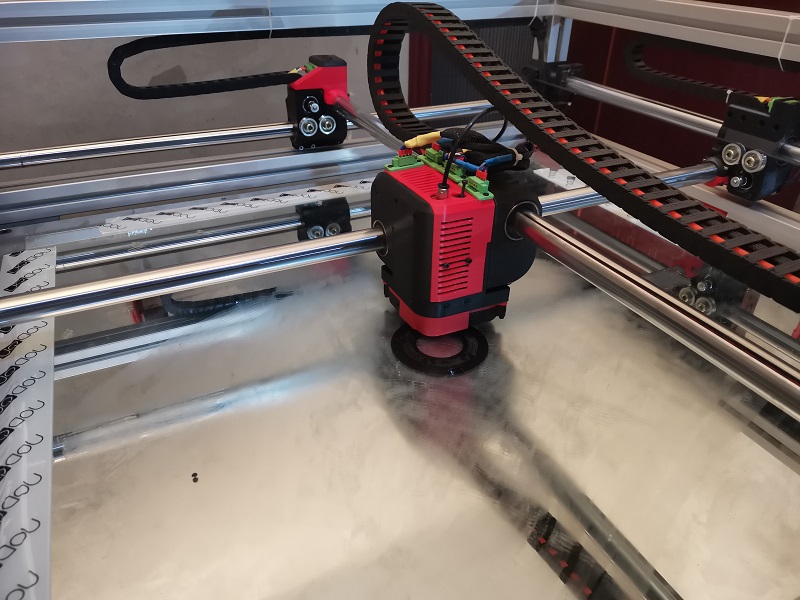
Last print quality issue I have that bothers me a bit is ringing after a suddden direction change. The head is heavy so I guess this is a byproduct of high accelerations + head mass + slightly elastic belts. I’d like to avoid lowering the acceleration so I’ll start with tightening the belts a bit more and see how it goes.

I also found a simple fix to my extruder issues: I just added a little fan. Turns out the stepper was getting way too hot, which made the filament soft in the extruding push gears. Since I added this fan, the stepper stays at a more reasonable temp and now I have no issue with it anymore. So I guess I’ll stick with this until something warns me to do otherwise.

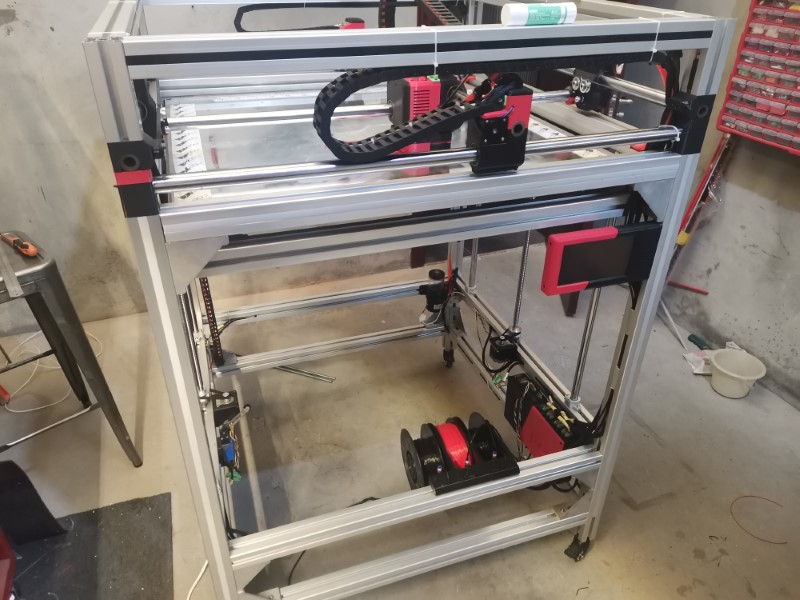
Anyway, the point is: I think I’m on the right tracks with this machine now, it’s more and more reliable so it will be time to start tuning the print quality up.

4 Likes

That’s awesome. Really good job with this. I like how you stuck through the issues and figured things out as needed.

I have too many projects in the shop that haven’t moved forward because I haven’t taken the time to figure out a small issue.

3 Likes

Thanks for the kind words David, much appreciated ! And thanks for folllowing my build guys!

So, as it turns out, during the past days, at least 90% of my issues were coming from the filament spool system. The spool was just stored on the wall and it did bind a few times, causing some issues and even sometimes the filament broke during printing.
so I’m working on a solution for filament storage and safe delivery to the extruder.

My goal is to have a convenient system, similar to a cartridge that I can take off the machine and replace easily. This way I can change the filament outside of the machine, add or remove cartridges however I need, and have everything contained within the printer’s frame.
All of this isn’t really important with just one nozzle, but it might come in handy if I add some more extruders later.
I also want to have a clean path for the filament up to the extruder, so I’d like to run it through the cable chains. This is the major concern right now for me, I don’t know if it can work reliably since cable chains move all the time, they have some short turning radiuses and, even though it if really beefy and powerful, there might be too much friction for the extruder motor to overcome.

So far, my idea is to do something like this:
MPCNC v2 linear rods - Copy  Spool assy - Google Chrome

Each one is independant and can be removed. It is very easy to take them on and off, because they just clip on the alumminum extrusions.

So I printed a first one yesterday evening:

The small parts took around one hour to print and the big one took a bit more than 3 hours.
The screw fit was perfect on my first try so that’s nice, a bit of luck I guess.

The parts all printed perfectly fine, they just need a bit of cleaning to remove the tiny oozing strings but I had no time to do that this morning

I tested if it was clamping fine and it did! Easy to put in with a bit of force and easy to remove. Plus it doesn’t wiggle around. Very happy with this design, I think this was a great idea (but let’s see how it works, history showed us that what seemed like great ideas at first aren’t necessarily all that great after actually using the thing :yum:

So far so good. Now my only concern it: will it be ok to pass the filament through the cable chains? I will need a very long bowden tube and also some radiuses migh be a bit tight. I just hope it won’t be too much strain on the extruder motor. I guess we’ll see, but I really hope it will work cuz that would make things so clean!

7 Likes

If it was in a ptfe tube I would guess there wouldn’t be much resistance. I would worry about it breaking when taking small turns, but I have a hard time understanding the scale of the turns on this BOx.

1 Like

I think Ivan Miranda’s solution was pretty good, supporting the filament with a flexible arch that stayed in the air. With a fixed length like a bowden tube or cable chain, it should prevent tugging when the head moves quickly in X and Y.

(Filament support at 12:00)

1 Like

Yeah but I don’t want anything going oustide of the limits of the frame, in case I want to enclose it later.

Hmmm that’s going to limit the possible bend radius. Unless you put the cable chain horizontal, but even then in some corners of the workspace you will probably need a tight bend radius.

1 Like

I’ve always been a fan of the filament being above the extruder. You’d have to extend the top of your build to do this and have it enclosed, but it gives a straight path for the filament to go.

2 Likes

I agree with David, especially on models where the bed moves in the z axis. Seems like having the filament above is the shortest most direct route with the least potential for problems.

1 Like

Well I guess we’ll see, but so far, so good :wink:

It looks so much cleaner with everything enclosed, I really hope this is gonna work.
Only annoying thing is to pass the filament through such a long bowden tube by hand to load it, it takes forever. If this solution proves to work fine I’ll build a little device to help push the filament faster, using the old extruding system I had and a hand crank.

So far it seems to work fine, the filament is not very easy to push by hand, there is indeed some friction, but the extruder motor is really very powerful, and I’m not even close to the maximum power the drivers can deliver. (1.5Amps currently, but the drivers can go to 2.4).

Let’s see if I’ll still be so enthusiastic about this whole contraption after a few days/weeks :sweat_smile: :sweat_smile:

2 Likes

What diameter of filament is it?

1 Like

El Classico: 1.75mm.

Two 1 hour prints done so far, it seems to work well, no difference whatsoever with yesterday.
Just started the third one, this time 3.5 hours (printing a second spool holder).

1 Like

Good luck pushing a flexible filament through there. Also make sure your filament stays dry. Pla gets brittle when it absorbs too much water.

1 Like

I very rarely use flexible filament so I haven’t thought of that, you’re right, it won’t be easy indeed.
But what is great with this design is that I can move the cartridge anywhere I want on the frame, so I guess for this material I could always move the cartridge to the top of the printer and use a much shorter tube :slight_smile:

PLA does get brittle, but this printer eats filament so fast I don’t think it will be a huge problem. I already finished my second spool and just attacked the third…

By the way, the second time passing the filament through the tube was much easier, I guess the filament had some bends the first time I tried. Still not smooth at all, but much better.

1 Like

Well, some good news and a really bad one.

Good news: the printer has been totally reliable for three days in a row. All my prints were successful and the printer was basically a no brainer, hit print and go do something else. I went through a new spool of PLA during the past two days and all worked great.
So that mean my spool system stays the way it is, it works!

Now for the bad news: I screwed up while installing the filament sensor… apparently some wires were misplaced and I did fry my Duet boad :frowning:

So that’s a big bummer and an expensive mistake, I need to get a new one, reinstall everything on it, etc. It reallly sucks.
Was mostly my fault, really, the board gave me red signals all over by resetting all the time right after I plugged this thing, but I ignored them and eventually after a few minutes like this some component on the board released the magic smoke.

Good thing I’m in China, I’ll probably receive a new board in two days tops.

2 Likes

Hopefully the sd card is still good. You’ll be able to just put it in the new board and be back to printing pretty quick.

2 Likes

yah I hope I can just swap the SD card.

The board isn’t entirely dead apparently, when I plug it using the USB cable it works just fine, so it just affected the voltage regulator. There’s a hole in it which, I assume, is not purposely made for ventilation:

I’ve ordered a new board and I also ordered this component separately. I’l try to replace it and see if it solves the issue.
If it works I’ll have two boards so I could throw this one into my delta printer. If it doesn’t work then I guess I can still do that, but adding a 5V power supply connected to the USB port.
So all in all it’s not too bad, I’ll probably end up with two boards in the end.

I did print two and a half spool trays this weekend (amongst many, many other things), it works well and I think they look quite nice:

They are very convenient to use. Loading filament is still a bit of a pain though, but I’ll work on something to do that more easily.
The printer worked really, really well during this weekend, I’m very happy with it so far.

3 Likes

There was a product that would cut and weld a different color of filament for multi material prints. I wonder if you could take a little bit of ptfe tube and put the end of the old and the start of the new and heat it up to about 200C and weld the ends together good enough to have it just continue on. Maybe an extra hot end with the ptfe tube in it and a heater and thermistor?

I may not be using the term “weld” right here. But I think you see what I mean.

1 Like

Yeah, I thought about doing something like this for a while. Still havent thought of a good way to do this.
The idea I had was to heat a knife cutter blade with a heating element, then press the two wires together inside a metal tube. Maybe I should give it more thought and actually build the thing.

One of my main concerns is the diameter of this tube: it can’t be less than 1.75 mm otherwise the filament won’t go through, but it can’t be much more than 1.75 either otherwise the thing will create a blob and will clog elsewhere, either in the bowden tube or in the hotend.

I’ll see if I can find the product you’re talking about, maybe that could give me some better ideas.
Thanks for the suggestion

4 Likes