Yeah but I don’t have that in the shop, I only have black paint so I guess I’ll go for that.
And now that I think about it, I’ll try using black paint and then use the laser to etch the purpose of each plug directly on it (like “X Axis Motor”, “Heater”, etc), just like I did it on my brake calipers. Might look cool if I manage not to melt the plastic under it !
1 Like
I guess I’m just easily pleased. If I plug stuff together and it works as expected I’m thrilled! ![]()
2 Likes
Haha, don’t be fooled, it’s mostly an elaborate excuse to play with my new laser toy 
3 Likes
Don’t you mean “opportunity to tune performance of a recently deployed system”? Or have I been writing too many reports aimed at executives recently?
5 Likes
Sounds like you answered your own question. ![]()
1 Like
Don’t you mean, “If I plug stuff together and it does anything at all.” ???
2 Likes
Nah, I said easily pleased not always pleased. ![]() Of course sometimes the expectation may be ‘it’ll do something’.
Of course sometimes the expectation may be ‘it’ll do something’. ![]()
1 Like
The new electronics enclosure is almost finished, I just have to redesign the air guide to include a few other additional stuff like supports for my wiring and also a little system to attach my 24V->5V converter whose purpose it to power up the carriage’s LED light.
So far it looks like this:
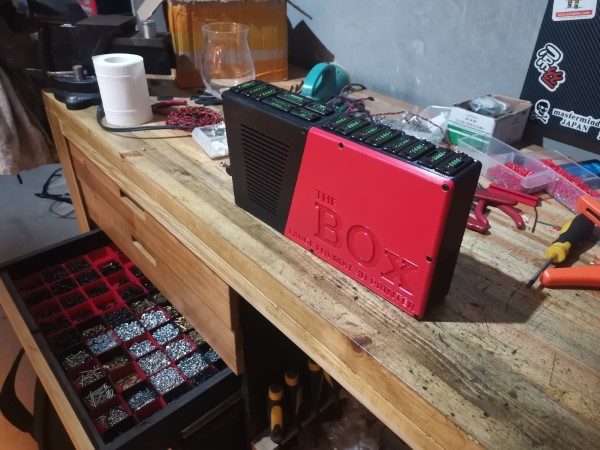
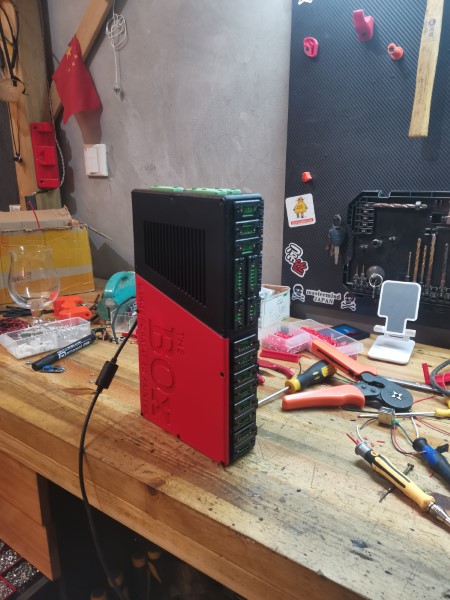
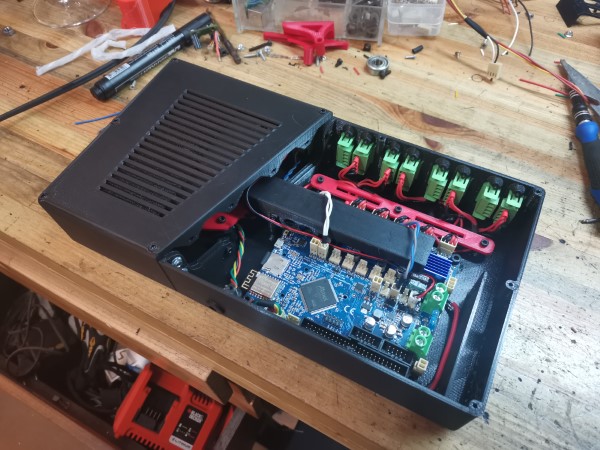
I’m super happy with this design, it looks so clean, the air flow seems nice, it is a bit quieter, I have plenty of space, lots of spare I/Os, and the wirring is just so neat…
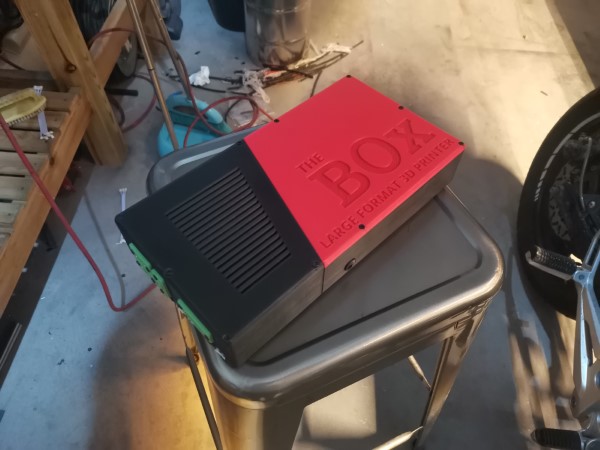
Now it’s time to work on the other stuff: the plugs on the motor and hotend sides.
l’ve also have to try and spray paint the plugs, I’ve just used a black sharpie so far but it doesn’t look really good so that’s just temporary.
5 Likes
Careful keep making it look so good you might end up with a product on your hands!
1 Like
I feel like you are long past the stage where most people try and launch a kickstarter…
3 Likes
Haha, well it’s kinda true I guess, in the sense that most kickstarters are unfinished and untested. XD
I prefer to make sure it works well, before even starting to think about that. I’m not really interested by the business side of things to be honest, so I don’t really think I’ll do that anyway. But, who knows.
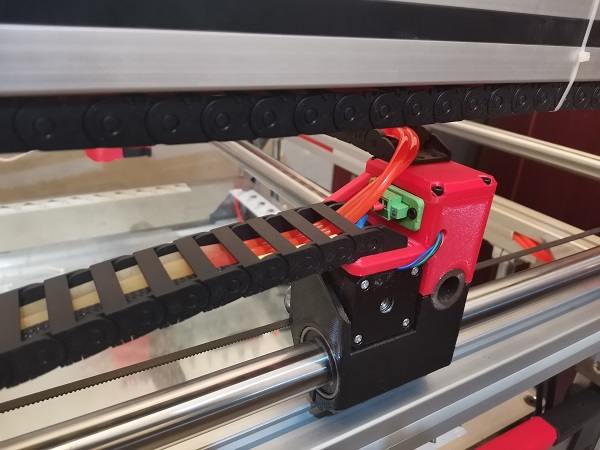
Still working on adapting the new harness. I made the attachment parts of two rollers and it seems to work really well
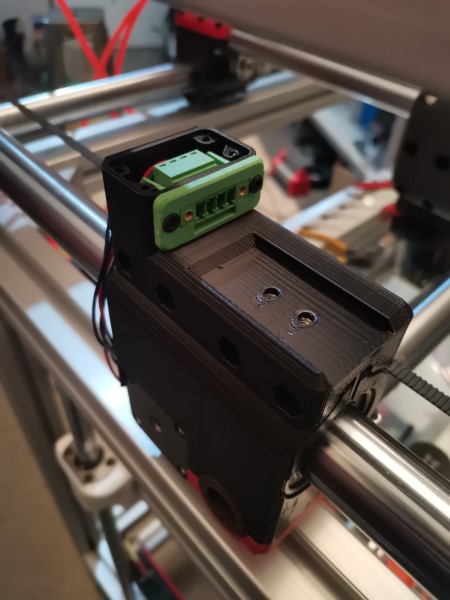
The silicon insulated wires are extremely flexible, but they were a little bit too sticky in the cable chains so that was creating some tensions. Also they are very easy to get damaged, silicon is very soft and it gets cut quickly. So I just added some nylon sleeves to solve both problems. Seems to work well.
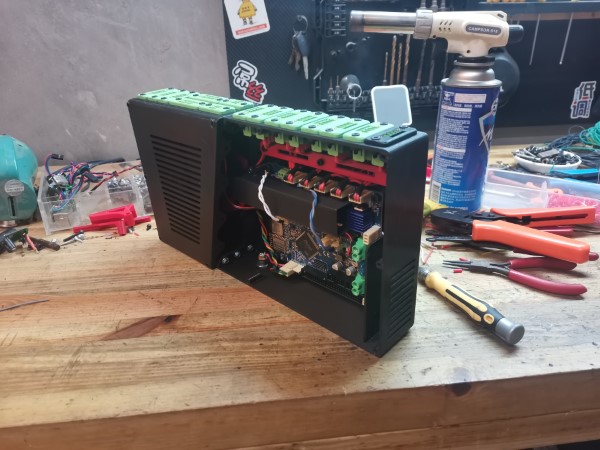
I plugged only the Y axis so far:
This time, I tried something I never did before, which was to put the motors in series. I was always doing parallel before, because I was afraid doing series would lower the voltage, hence lower the motors speed too much. Well I was wrong, kinda.
It does lower the speed a little, but it increases the torque so much that it totally worth it in the end.
So starting from now I guess I’ll use series wiring, it’s much better indeed, and it was even easier to wire than parallel so what’s not to love?
It should allow me to go for much more acceleration and I don’t see how it could even lose any step, I had a really hard time to get the axis to stall, it took really a lot of force! So far, so good, it has loads of torque, the movement is much smoother than before, the motors seem happy, that’s great !
I guess it’s time to work on the remaining axis attachments before tackling the final challenge: adding the plugs on the print head.
2 Likes
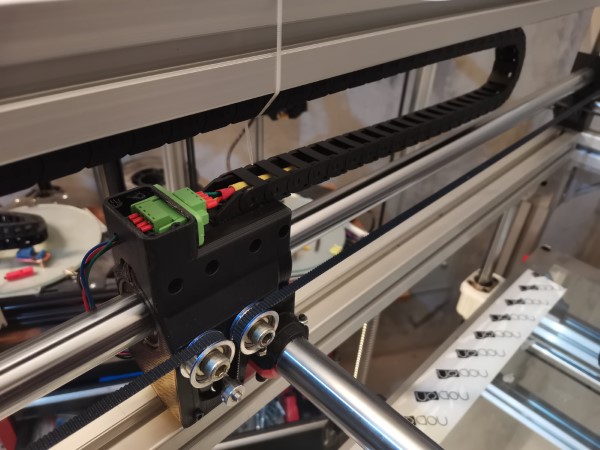
The cable chain bracket is now done for the X axis too. It works as intended but it looks a bit bulky, I’ll refine the design later.
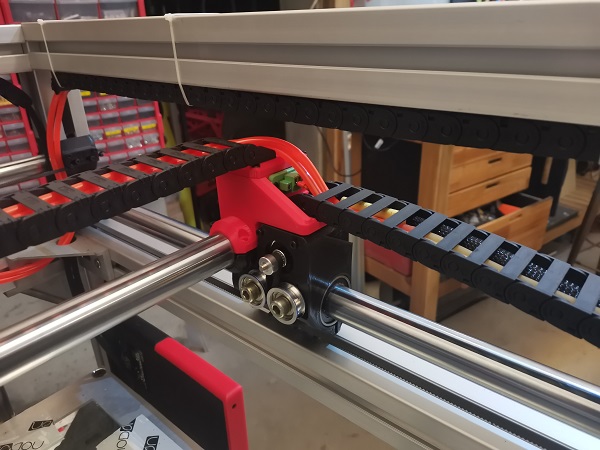
So now that both axis are working, I had the opportunity to do a few quick tests… and oh boy, those changes made a difference!
The machine feels so much more powerful and smooth than before! I tried to stall it with very high accelerations and speeds just to get a feel of what would be the limits, but I actually gave up before the machine did… My last test was at an insane 300mm/sec top speed at a crazy 3000mm/s2 acceleration so it basically got to that top speed pretty much instantly!
It’s impressive to see especially given the size of the machine and the mass of the gantry, I’ll take some videos of that after I connect the Z axis to show you guys.
Best of all: it did that reliably, I had no problem whatsoever, nothing did bind, no step skipped, all smooth!
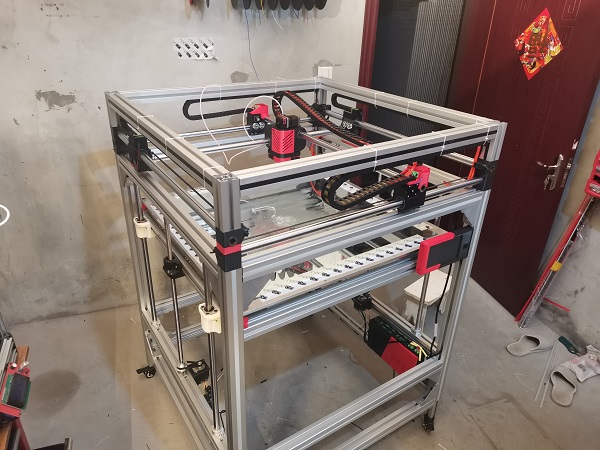
Really happy all the hard work of these past weeks seems to have paid off, yay!
9 Likes
Man, i can’t wait to see video of that. I’ve seen some pretty nuts videos of a railcore trying to run at 300mm/s. I bet yours actually WORKS.
1 Like
I couldn’t resist to take a short video actually, so here it is. Sorry for the quality, I’m clearly not Spielberg.

The machine moves by 50 mm increments most of the time because I had to both click fast on the computer’s interface and hold the camera, wasn’t very convenient to do. It could otherwise move smoothly from one edge to the other.
But it’s not important, with those accelerations it was largely able to reach the top speed in far less than 50mm anyway.
8 Likes
I am not disappointed!
1 Like
That is nuts!!!
The final test is how fast you can print and keep ringing under control. Your travel moves though…plenty fast. Can’t wait for some giant prints. New set of 3D printed fairings for the bike?
2 Likes
I’m ready for Dui to print a canoe.
5 Likes
Awwwwww, you screwed up, you needed to make a belt printer!
1 Like
Lol I seen the new 3dprintmill from creality. It’s interesting stuff.
The belt printers have a peculiar benefit of being able to print parts larger than their own frame. Which really makes me want to have one be rep rap made completely from plastic.