Arrrrrrrggggghhhhh! I sold my old South Bend before moving 11 years ago and have regretted it ever since. ![]() When I lived in the NYC area they appeared on Craigslist regularly, I have yet to see one within a reasonable distance since moving.
When I lived in the NYC area they appeared on Craigslist regularly, I have yet to see one within a reasonable distance since moving.
2 Likes
A Mill and Lathe are on my long-term goal list.
I made the mistake of watching This Old Tony on youtube. Another fun one to watch is Ce Liem.
I’m thinking I’m going to end up with smaller desktop versions. Larger ones show up on craigslist around here, but I’m not sure how much I’ll use them.
A lathe might surprise you with how many things you end up using it for. I know it did to me. I sold mine because moving somewhere where I didn’t know anyone I was a little concerned with moving a few hundred pounds of cast iron around. It reminded why sometimes it’s better to just do it and worry later. ![]()
Very cool! I’d like to see more if you get a chance to snap some pics. I’m not quite following on how the tensioning screw functions from looking at the rendering.
1 Like
That dude is funny! Excellent videos. ![]()
1 Like
Why long term? Just get one right now!
Waiting is only acceptable if you don’t have the space for it ![]()
Yeah, one of the very best channels on Youtube, absolutely love it.
Well, I had another go at a test print yesterday and bad news, the print failed again, and reason was the extruder motor disconnected again. So it all comes down to the HDMi cable, it seems like, unfortunately, it is not up to the task. The HDMI plug is not really good at giving a secure connection on moving parts. Bummer.
So now I need to find an other solution to replace it. I think that I’ll try to just remove the HDMI plug but keep the wire itself, and then just replace the plugs with something more reliable. Or just get crazy and do it right, building the harness again from scratch using very flexible silicone wire all over, which would help getting an even smoother movement on all axis…
Still not sure about what I’ll use, I want something with at least 20 wires that are not too bulky, can bend easily and have secure terminals that I can rely on.
So far, terminal wise, I’m leaning towards using a parallel port. It’s bigger and uglier than I’d like it to be, but it can be well secured with screws, it offers large pins to carry a fair amount of current, it costs nothing and its not too painful to solder, so I guess I’ll have to remain pragmatic on this one.
I’ll have to print a new electronics box, which kinda sucks, but I guess that was to be expected anyhow.
Good news is that I didn’t see any layer shift so far, all layers seemed pretty consistent. So maybe my little belt guides were effective, and maybe the USB wires for the other motors are still in okay for that purpose… it’s a bit too early to tell but I sure hope so.
1 Like
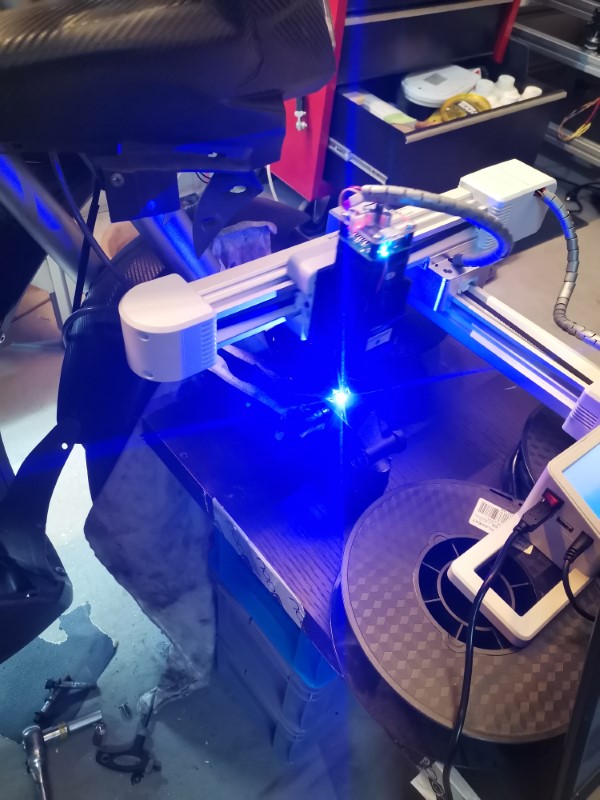
A little off topic (but this whole topic is off topic anyway so who cares?), but my awesome wife gave me this great little birthday present the other day, and it’s real nice so I thought I’d share it with you guys : a little laser engraver:
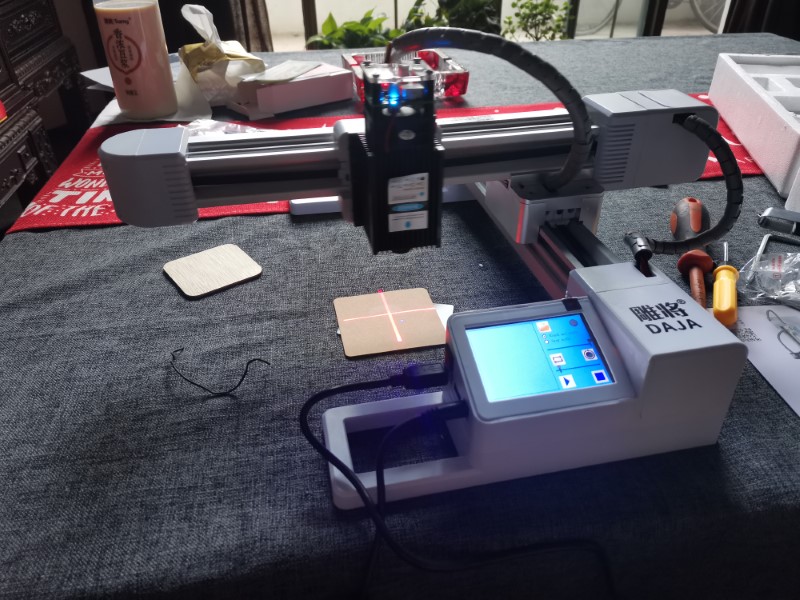
To be honest, I was a bit skeptical at first since it looked a bit like a toy, but as it turns out it is actually a real useful little piece of tooling!
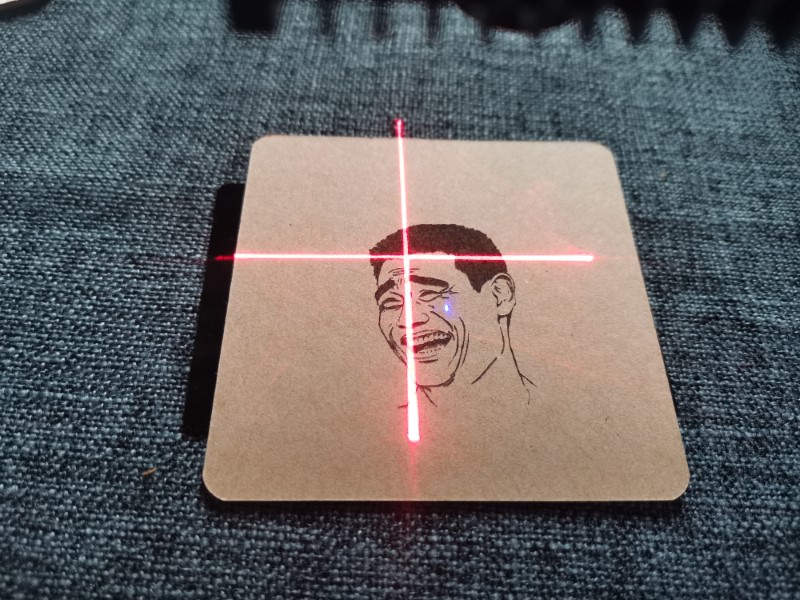
I tried it on carton first,
then wood engraving,
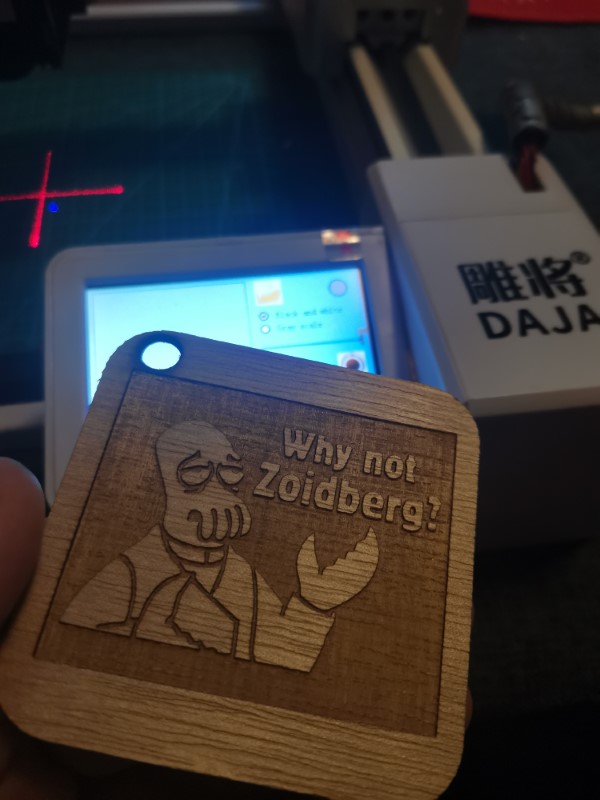
then wood cutting, took only 3 passes, I wasn’t epecting it to be that quick (I programmed 10 passes  )
)
leather

Anodized aluminum (a little external HDD):

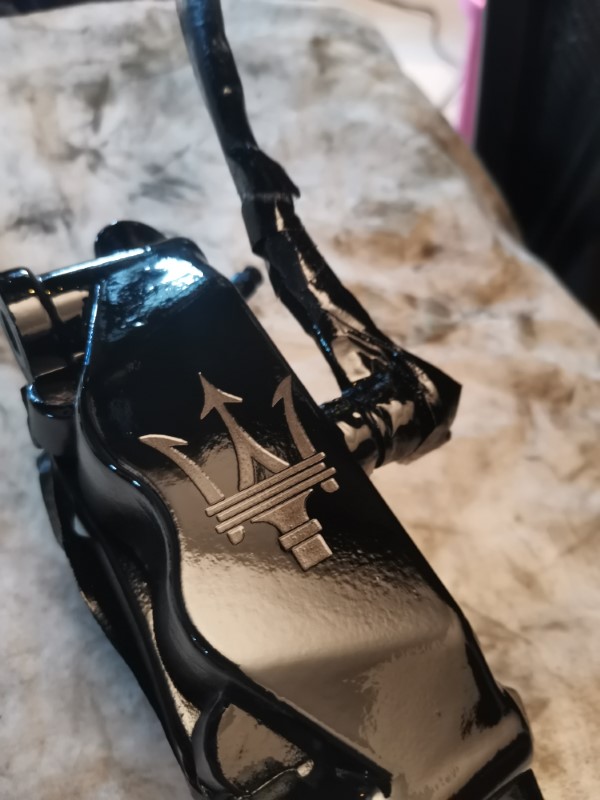
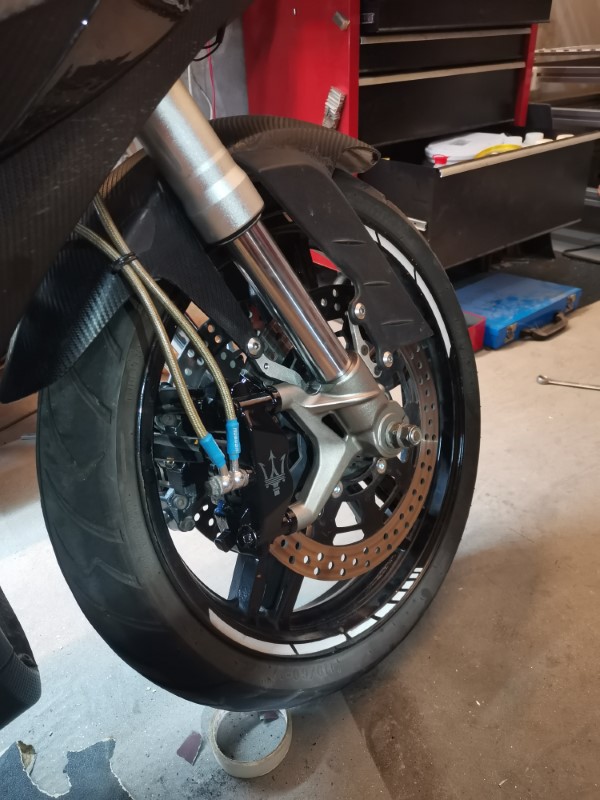
And finally, as I was rebuilding my bike’s brake calipers, I decided to try something fun and carved a Maserati logo on the paint (everyone asks me why not just Brembo, well, Brembo logo visually sucks, Maserati logo looks great, so why not  ).
).
Clear coated it after to protect the aluminum and it looks amazing.
Laser supposedly is a 7 watts one, so not too puny, and at some point I guess I could install it on my BOx giant printer later, I don’t see much difficulty in doing that.
The little software it comes with is pretty sweet, extremely easy to use. Takes maybe 2 minutes from getting the image you want on google to start carving it on whatever you want. I particularly love the “preview position” feature, which draws a rectangle around the area it will later carve your drawing, so you can make sure you dial the position accurately without messing up. Really great stuff.
12 Likes
If I didn’t have kids, I’d have more toys of my own ![]()
1 Like
Just cancel christmas this year, they’ll understand.
6 Likes
Ok so I bought the stuff to at least redo the print head harness, and maybe later the motor harness if it turns out to be necessary.
So I chose to go for:
-Full silicon insulated wiring, so that they are as flexible as possible. I took different gauges, signal wires will mostly be 28AWG, power wires will either be 24 or 28 depending on what they’ll power.
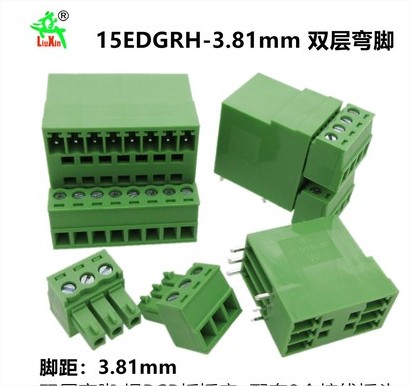
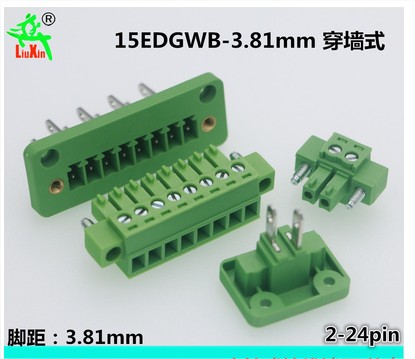
-the classic green screw terminal connectors, in smaller form factors (3.81mm). They are big and ugly, but they are great when it comes to maintaining the system because you don’t need to solder anything. So adding a new feature or changing a defective device will be much easier than with any other system I can think of.
-I’ll need to design a few custom PCB to solder these connectors onto. I never actually did this so that might be a nice little easy project to learn some new stuff like doing a gerber and basic routing
-I’ll need to redesign the electronics enclosure, for the third time.
-Also need to design a part to attach to the gantry so that I can fix the plugs neatly.
So yeah, lots of work again.
6 Likes
They must have been reading this thread. This new printer isn’t a BOx, but it is using an hdmi for the hot end:

The hot end is really attractive. Lots of stuff in a tiny package.
That’s interesting! I really like their designs, lots of things are very well thought of.
I wish them more luck than I had with their HDMI plug 
I’ll be interested to see if they keep this solution on the long run.
On my side, I’ve already started the process of rebuilding all my wiring. I chose to also rebuild the motor wiring, since I 'd really like to start using the printer, I need it to be reliable now. I don’t want to keep testing the USB forever, maybe I’ll try again later on one axis and see how it compares, seems like a smarter way of doing it.
So here is the whole new harness, it’s entirely made of silicone insulated wires, they are insanely flexible so that’s great. The point was for them to bend as easily as possible, to hopefully avoid any effort on the cable chains, which should result in a slightly better movement on the motor carriages, at least for the ones that were running the HDMI cable, which was quite rigid.
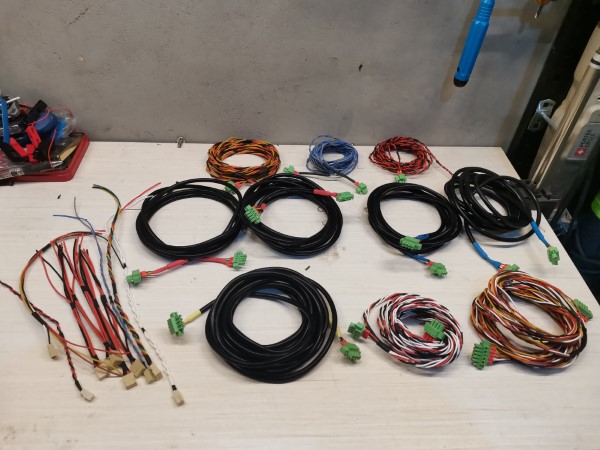
I’ve built separate harnesses for each function: one for each motor, one for the BLtouch, one for the hotend, one for the fans, etc. This way it should be easier to maintain and easier to add or remove functions. I’ve already planned a connector and made a harness for the laser diode, and I’ve left a few spare connectors on the new version of the electronic box that I’m currently designing.
So now it’s time to finish the design of the electronic box, which will be fairly complex, and also start designing some components to attach the wires on the other sides (motors and hotend). So still a lot of work.
3 Likes
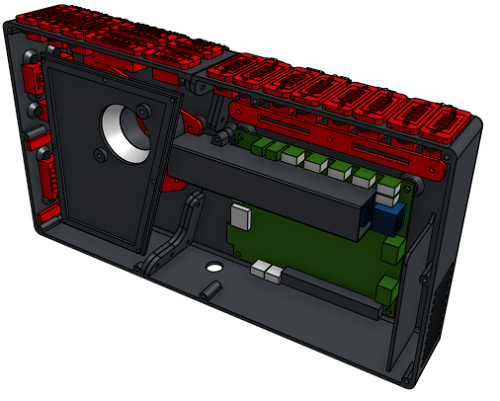
The design for the new electronic enclosure is ready, now its time to get it printed!
It will be too big for my printer so I had to split it in half. I used the same kind of design as my screen enclosure, to both make it fit the printer and make it look nicer

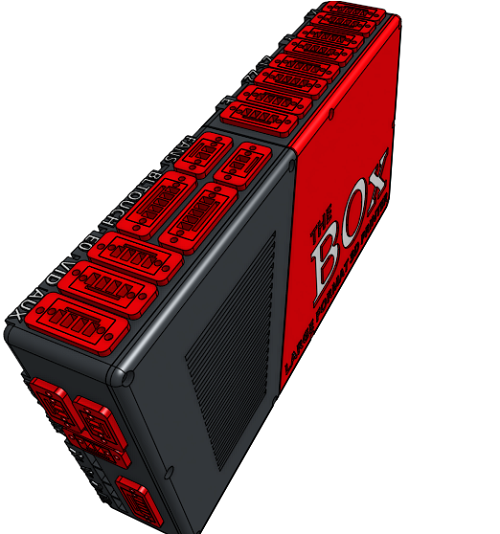
I was unable to find red connectors, it seems like they only exist in green for some weird reason. Probably that the guy who invented those was Irish and they were afraid to piss him off so they never even tried to change the color.
So I guess I’ll try to paint them red, but if it doesn’t work or if some Irish dude shows up, then I’ll just leave them green to avoid any trouble.
The enclosure features active cooling through a dust filter. This time I included some chicanes so that there is no direct path to the fan, hopefully that should make it a bit quieter. I also included a few stuff for cable management so it should look clean.
I’ll still use USB ports for all the limit switches.
2 Likes
You can’t use the BOx to print it? I guess the wiring is that broken?
I already took it apart, it was easier that way to get some measurements for the new ones.And I wouldn’t have trusted it to complete a 4-5 or maybe more hours print, the HDMI wasn’t reliable.
1 Like
Can you dye the connectors…black at least?
Just get red shrink tube big enough to go over the top of the connector where it’s visible and shrink-wrap it.
Oh yeah, good thinking, black would look better actually and I can just do it with a maker pen if paint doesn’t work well. So yeah, lets go for black, to hopefully never go back.
1 Like
I remember seeing something about clothing dye. Around here we have “Rit” dye and I think it works with plastic…or maybe it won’t.
Probably worth a try: How to Dye Plastic With Rit Dye | ehow
1 Like