Ryan could use one of these for printing parts. Just keeps dumping them into a bucket.
I was thinking about that the other day. I might need to add a warning on the parts page. As awesome as that sounds the parts were designed for bottom up printing, I am doubtful they would print right on a 45 degree belt printer (support) and they would not nearly be as strong. Some of the parts would be okay but things like the Z clamps and the tool mounts would end up with layer lines where there should be horizontal lines…lots less strong.
2 Likes
You could print on a belt but only move the belt at the end of the print.
A belt moving all the time only makes sense when you need to print stuff bigger than the printer’s frame.
4 Likes
That’s easy to fix. Just tilt the bed to 45 degrees… duh 
1 Like
Or print all the parts at 45 with lots of supports!
Thought about it lots of times, not sure how much time it would save me over carefully timed full plate batches. Maybe the next printer I work on!
Would the belt be stable enough to move back and forth like the Y axis on a prusa style machine?
A long time ago I discussed this with some coworkers.
What we thought would work best would have the rollers attached to the build plate. The entire roller assembly would be moved back and forth by the normal Y belt. Then at the end the roller stepper would rotate far enough to move the current parts far enough away that the Z could lower.
The idea was that the plate would be twice the normal length. This would give one full build-time for the last batch of parts to cool so that when the third batch started to print, the first would fall off the front of the machine.
So
Print -> rotate ‘one build plate length’
Print -> rotate ‘one build plate length’
etc
etc
You could extend the smooth rods out the front of the machine and build supports so that the front of the build-plate was supported on smooth rods
1 Like
Cube style printer with a Z axis bed, that is also belt that rotates to dump the parts and start over.
Dui…you can add a belt to yours and be fully automated. 10kg spools, a pallet 2 to swap rolls when one runs out…Come on, you love a challenge.
5 Likes
If anybody here is gonna do it, he’s the one!
1 Like
Well I guess it’s doable, but I wouldn’t have the use for a belt, I rarely need to print continuously loads of parts. I think the mechanical part of the belt would be easy to do, but my main concern would be how to make sure the first layer sticks perfectly every single time… You don’t want to start producing 100 parts and come back to see a giant nest of filament everywhere because the first layer of the second part didn’t stick to the belt…
But maybe I’ll try one day on another printer, might be cool.
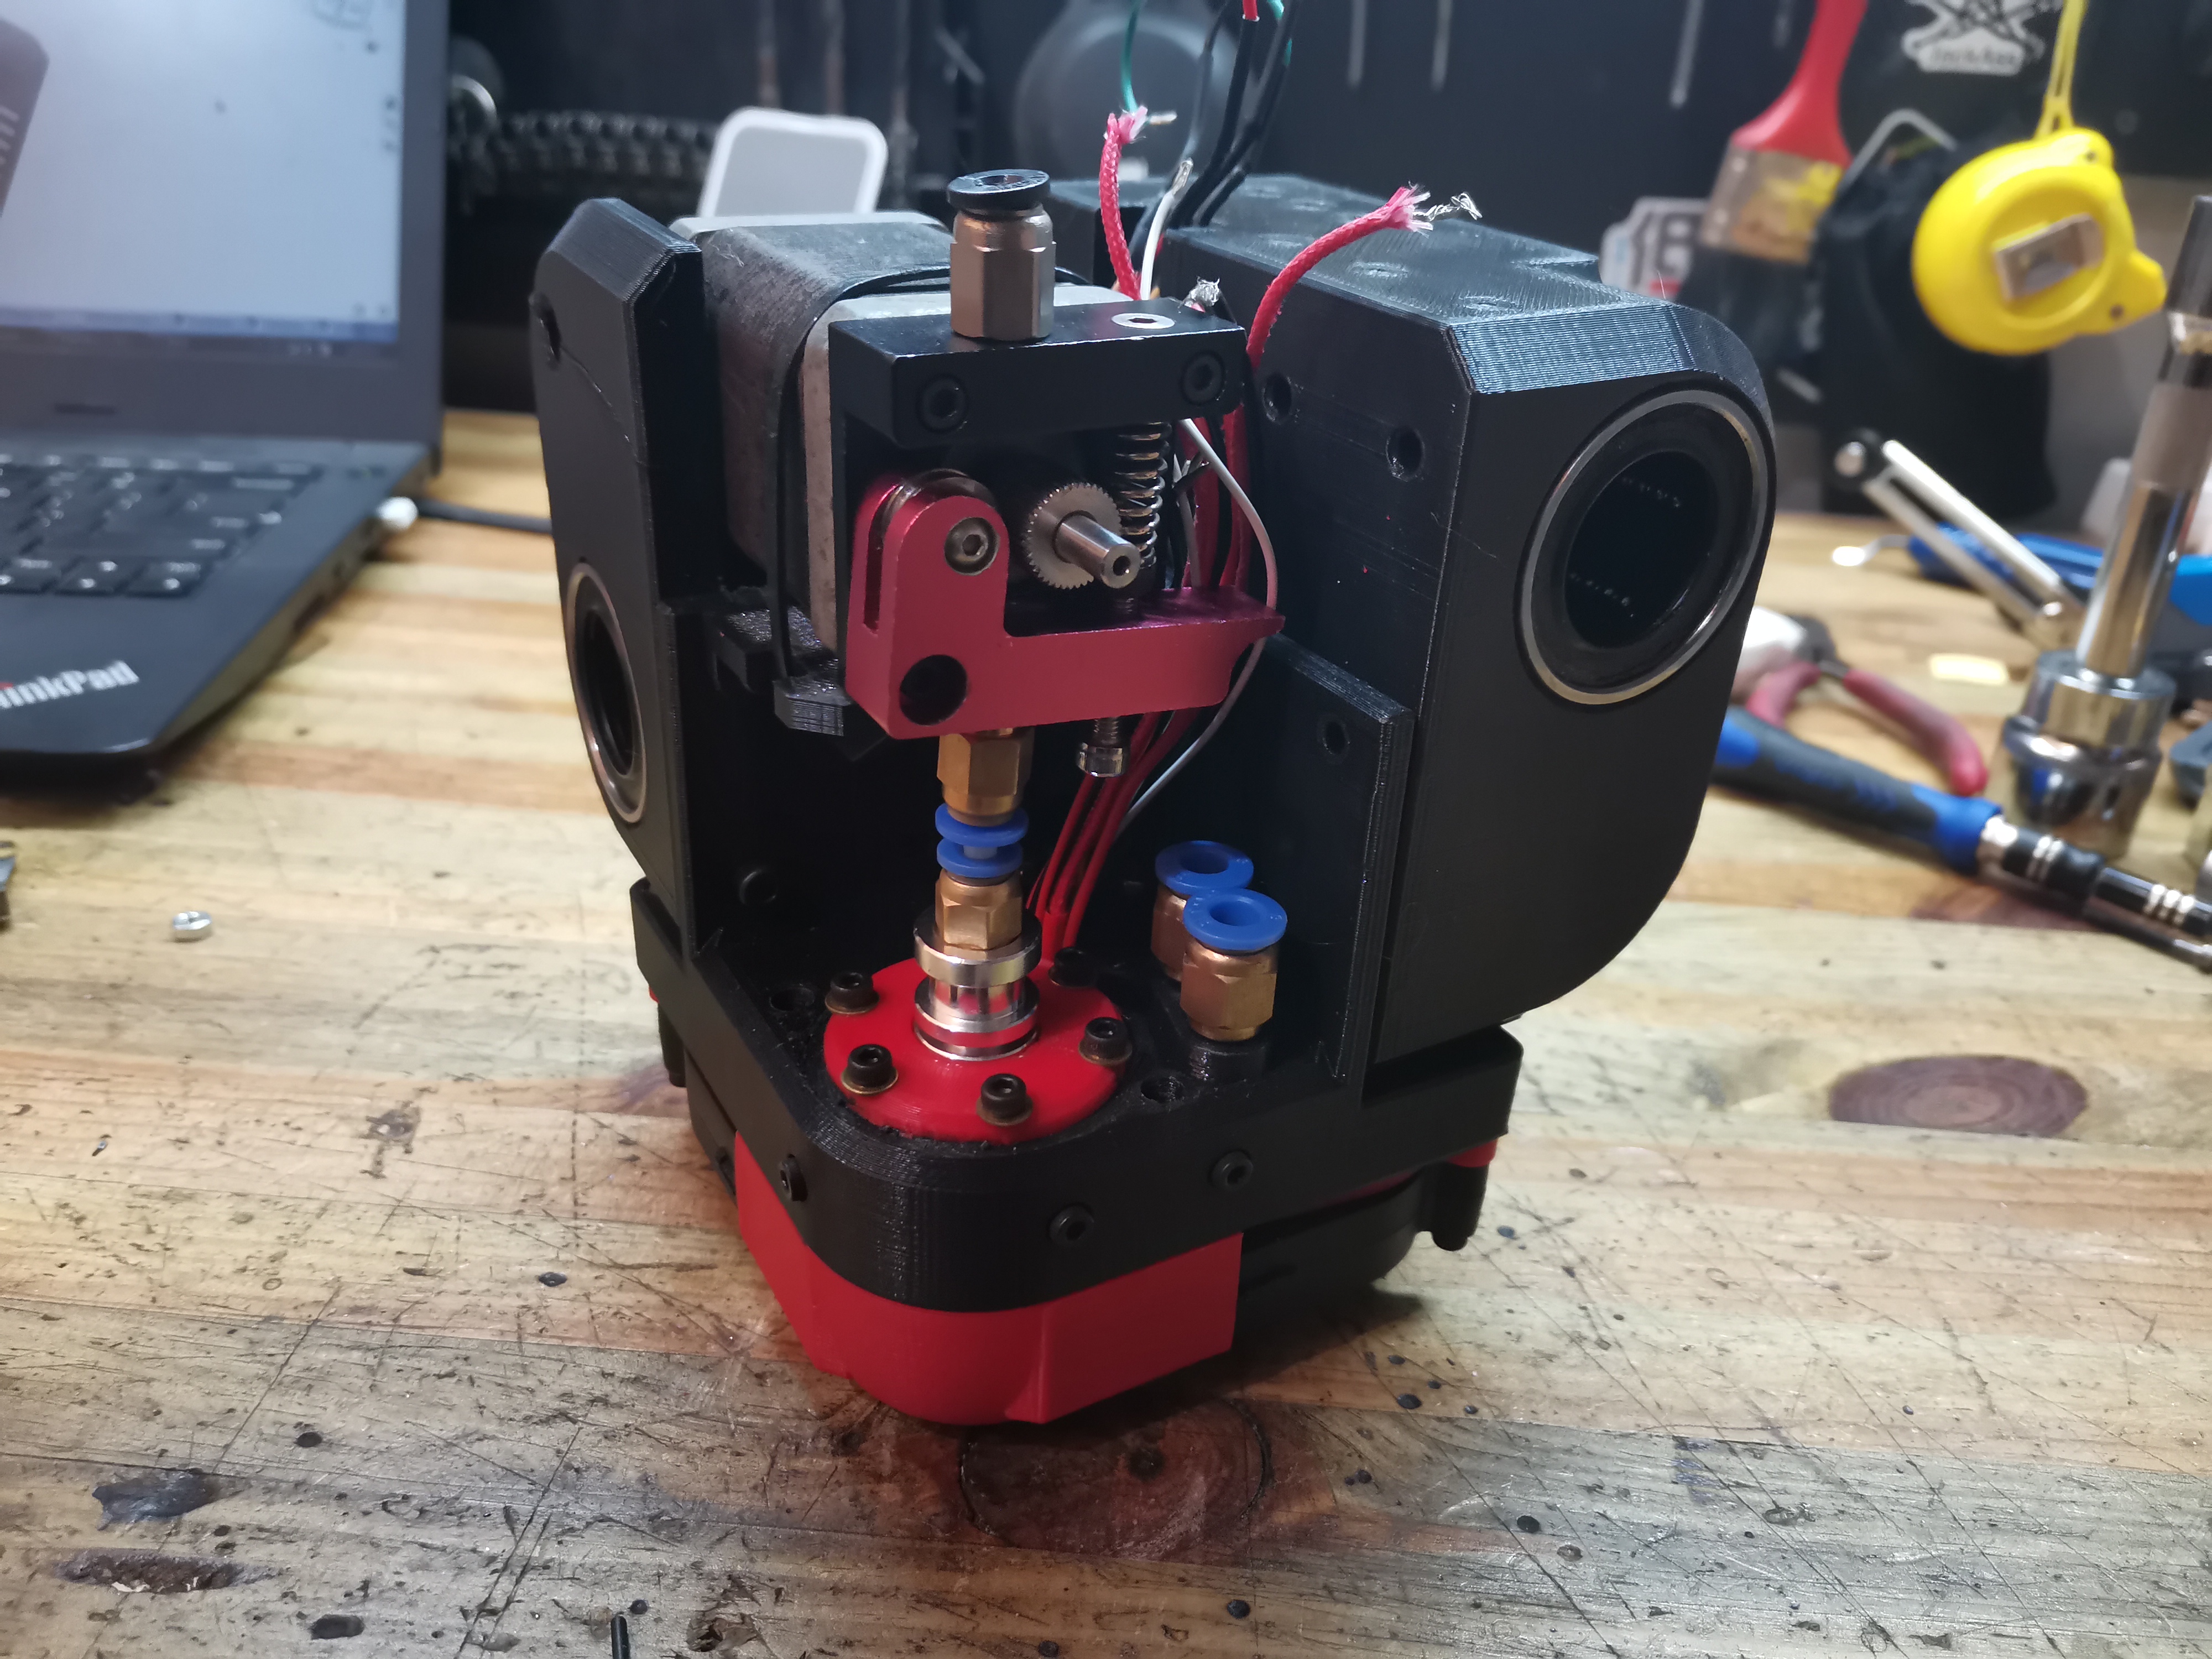
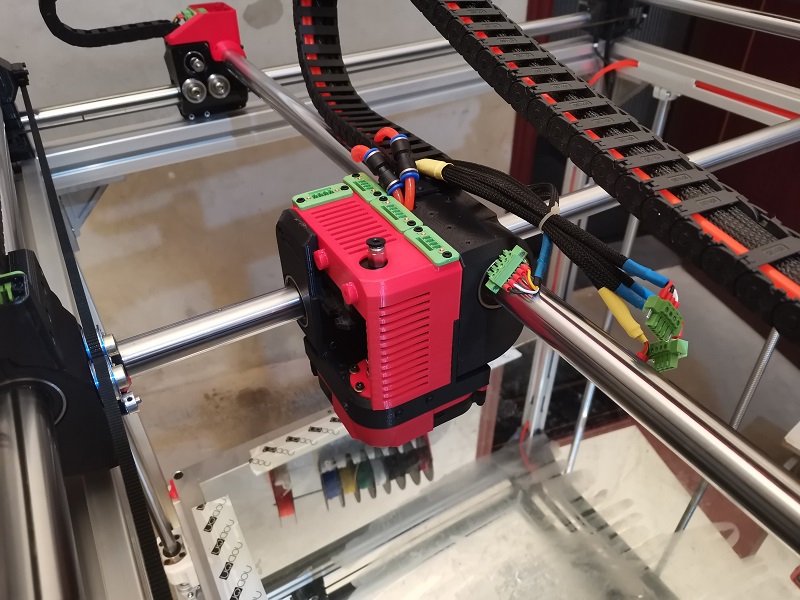
Anyway, I’ve made some really nice progress. I really didn’t want to, but I had to modify my carriage part. First, I didn’t like to have this giant extruder motor on top of the whole thing, it looked weird and moreover it wasn’t helping at all as to how to integrate the new plugs for all the wiring harness.
So… I found a way to have it fit inside the whole thing, by making some room in the carriage.

Wasn’t easy to design, but it worked so I’m extremely proud of that. Now everthing fits in this tight space and the print head can actually just slide into place and be secured with three screws. That means that I can drop a different print head in less than one or two minutes: just unplug everything, remove 3 screws and install another head. Can’t be happier, also it looks neat and clean.
Bad news is that I cracked the newly printed carriage while press fitting the linear bearings, so I’ll have to print a new one with slightly larger tolerances for the press fit… It’s already being printed right now so hopefully I’ll have it by tomorrow.
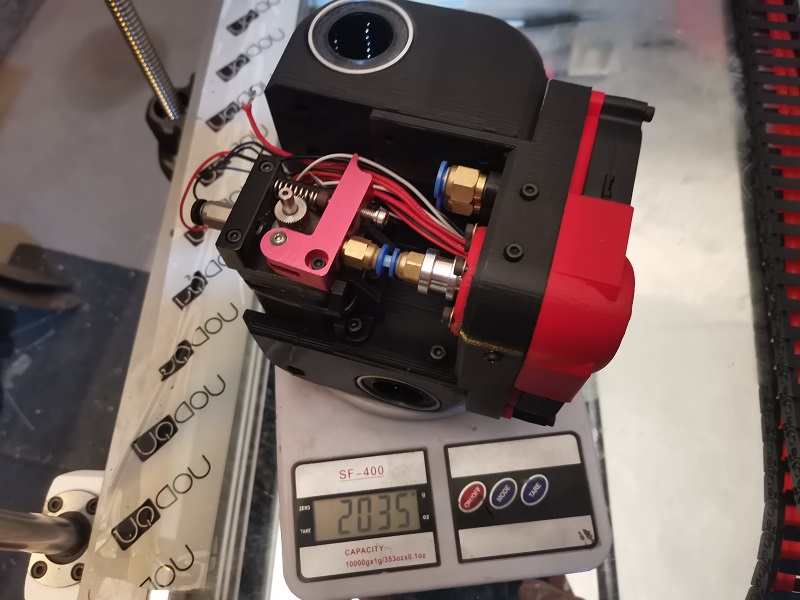
I managed to get it a lot lighter… But the whole assembly still weights more than 2 kilos! So that’s a lot of inertia, not mentionning that my 25mm metal rods are extremely heavy too…
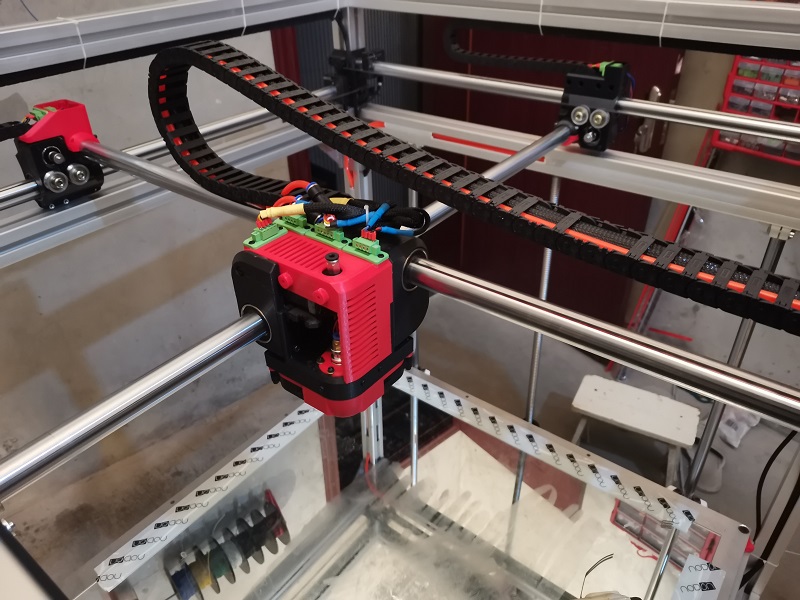
Well, despite all this mass, the printer is just amazingly fast. It’s really crazy, the motors move the print head like it weights nothing!
I also changed my bed microstep setting to 4, in order to get even more power and also a bit more speed. This doesn’t matter much while printing, but it does help to get faster homing and bed leveling.
Here is a video of how I setup the bed leveling: the process is the following:
-Home all axis
-Determine the height of the print head
-Adjustment of the side to side tilt of the bed and correction
-It does that two times because I found out that sometimes once isn’t enough
-one more probe to setup the new actual height (I think I can remove that step)
-9 points bed probing
It takes a bit less than 2 minutes to do that. I can probably still optimize that to gain 30 secs, but 2 minutes is quite acceptable, the print head takes some time to heat up and stabilize anyway
So here is how that looks like:

After that, I just tried to print a random part. But I’m missing a part for the extruder, I need a left oriented gearing for the motor because the one I have is right oriented and it doesn’t fit. So anyway, I just printed air, to see if everything worked fine, to check how reliable it is and also see the speeds…
Well, it’s crazy to see. Keep in mind that the print head weights 2kg!
On this video it is actually faster than my delta printers in both accelerations and speeds. Insane.

An interesting fact is that both X and Y axis are totally silent most of the time (except during super high speed travels). Most of the noise you can hear actually comes from the Z motor doing the active bed leveling during the print. I don’t really think it’s a problem, it’s just a fun fact that took me a few minutes to actually figure out.
Only issue I found so far is that the X and Y motors tend to get hot after a while, the roller’s plastic started to get soft after an hour. I’ll see if this turns out to be an issue during real prints, in which case I’ll think of some way to cool them down if necessary.
Everything looks very promizing now, it’s much better than I thought it would be.
11 Likes
This is a truly epic build.
4 Likes
That extruder does not look so good. Why no TriangleLab Titan clone?
Maybe with a slimmer and lighter stepper motor?
1 Like
I’m not sure as to what part you’re refering to specifically, but the point is not really looks, but mainly the ability to extrude plastic at a high rate with stable temperatures, lots of cooling, lots of rigidity, a bed leveling sensor, lighting, quick release plugs, etc. in a small package.
I need a really powerful stepper motor tu push the plastic, (and even this one can sometimes be pushed to its limits) and at least to my knowledge, only a volcano can deliver enough heat.
The triangletitan can’t be watercooled easily, and more importantly it is not designed for such high flows. Remember that it’s a big printer designed for using a larger nozzle, you need to heat the plastic fast if you don’t want your nozzle to be the bottleneck.
You can’t see the stepper anyway once the enclosure is installed so I don’t see how this matters. I can’t reduce the sice of the carriage also no matter what, because of the lenght of the linear bearings, so even if I had a smaller stepper thhe whole carriage system would remain the same size.
I do agree on the fact that the whole carrige looks a bit bulky, but it is really hard to design something better including that many features and that can be assembled relatively easily. I don’t think I can do much better than that to be honest.
2 Likes
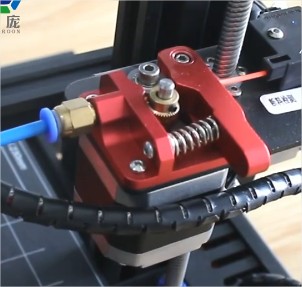
Was just referring to the feeder (sometimes aka extruder) itself and not the hotend. That looks like one of those bad clones we are often face failing.
I love the design of your whole print head! And I know it has to do lots of work on your big boy.
But maybe a geared feeder like the TriangleLab Titan extruder/feeder can apply much more force onto the filament strand.
Just my thoughts on that.
2 Likes
Ah ok, got it!
Yeah I tried to find a geared extruder but nothing really worked for me, either too big to fit, wrong orientation or some other problems. From what I see the one you’re referring me to seems a little bit too big and also it is oriented the wrong way (I’m not sure a mirrored version exists?)
Actually the one you saw on the pics hereabove isn’t the one I’ll use, if you look closely it is oriented the wrong way too right now, that’s actually the reason why I was not able to make a test print.
To be honest, I was using it for several years on the MPCNC and had not much to complain about, actually what I found matters most is the grab wheel quality itself, I’m alway using the finest ones which works best for me.
But I bought an different extruding system this time:
I think it’s mostly the same, but this one should guide the filament a bit better after the push wheel, hopefully helping while loading filament and avoiding the rare occurences where filament scapes during a print.
It won’t fit out of the box, I’ll have to cut the handle shorter, but hopefully it’ll work fine too.
But yeah, if someone can refer me to a geared extruding system that can fit in a similarly small package while having the correct orientation I’ll consider using it for sure. I even considered a planetary gear reduction, but couldn’t find any system that would attach to it because the screw patterns are different.
There are mirrored versions available of that feeder I mentioned.
But if your feeder is working then all is fine.
It’s was working well in my previous builds, but I’ve always wondered if geared extruders would give less artifacts and give a better print quality. Also the motor would probably heat less.
I’ll check if I can find a mirrored version here in China. If it can fit then I’ll give it a try
1 Like
My bondtech geared extruder has a compact stepper running it. It’s only 20mm tall.
Some good news and also some bad news.
The good news is that I received my new extruding system and after a few mods (cutting here and there, drilling and tapping new holes, etc) it does fit in the print head and seems to work really well.
I don’t think the extruding system will be the bottleneck on this machine, it was able to push a lot of plastic quickly after I increased a bit the current.
I’ll see how it will hold up after a few hours of prints.
One thing I really like about it is that it is well designed so that the filament cannot escape anywhere. That makes changing filament a breathe. I used to fight all the time with the old extruder, the filament needed to be very straight otherwise it wouldn’t go through the hole… it was a pain.
The other good news is that once I found the correct settings the printer worked really well. I had issues with the first layers because I tried to go too fast, but after that the layers were really good.
It is actually really fast, I think on this video it was on par, maybe even a bit faster than the ultimaker I’m using at work. But with a 0.8mm nozzle, so instead of taking 5 hours this print would have only taken maybe 1 and a half, two tops. Consistency between layers seemed perfect. It seems to me that the only thing I have to tweak are the beginning and end of each path, so that it extrudes and stops extruding at the right time. Hopefully linear advance should do the trick.
Here is how it looked like:

I did eperience layer shifting running at crazy speeds at the beginning of this print, during some very special infills when the printer was changing direction in a really fast zigzag patterns. So I guess I’ll lower the acceleration just a little or maybe try to play with the jerk settings, I’ll need to experiment.
Unfortunately, the bad news is that I had one motor disconnecting at some point. That’s really a bummer, the whole point of past weeks changes was to make the printer more reliable, but it failed miserably in doing that on its very first print. I hope it’s just a bad crimping on some connection and I won’t have to redo my whole wiring harness again, that would really suck.
4 Likes
Well… Very bad and weird news… Ihave to rebuild all my wiring harness.
For some reason I do not understand, all my motor wires seem to cut themselves one by one. I don’t know what’s going on at all, they work fine for a random amount of time, and then boom, the printer’s axis freezes, almost alway in the same spot.
Continuity test shows that a wire is cut, so it’s not the plugs nor my crimping. I’ve already replaced two wires so far and it just happened for a third time almost immediately.
Wire gauge is decent so I don’t really think that too much current would be the issue, but I don’t know.
Super disappointed, even the USB wires worked better. I can’t believe I’m having such a stupid problem after going through all this hassle, wtf is going on?