Idk I think its a combination of things and I just cant figure out where to start. Last night it wouldn’t print at all. Gave up and went to bed. This morning I changed it from 7mm to 10mm and it has printed everything I wanted it to until now. I did the steps last night as well. But I might run it again and have it not pull on the drag. By the time it comes from the spool holder to the sensor and then up to the hot end its good a good bit of drag on it. It might be skipping steps and I just don’t hear it and that’s causing it. in which case its doing its job. I want to add a shelf above the printer to put the filament on and have it come down to the sensor and then to the hot end. I think it will make things better all around. Just have to find time to model up a new mount for the sensor and build/install a shelf lol
What PTFE are you using? To reduce drag, instead of the common 2mm ID (good for Bowden), am using 3mm ID, 4mm OD, definitely noticing less filament drag for it. Picked up that tip from Voron’s Steve’s stream. PTFE wall is so thin that the PTFE ends up being pretty floppy, a good thing. One downside… Am expecting the pneumatic fittings will eventually bit through so it probably won’t last as long.
Bambu new printer has a nice spring mechanism that will significantly help reduce drag impacting retract operations.
I just took the filament out and was able to take about 18" of unneeded PTFE tube out of line. Also it felt like it went thought the sensor different this time. very little drag. I’m wondering if I didn’t get it though right the first time. Something I will keep an eye on for sure
yes. MUCH better now. I wound up disconnecting the PTFE tube from the hot end and pulled out a bunch of filament. Marked 120mm and calibrated Esteps. then I put it all back together and marked it from inside the filament container and ran it a second time. This time it was 8mm short. That’s what caused me to pull it and re run it. I truly think I didn’t get it though the sensor right the first time. I understand why they added a slide on the V2
Ok why would a runout sensor that needs to move 10mm of filament before it should trigger, set off the second it starts printing. The extruder didn’t make 3 steps before it tripped. I just don’t get it. I have it out where I can see it now. I can see the filament move in it. Starting to think I have a bad sensor. I have another one here that I was going to put on another printer. Going to swap it out in a little while and see if that changes anything
Well I finally threw in the towel on the filament sensor. I’ve tried everything I can think of including trying another brand new fresh out of the box sensor. the second it starts printing it trips. Sometimes it will get a short line other times wont even actually start printing. I finally went in and just disabled it in the firmware. It has to be a setting somewhere that I’m missing. Everything I can find makes it seem so simple. Ill keep digging and if I find anything ill be sure to report back.
Well of course now that I have a print started I find something to try LOL. Seems I may need to have M75 in the start gcode and M77 in the end gcode for it to work correctly with the screen. I don’t have it wired though the screen. But I jumped in the config file for the tft just to make sure I didn’t do something in there before and just not remember and that’s where I found this…

I did not have that in my start/end gcode. So now I have added it. Tomorrow I will flash it again and give this yet another try LOL
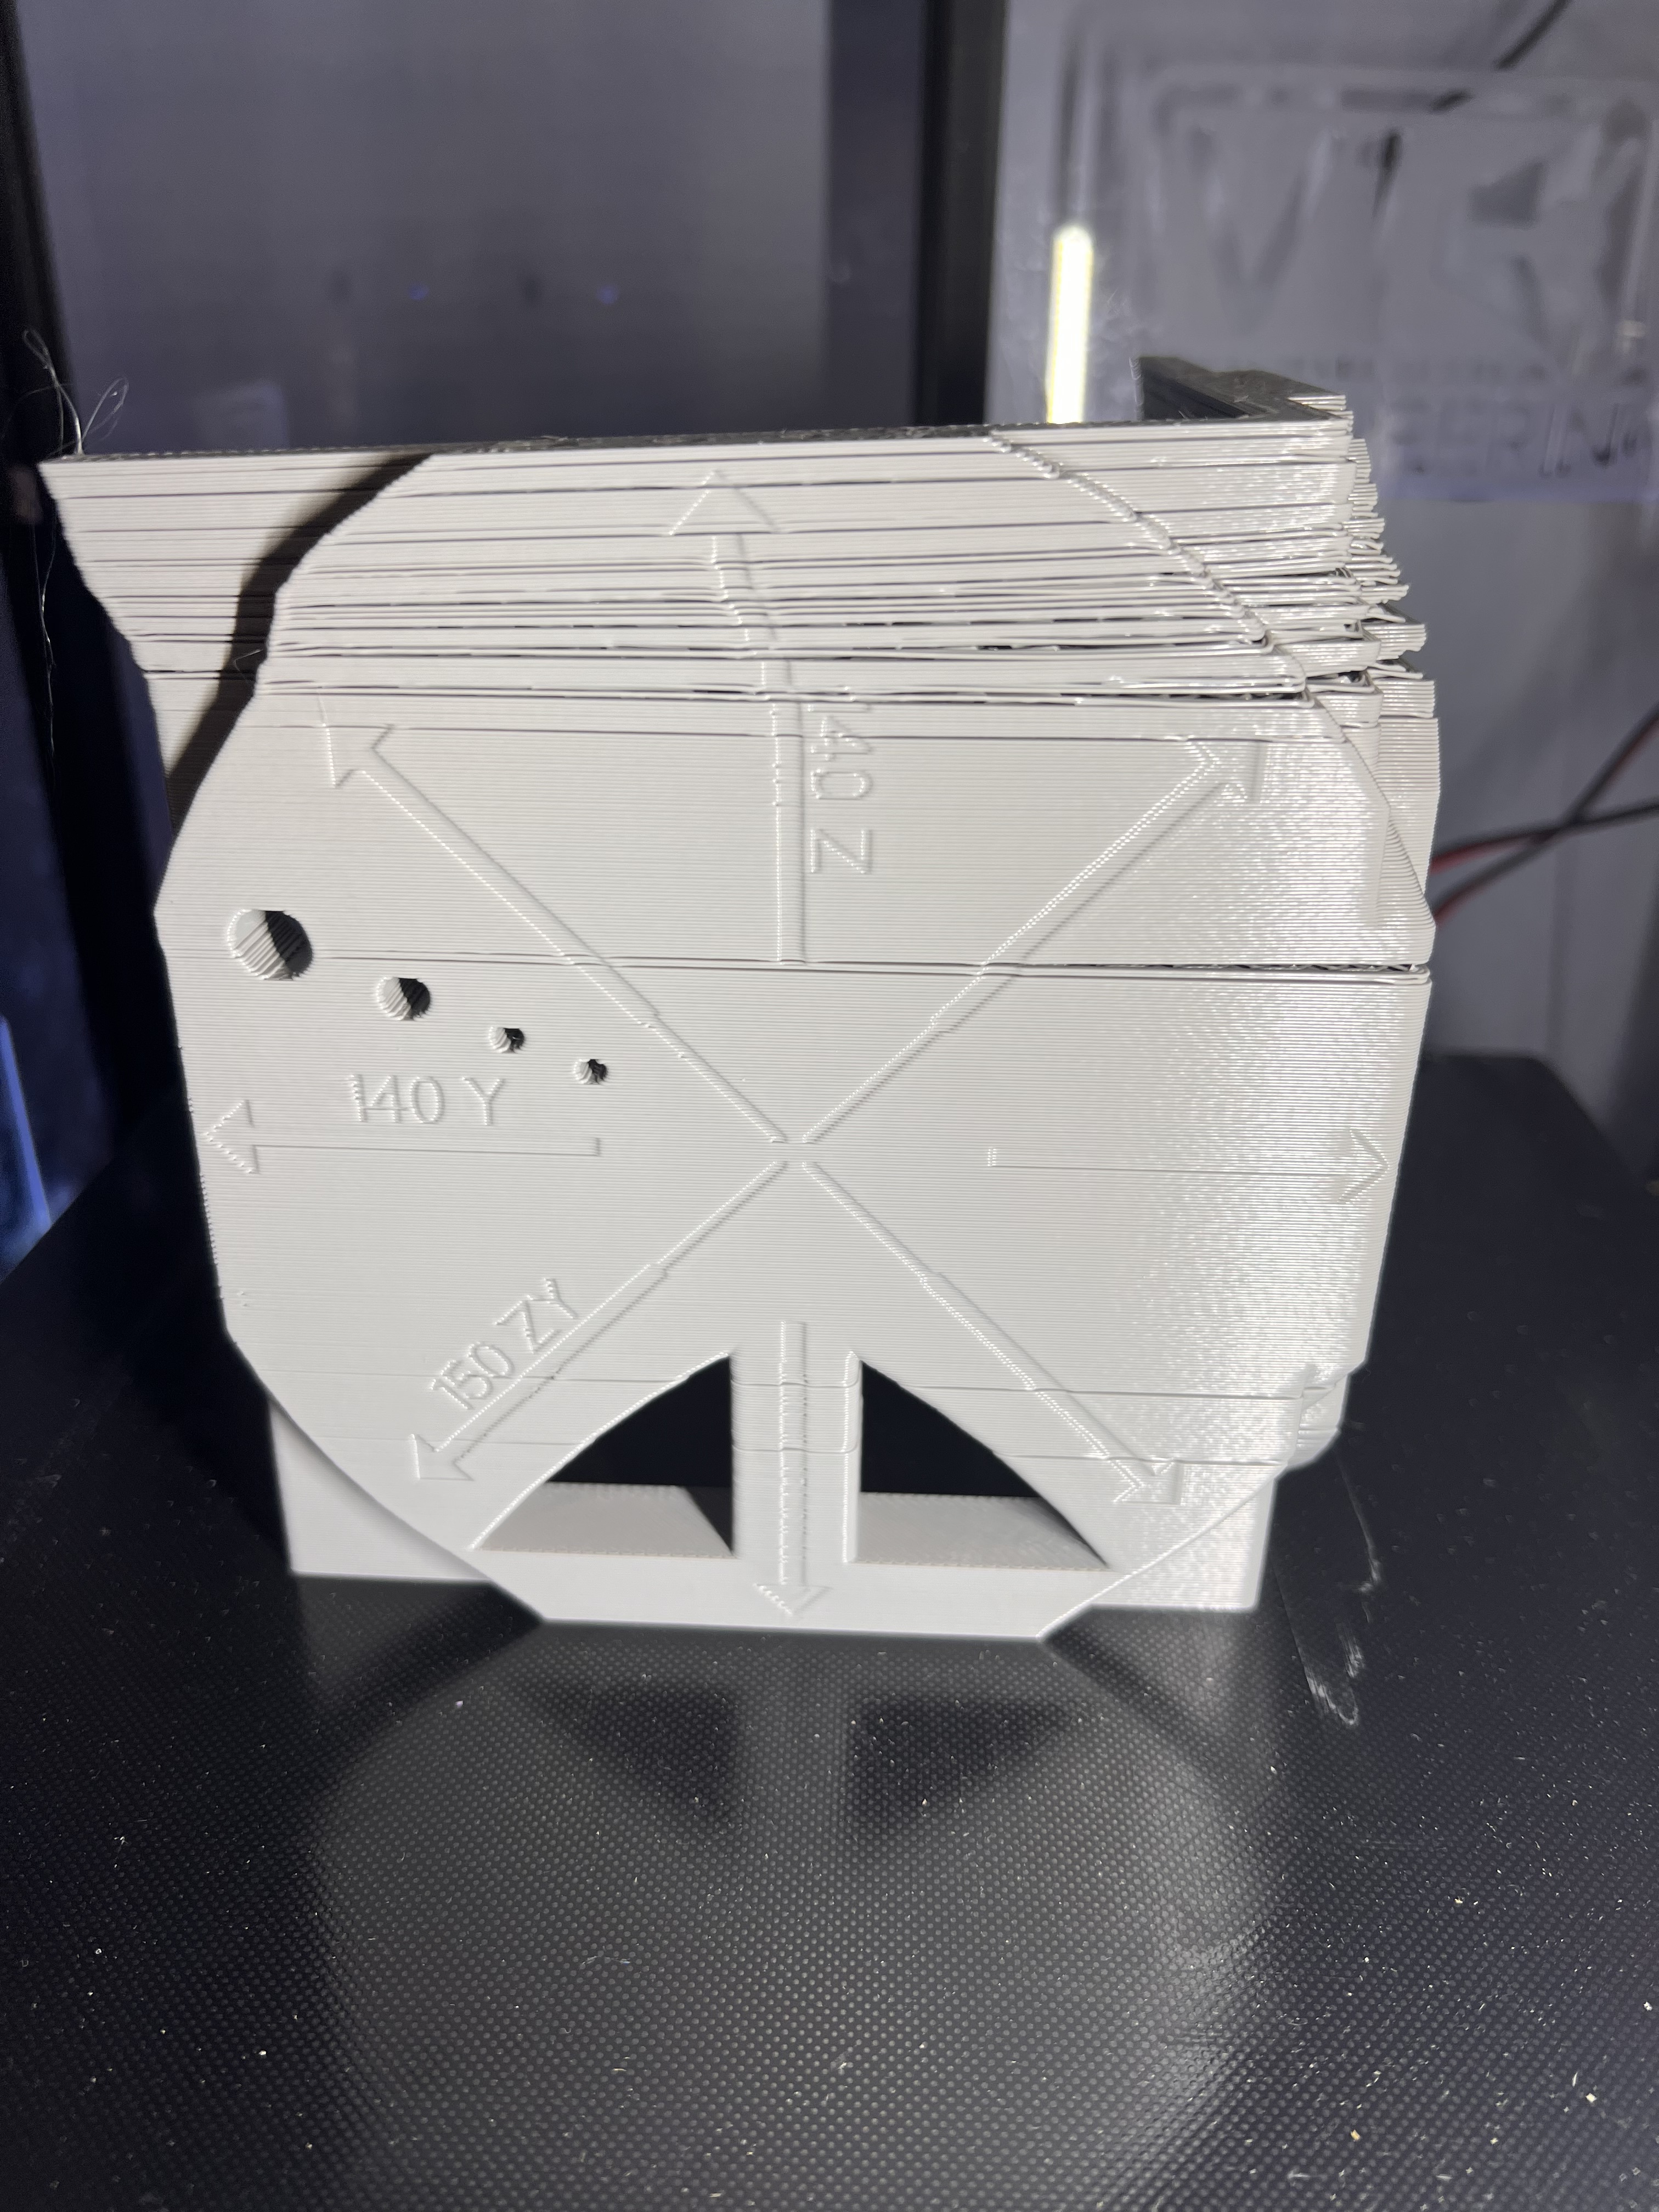
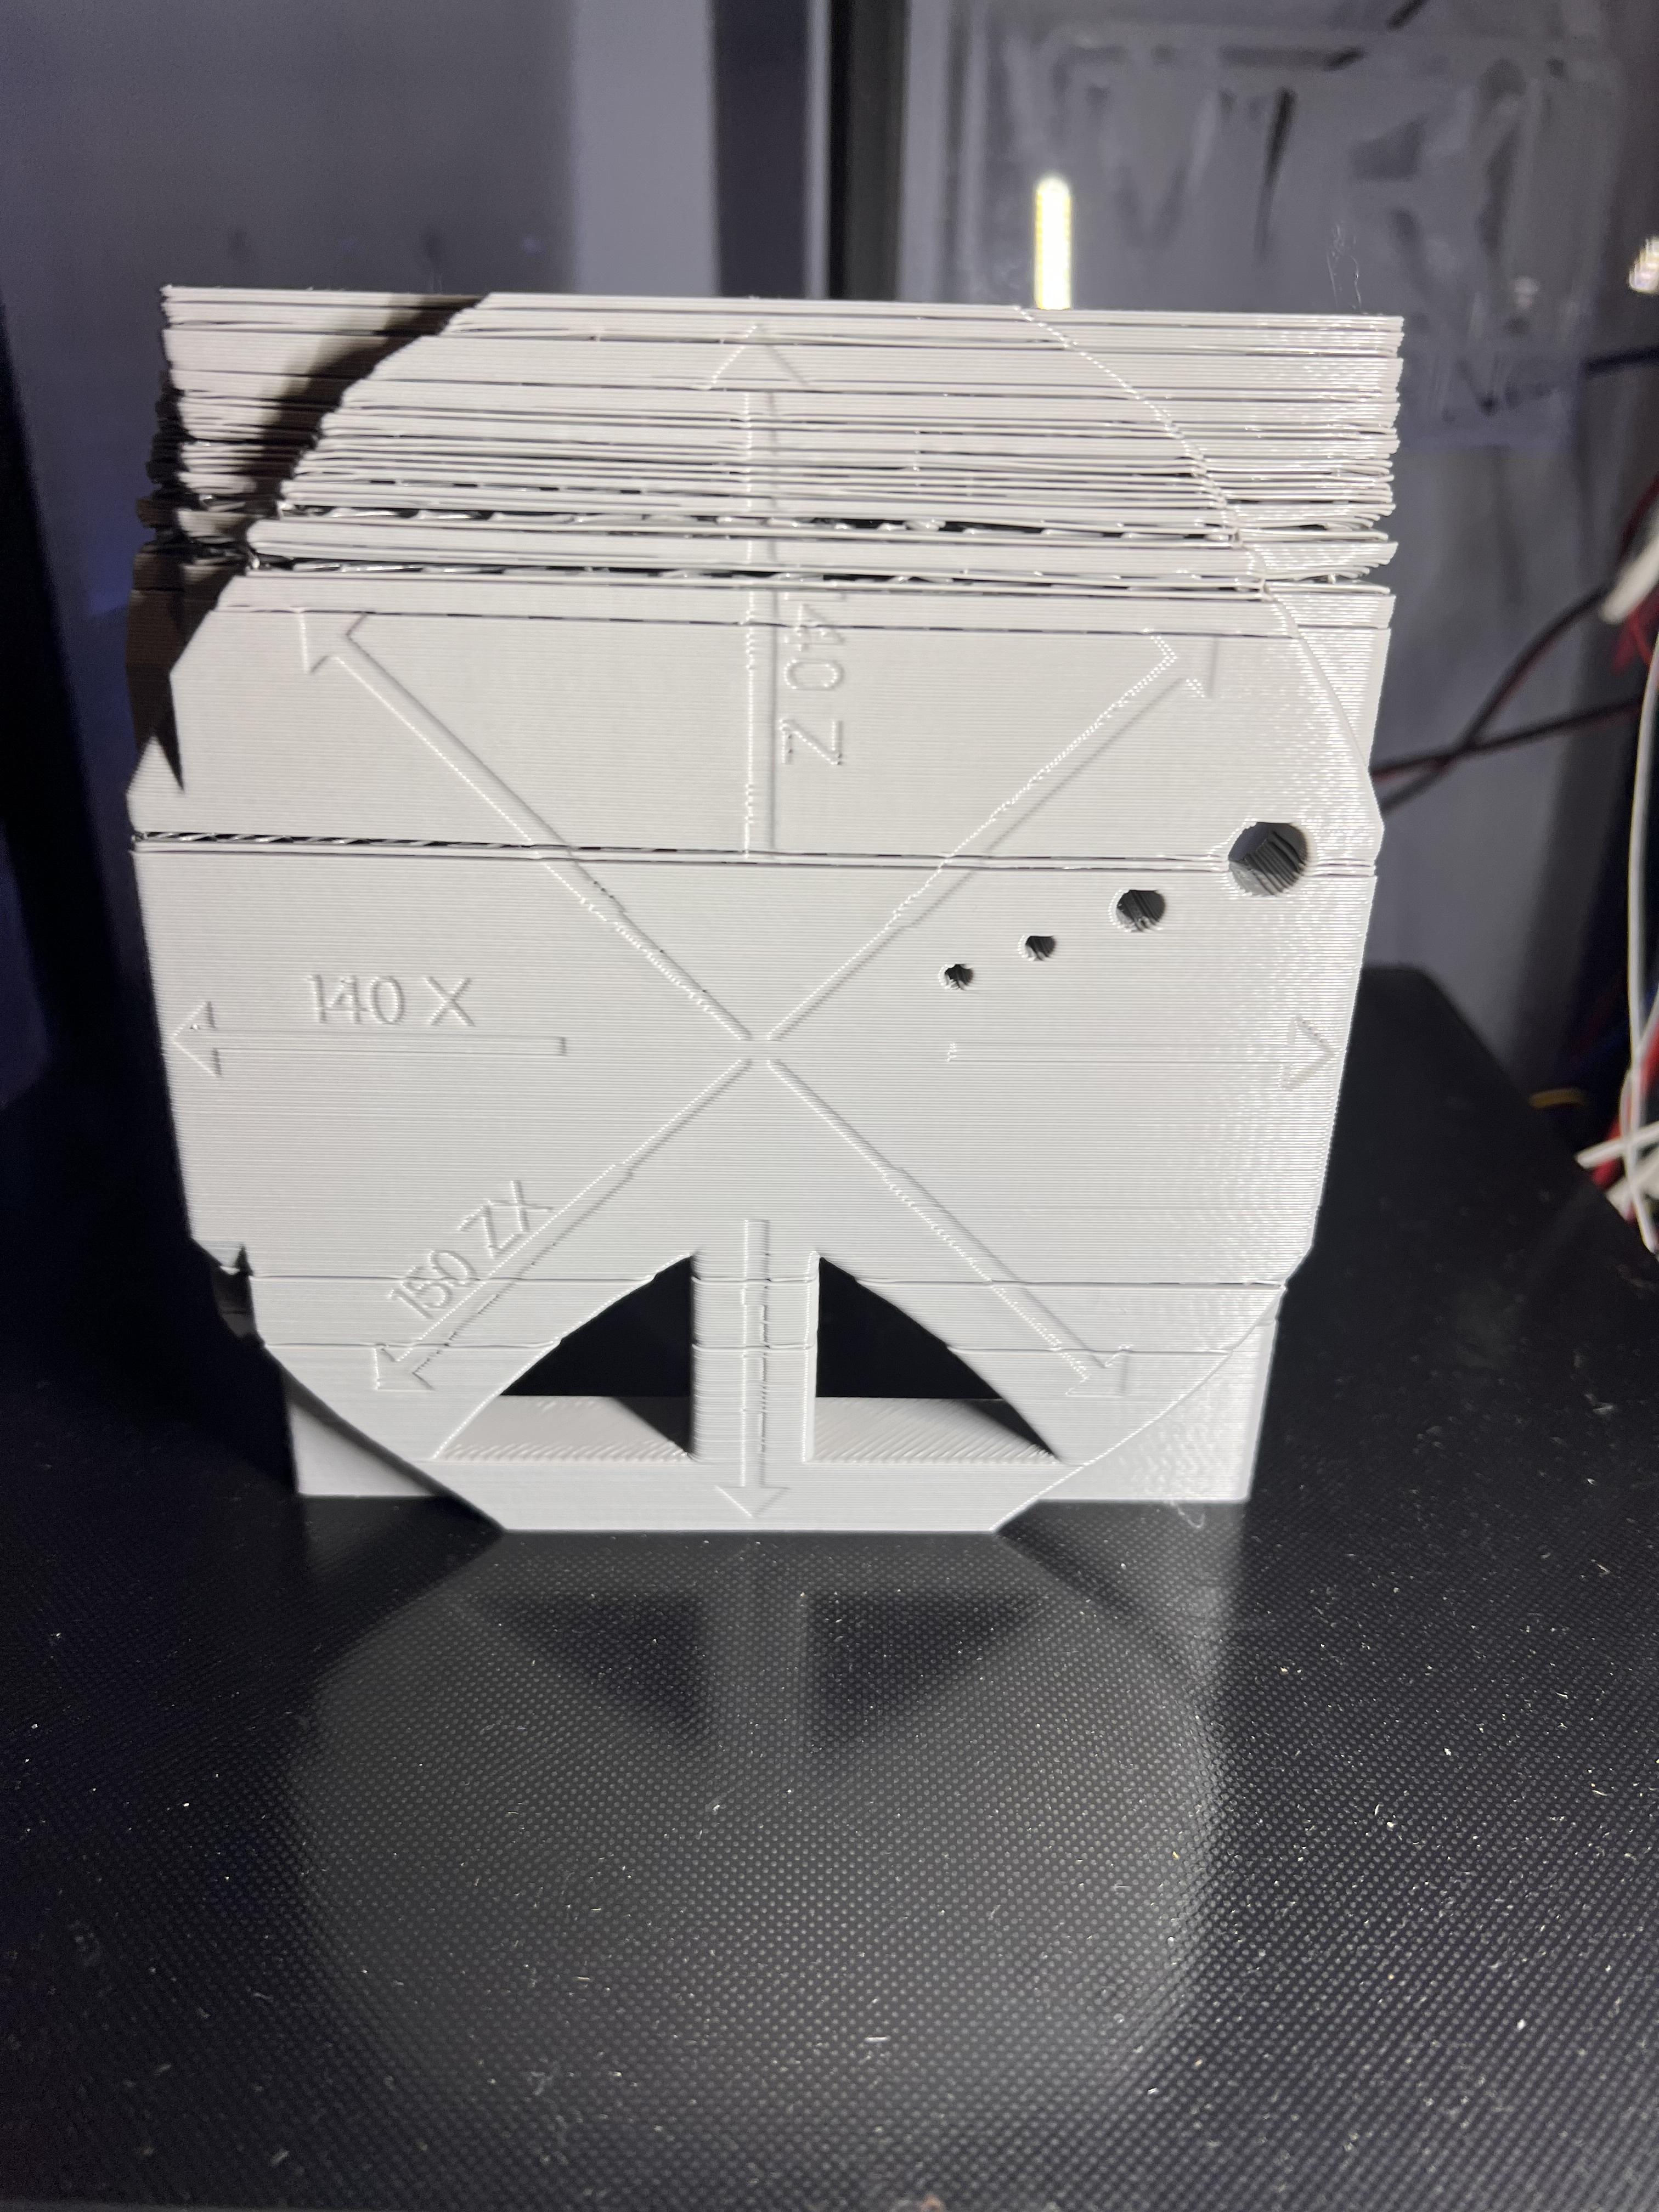
I am planning my build and trying to wrap my head around # of steppers / drivers. I see 3 for Z, 2 for Y and 1 for X. Additionally there is one per extruder. So, 7 at the minimum? Why instructions call for 6?
Hello @Lithium366! For MP3DP v4 Printer, there’s 3 for Z, then 2 for XY. Then, maybe 1 more for the Extruder.
Depending on what Extruder setup you go with, your extruder might have a stepper/driver built in.
For example my setup ended up with 5 TMC 2209 drivers on the Controller board since it’s connected to a EBB36 which has a TMC 2209 driver integrated. The EBB36 also connects to my BIQU H2 V2S extruder hotend (with built-it stepper). Hope that helps.
When you say 2 for XY do you mean 1 for each? Looking at pictures I was under an impression that Y gets 2 steppers
Good point on an extruder with an integrated driver. I never heard of these before, what interface they use to connect to the board?
For this CoreXY printer, there’s 2 steppers that jointly control XY motion. The neat use of belts and craftily coordinated control software enables motion in X and Y…
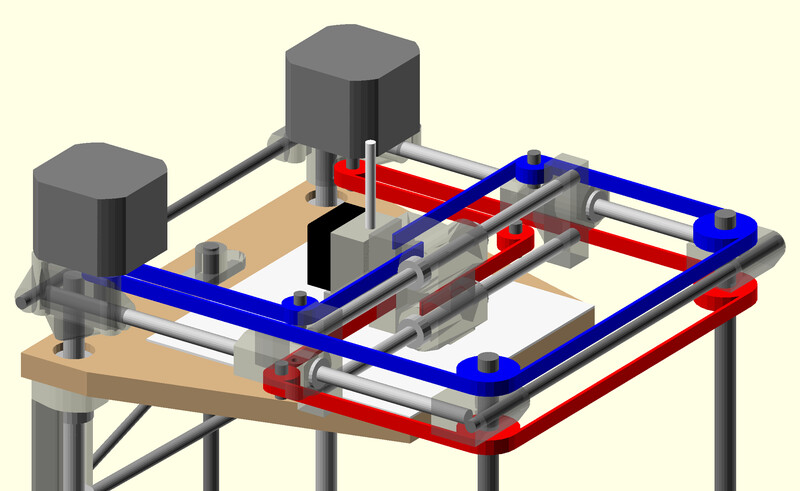
(from File:CoreXY principle.png - RepRap)

BigTreeTech EBB36 (or EBB42) use CAN Bus, more effort and cost to setup, but you eventually end up with less wires going to the hotend.
CoreXY pic is super helpful, thank you!
I should have followed your lead from the beginning on that one!
so far all I have heard about CAN bus is that once it works it is awesome, but that is a steep long hill to get there and plan on some time. I’m bypassing that obstacle for now…
lol I get that completely. That’s why I’m waiting till @azab2c gets his guide complete. I’m in no rush for it. Just trying to get it to print for now lol
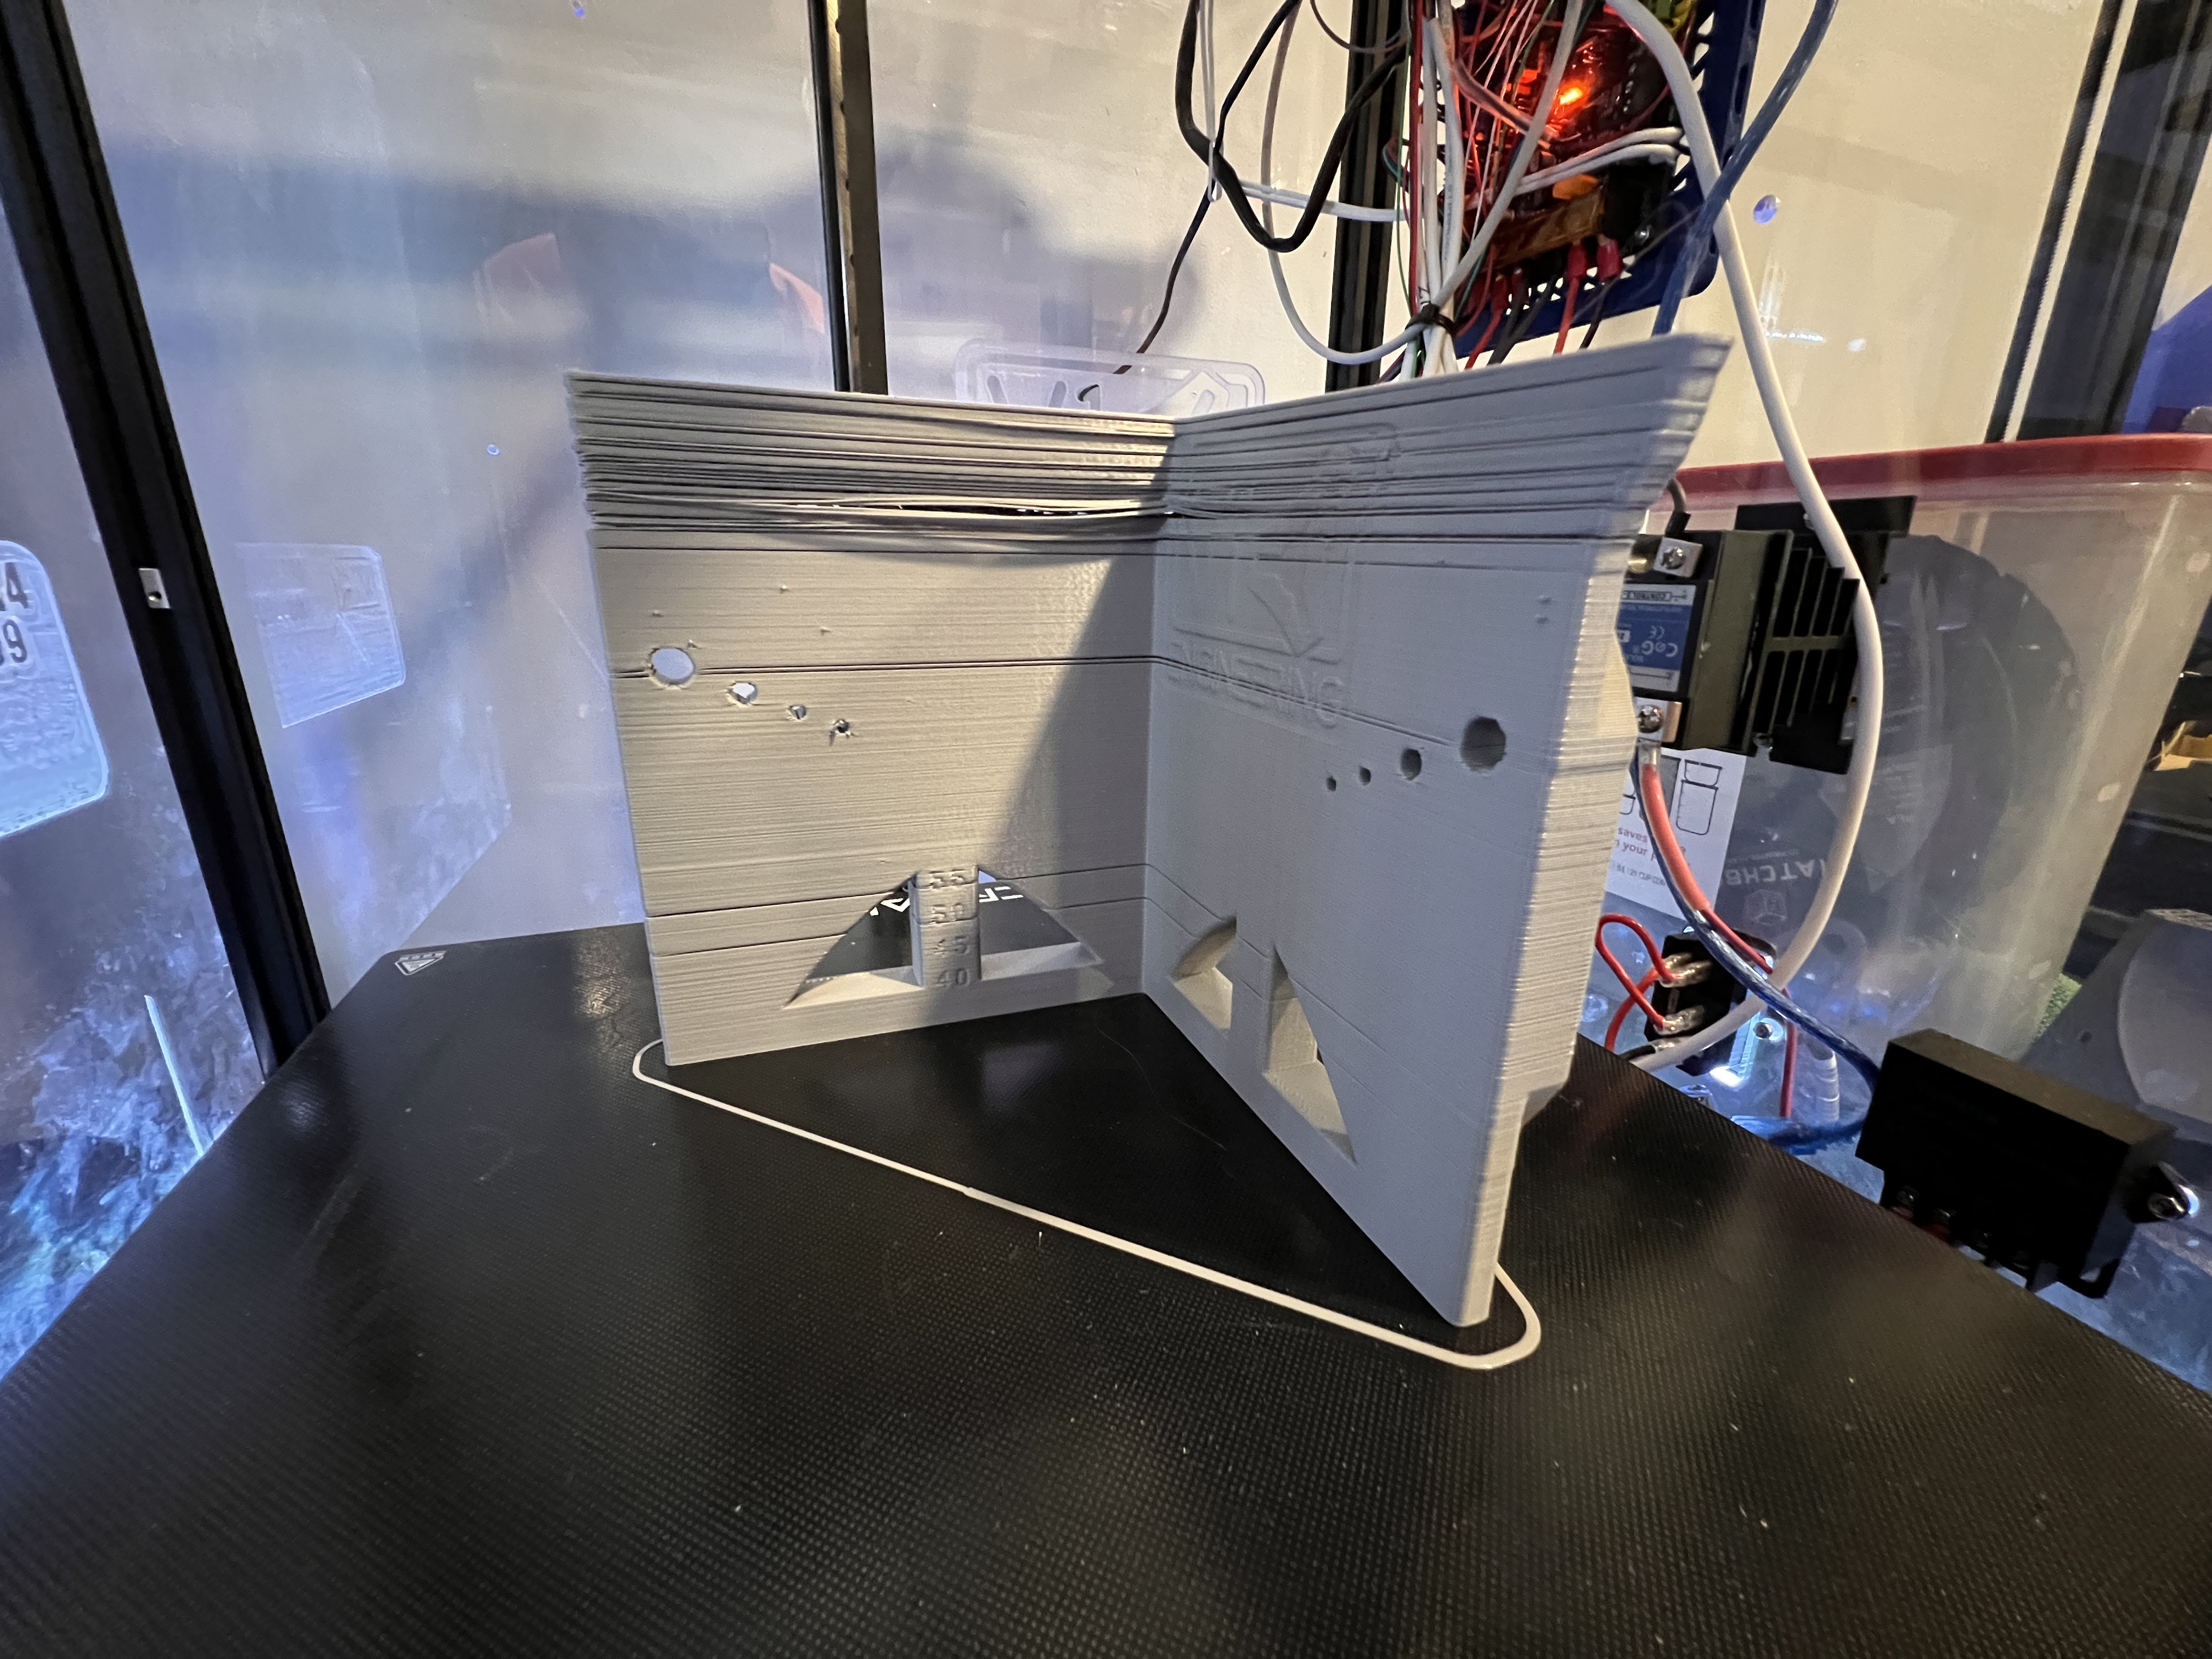
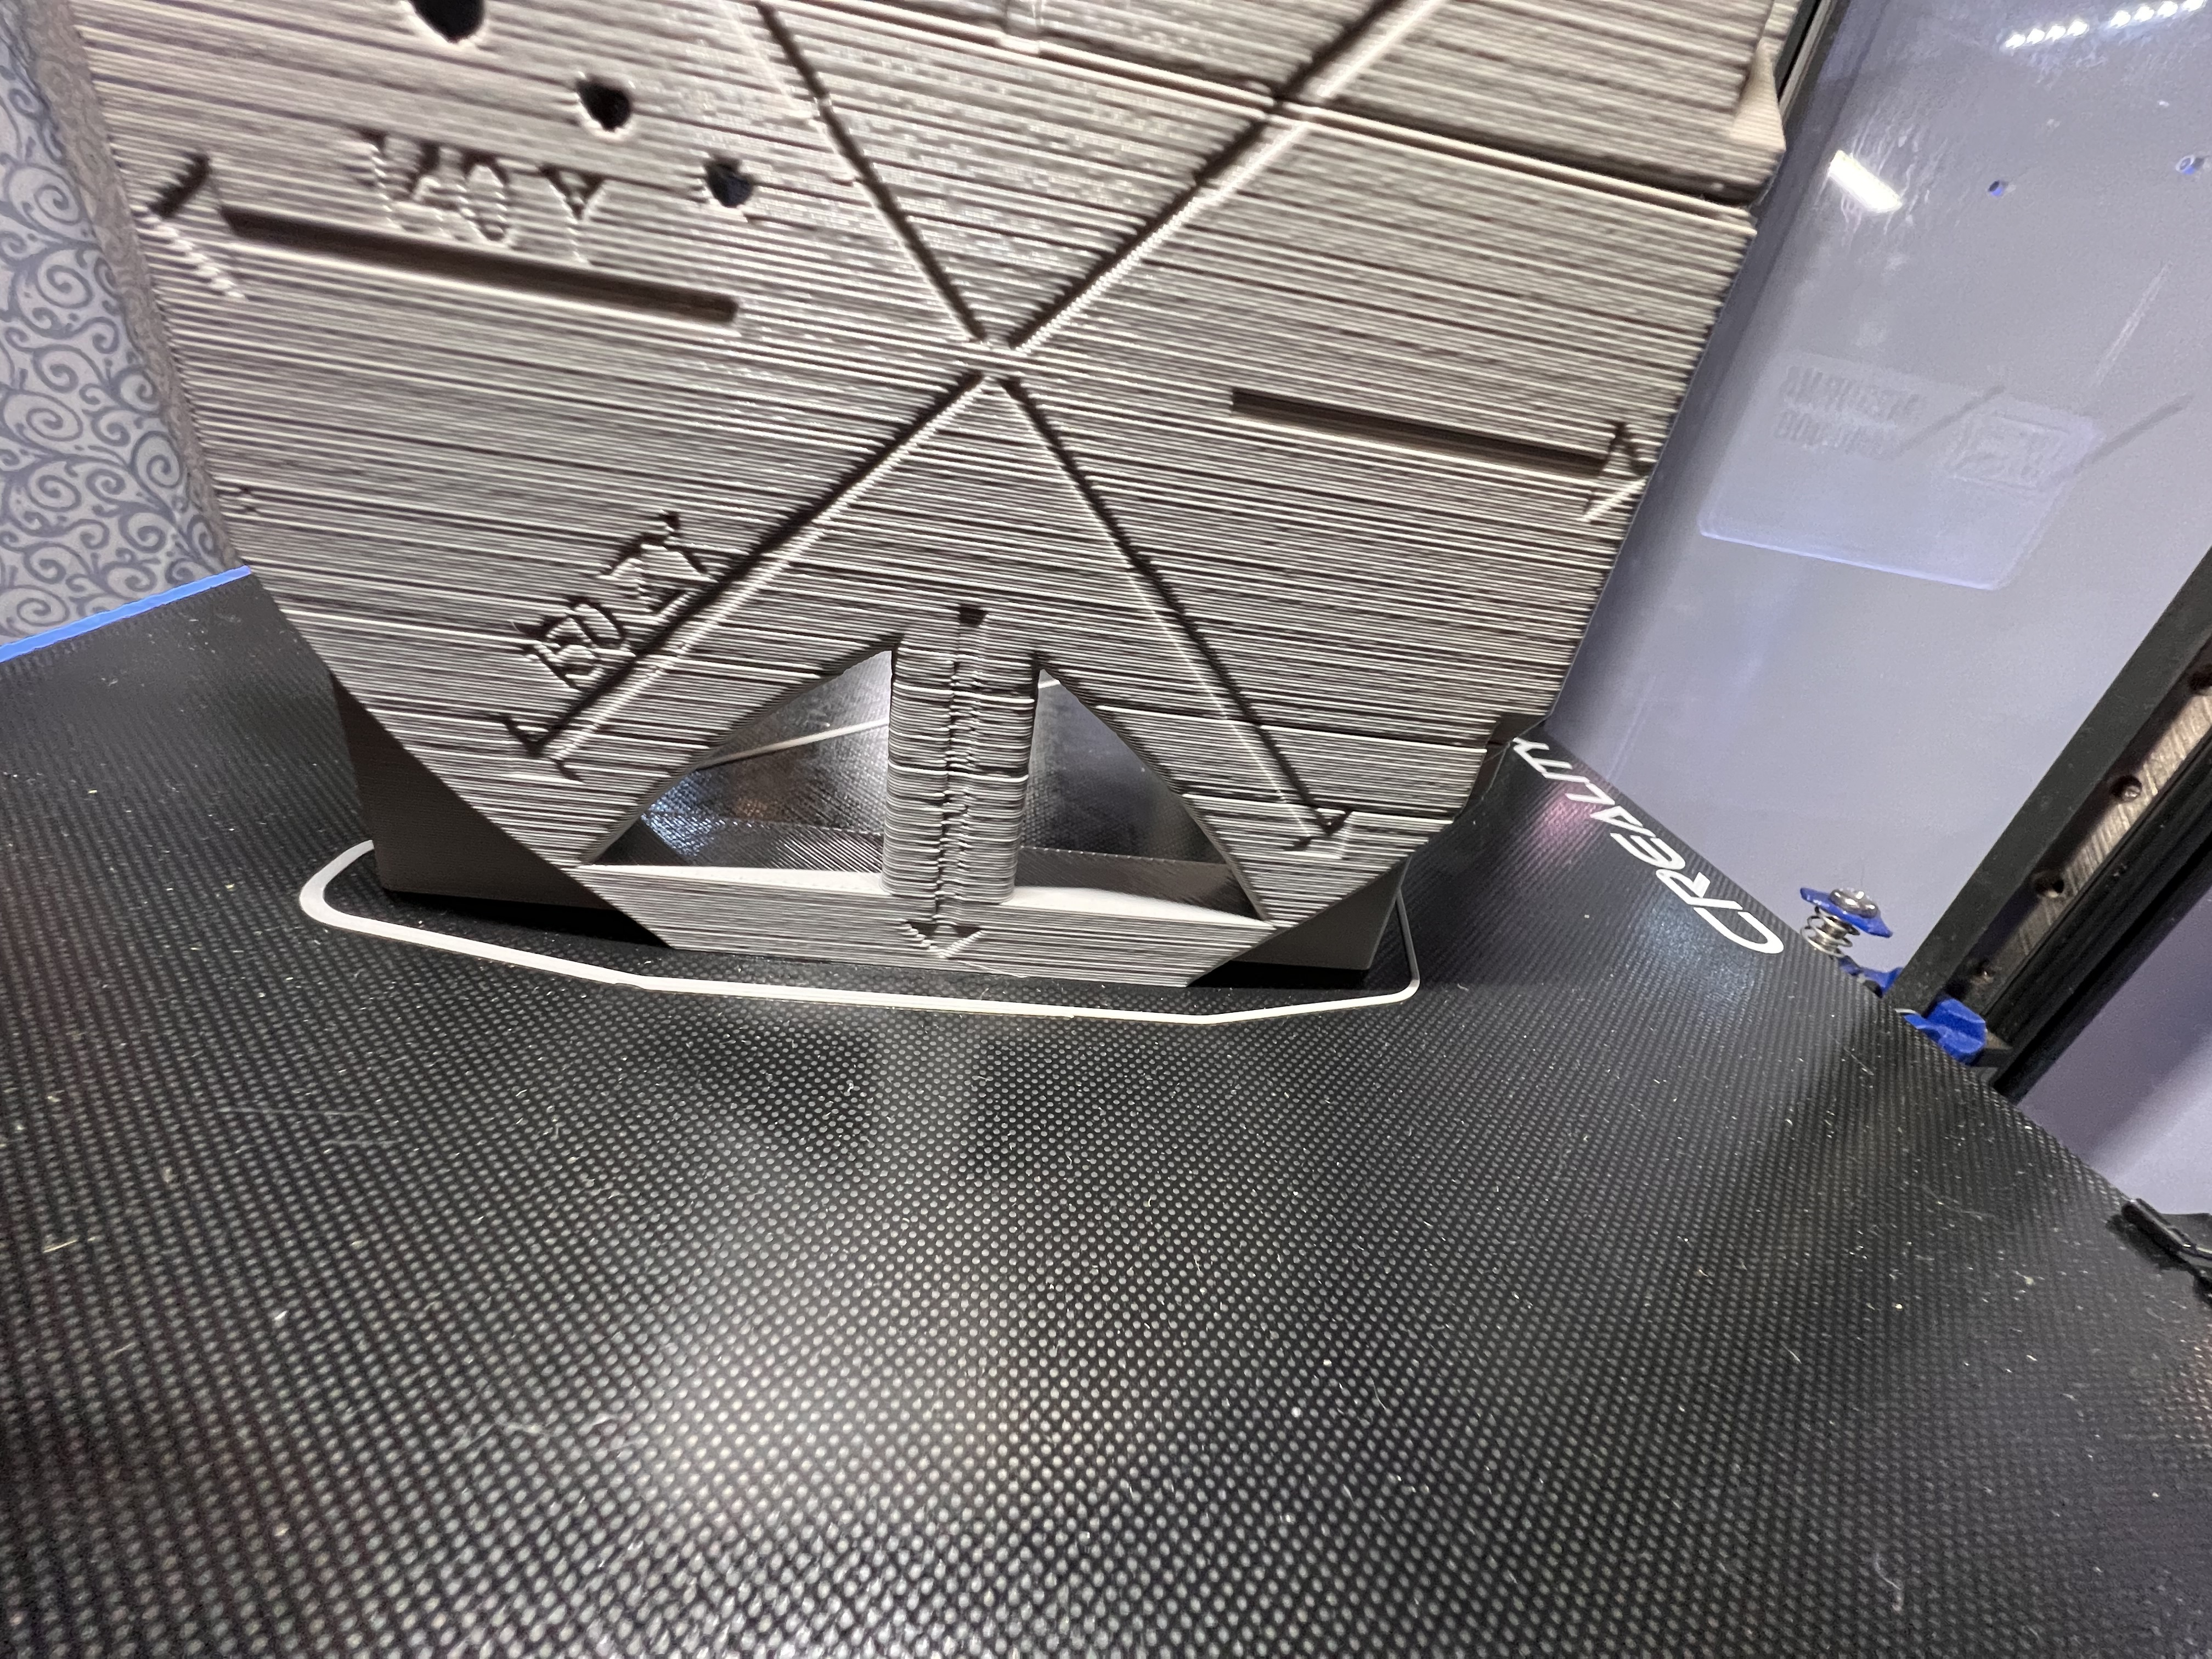
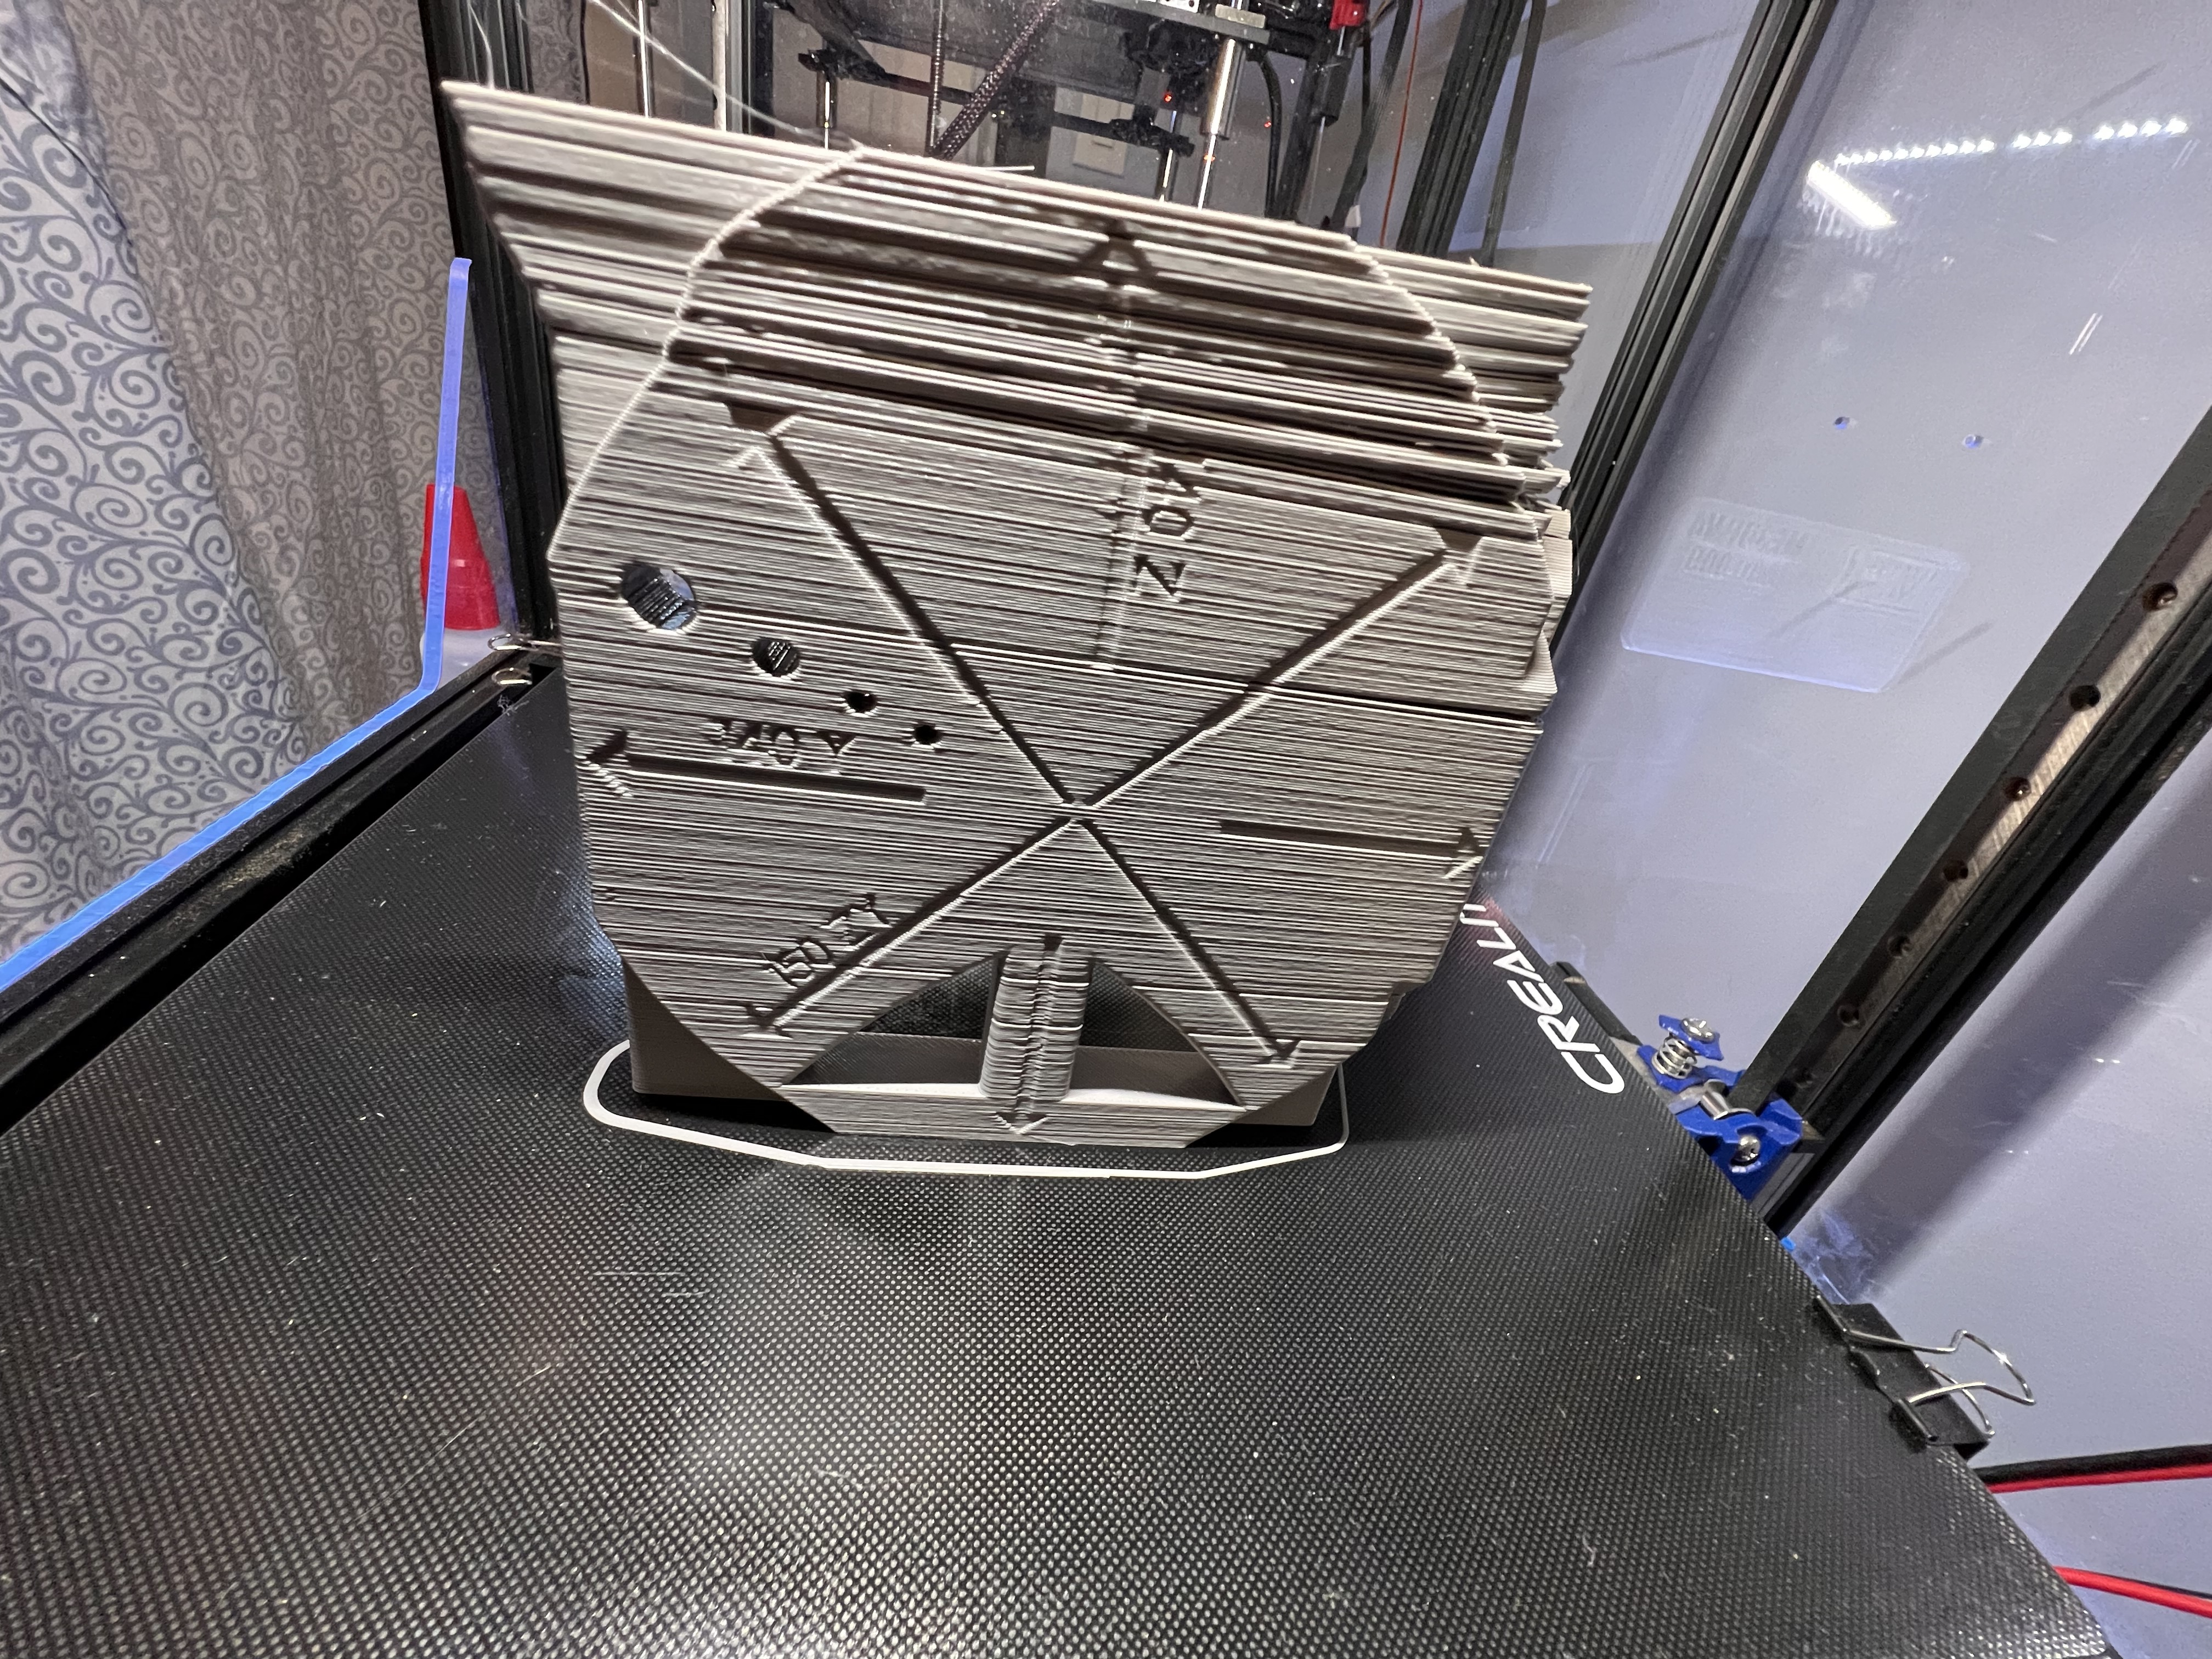
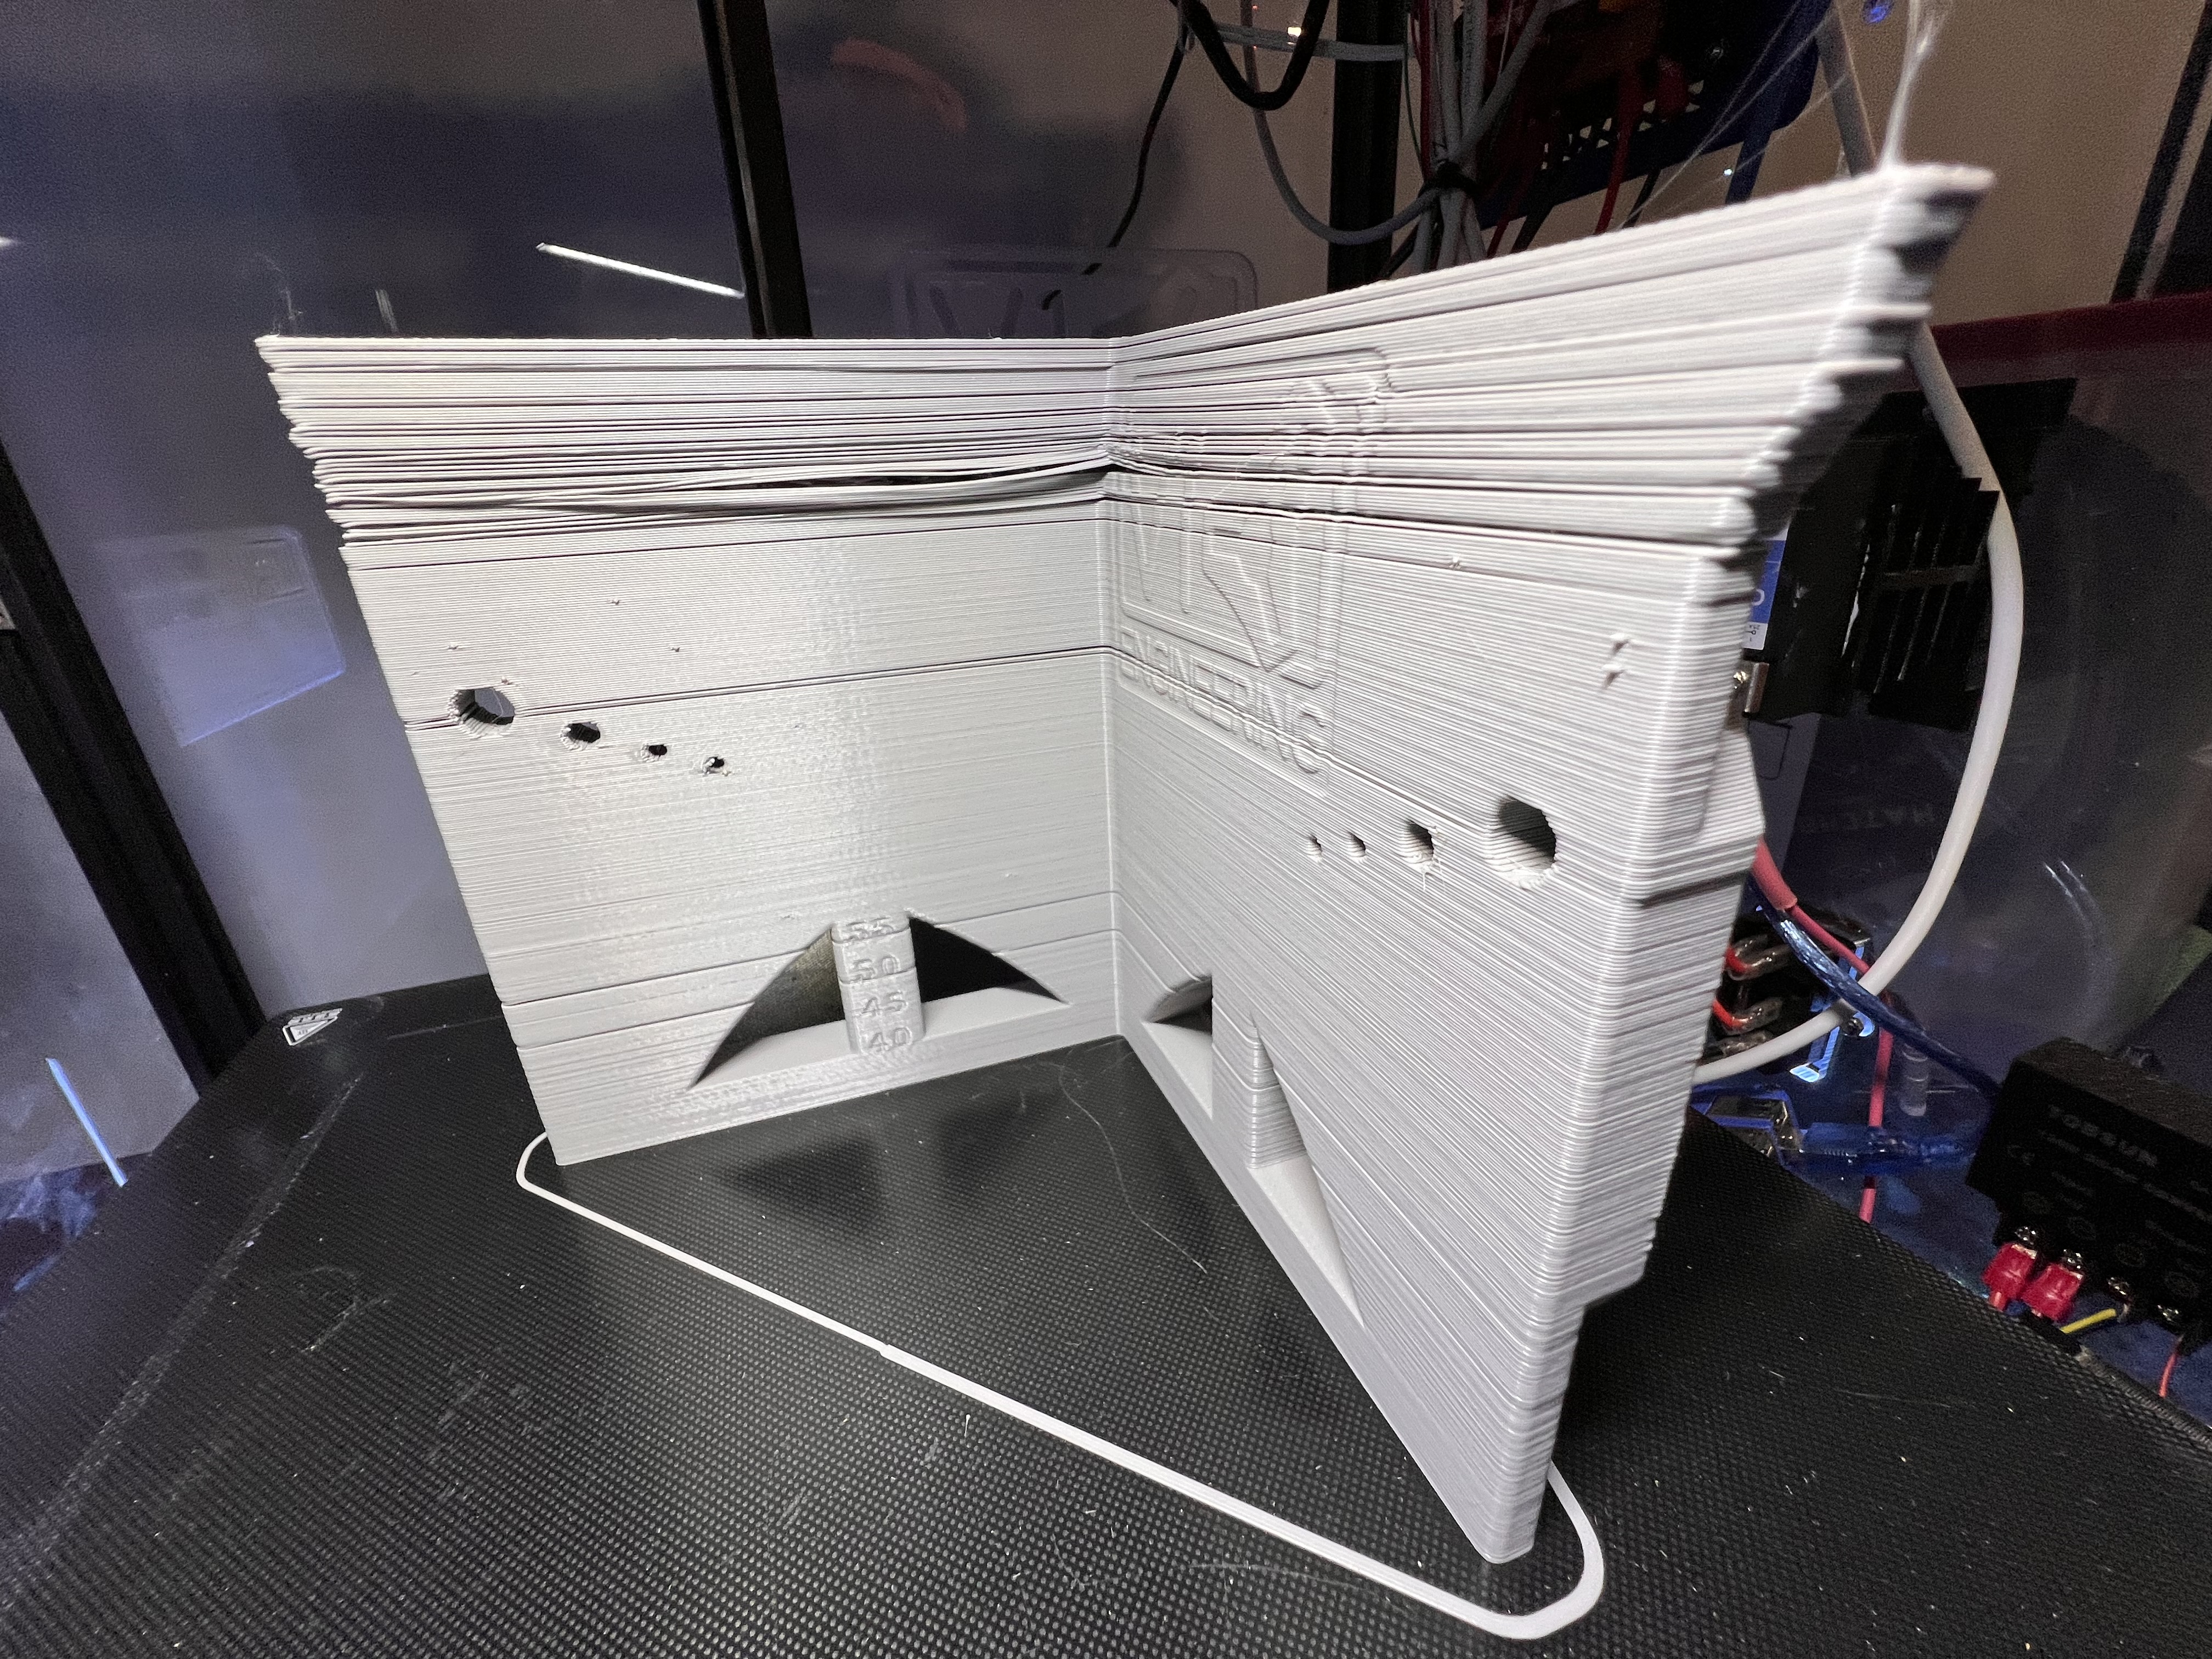
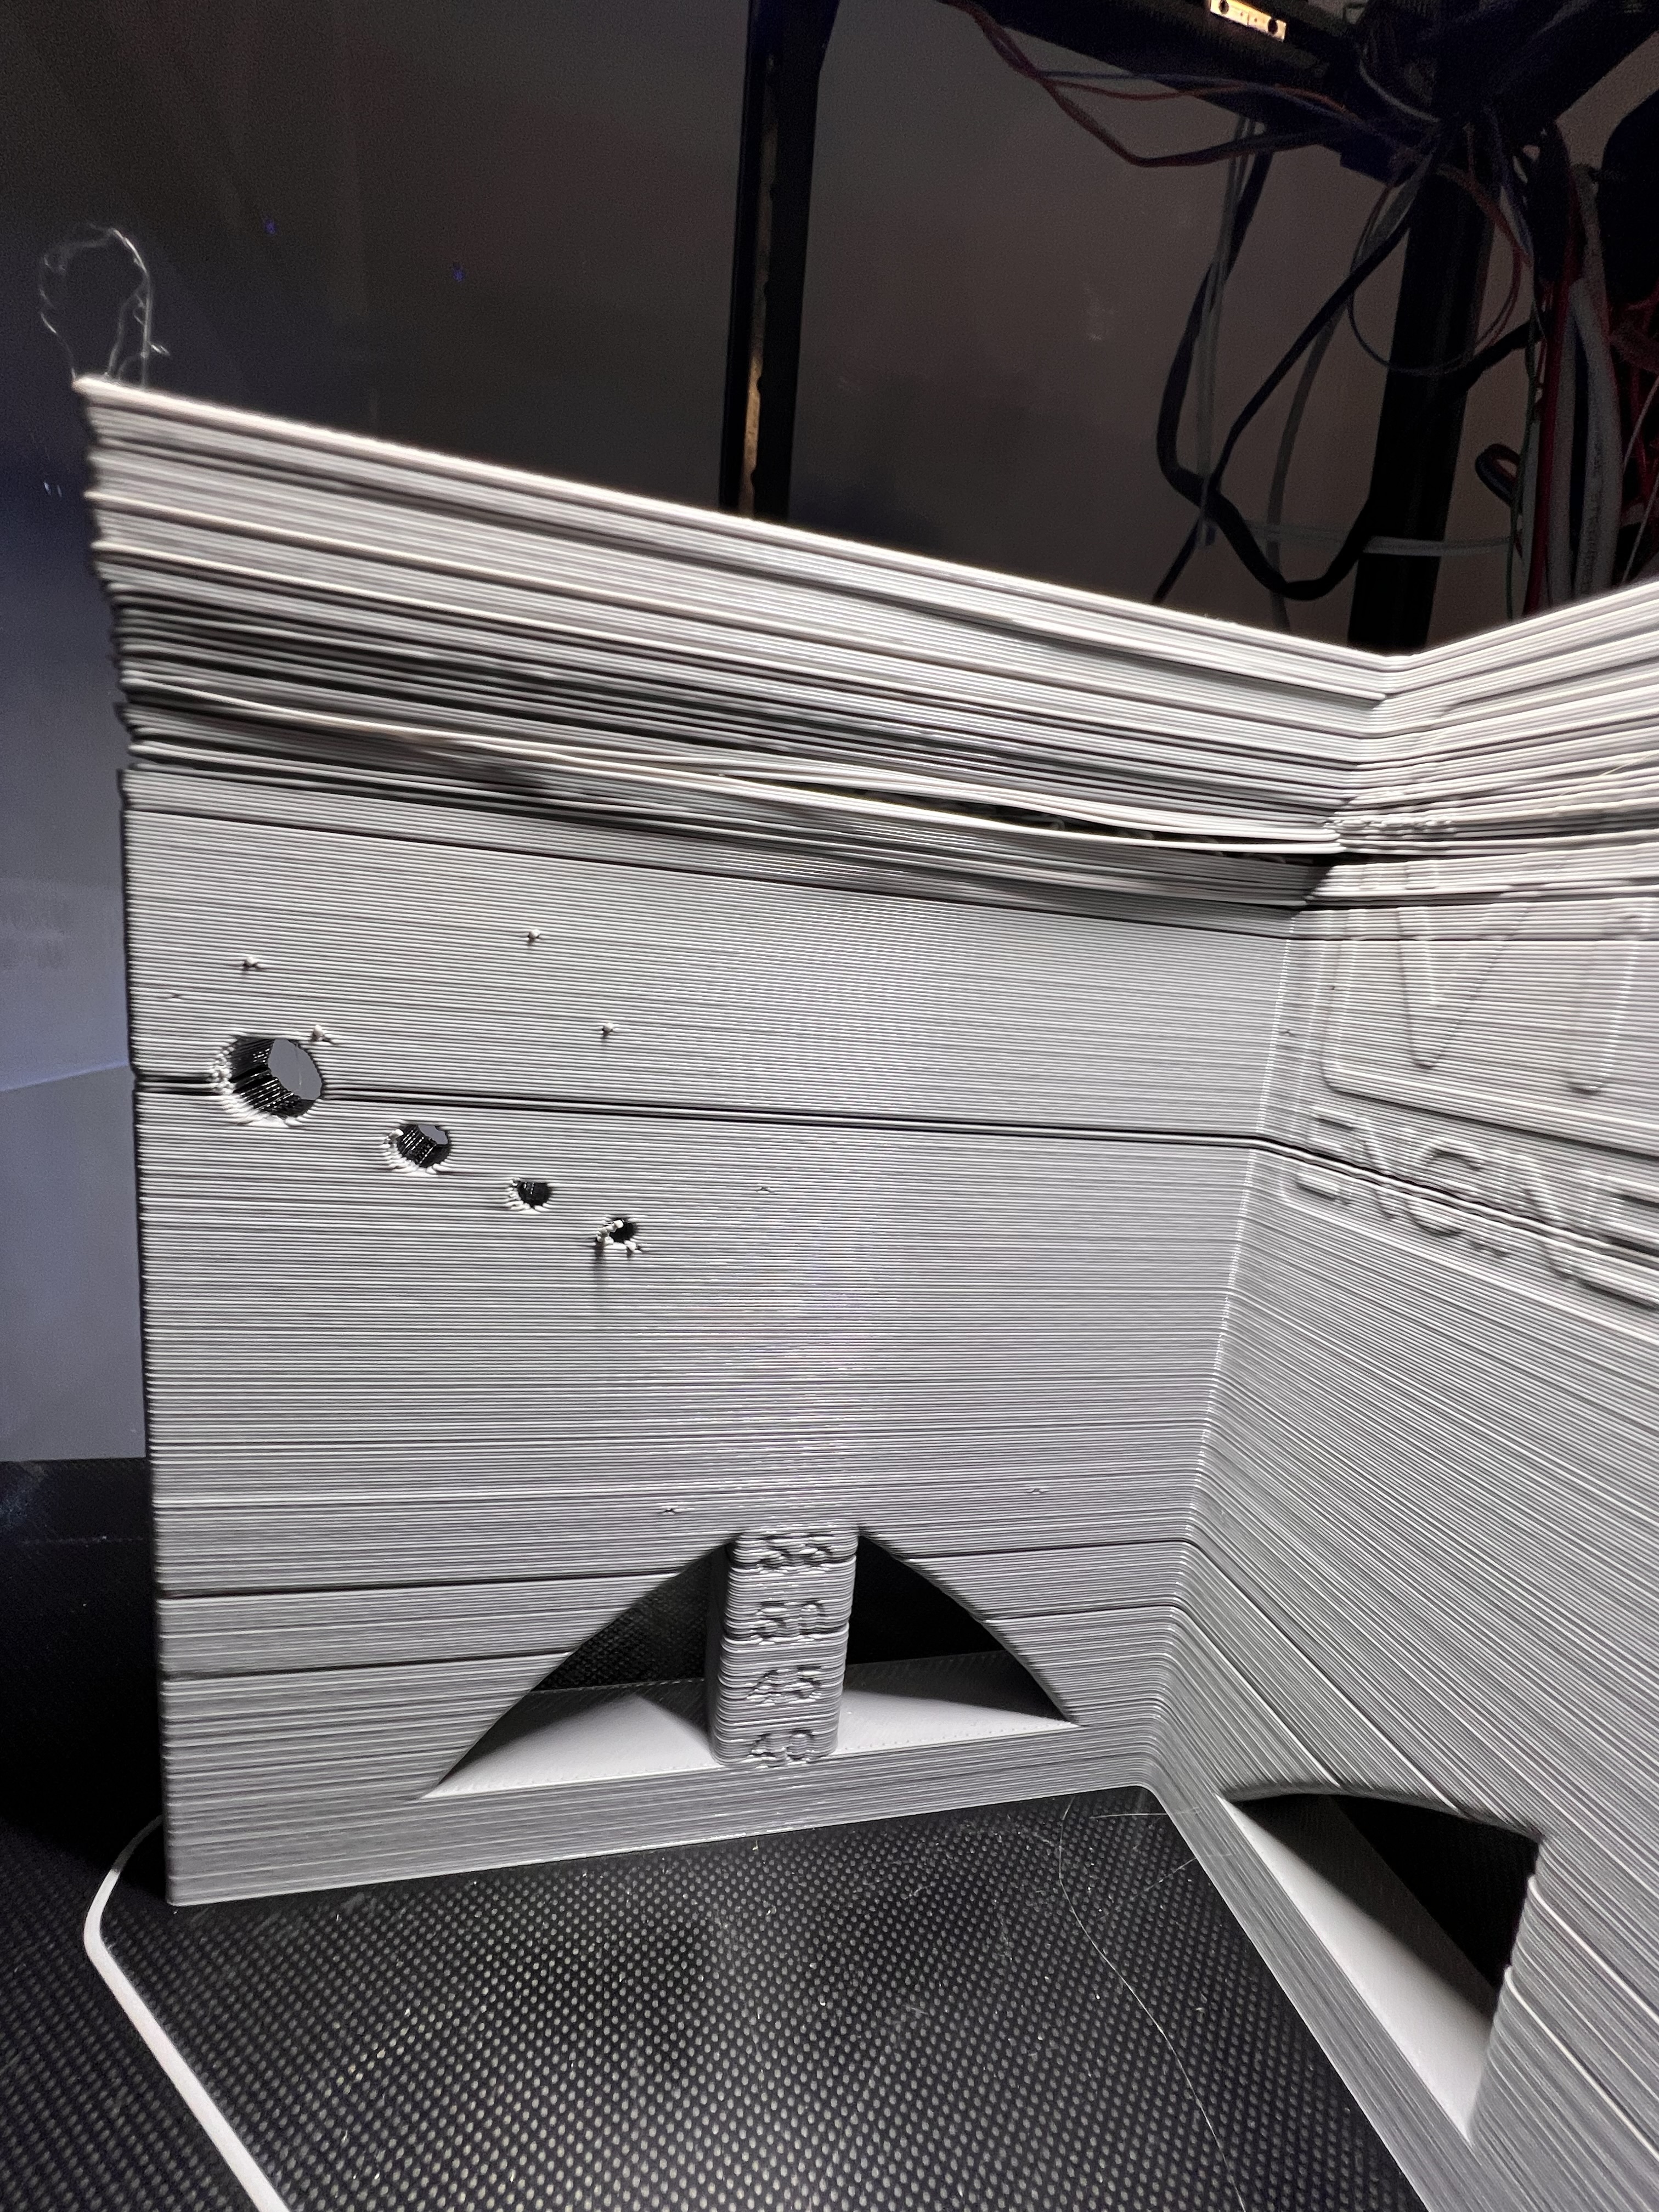
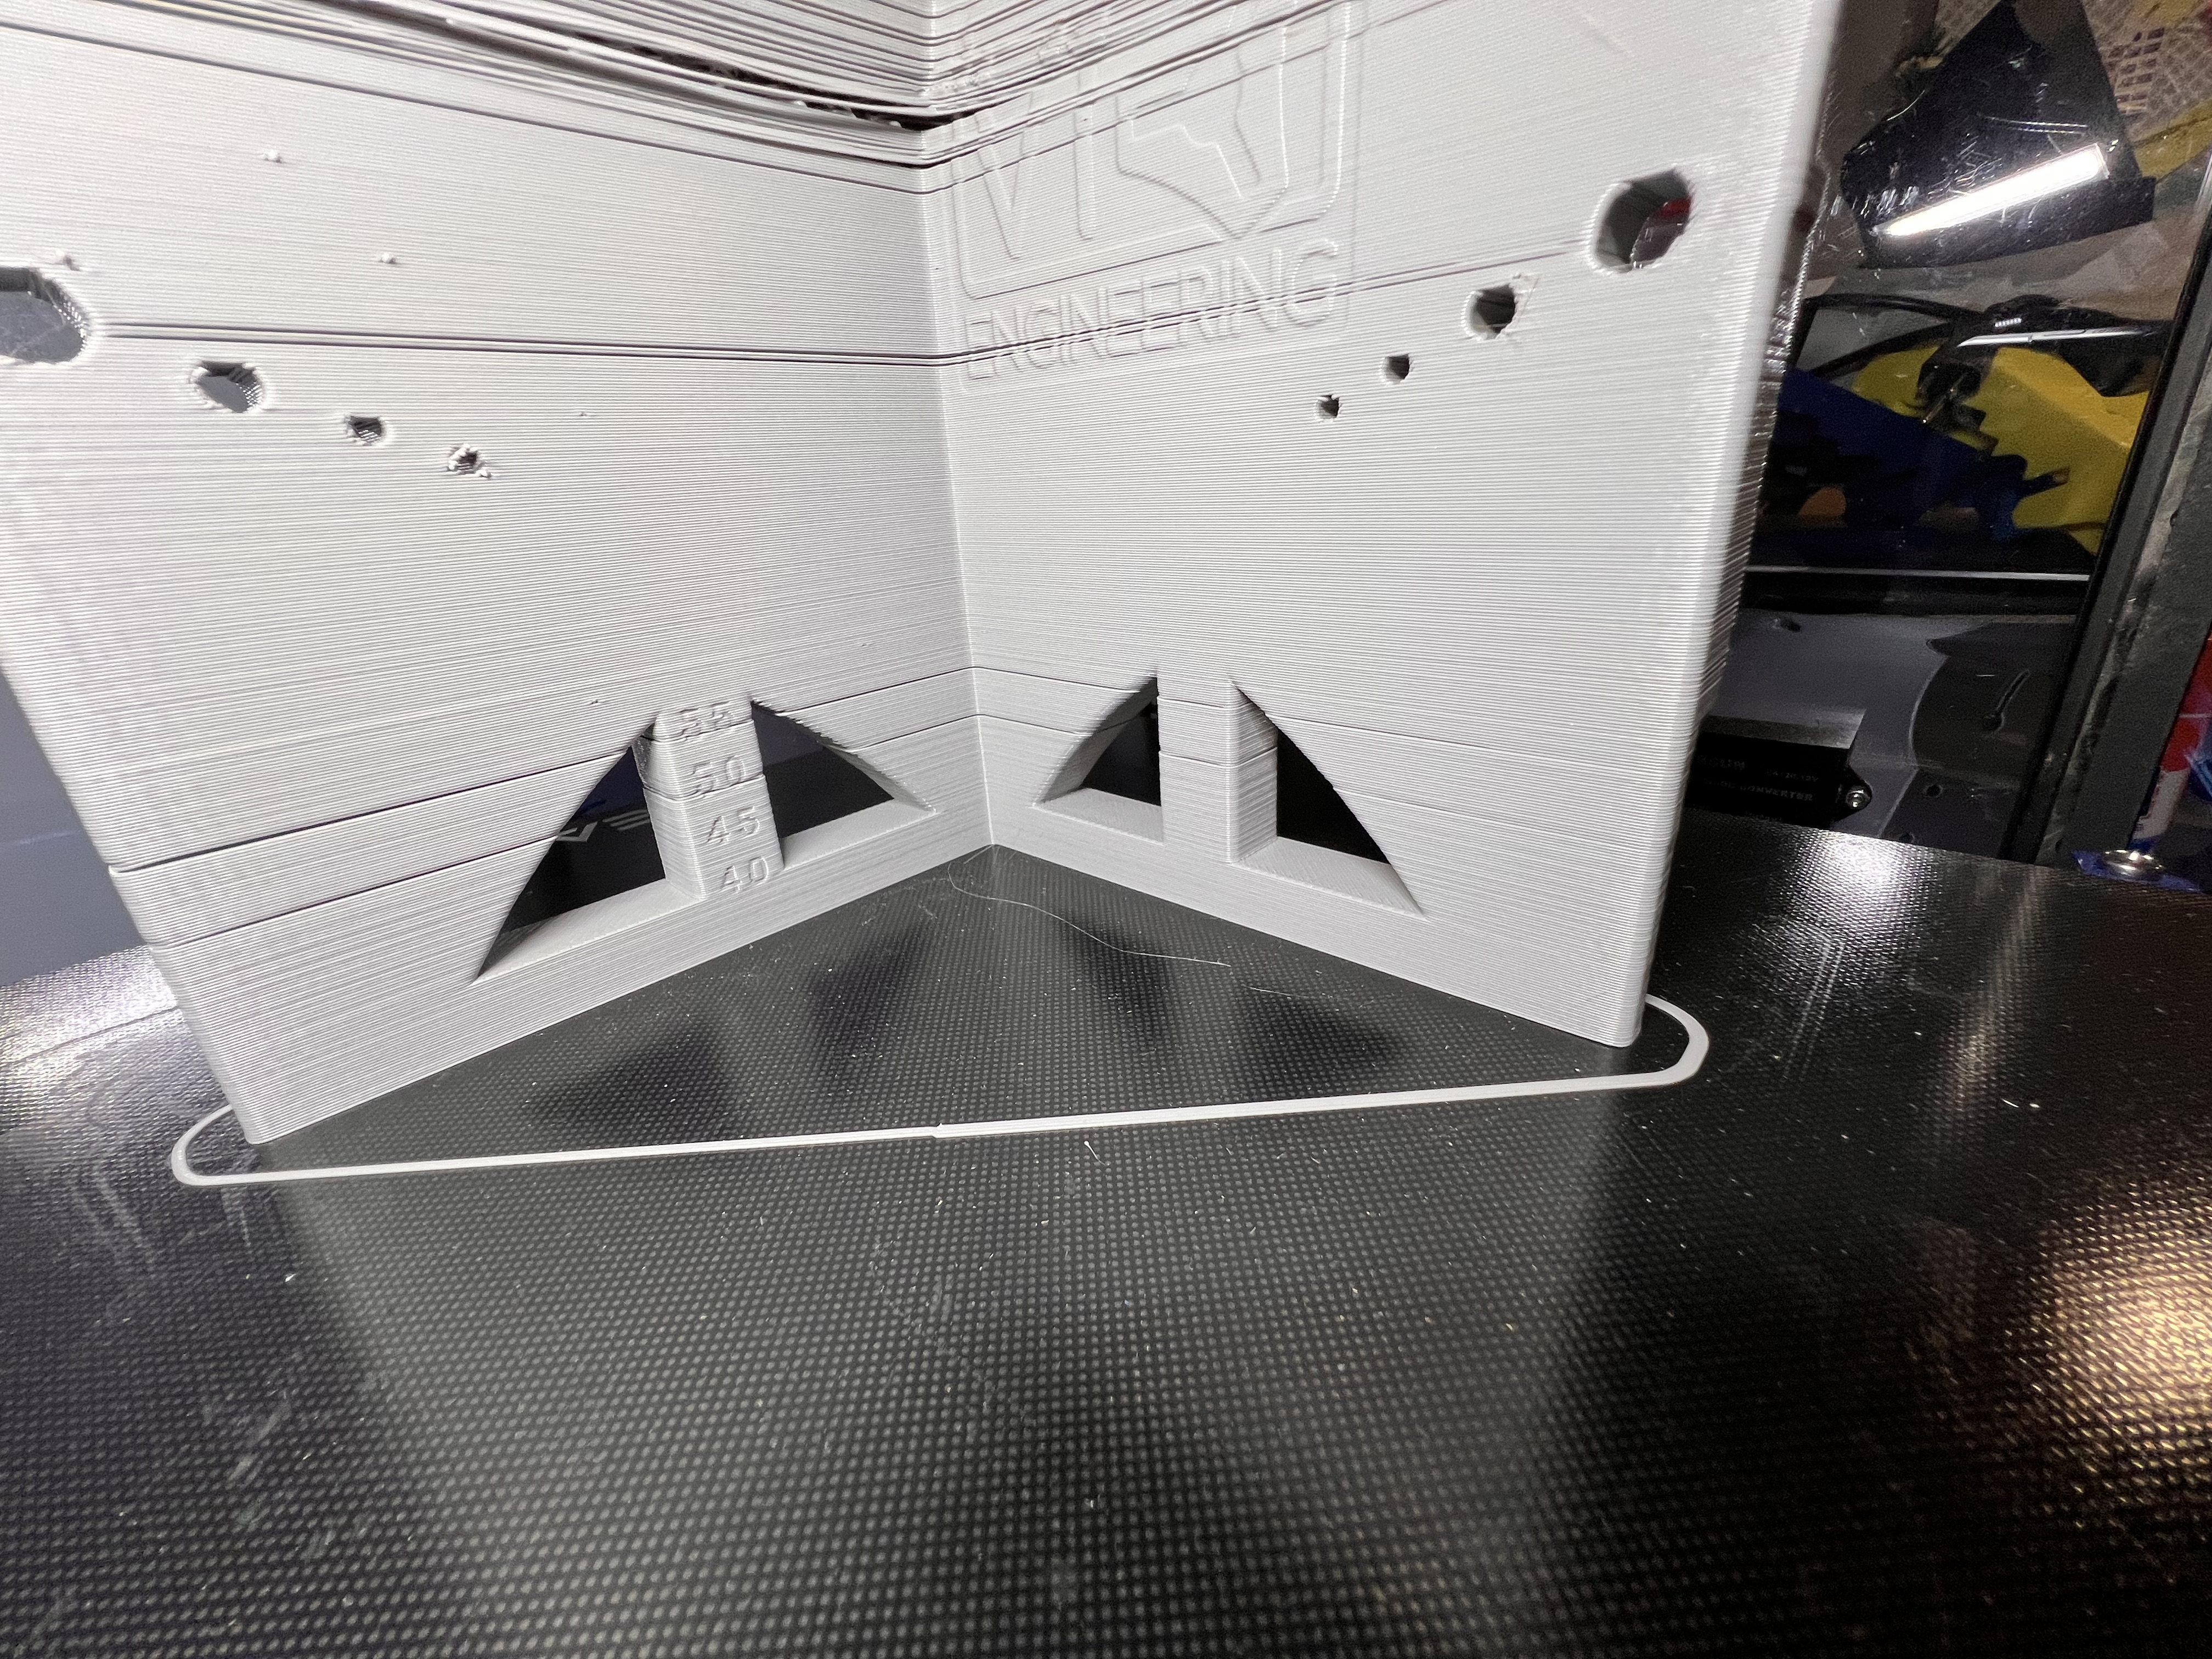
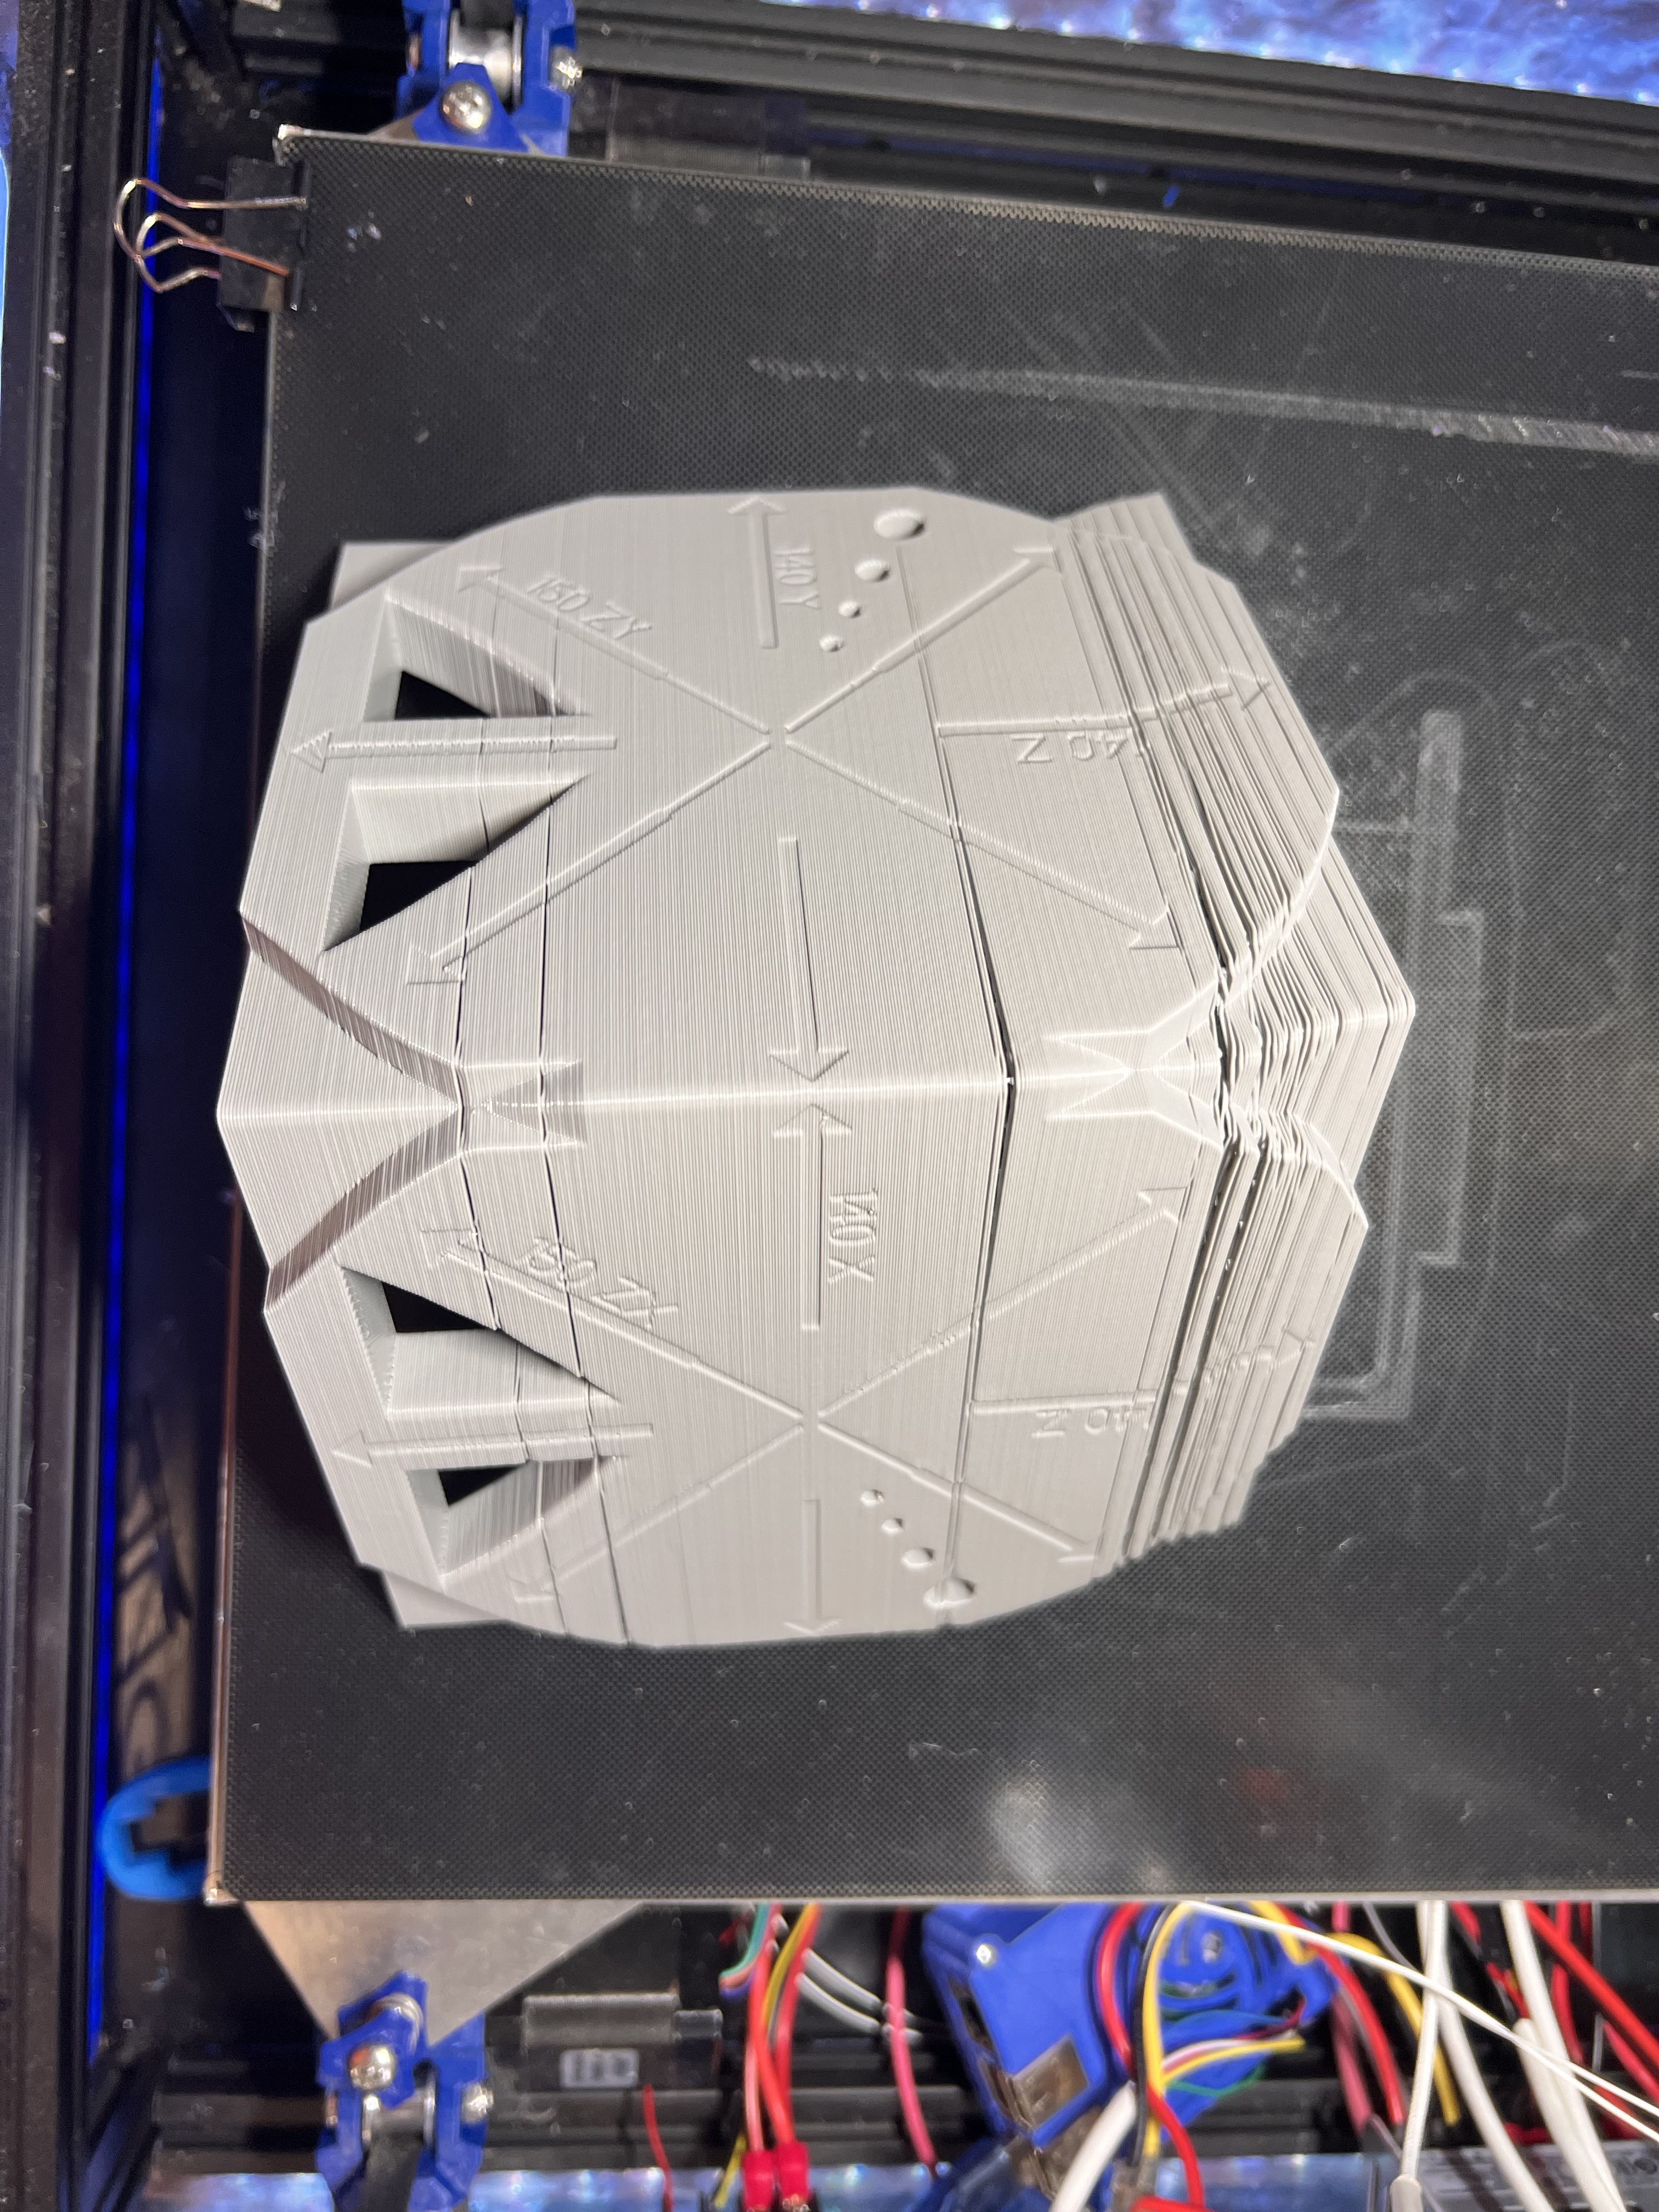
Ok I’m at a loss for what’s going on here. It started off beautiful. When I went to bed last night it was around the 45 and I remember telling my wife I think I’ve finally got it. This look like the best print to ever come off this printer. Then I wake up to this. It looks like it started losing steps on the back z motor you can see the line is straight across the back but angles towards the front making it look like it was level where it should be in the front. Then it lost steps in y only. Not angled across. Print didn’t mo e on the bed. Does anyone have any thoughts on what I need to check. Pulling my hair out with this thing
… Grub screws?
Just checked them yesterday and they were all tight. Originally all installed with blue locktite (except one and that was fixed later) Everything on all of them was still tight yesterday morning but I can check again
Besides the fact that it’s an all-too-common problem here, and the lol factor, it is something that happened to me. Mine looked a bit different, the errors were all on 45° angles (because CoreXY) and it was one loose grub screw.
More seriously, another thing to check is the stepper driver temperarures. The TMC drivers will do weird things if they get hot, because they turn down the current. Looks like the Z didn’t have a problem, but the XY motors are accelerating the print head all the time.
And… G34 is broke again. Soon as I hit G34 I get probing failed. Before it even tries. But G28 and G29 both use the probe and both work fine. I don’t get it…
I was thinking about that and wondering the same thing. It could also be my Z problem. That one motor is holding a lot more weight than the other 2 Z motors. I’m still playing with the sensor for a little bit trying to get that to work. But in the next 30 min it will either work or be turned off again and I will start a print. I will also get my laser temp gun and keep an eye on the driver temp and the motor temps. ooooo I wonder if my Flir is charged…