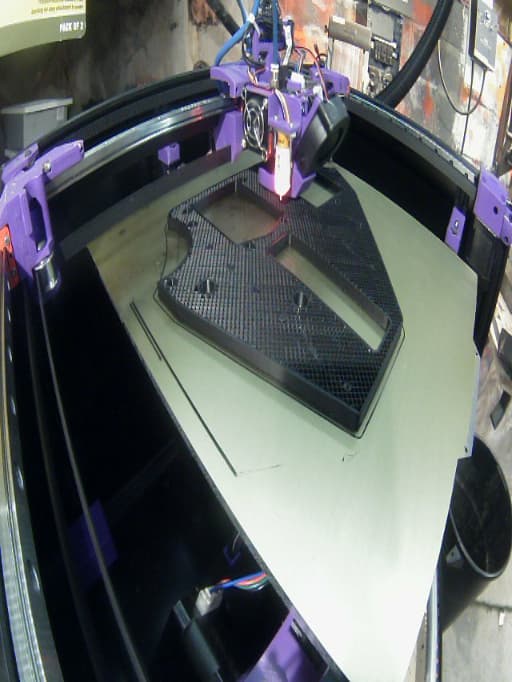
After the benchy i decided to go all in.
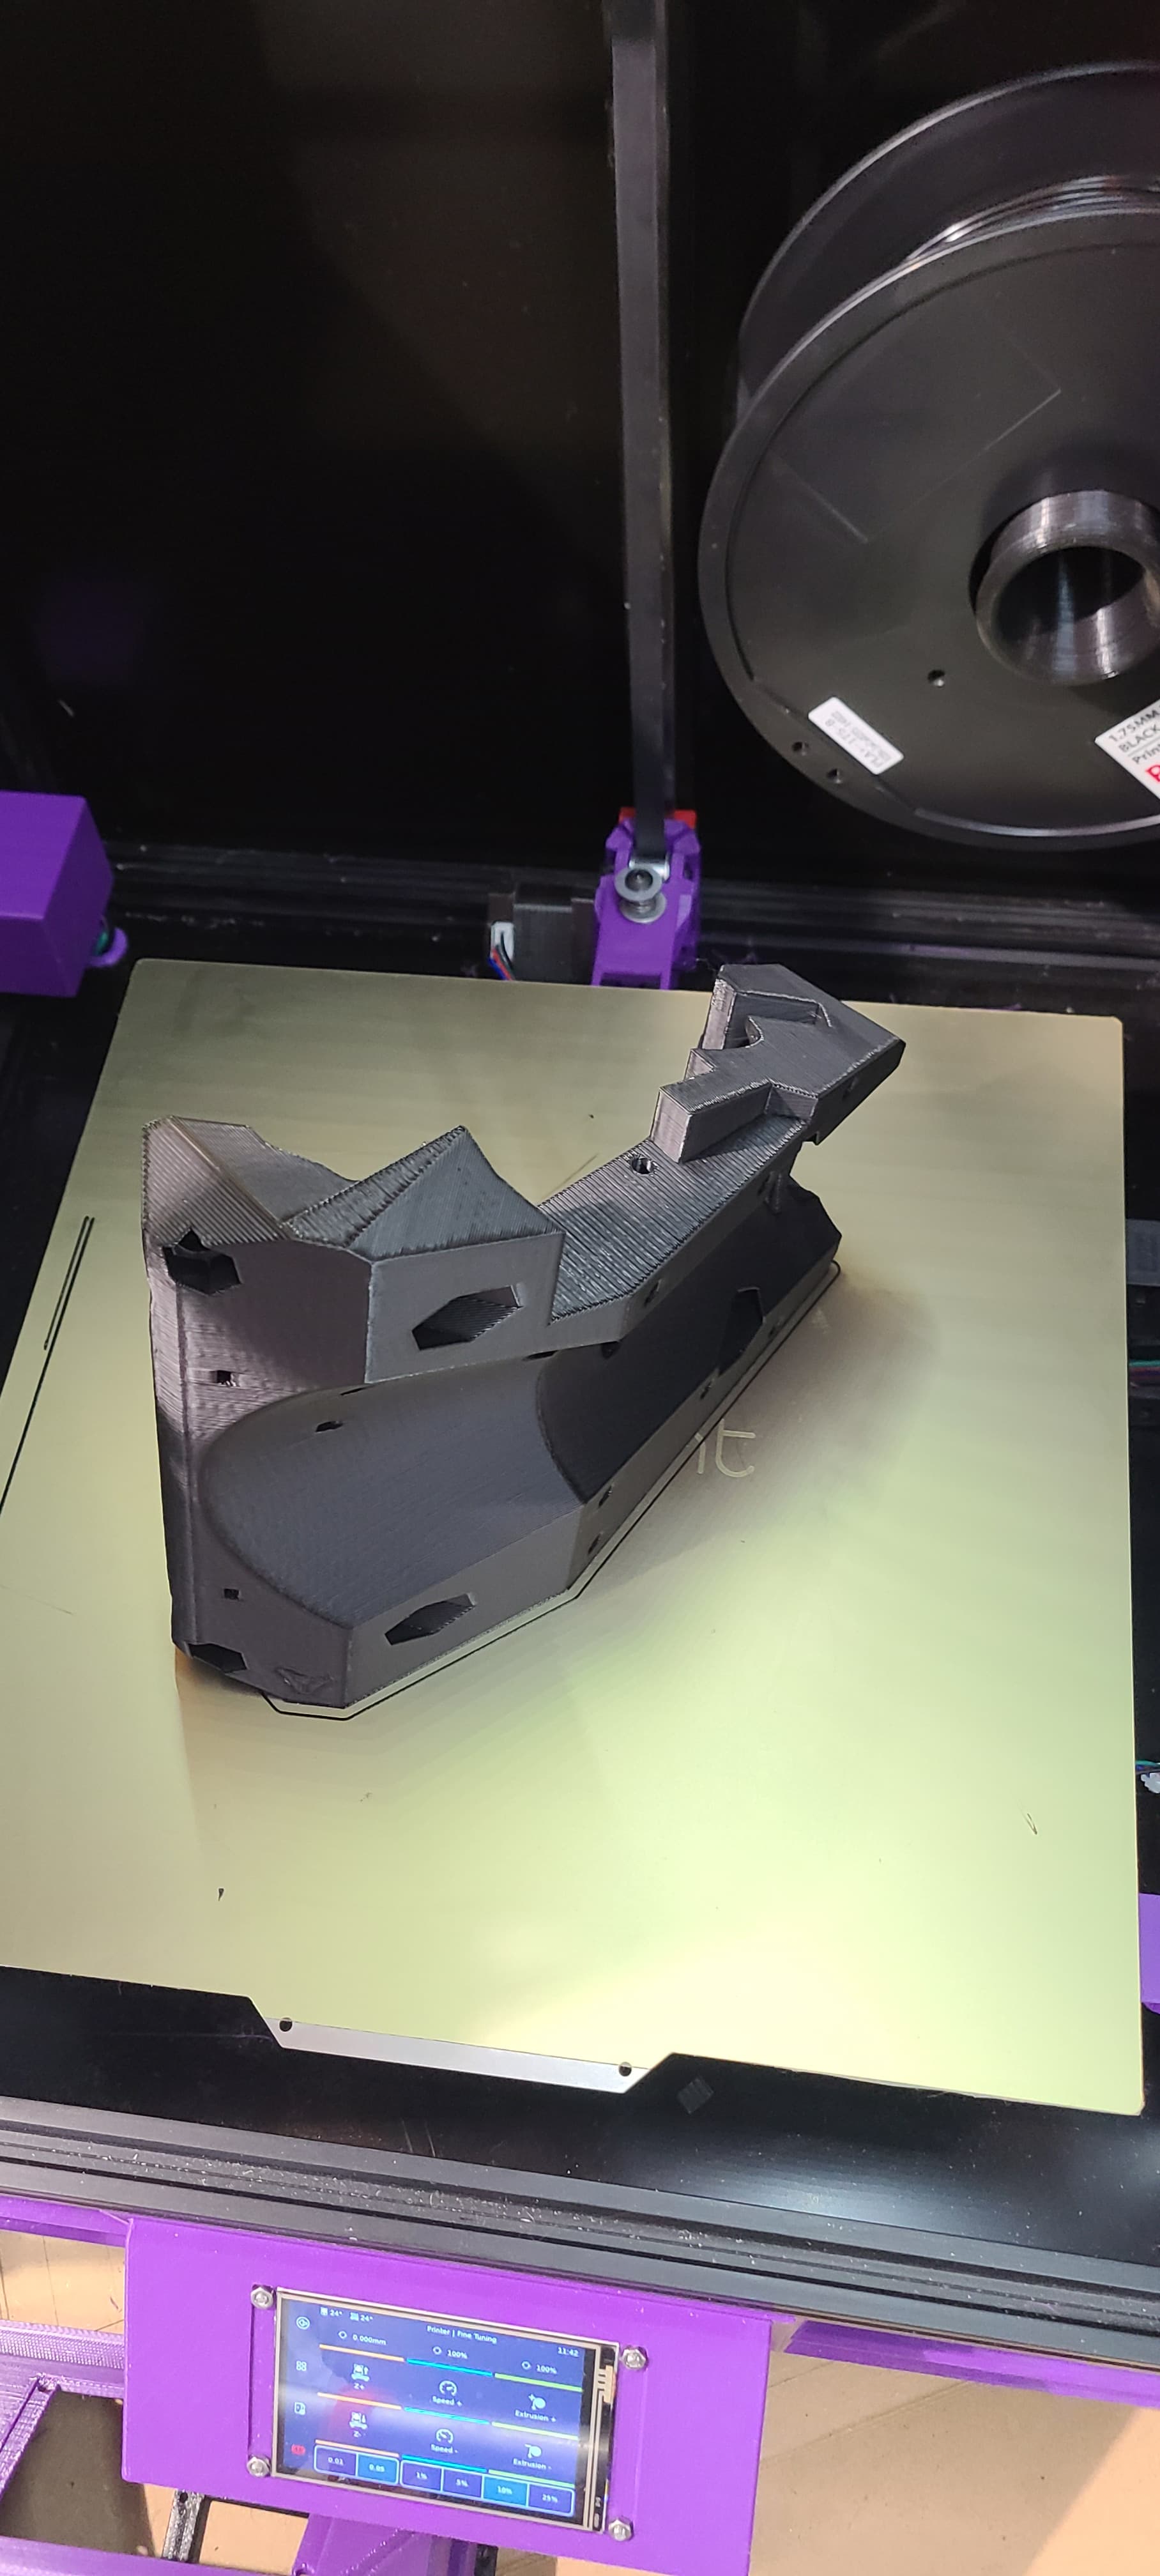

First layer laid down at 50mm/s and the rest at 125mm/s.
Guess I have another project to build. Was planning on changing my Primo over to a small LR3 anyway.
After the benchy i decided to go all in.
First layer laid down at 50mm/s and the rest at 125mm/s.
Guess I have another project to build. Was planning on changing my Primo over to a small LR3 anyway.
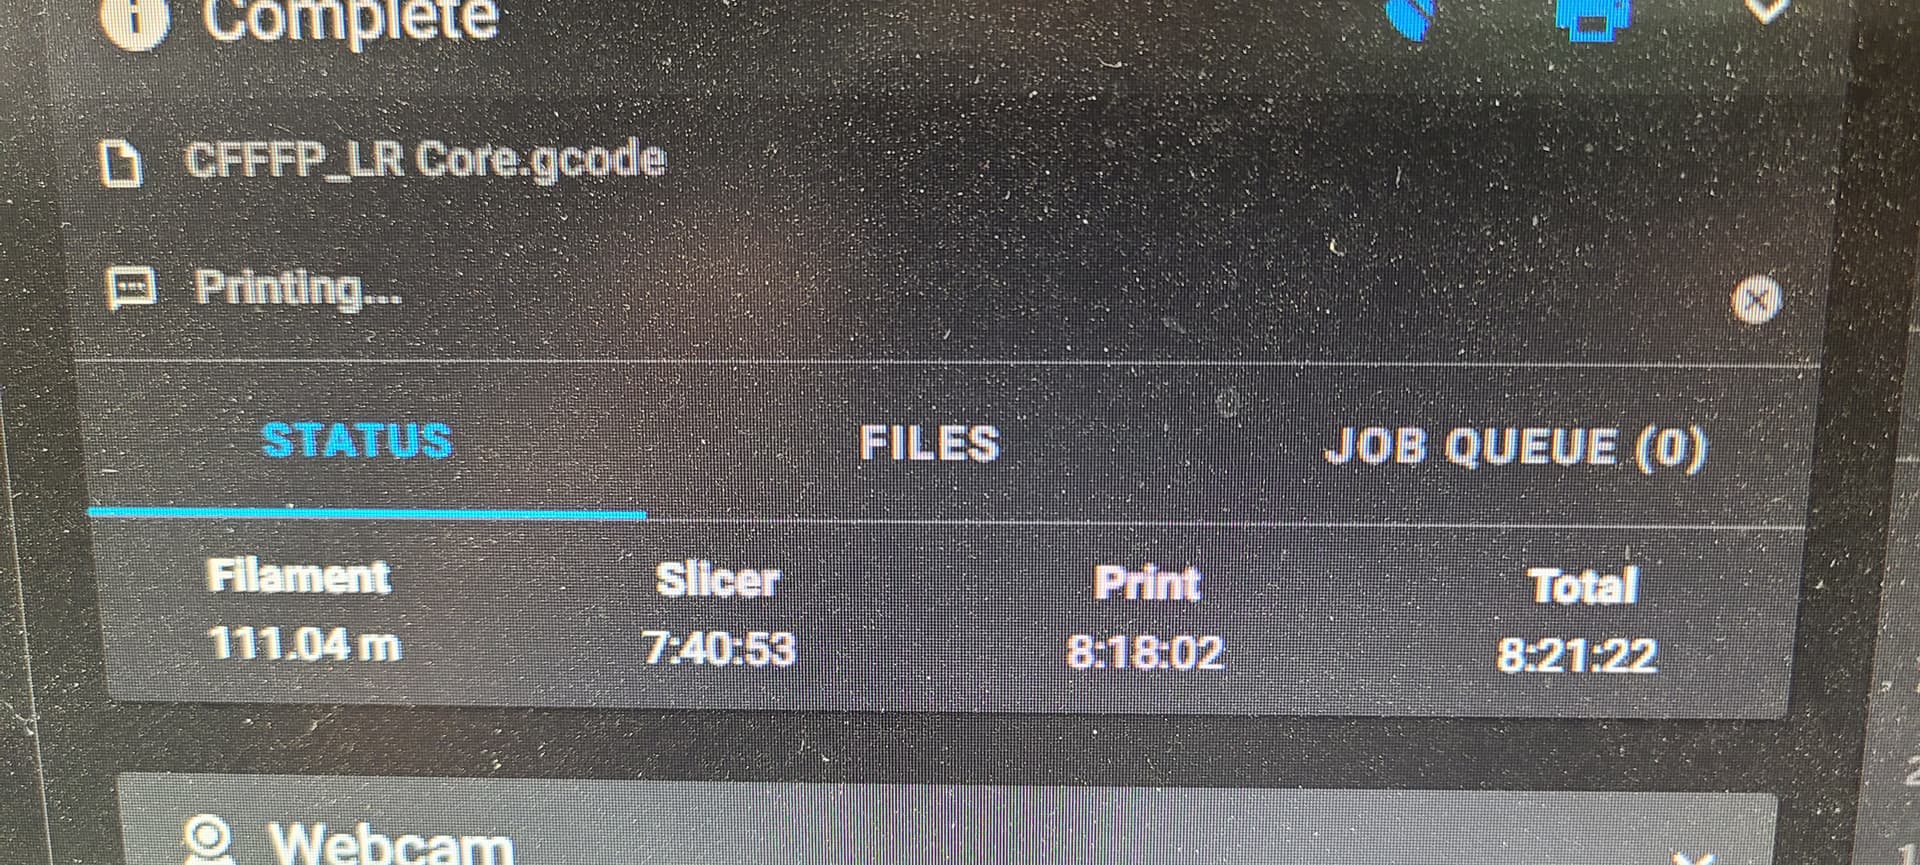
8:18 is incredible.
That’s some serious print speed. I wonder how that kind of output would impact @vicious1 print farm production work…
Yep! I hadn’t even had my first layer shift in 8 hours! ![]()
My 0.5 nozzle 0.32mm layers at regular speed prints the core at 8:30. My limiting factor at this point is cooling and flow rate more than speed…but my next build is going to change that. See how fast I can print with that big nozzle then!
This was .4mm @.3mm layer height. I picked up the .6 and .4 Obsidian Revo nozzles but have not tried them yet.
You going to add some side cooling?
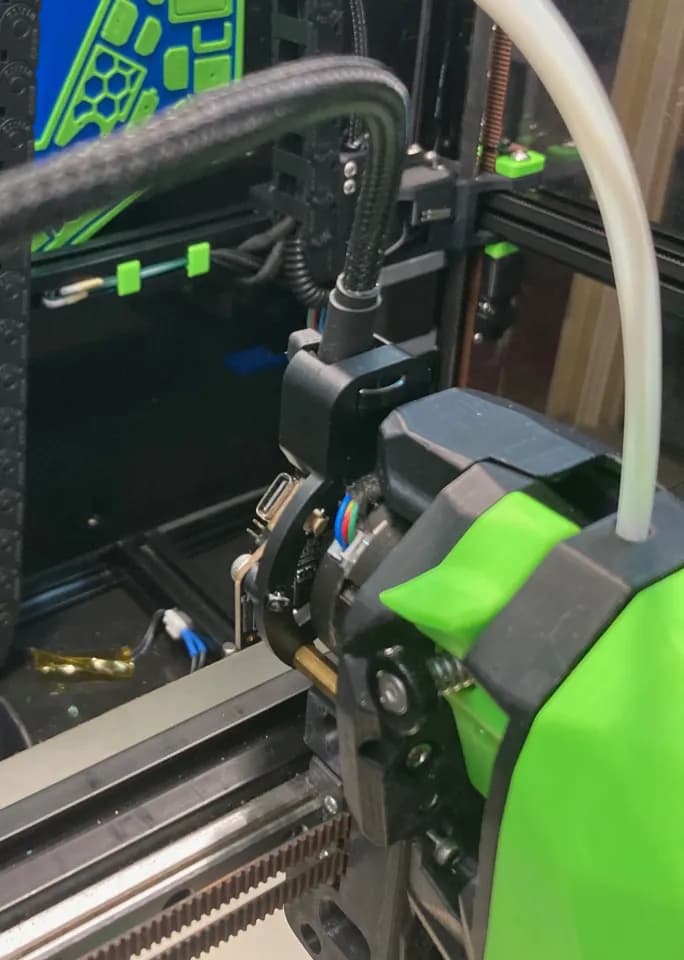
Weirdly the issue I am having is that the part cooling fan has started vibrating and making the worst noise imaginable. I seriously paused the print and hot glued pieces of filament on it to try to reduce the noise.
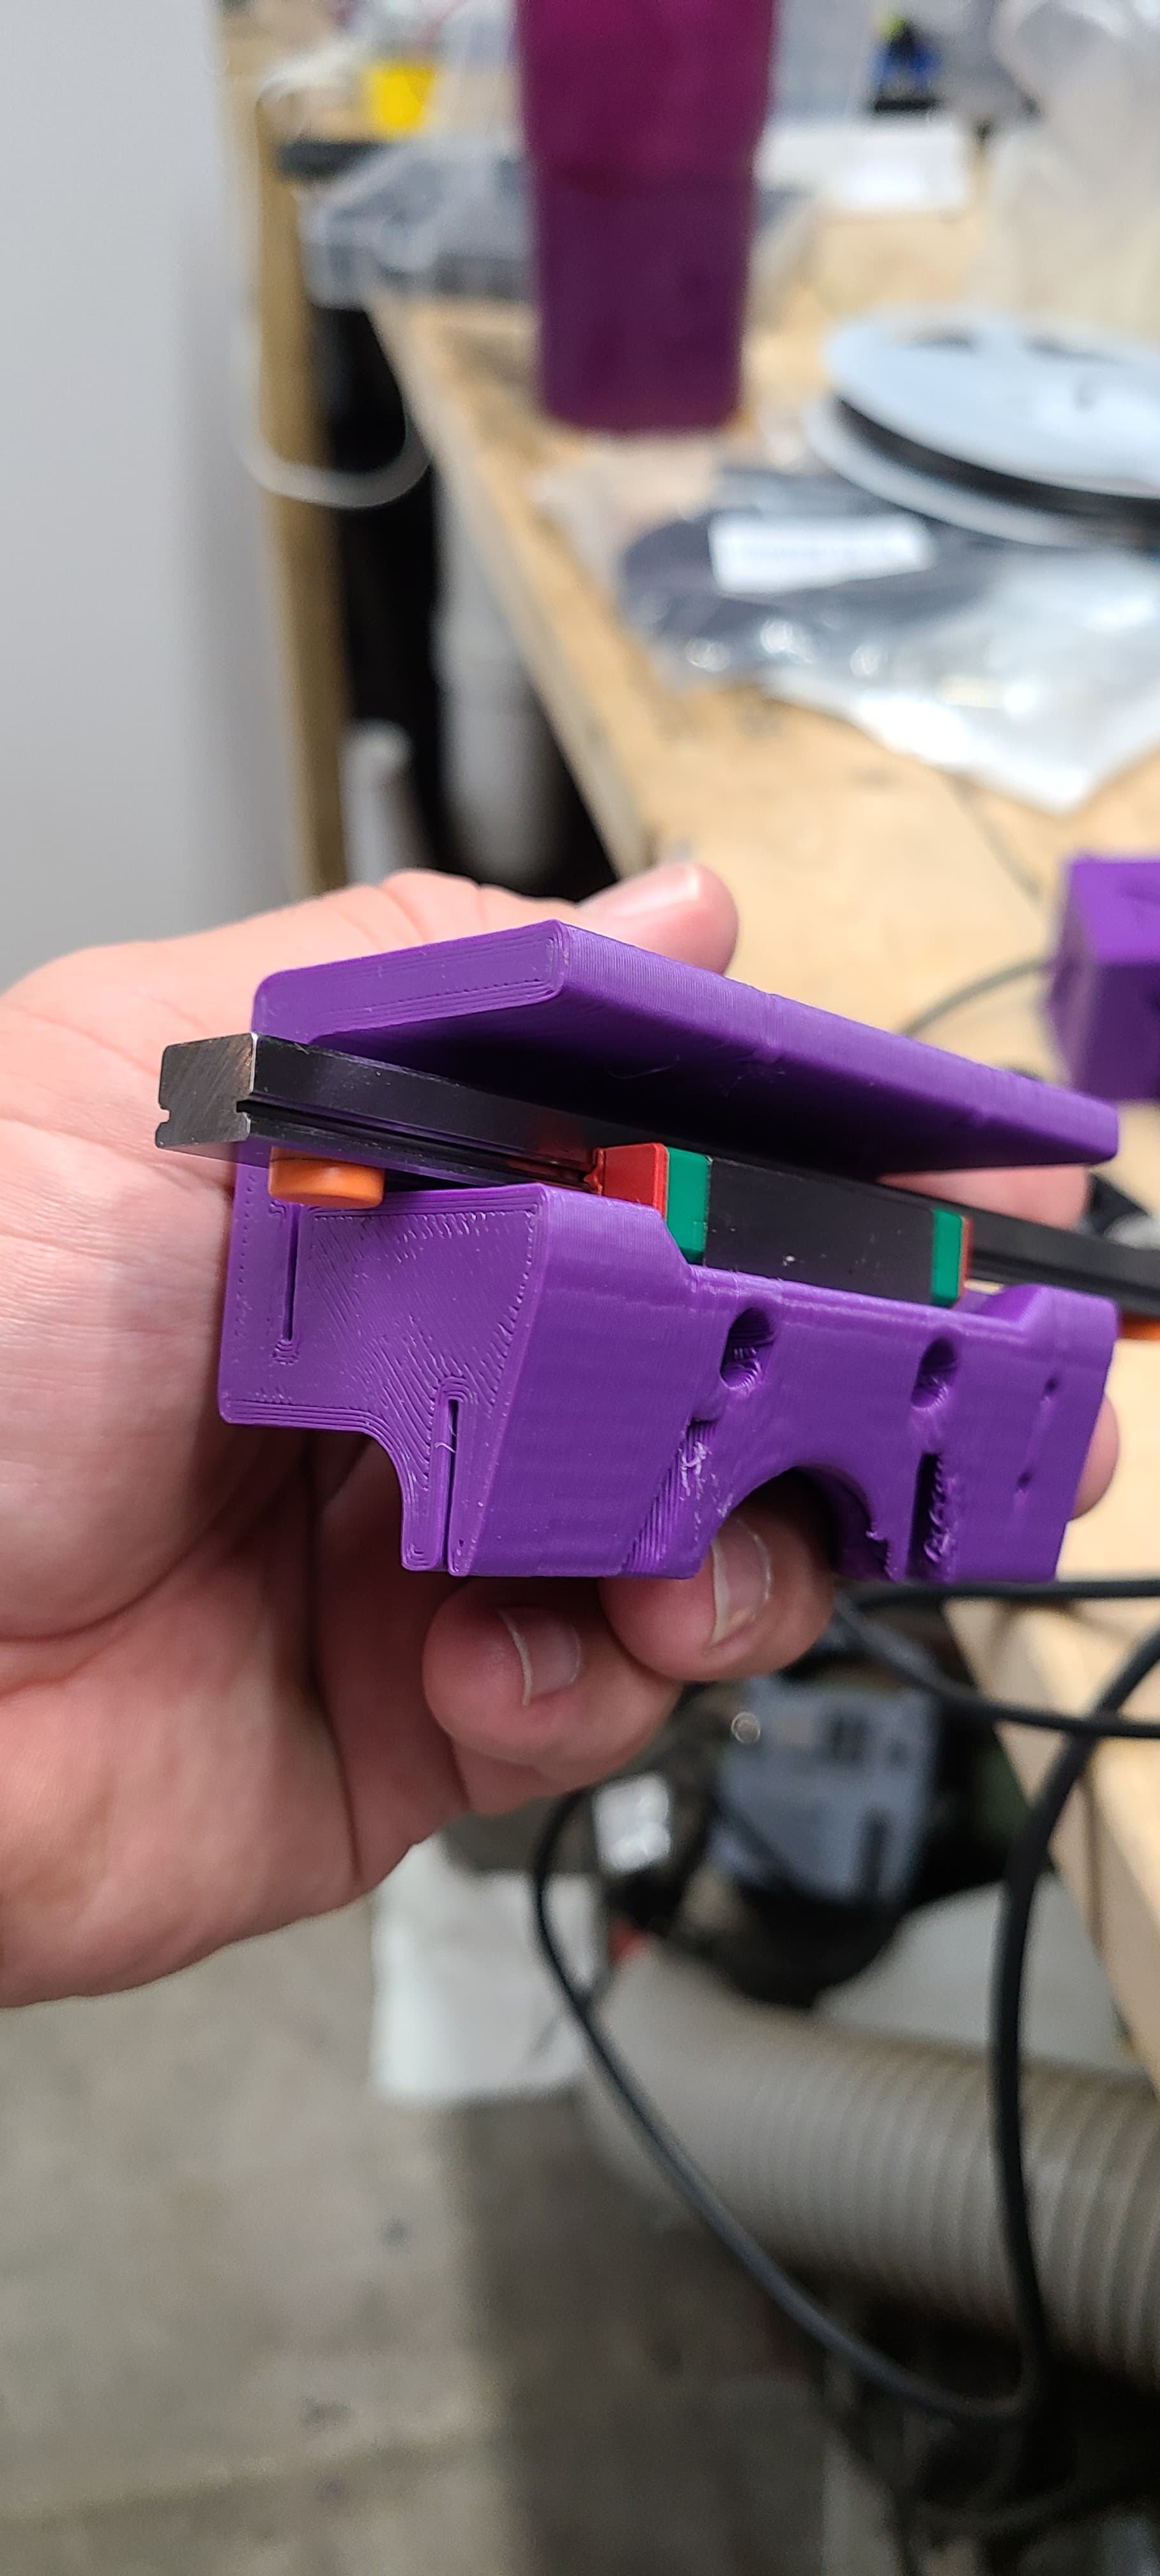
I need the Fan to be more solidly mounted in a vertical orientation. Most people design the mounts for the H2 extruders to allow access to the wheel but I actually don’t find much use for the wheel.
I can’t wait to see what you will come up with.
On my first V4, I modified the extruder carriage (or what ever is called) and mounted 2 fans on the back of it with a custom fan duct, I still have plenty of space between the belts and the Y-MAX.
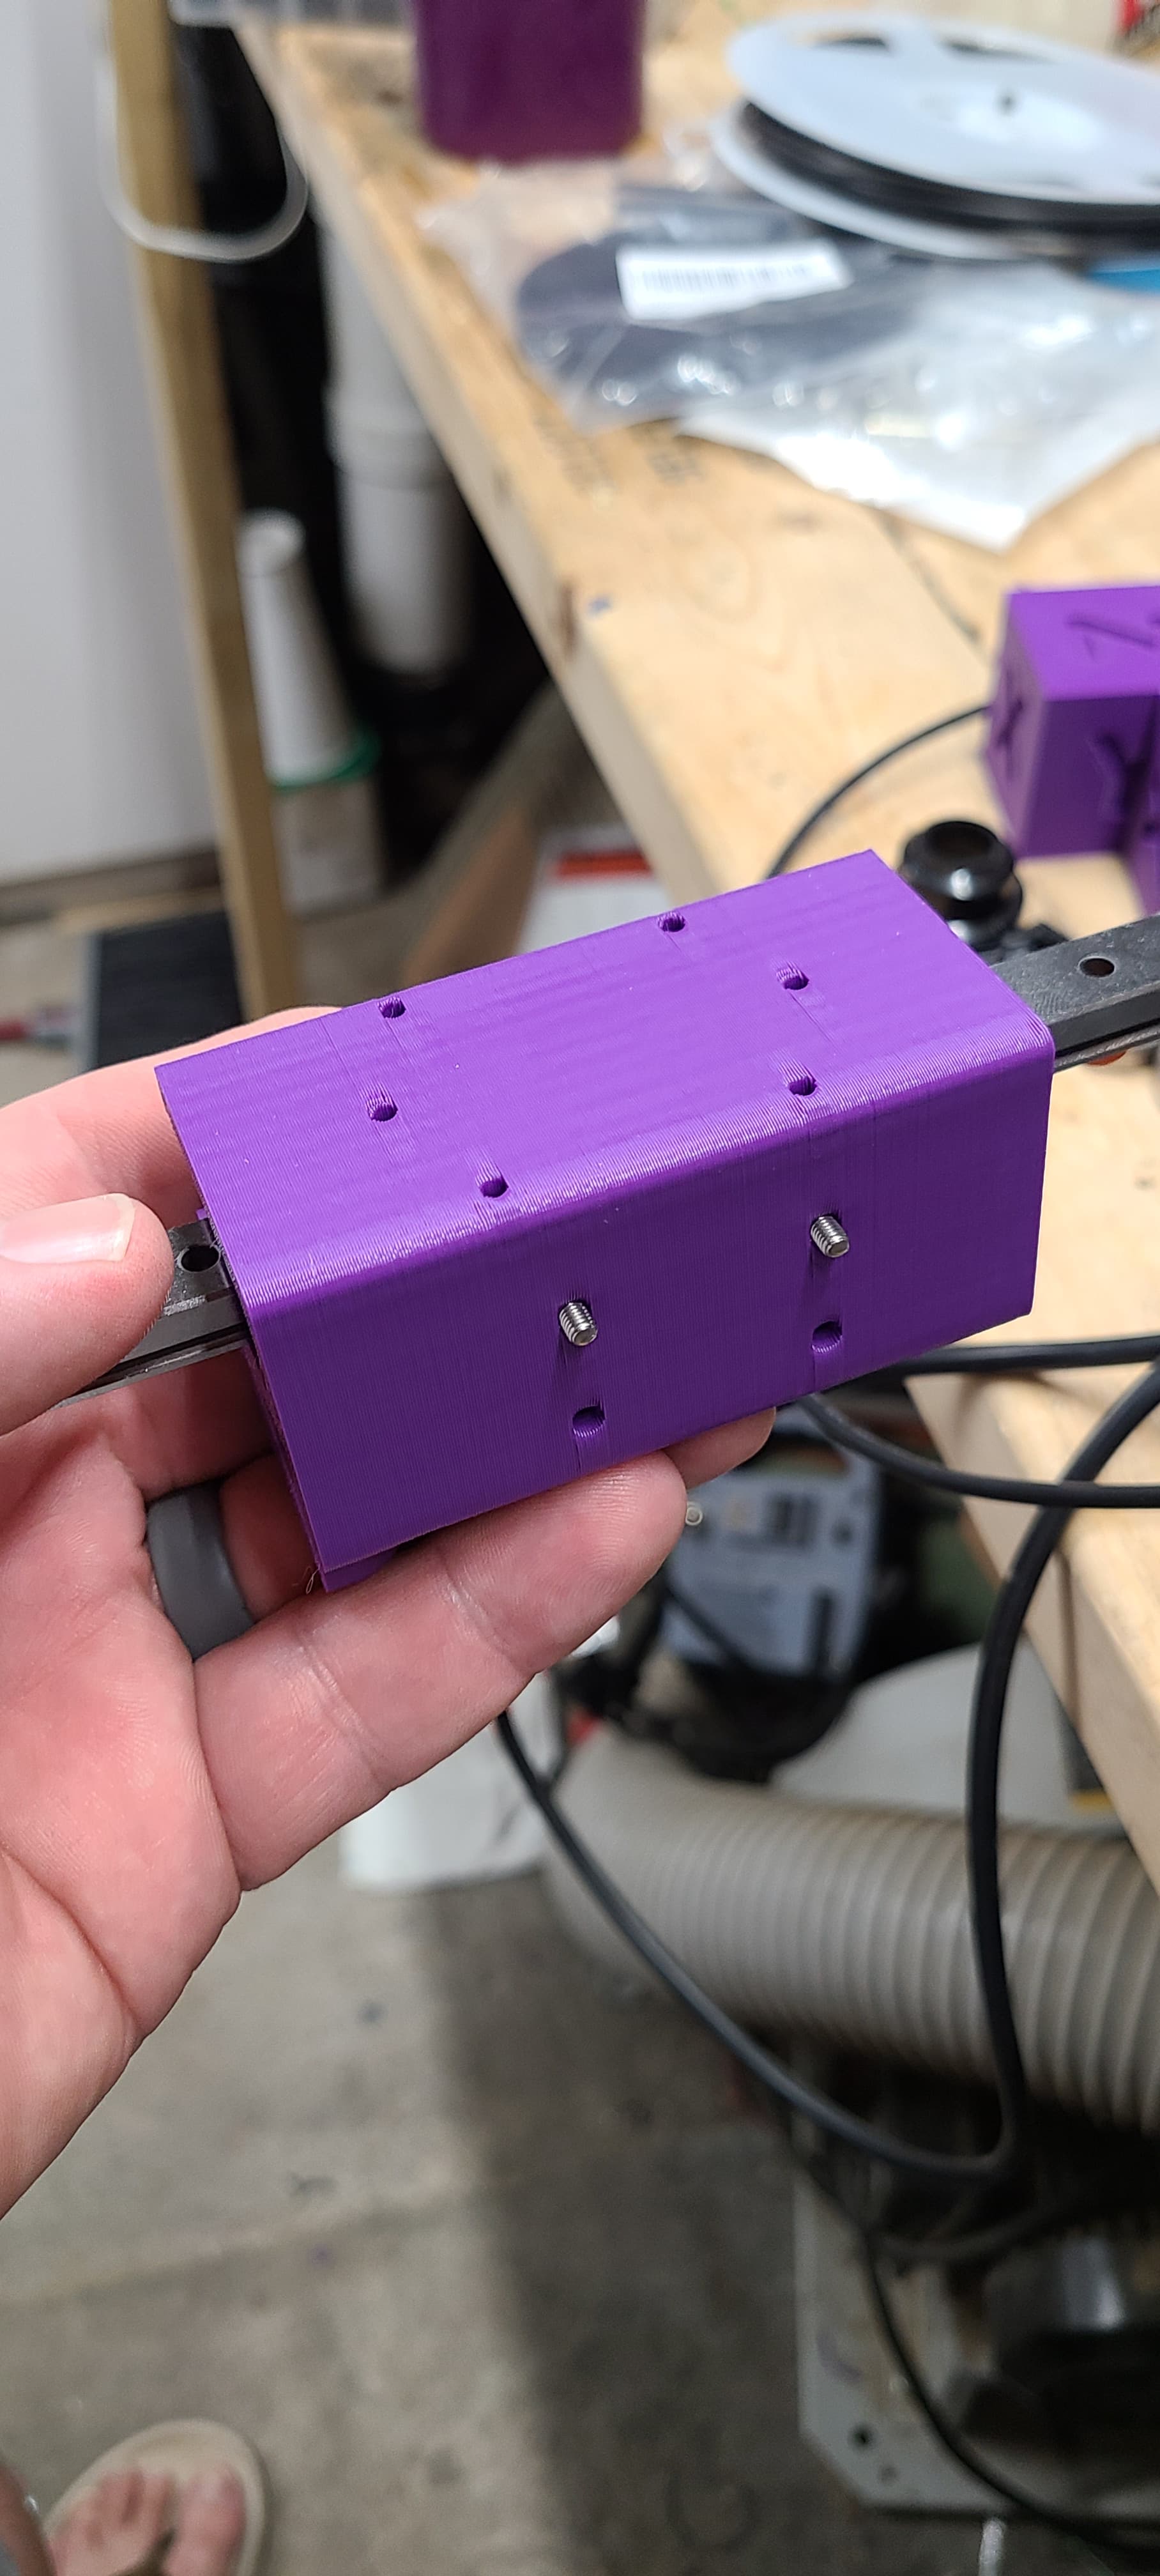
Looks like you have a lot of plastic on that carriage that you can eliminate , m,ake it lighter will give your more speed.
I still to finish my V3 to to V4 conversion
Could help make access to the top belts, and assembly easier too.
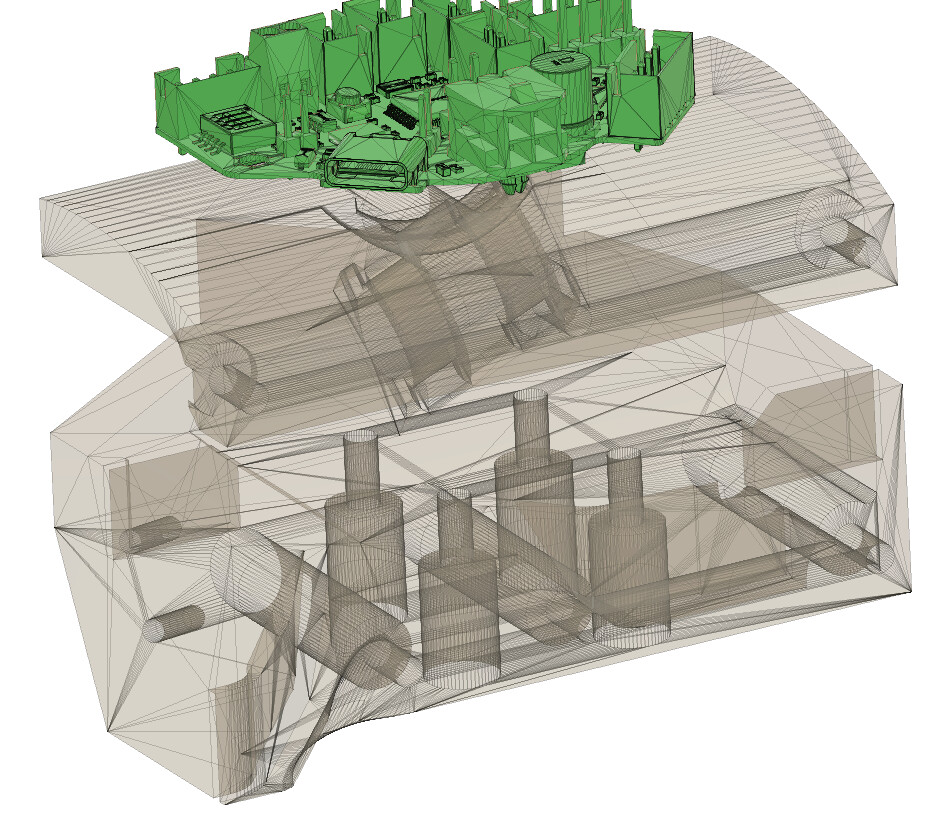
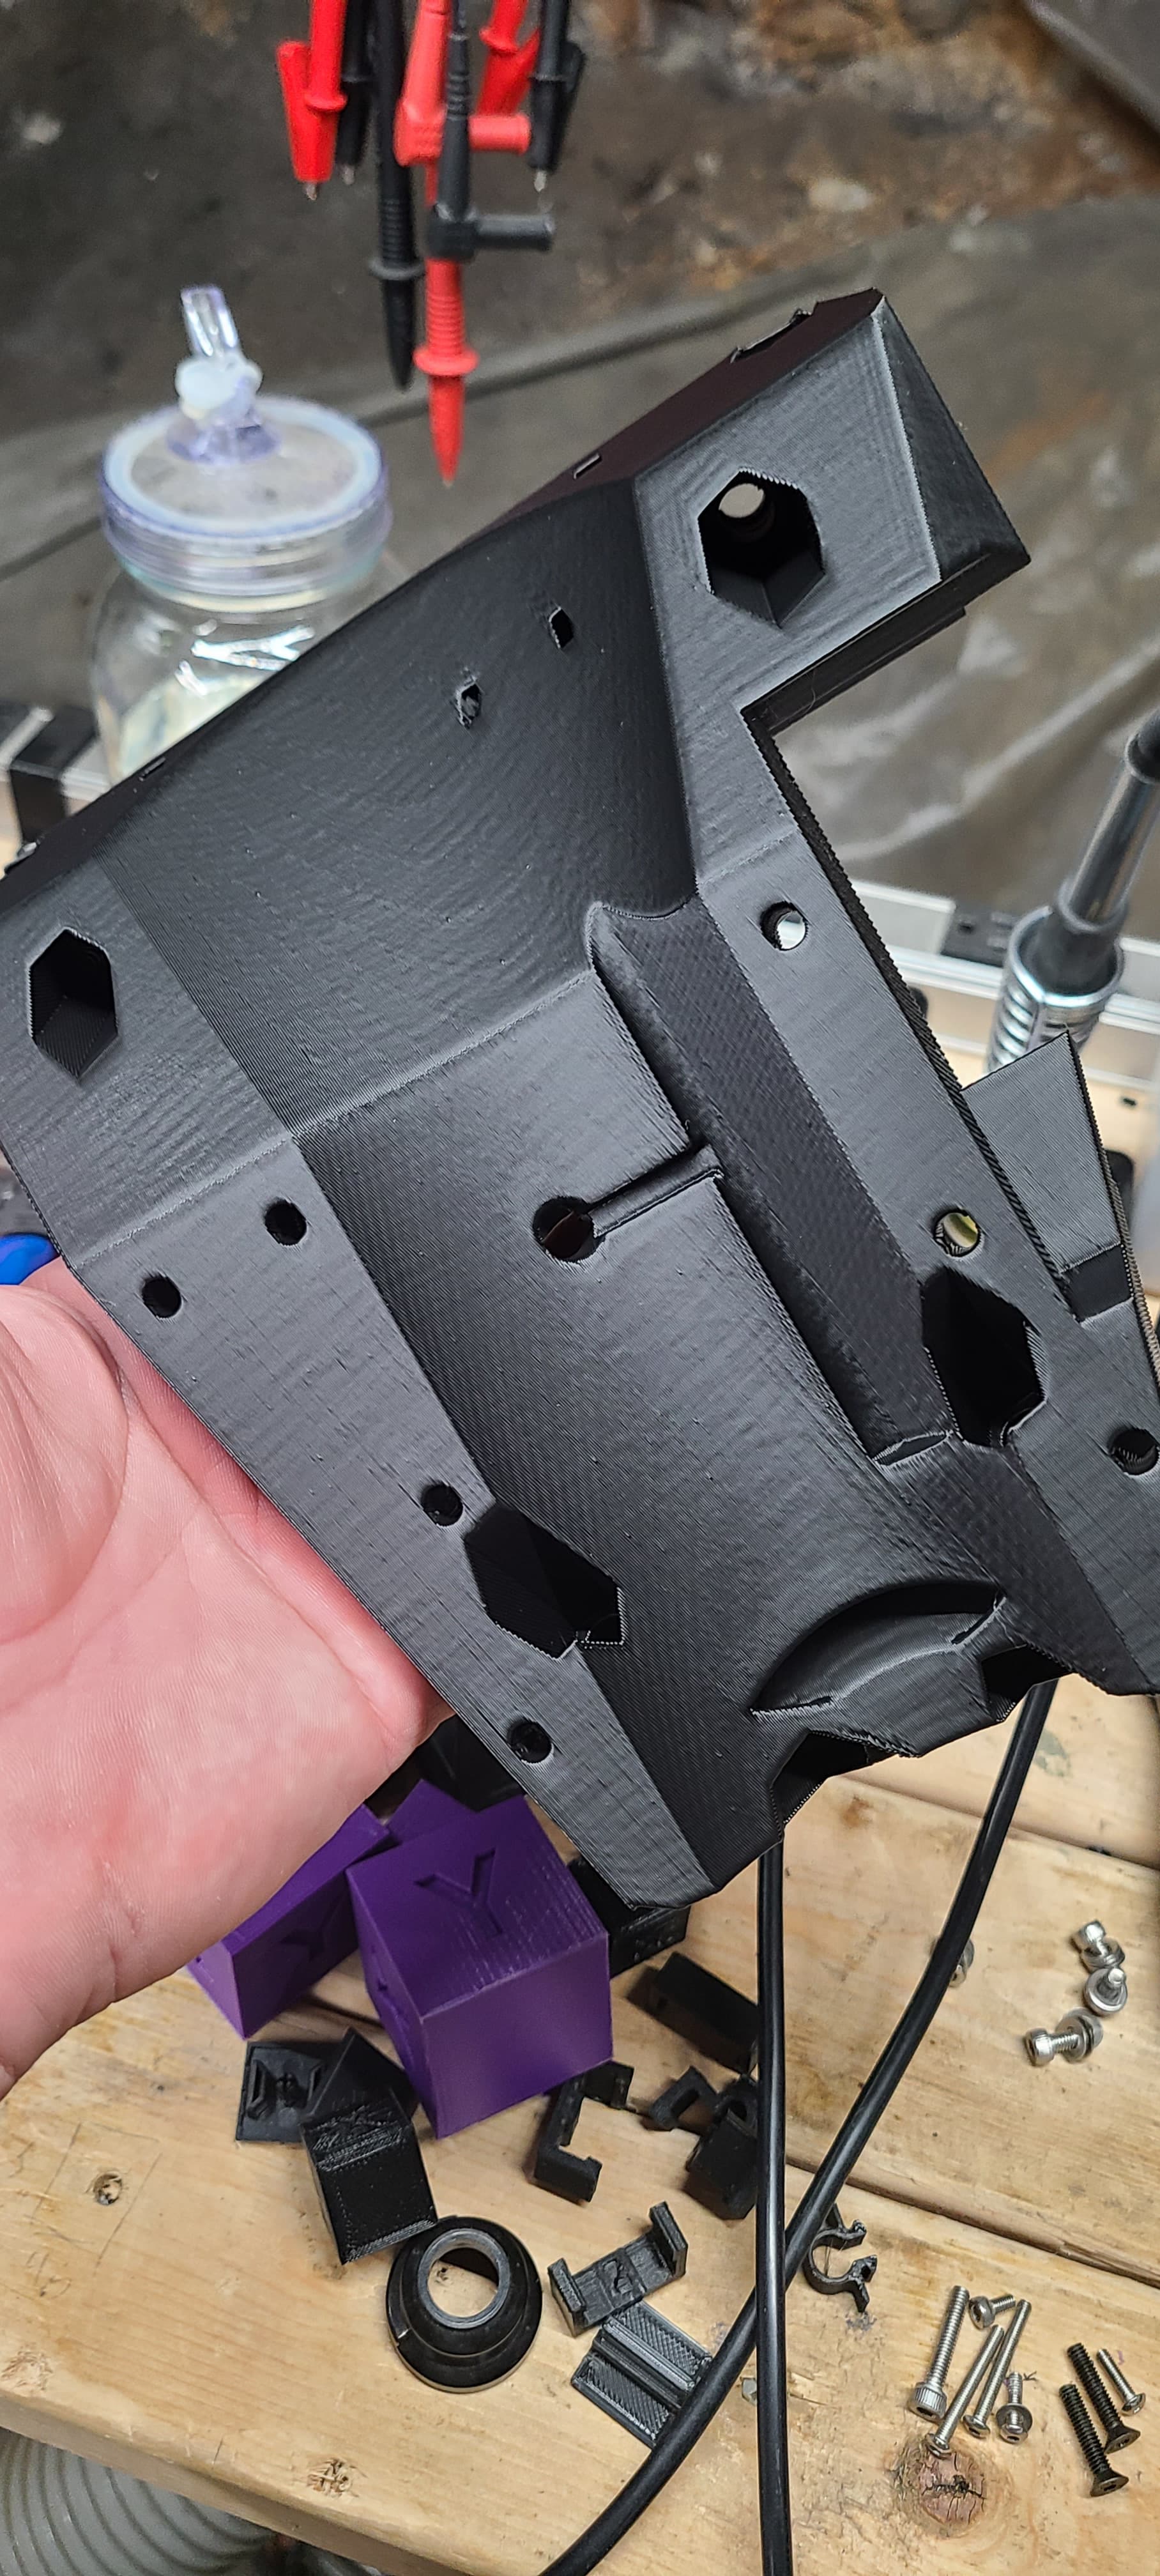
Been thinking about trying my had at a new carriage. I think it will be open in the back and allow a mounting point on top for the EBB36 or a 42 lying flat on top. I think that could bring the extruder in towards the rail and reduce some of the cantileaver that the adapter causes plus give the EBB a more stable mounting point.
I am getting better with Fusion but this will push my abilities a lot I think.
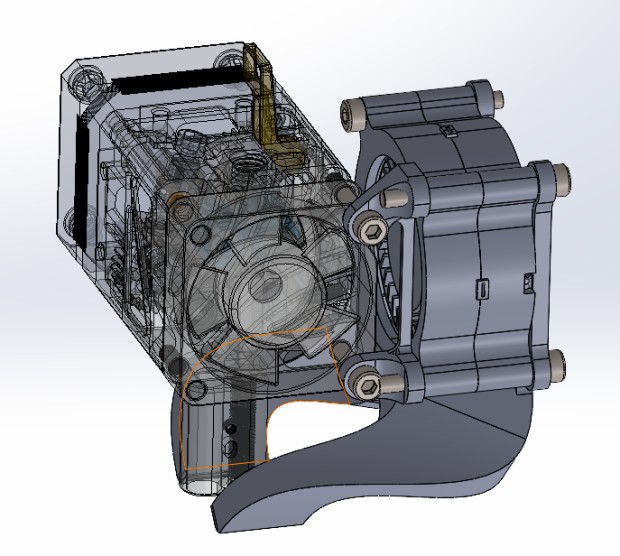
Are you thinking of having EBB36/42 power and signal cable (lime) be strain relieved and run up alongside filament PTFE (gray). So not doing…
But instead something more like this orientation wise, modified carrier with holes optimized for H2 V2S, but also with power-signal cable strain-relief (not shown in the pic), and possibly PTFE strain-relief/guide…
Need to figure out how fan and BLTouch would integrate too, guessing your existing BL touch adapter can be used as-is.
Already seen pics/models within BTT’s github repo, e.g. https://github.com/bigtreetech/H2-Series/blob/master/H2%20V2s%20Revo/H2%20V2S%20Revo%204020%20fan%20duct.STL ?
There’s so many features/considerations that have gone into the Carrier, 've been hesitant to have a go as yet. Good luck!
Related:
That is exactly what I want to do. I think if the carriage is open at the back instead of the front you will still be able to slide it over the rail without taking the rail off.
I would put a zip tie relief for the CAN cable next to the board and then marry that cable to the PTFE to carry it over to the back of the printer like I am doing now.
Some fans just don’t last. I have some that have been running for years and some that only make it a few months. The bad ones eventually make noise in any orientation, but will quiet down in others for a little while until they go bad again.
No I don’t think so. I print generally full plates so it is not that big of an issue and for single parts I have the minimum layer time set so they print fine, just slower than it can. Bummer for small test prints and stuff so I just got used to printing more at once, or scaling things up until it does not see a slowdown.
Nice! Bottom belt holders look nice and easy to use. Maybe it’s the viewing angle, but installing, and subsequent adjusting, top belt looks tricky/obstructed?
At Open Sauce @vicious1 mentioned he’s either got something in mind, or maybe already started modeling a carrier for BIQU’s new lighter hotend as well. Think the belts are more accessible from the back, or come out the back, or something? Sorry, I don’t recall exactly, was experiencing sensory overload at Open Sauce, absolute madhouse.
I figured that the belt on the top were more fixed in place and that excess was taken in but the bottom slots. All you have to do it get them IN on the top… I am going to cut out the front face some to allow better access to the front right slot (mirror of the original carrier)
You just need to get them all in you have 10mm of belt adjustment on the motor mounts. So it can be fiddly but some needle nosed pliers or tweezers and they slide in.
Oh and I do want to cut them out the back and find a better way to secure them…not easy.