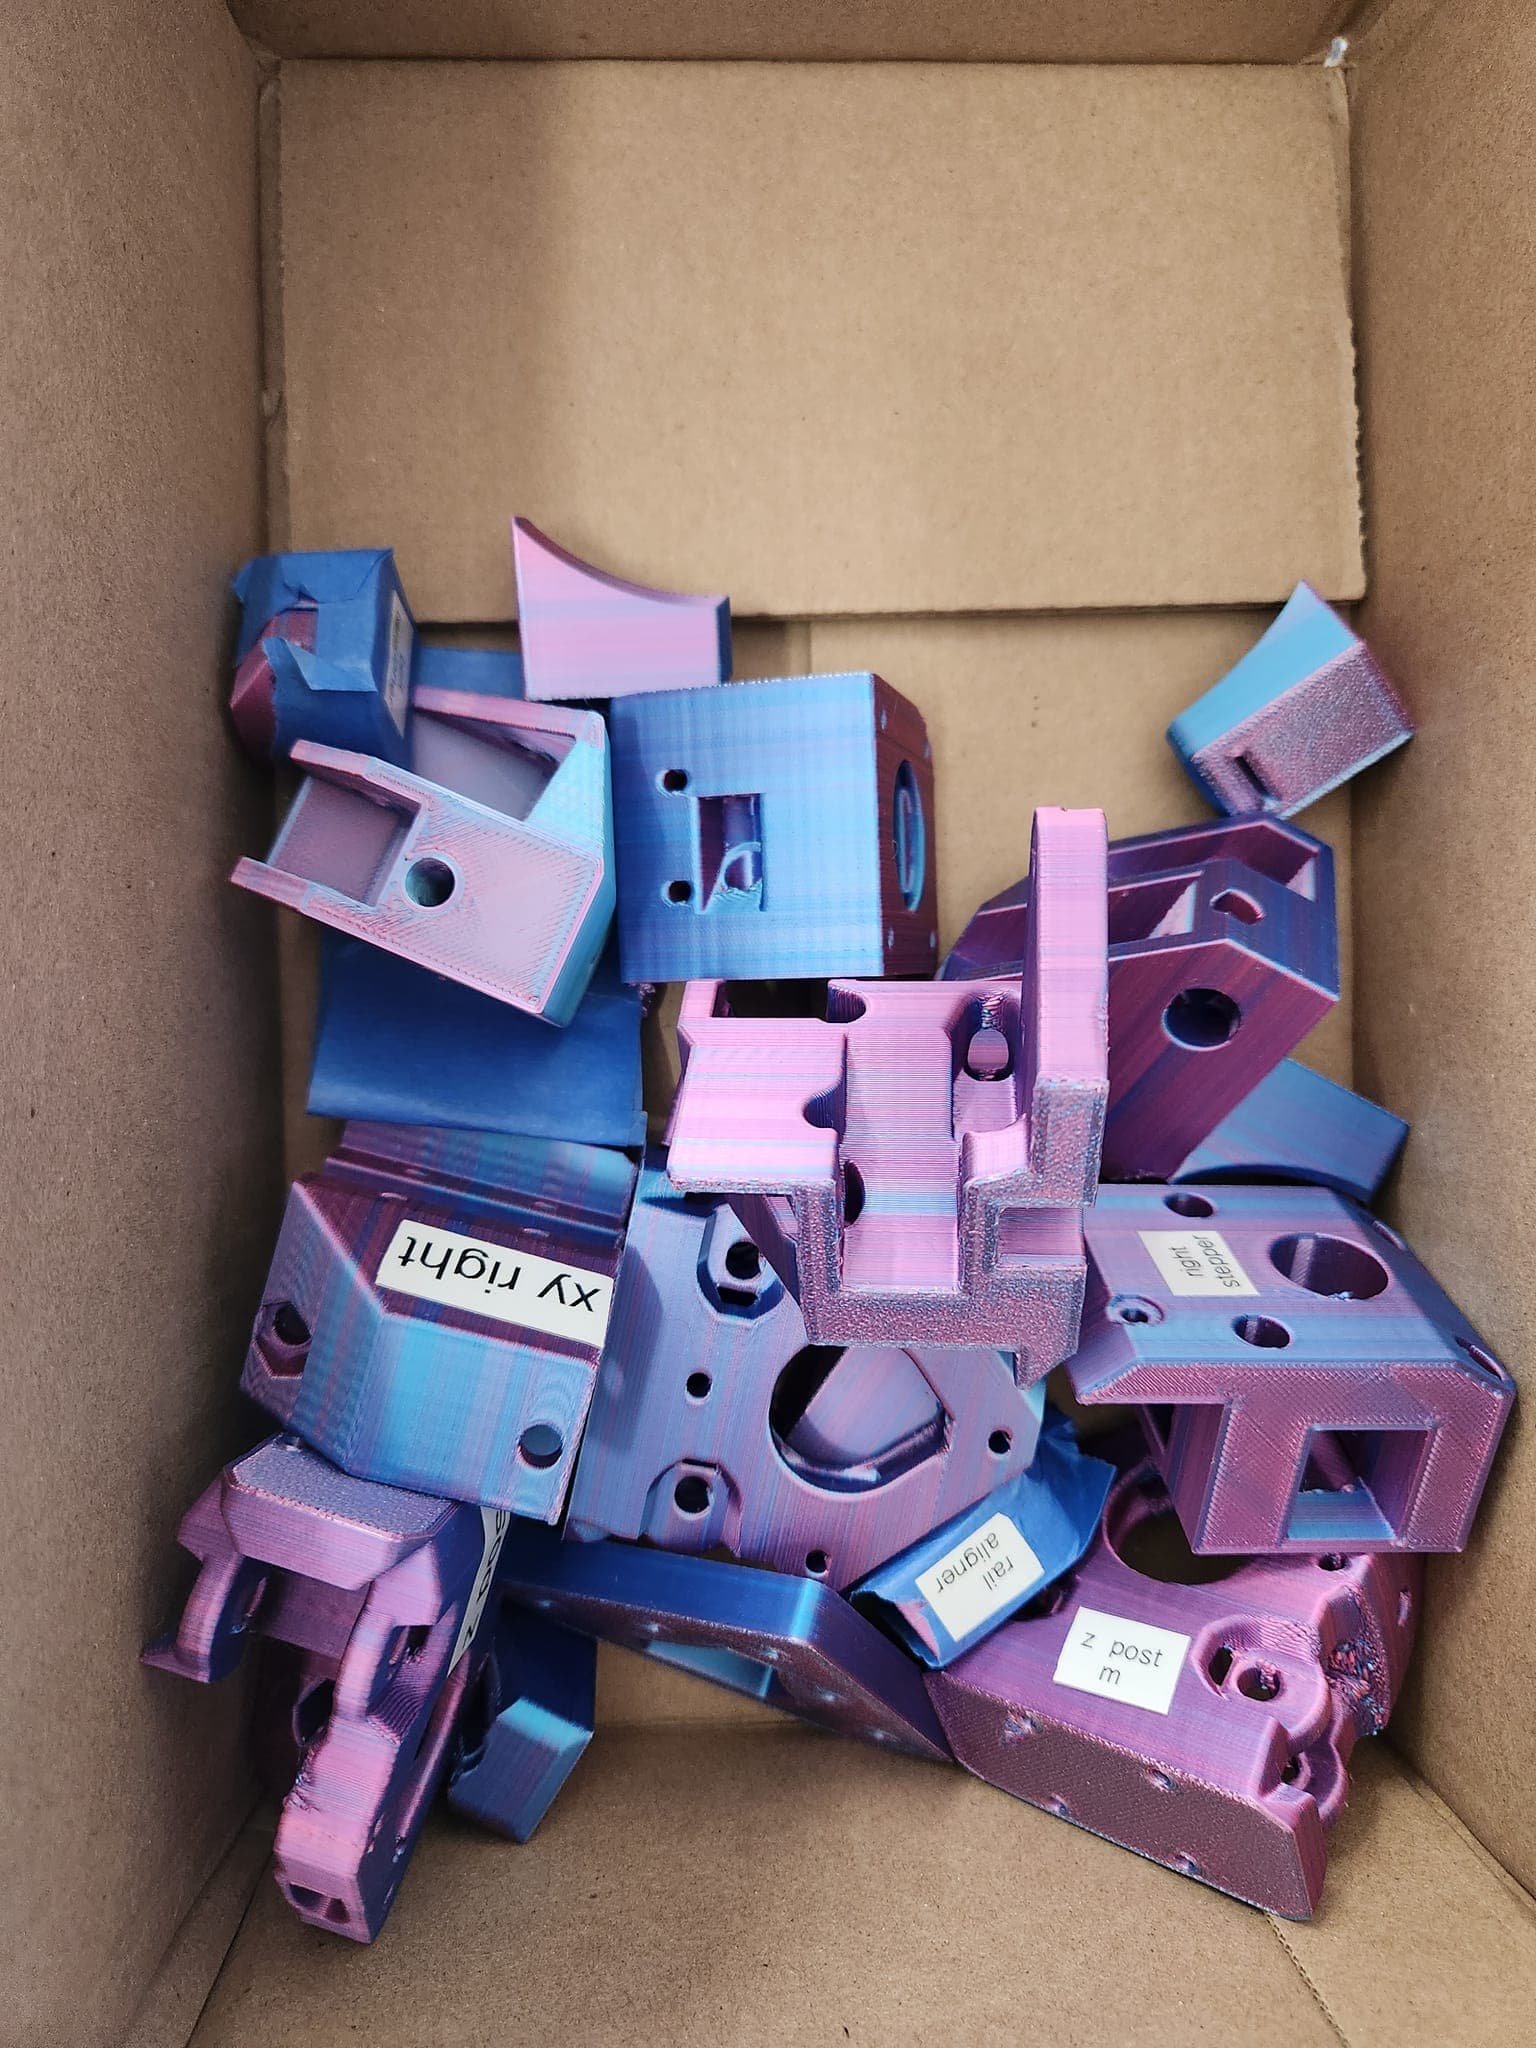
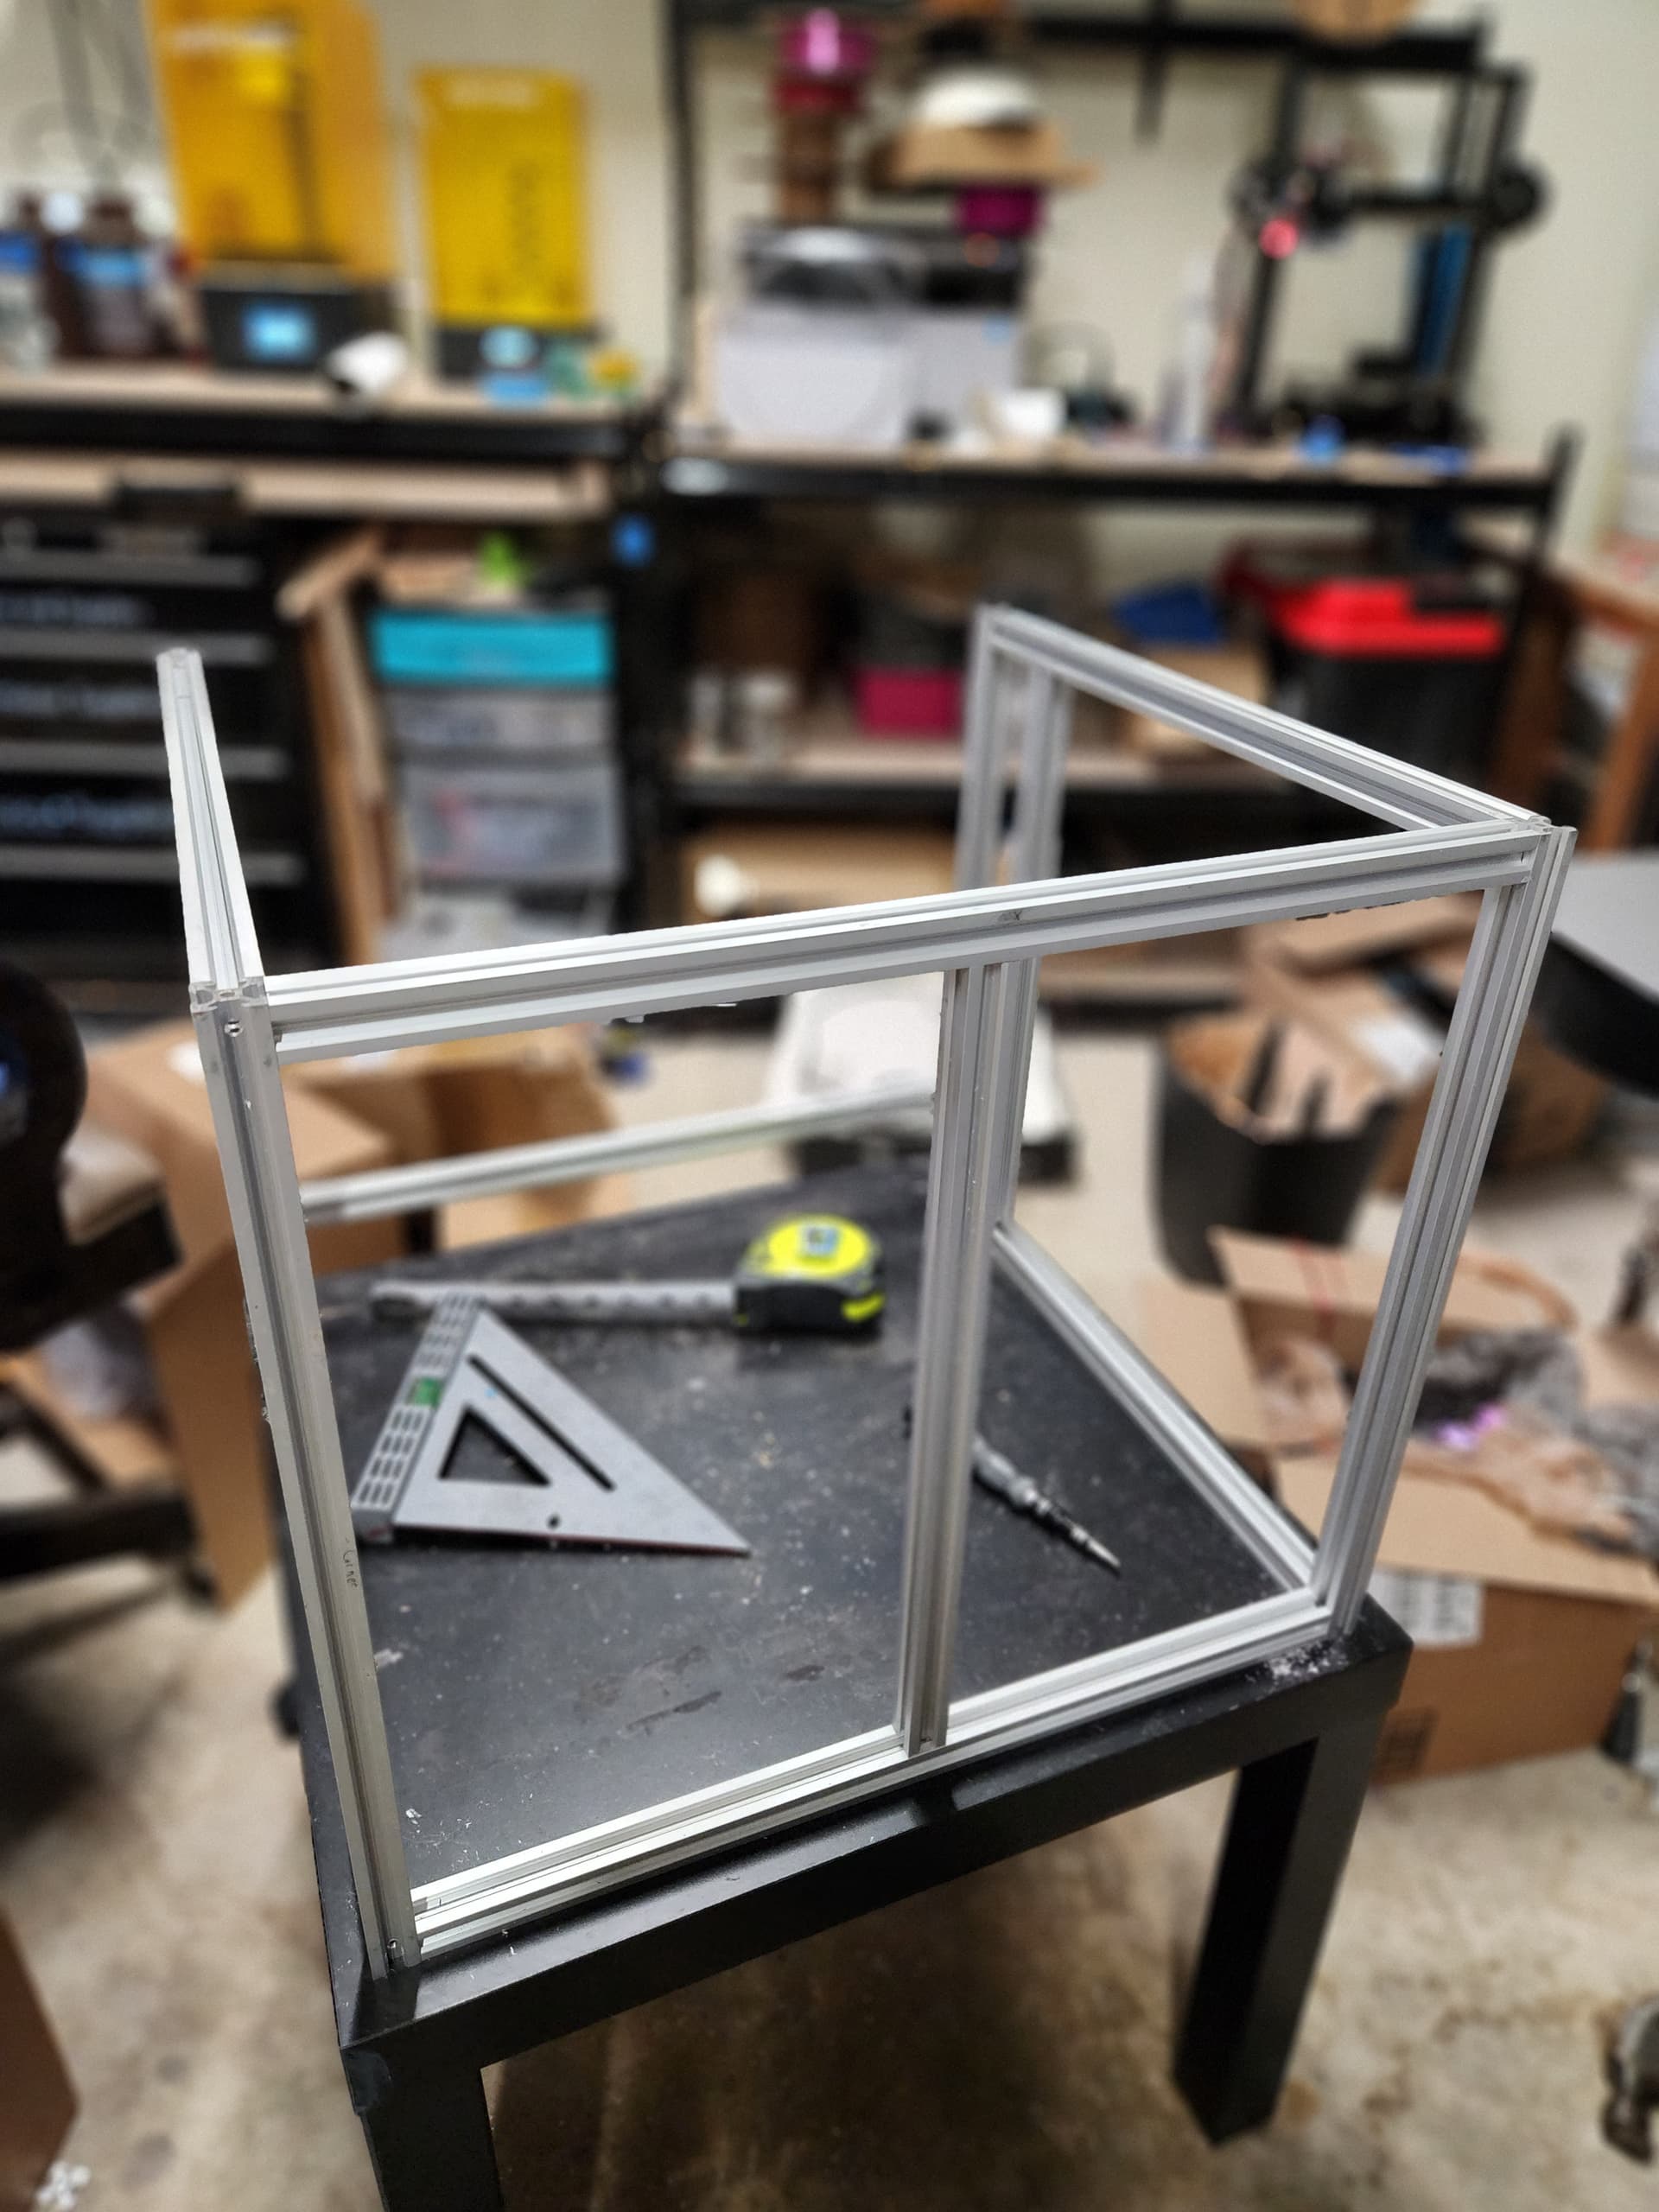
Just finished the printed parts (at least the ones I think that I’ll need going in) for my MP3DP v4.
Planning for a 300x300x300 build.
Have the linear rails and motors on hand. Waiting for the rest to come throughout the week. Hoping to get started this weekend if both shipping and my work schedule allow.
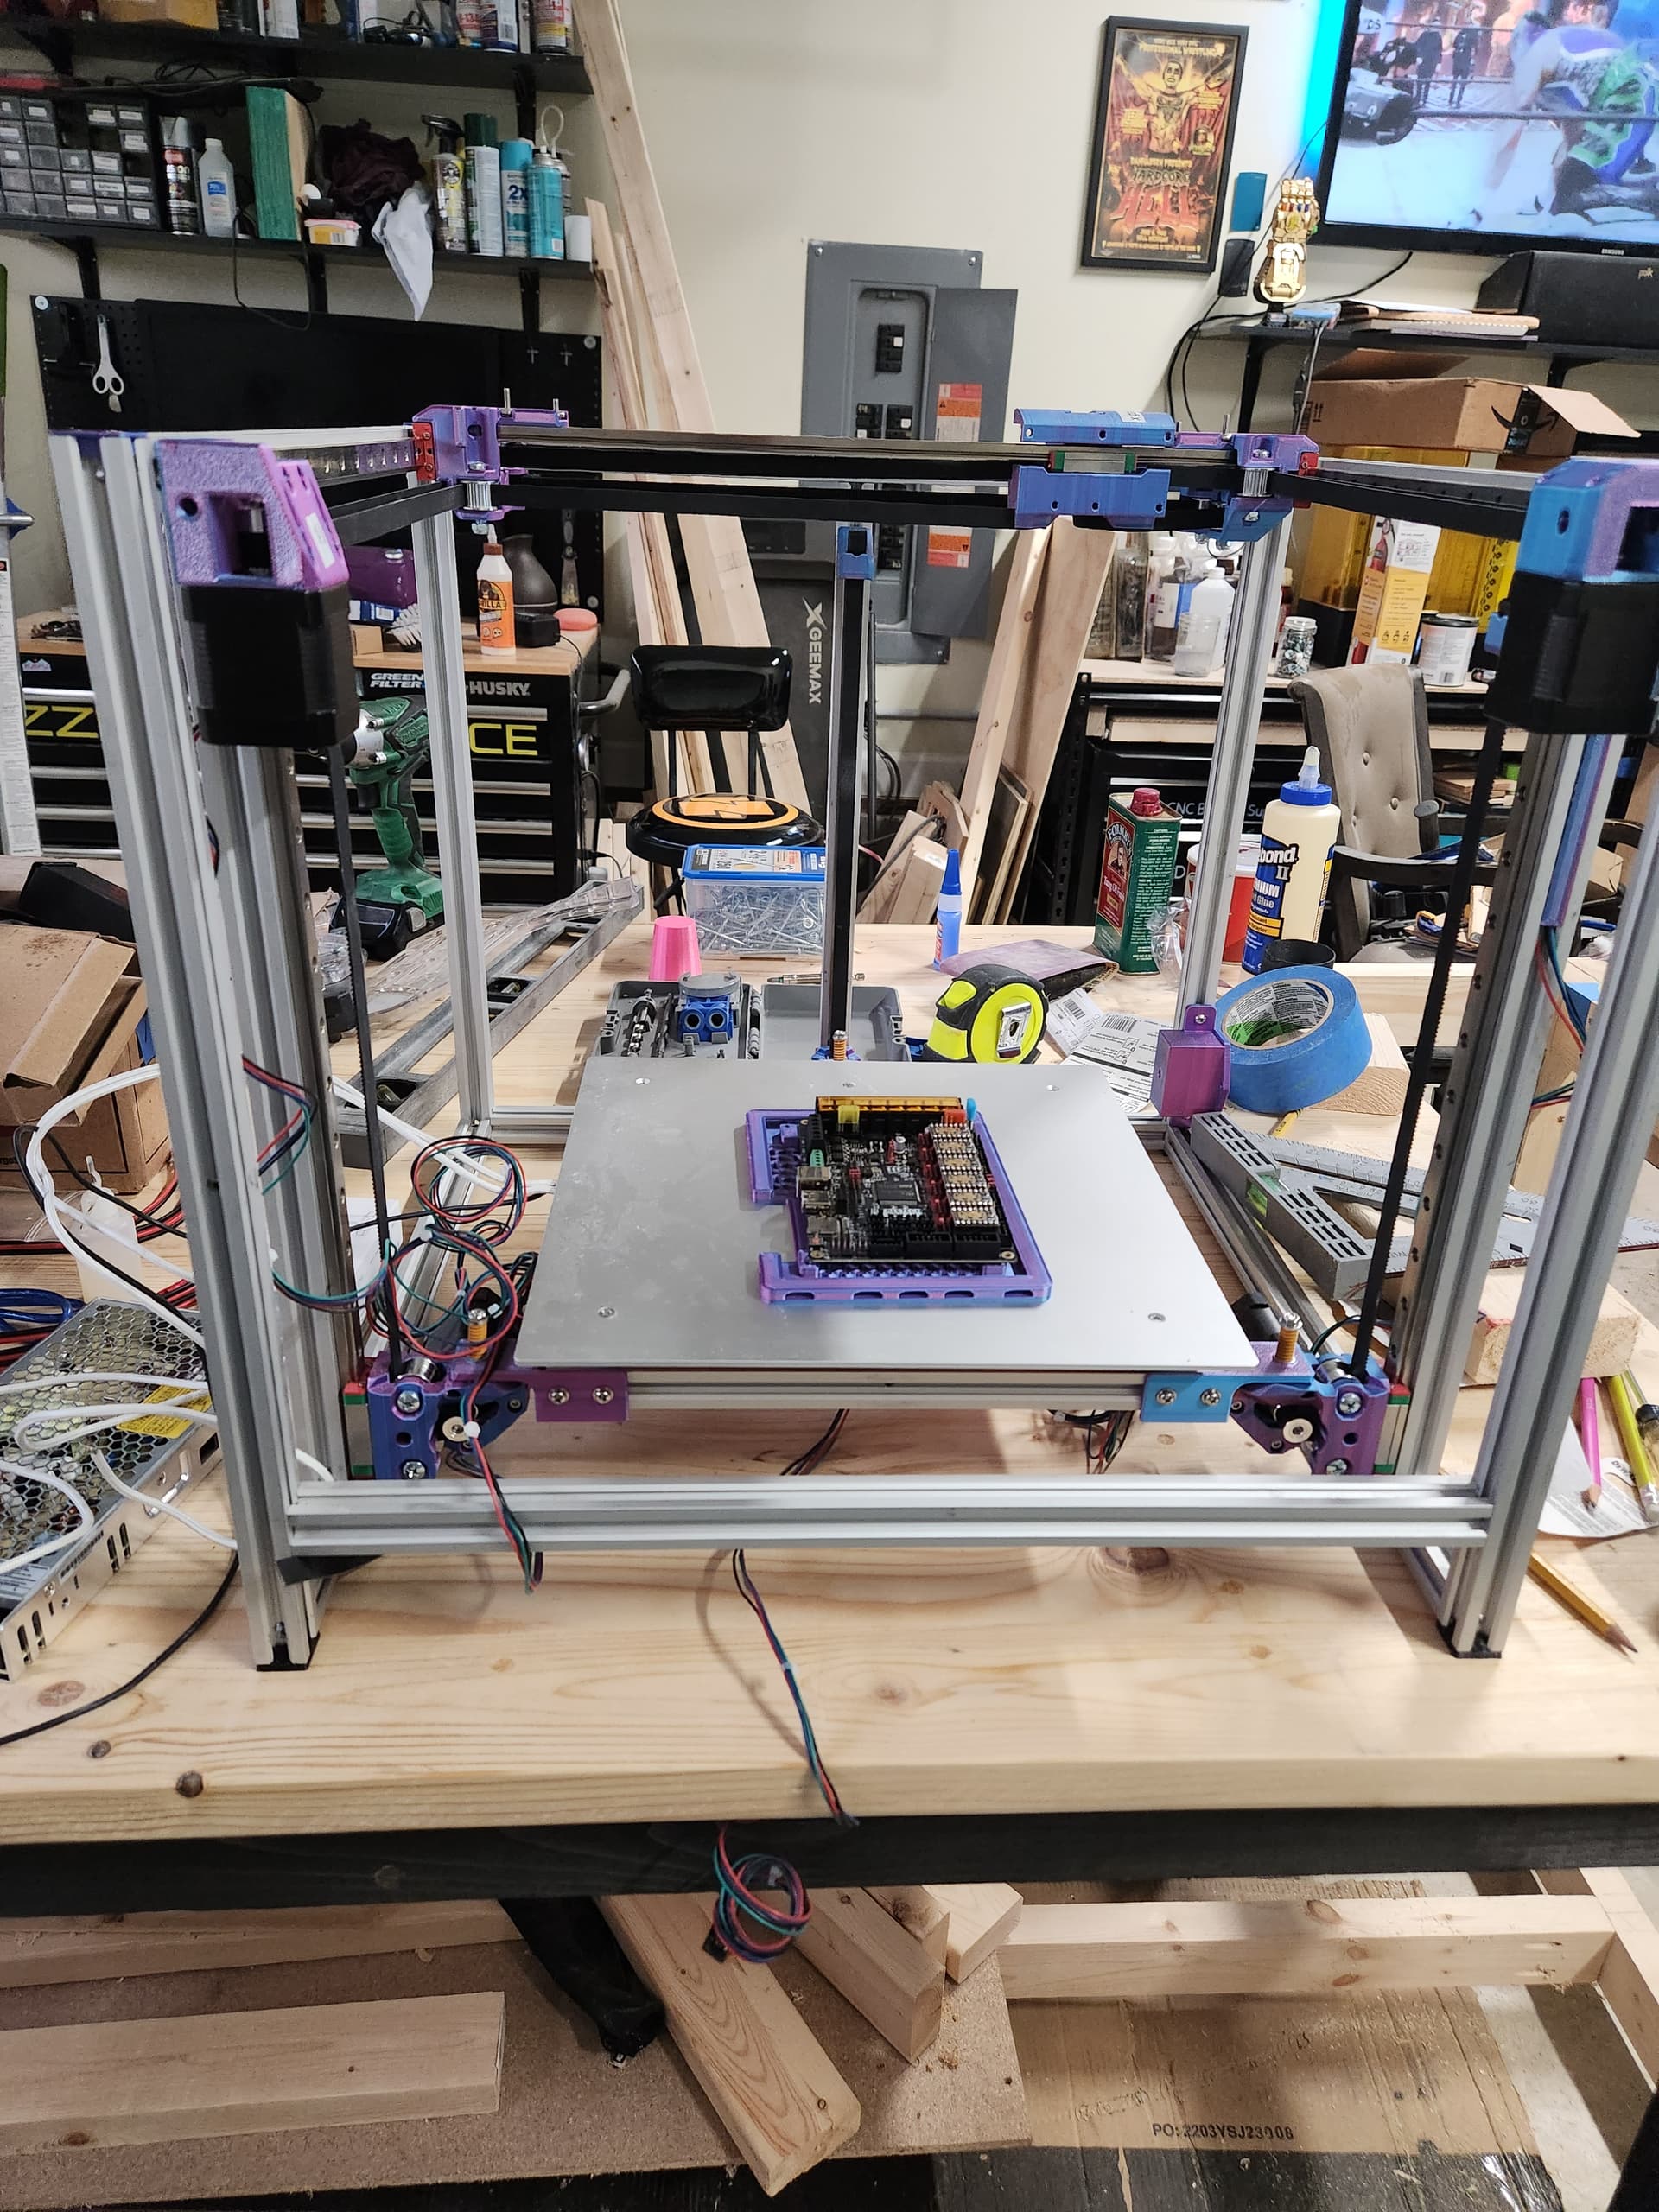
I’d actually printed the entire set a couple of months back, and between several different things going on I’d lost the excitement for it. Picked up this filament on sale and started getting ideas for what a finished machine would look like and here we are.
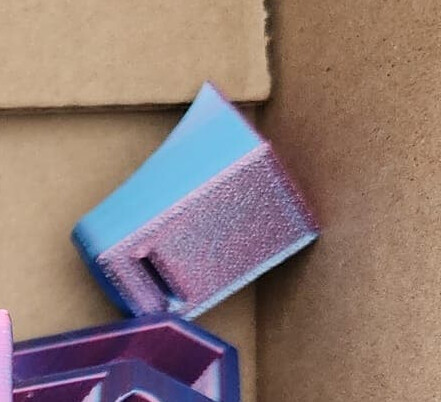
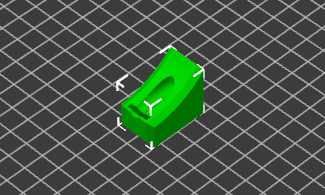
I originally printed Z Belt holders in the same orientation, but ran into issues during belt assembly.
Consider reprinting if you find the belt isn’t able to thread through easily and/or hold properly. Hope this helps…
Hey @Ryan, I vaguely recall you went to the trouble of intentionally saving out each MP3DP part to be correctly positioned and oriented for printing as part of the v4.1 release?
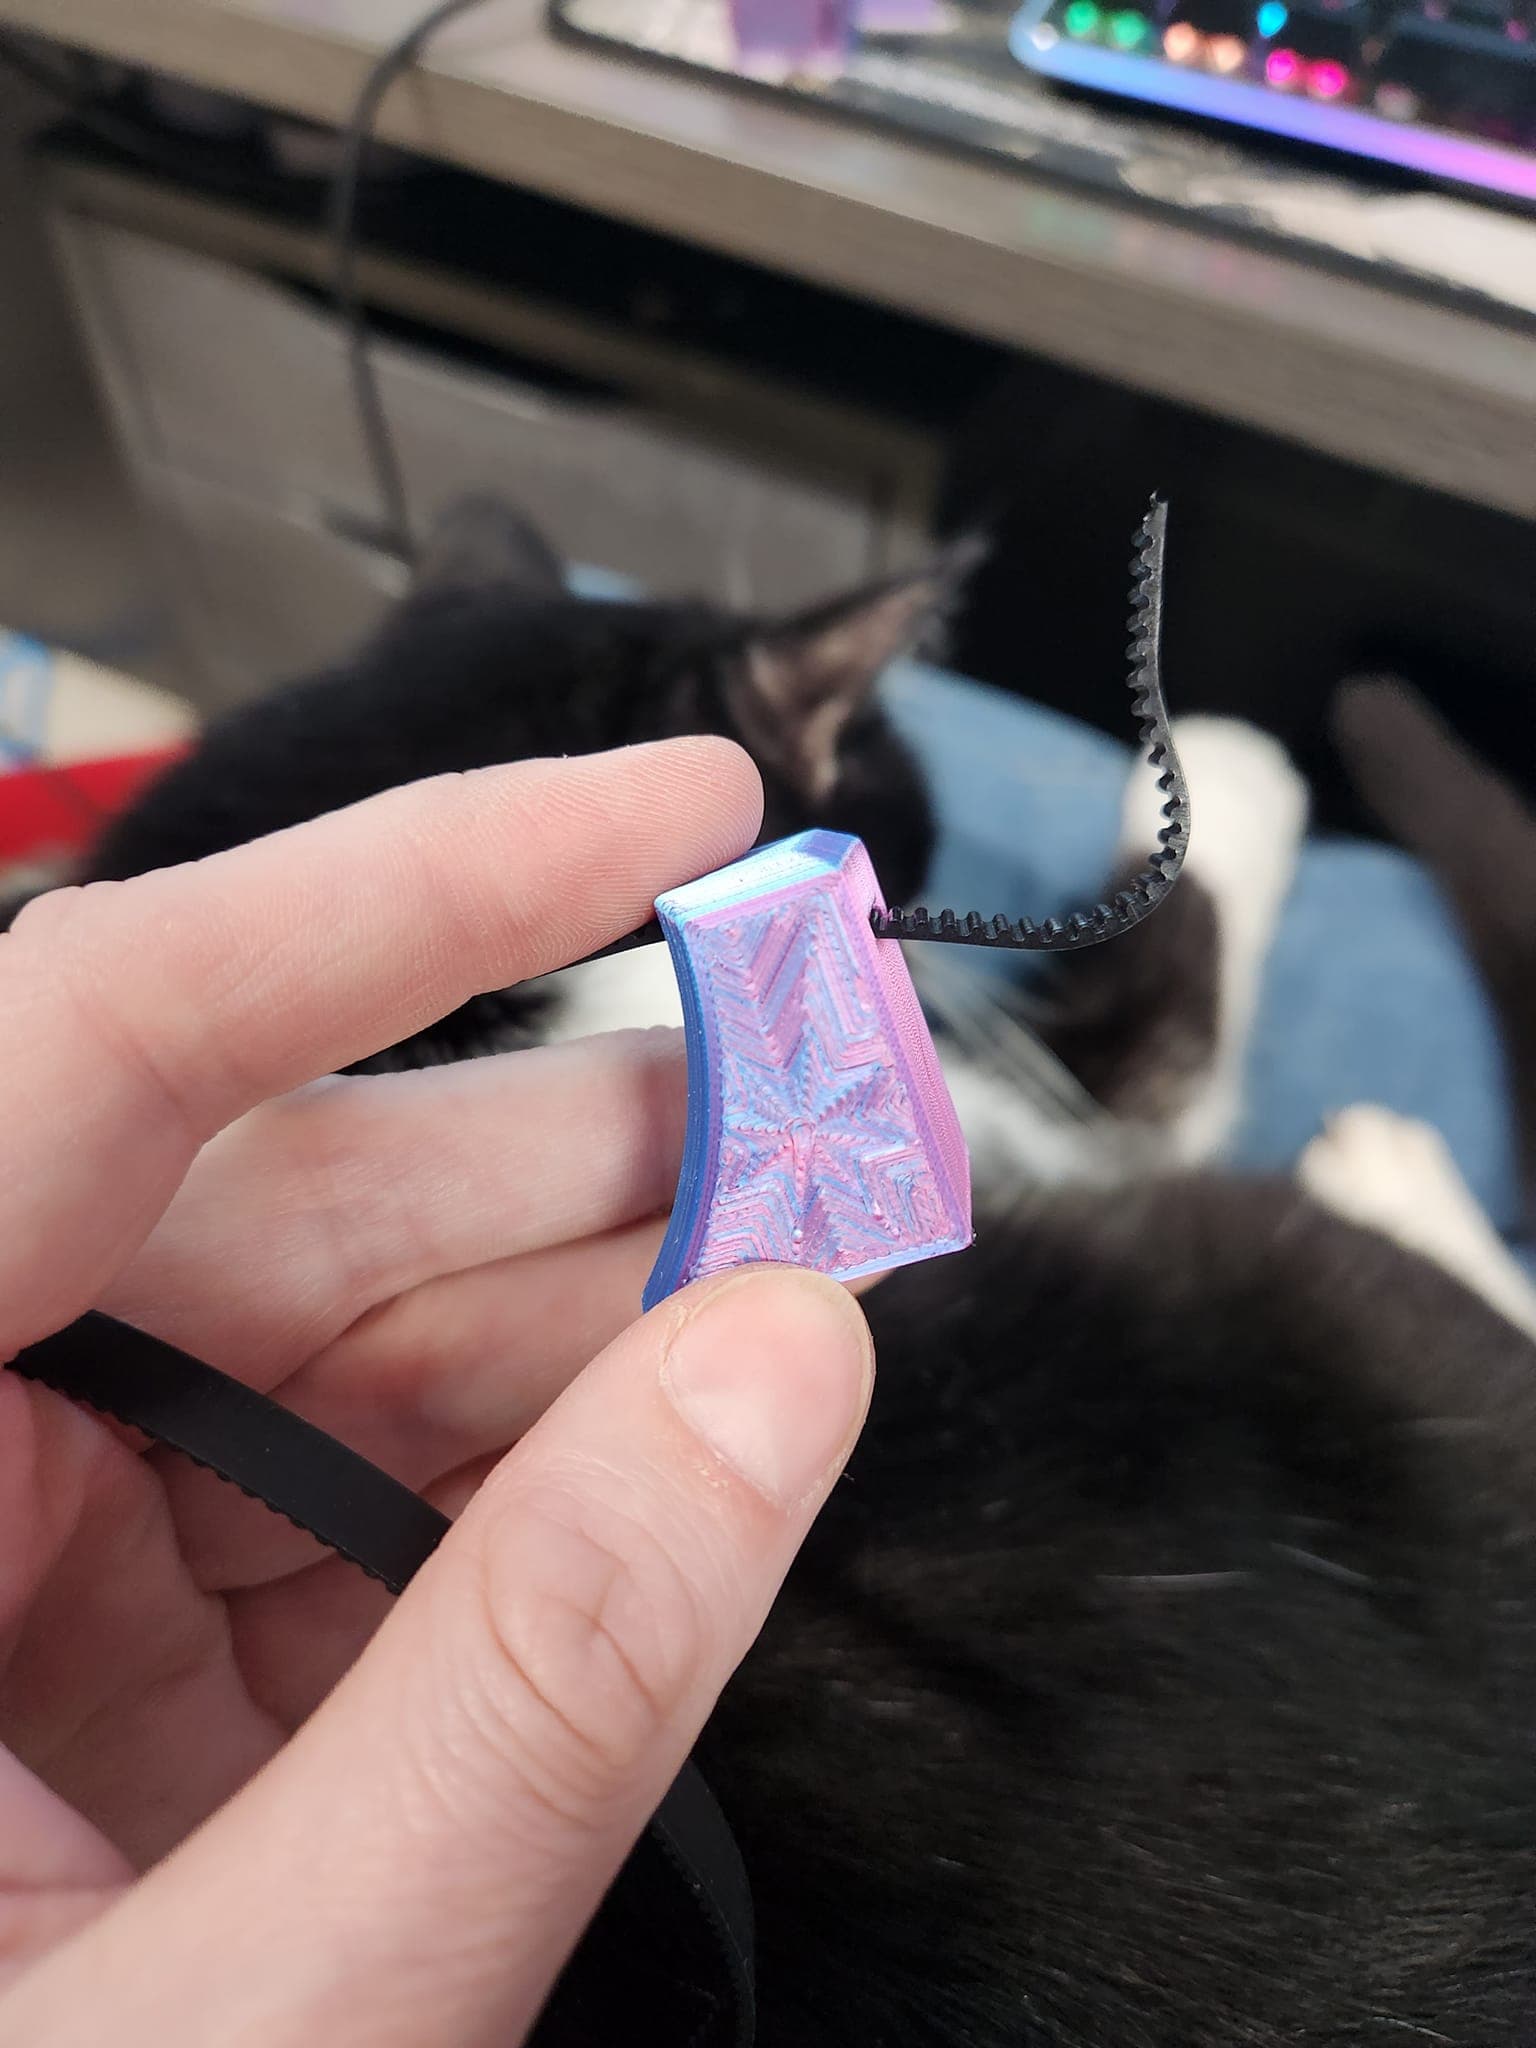
Massive difference in the ability to thread the belt through, but still not holding enough tension to keep it from slipping back through with any tension.
Suppose I could use a zip tie around the belt to prevent that?
edit
…or I could have noticed before posting that the belt I have on hand to test isn’t the same size as what’s coming for the MP3DP.
Hi, since you’re a step ahead of me and this is fresh enough, let me ask this:
Could share a list of hardware and quantities you used for assembling the frame? That stuff like t nuts, corner brackets etc.
I’m in a little Canadian town and access to this stuff is a hassle, for example: I needed a M5x45 screw and to wait 4 weeks to get half dozen .
We have the same problem with aluminium shavings getting everywhere at work. I have our chop-saw sitting in a taped-up cardboard box with flaps cut for feeding material in and an arm hole to work the saw. It’s pretty janky, but it keeps everything surprisingly well contained! Might help in future.
Cutting oil also helps keeping chips in place, even when cutting stuff by hand, but with the downside that you’ve then got a problem with oily chips
Edit: The colour on the printed parts looks awesome, too.
Personally struggled with this for my MP3DP v4. Have been trying to document/share part counts in my build not covered by MP3DP v4 - V1 Engineering Documentation , has been tricky to track. Partly because am not experienced, but mostly because everyone’s printer seems to be uniquely built. e.g. Most seem to be built with Corner brackets, some (like Triscious and Mike) built using Blind Joints, I personally tried both.
Already seen the Mp3dp v4 bom topic? That helped me piece together an initial order list when getting started.
Am at the point where am ordering bolts/nuts by the hundred(s), and using bunch of containers to organize stuff, am hoping to build more projects over time to get through bolts/nuts/hardware that doesn’t end up being a family heirloom.
I’m way behind where I thought and hoped that I’d be at this point. Way too much going on between work, kids, and study.
I’ll second what Aza said. Look for bulk packs of about 100 and use those. I’ve done that with M3 x8mm and x10mm sizes along with M3 t-slot nuts. If using blind joints, get an M5 tap and a pack of M5 x 8mm screws. Get an assortment of various M4 screws also, in the 20-40mm range for the bed assembly. Possibly some m3 heat-set inserts if you’re getting fancy. M3, M4, and M5 locknuts can’t hurt either.
I’m working on a Primo once I’m finally done with this. Between that and other projects the bulk packs will be used. If you don’t have projects in mind going forward I can understand the hesitation in buying a ton of screws that you may not need.