You should be able to get 300mm rails easily enough.
I usr 300mm for Y and Z and 350mm for X
Yes, provided that you can cut the steel that the rails are made of, you can cut them to length. You really should cut by 25mm increments (the holes are spaced 25mm apart) though you are by no means forced to. (I think the CAD expects it, so it might break in interesting ways if you try a different increment.)
In my plog, I listed the plastic pieces I printed. It basically comes to 1 each of the parts, with the following exceptions:
2 each of the Z motor mounts (plus the 1 mirrored Z motor mount)
2 each of the tension blocks
6 each of the Z belt holders.
I printed 2 of the rail alignment part which makes it a bit easier, but wasn’t necessary.
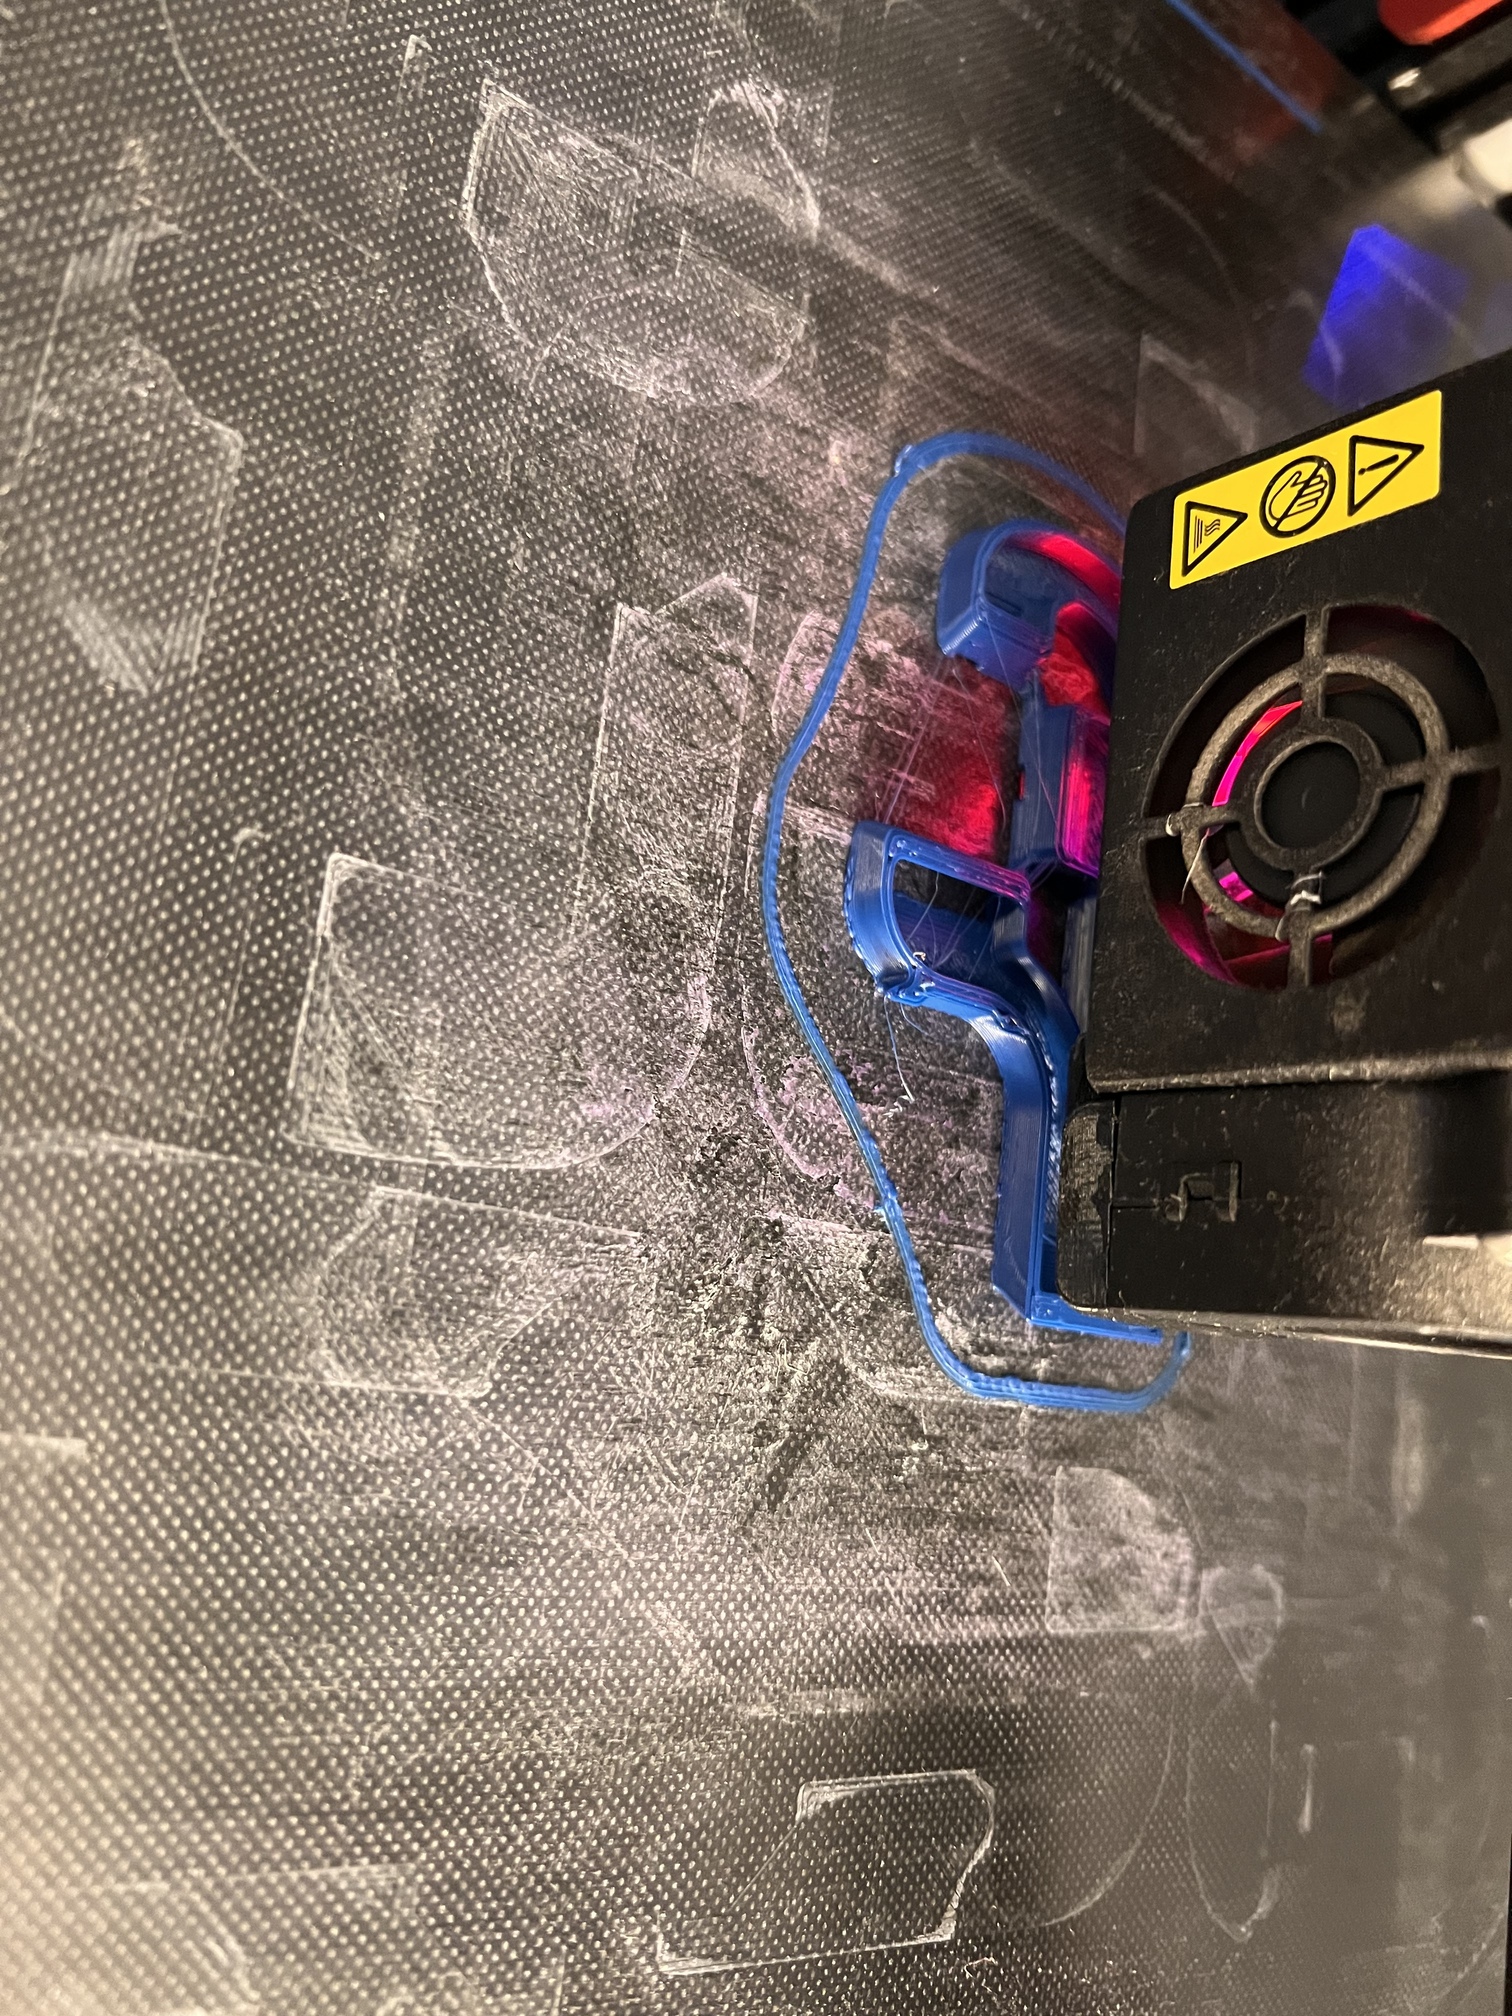
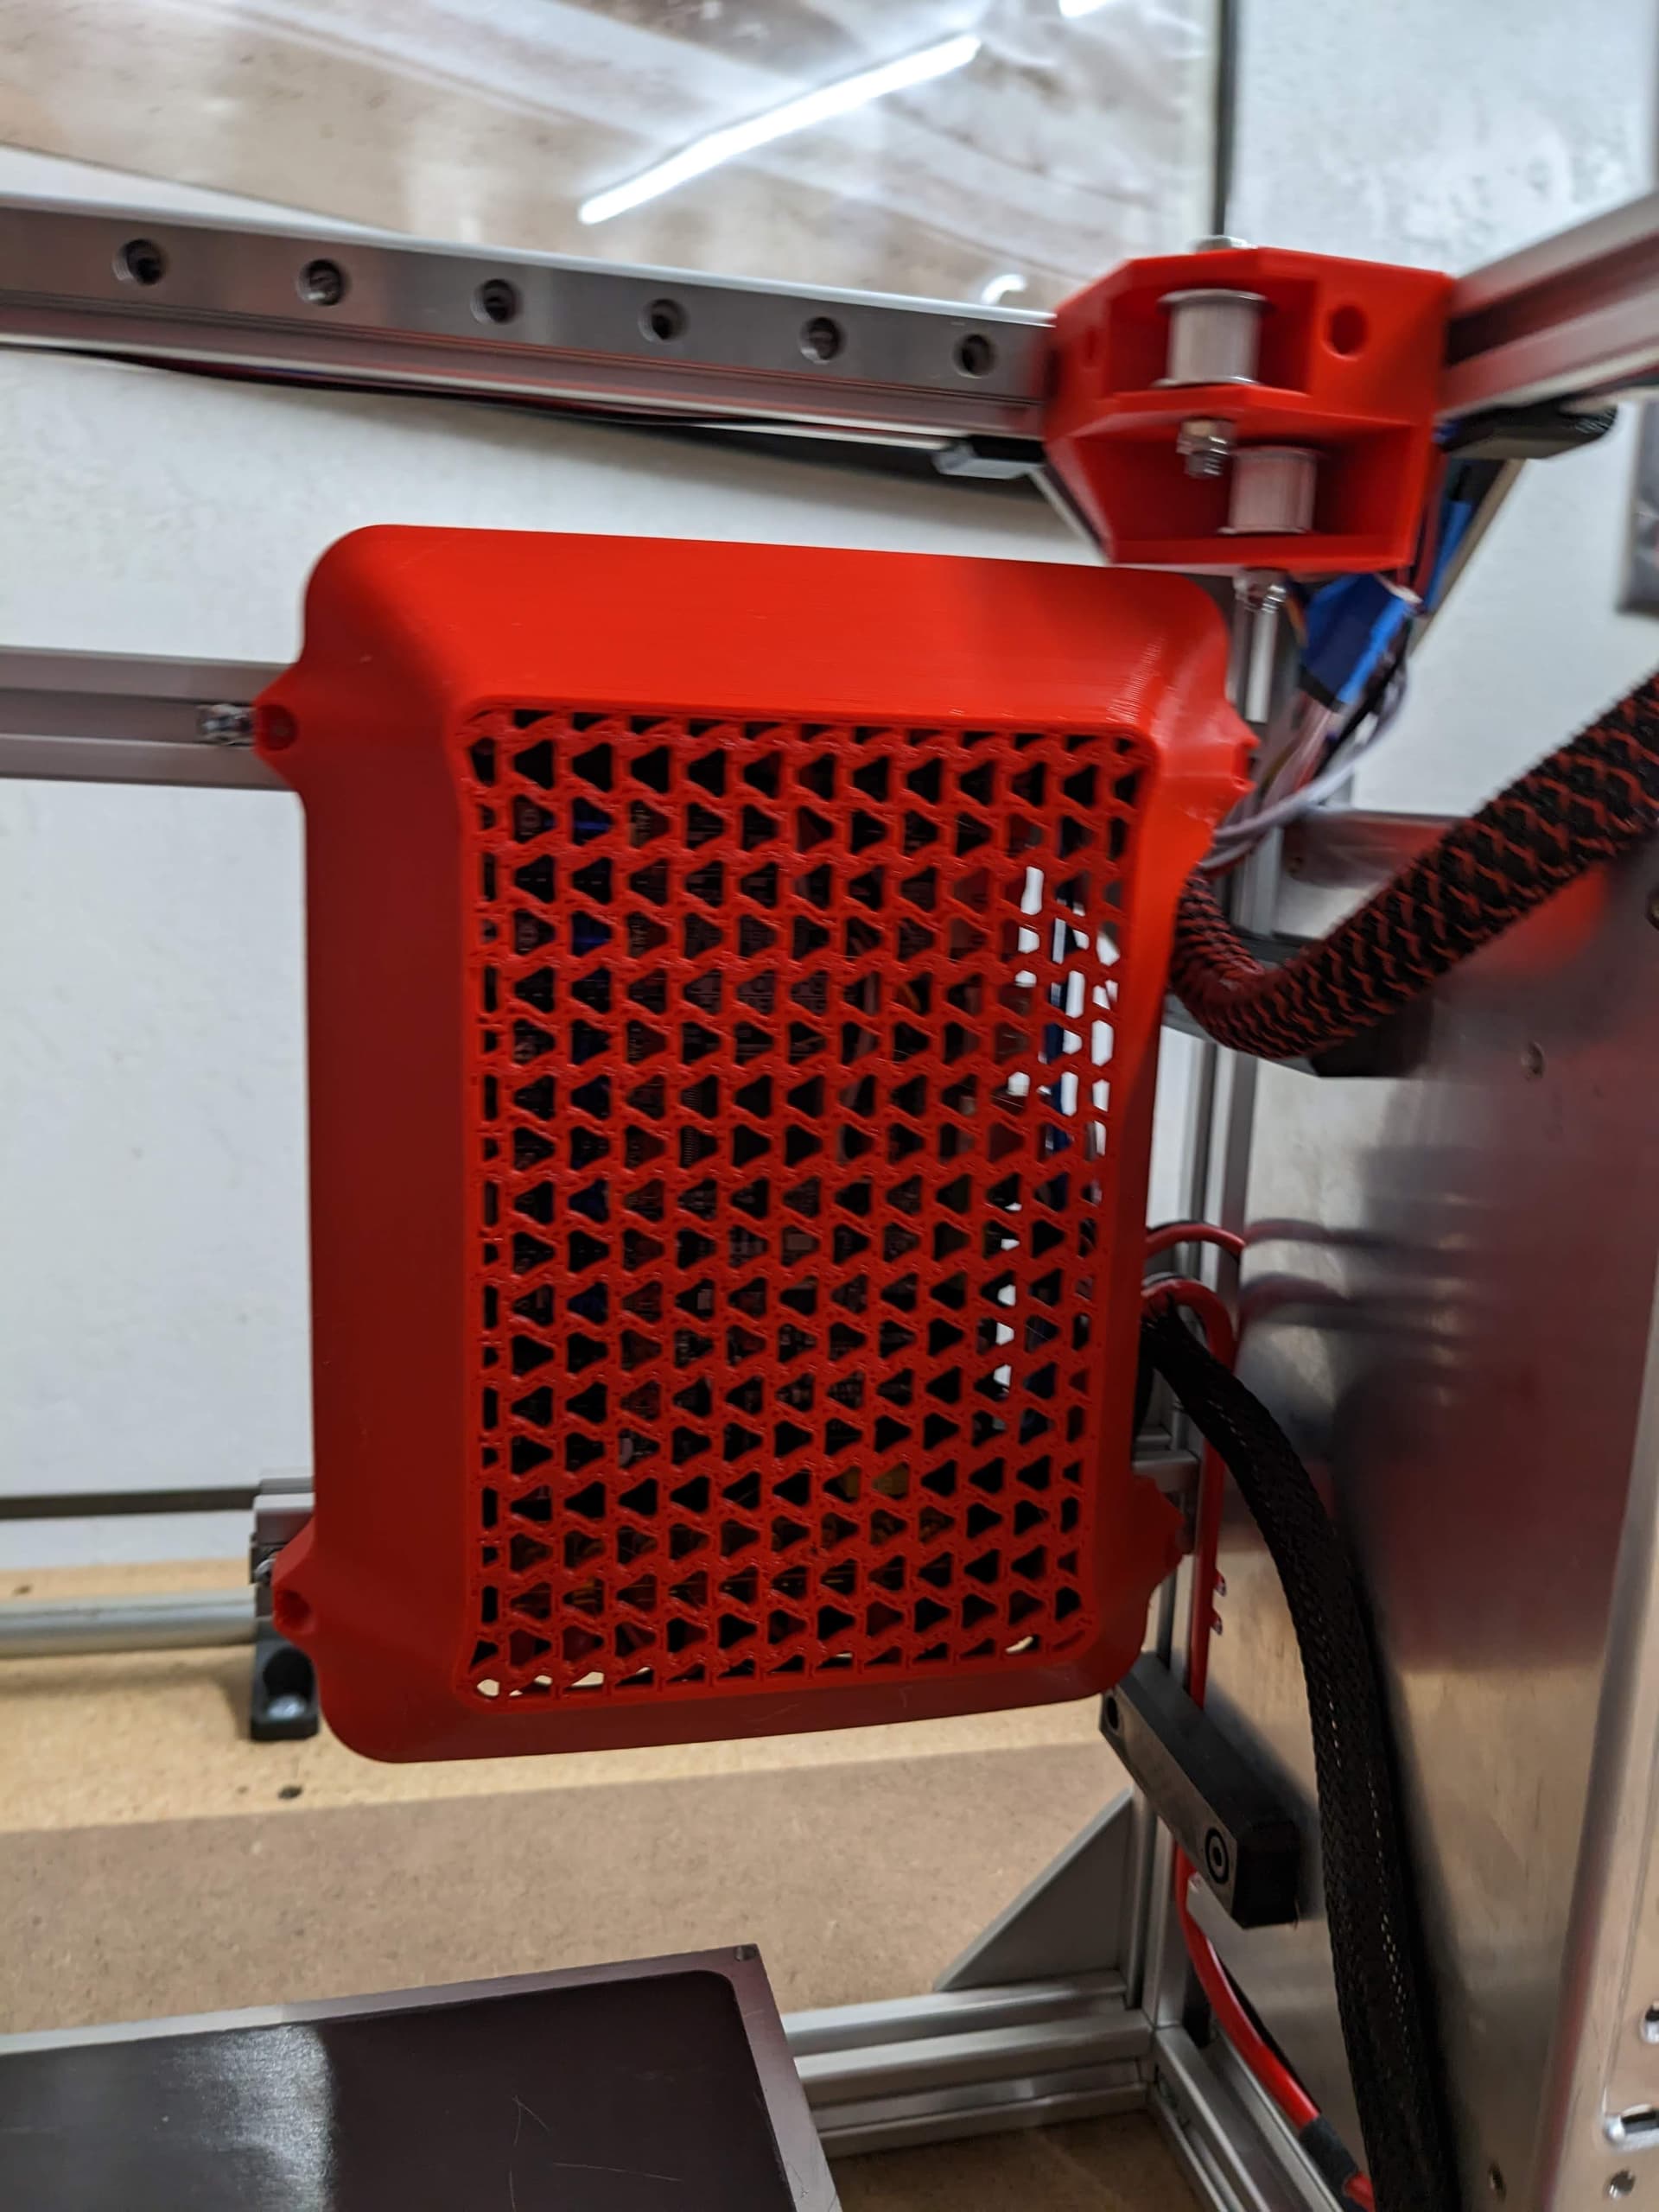
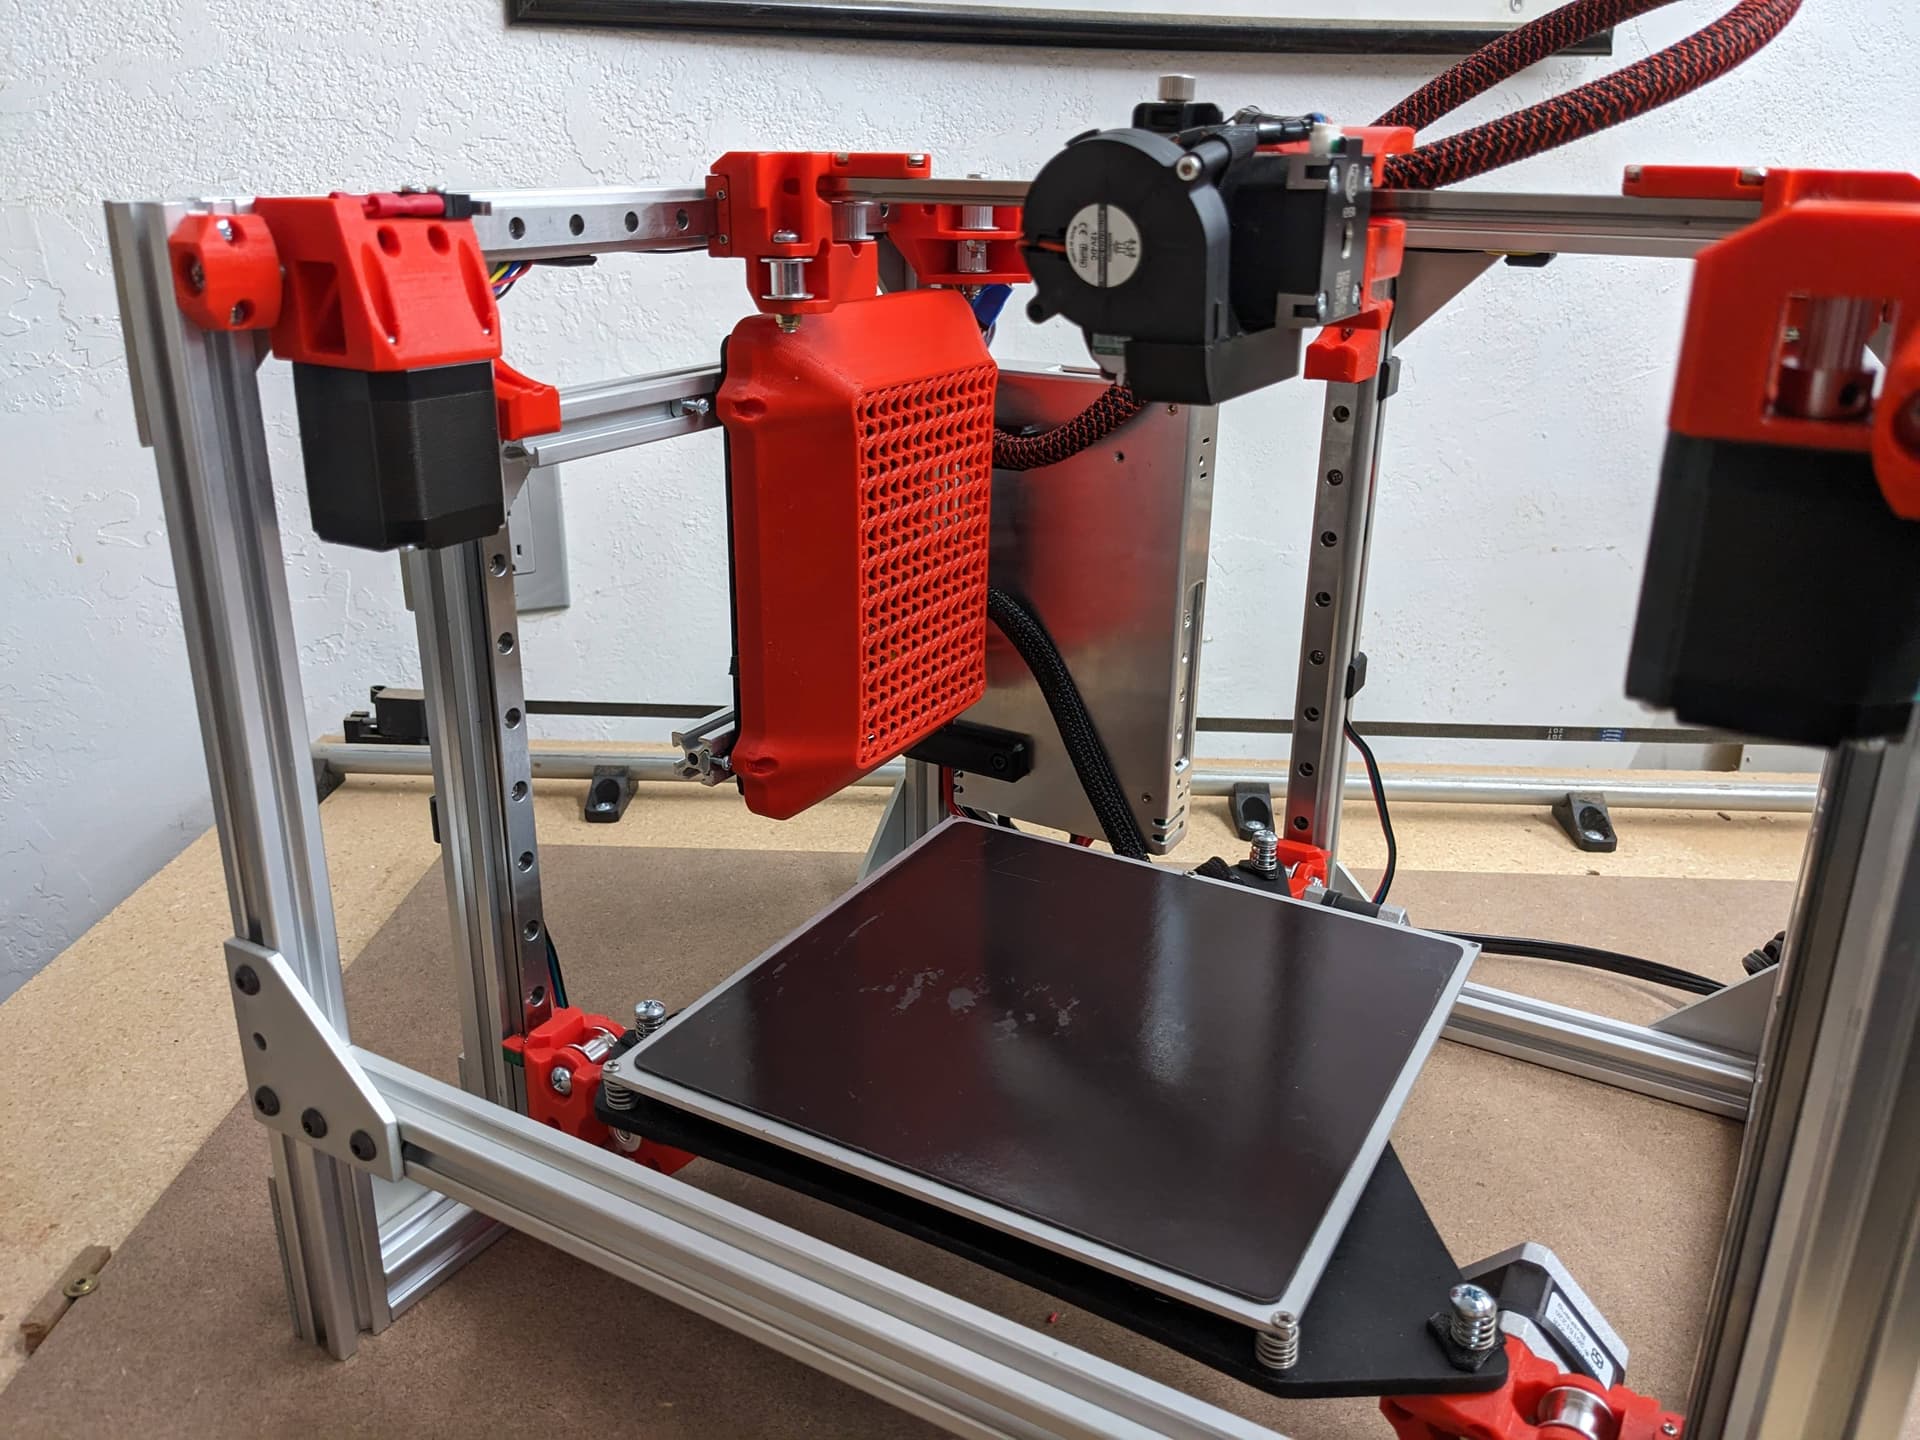
I am still working on the 4.1 parts. I printed out a new fan shroud, I need to test it tomorrow. So I am not super interested in making lists and changing them, I really am focused on getting the updated build done. The CAD is updating though so you can see what I am doing and the new parts I have been dropping in to wire management and things. I will try to get a hardware list of some sort up, but it will vary with build size so that will not be easy.
Dang it. So I got to download the cad again and print more. Lol I’m just messing with you. Glad I got delayed a little. The fan shroud and bl touch mount were 2 things I still needed to print
I just screwed it in place. The new one seems to move a bit more air. I doubled the outlet size to reduce pressure (same size as the fan port), made the body volume larger, and cut off some excess that was not needed.
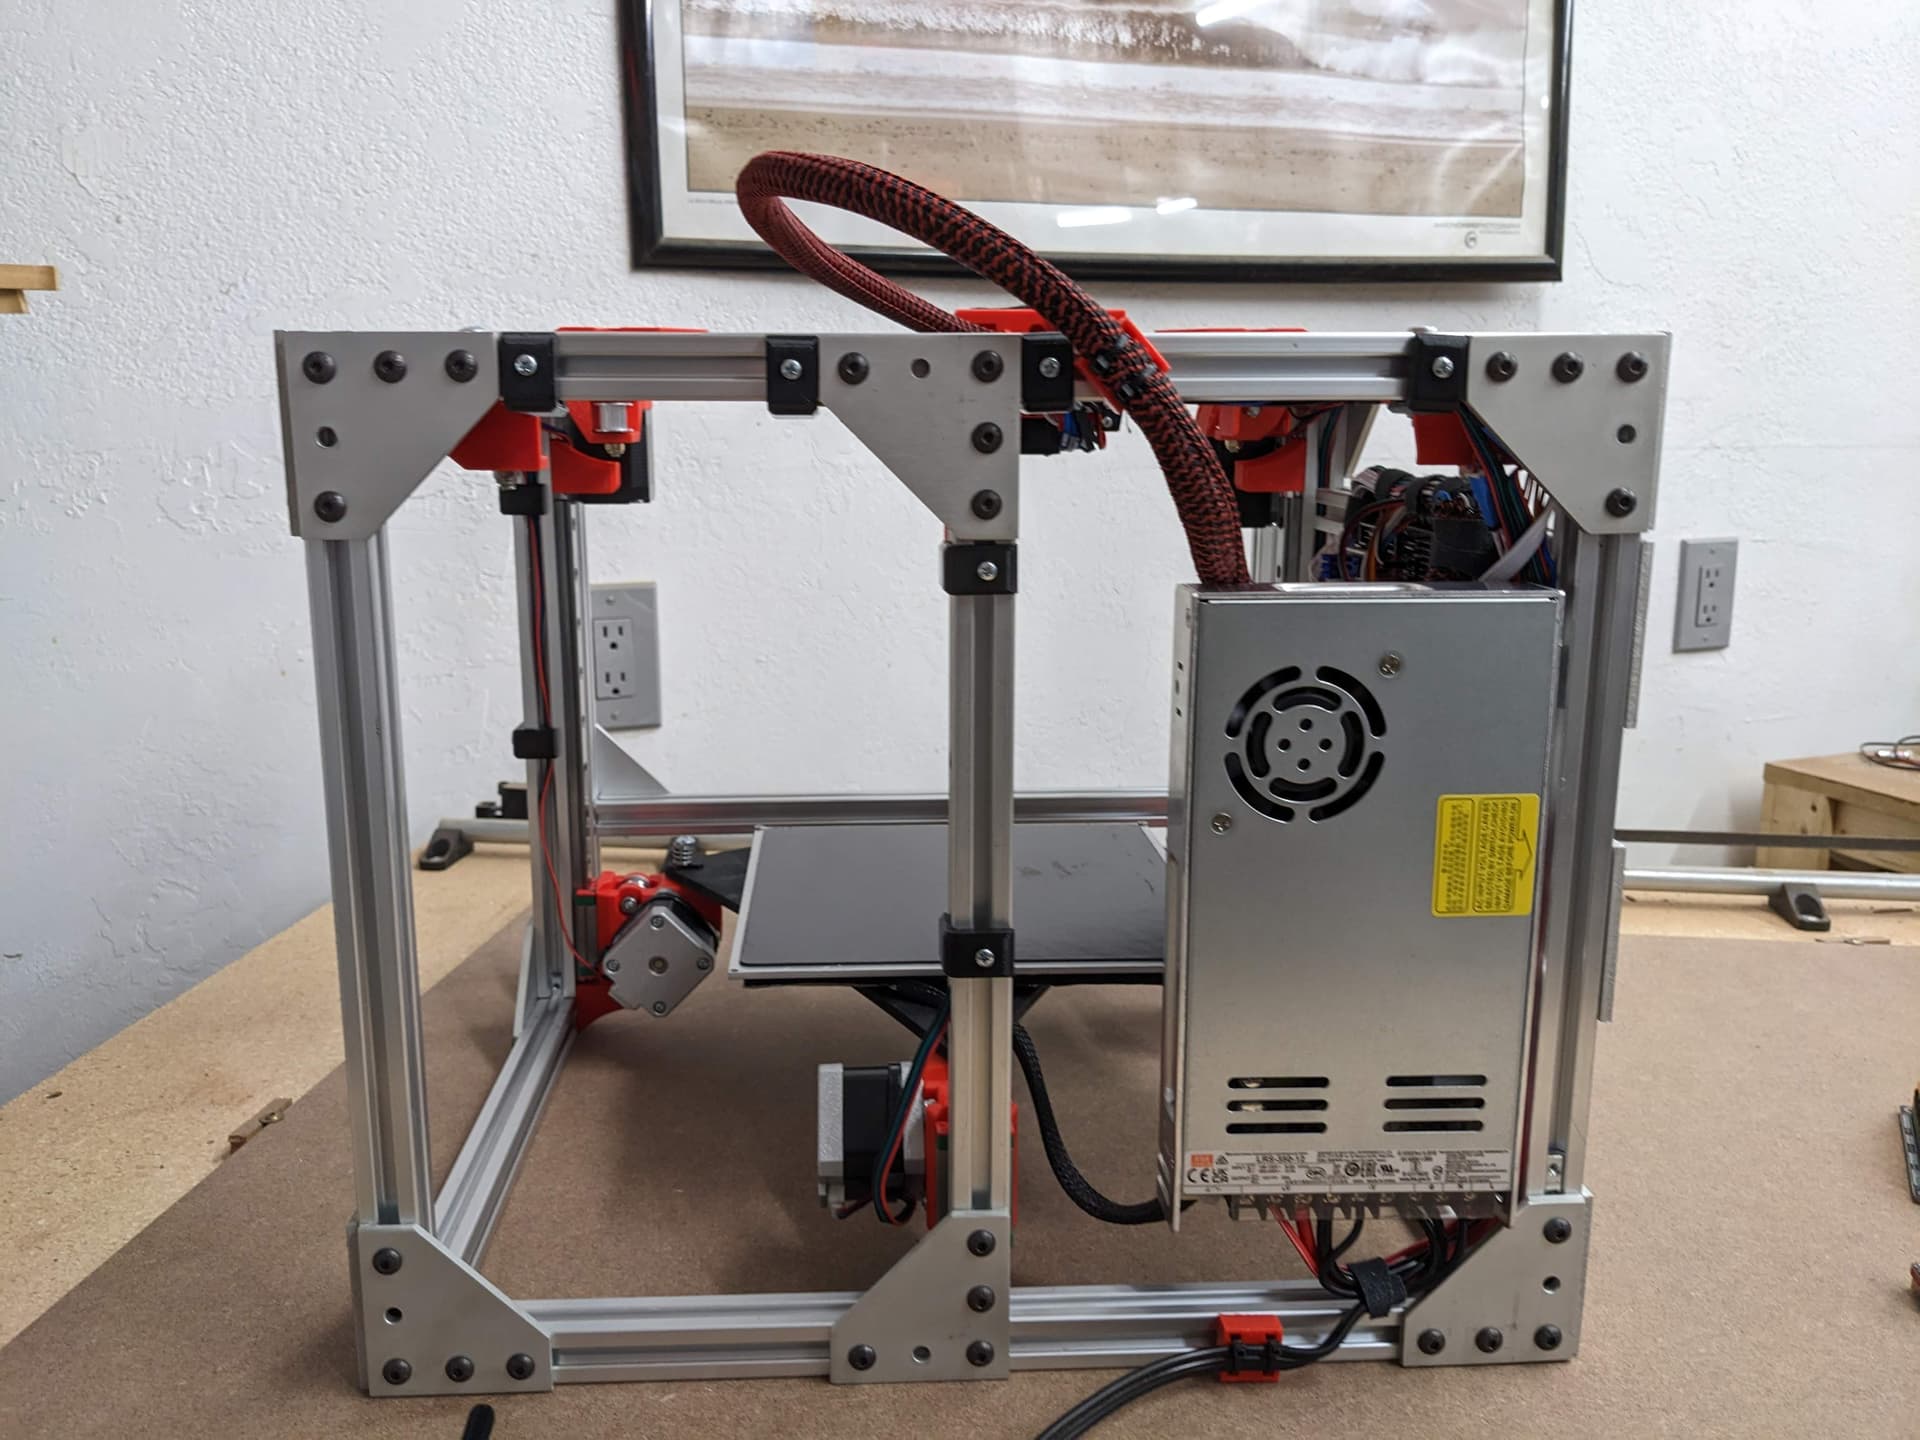
Will give it a go on the printer in the morning for sure. I did print the meanwell power supply mount tonight just to see how that would turn out. Looks great. Do you happen to have any pics of where you envision the new wire hangers coming into play? I see them on the cad but they are just floating out in mid air. You may have them placed on the new update and I just haven’t seen it yet.
8020? I thought it was all 2020. Dang it did I miss something else? Lol. I really need to pay more attention before I just blast an order. Turns out I waited 2 days for t nuts and didn’t ever pay attention that I didn’t have anything but m5x30 screws. oh well I have 2 weeks to figure out what else I’m missing and get it here before I get back to finish building it lol