Does my belt look wobbly to you? This normal?

Does my belt look wobbly to you? This normal?
Mine move around like that on the V4 some. Less on the V5
Hard to tell, but it looks to me like your belts are walking on/off the flanges in the idlers.
Do you have funky artifacts in your prints?
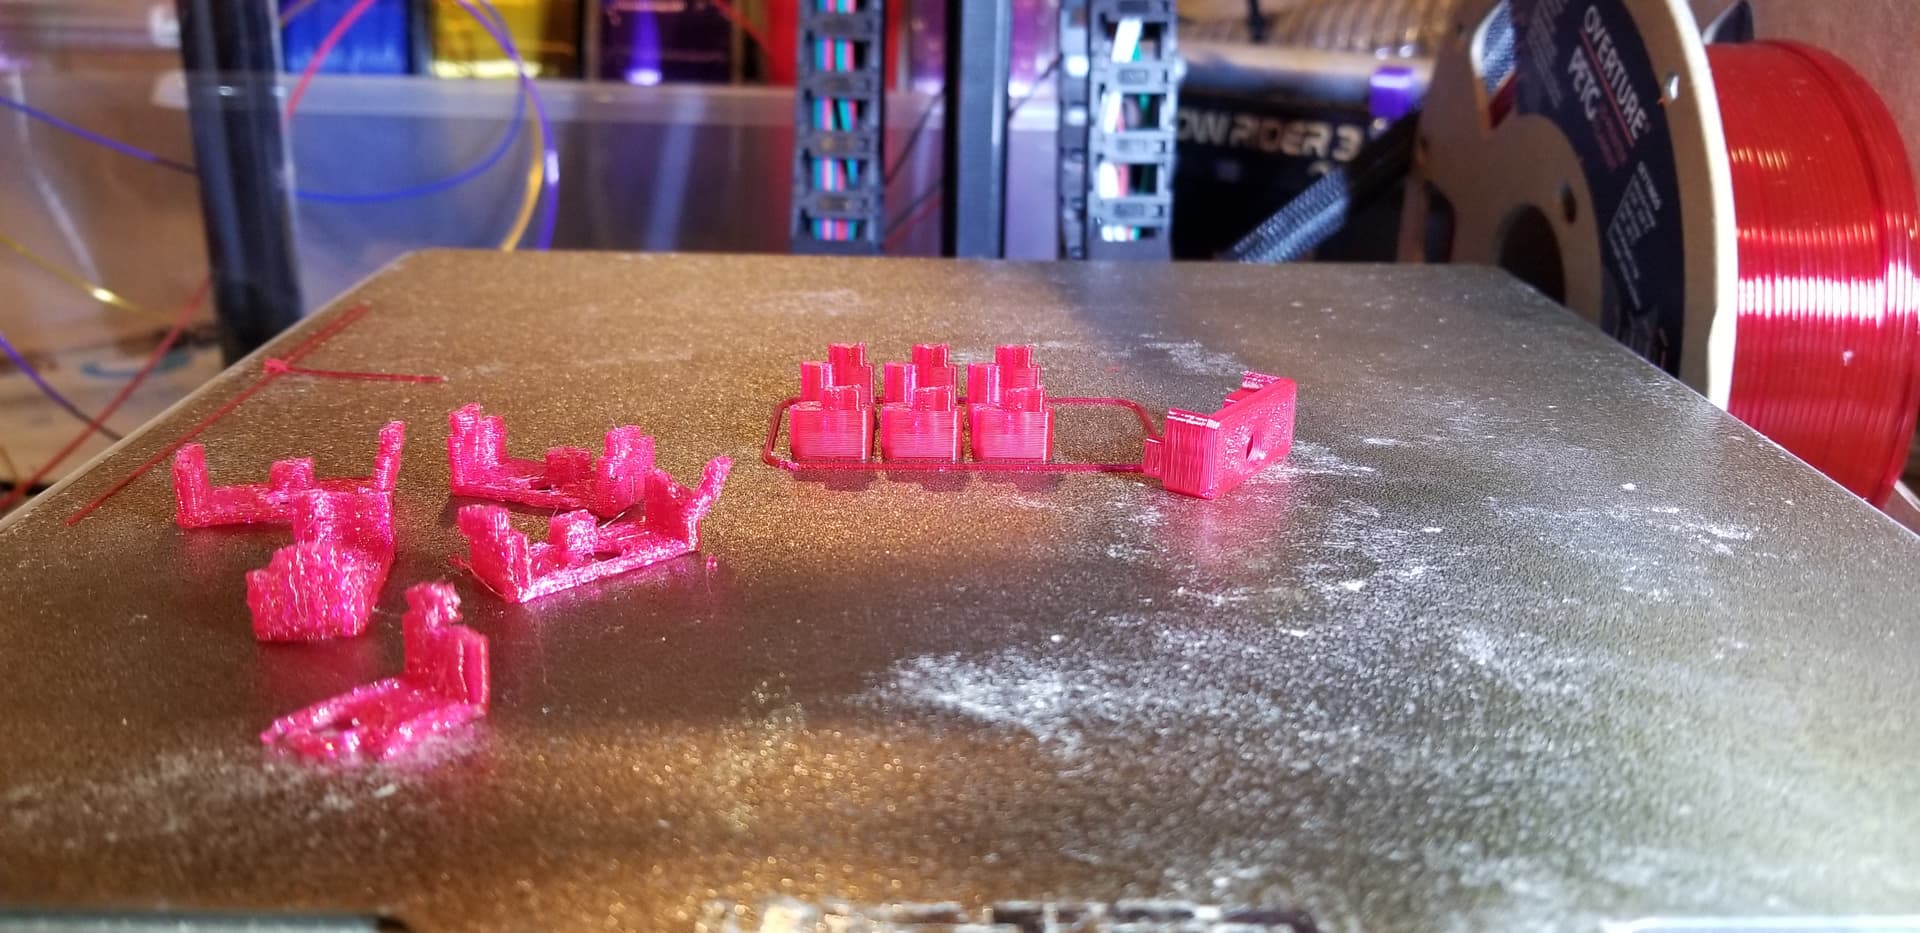
Nothing funky, but the prints are probably too small to see resonance artifacts. Currently replacing the poorly printed SnakeOil based rear panel clips that broke traveling to/from RMRRF.
Will keep an eye out for funky artifacts on larger prints. My belts have never been this loose before, maybe that’s a factor. Will see if/how the relative belt slackness translates to artifacts and/or more rounded corners than expected.

Cheers!
Being too loose can have them moving around like that as well. You can use a tuning app on your phone and try to get them around 95hz I believe Ryan does. That might take some or all of that wobble you see out of it.
Looking again at the slow motion, is there debris in the pulley?
That Might also be a factor in the belt dance.
I don’t see it walking onto the flange- but they are walking around. Can you get them jumping a tooth if theyre too loose?
Good idea, I’ll clean stuff up!
There’s a very noticeable noise/impact if I force the belt to jump by hand. Thinking something else is going on, will keep an eye on it…
It looks almost as if there is radial friction, like if the belt teeth are slightly gripped by the pulley teeth, pulling them toward the pulley when the belt leaves the pulley, and pushing away slightly when the belt enters the pulley.
Maybe some graphite lubricant might help? Although if belt tension is high enough I would think it shouldn’t matter.
Cheers! Neat observation about belt being pulled in by pulley teeth. Will try silicone/ptfe lubricant before changing tension, my internet plagiarizing GPT AI overlord used fear of rubber deterioration to steer me from graphite.
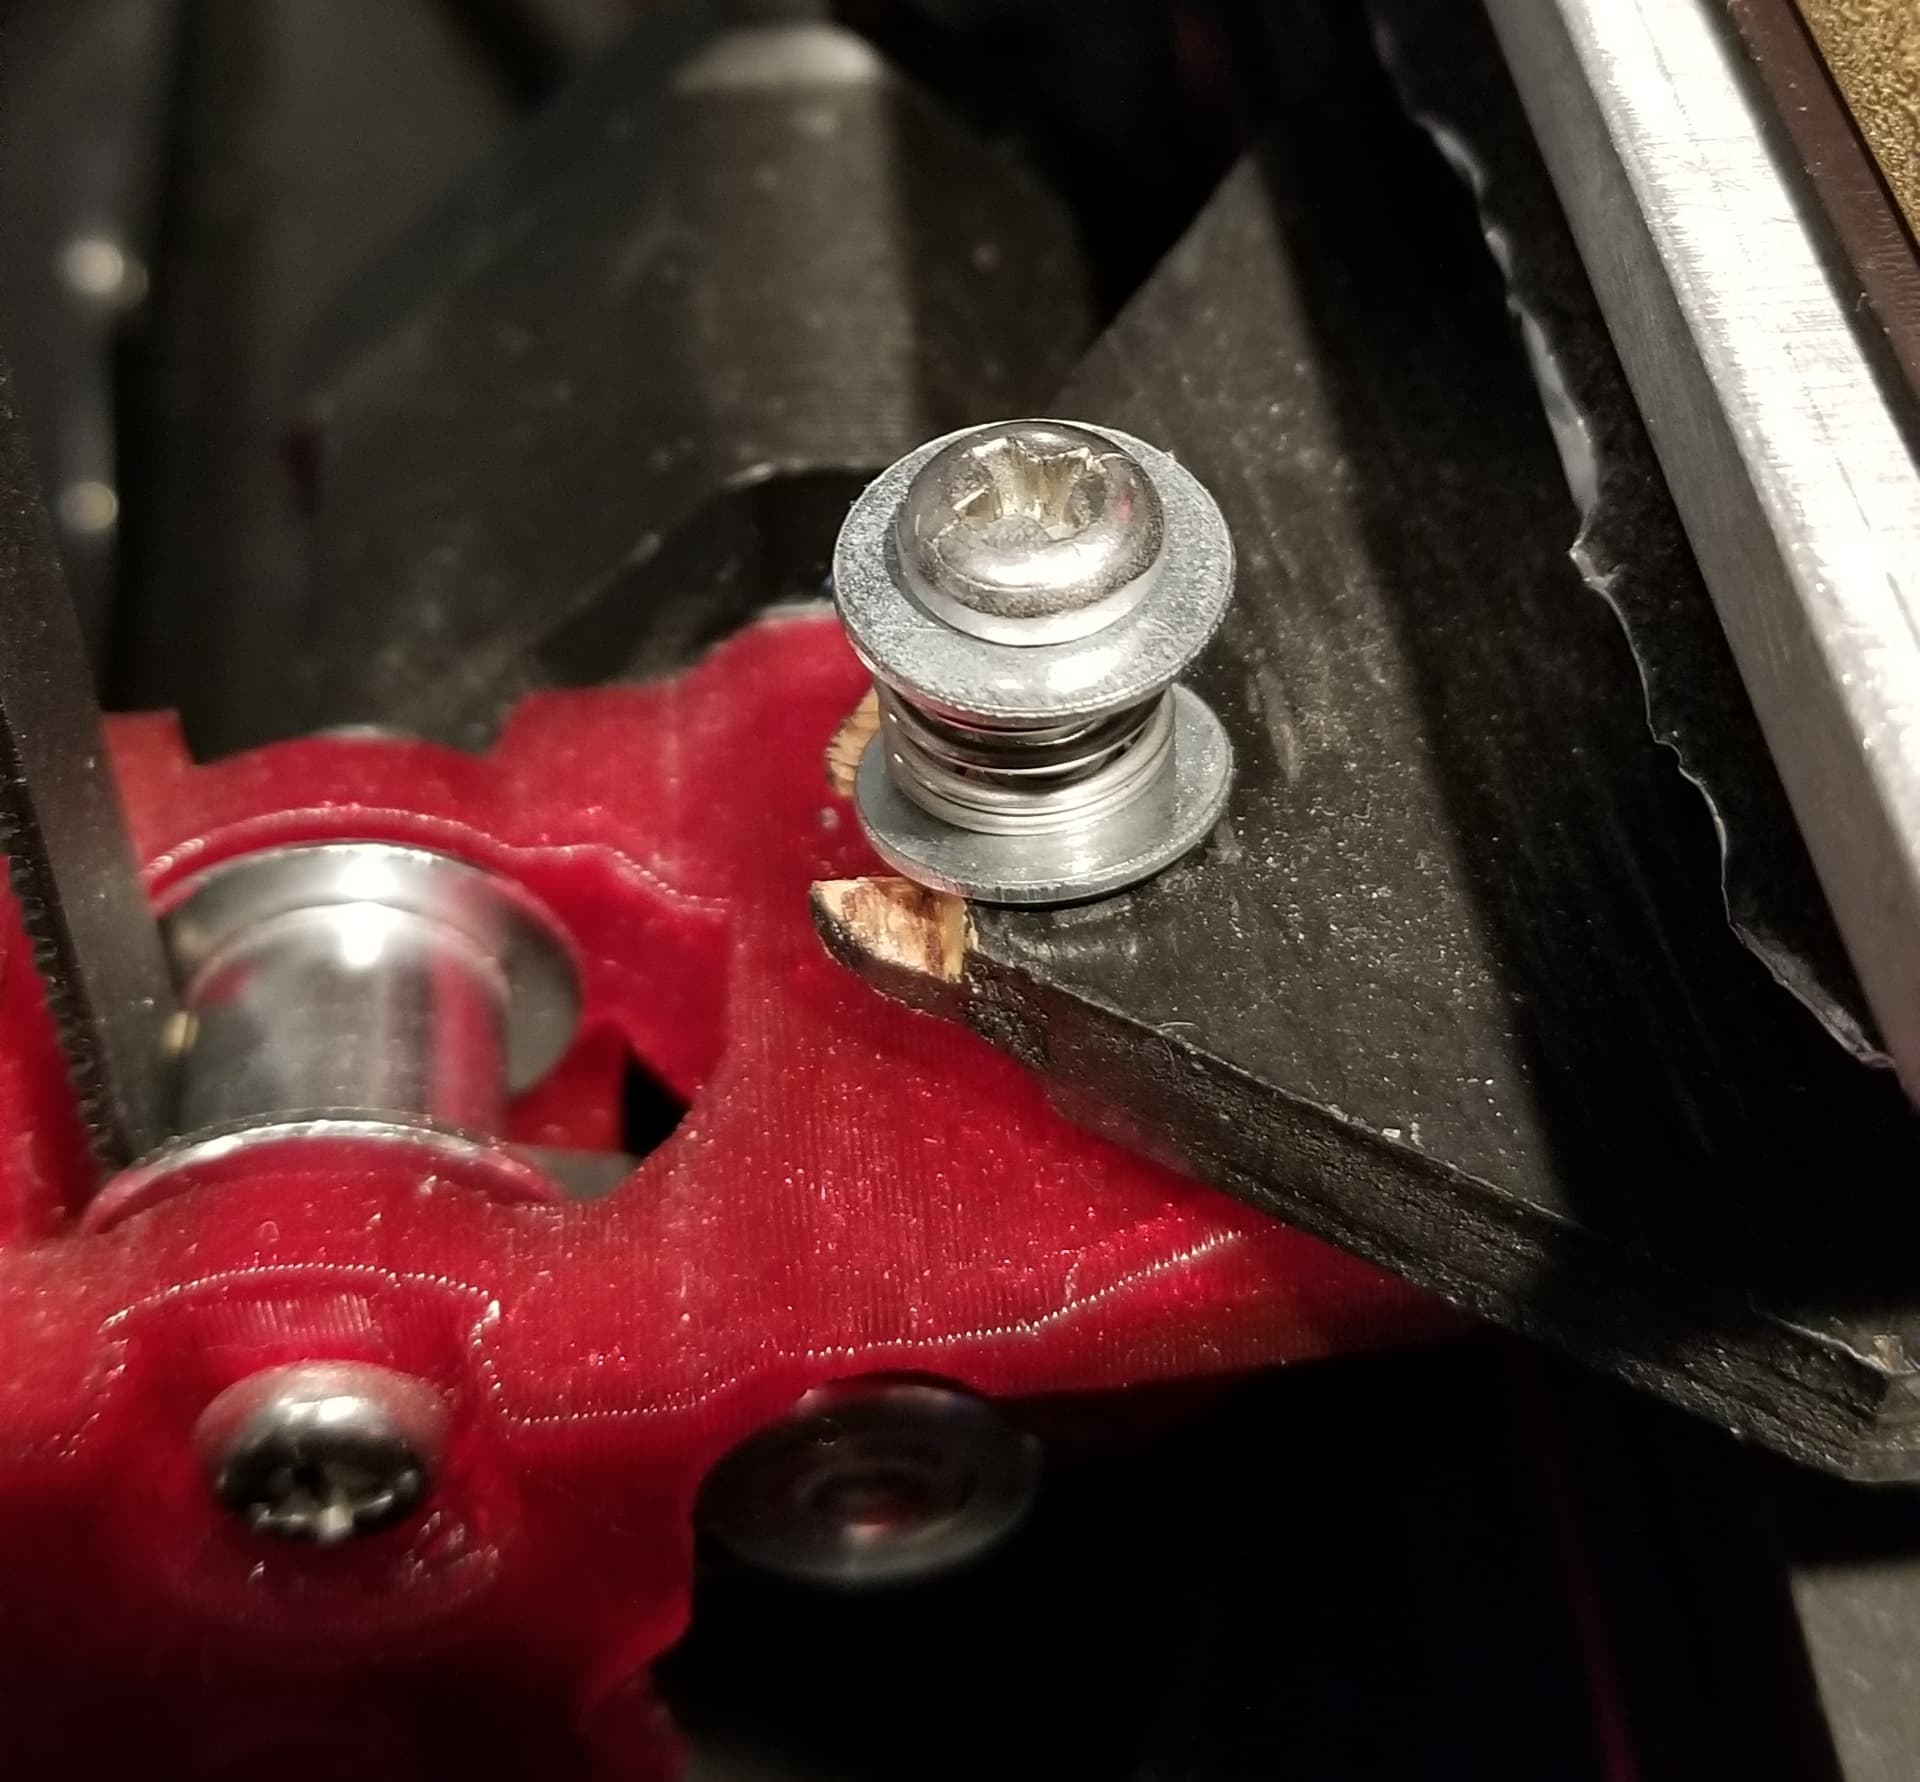
Anyone using something other than Threadlocker 243 (not that 242 weaksauce) to help ensure their T-nuts stay snugged up? But are still removable without blowtorch or angle grinder. So, that rules out white threadlocker ![]()
Personally like seated T-nuts, they’re easy to find. But best practices on reliable snugging isn’t something I’m clear on?
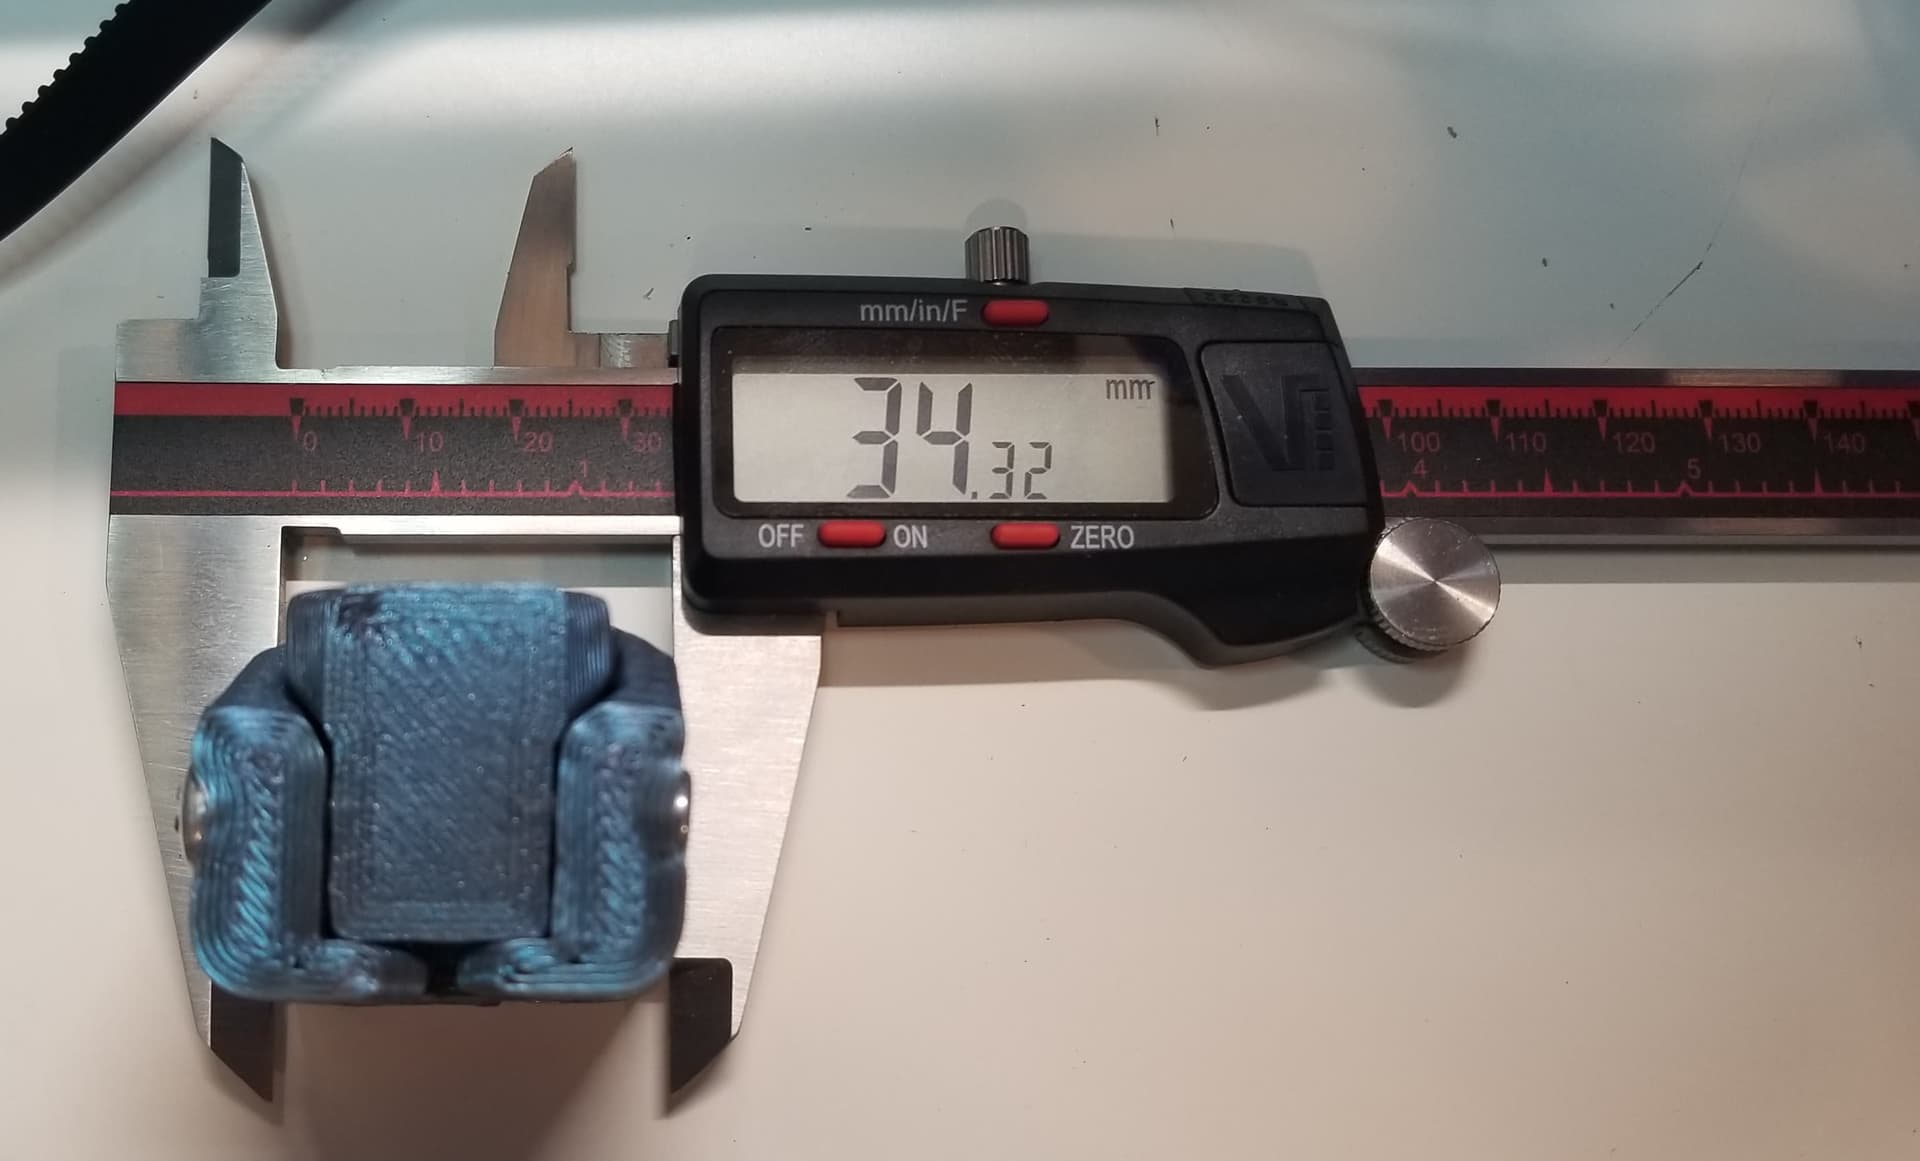
Am checking/tuning dimension and flow settings…
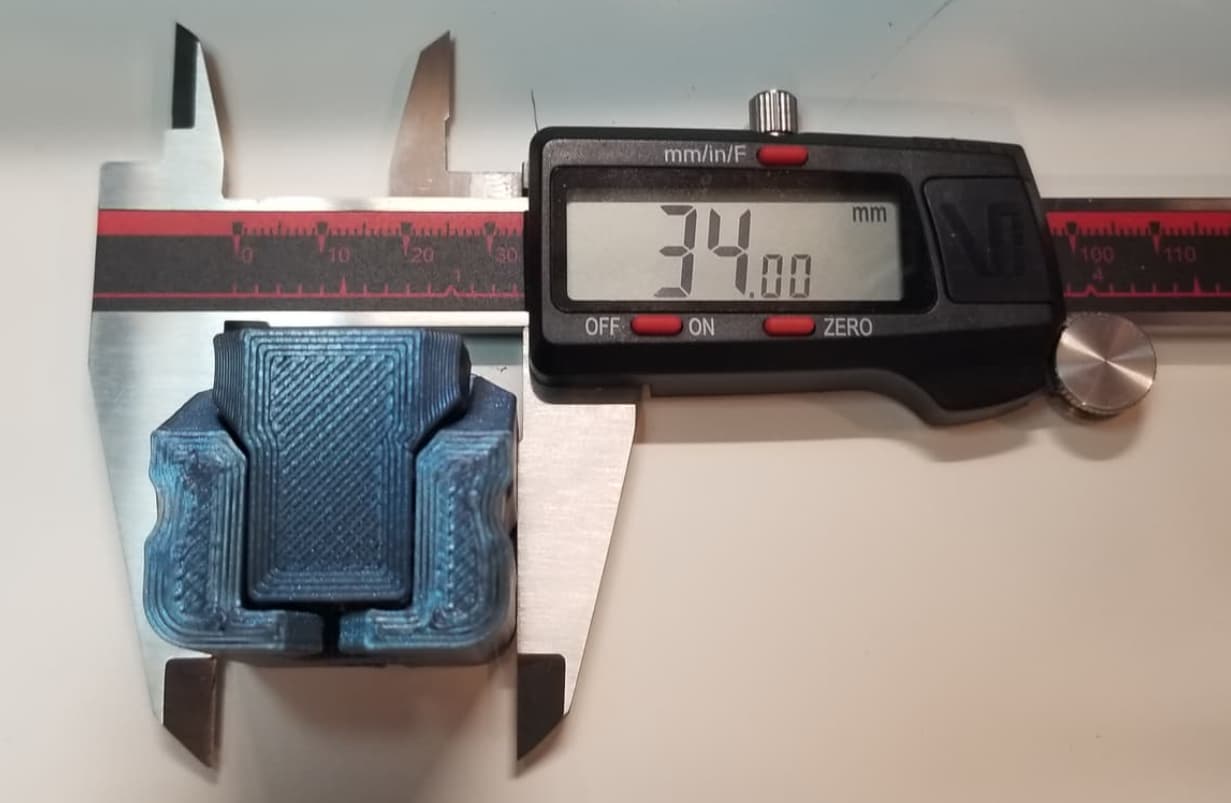
Spending some time tuning that’s over due. Left part was from my v4, scars are from me trying to smoosh two parts together. Right part just came off my Ender 3 max, they fit and looks much better, but then the Ender’s 50% slower.
1st Z-Stub attempt from my MP3DP v4 indicating that I need to calibrate, and calilantern…
2nd Z-Stub attempt from my Ender 3 Max for reference/comparison, and to get my build going asap…
EDIT: Consider not using glitter filled filament when trying to root cause ripple/moire patterns in your prints as a secondary goal while tuning flow/dimension/skew.
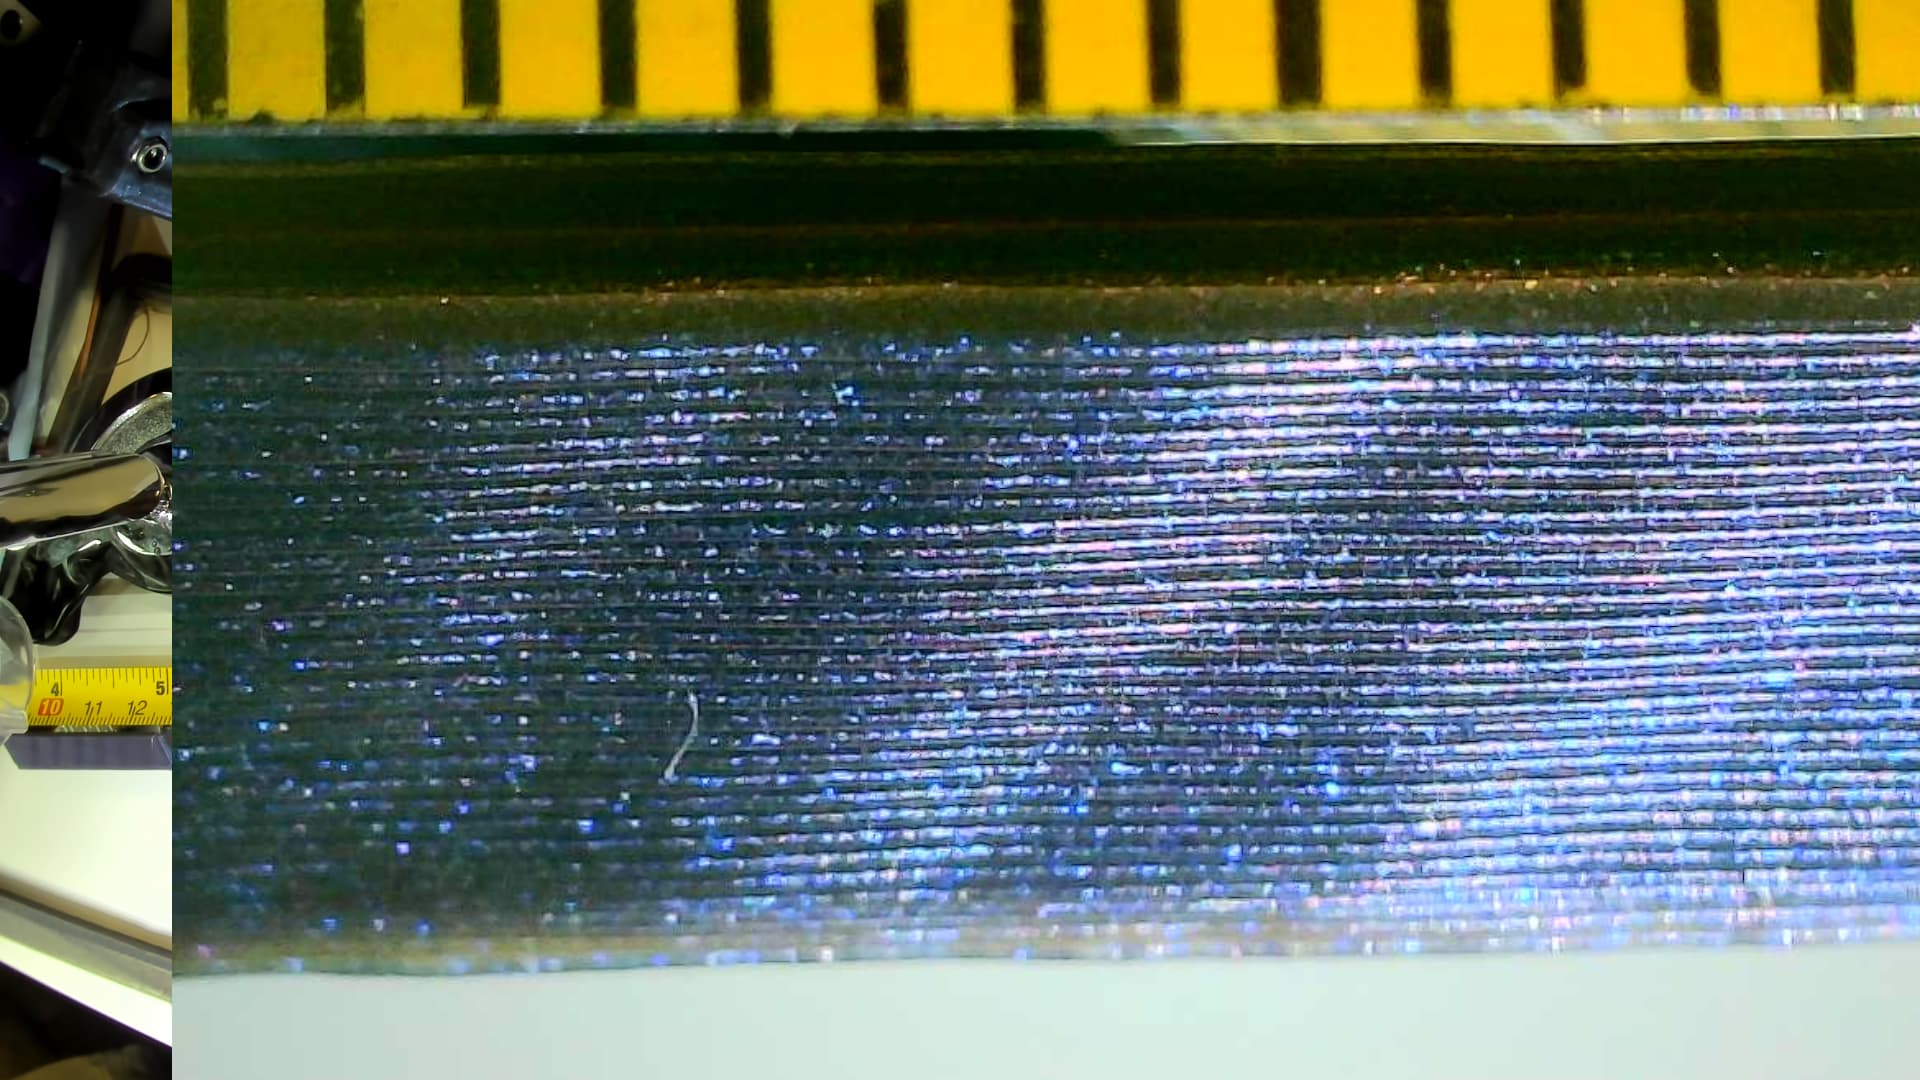
Noticed a minor aesthetic issue for a while now, something that doesn’t impact part quality, but mentioning Michael’s related topic…
Am seeing unwanted periodic bulging patterns with 5mm frequency. Afaik this is not vertical line artifact. Regardless of speed (25mm/s and 70mm/s are the same) and part orientation (0deg and 45deg are same). Changed flow rate from 100% to 93% to address overall wall width, but still seeing same 5mm frequency (I think… need to make more extreme flow % change and test again). Confirmed pattern occurs on both A and B motors via 45 degree oriented print. Taking a look at @Michael_Melancon’s https://forum.v1e.com/t/calling-all-3d-printer-experts-help/44072 topic for troubleshooting ideas/steps. Noticing wall thickness varies 1-2% between at start, and half frequency, so maybe something pressure related? Noticed big differences in current/microsteps/other related settings between Jonathan’s printer.cfg, Mike’s config and my v4 config. Haven’t tried diff temperatures and/or more extreme fast speeds that’ll underextrude and prevent pressure build up.
I saw an ender on CL. Maybe I just grab that and print with 2 really slow.
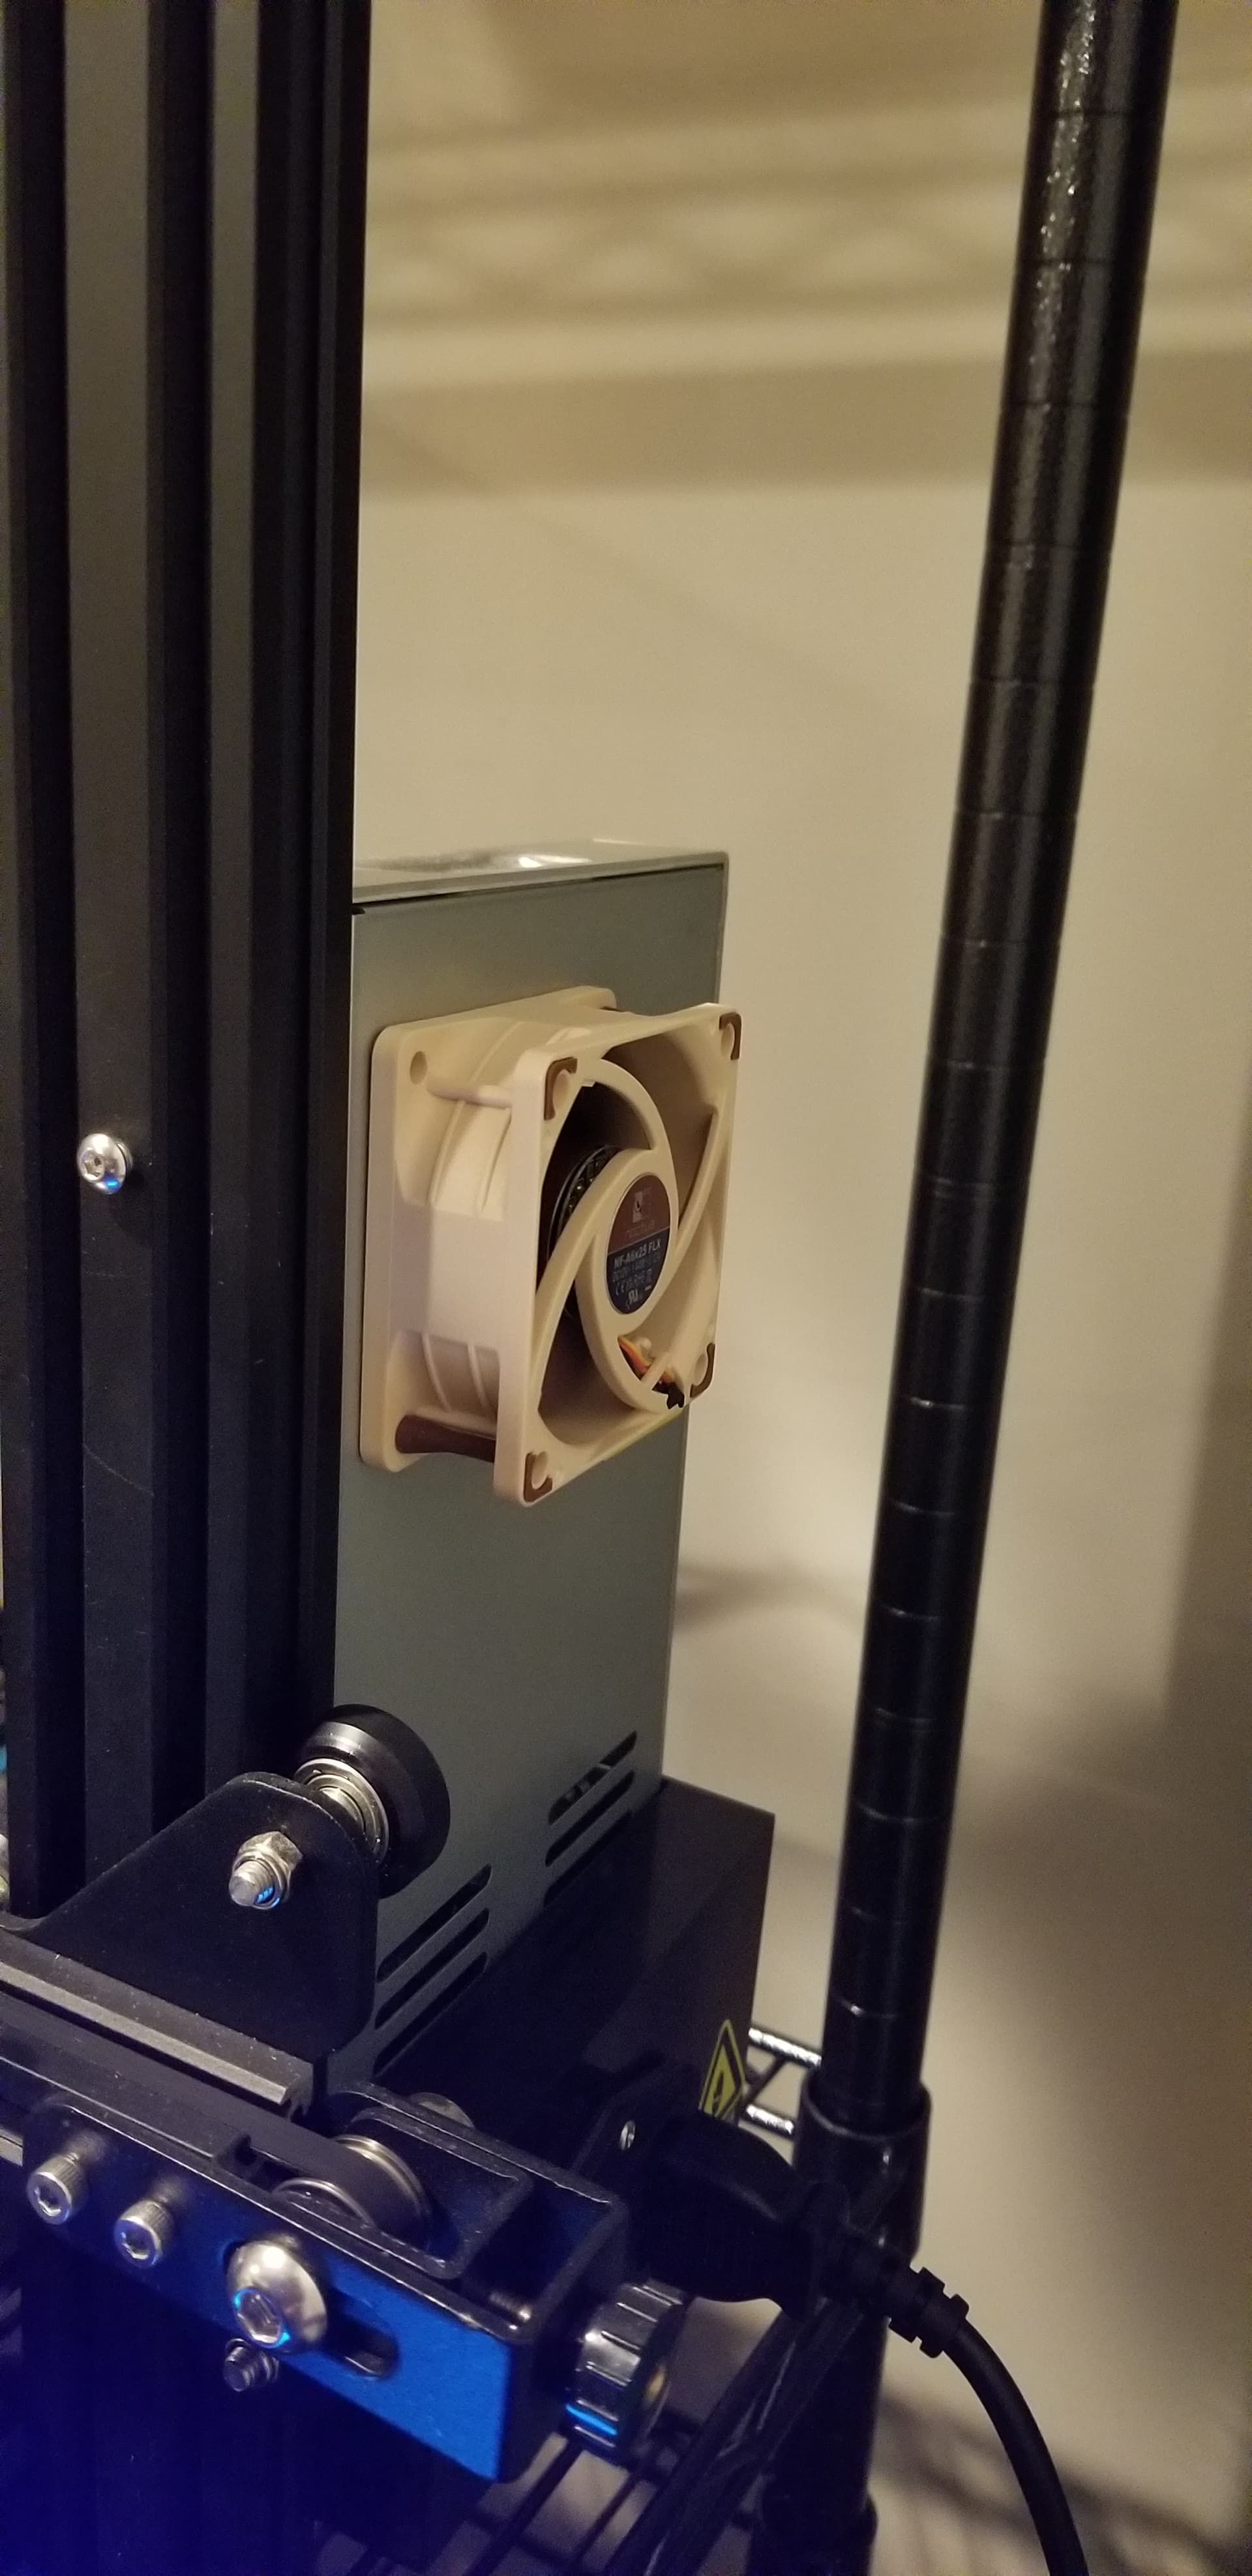
Noticed my Ender 3 Max (E3M) is really quiet compared to my v4 steppers/frame. The E3M is stock except for a noctua 40x20 fan attached to meanwell lrs-320-24 psu instead of their stock 40x10 fan. Leaning towards replacing E3M’s hotend fan next. Maybe, Noctua 40x10 24v, however that has mixed reviews about heat creep, so might end up with another Noctua 40x20 12V plus buck convertor.
Anyway, my noisy v4…
Also noticed Ryan’s printers are relatively quiet when I saw them at RMRRF, and Open Sauce. So, I’m planning to compare the mp3dp stepper config settings in v1e marlin repo with what several of us v4 owners are using in Klipper.
The enclosure panel M3 bolts directly securing panel to extrusion can’t be overly torqued as that ends up cracking the 1/8" polycarbonate panel. So, planning to use a thin foam gasket between the panels and extrusion, then, use TPU washers between flanged bolt heads and panels. Also using threadlocker since some of the panel bolts have backing out from machine shaking/vibrations.
Clear panels do look nice, but they’re noisy the way I originally mounted them. Hopefully these changes will help, thicker material would be better, but that would’ve been even more $$$.
Sharing in case folks encountered and fixed similar issues, and/or this helps someone. Cheers!
Noctua on my E3M. Using a 2nd hand fanless Meanwell HLG-something-24 on v4, so that PSU is even more silent.
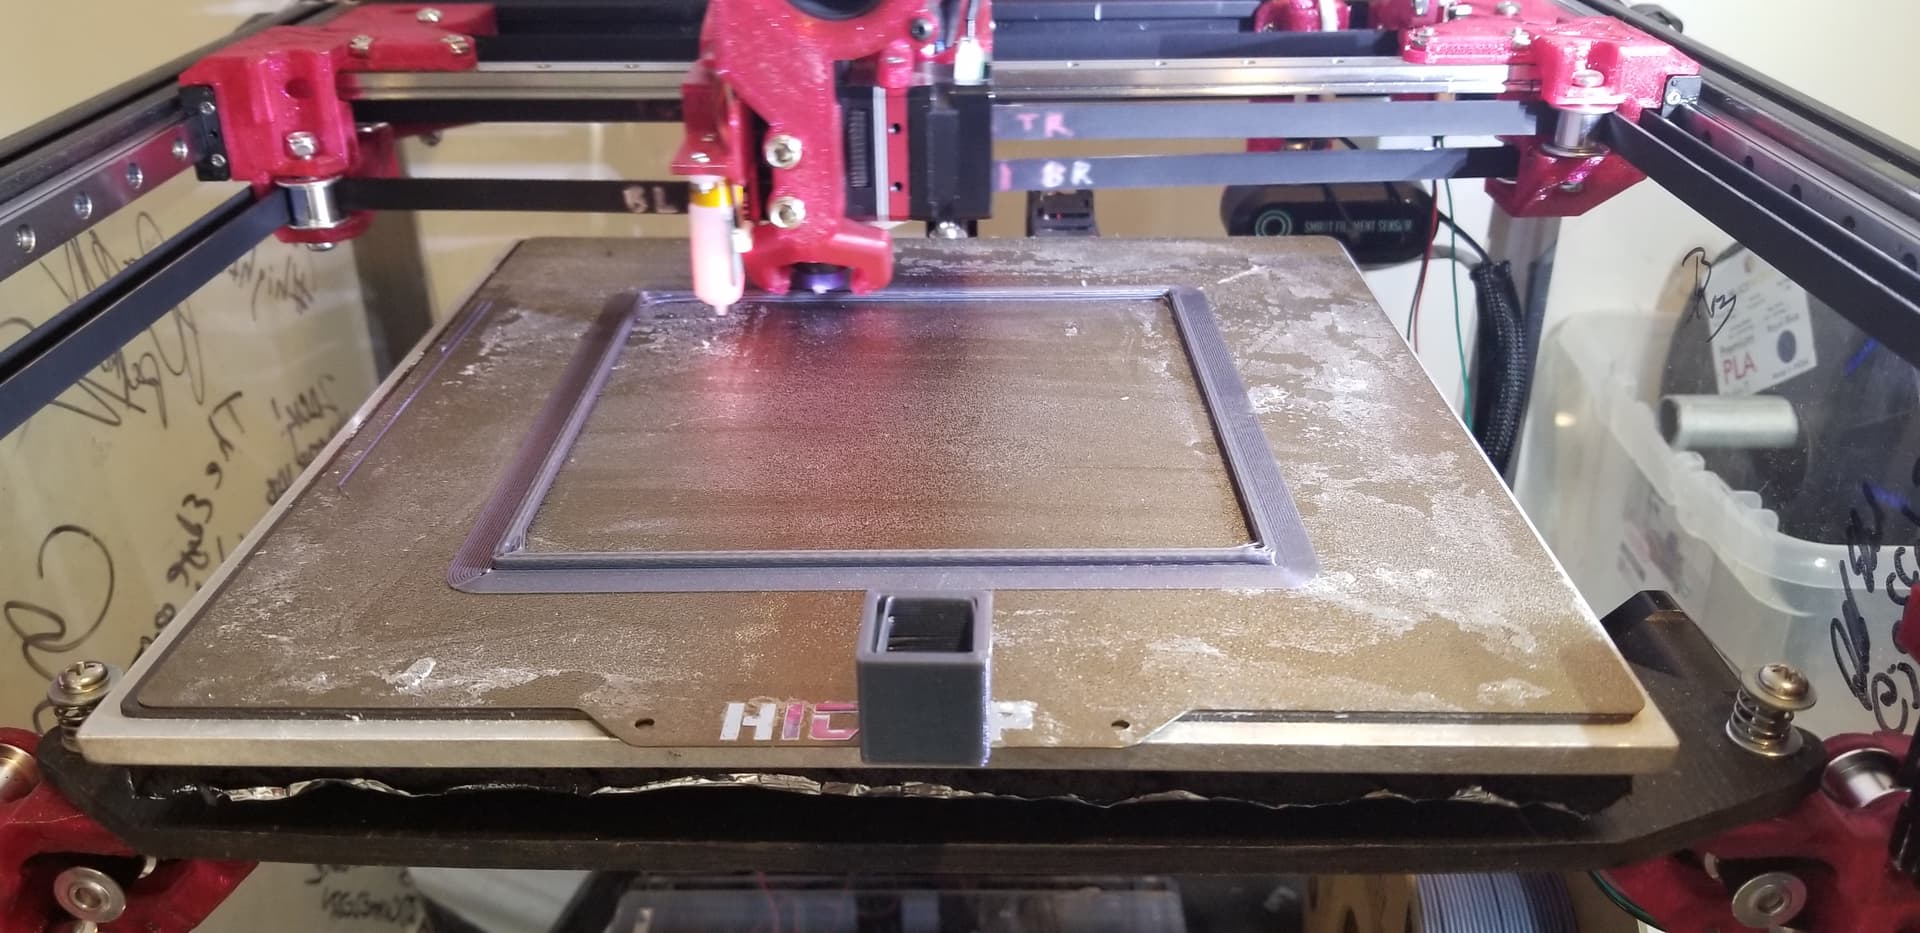
About to cut another bed plate support for my v4. Curious if anyone beefed their one up, while still using Ply/MDF? Using Aluminum bed support seems overkill and makes bed drops too exciting.
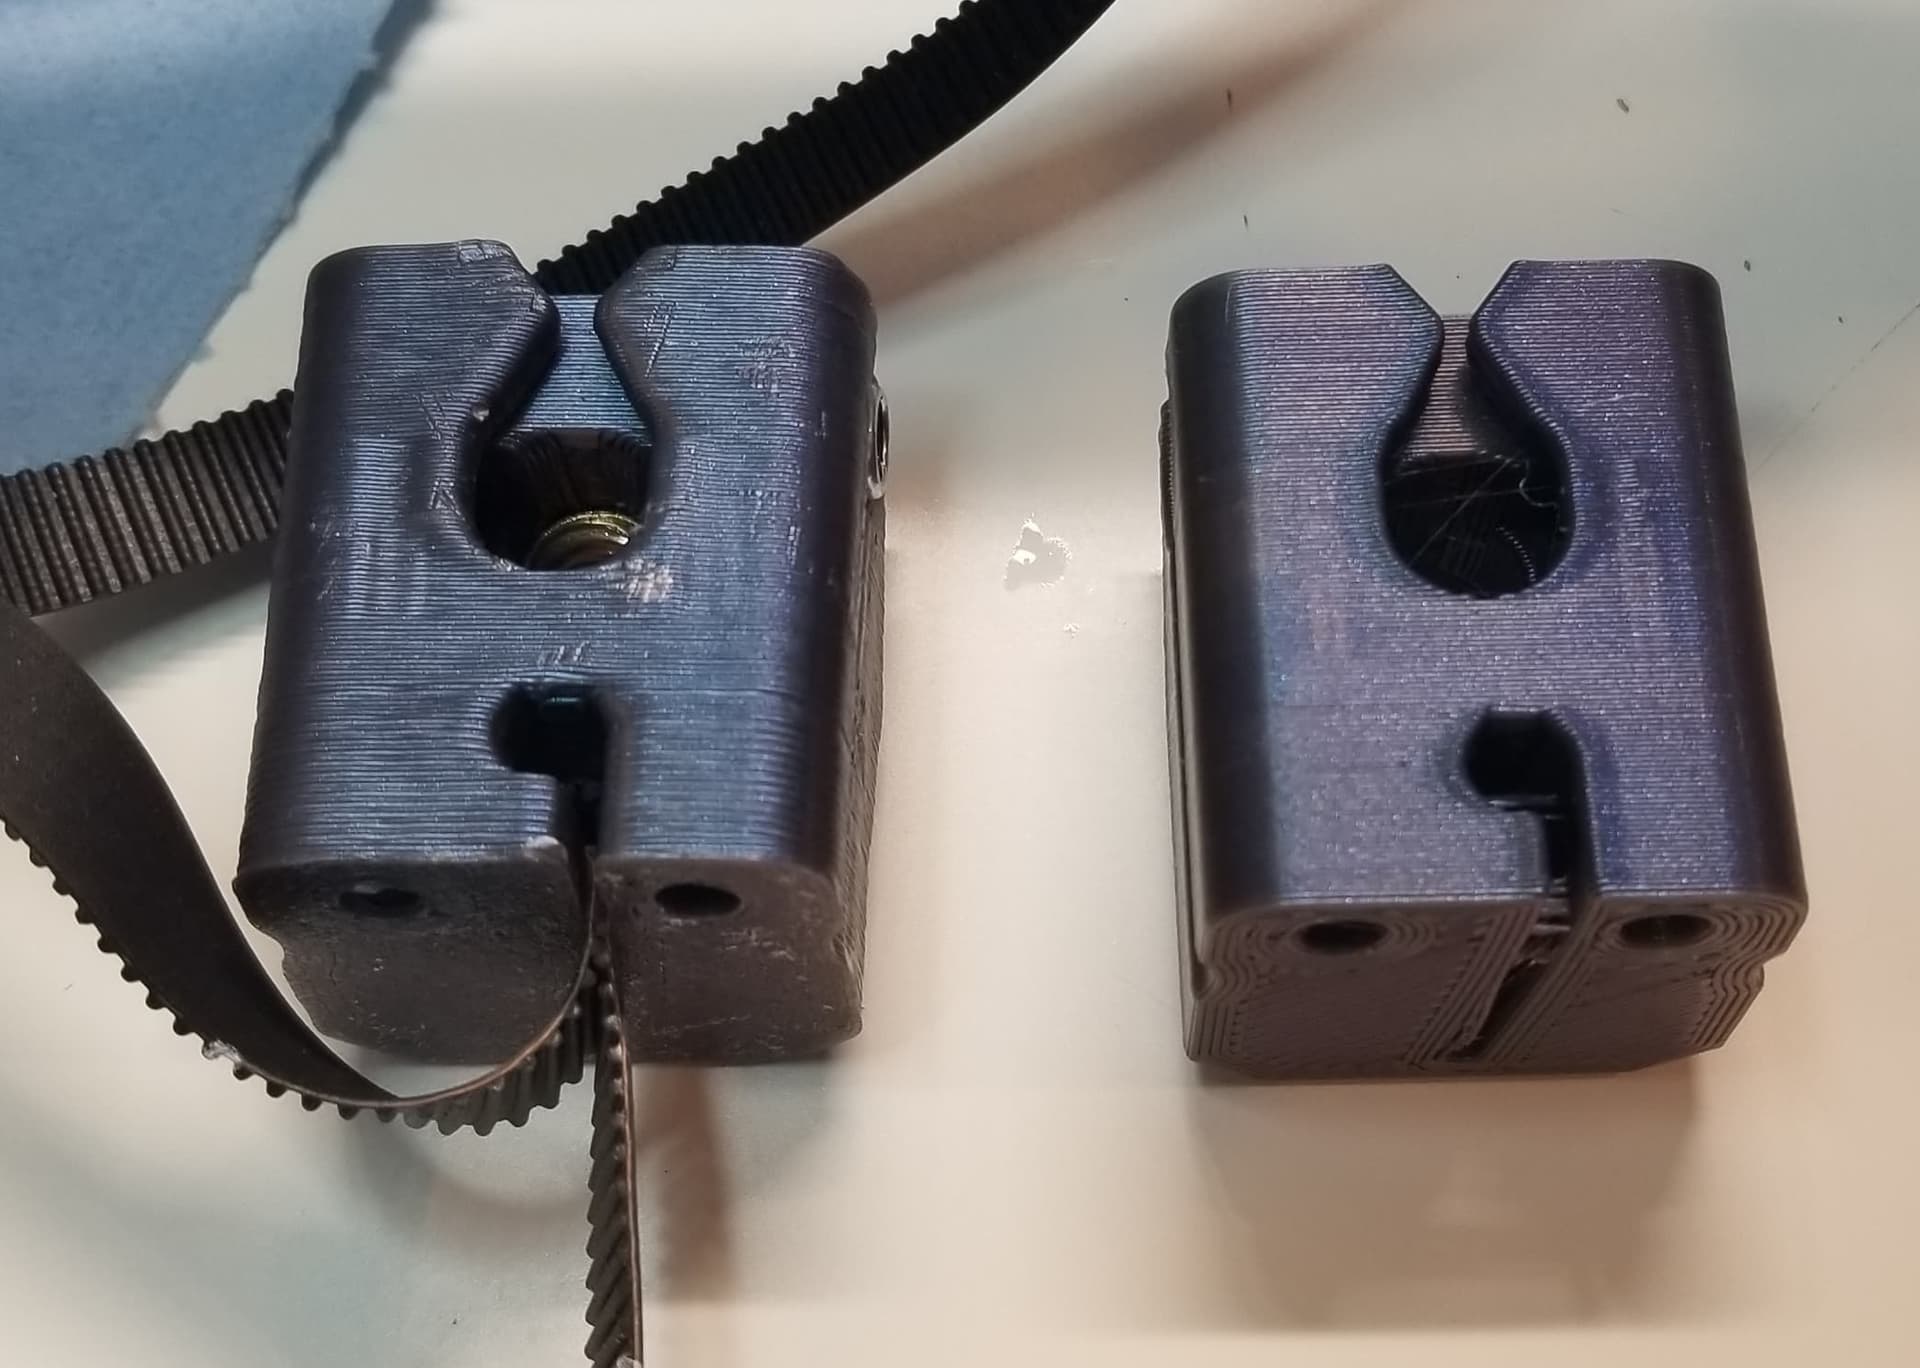
Cracked due to unintended obstruction preventing bed from lowering evenly (my fault for not preventing a tangled spool partially sneaking under the bed). Guess lowering ampage when post print lowering of the bed could help reduce chance of tearing self apart.
It won’t help for the issue when it jams, in which case having an easy to replace part crack is a feature not a bug.
That said, if you use ply or MDF again, paint it with Tightbond III before painting it and assembly.
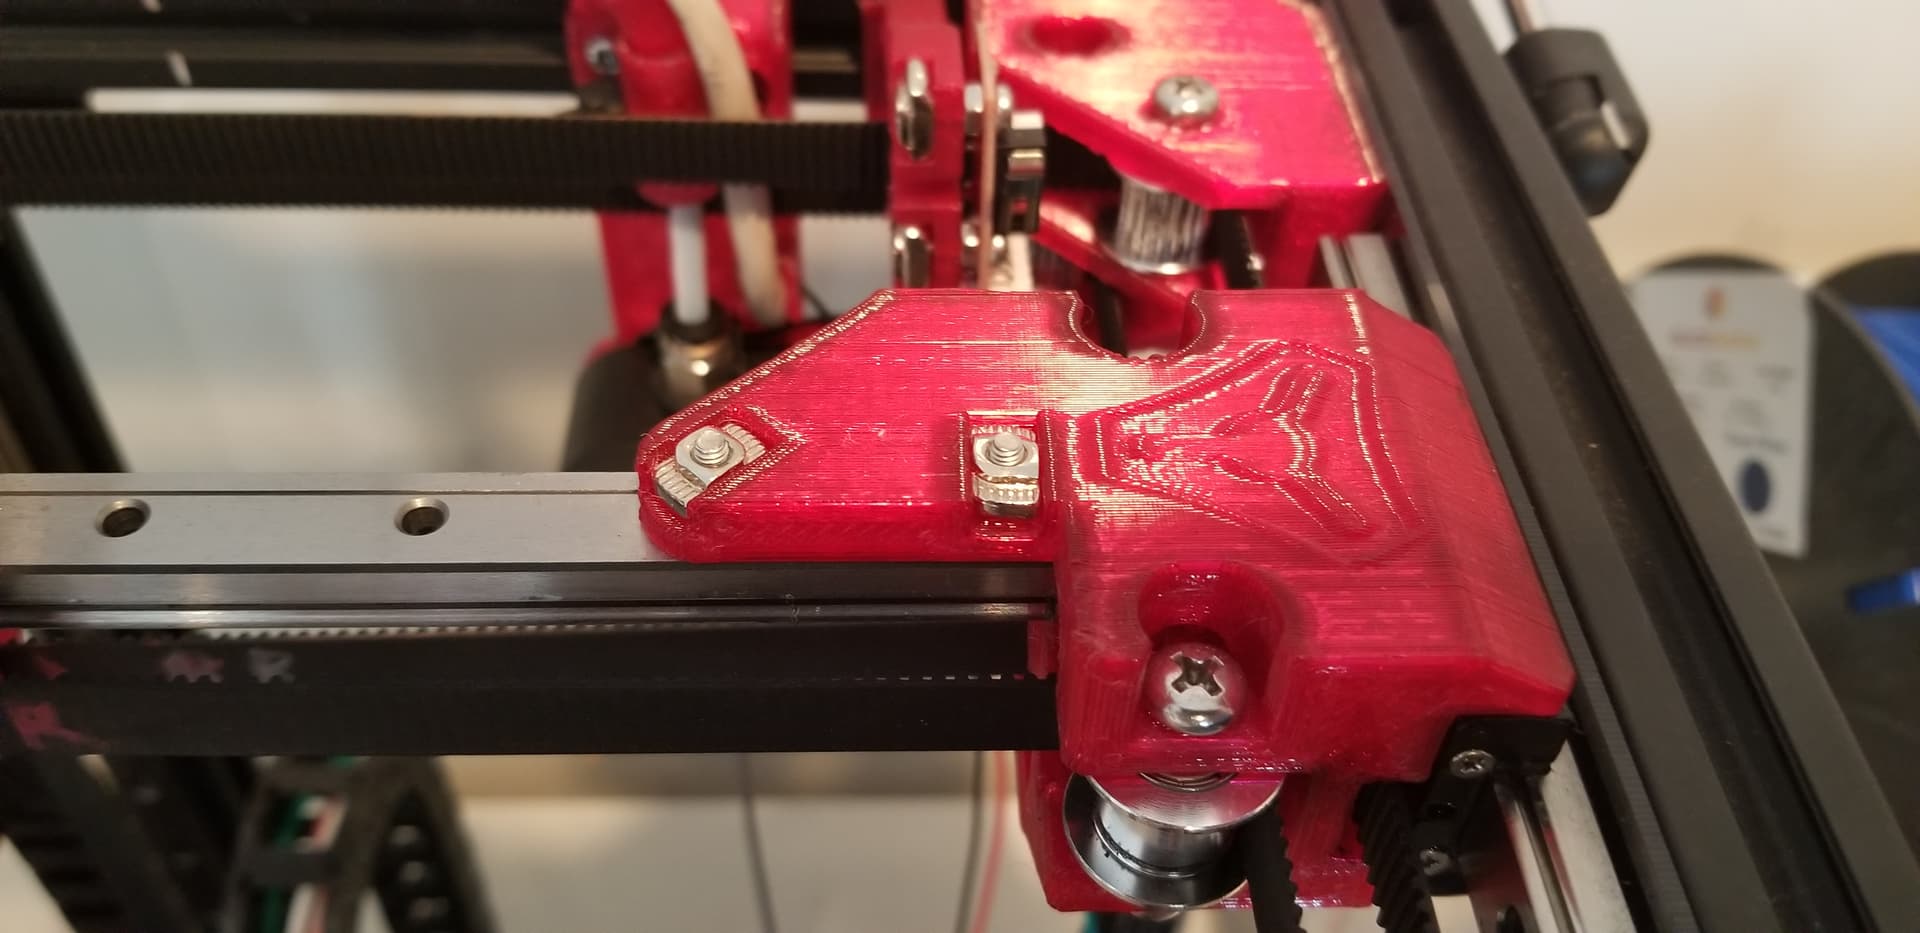
That mount point could stand to have a bit more beef on the pully side of the mount, as well.
close older topics to help with spambots, and faster new user questions.