MP3DP v4 - Aza's build

I edited the timeline entry for the chamfer, and changed its depth from 5mm (at 10 degrees) to 4.5mm (at 10 degrees) and then it computed with no error. Until then, I was not seeing any chamfer as the entry was simply not being computed due to the error.

Correct. If you look at the bed sketch you will see where you can put in the actual size, and actual hole placement. Usable dims go in step one.

1 Like

Doug is asking all the questions I should have before I cut my bed lol. Had I known all of this I wouldn’t have a 10mm strip of aluminum all the way around lol. Oh well. Ill get it right on the next one

2 Likes

@Jonathjon

Hope springs eternal!! You’re still trying to get the first one working and already thinking of the next one!!

Seriously addicted :grimacing:

I should talk, I can’t decide which machine to build next.

Mike

2 Likes

Yes its an issue…that I have no plans to fix lol. I’m trying to get this one working so I can print the parts for my wife’s ZenXY table. the kit from Ryan is supposed to get here today lol. I just know me and when he comes out with a V5 or whatever it will be called ill want to build that too lol. I’m learning so much from this build that I truly hope the next one will go MUCH smoother lol.

2 Likes

Someone here already seen/made a LACKing no-extrusion Printer? Looks like extrusion free was an option for Repeat v1. Making the v4 design fit a LACK like this Hack a Day would be funny. However, feels like it’d be more hassle than it’s worth.

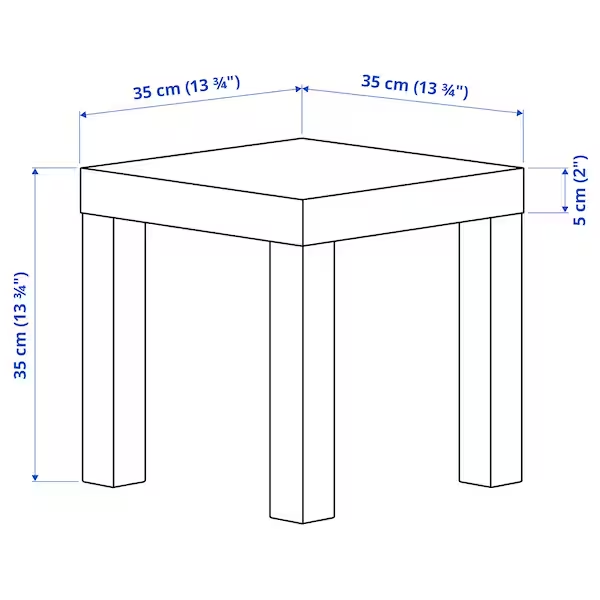
Taking a quick look at the larger LACK table. But, will be building a mostly stock extrusion frame, will hopefully be faster for me follow what others have built already. Can always Mod later after reaching a working state first.

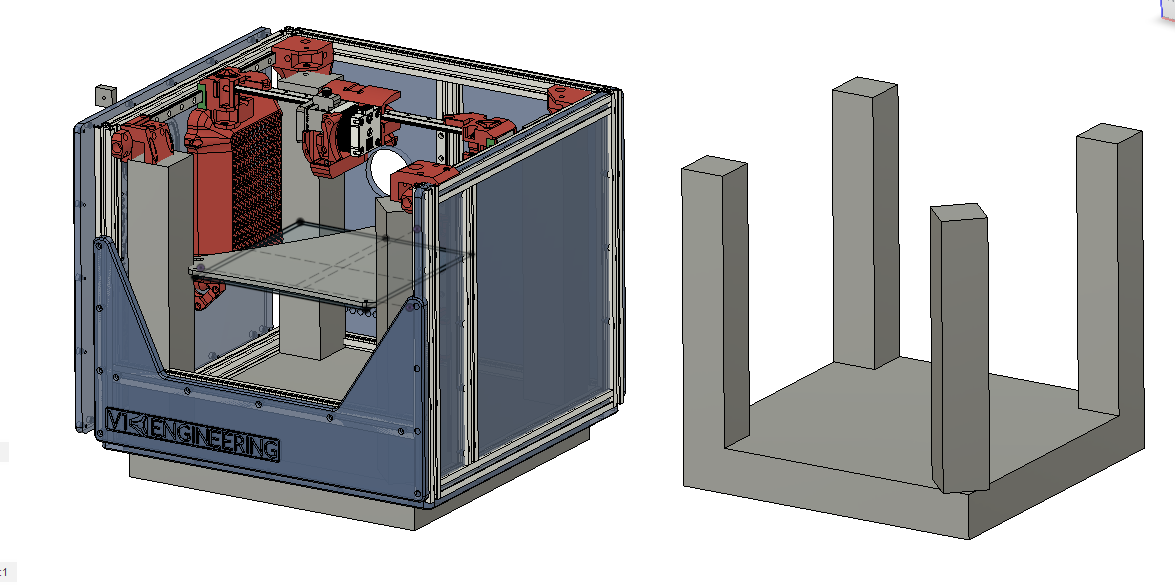
Will oversize the Frame Corner Posts height (like MP3DP v3 / Repeat v1) so a flat surface can be mounted on top. Mainly for heat and finger retention.

Have seen crazier ideas… Milk Crate 3D Printers…

2 Likes

Mine is sitting atop one of those LACK tables right now. The 250mm square build won’t fit inside one, but the 200mm square build would easily.

1 Like

Cheers Dan, have a couple of the larger 55x55x45cm LACKs too.

Relative to the two LACK sizes I can see, a 200mm^3 usable would look like…

Will either make it fit inside a LACK, or have the same/close foot print as a LACK to make stacking/integrating into my existing setup easier.

1 Like

The one twisted leg is perfect. I have one in my kids room and it has one stripped leg. It is only a matter of time before it collapses.

You can do this one without extrusions if you would like, The only part I would change is the Right XY stepper, I have it curl over the top of the extrusion, that would work on a piece of wood as well but you could just as easily make it flat to fit in a box. For me extrusion gives me a bit of wiggle room and seems more seasonally stable. My box only printers were not perfect enough for me and changed from season to season (32F-110F).

2 Likes

:slightly_smiling_face:, Yeah, was experimenting/wondering if twisting front legs 45deg would enable fitting a modified swiss Z stepper mount. Slightly unhinged 45deg angles would be more V1E like too.

1 Like

Anyone assembled MP3DP using 3/4" ply panels milled, drilled and 1/4" rebated/pocket (for T-Nuts) ?

With top/bottom/back ply rebated to help make squaring trivial/easy-to-adjust even?

Bad idea?

I obviously haven’t built mine yet, but 3/4" plywood sounds like way overkill. The panels are only there (from what I can tell) to help stiffen up the rails and keep them from racking when the gantry moves.

1 Like

Would be using the 3/4 ply instead of extrusion. Seal ply real well to help with stability. Climatize before cuts. Maybe run ply long at the back and have mix of dovetails and upright corner extrusion to help stiffen. But squaring should be possible with rebated top and bottom ply panels.

1 Like

Ah. I believe the original Repeat build was designed that way.

1 Like

Measuring frame for 250x250x250 Usable… But may end up with 235x235 heater bed/build-plate given they’re easier to find than 250x250. Screenshot with my cut list… May oversize corner verticals to help enclose/protect X/Y/Hotend mechanisms.

Decided to reduce risk of build and print issues/delays by using Alu extrusion instead of Ply Panels.

4/6/23 Edit: Using different lengths for upright Z extrusion, details below…

2 Likes

That’s the build size I ended up with, (300mm for Y and Z rails, 350mm for X rail) Then at the last minute, I found a 200mm heated build plate, and I’ve got it oversized. Can still use the extra Z if needed.

The extrusion does make the build more straight forward, but the panels in addition are nice to have.

2 Likes

Cheers for the info Dan! Was planning on 300x300 initially, however some of the logic/rationale you’ve shared in multiple topics helped influence me towards ~250x250. I already have a 300x300 3D printer, the largest thing I’ve printed lots of was some 240x240 parts, but even that should be partially CNC’d in the future. Want this MP3DP to be much faster and more capable than my existing one, so building a smaller size will help.

Also, haven’t built a 3D printer from parts before, so am resisting the strong urges to experiment up front. Mostly stock build reduces risk of encountering time consuming issues. My goal is to get baseline functionality working asap, and learn a bunch along the way. After that will reflect, assess and decide what to explore/mod further. My personal deadline is to finish before I get distracted/interested with some other shiny project :slight_smile:

2 Likes

Might still try 1/4" Ply on inside of extrusion… Calibrated steps and checked square before cuts (e.g. M503, M92, M666, M500).

2 Likes

Waiting on fasteners, in the meantime, experimenting with Plywood and other materials for panels on the inside of the extrusion.

Still need to add holes for wiring. Curious if anyone has panel designs they’re able to share? Here’s where I’m at currently…

(Recommend not using for now, probably outdated already, shared here to provide jist of what am up to. Will share final version if/when done)
250x250-panel-ply-right.2.zip (51.8 KB)

Contemplating Reflectix and sheet metal even on the inside even instead of 1/4" 6mm ply requiring M3x16mm and M5x16mm, happen to have the right length bolts (M3x8mm or M3x10mm and M5’s) if sheet metal will work.

1 Like