This mini howto explains how to make nifty 3d surfaces with free software and prep them for carving with your favourite tools. This is how I made the designs for Wavy Plywood Art thing by Gritters and More Plywood Art by Gritters - #4 by gritters
In this Howto I’m using Gimp 2.10, Fusion360 personal edition, and the Image2Surface plugin for Fusion360 from here: GitHub - hanskellner/Fusion360Image2Surface: Image2Surface Add-In for Autodesk Fusion 360
I won’t go into detail about how to carve with Fusion360 as there are other tutorials for that. However I’ll show how to get us a cool mesh that you can carve with your favourite tutorial.
First things first, you need to understand height maps. Height maps are a way of describing the height of a mesh or a plane. They are typically images stored in greyscale (so black through white) and each pixel represents a coordinate on your mesh. Black is the lowest point, white is the highest point and shades of grey represent all the different heights along the way. Your carving software can take these images and apply them to a plane, to change all the heights of your plane.
Let’s use some pictures to show what I mean.
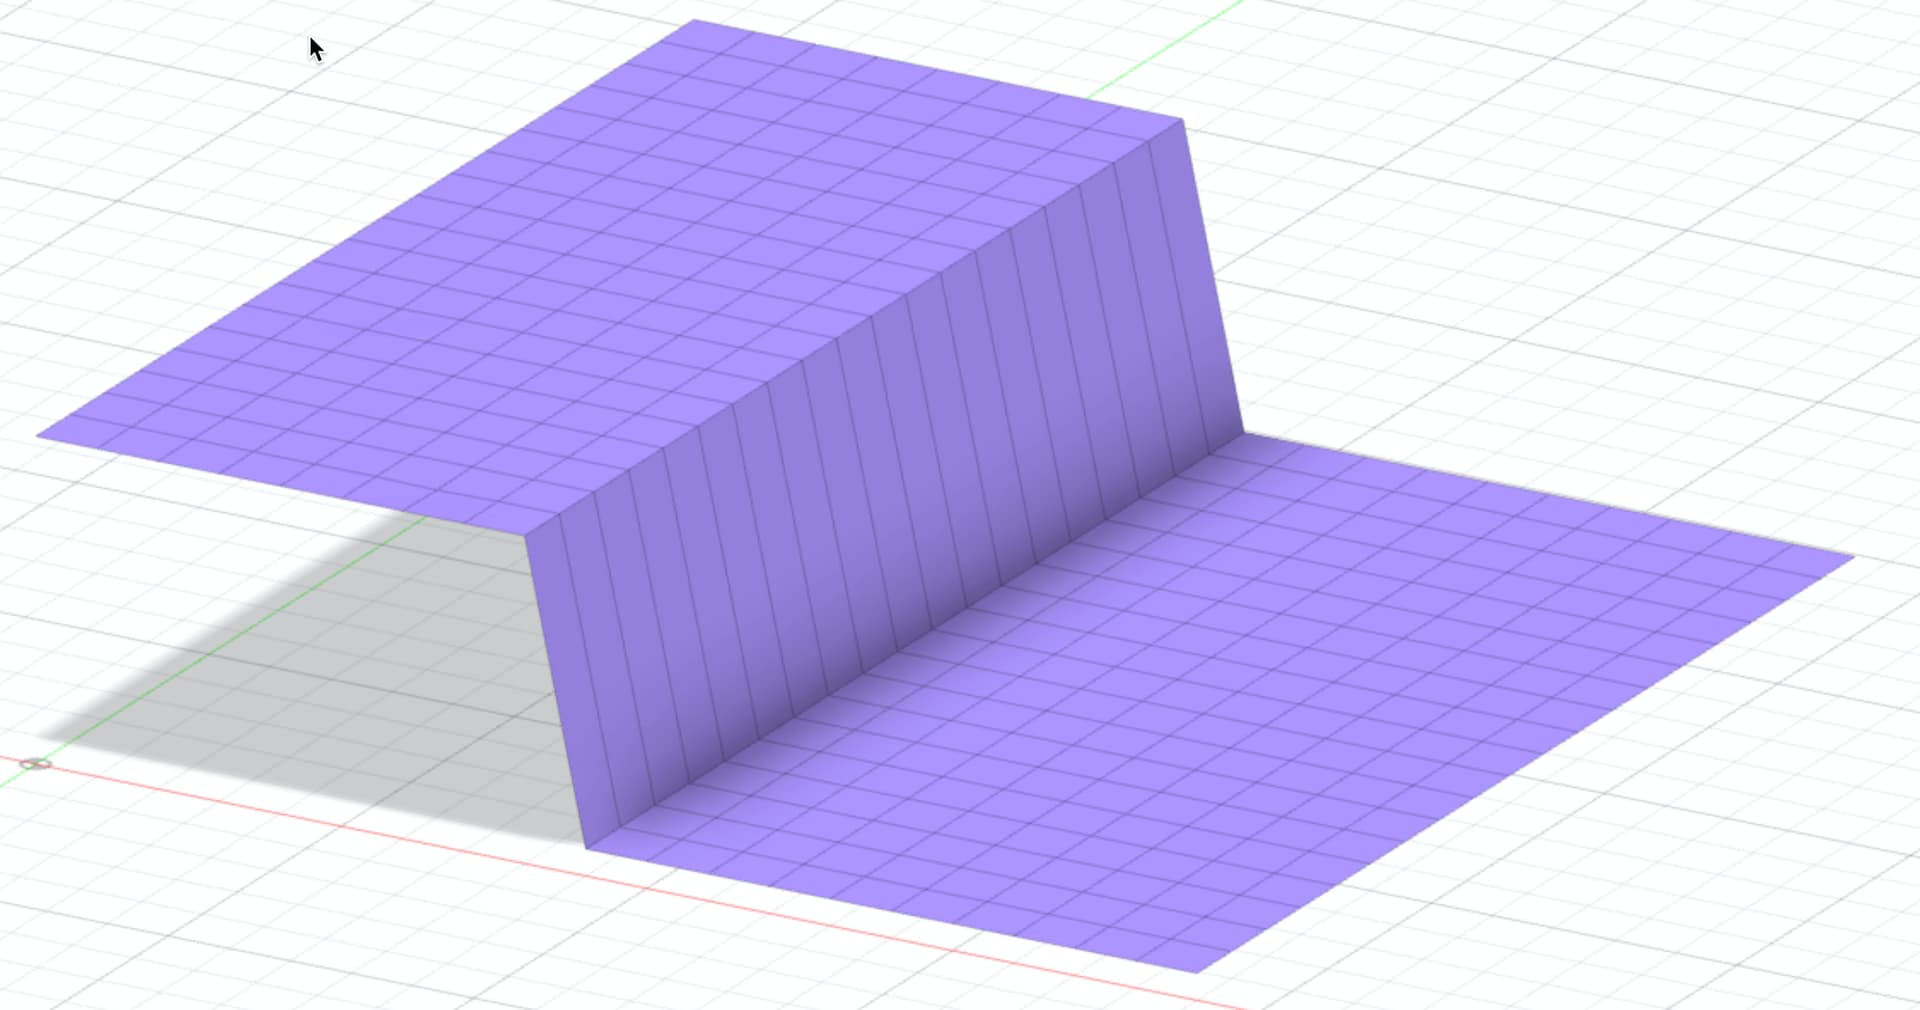
Here’s a 100x100 image which is just white on the left and black on the right:

If we treat that like a height map and apply it to a plane, we get part of the plane that is high (the white) and low (the black)
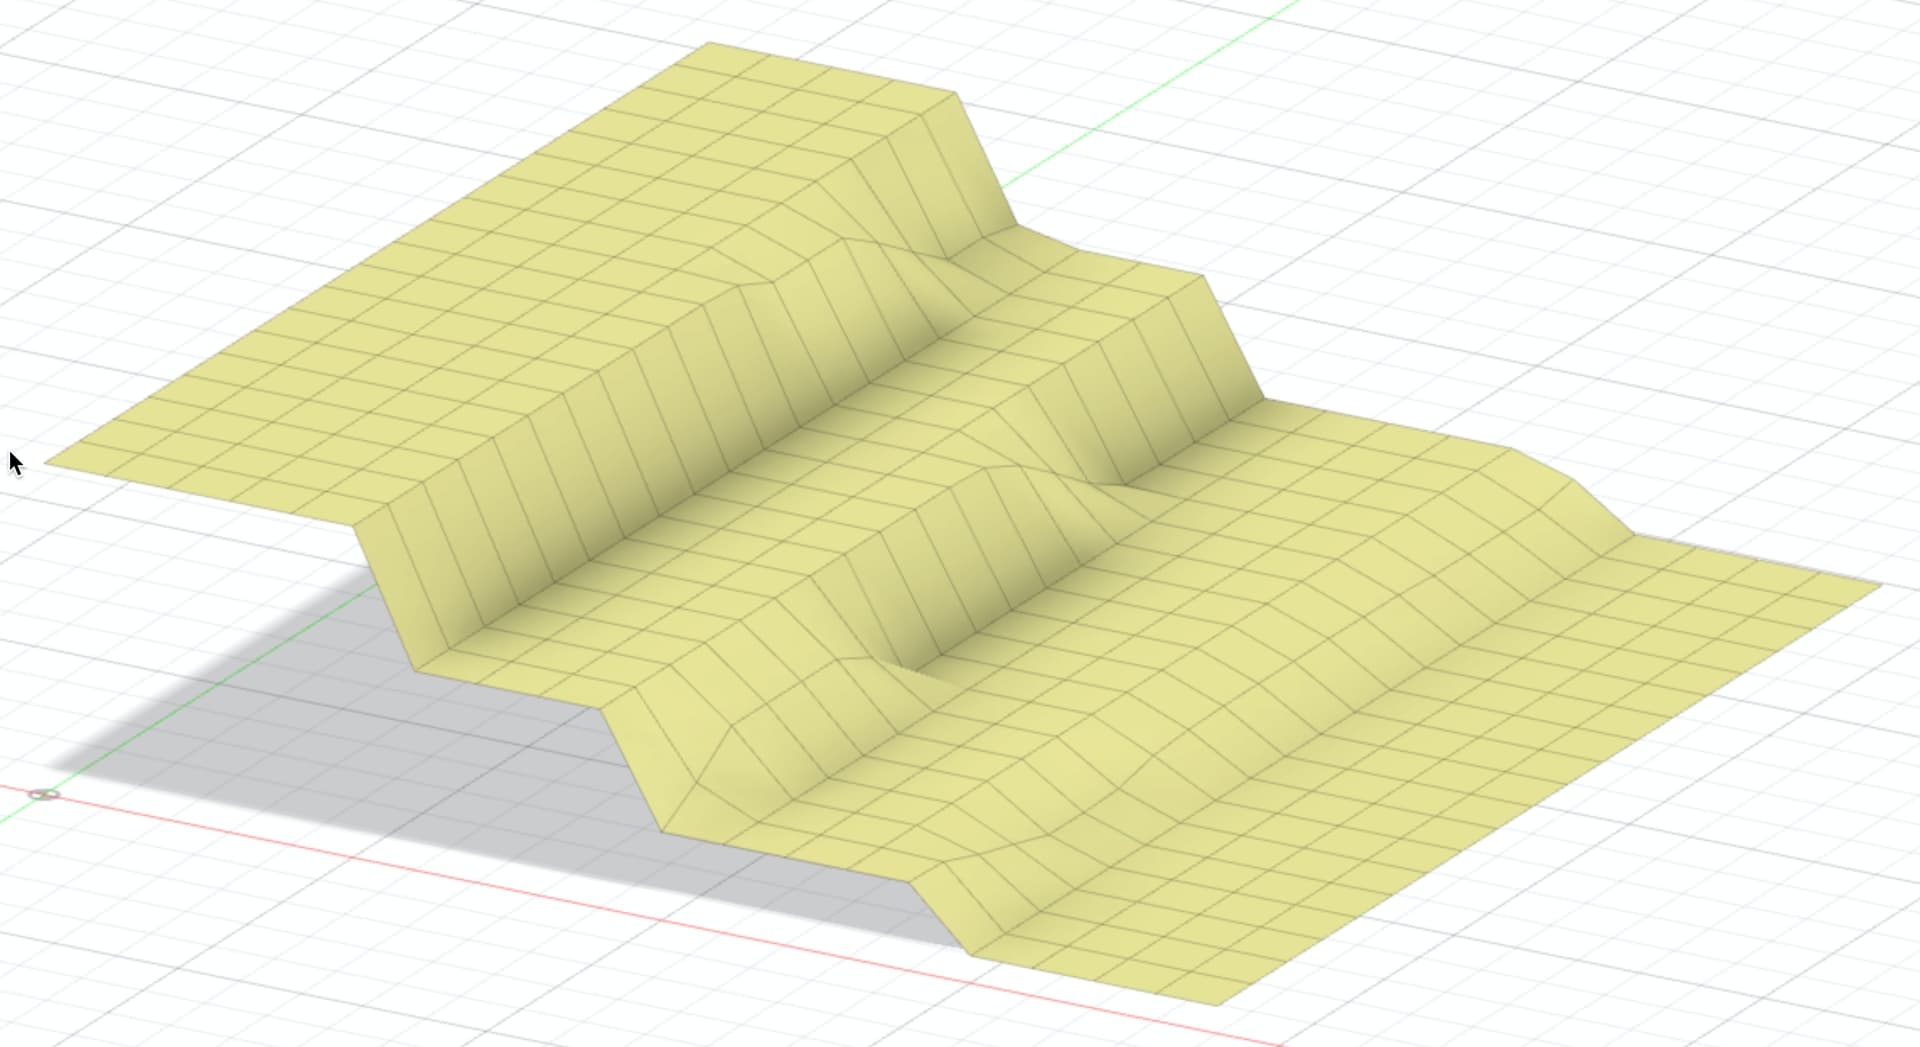
Ok how about we try some greyscale.
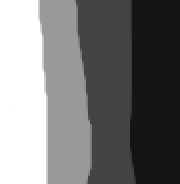
That turns into this:
So now we know that pretty much any greyscale image can become a plane of various heights, lets see what we can create that is a greyscale image that is much cooler than my scribble.
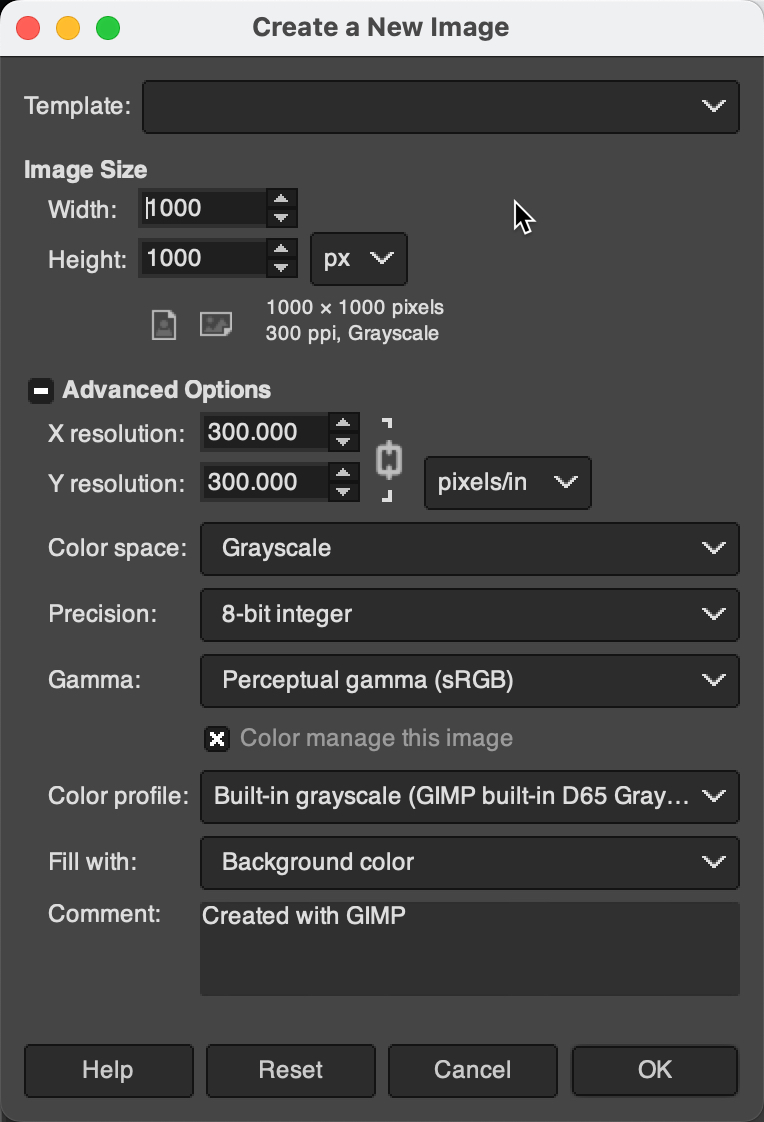
How about a dome? I’m using Gimp 2.10, which is free. I’m also on a mac, so it might look different on your screen.
I create a 1000x1000 greyscale image.
I choose the paint tool and make a huge brush - this is 692 pixels. I make it white and plop it in the center of the image.
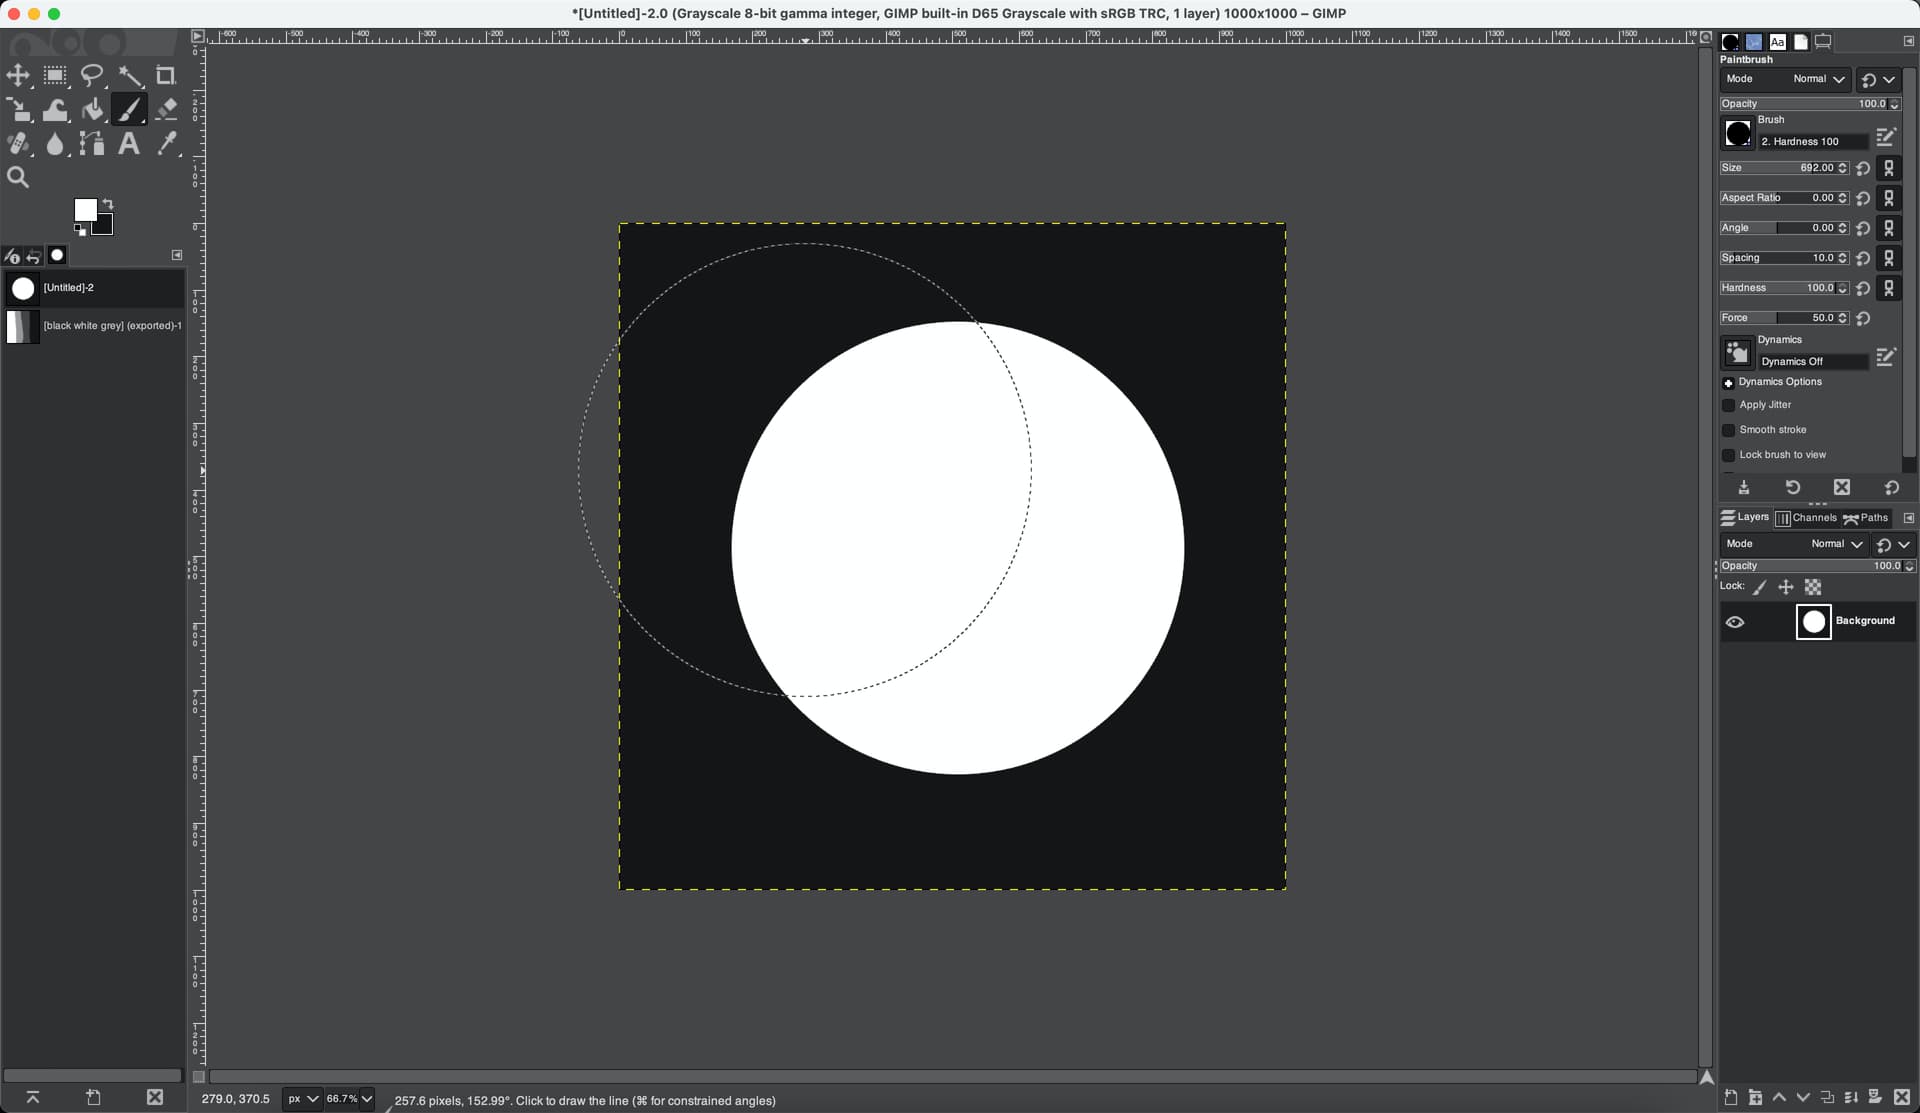
So if we were to convert this to a plane now, it would just be a raised circle from the base, ie a cylinder shape. We want a dome.
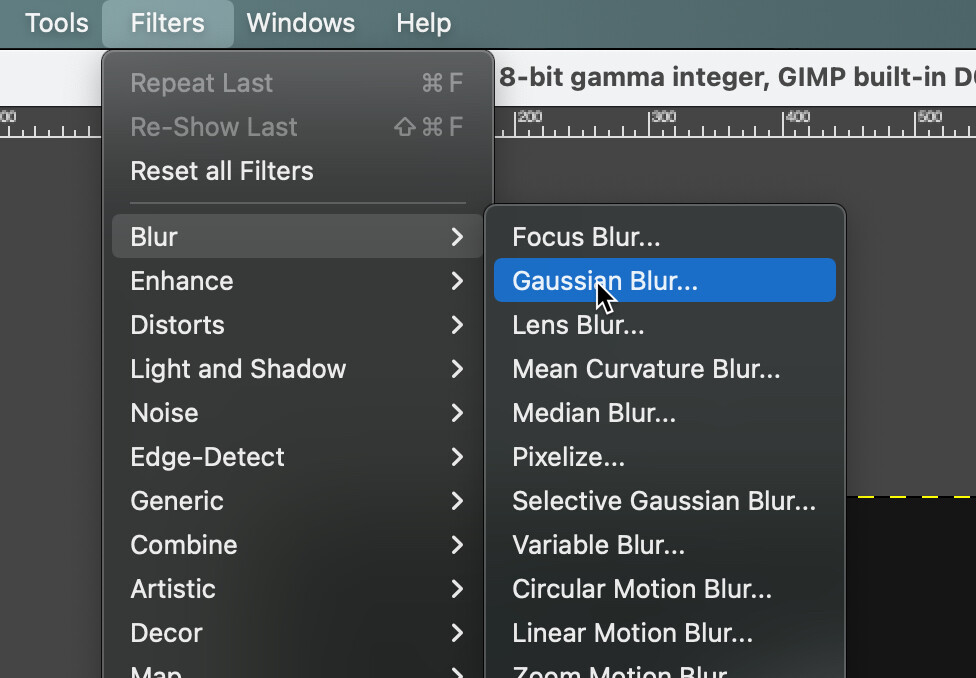
We use the gaussian blur filter, which will smudge this whole picture:
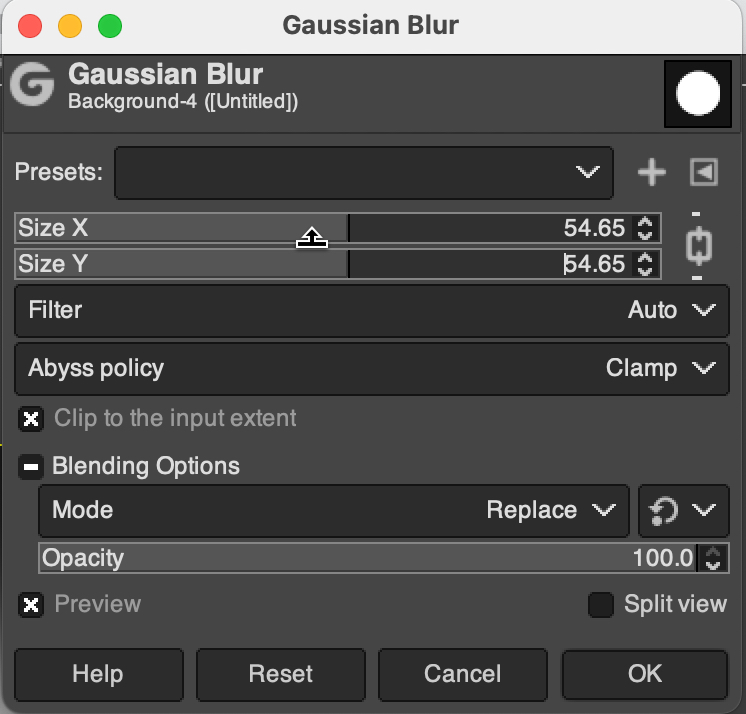
And this gives us this:

Ok so what does that look like as a plane?
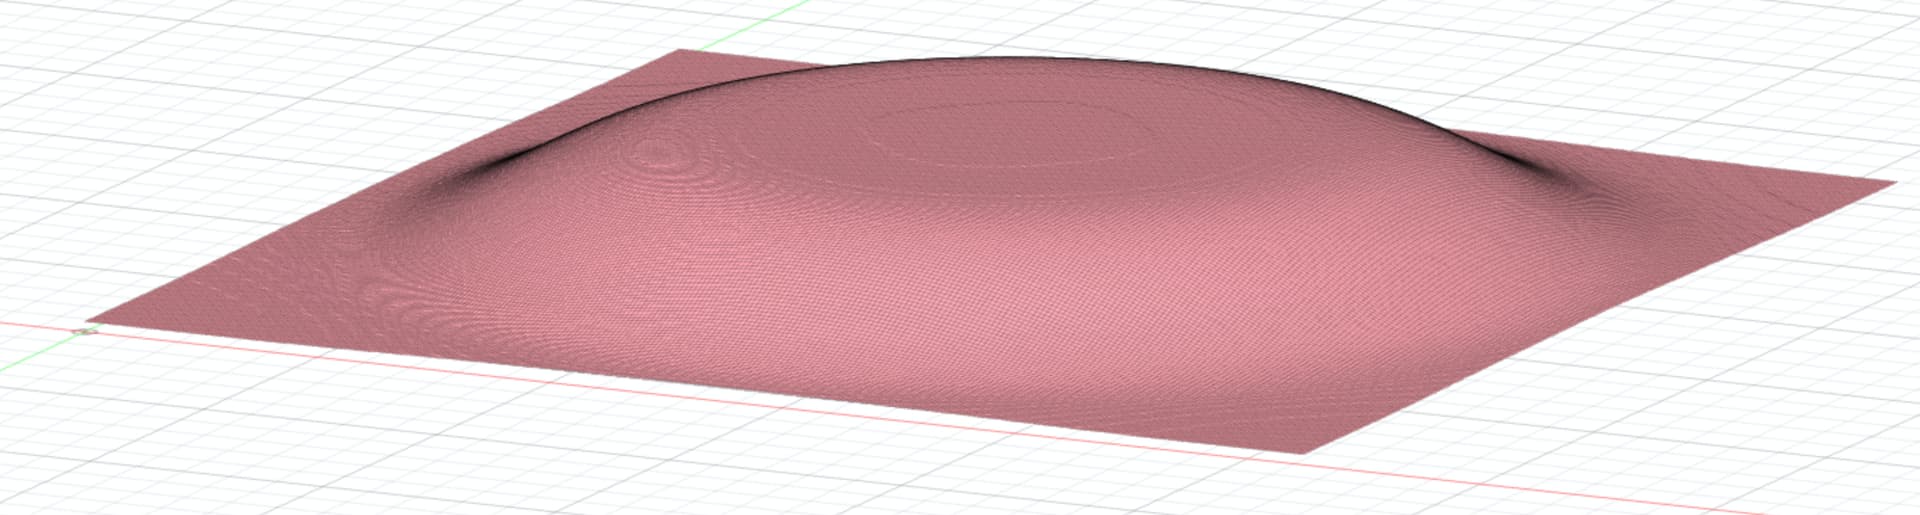
So now you can see that all we need to do is find a greyscale image, blur it if required, and it will become something we can carve in 3d.
Lets try something much cooler using Gimp filters. Create another blank 1000x1000 greyscale and use the sinus filter.
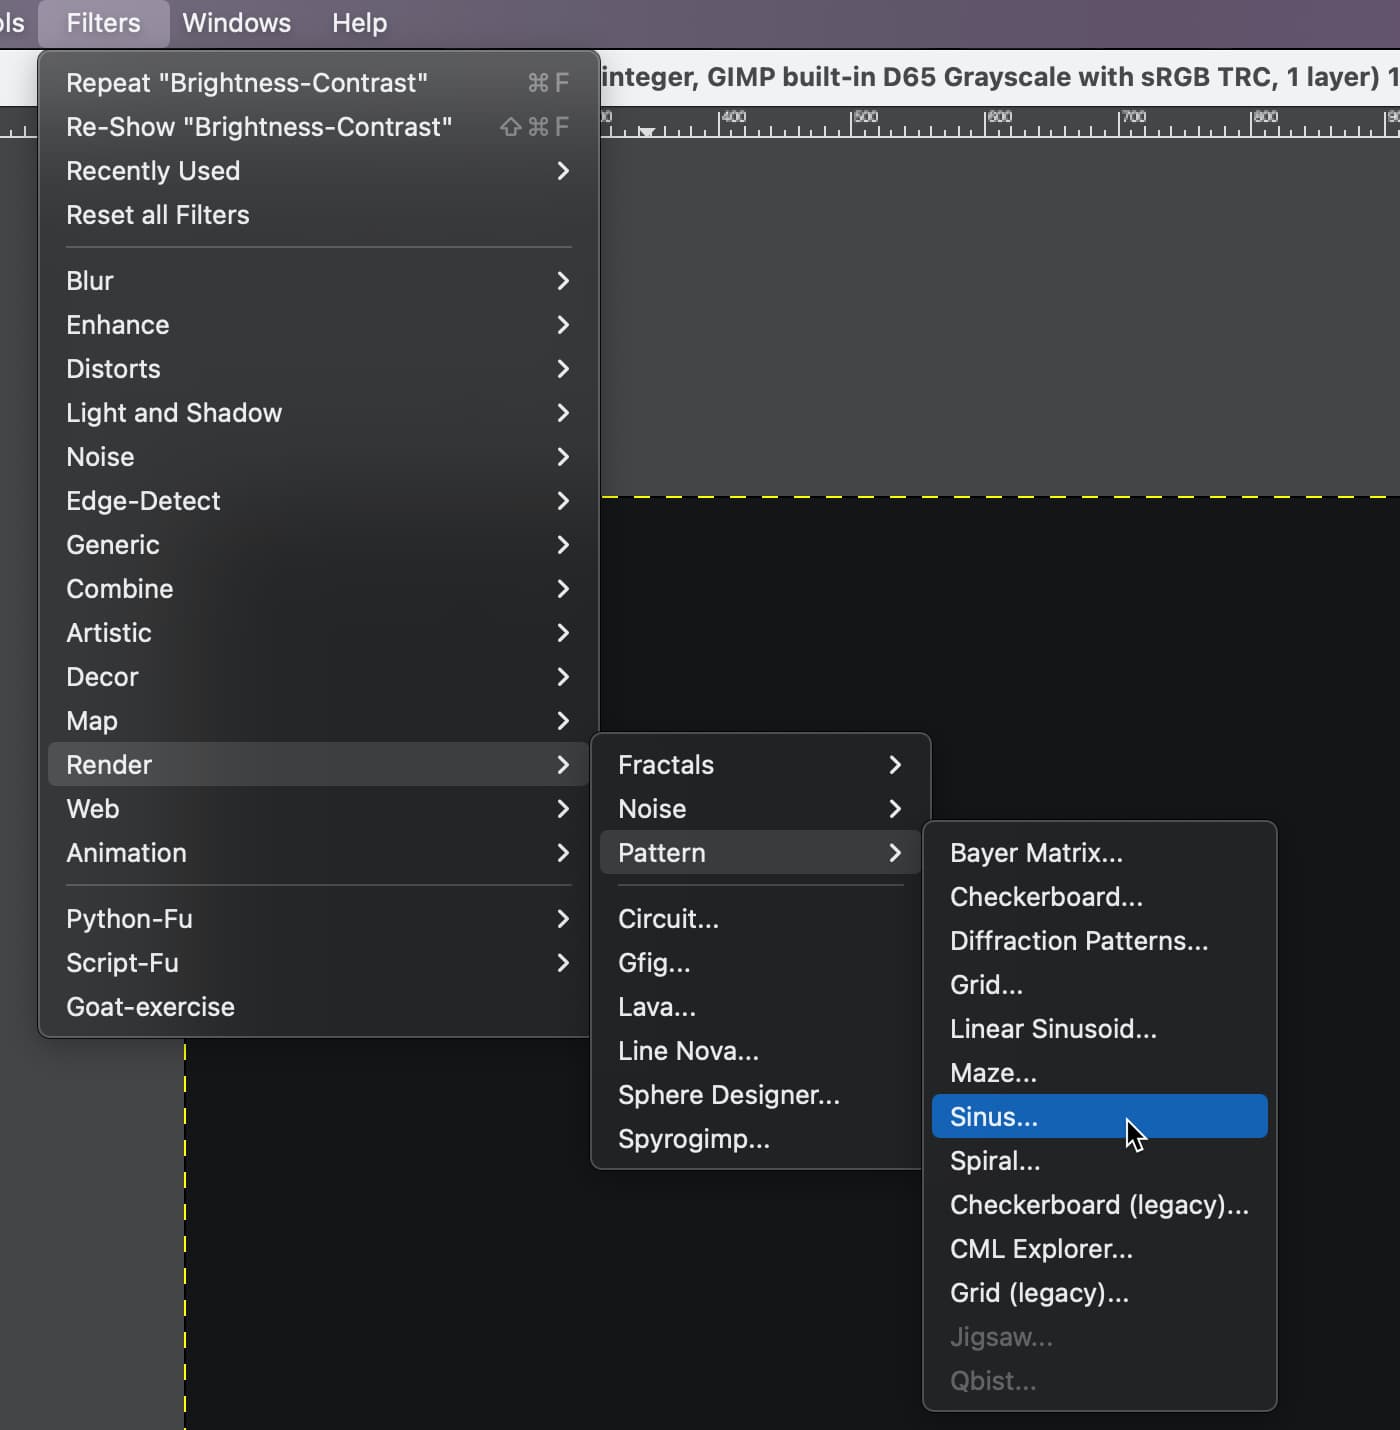
Use whatever defaults we get and just change the colours to black and white so it uses greyscale properly:
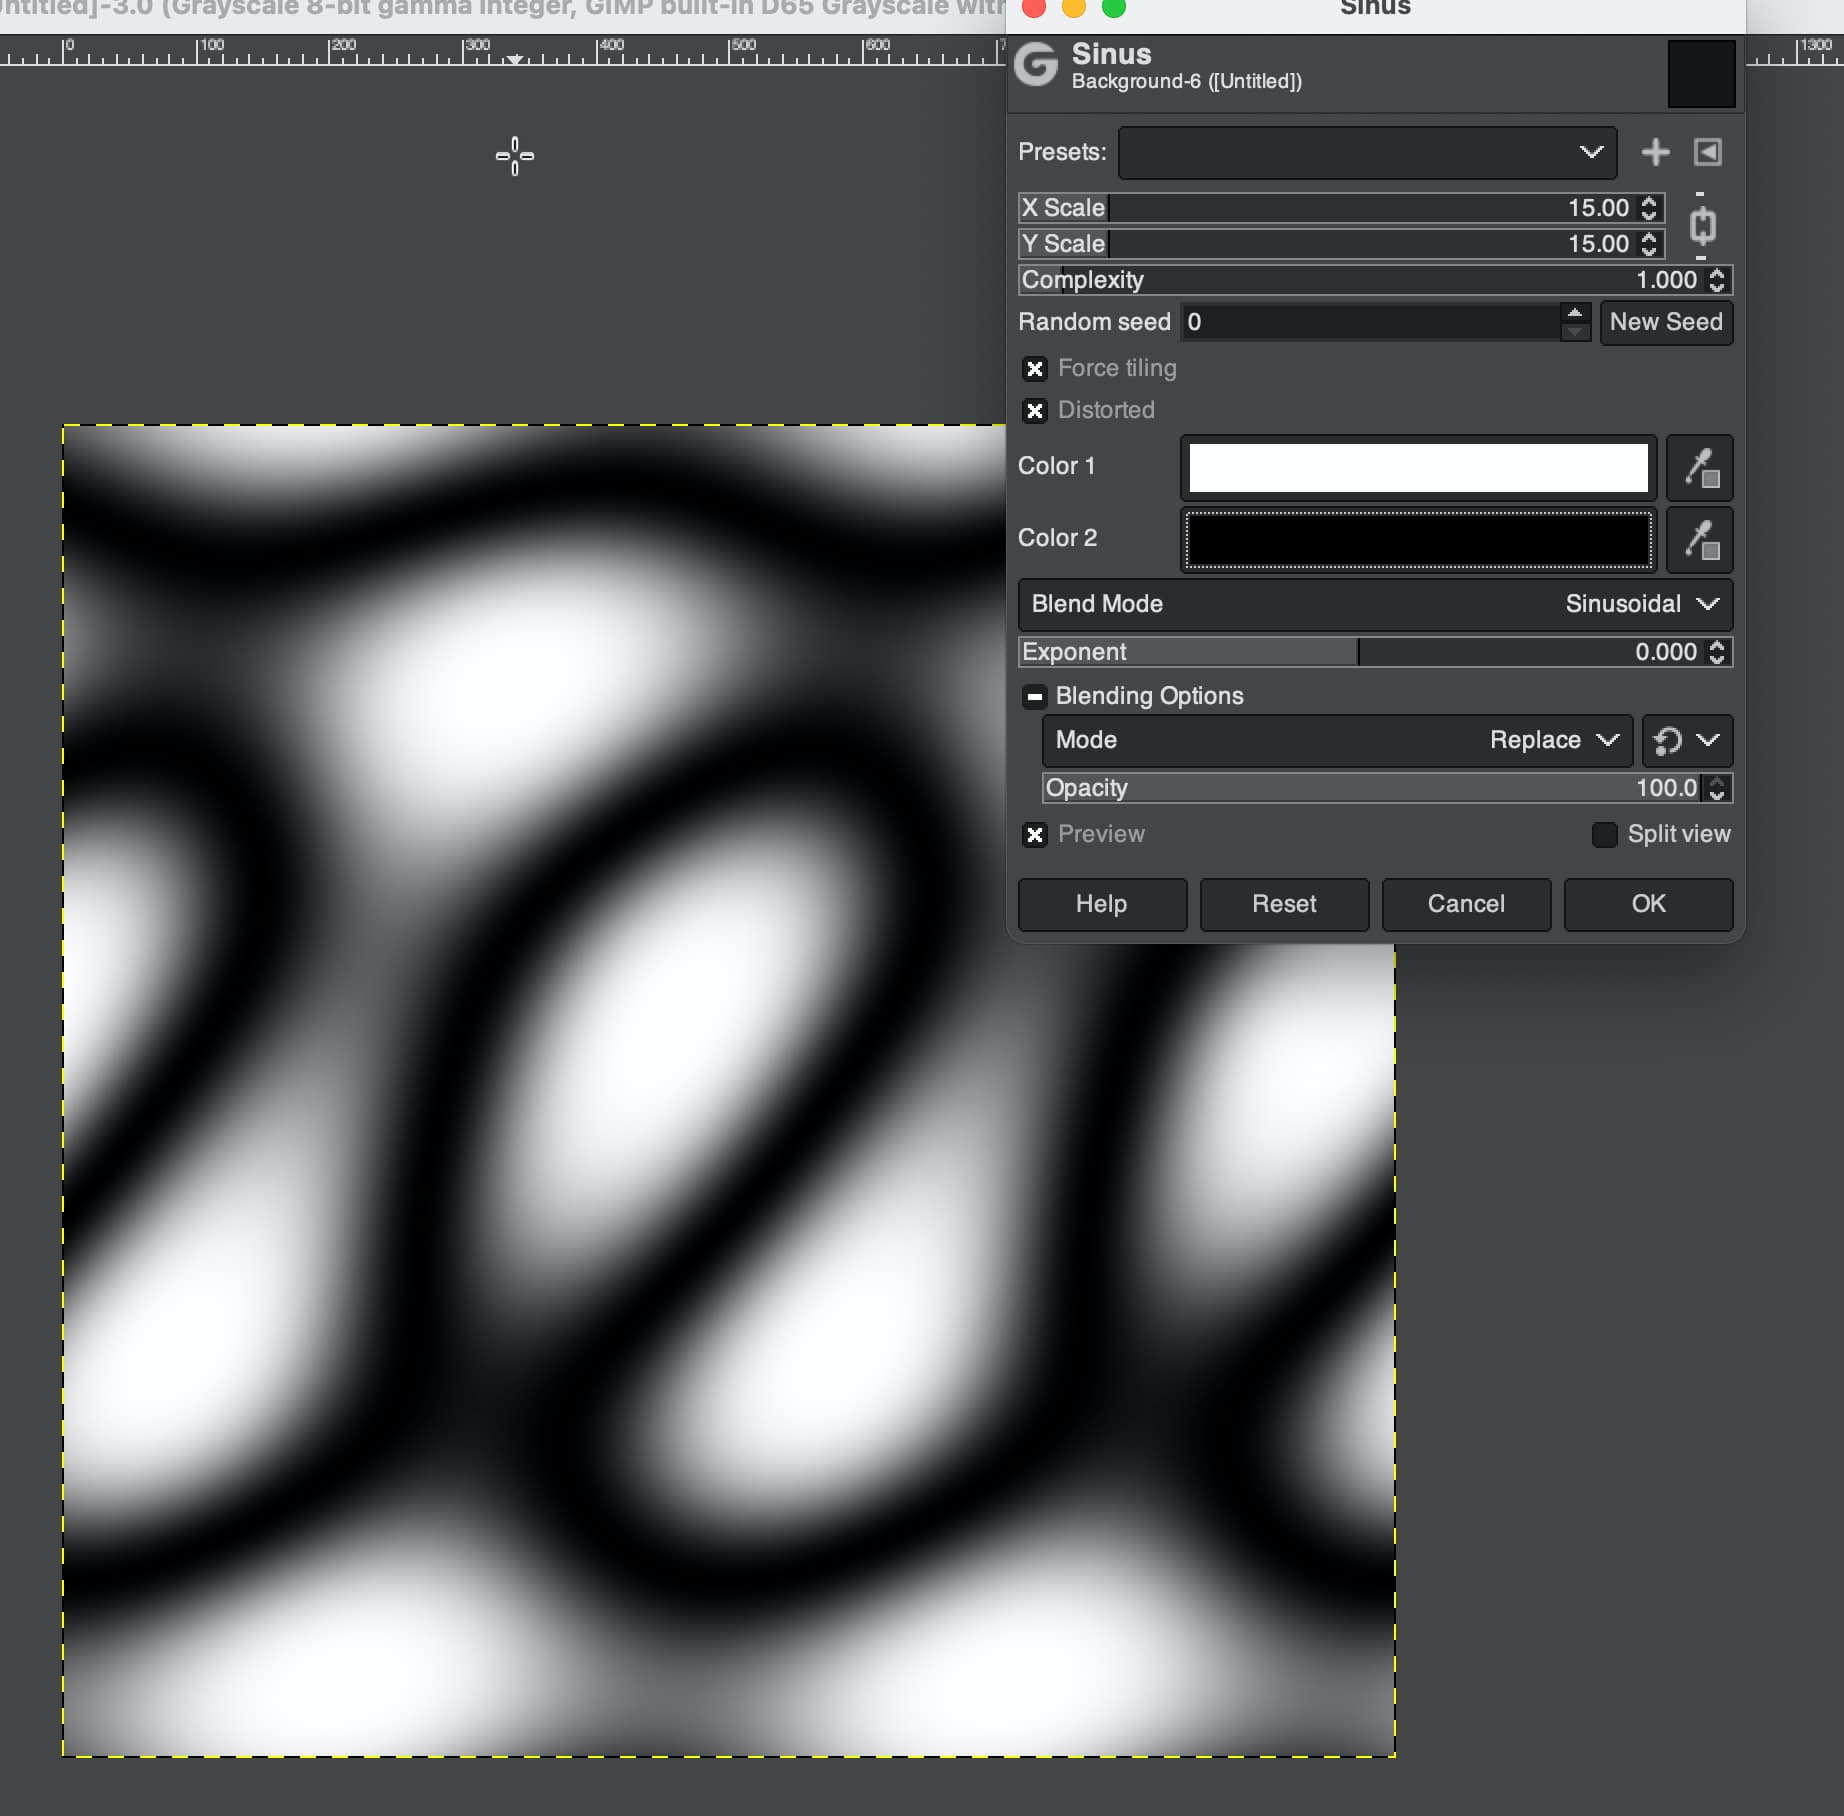
And convert that to a plane using Image2Surface plugin:

Woah hectic!
My process so far has been to either create random images entirely using Gimp filters, or to find other black and white images and blur them. There are endless possibilities, so its just up to you to find what looks cool and get carving ![]()
Good luck and show me what you create!