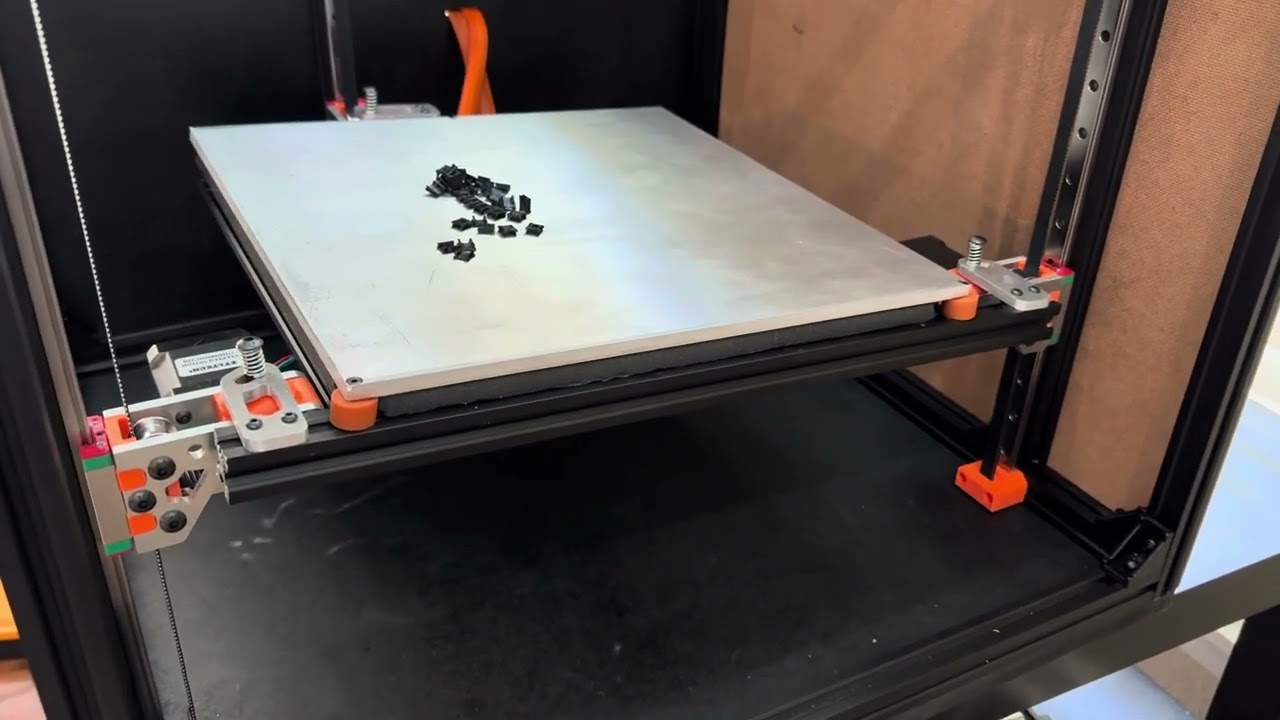
More of a ‘swoosh swoosh’ than a ‘zip zip’ ?
How did you make that belt skipping noise?
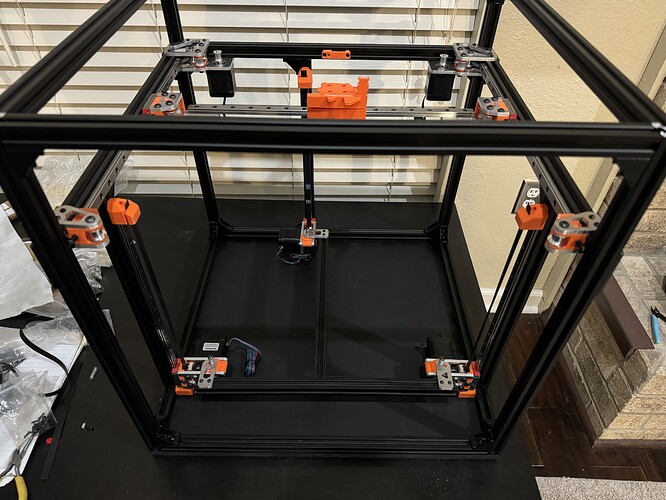
Little update on progress.
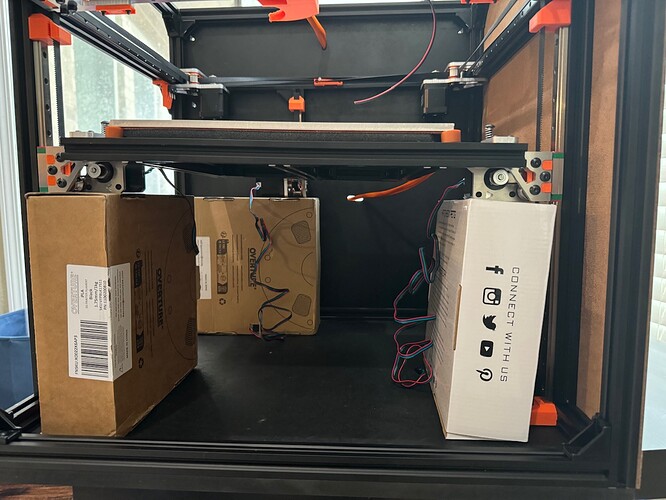
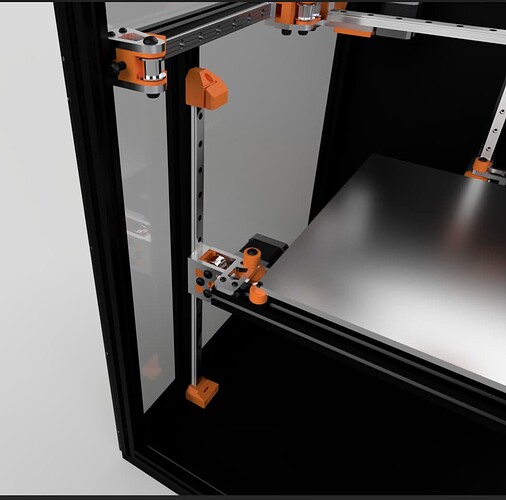
I was able to get the Z assemblies installed yesterday.
Spent a lot of yesterday and today just playing in the CAD and making sure everything was right to fit my build.
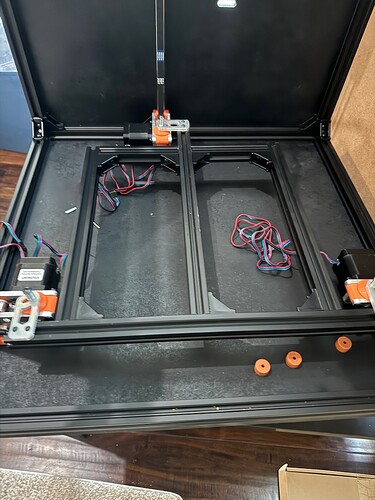
Drew my bottom panel and cut it today out of 1/2” MDF on my Lowrider 3.
Got my Z belts installed today as well as the bed rails.
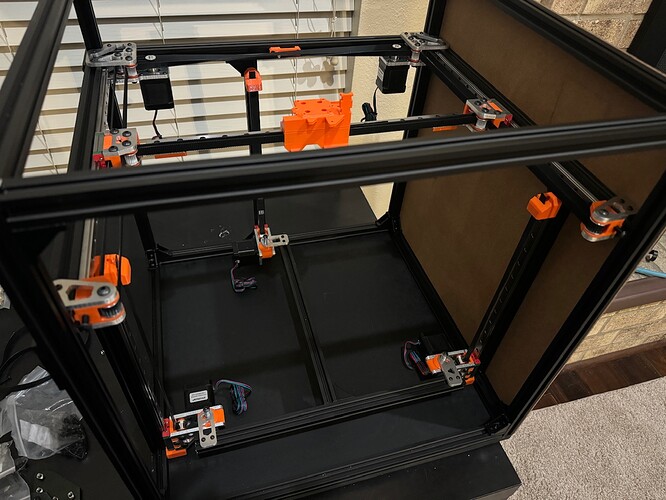
Next steps will probably be to cut my back panel and get that installed. Also might go ahead and make temporary side panels with the 1/8” hardboard leftover from my LR3 struts just to make sure the frame is all exactly where it needs to be before I move on.
That is really cool to see another one!!
Not as much time as I wanted to be able to work on it today, but was able to get 1 temp side panel installed, and got my XY belt installed.
No belt skipping noises necessary ![]()
I guess I owe a little bit of an update. Didn’t realize how long it’s been…
I haven’t really had much dedicated time over the last 2 weeks to actually work on the printer. I’ve just been squeezing in little bits of time here and there where I can.
I have the bed mounted and most of the chamber wiring done.
I still need to wire up the Z brakes, and run a few more power wires, etc before I’ll be able to power it up.
I’m shooting for hopefully having it moving on it’s own this weekend if I can get some time.
I don’t have any completely up to date pictures, but here’s a few I took over the course of building…
Bed support with added extrusion to support future mods
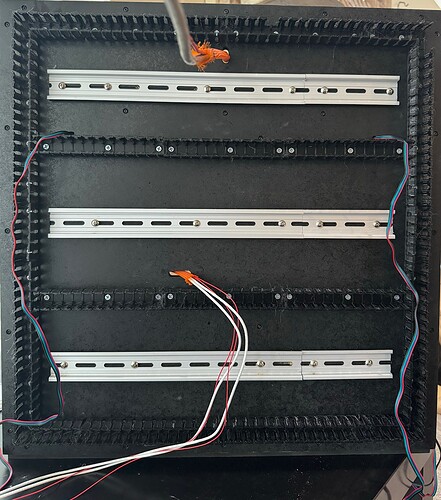
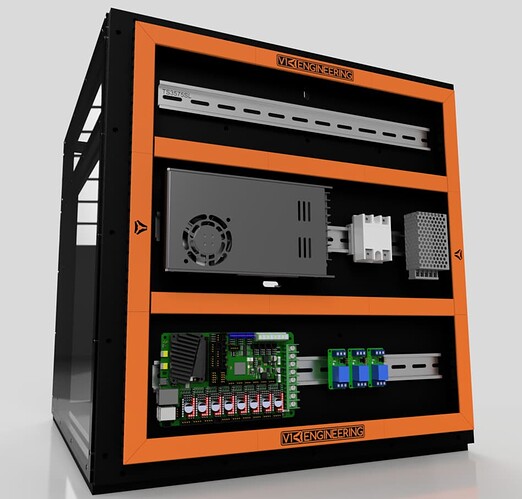
Back panel ready for mounting electronics
Custom Bed stilts for wiring access ![]()
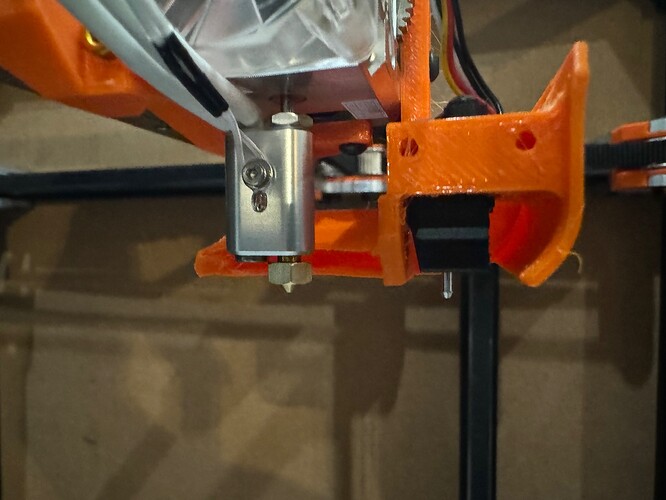
Extruder and probe mounted
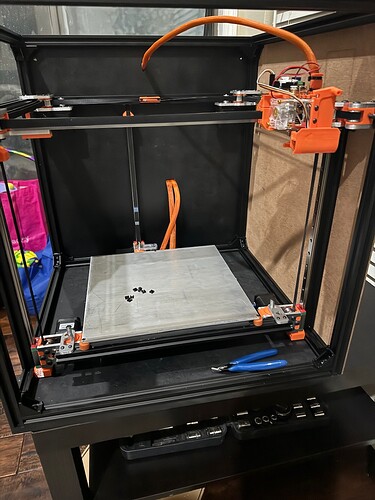
Front view with more wiring done
In the meantime, even though I didn’t get to actually work on the printer itself, I did spend a good bit of time in the CAD planning it all out…
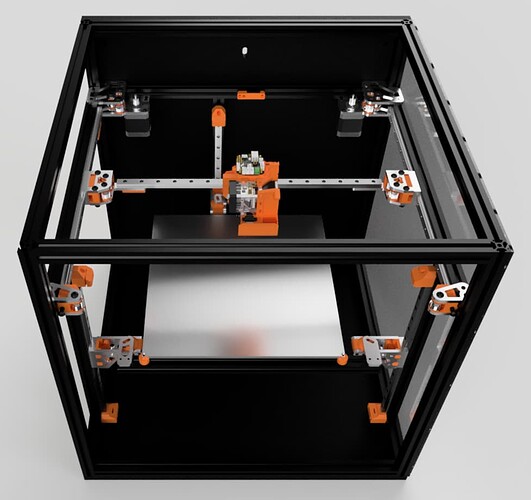
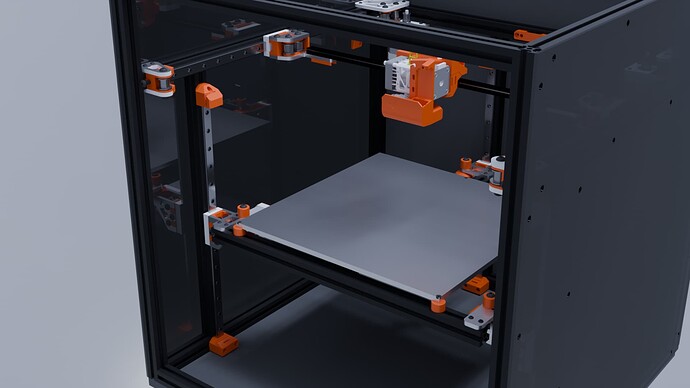
Here’s some CAD glamour shots ![]()
I had quite a bit of upfront planning involved to get the back all laid out… this is what my DXF for the back panel looks like in order to keep everything aligned as intended
I also made a video testing what it’s like when the bed drops when shorting all 6 coils.
This is not wired up correctly, I just have them shorted directly in the plugs.
I kept hearing about how much quieter using 6 relays over 3 was, so I wanted to see what it was like…
It is definitely super slow and super quiet
This is the way!
I like this layout and am going to shamelessly do something similar.
I do also have a plan for enclosing and protecting the back electronics panel…
But it’s not finalized yet.
As soon as this thing starts moving plastic, I’ll start drawing it up
Dang. That’s some impressive layout work. I may redo part of my v4 if I ever get around to putting klipper on it.
Got it printing and serialized
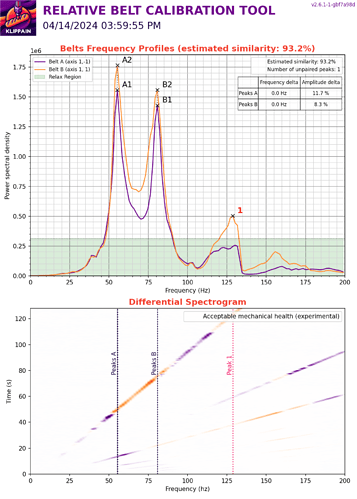
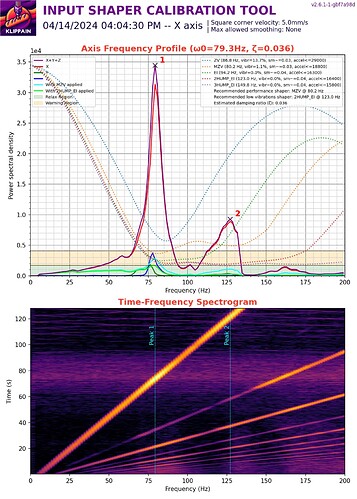
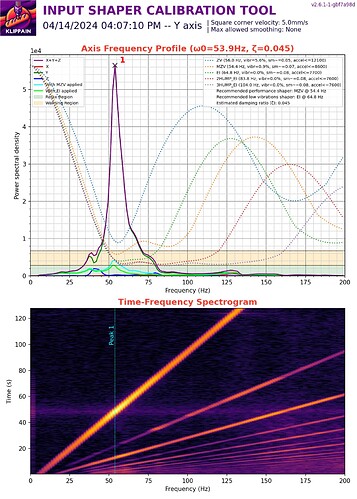
I did a little bit of tuning this morning with the printer to get the belts in usable shape before I attempted to print with it.
Here’s my belt and input shaper results:
Still got a lot of tuning to do, and still need to finish up my back wiring panel.
So current status: Working, but not done ![]()
Congratulations!!!
Pretty stunning graphs, better than mine!
Yeah… ![]()
LMAO
Fair warning to anyone building any printer…Make sure to do Extruder calibration first.
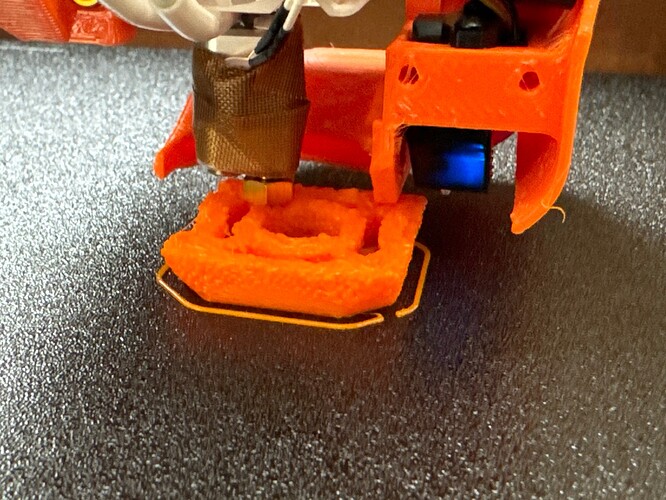
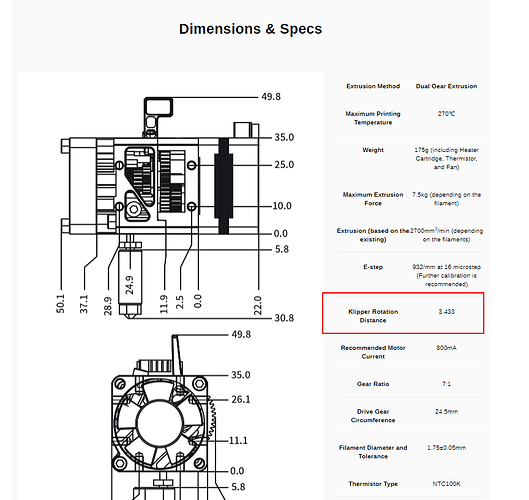
I started a calibration cube print yesterday to just get my first print done. I’m using the Biqu H2 V2S Lite extruder and had it configured in Klipper according to their specs.
Well, with it configured to the recommended specs, it was extruding 2x as much as it should have.
So much over-extrusion my nozzle was dragging through and sounded like it was about to rip it off.
My rotation distance ended up being 6.9 for it to extrude properly.
“Trust but verify”
