My ‘shop’ shoes are no longer allowed inside the house.
5 Likes
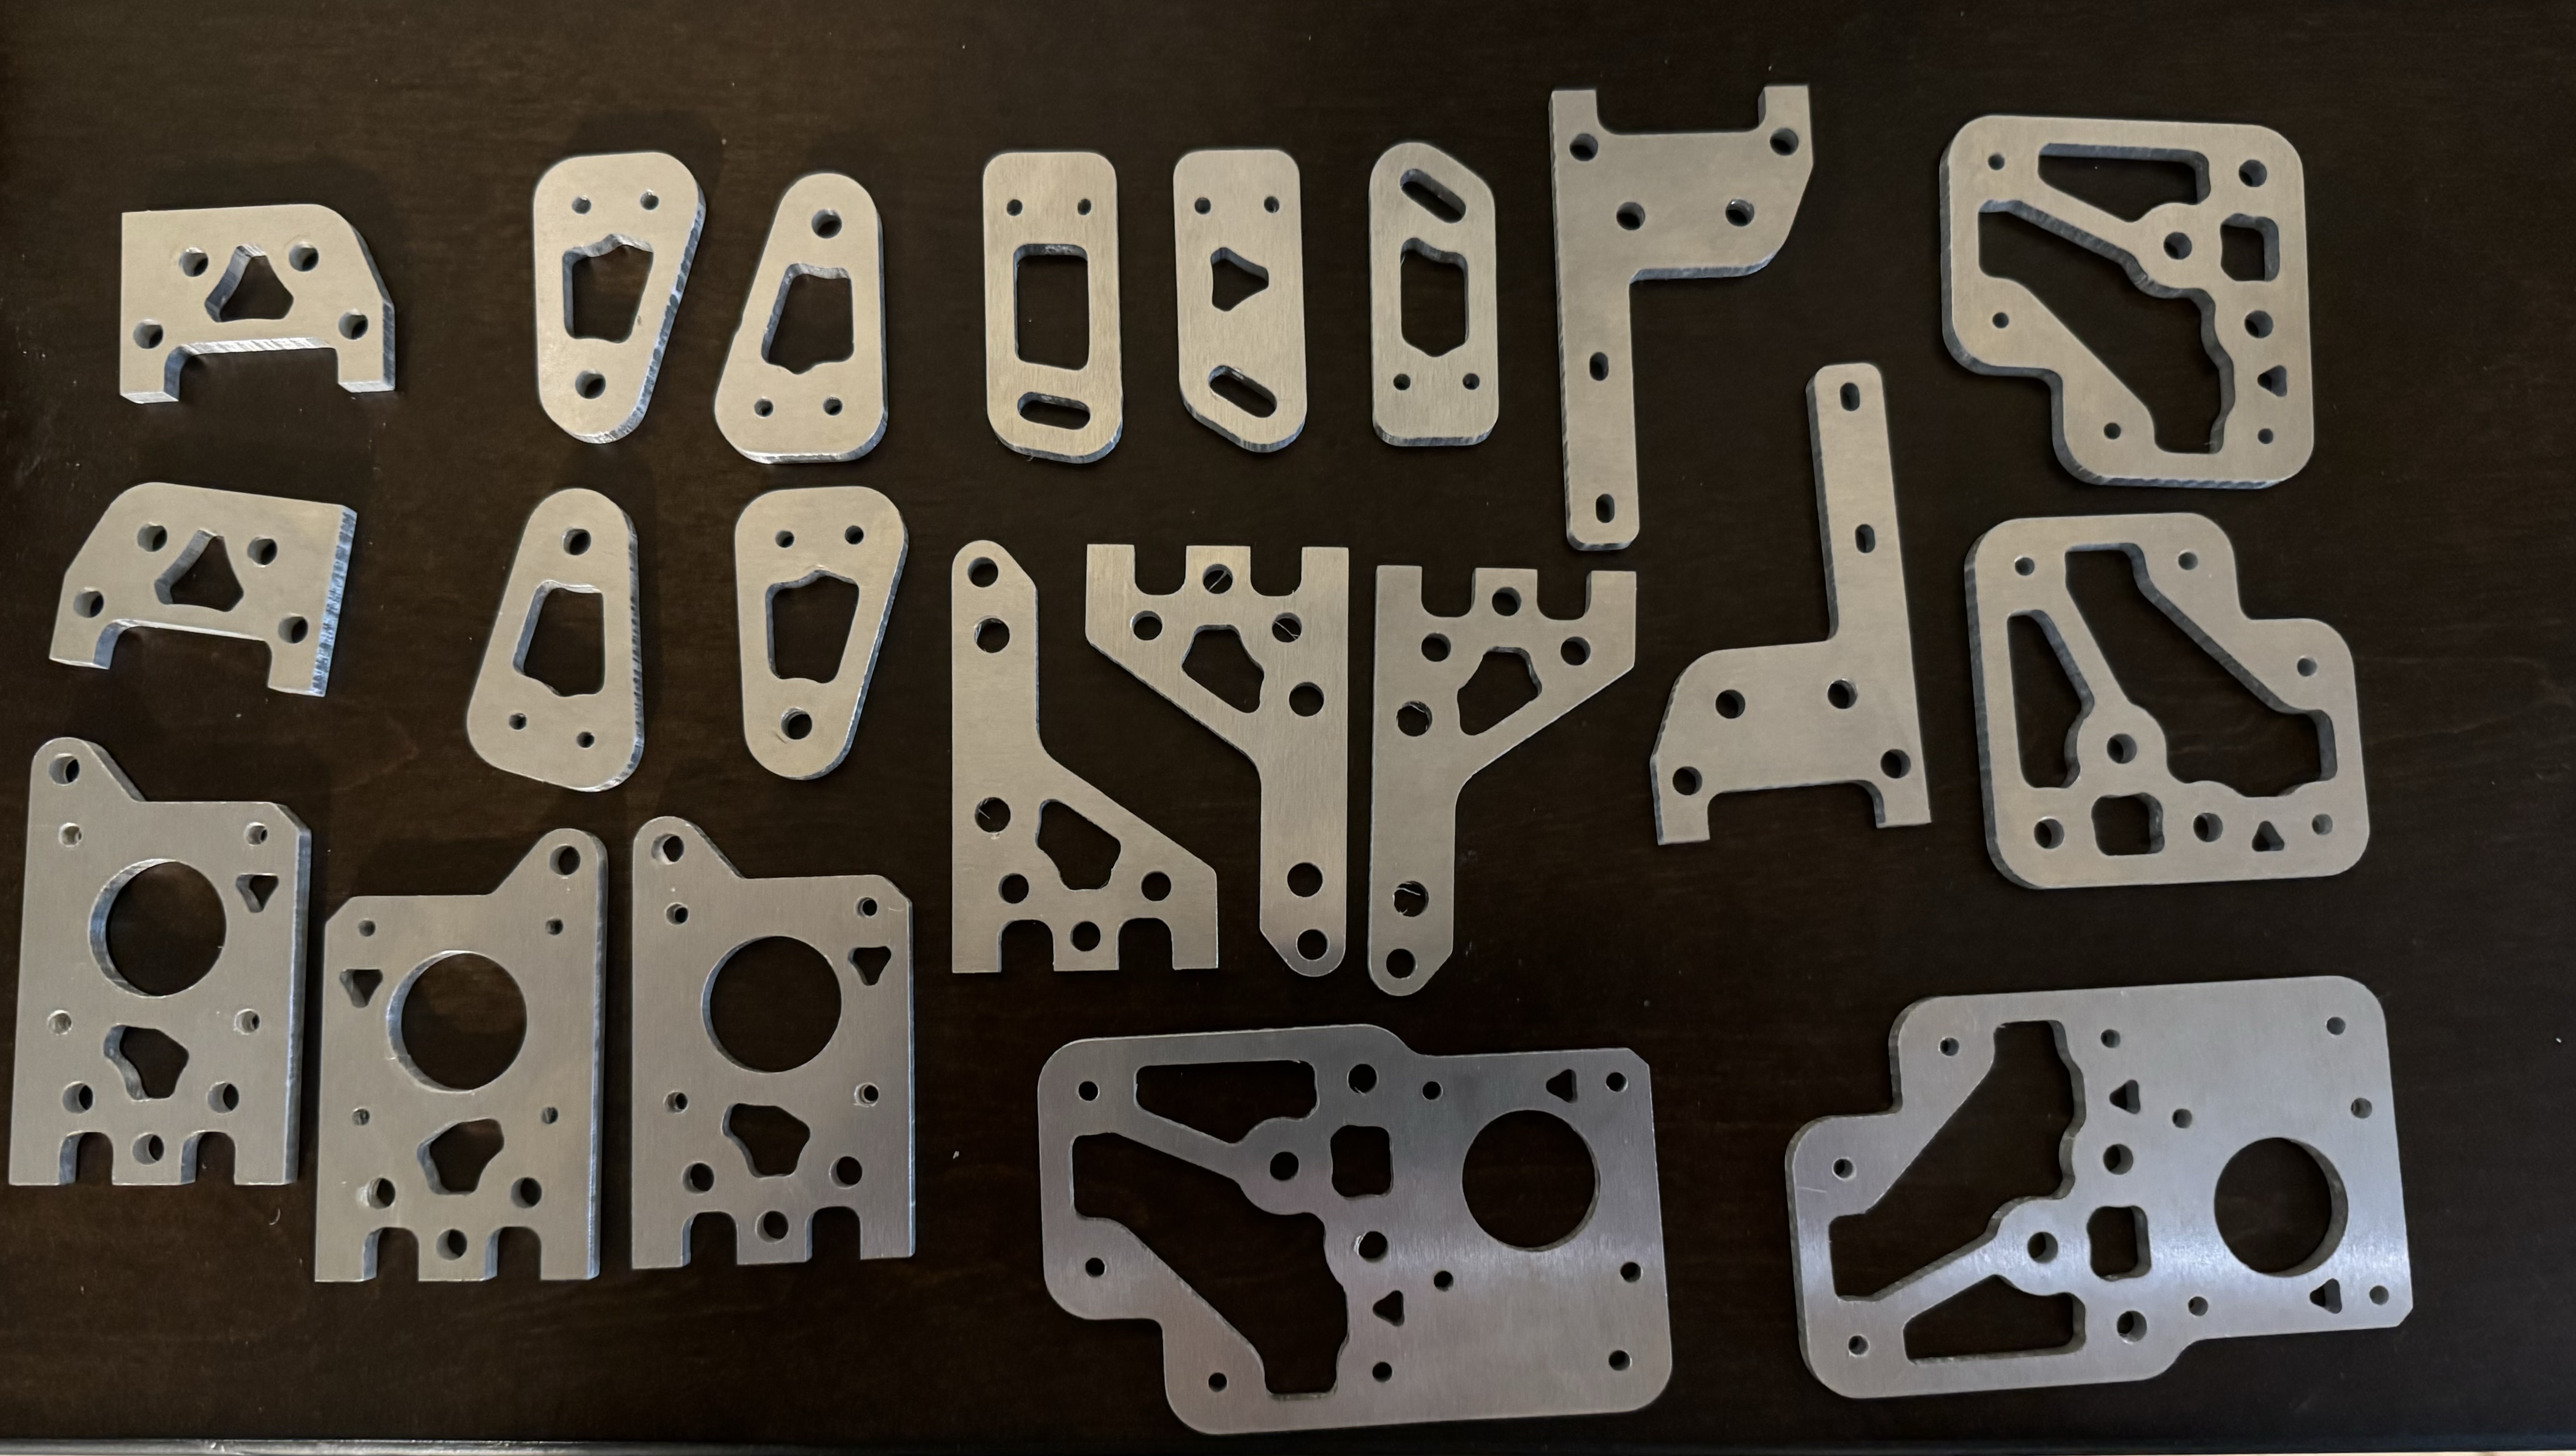
Ok…got all my plates done Friday night and Saturday morning
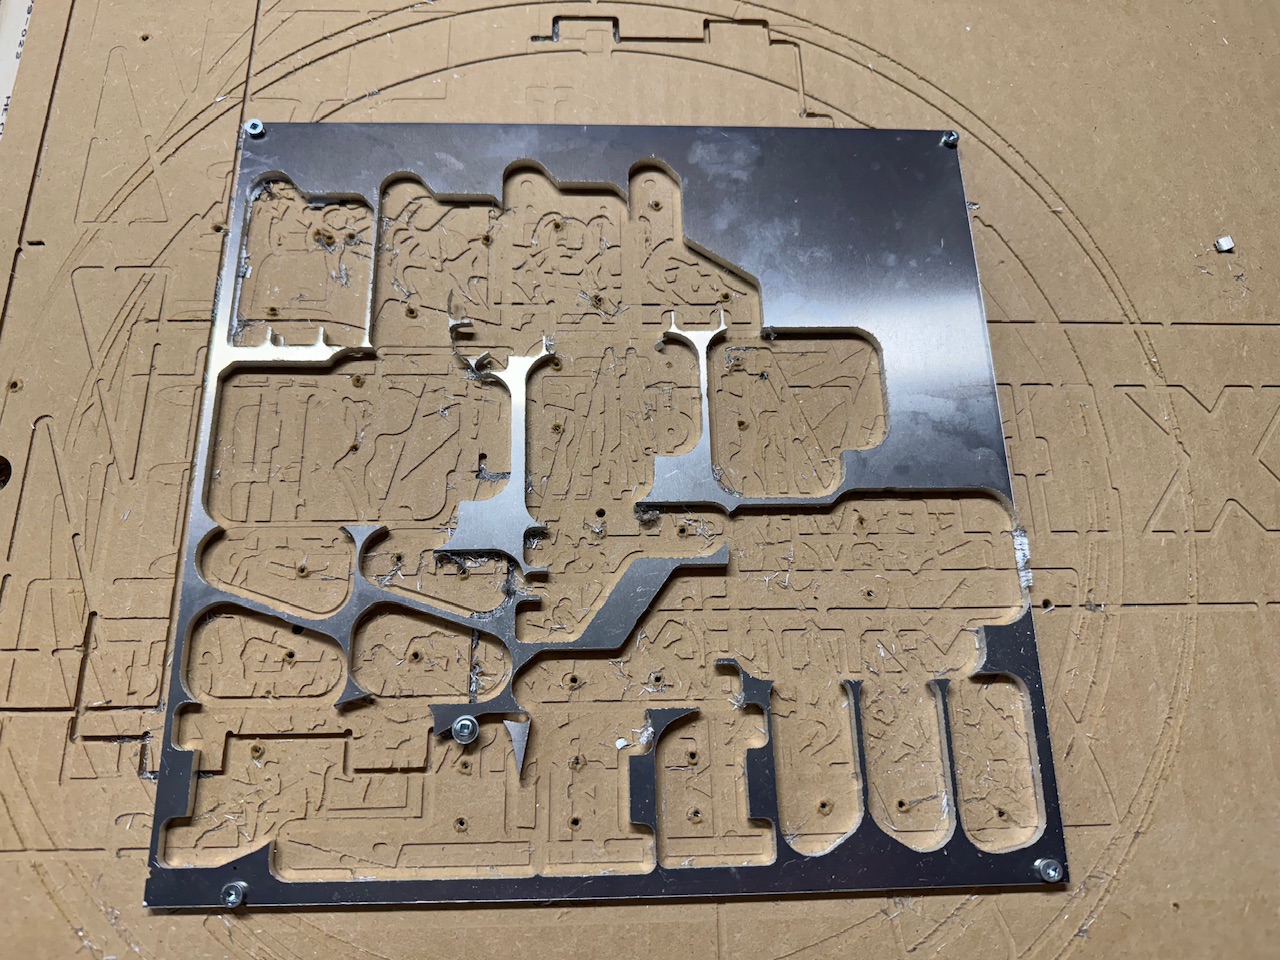
Final 12"x12" sheet after all cuts:
Was able to spend a little time Sunday working on the frame.
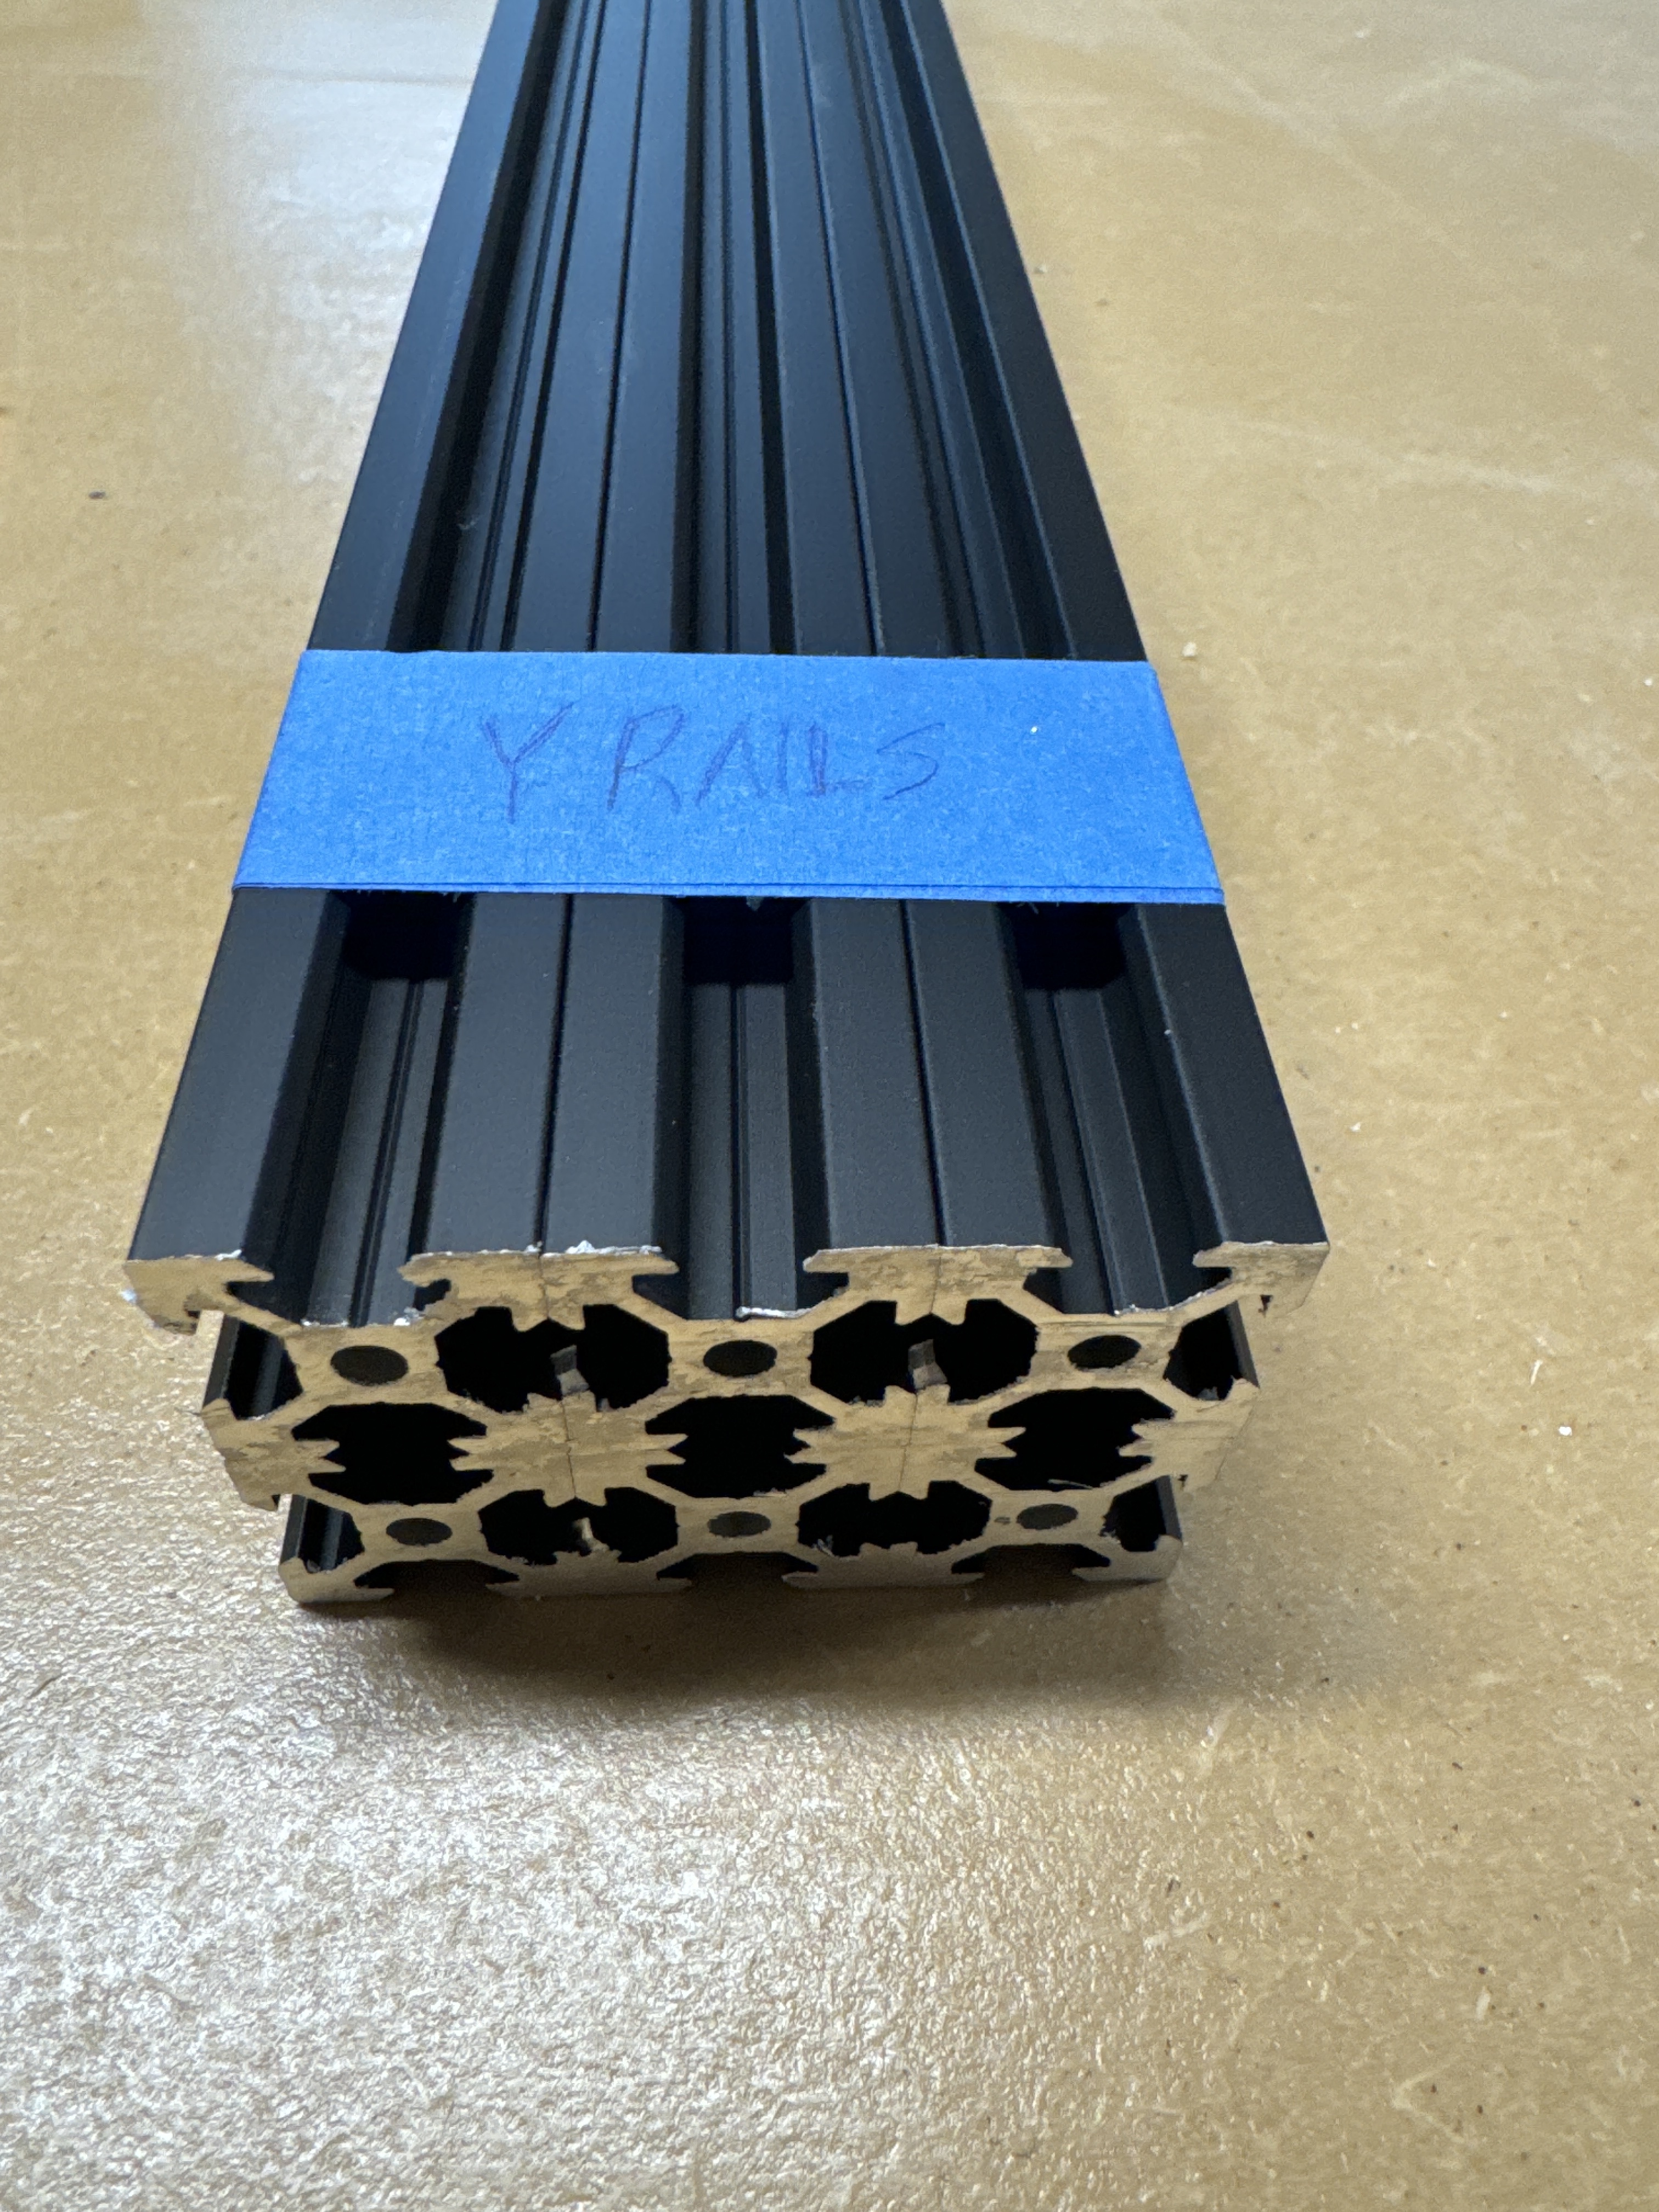
I used some painters tape to group my extrusion by length and ensure my cuts were the same length
Was able to squeeze in just enough time to get the frame all assembled and squared up…
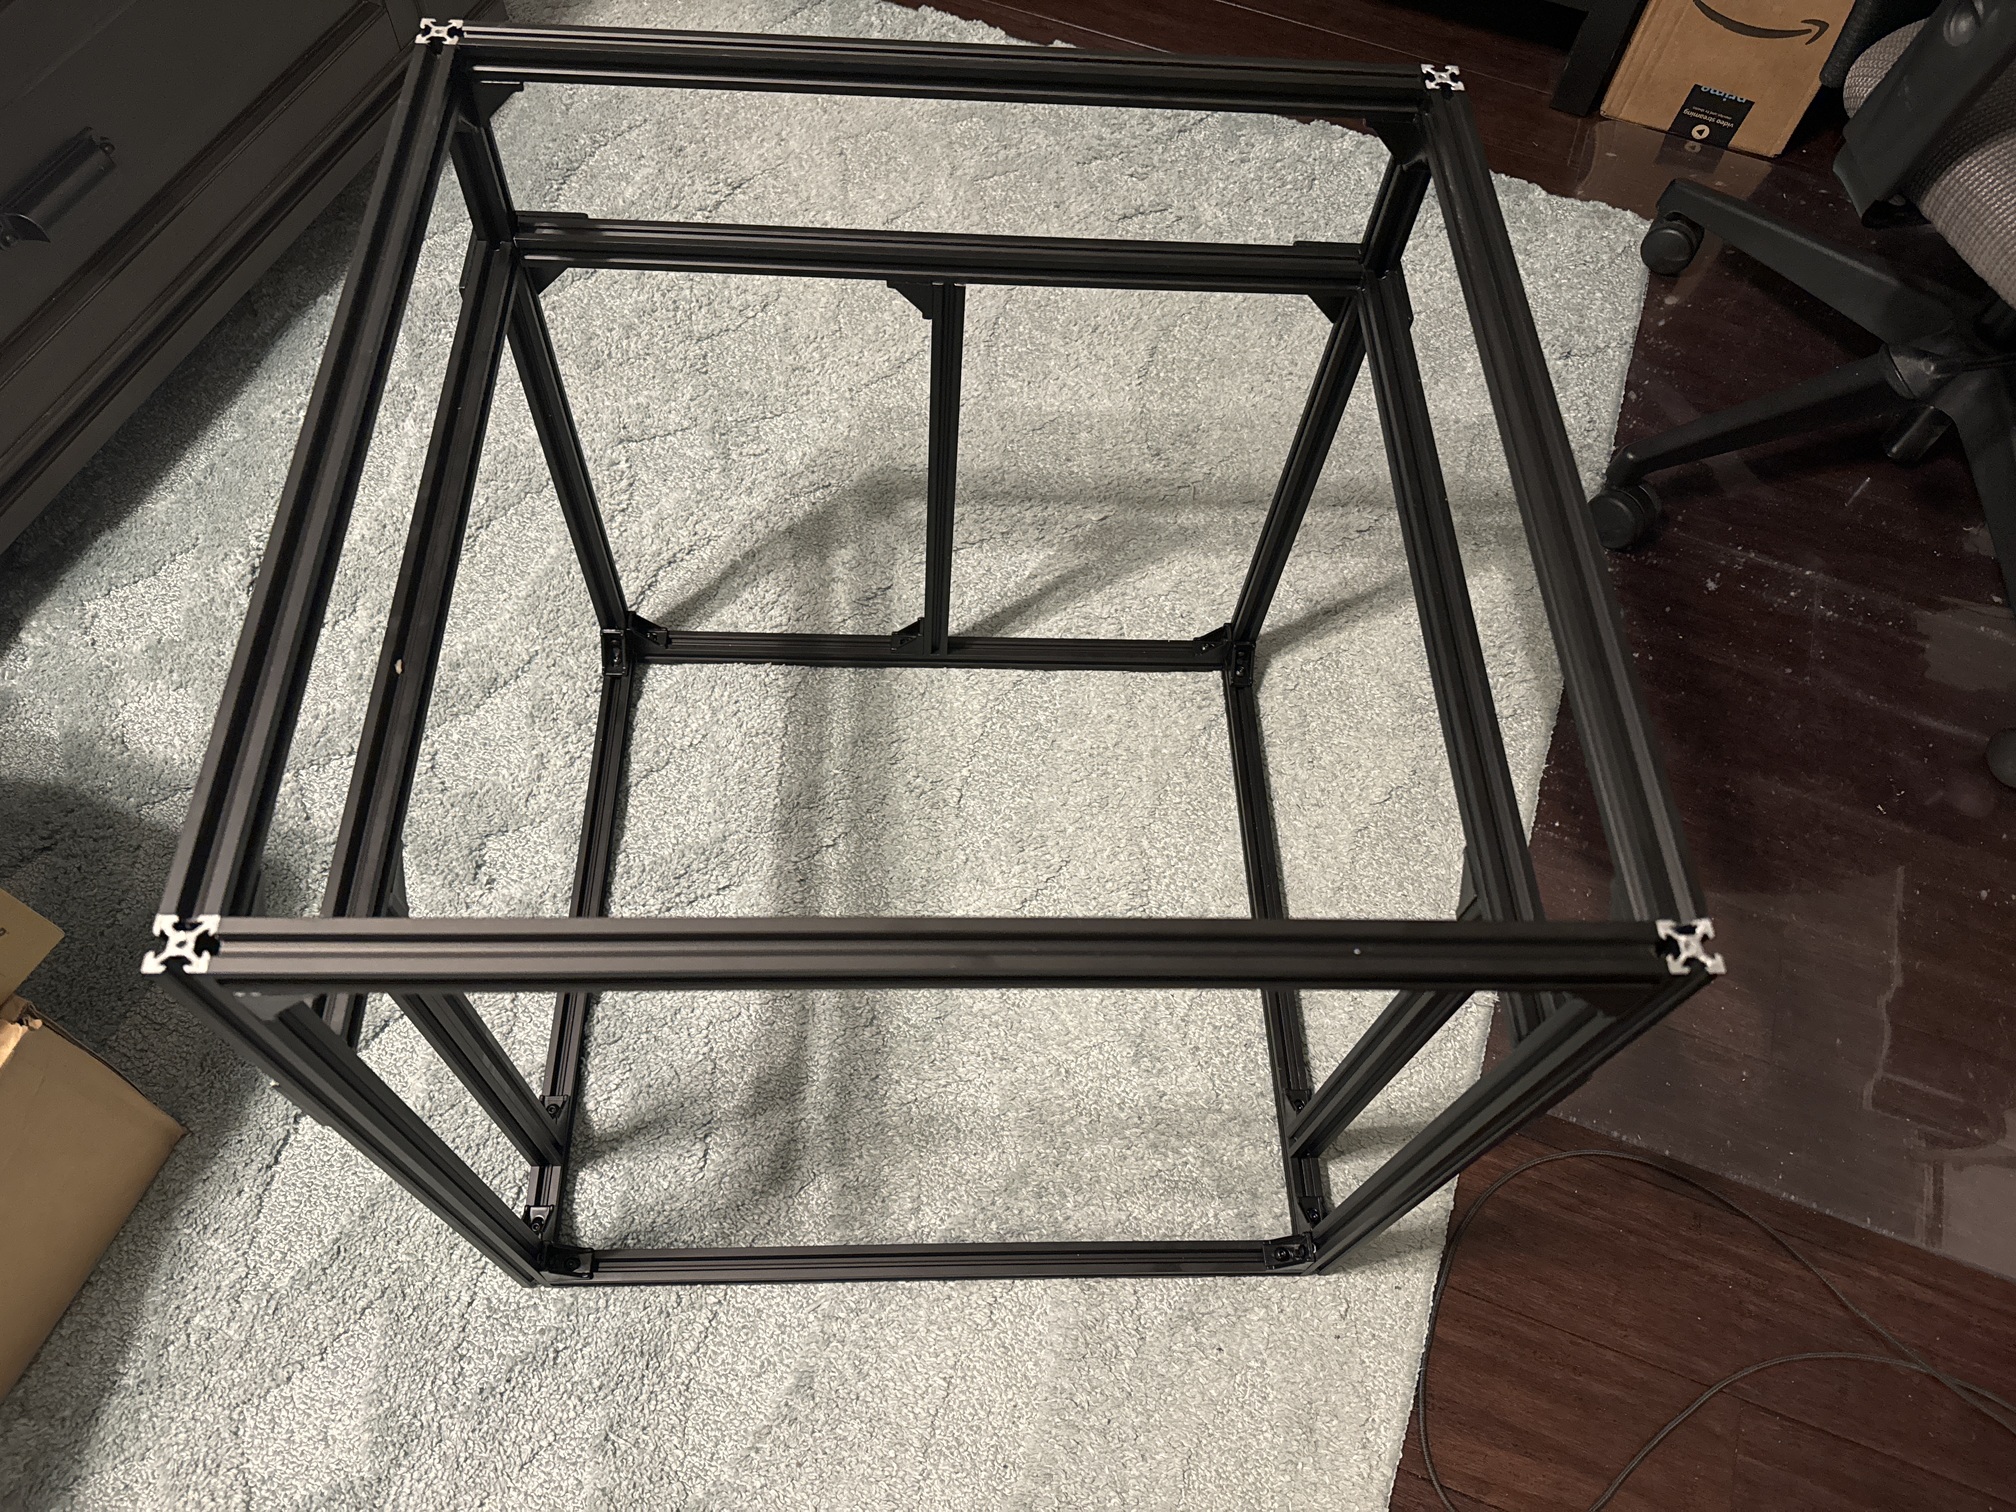
7 Likes
Looking good @Michael_Melancon
2 Likes
A little progress today.
Y Linear Rails in place. Still need to make sure they are square with each other.
Rear motor mounts done.
Front tensioners installed.
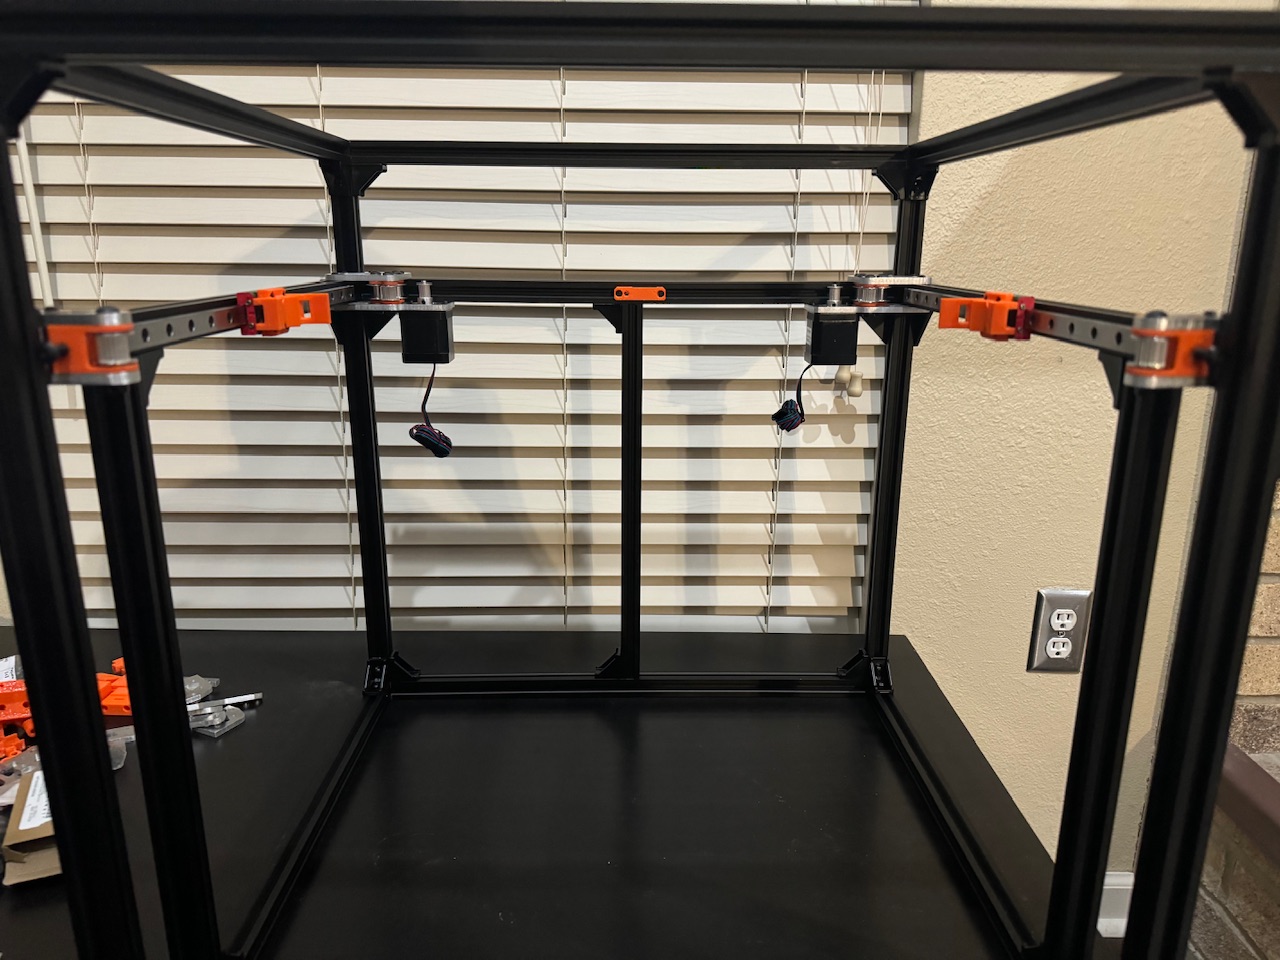
4 Likes
I have a rail aligner part in this folder, Printables
There are a bunch available, the work surprisingly well. I usually print 3 to make things real sturdy.
Is that to align the rail to the extrusion?
I meant to square up the diagonals between the 2 rails across from each other…but those might be useful too.
I saw the rail aligner, but wasn’t sure exactly what it was for
1 Like
Yeah, the rails have a lot of play. Putting them dead center helps make the frame squaring matter.
I highly suggest spending extra time of this, skew compensation is amazing but so it having it only do a fraction of a mm. I end up measuring my diagonals…more that care to admit.
I get the back as perfect as I possibly can, making all the dimensions match the CAD. Then each side, same deal, exact measurements. Then I check top and bottom, last is to see if the front is already perfect or not.
1 Like
I did check all the extrusion dimensions multiple times before I started adding the linear rails, and it was all dead on.
The outer diagonal on the front was 1mm out of square, but the inner part was dead square, so I moved on and assumed it was a small discrepancy due to cutting artifacts or something
So since all the extrusions are square, I wanted to make sure to square the Y linear rails with each other to make sure I was aligned as possible with the distance from the rear to the rail.
3 Likes
That will make everything easier later for sure.
ugh…why didn’t y’all tell me I had the wrong pulleys on my tensioners??
3 Likes
I’m lost on which ones go where. Could you draw me a picture?
It’s those front ones. Supposed to be smooth idlers
I’m just following the CAD and the pictures in Ryan’s build thread. I think you can see them all clearly there.
If there’s a specific one you have a question about I might be able to answer
2 Likes
Got to let you figure out some of it for yourself ![]()
3 Likes
but the whole point in these build threads is to expose the unknowns and trailblaze for those that follow behind… you know, make it easier for us lazy ones since if you aren’t the lead dog, the scenery never changes at least there are footsteps to follow.
2 Likes
I honestly didn’t even notice it until he said something LOL. Shows how observant I am LOL
1 Like
lol….it was a joke….
I didn’t notice it either, even though I spent all day looking at that smooth idler in the CAD.
I was just about to send Ryan message thinking he messed up my order. I knew I ordered 6 and could only find 4……
Then I found them ![]()
3 Likes
It happens for sure! I ordered extra of the toothed and smooth just incase I dropped one and it went into the abyss

They better not be the SAME noises as the CNC…cuz they are way different. More ![]()
3 Likes