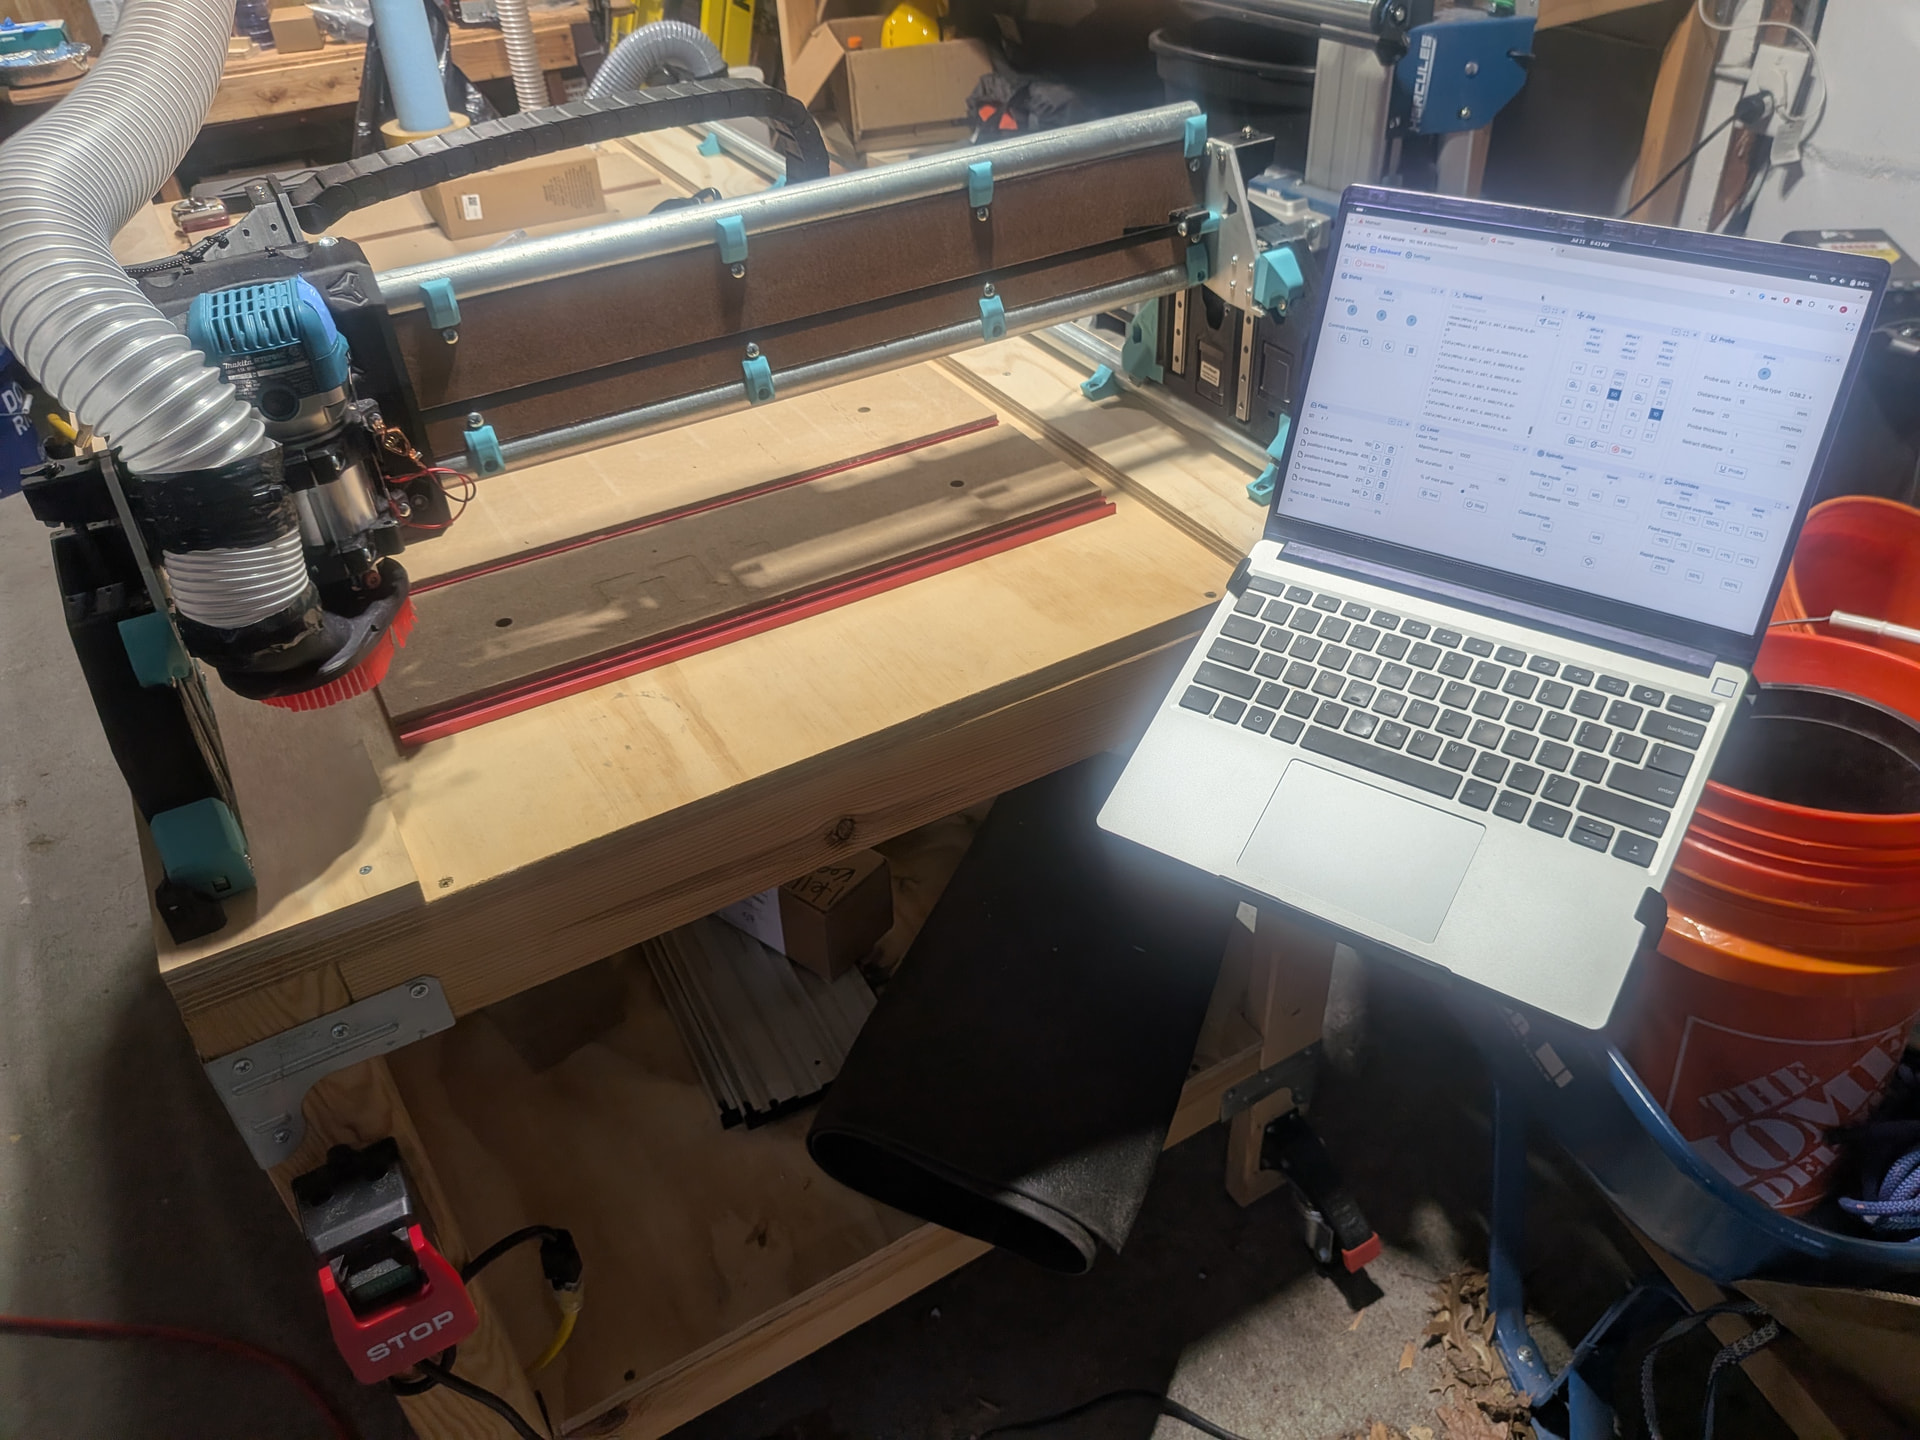
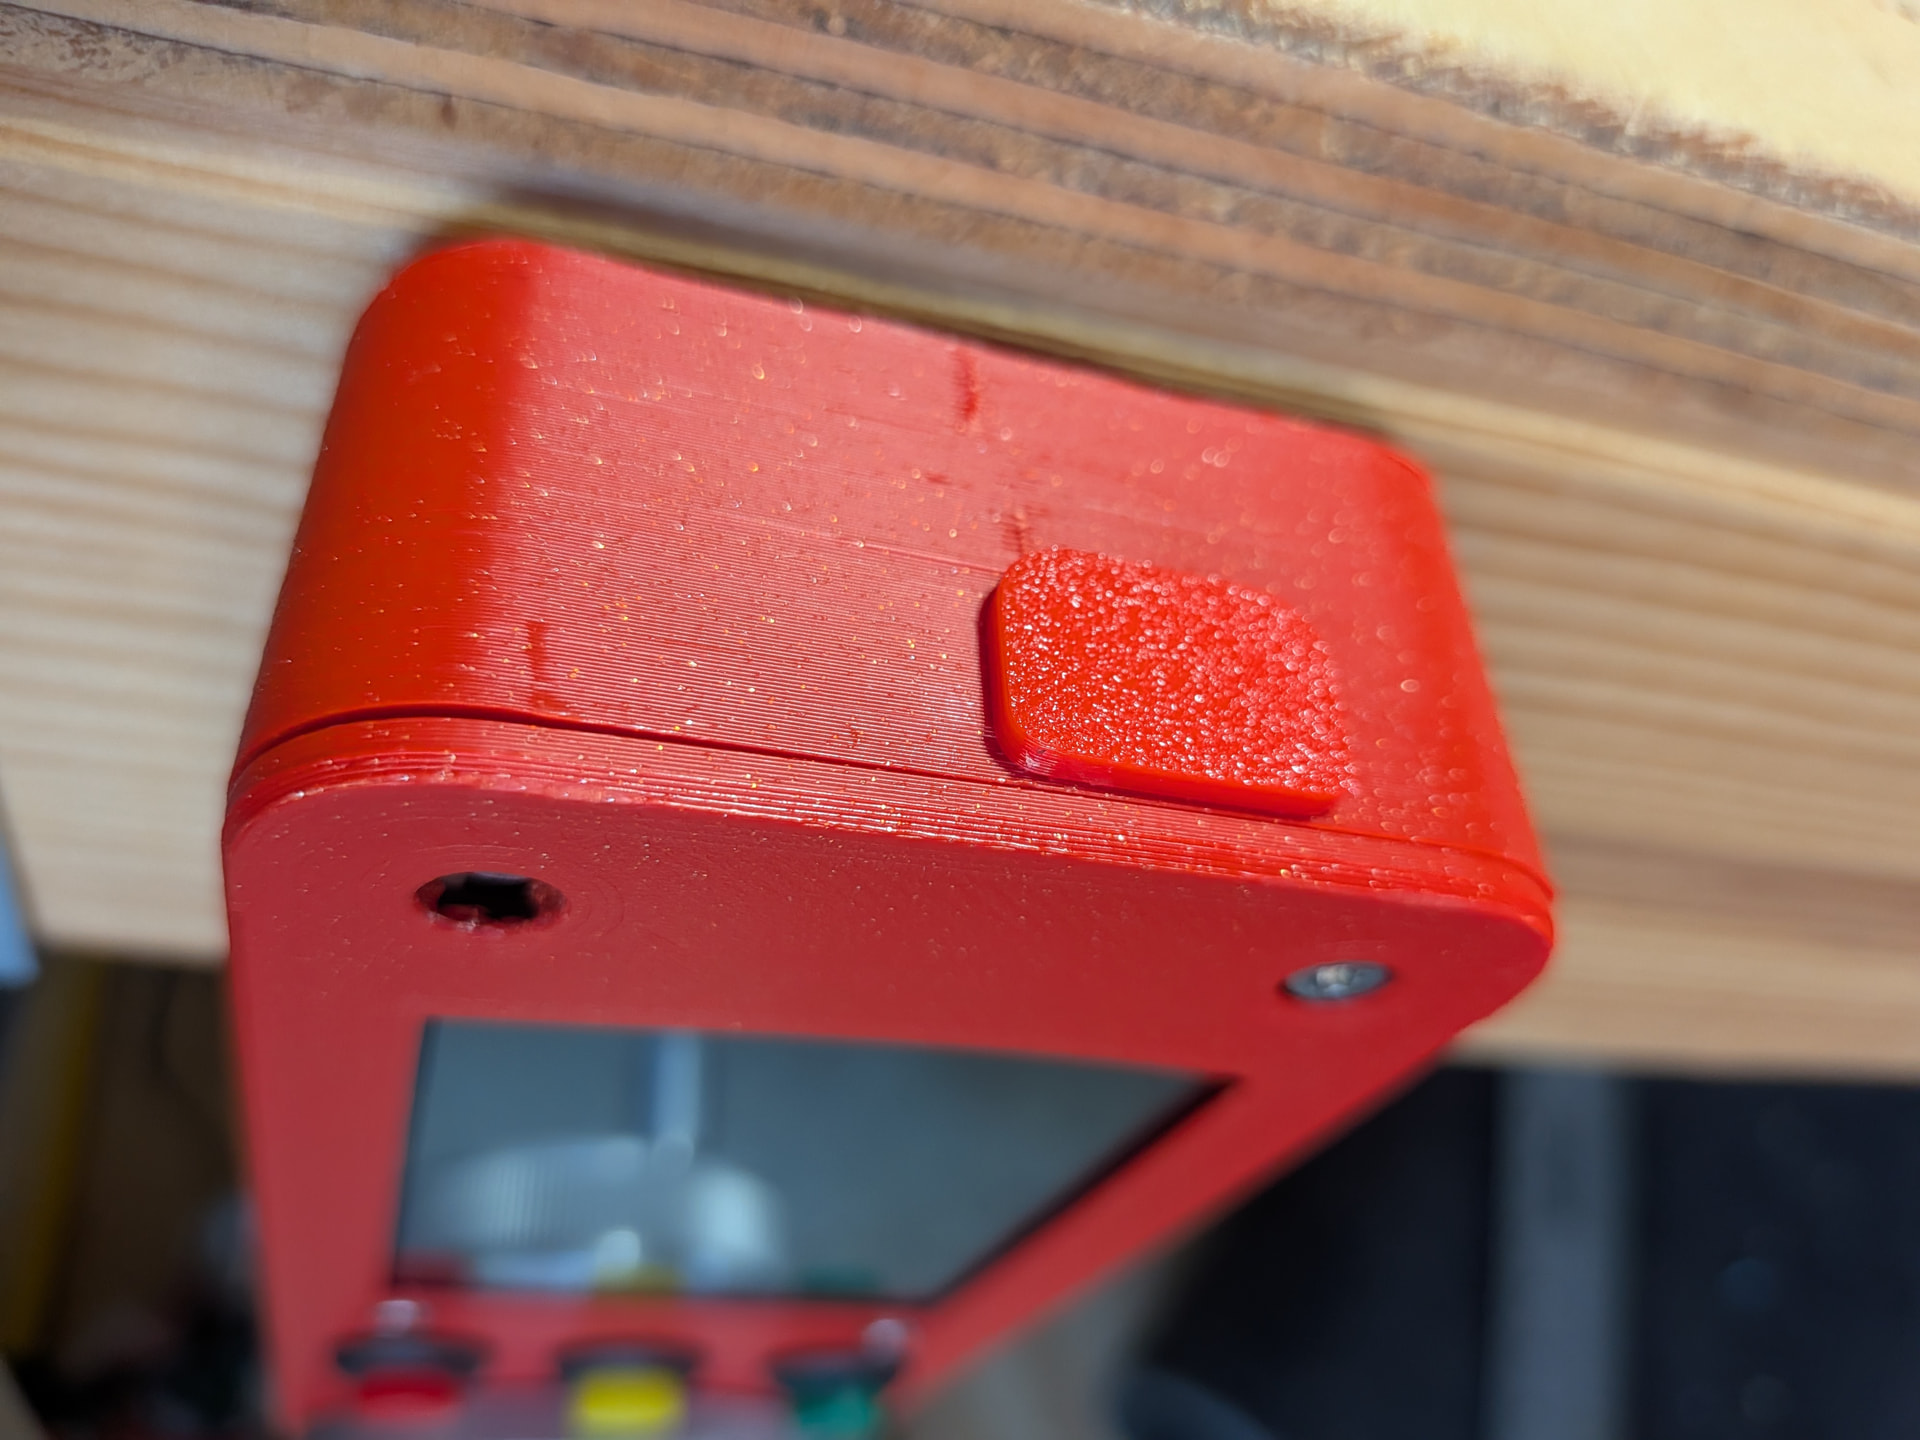
I built a LR3 a few years ago, and accomplished a few projects with that, but I never got it to the point where it was reliable or enjoyable to use. I ended up selling that machine and built a LR4 which is so far a lot nicer to use. I applied many lessons learned from the previous build.
Cutting area: approx. 25” by 52” (I debated this forever but ultimately full sheet was way too big for my space, and this will improve rigidity as well)
Rails: 1” EMT
Struts: 1/8” hardboard
Tool: Makita RT0701C
Filament: Polymaker PLA PRO for most parts, Polymaker ASA for tool holder rings, Overture TPU for dust brushes
Spoilboard: 3/4” MDF plus T tracks
Controller: Jackpot 1
Firmware: FluidNC
CAM: Using MillMage and liking it so far; plan to try FreeCAD, and might buy Vectric eventually
Tool cable management: Drag chain
Dust collection: Overhead
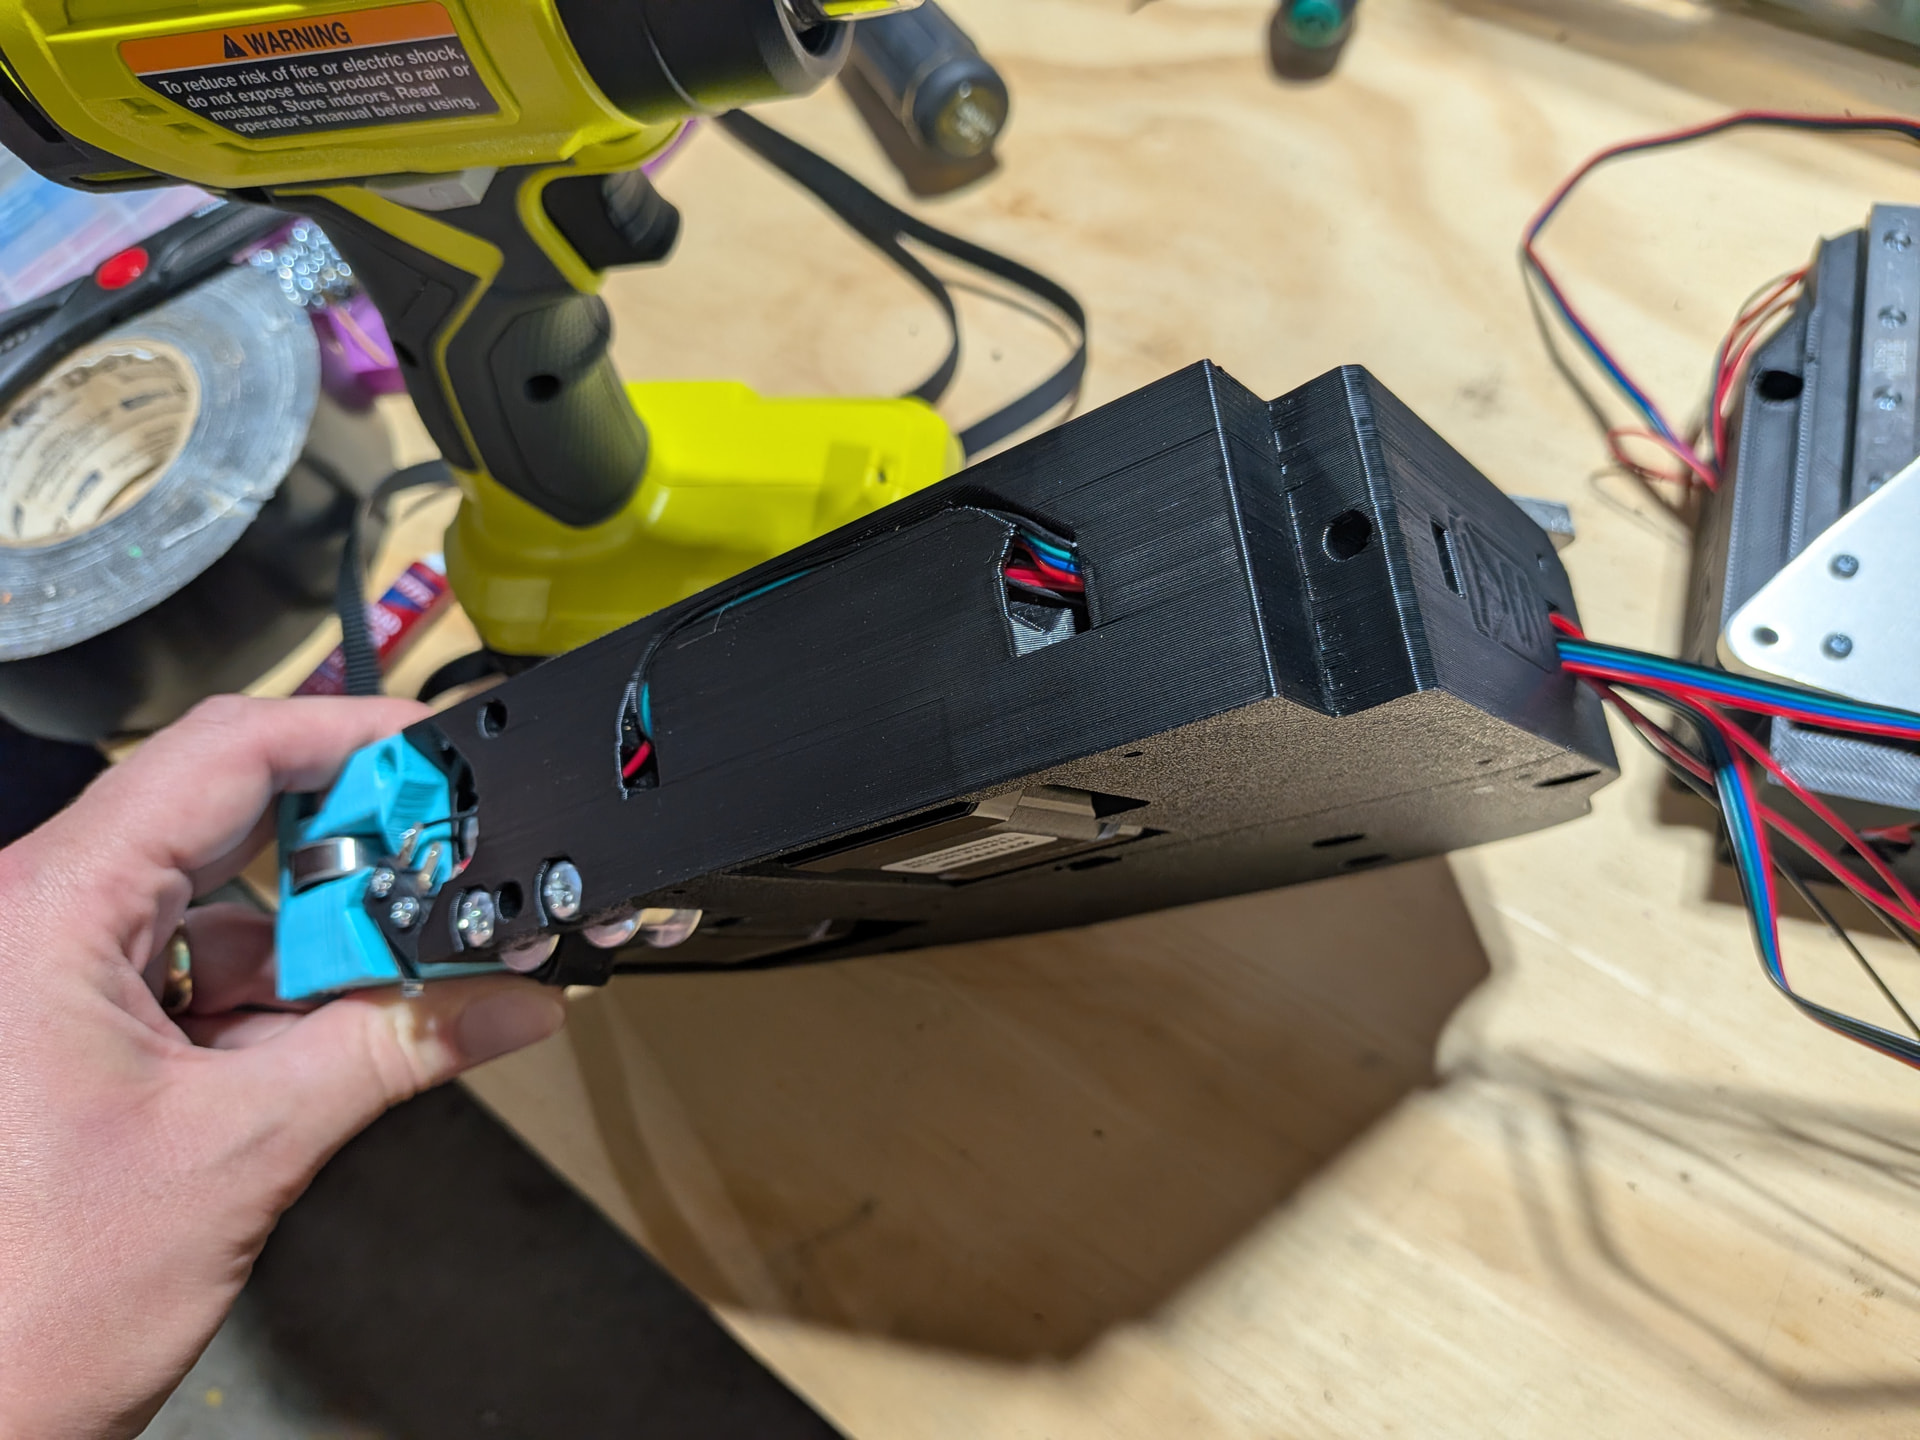
Love the internal cable routing, a cool capability of 3D printed parts
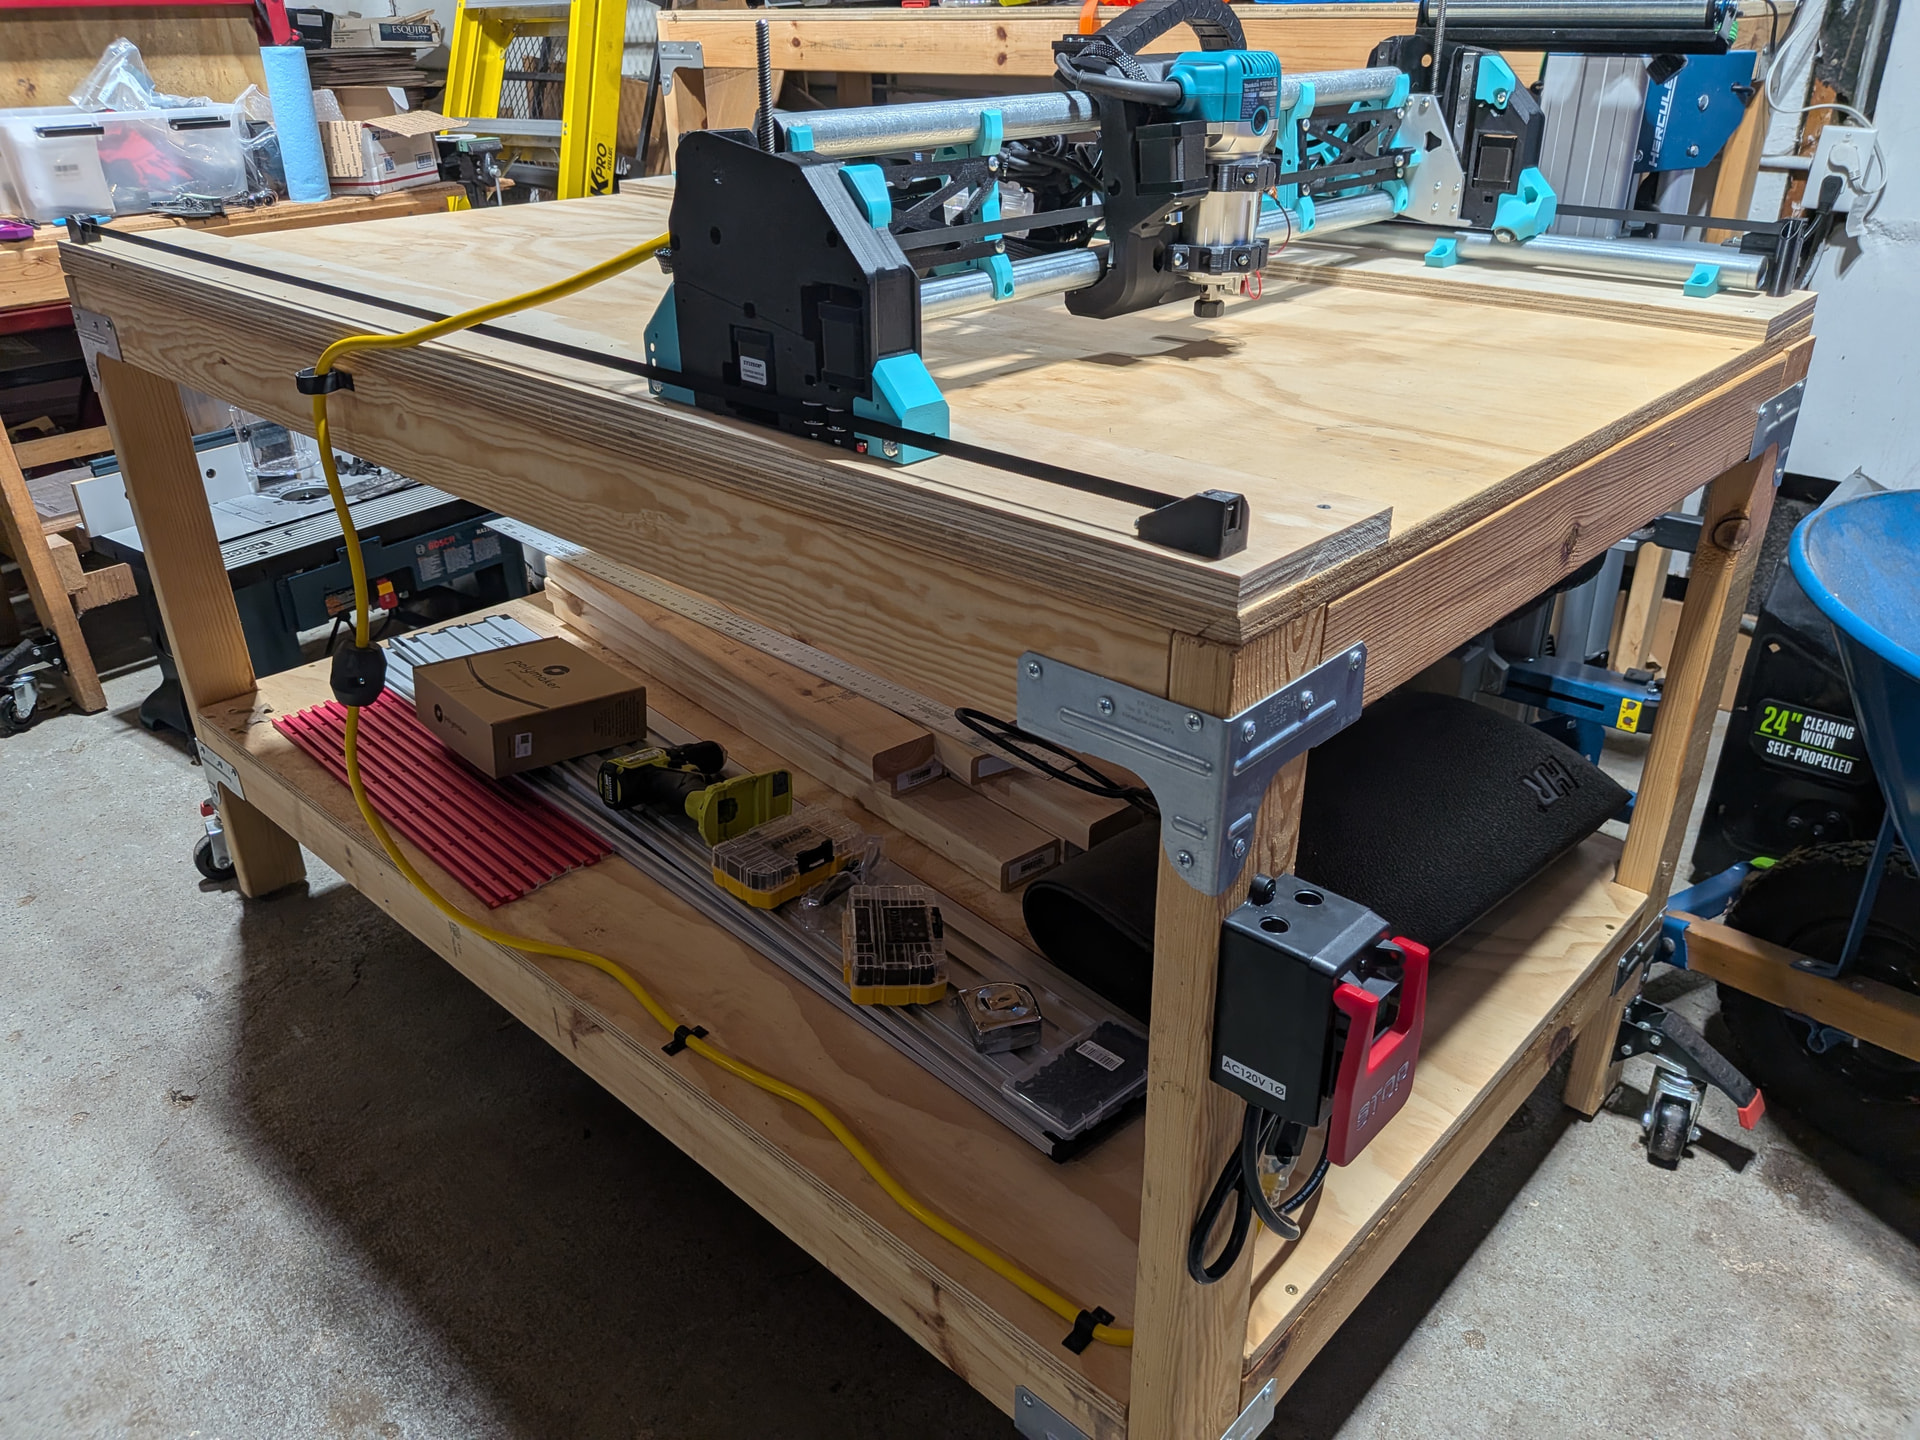
First moves!
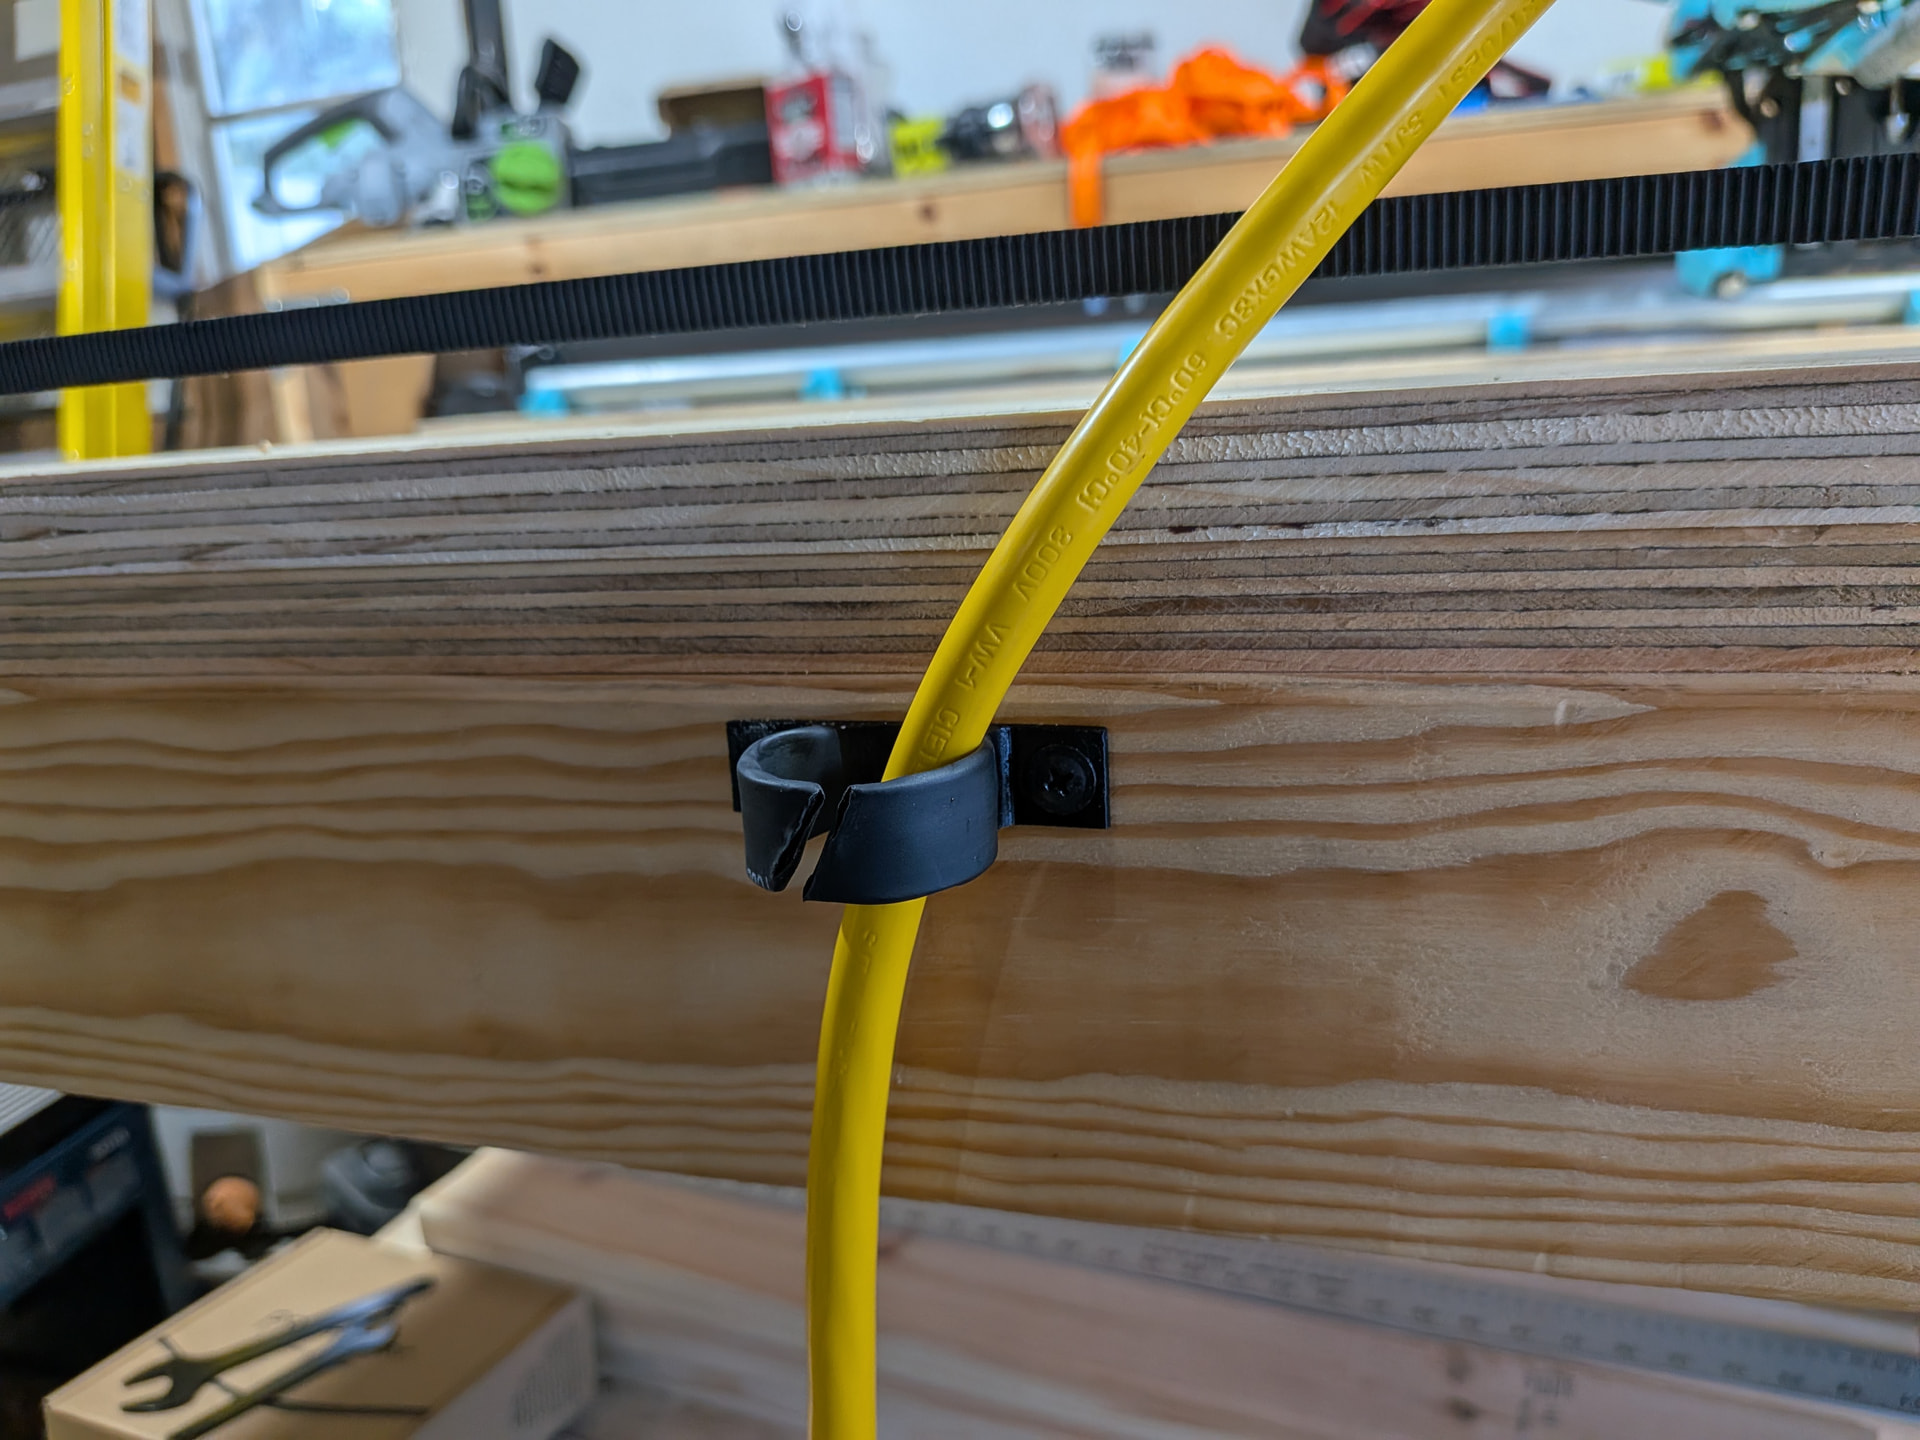
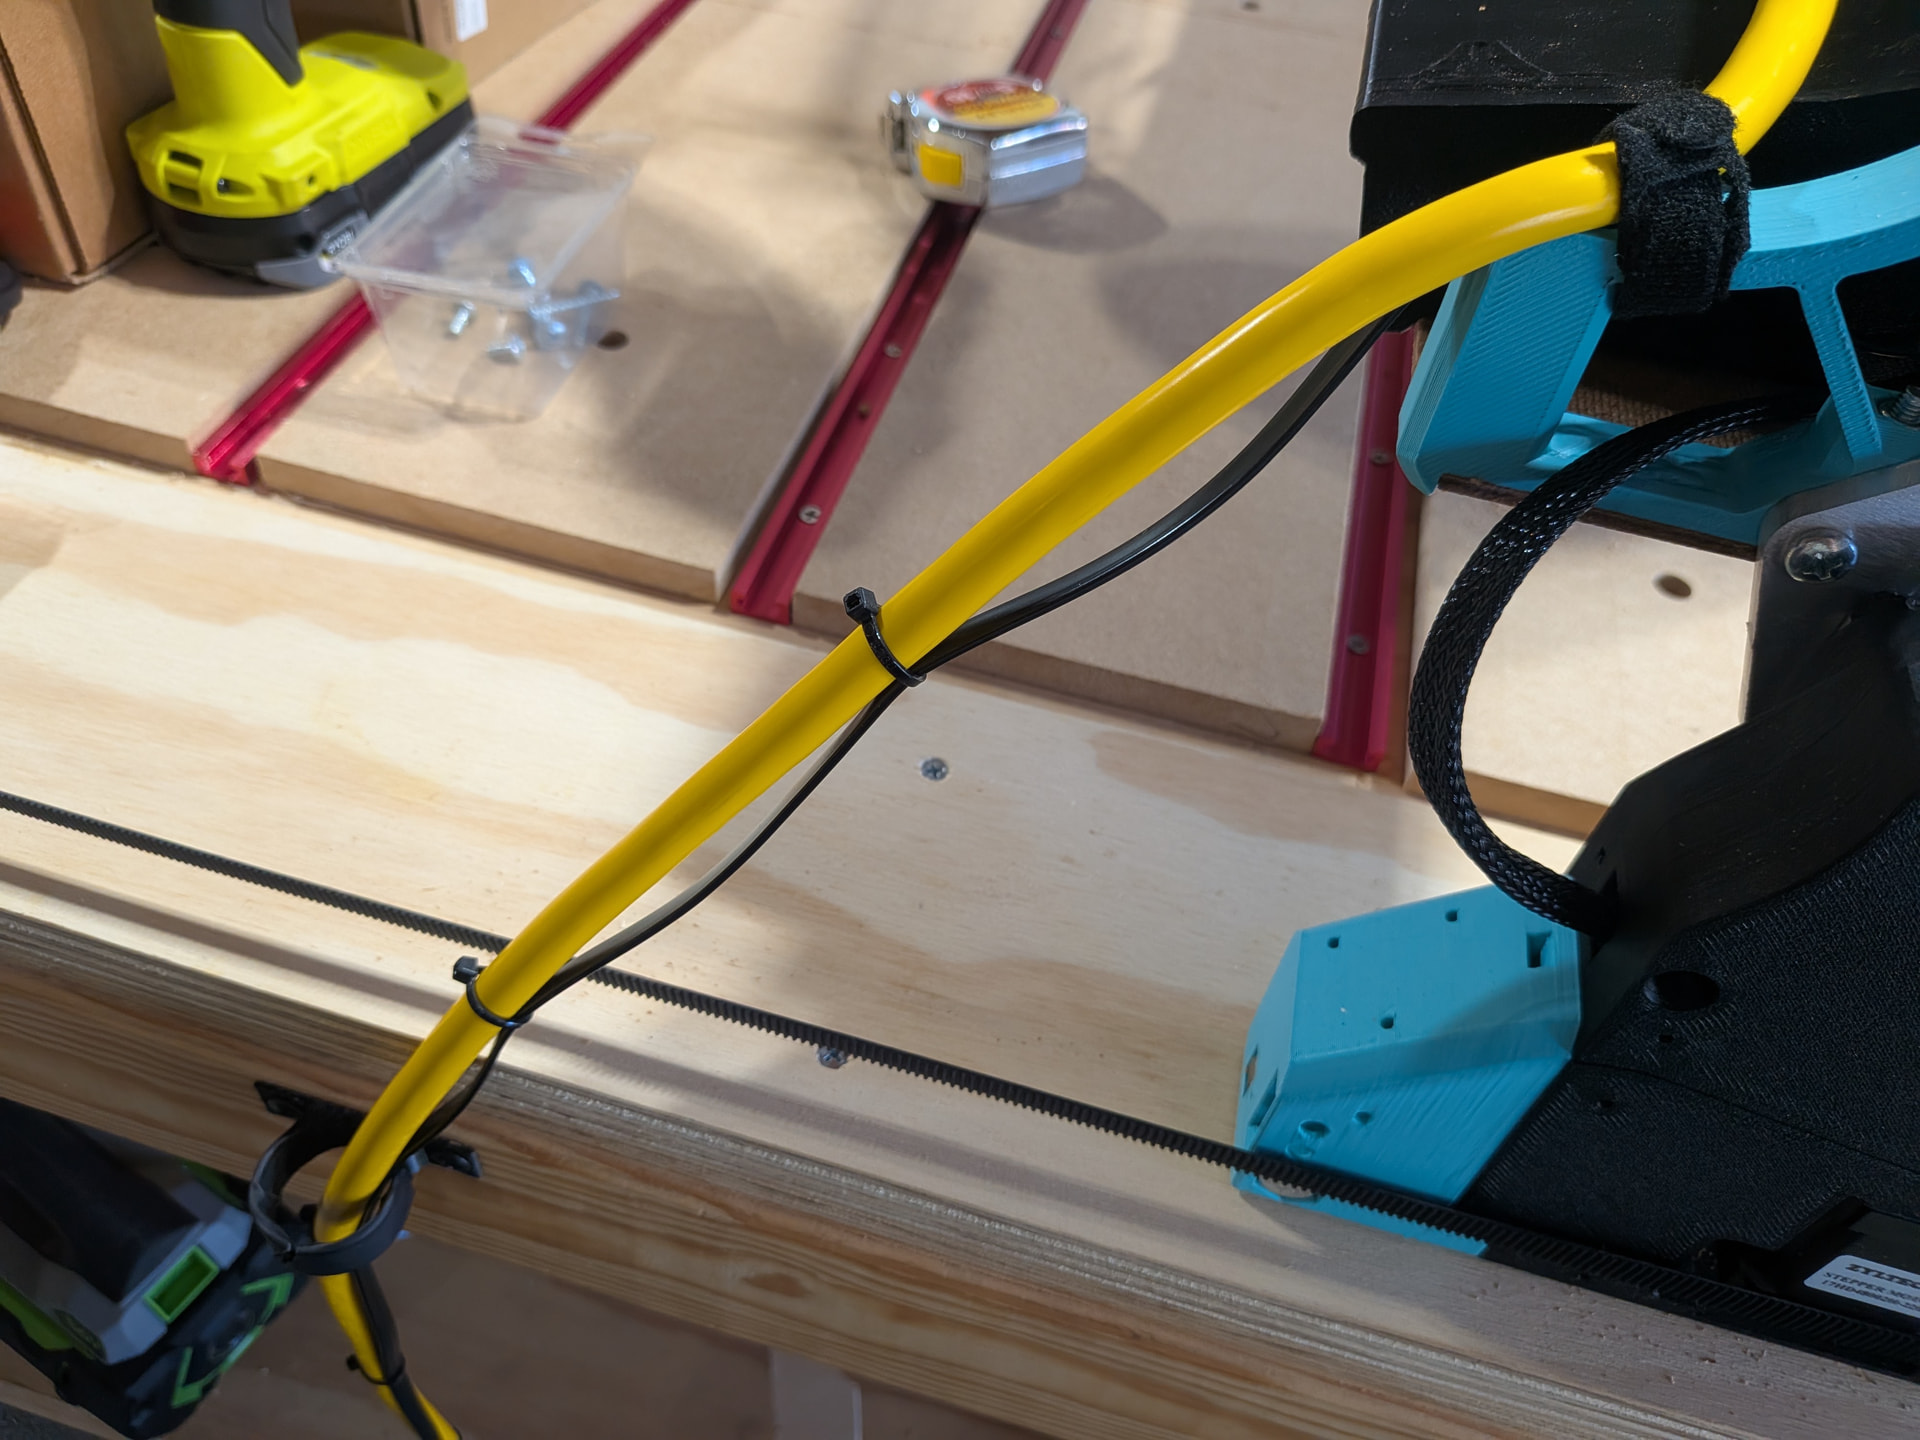
Power is routed through this split clip near the midpoint of the table, and through further printed clips. It should still be possible to remove the machine from the table and set it onto the lower level, in order to use it as a general workbench. The cable is kept taut using a clamp-on weight from my old kitchen sink. (Hoarding tendencies validated!)
Also new in this build: A real E-stop!
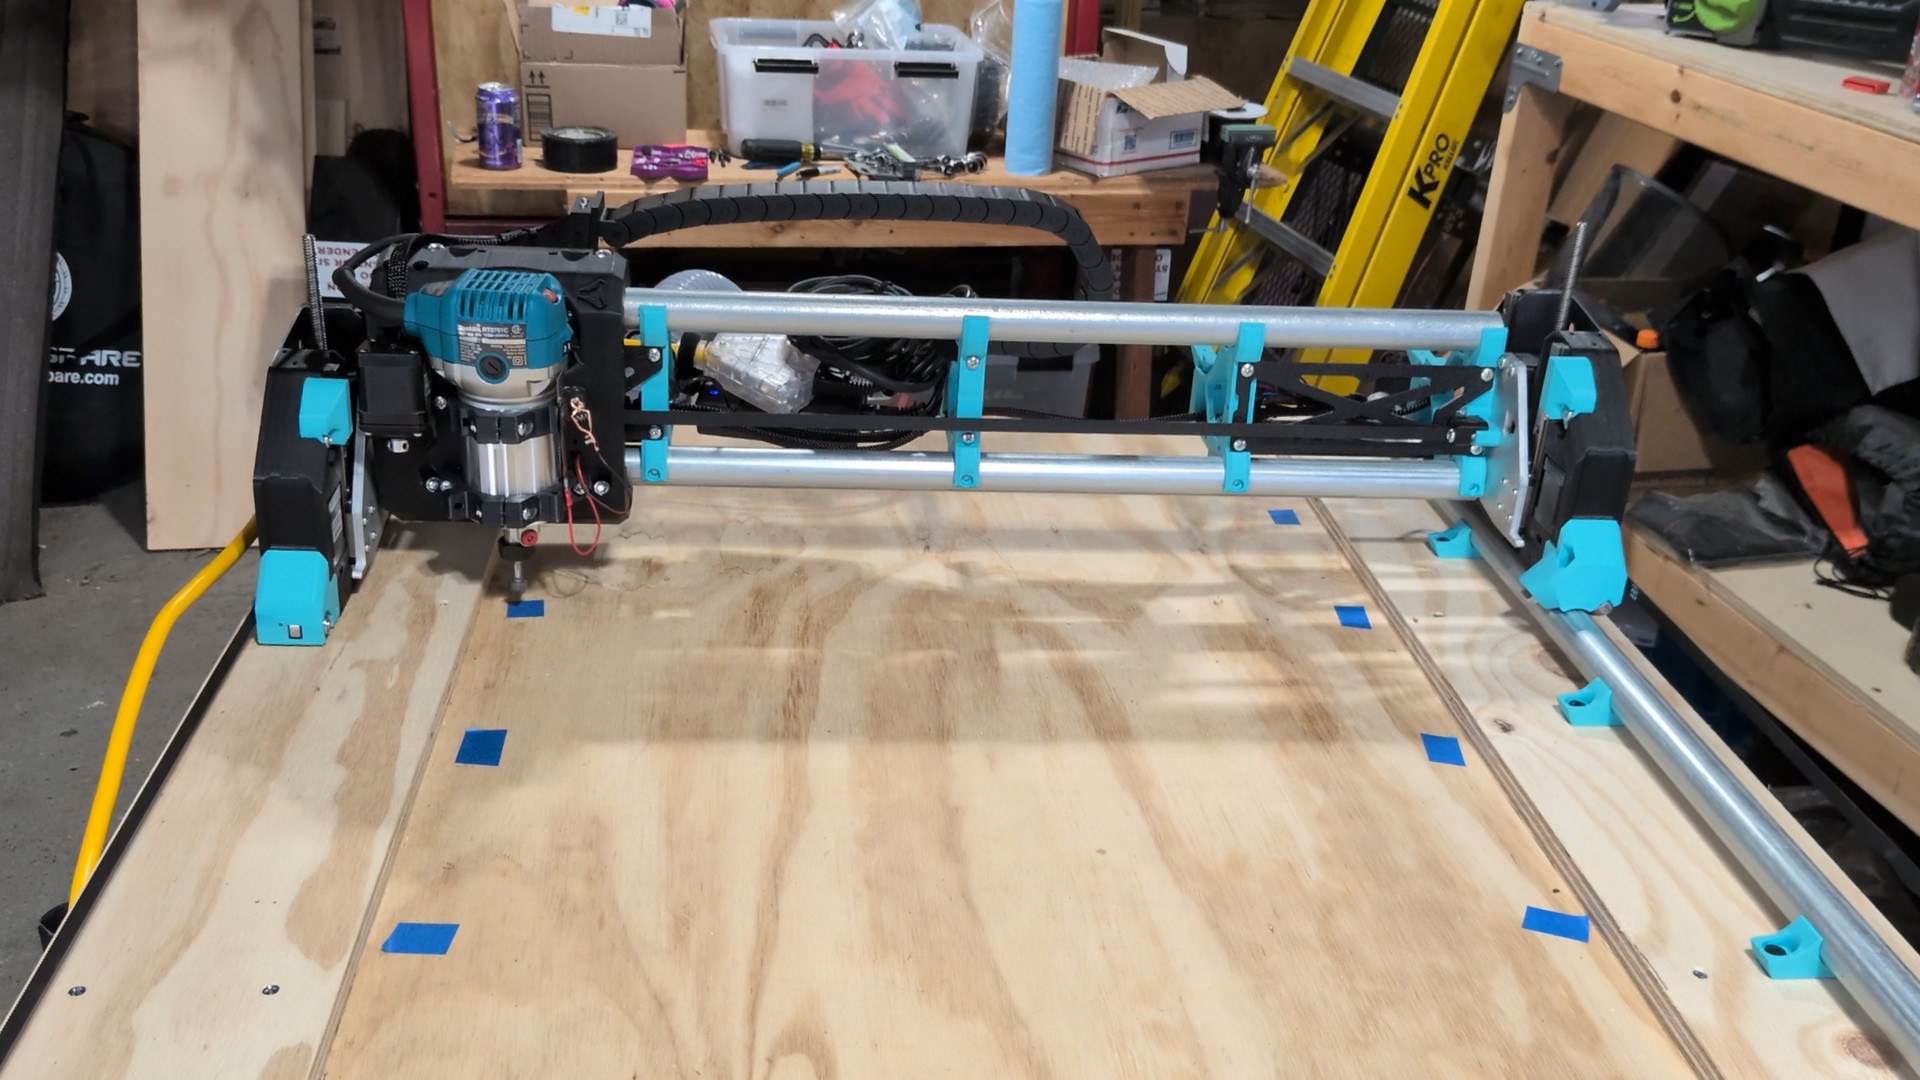
Using the machine to mark locations for T track.
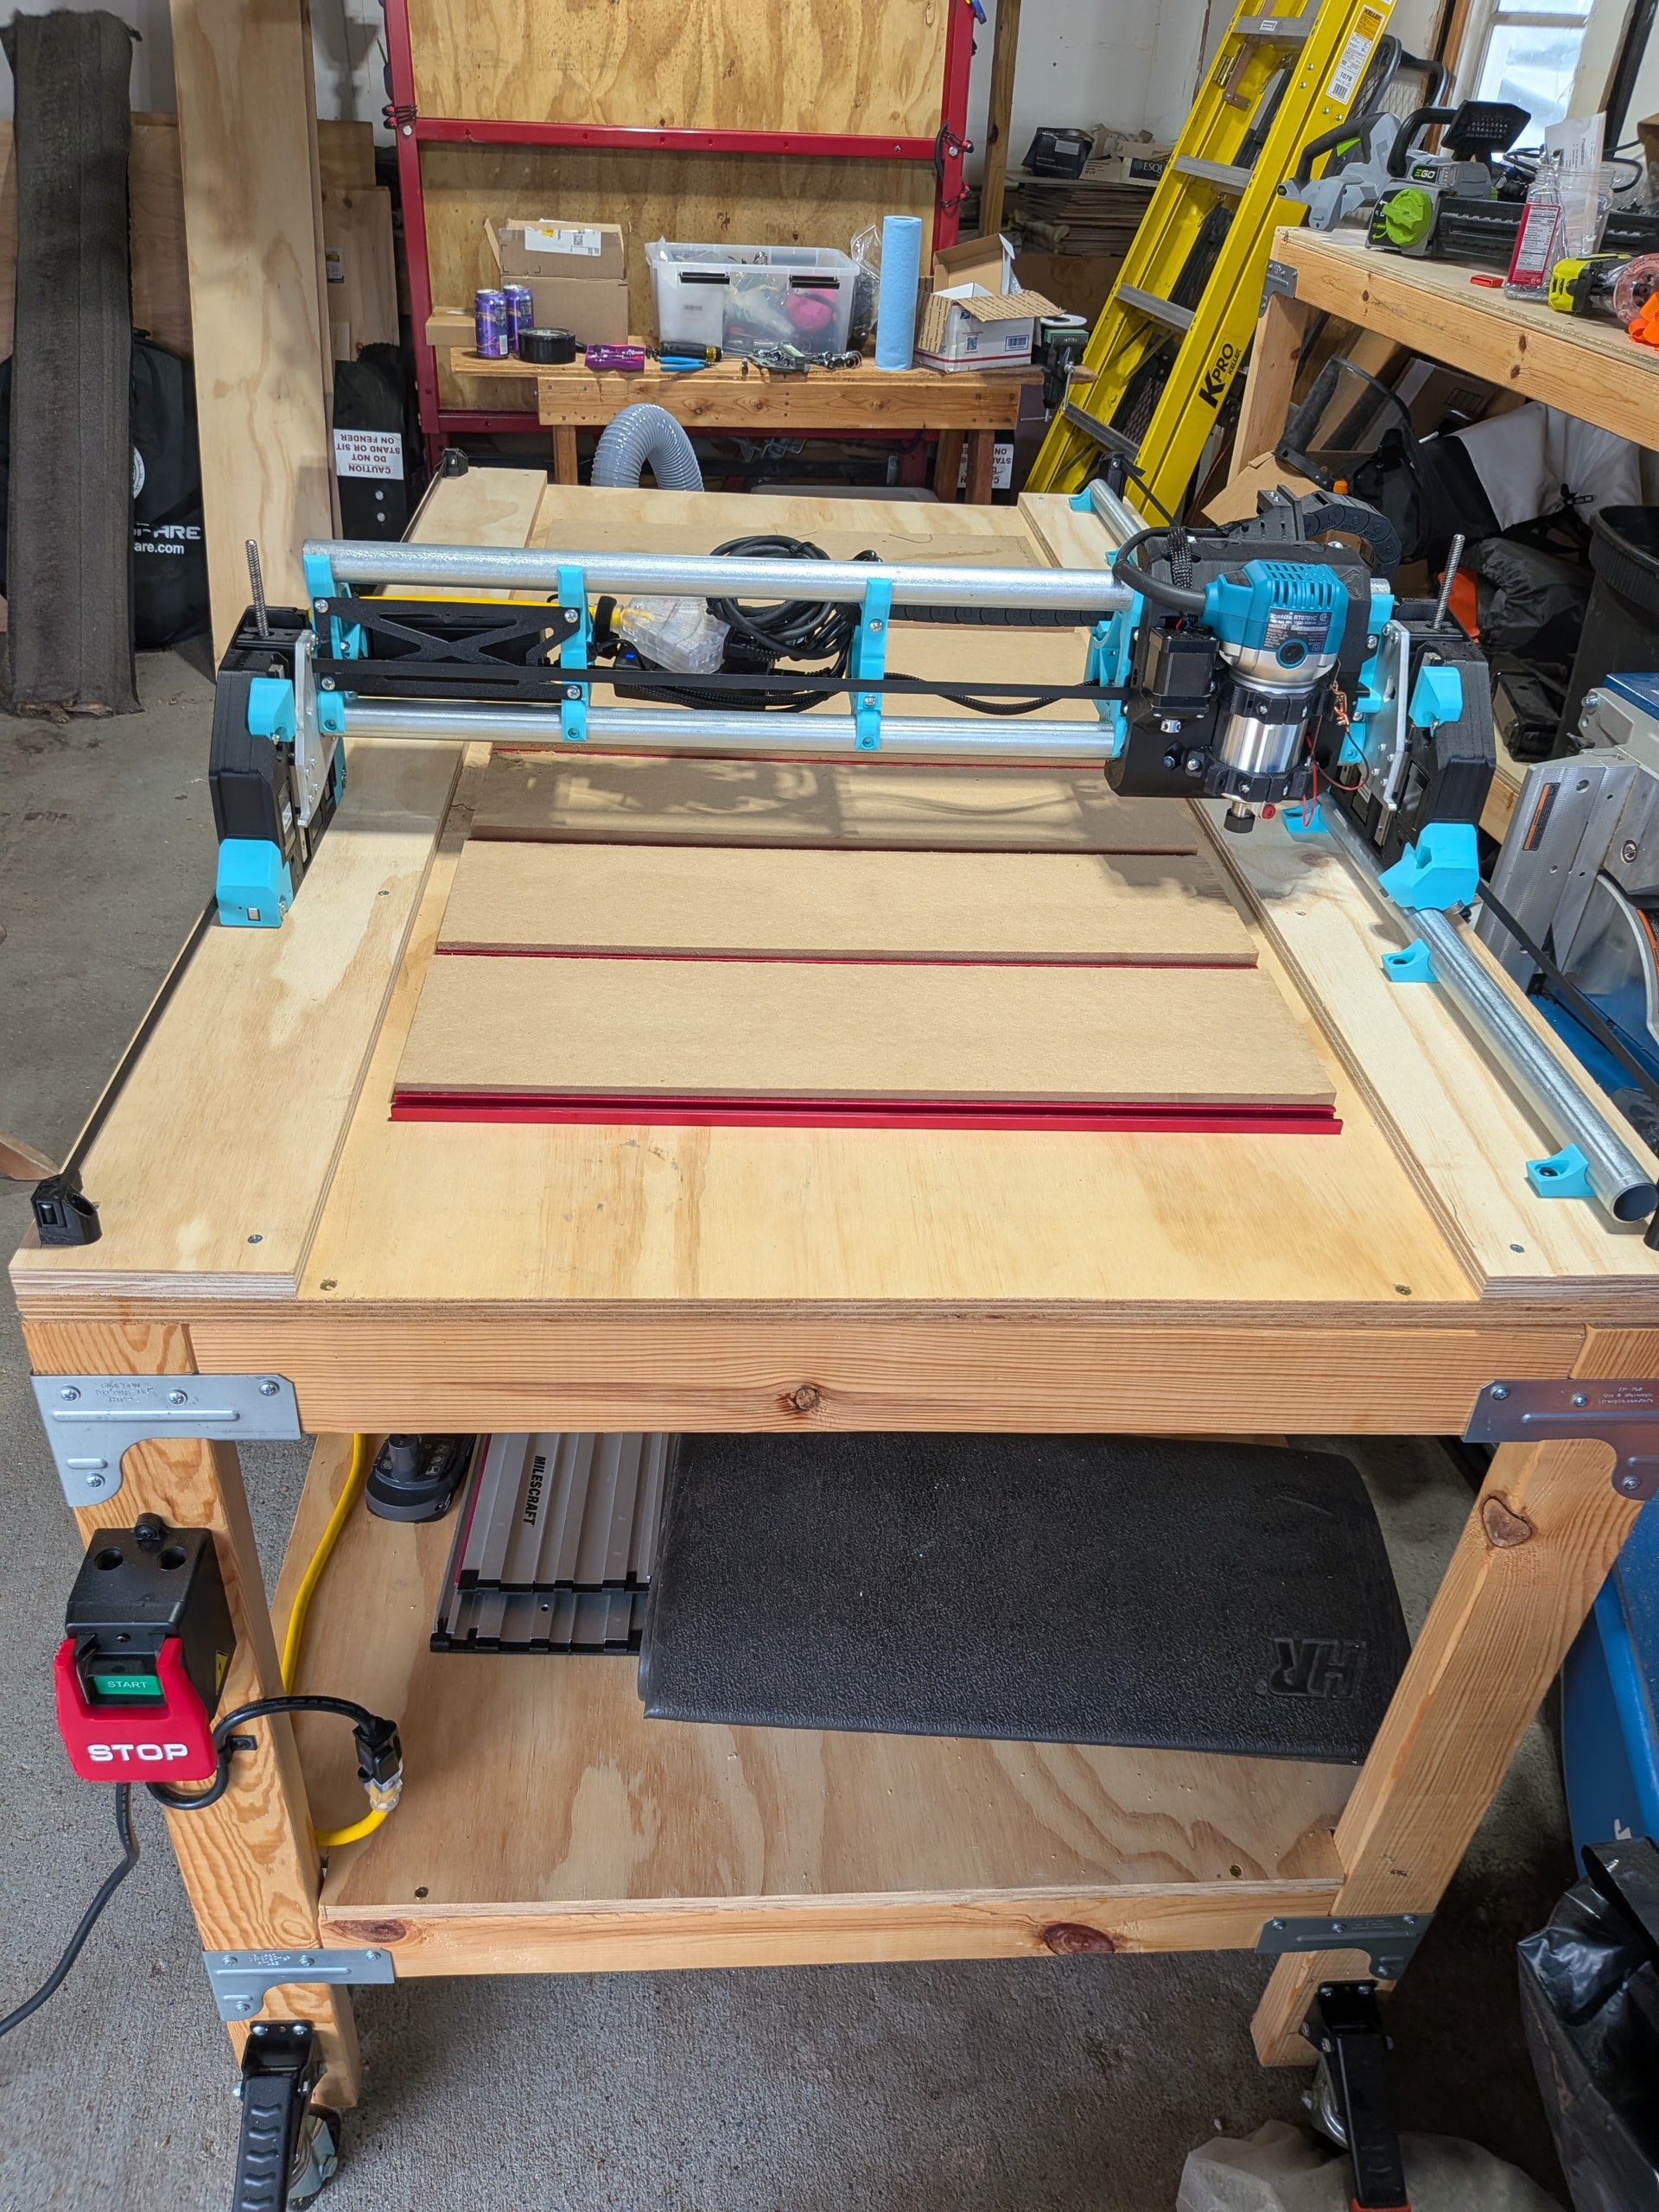
T track is in place, and MDF is secured temporarily using double-sided tape. These MDF pieces are left over from the previous build, have been cut to size (not very accurately) using a circular saw, and are already a bit chewed up, but will do for now.
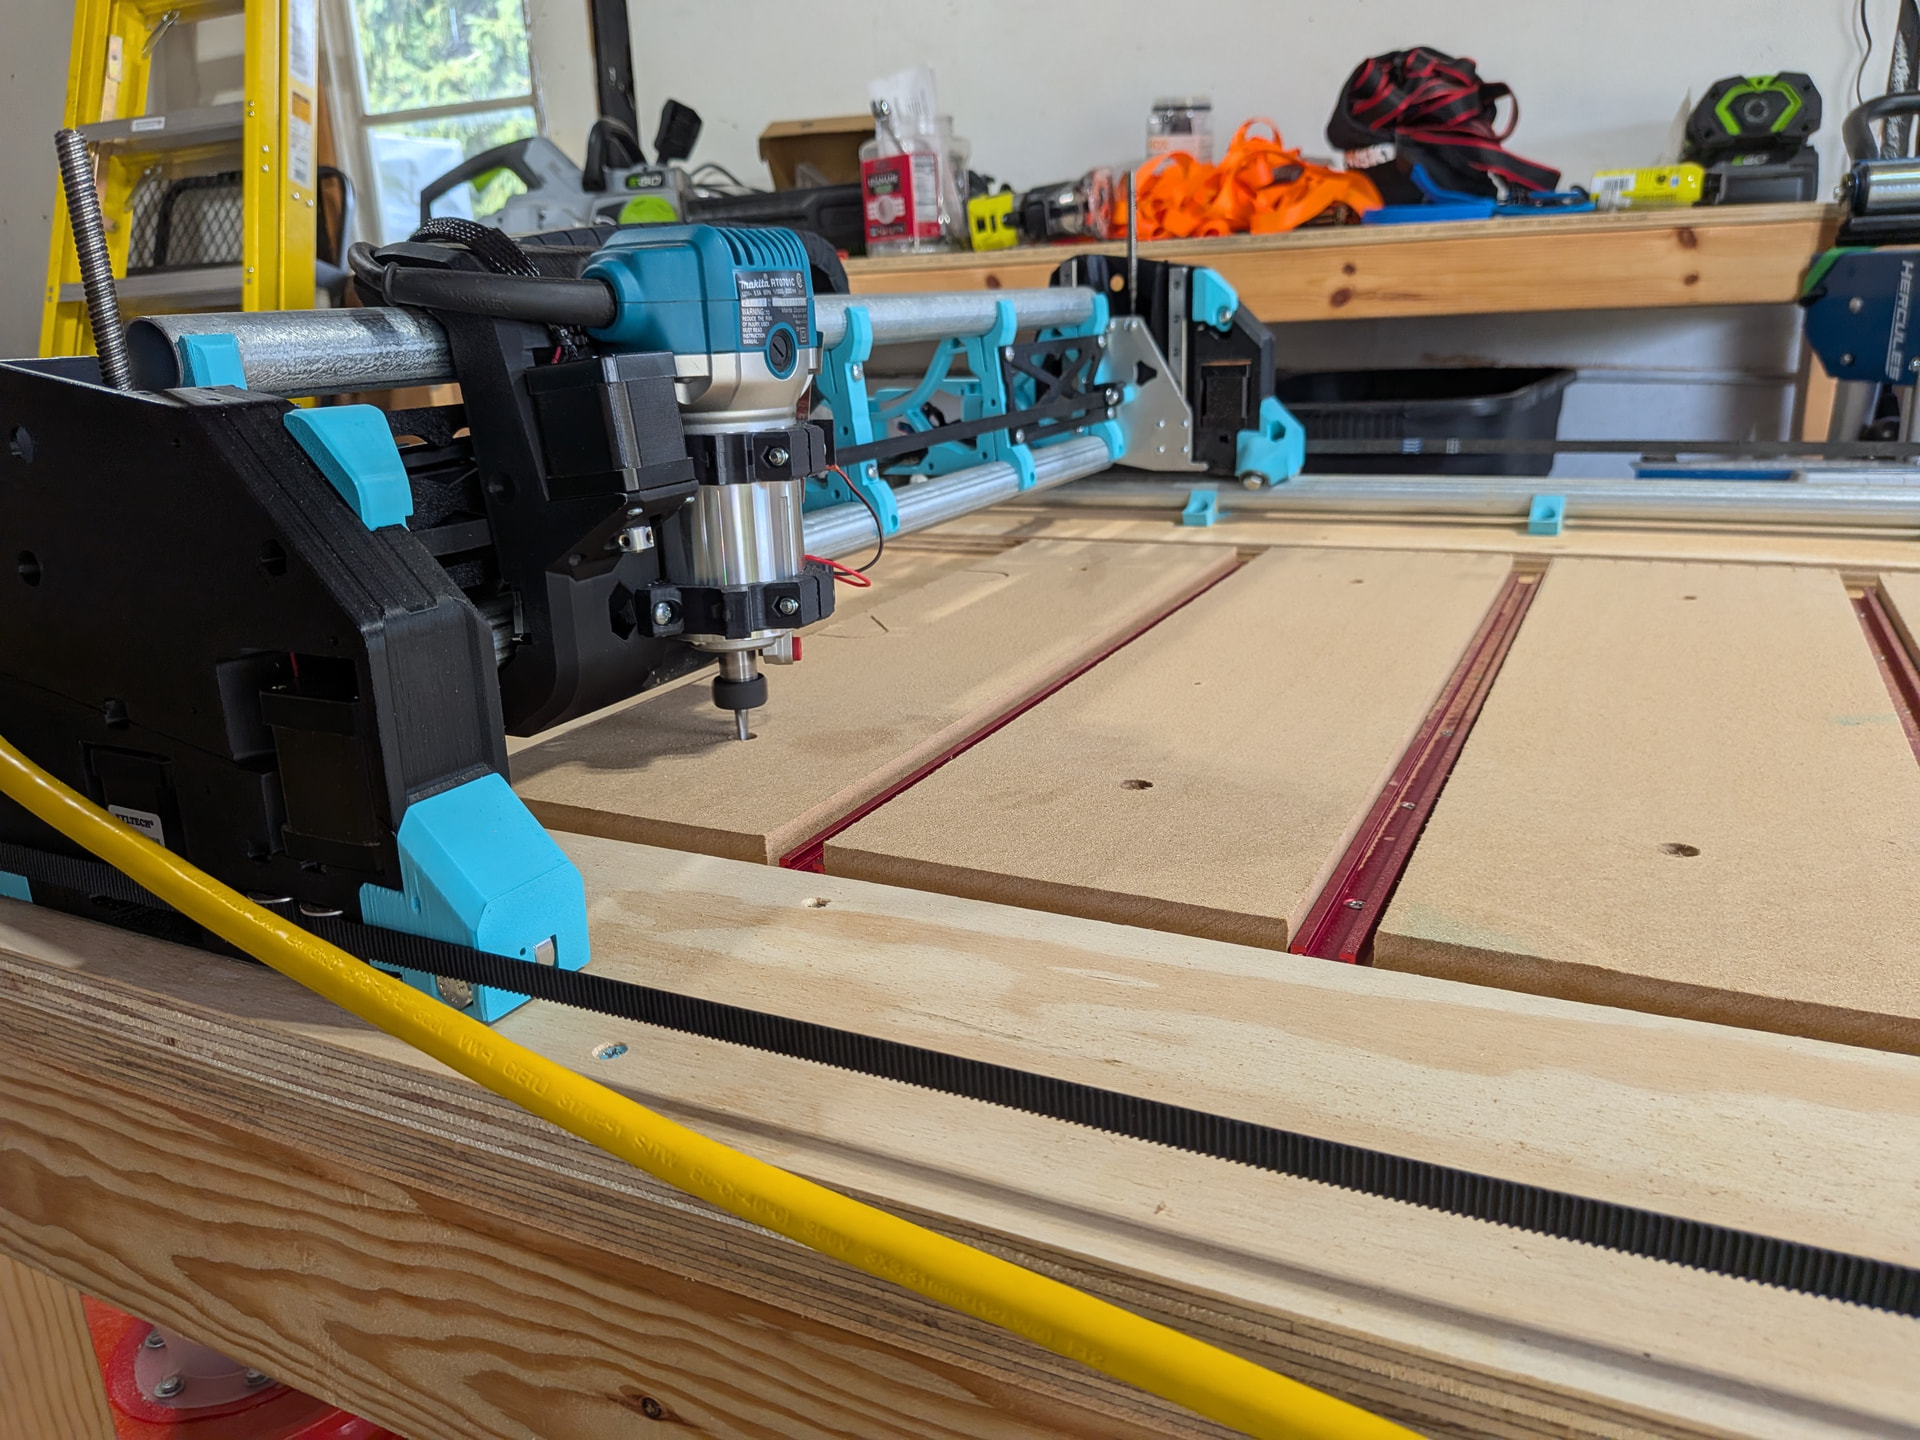
Cutting counterbored holes to secure the MDF segments using machine screws. This cuts a bit into the underlying plywood, in order to mark the locations where I will install threaded inserts.
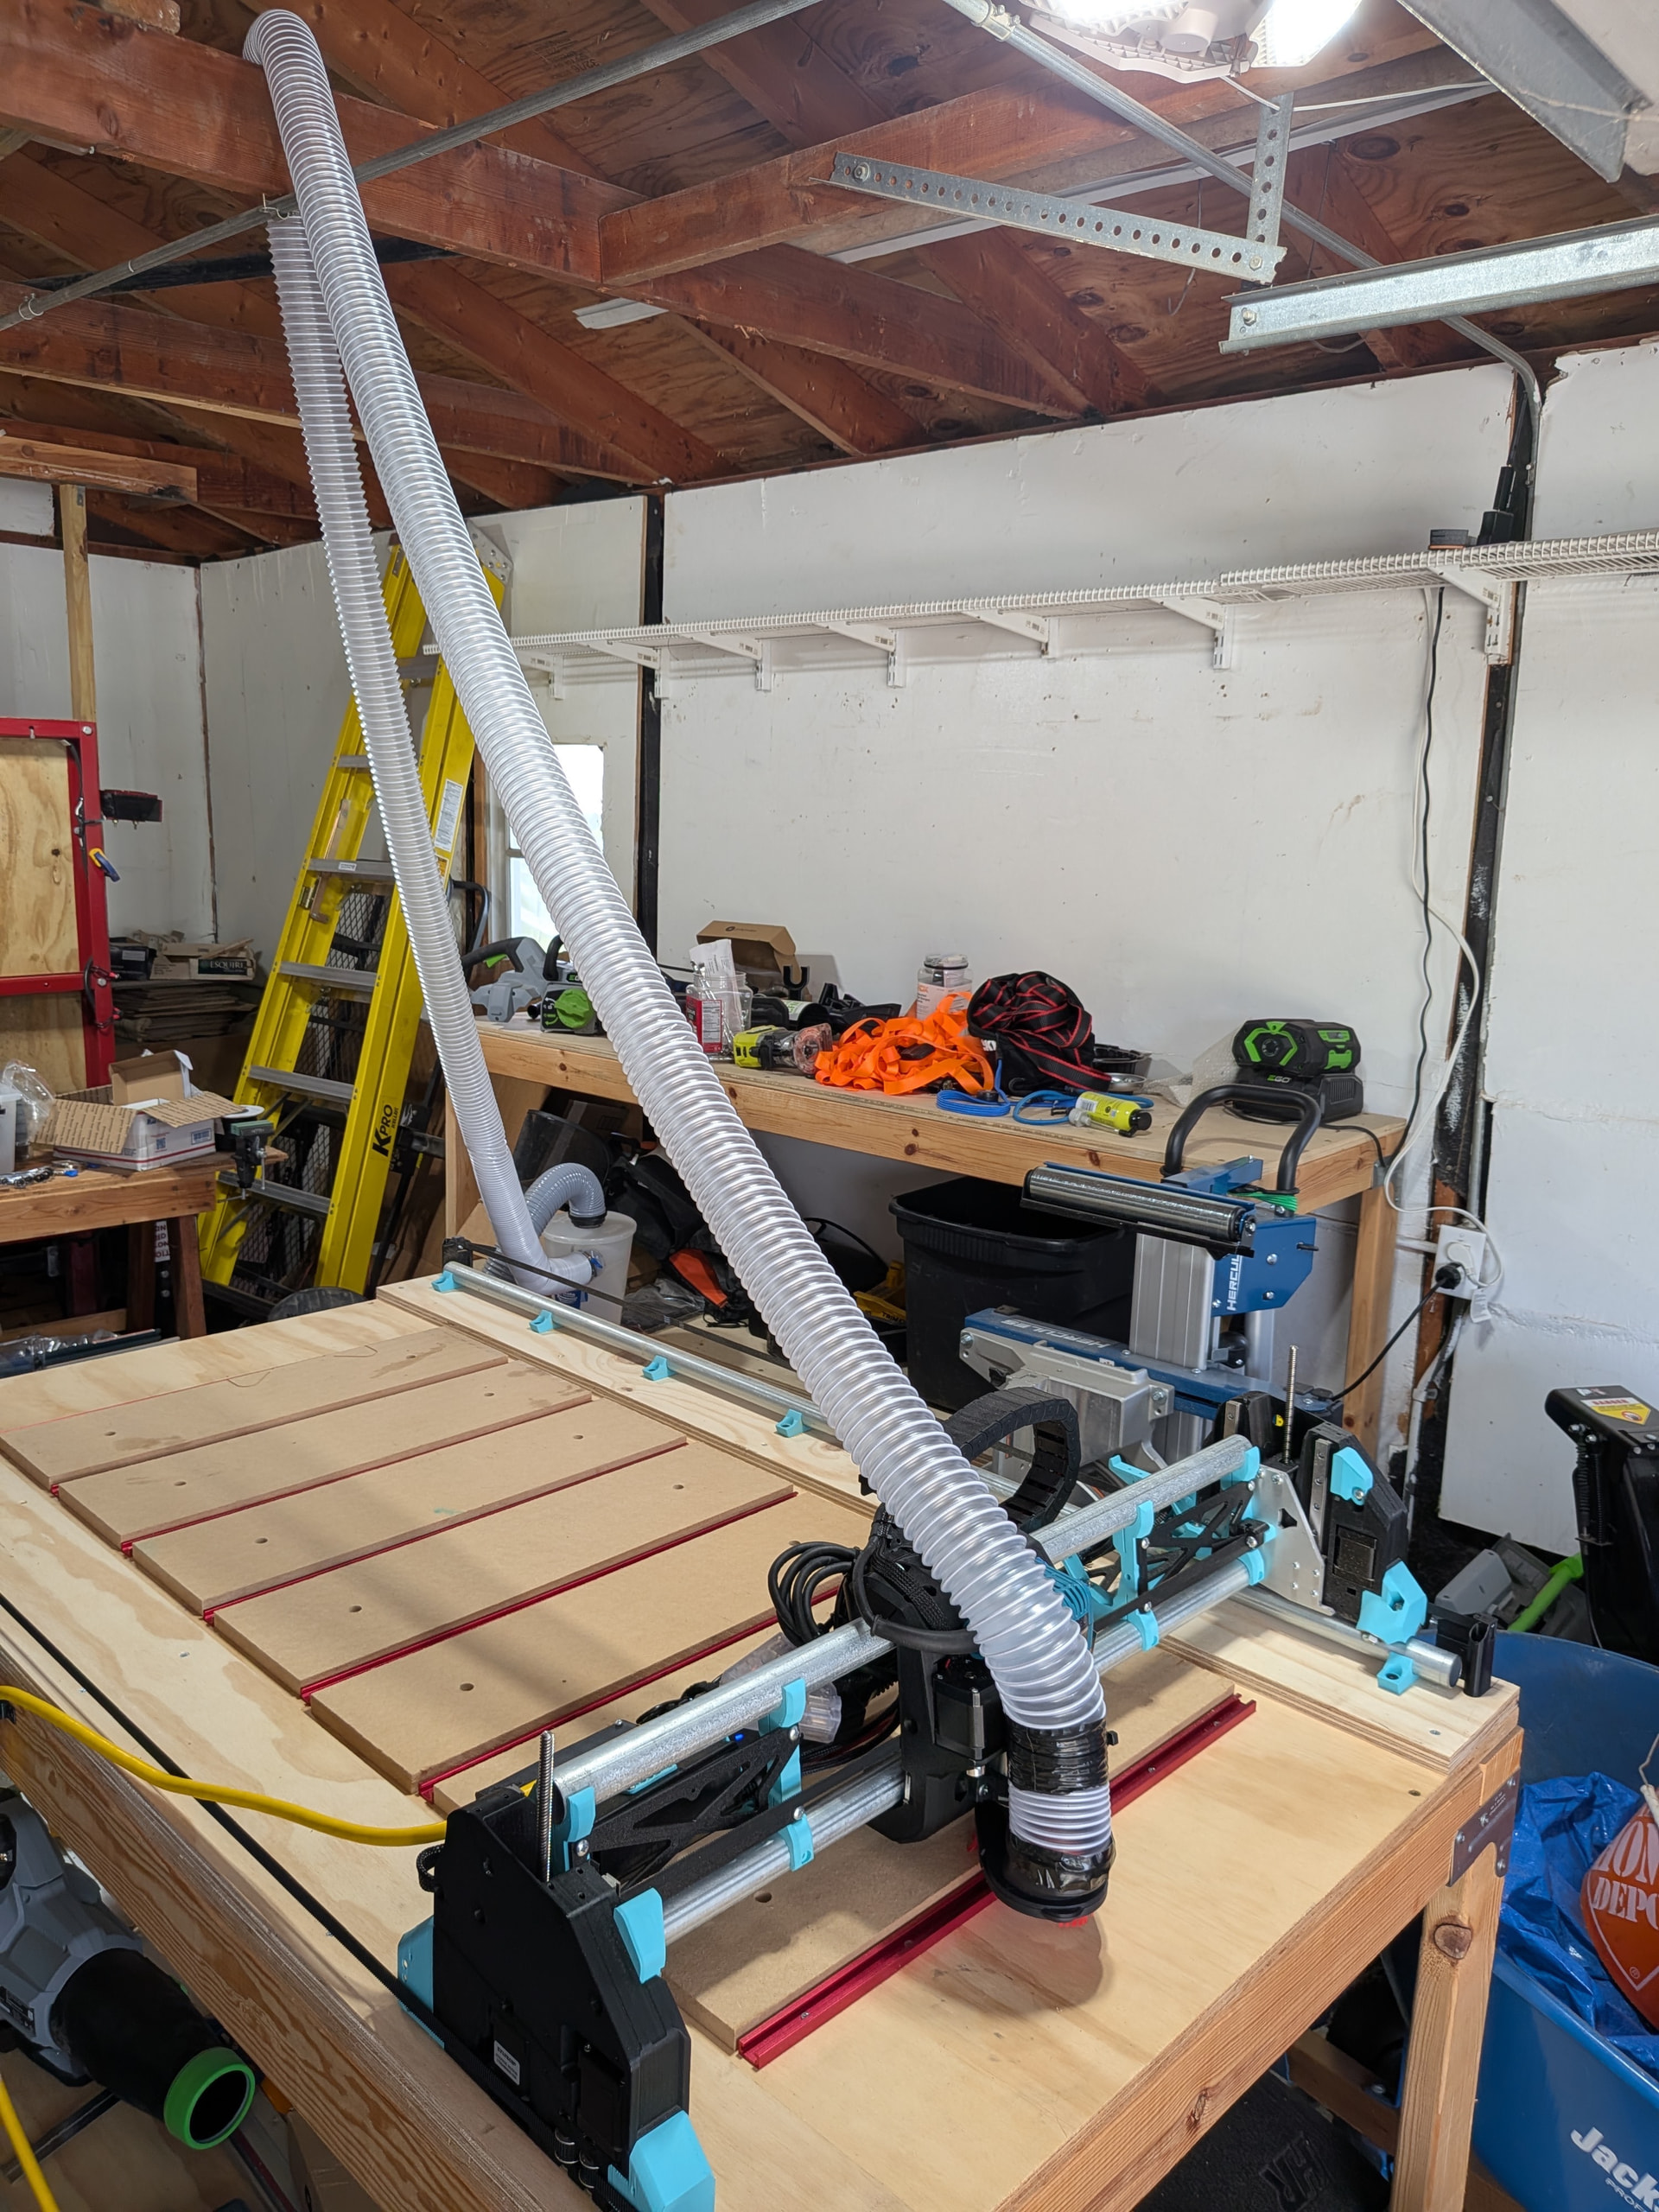
Overhead dust collection. I wanted to build a fancy boom arm thing, but this is 80% of the way to the desired result with approximately 0% of the effort, so it will probably stay this way forever. This connects to an Oneida Dust Deputy 2.5” and an old shop vac that came with my house.
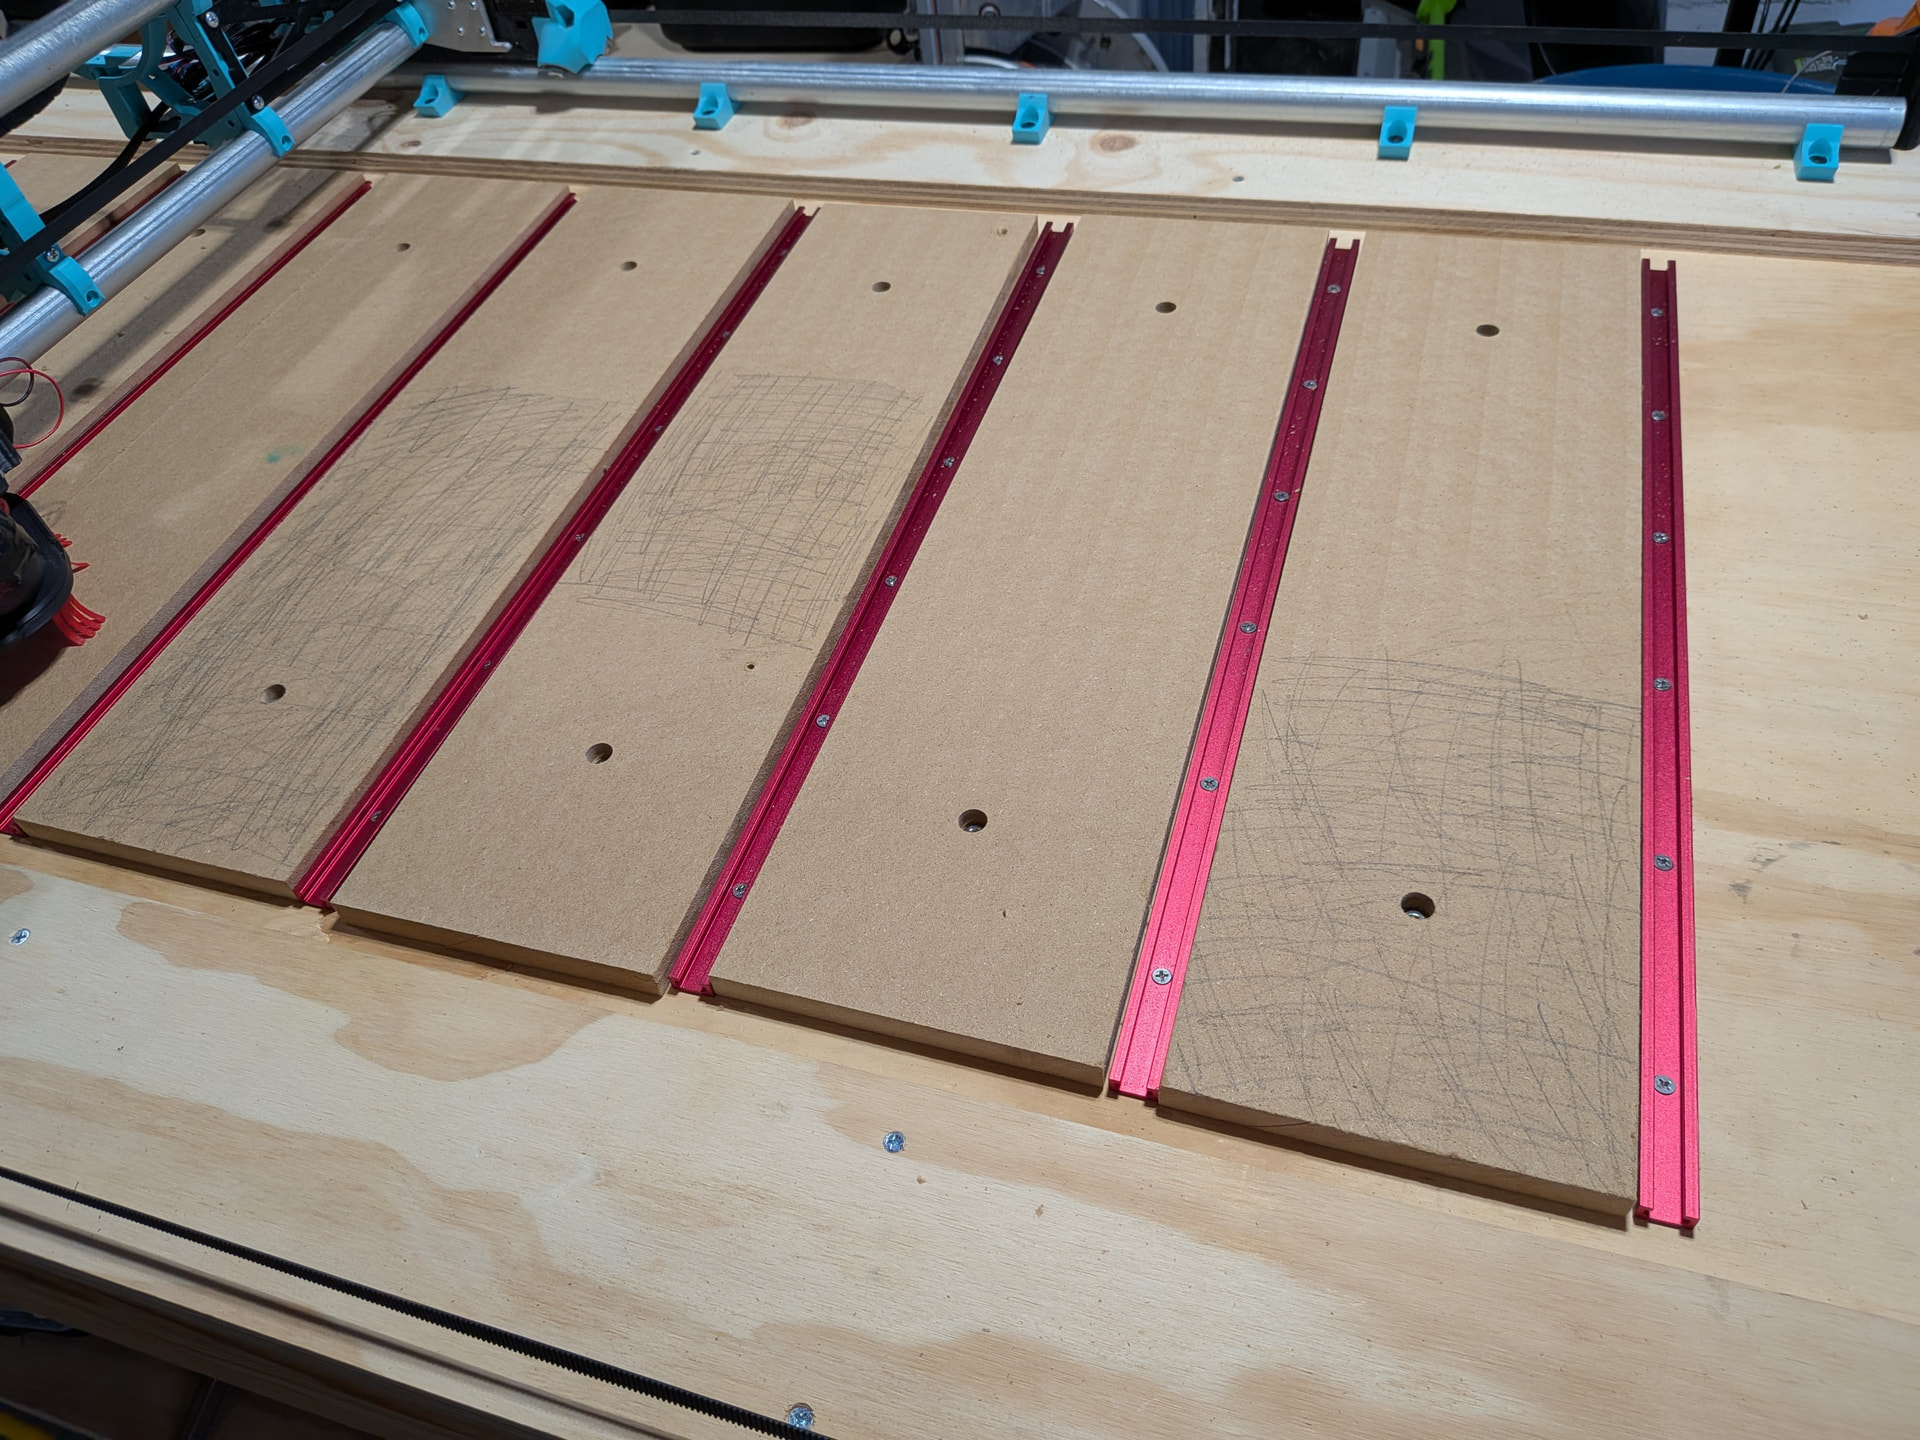
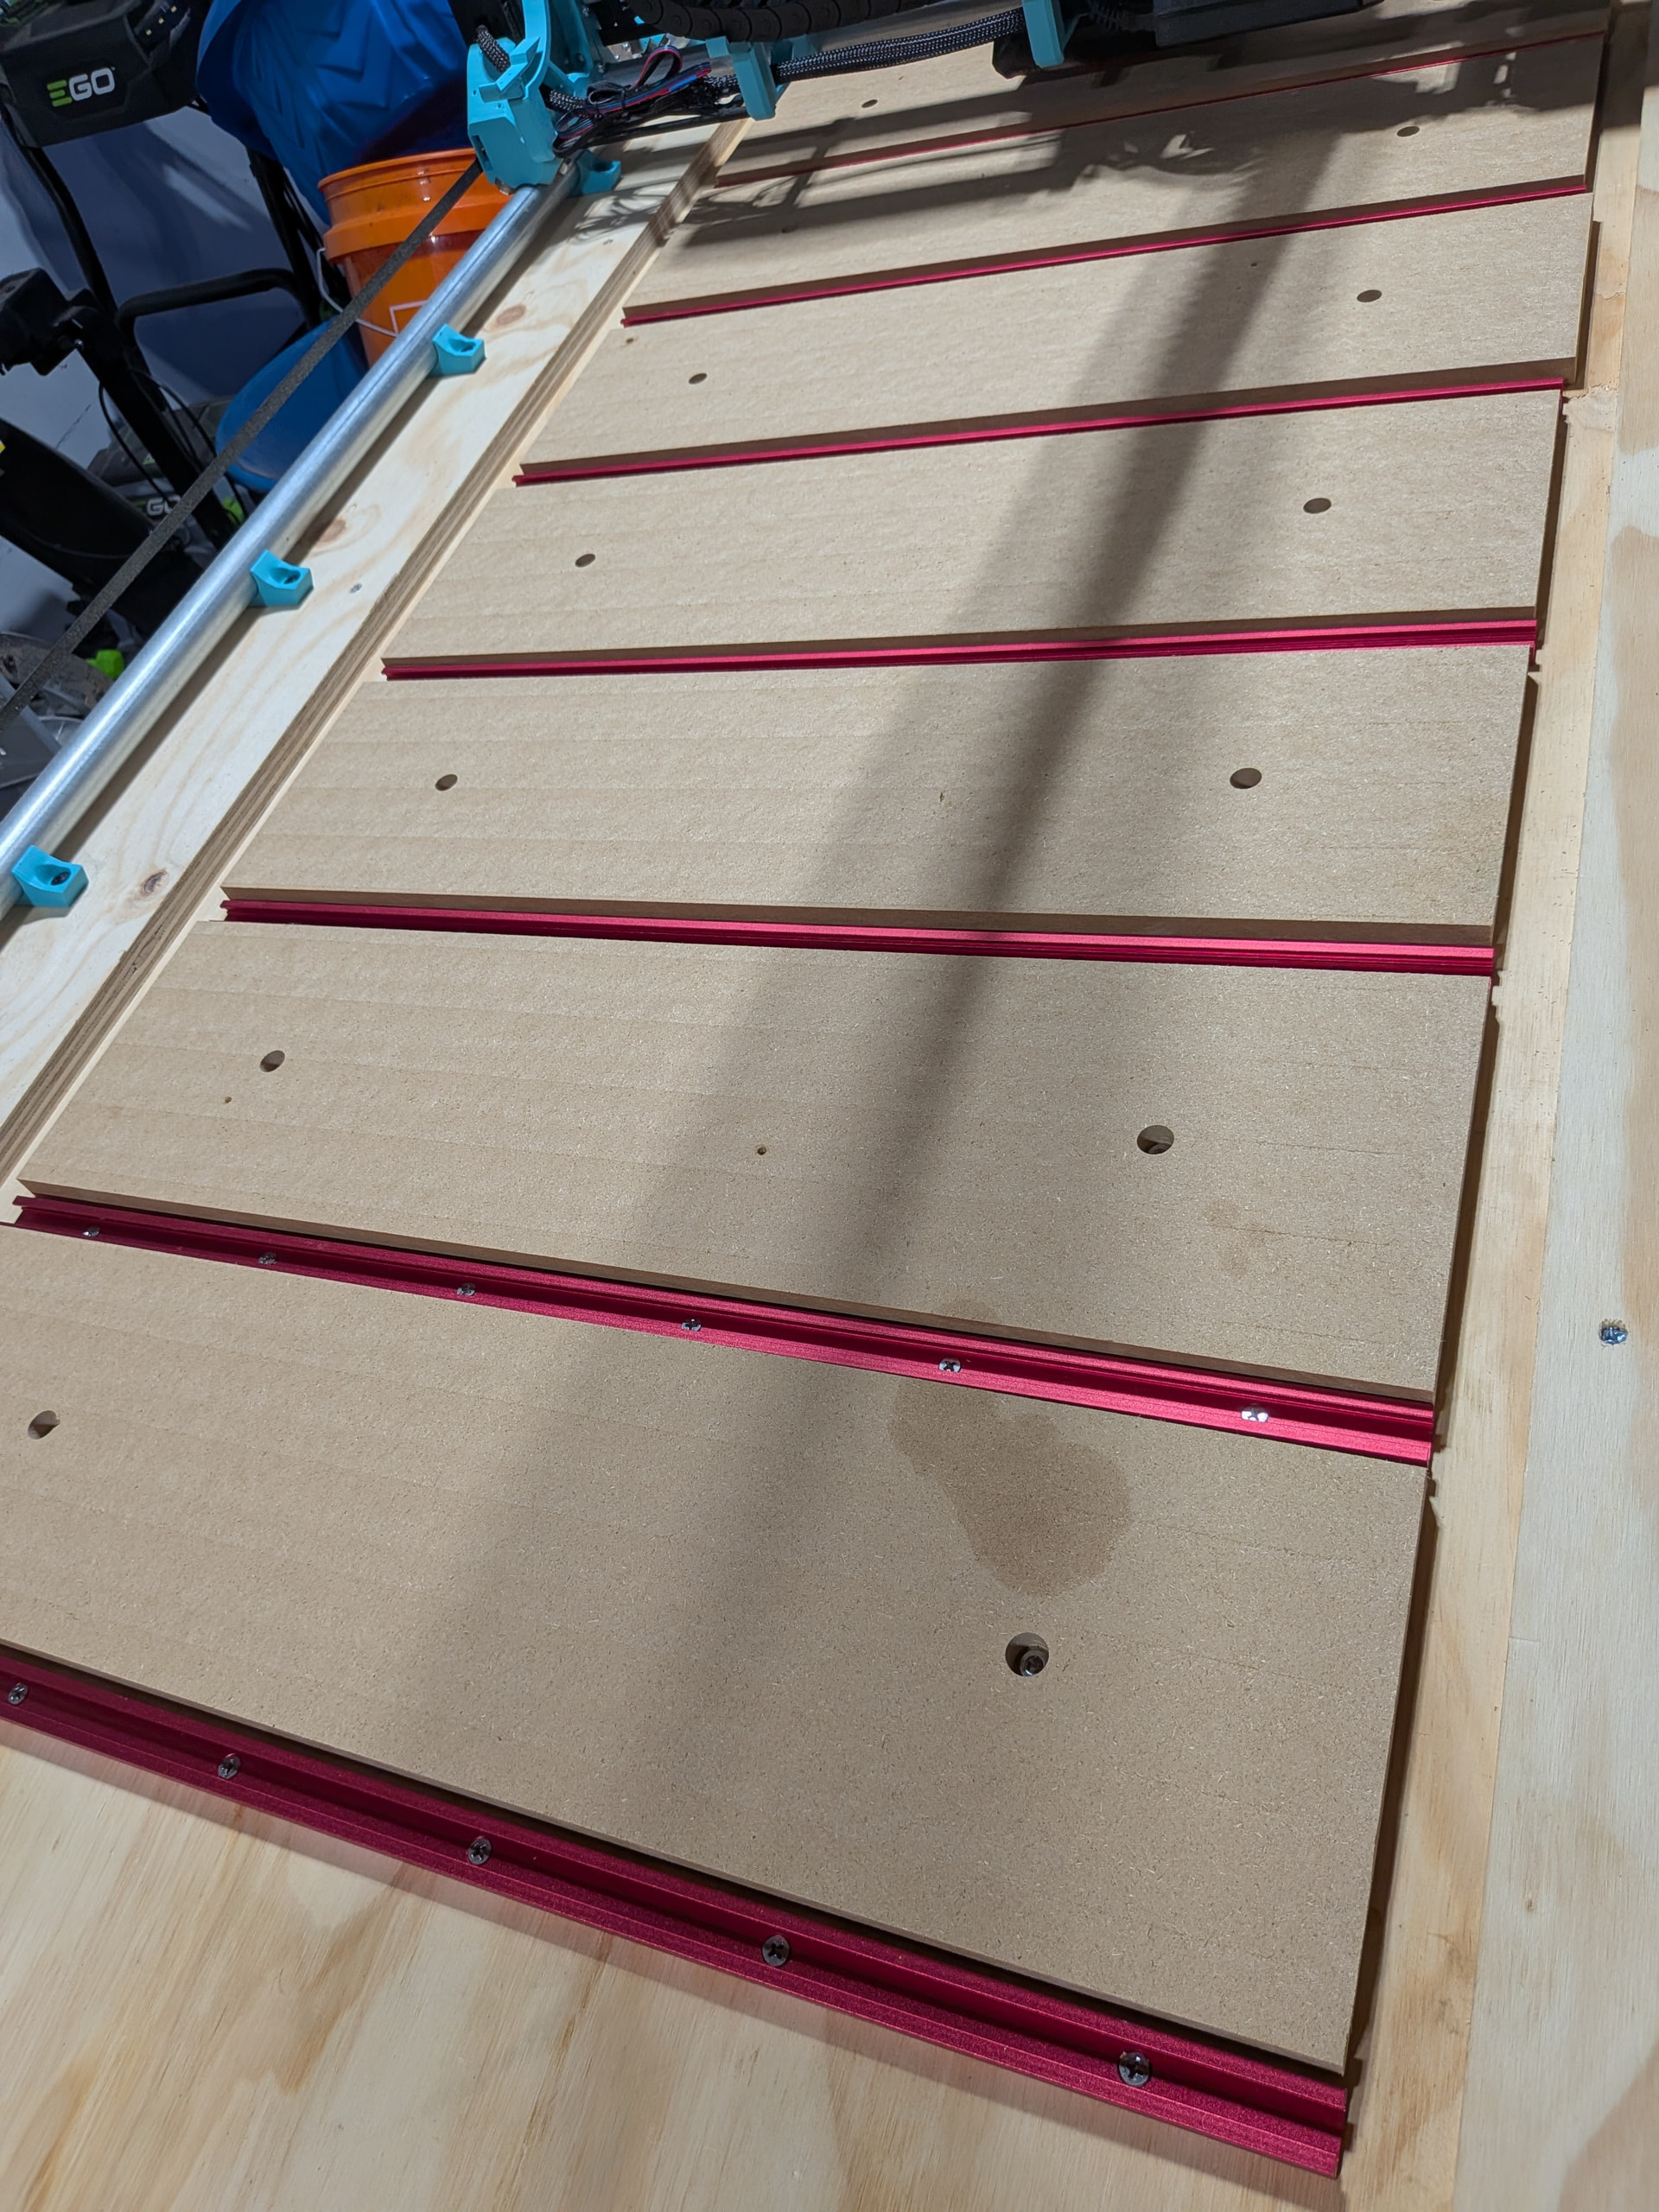
Surfacing the MDF.
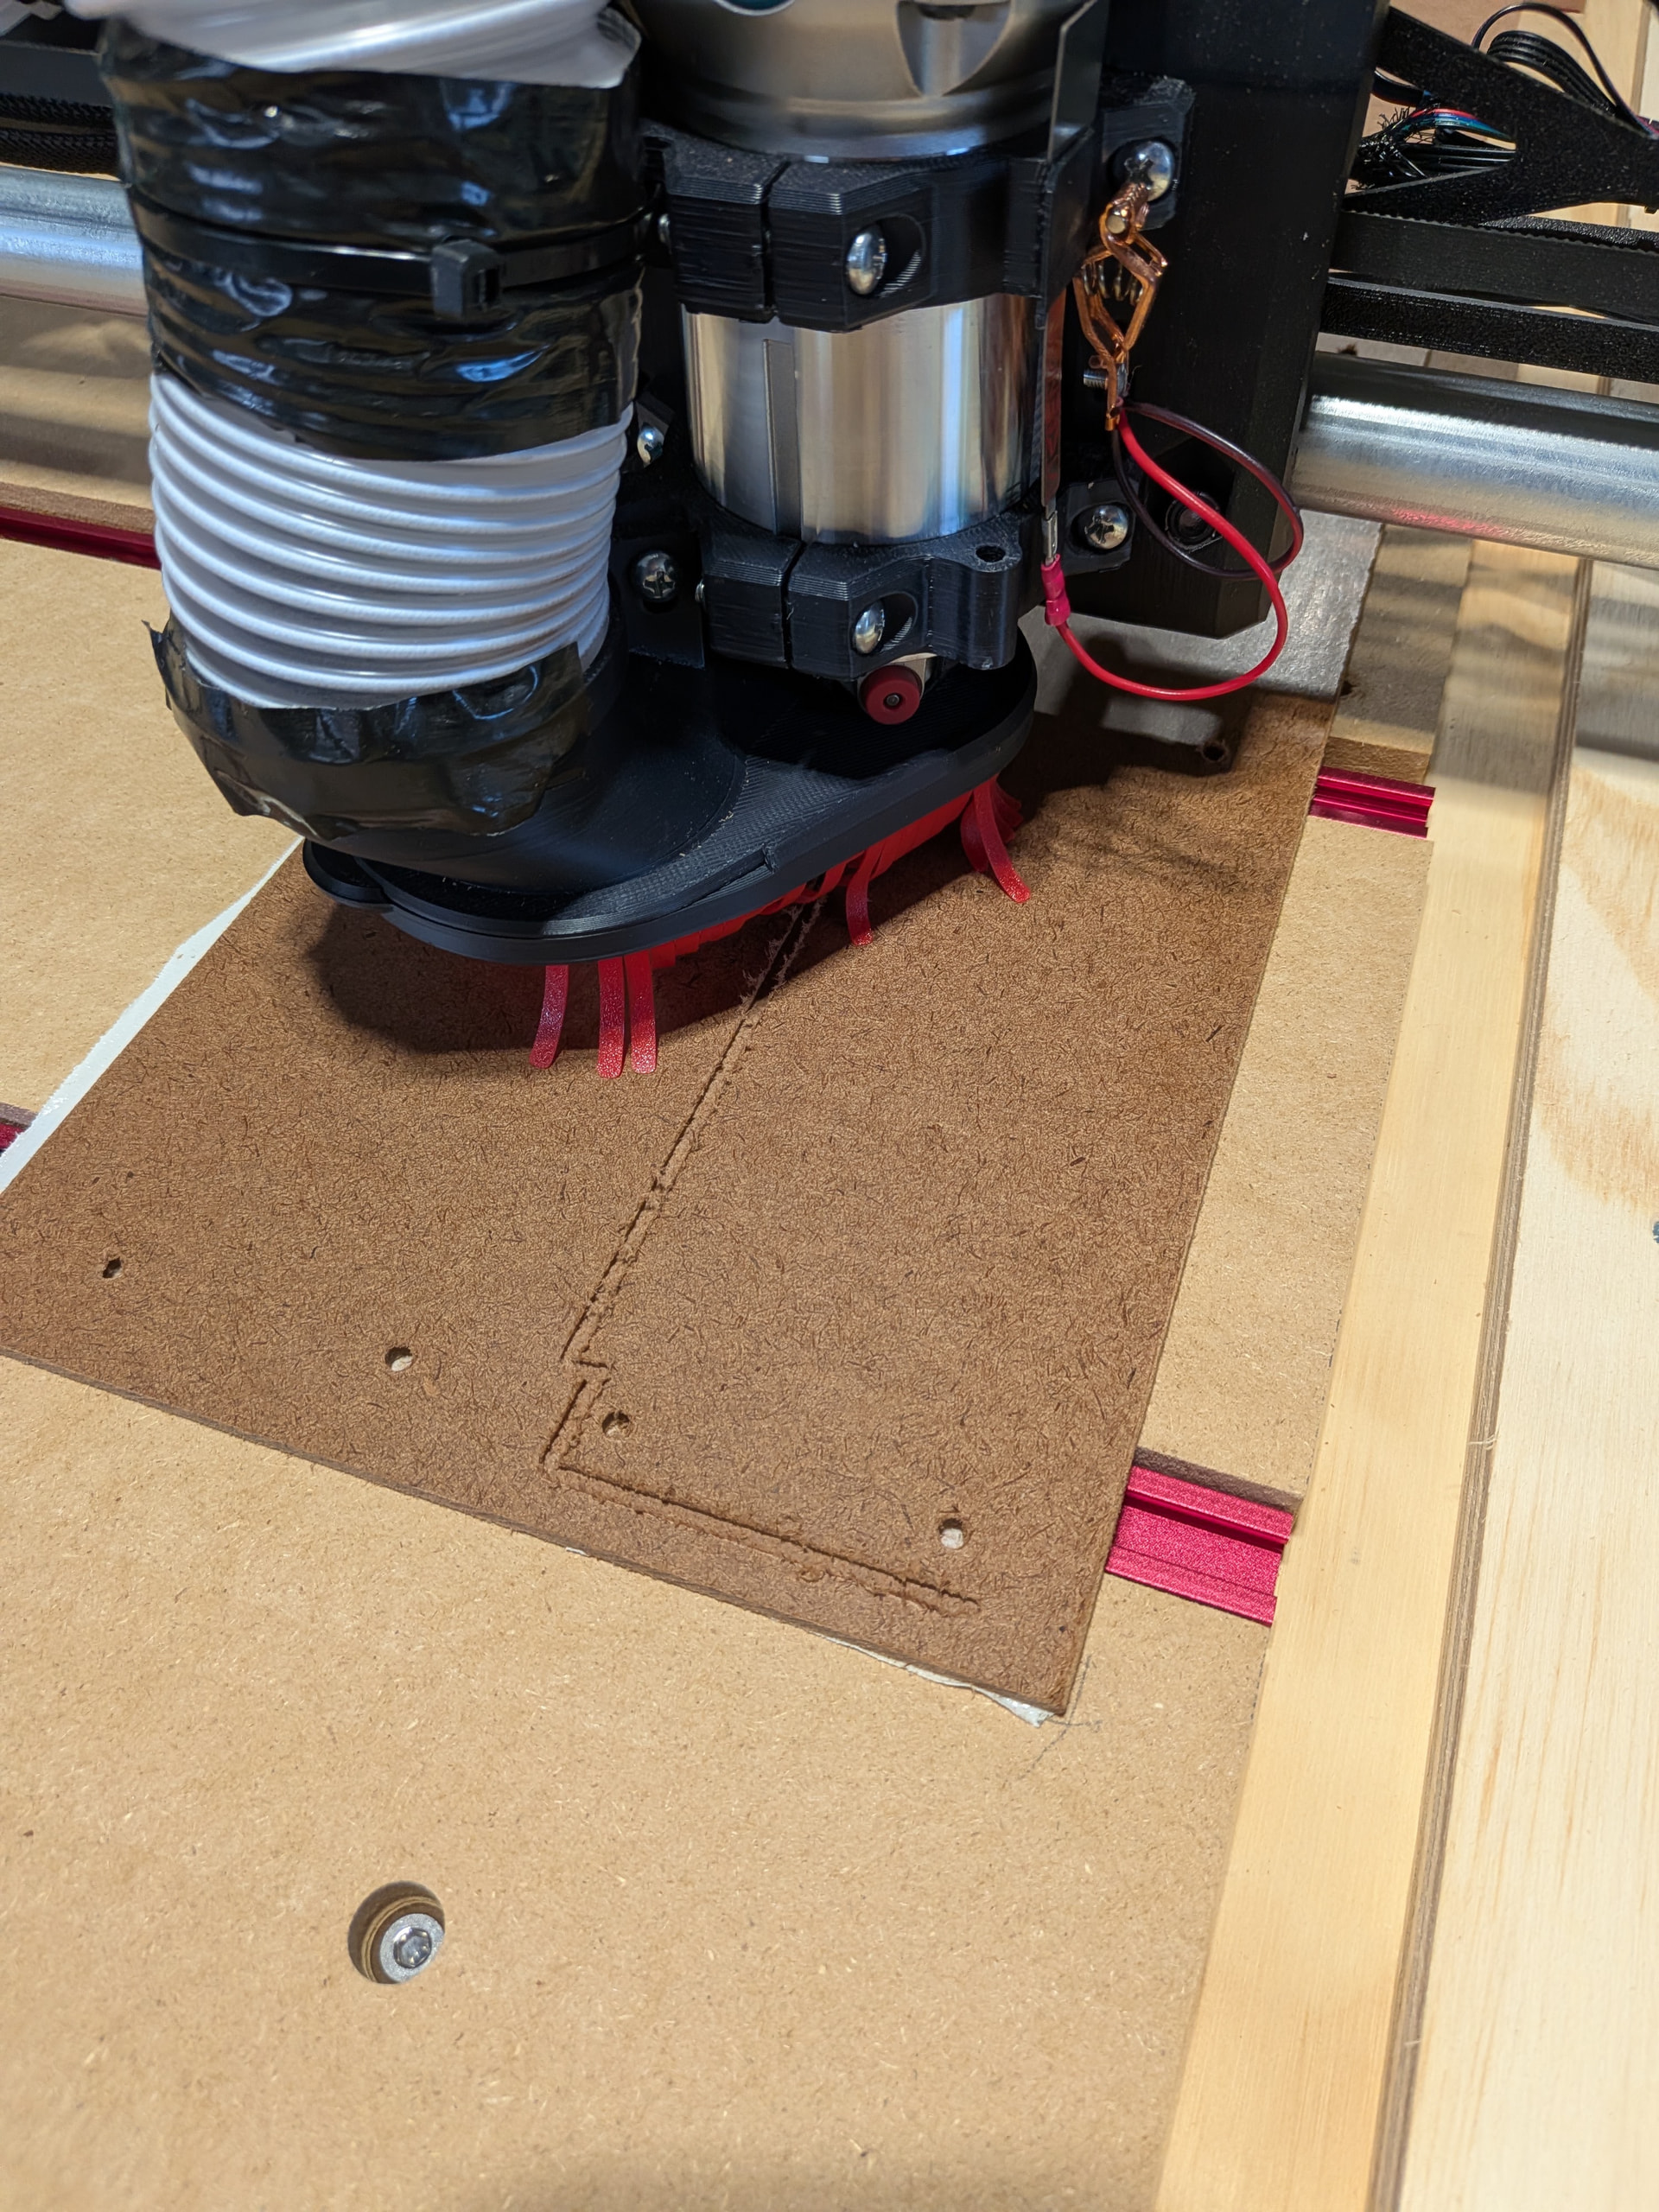

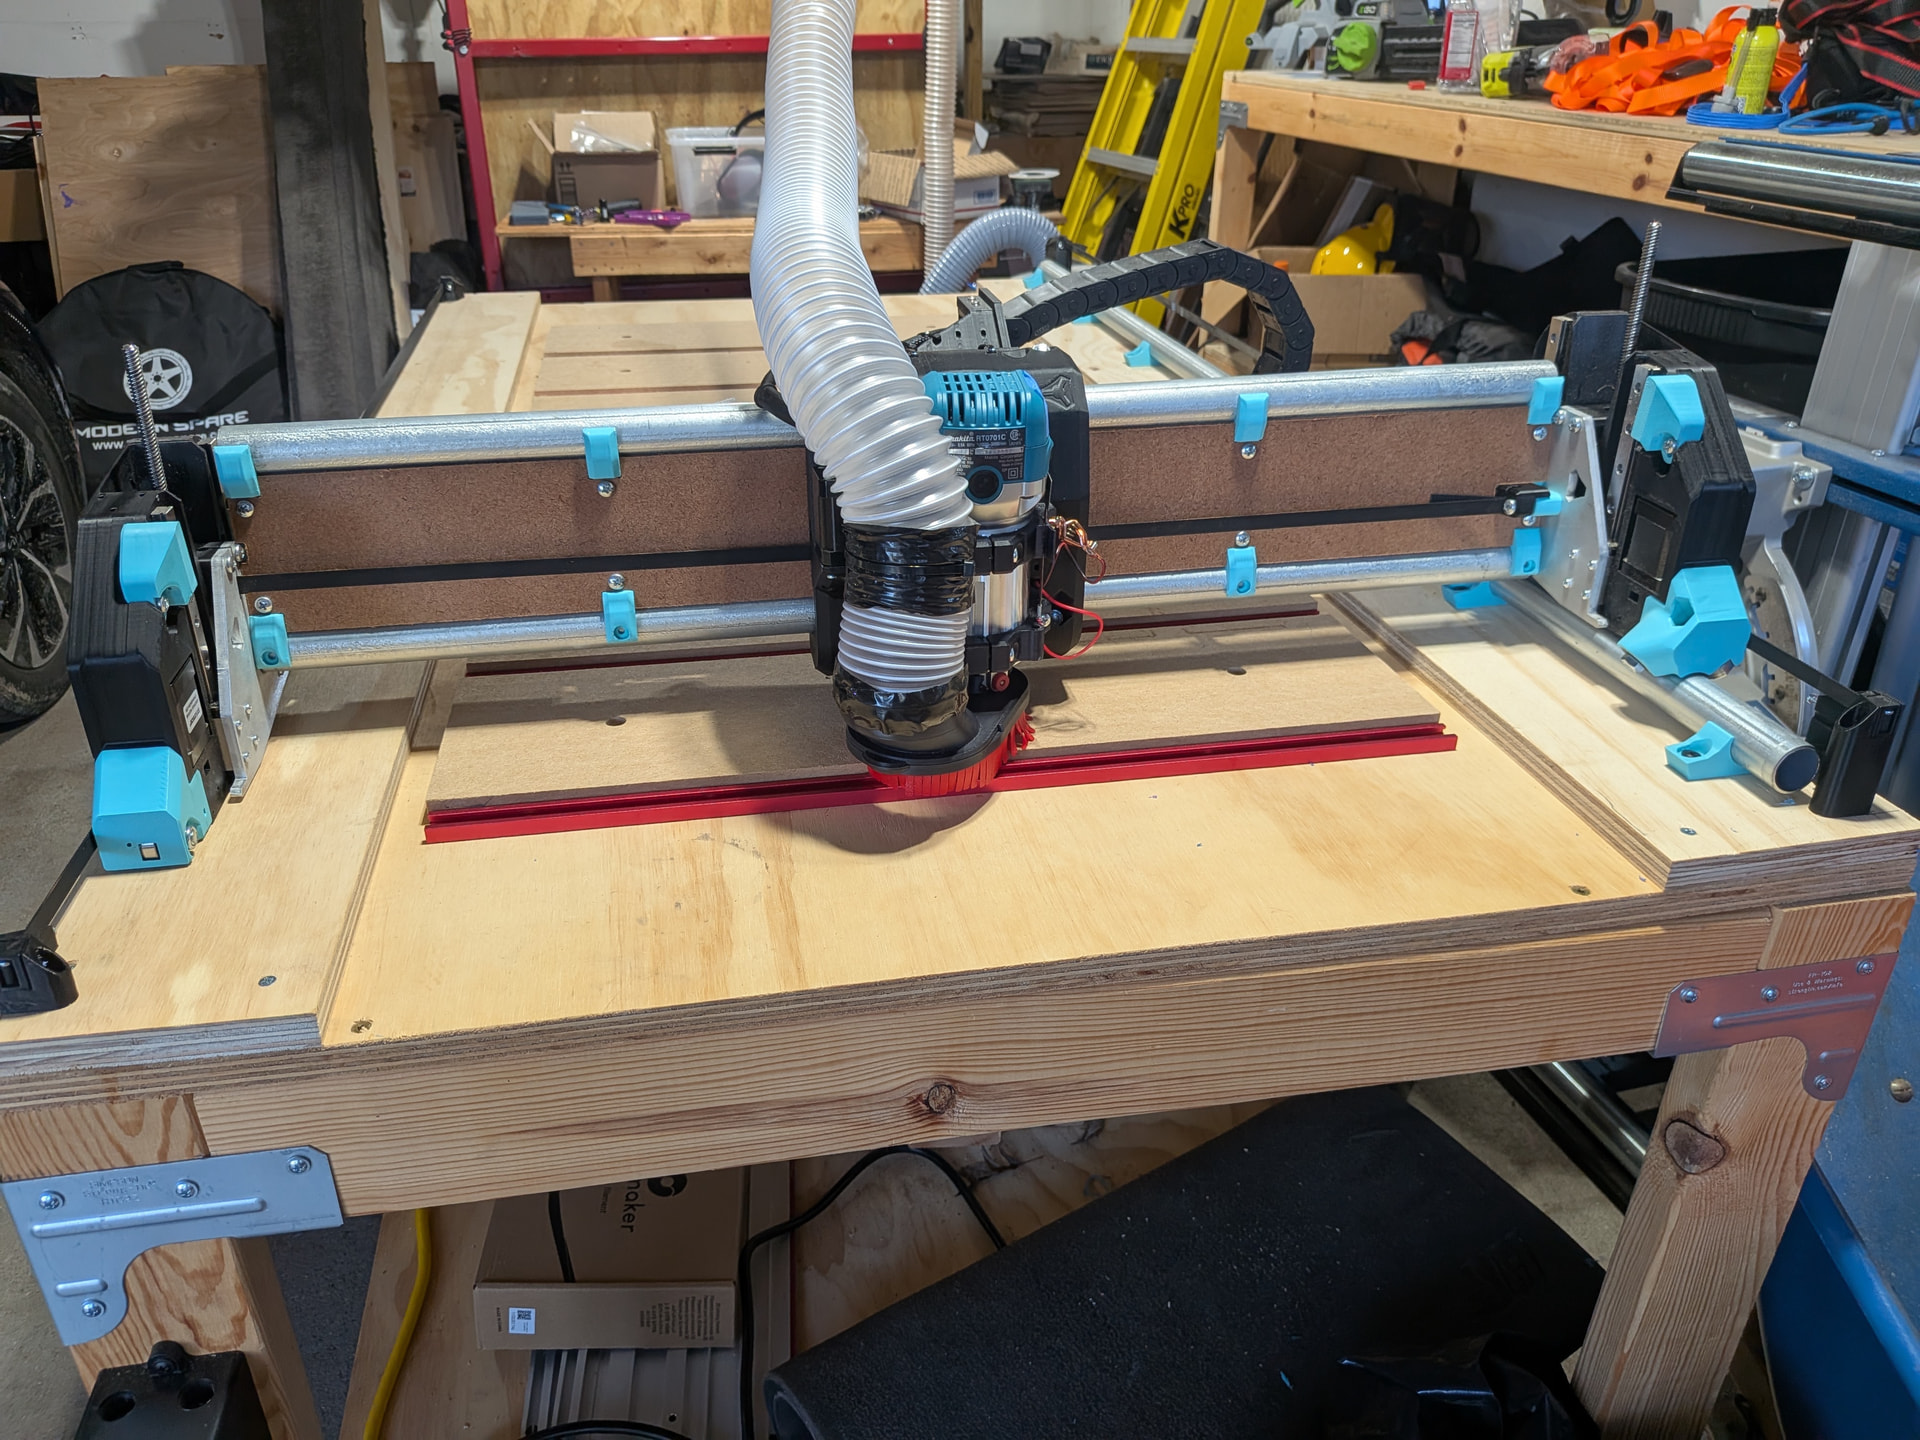
Hardboard struts. I used a 1/8” straight cut bit, same as last time.
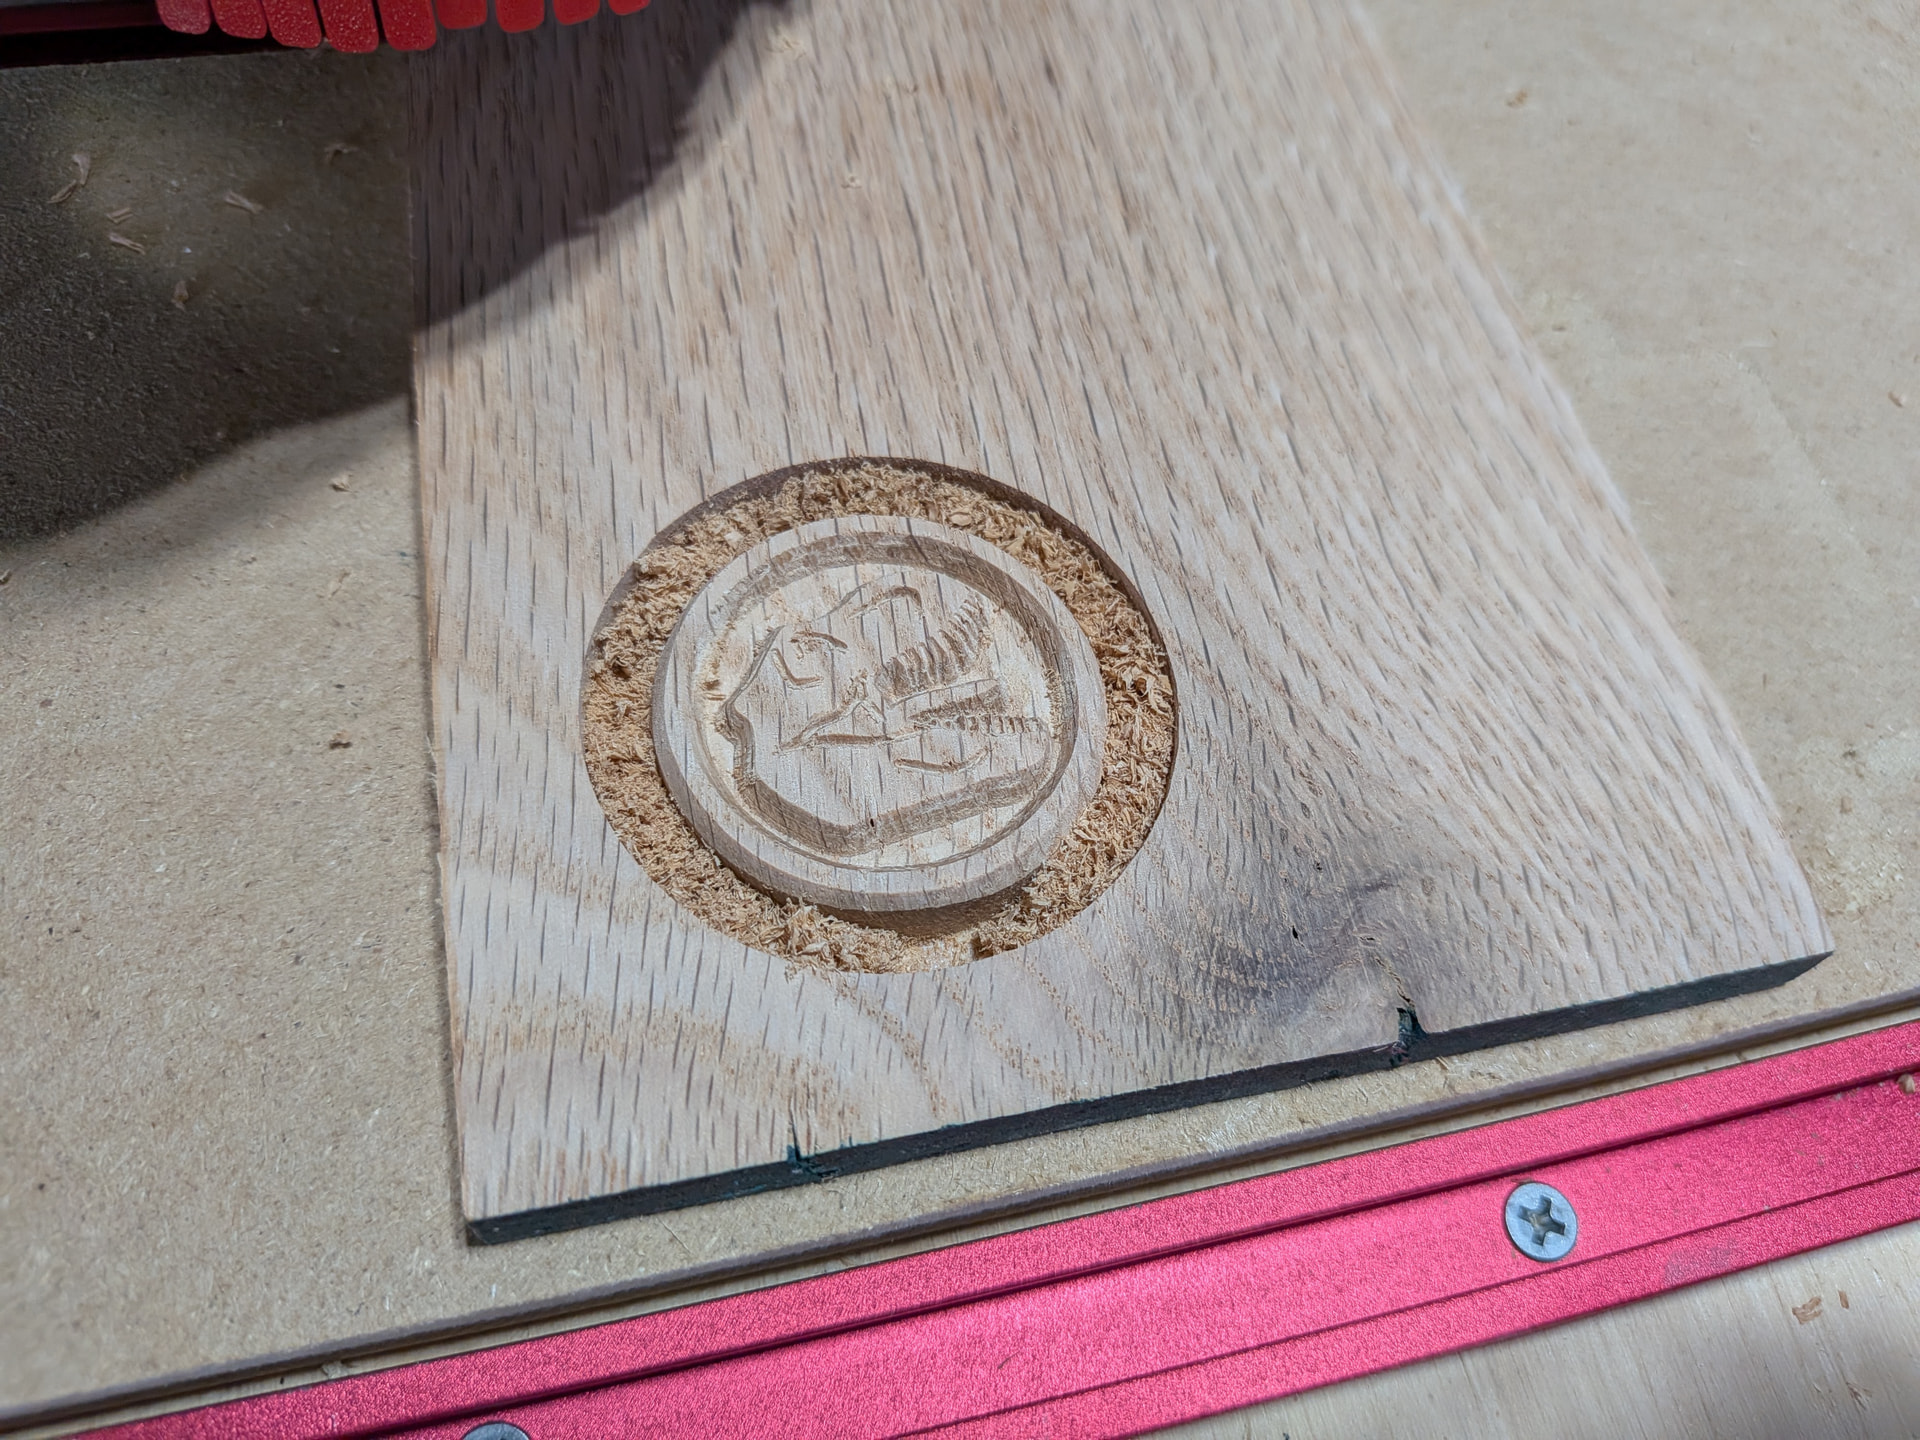
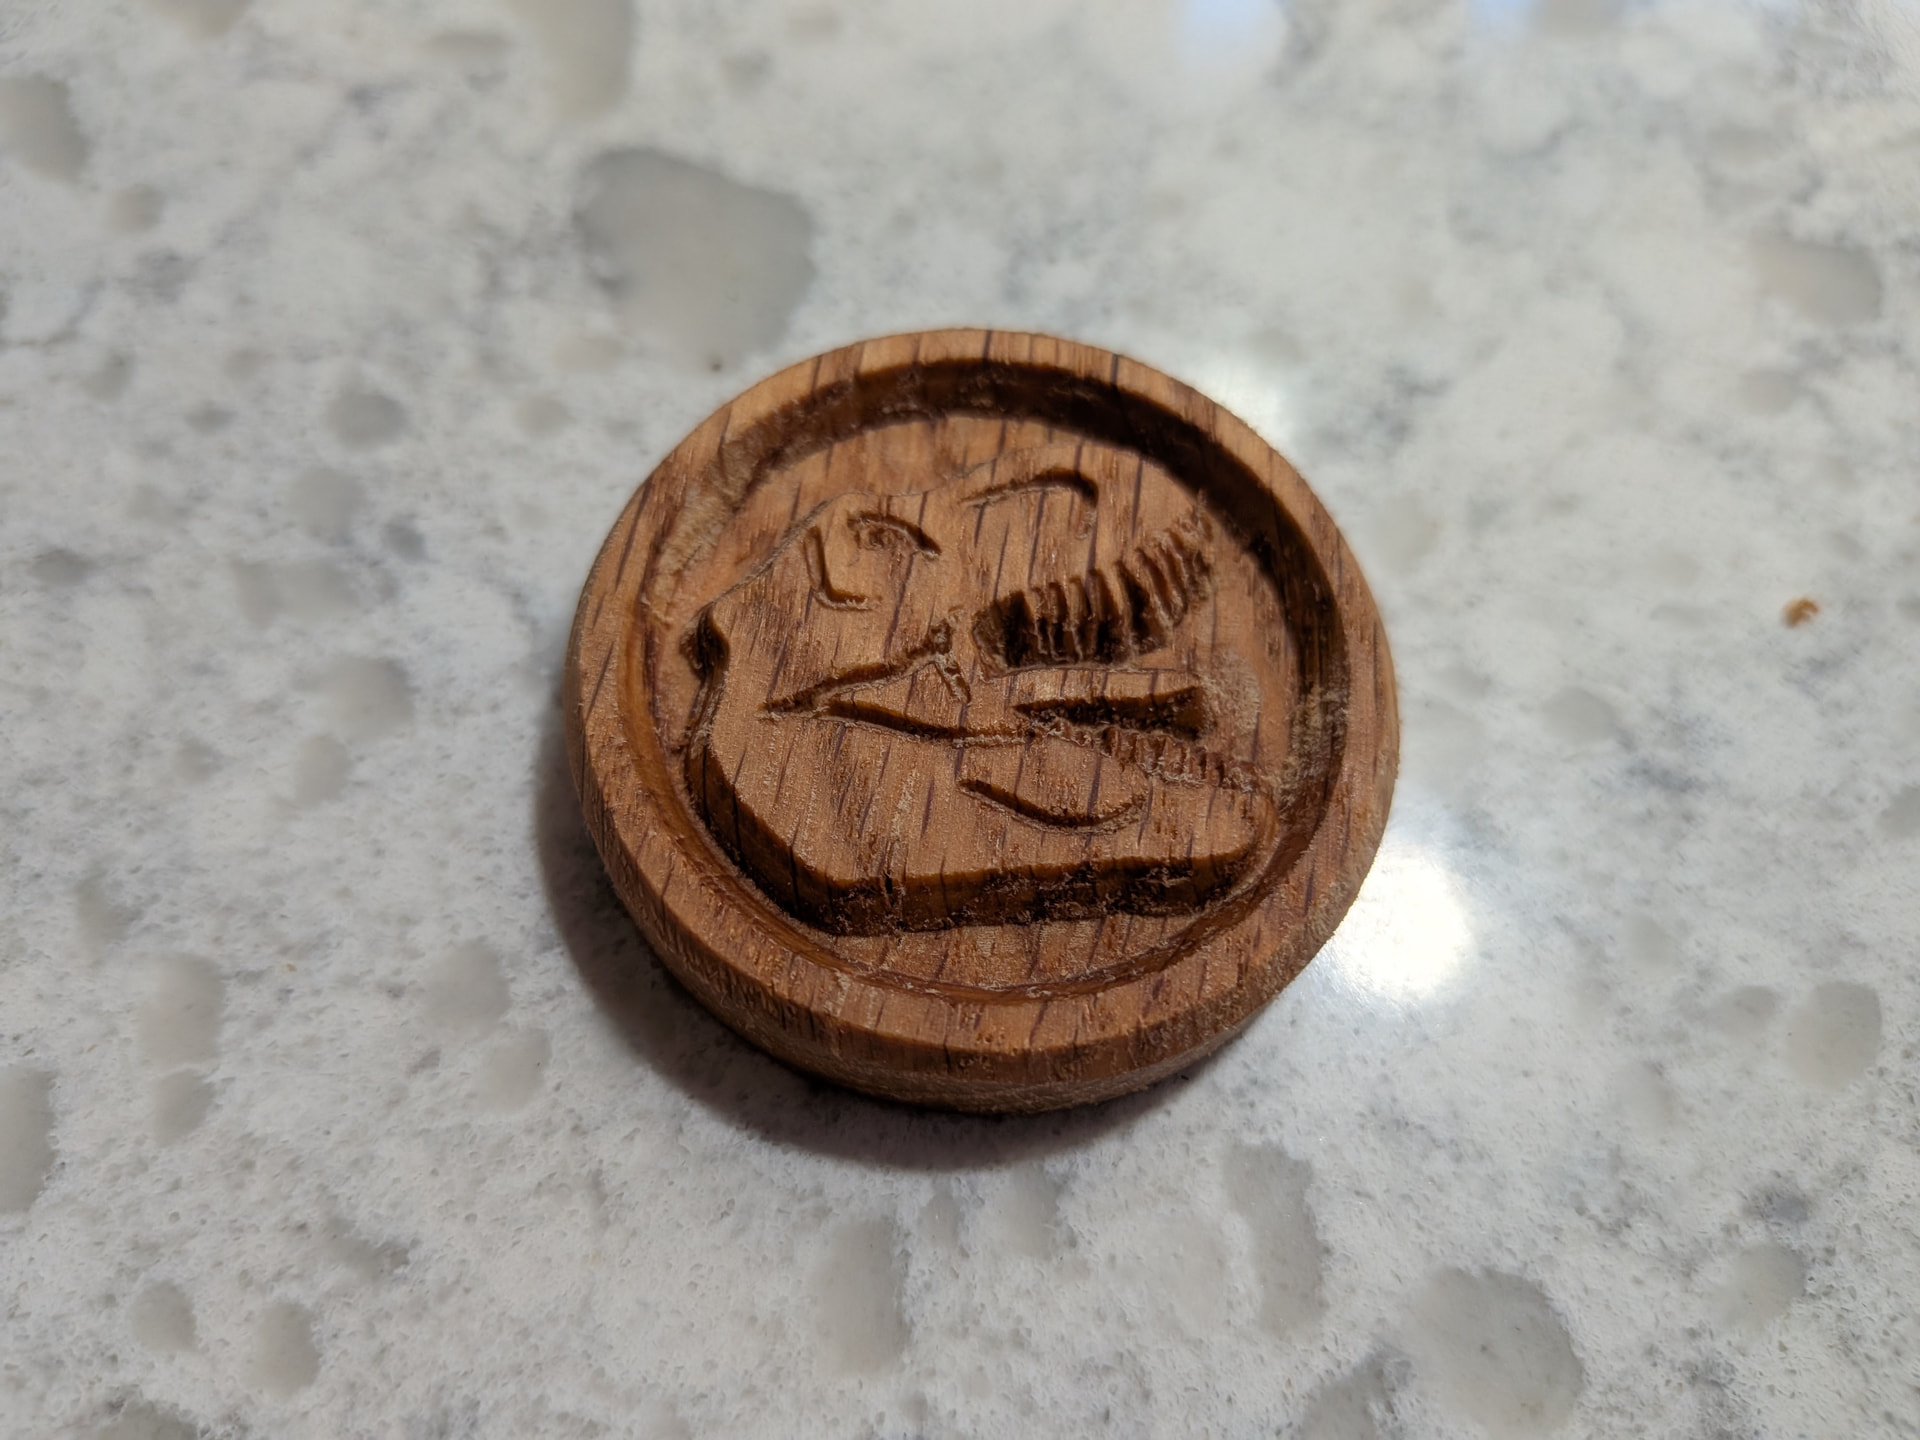
My first V-carve, and first project in hardwood (red oak). Finished with Danish oil.
Machine upgrades planned or in progress:
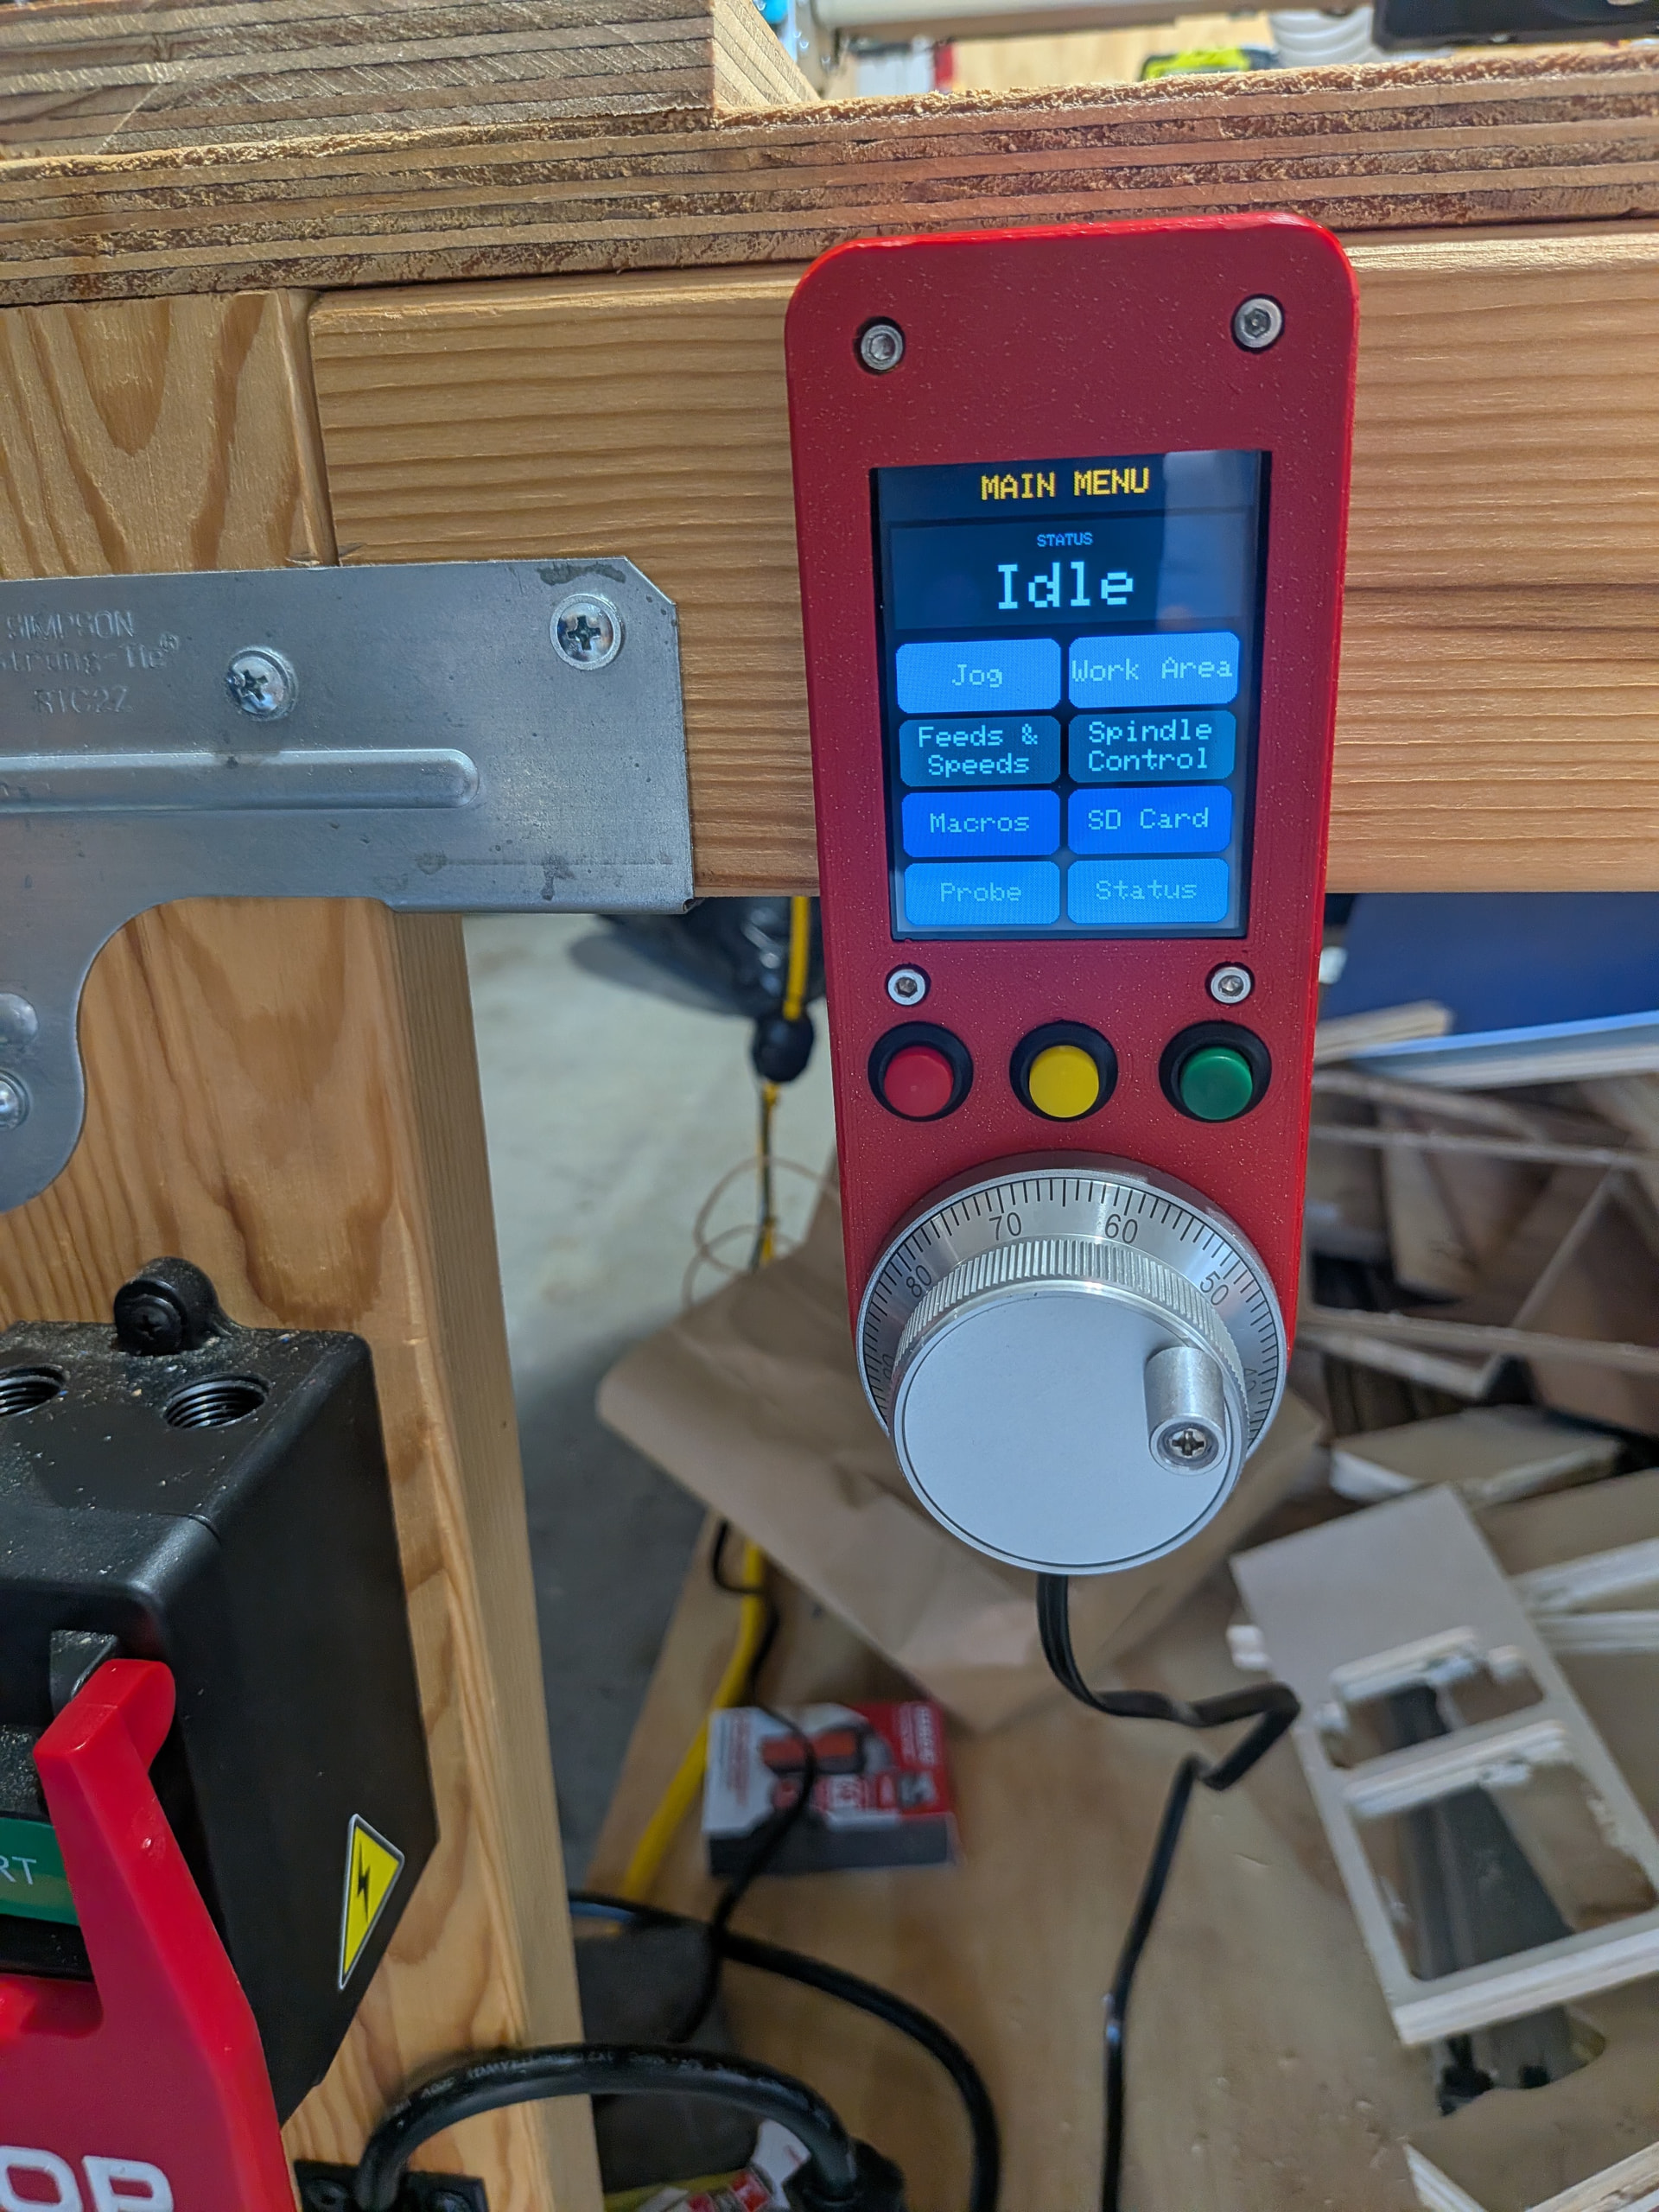
- CYD Dial pendant
- Tool length setter using these macros
- A box near the E-stop which will hold an Airedale I/O expander connecting the tool setter, pendant, and some buttons for homing, macros, etc.
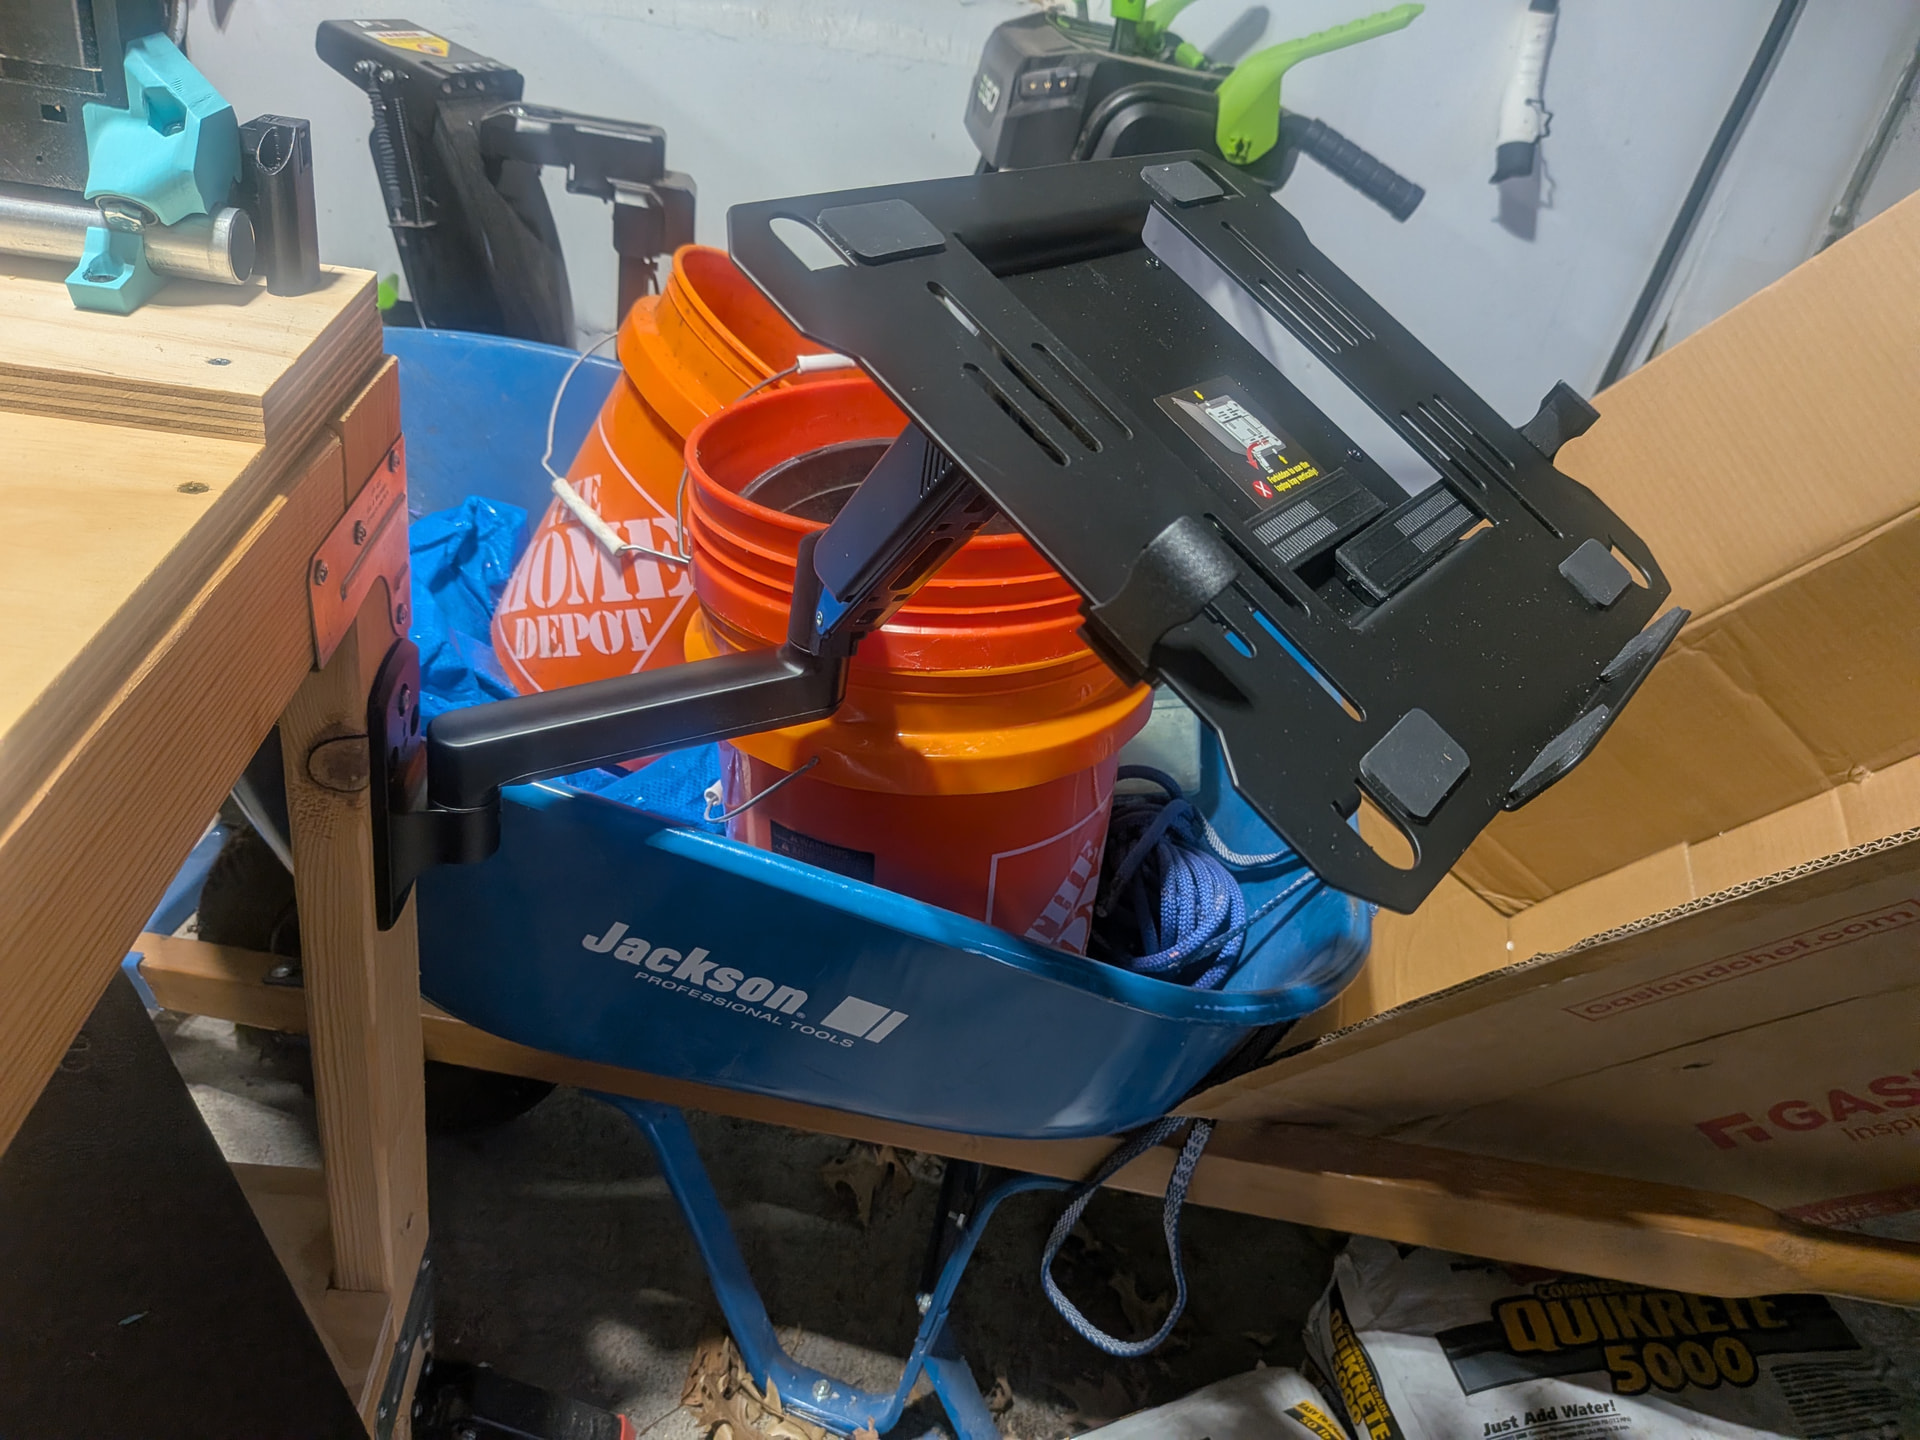
- An articulated arm to hold my laptop while I’m using the machine
- Storage for tools and bits
- A 3 axis probe block — I figure I can machine this myself in aluminum
- A fence to reliably set up stock at a known position and parallel to the machine axes — I have seen people use small lengths of PVC pipe that stick into the spoilboard for this