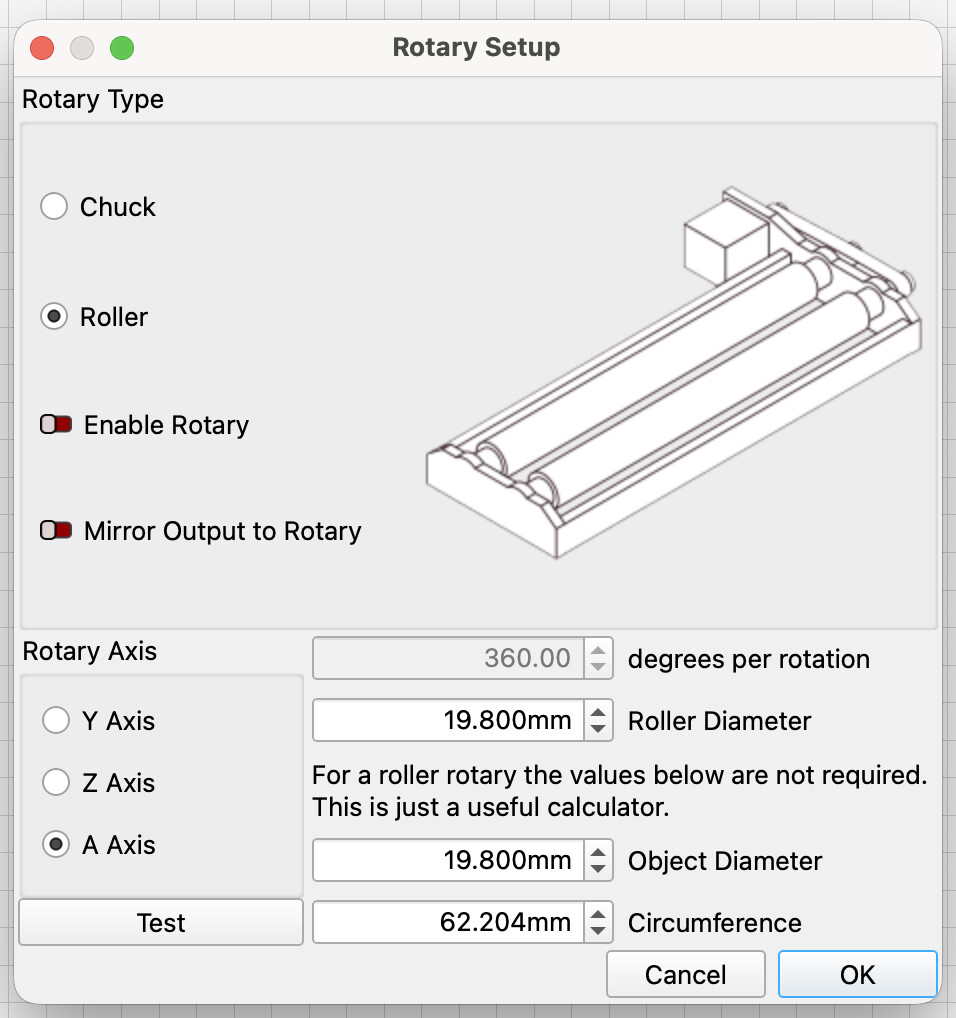
2.25mm gap, I guess I better move that max_travel_mm out just a little bit. I think 182 should be good so a change to 1170mm for max distance should work.
Getting excited! Now just noticed they didn’t give me a JST cable to go from the laser control module to Jackpot so I guess I will start digging through my cables…
My A soft limit works great, but I couldn’t move my X spindle core at all even without X soft limits, any movement would give a soft limit alarm. So the A soft limit is somehow affecting the X limit which is very strange.
Ty, as far as I remember it was a relatively straight forward normal setup, supported by plenty of info on the forum here and in documents here and there on the V1 site. My air pump (not laser tree) was from an earlier set up so I just went with that and it was fine for me. It is a rip off of and in similar spec to the atom stack f30 v1. Its a cylinder shaped pump which I tried for a while in the gantry (it fitted well) but I wasn’t comfortable with the power cabling and air hose set up as the hose outlet is on one side of the cylinder and the power inlet is on the other side so it was annoying for tidy cabling in the gantry. Your set up looks great.
I had to use a little of deduction to ensure everything is suitable.
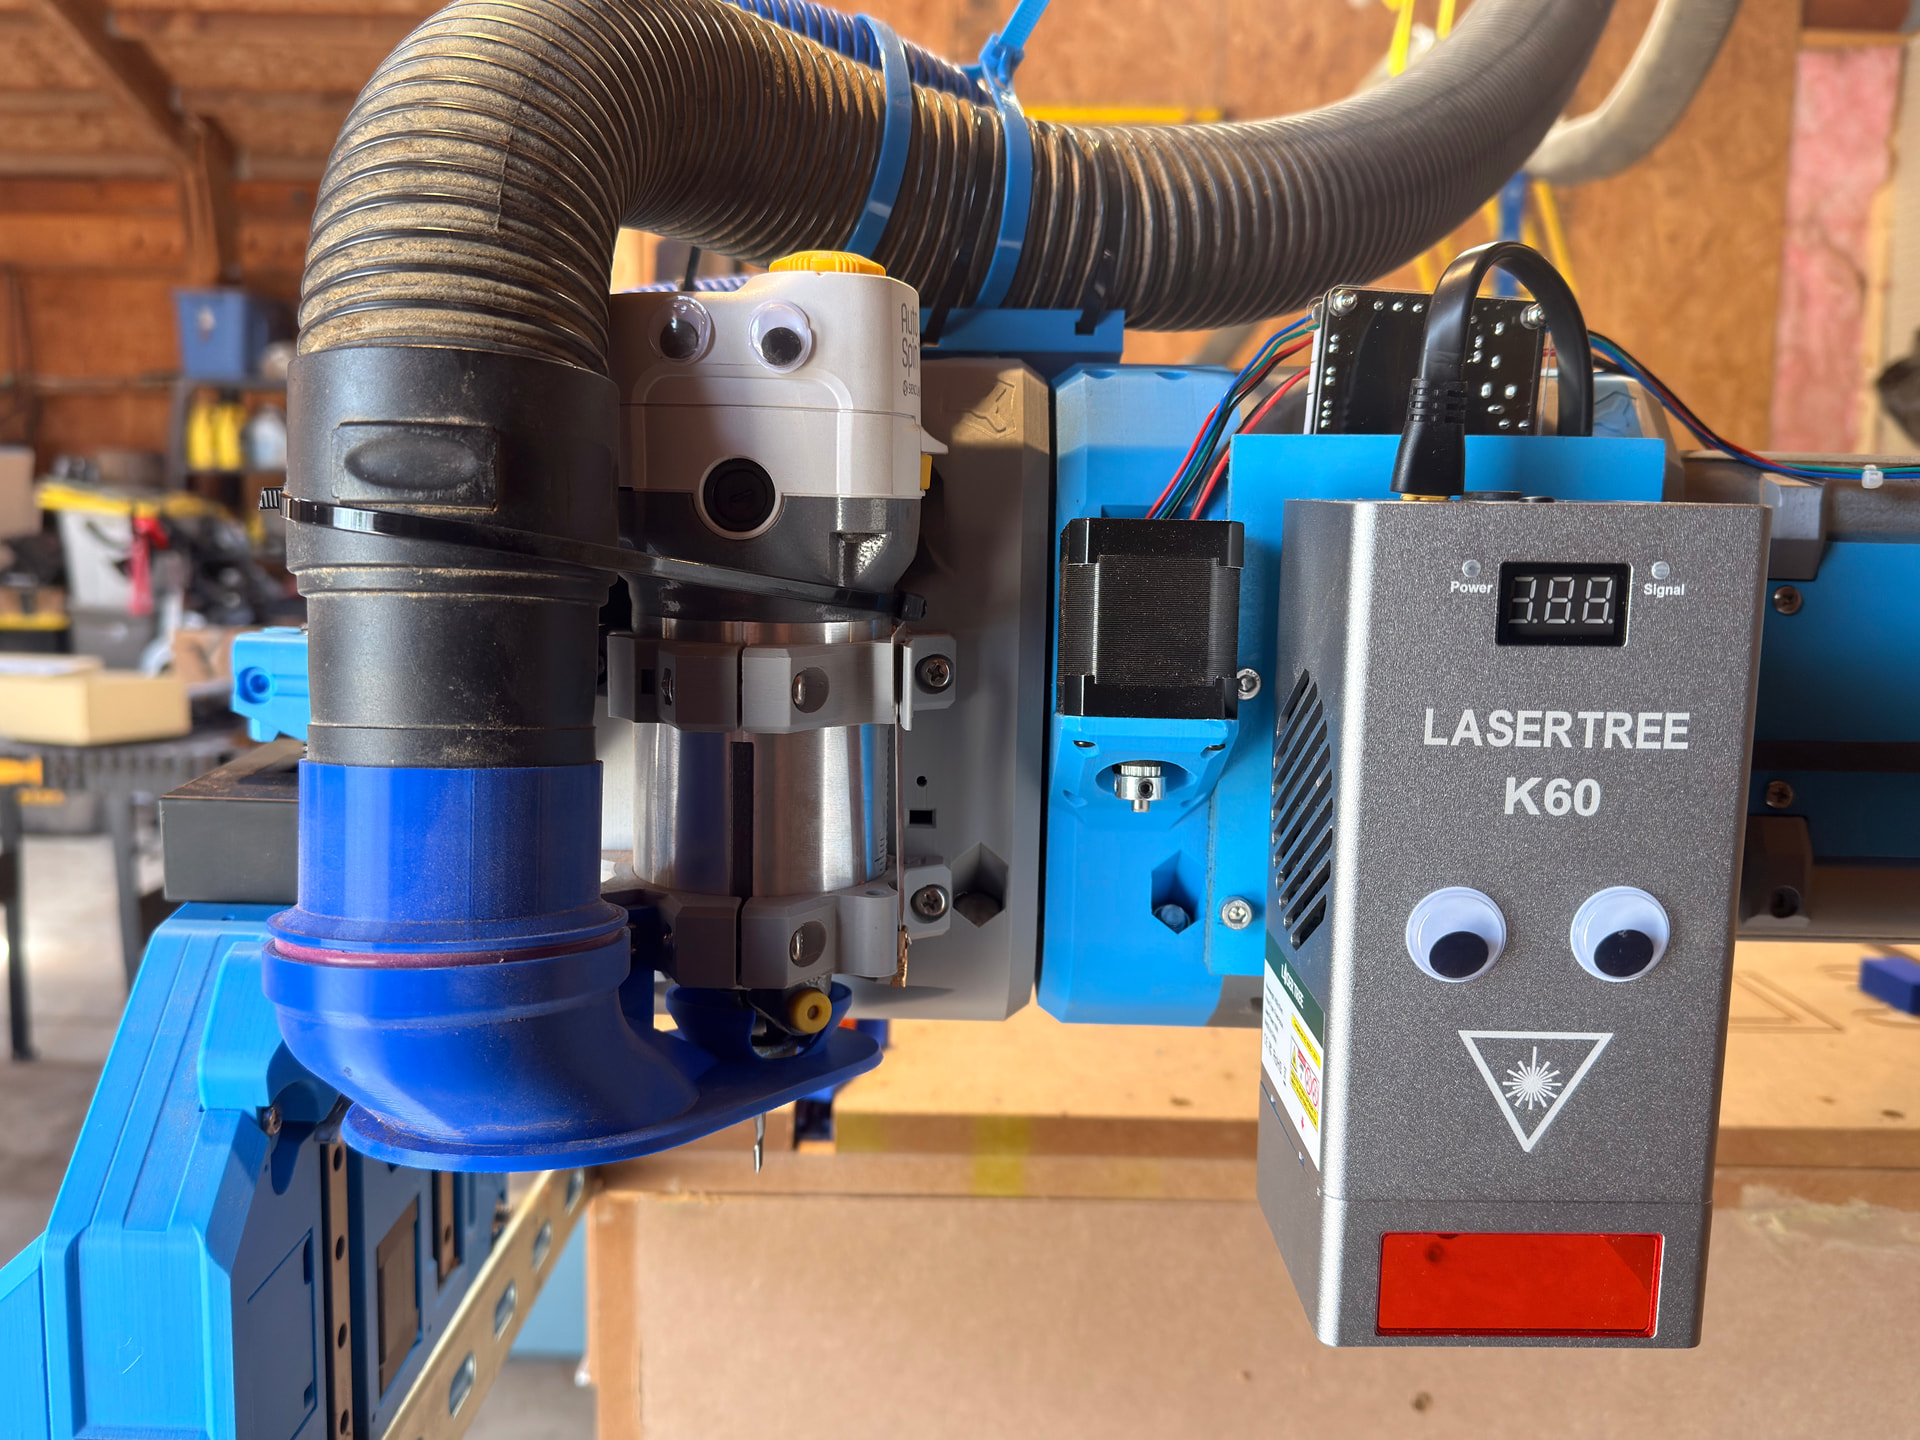
It comes with a 24V 10A power brick, so 240W to play with. Figuring out the max input voltage on the laser is near impossible to find, but safe to say since it’s a diode laser probably a multiple of 2 to be safe at max output, so 120W input power.
The P-DA-20 also controls the 20W laser modules and can be controlled from the JST connector output A. JST 2.54mm connectors with 22g wire control 3d print heater beds to 40-60W. The driver adapter can also expect to run the air assist pump at ~23W max, which I am NOT using (more on that later).
The Jackpot 3 requires a minimum of 19W. Plenty of overhead to spare.
The same exact board came with my 20w but with a 24V 5A power supply.
I’m curious what you are doing. I have the air assist pump but powering from the board only seems to make sense if the air assist pump can be mounted on the beam. I’m really not sure where to put that.
Oh yeah, well that was a butt-puckering moment. I had everything set up and was investigating if the pump was going to vibrate the gantry if it was mounted on it. Turned it on and was looking at the vibrations at different levels using the rotary dial. I pulled the rotary dial down to around the off-click and back on not really knowing where I was on the potentiometer, and somehow that sent a PWM directly to the laser start shining at full power out of nowhere! Just heard the fans kick on and blue light in the corner of my eye…
Fortunately the gantry was all the way up in my homing position - at the overhang over the drop part of the table. It shined on the grey concrete very diffuse a few feet down. I slapped my hand over my eyes and made my way to the e-stop.
That was first time it fired on, the power board didn’t even have the Jackpot PWM control wire attached yet. If that board has a chance of sending dirty power down the PWM control line then I will just avoid that potentiometer. I scrounged around and found a coil compressor hose and pressure regulator/water separator from my paint gun and going to hook the shop compressor up to it when needed.
And the kicker, both pairs of glasses, one from China and other from your Amazon link, came about an hour later.
FWIW, your eyes would be destroyed faster than you can blink if it has hit your eyes. Wise to close them before you moved.
A friend of mine works in powerful lasers for research at the physics deparment at the university. He takes his ring off because if the lasers hit the ring, it will scatter everywhere.
Thanks, yeah acutely aware. Did a little laser research in college studying my teaching degree and my professor put some proper fear in me. I should have been a little more careful than trusting the laser components.
I might put in a defeat switch between the power distribution board and the laser on the core so the laser is never powered unless I want it to.
And ditched my ring a number of years ago working in the shop and farm, degloving is real.
Just finished a test engraving from Lightburn, my custom device setup worked flawlessly. After setting up the device profile I was at first skeptical because the tool movement still mapped to the X axis moving my spindle, but looking at a gcode output all X axis movements were reassigned to A.
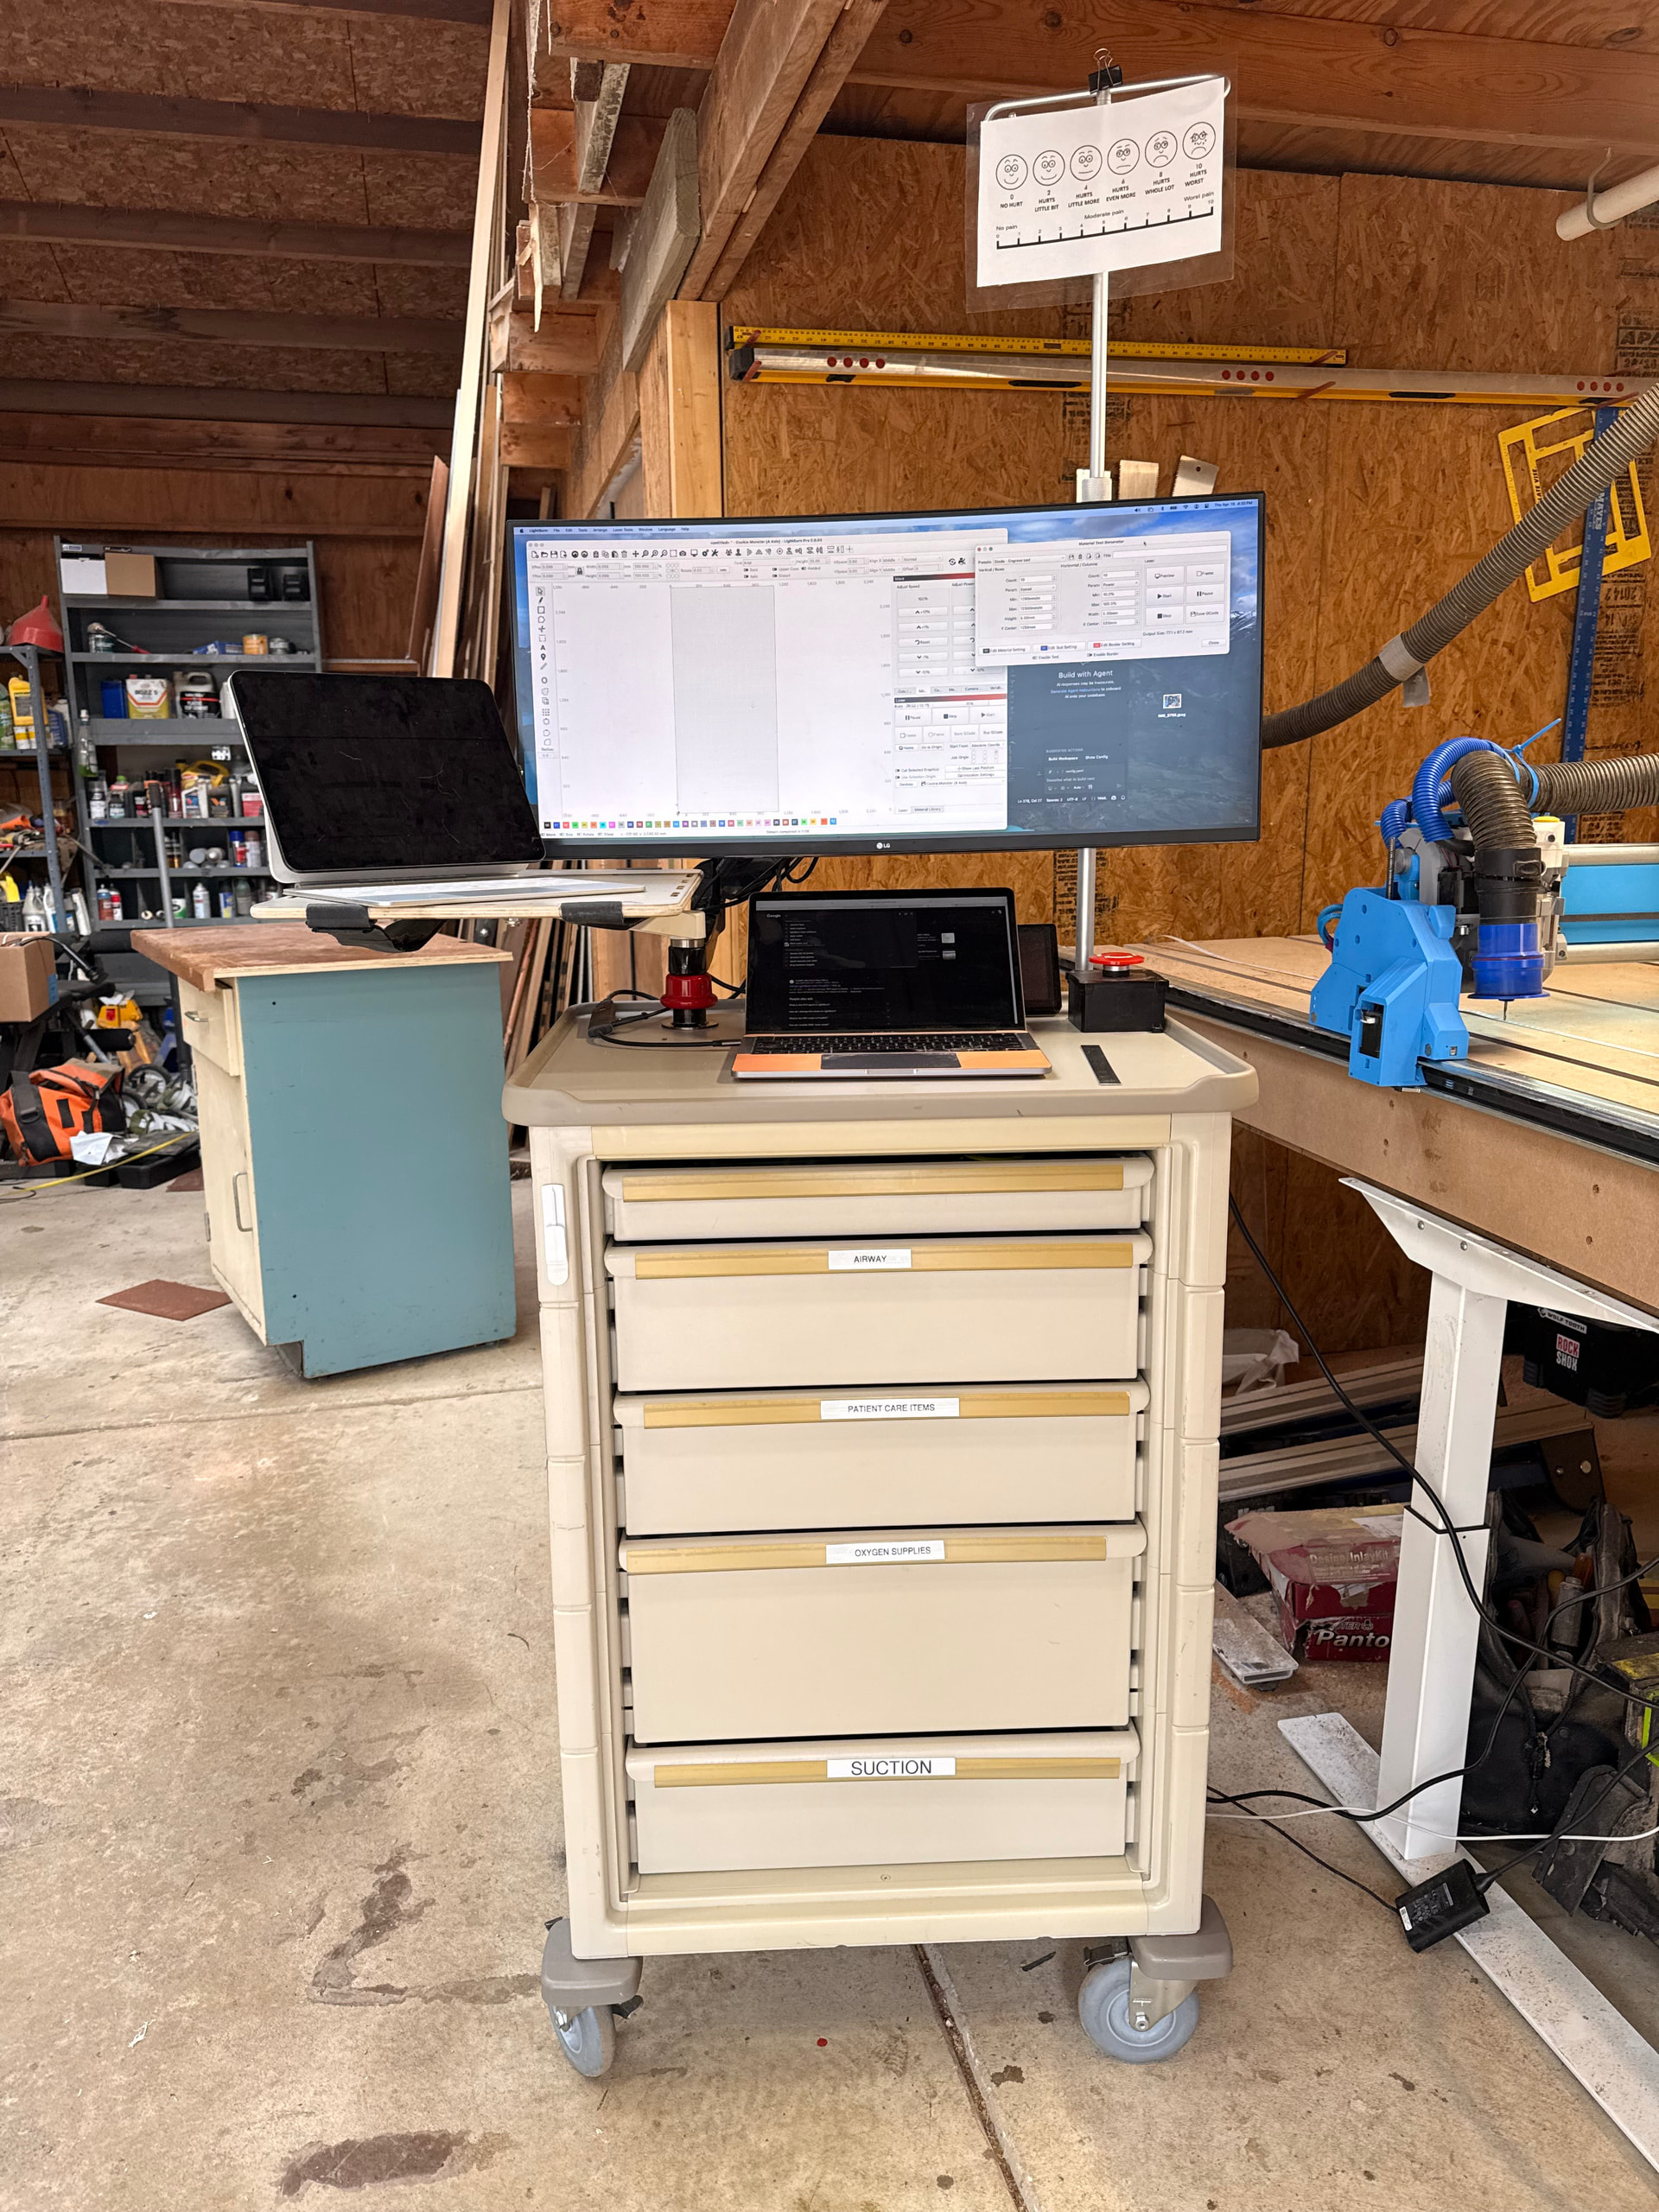
Also got this little command center from a hospital closing down the way earlier today:
I’m sure you can find medical or government auctions that have these carts. In this case, my wife works in the OR at the hospital where they built an addition to one of the hospitals and are closing and merging the other community hospital this weekend. They are getting rid of so many items for free or just telling the builders to throw it in the dumpster.
I was able to get it done using method 2 inside Lightburn. The [A]{x} substitution did the trick when it publishes out to gcode. The only hitch is the built in Lightburn controls do not remap so jogging is still X, but macros are a quick fix for that.
I think I am going to like this laser a lot, it’s a stout heavy thing!
Curious how you’re homing the second core, do you have X end stop on 2nd Core that touches off right side of 1st Core? Then set A axis’s (“X” equivalent) origin based on Core 1 width.
Does lightburn enable 2nd Core Jogging as easily as 1st Core? With virtual joystick like control, or do you end up with list of macros that jog A axis by some increment? [G0 A-10][G0 A-1], etc…

 M6 ; M5 ; $HX ; M3 S0 ; T10 M6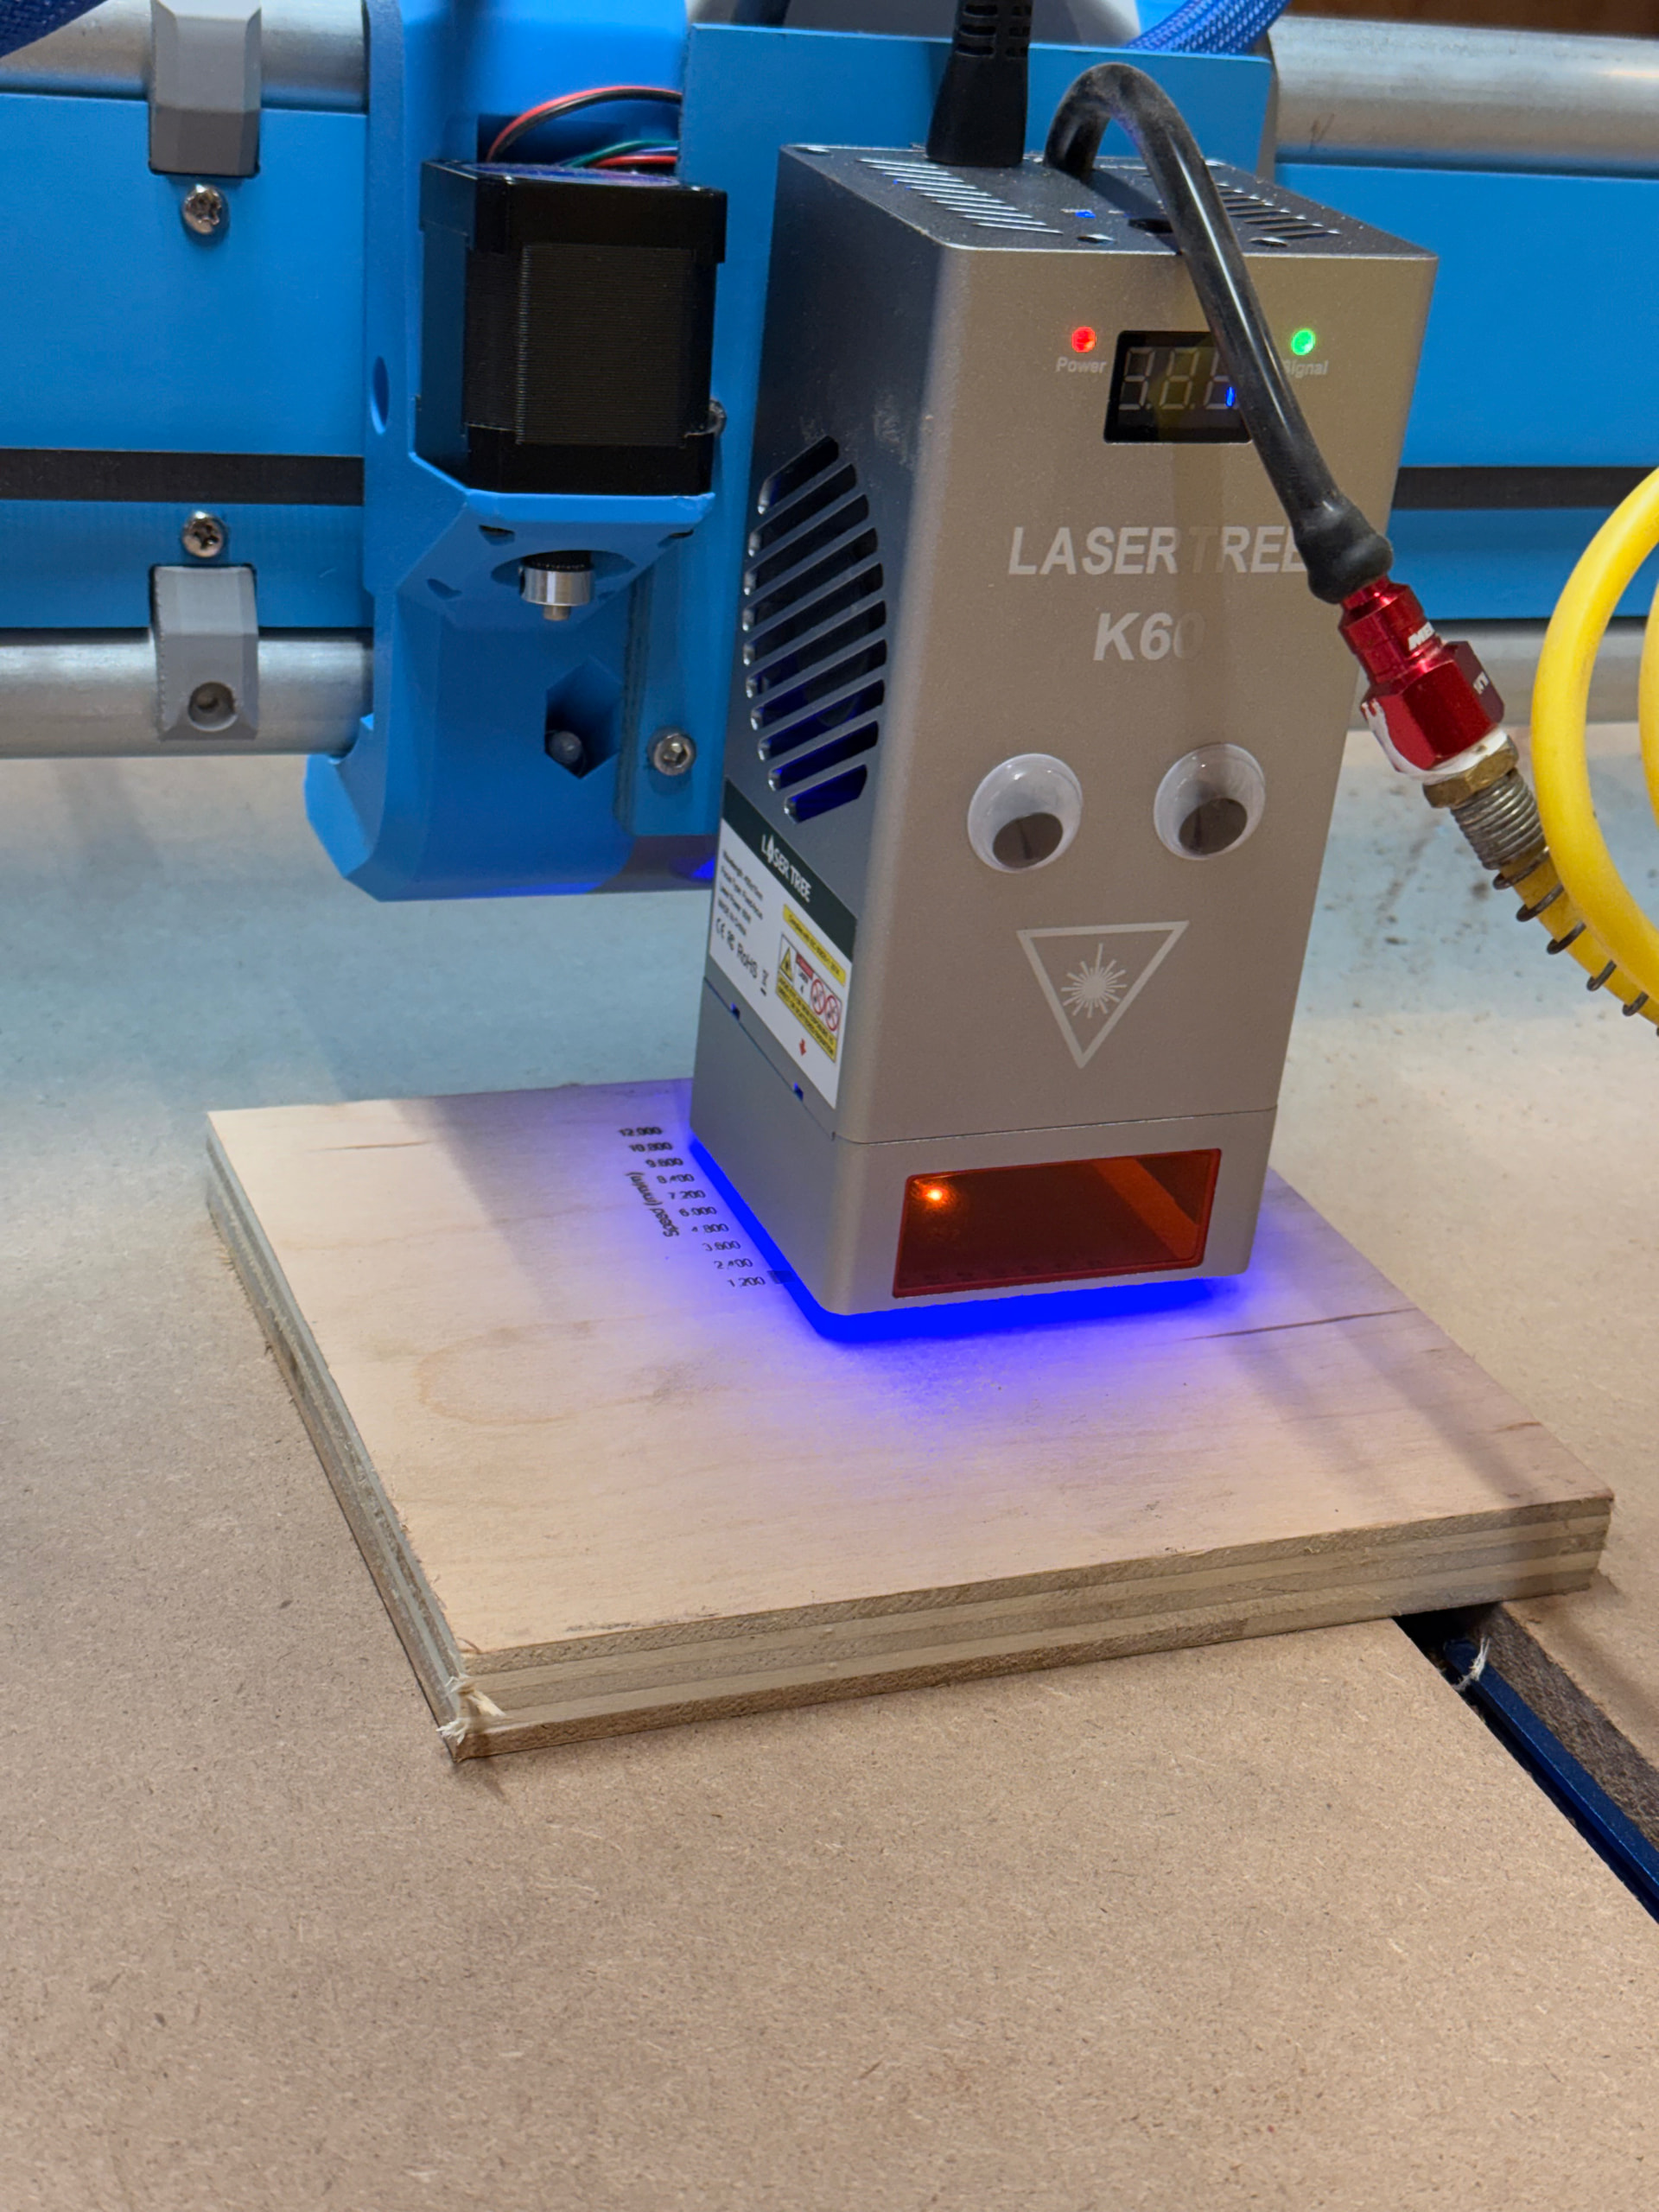
 Would love one