LR4 Lasertree K60 60W Mount “Frickin Laser Beams”

No problem, I’ll try to lay it out the process here.

The Router is on the X Axis and is homed to Min side of LR as normal. I have $hX set to 0

The laser is exactly opposite, it is registered on the A Axis and homes to the Max side.

I have $hA set at 1338 (the distance from the center of the router mill to the center of the laser) in config.yaml. This is the distance I have calibrated to ensure the laser and router are on the same plane. I first measured, then made the 100mm x 100mm squares to finalize the calibration to sneak up on it.

I also have a Y offset set since they stand out different, but I set that in Lightburn (that is intended for the guide laser - the guide laser cross is close enough). Also was set using the calibration squares.

So far I have been using G0 Axxx, there isn’t a way to remap that axis in Lightburn I have found. I am confounded every time I hit it and my router moves instead :enraged_face: .

@Britt - I didn’t even think to set up the rotary setup in Lightburn. Still getting familiar with the program. I’ll try that later and report back, thanks!
Finally got a chance to play with the table a bit the past two weekends. First was an Adirondack folding chair made with the router and went great - on the first one, the second no so much. A topic for another discussion.

After getting frustrated with that, I went to the laser to make a birthday present this past weekend. So far engraving with the laser has been flawless so I wanted to try to cut with it. With some spare 3/4” cedar cutoffs I went for some trials, and it was getting fiddly to start the laser. Checked the PWM wire from GPIO 27, touched it while doing a pattern test and it fired right up, okay loose connection. Probed and locked everything down, same issue. Got it working one more time and it finished the project. Then same issue, now no amount of fuss would get the laser to light up.

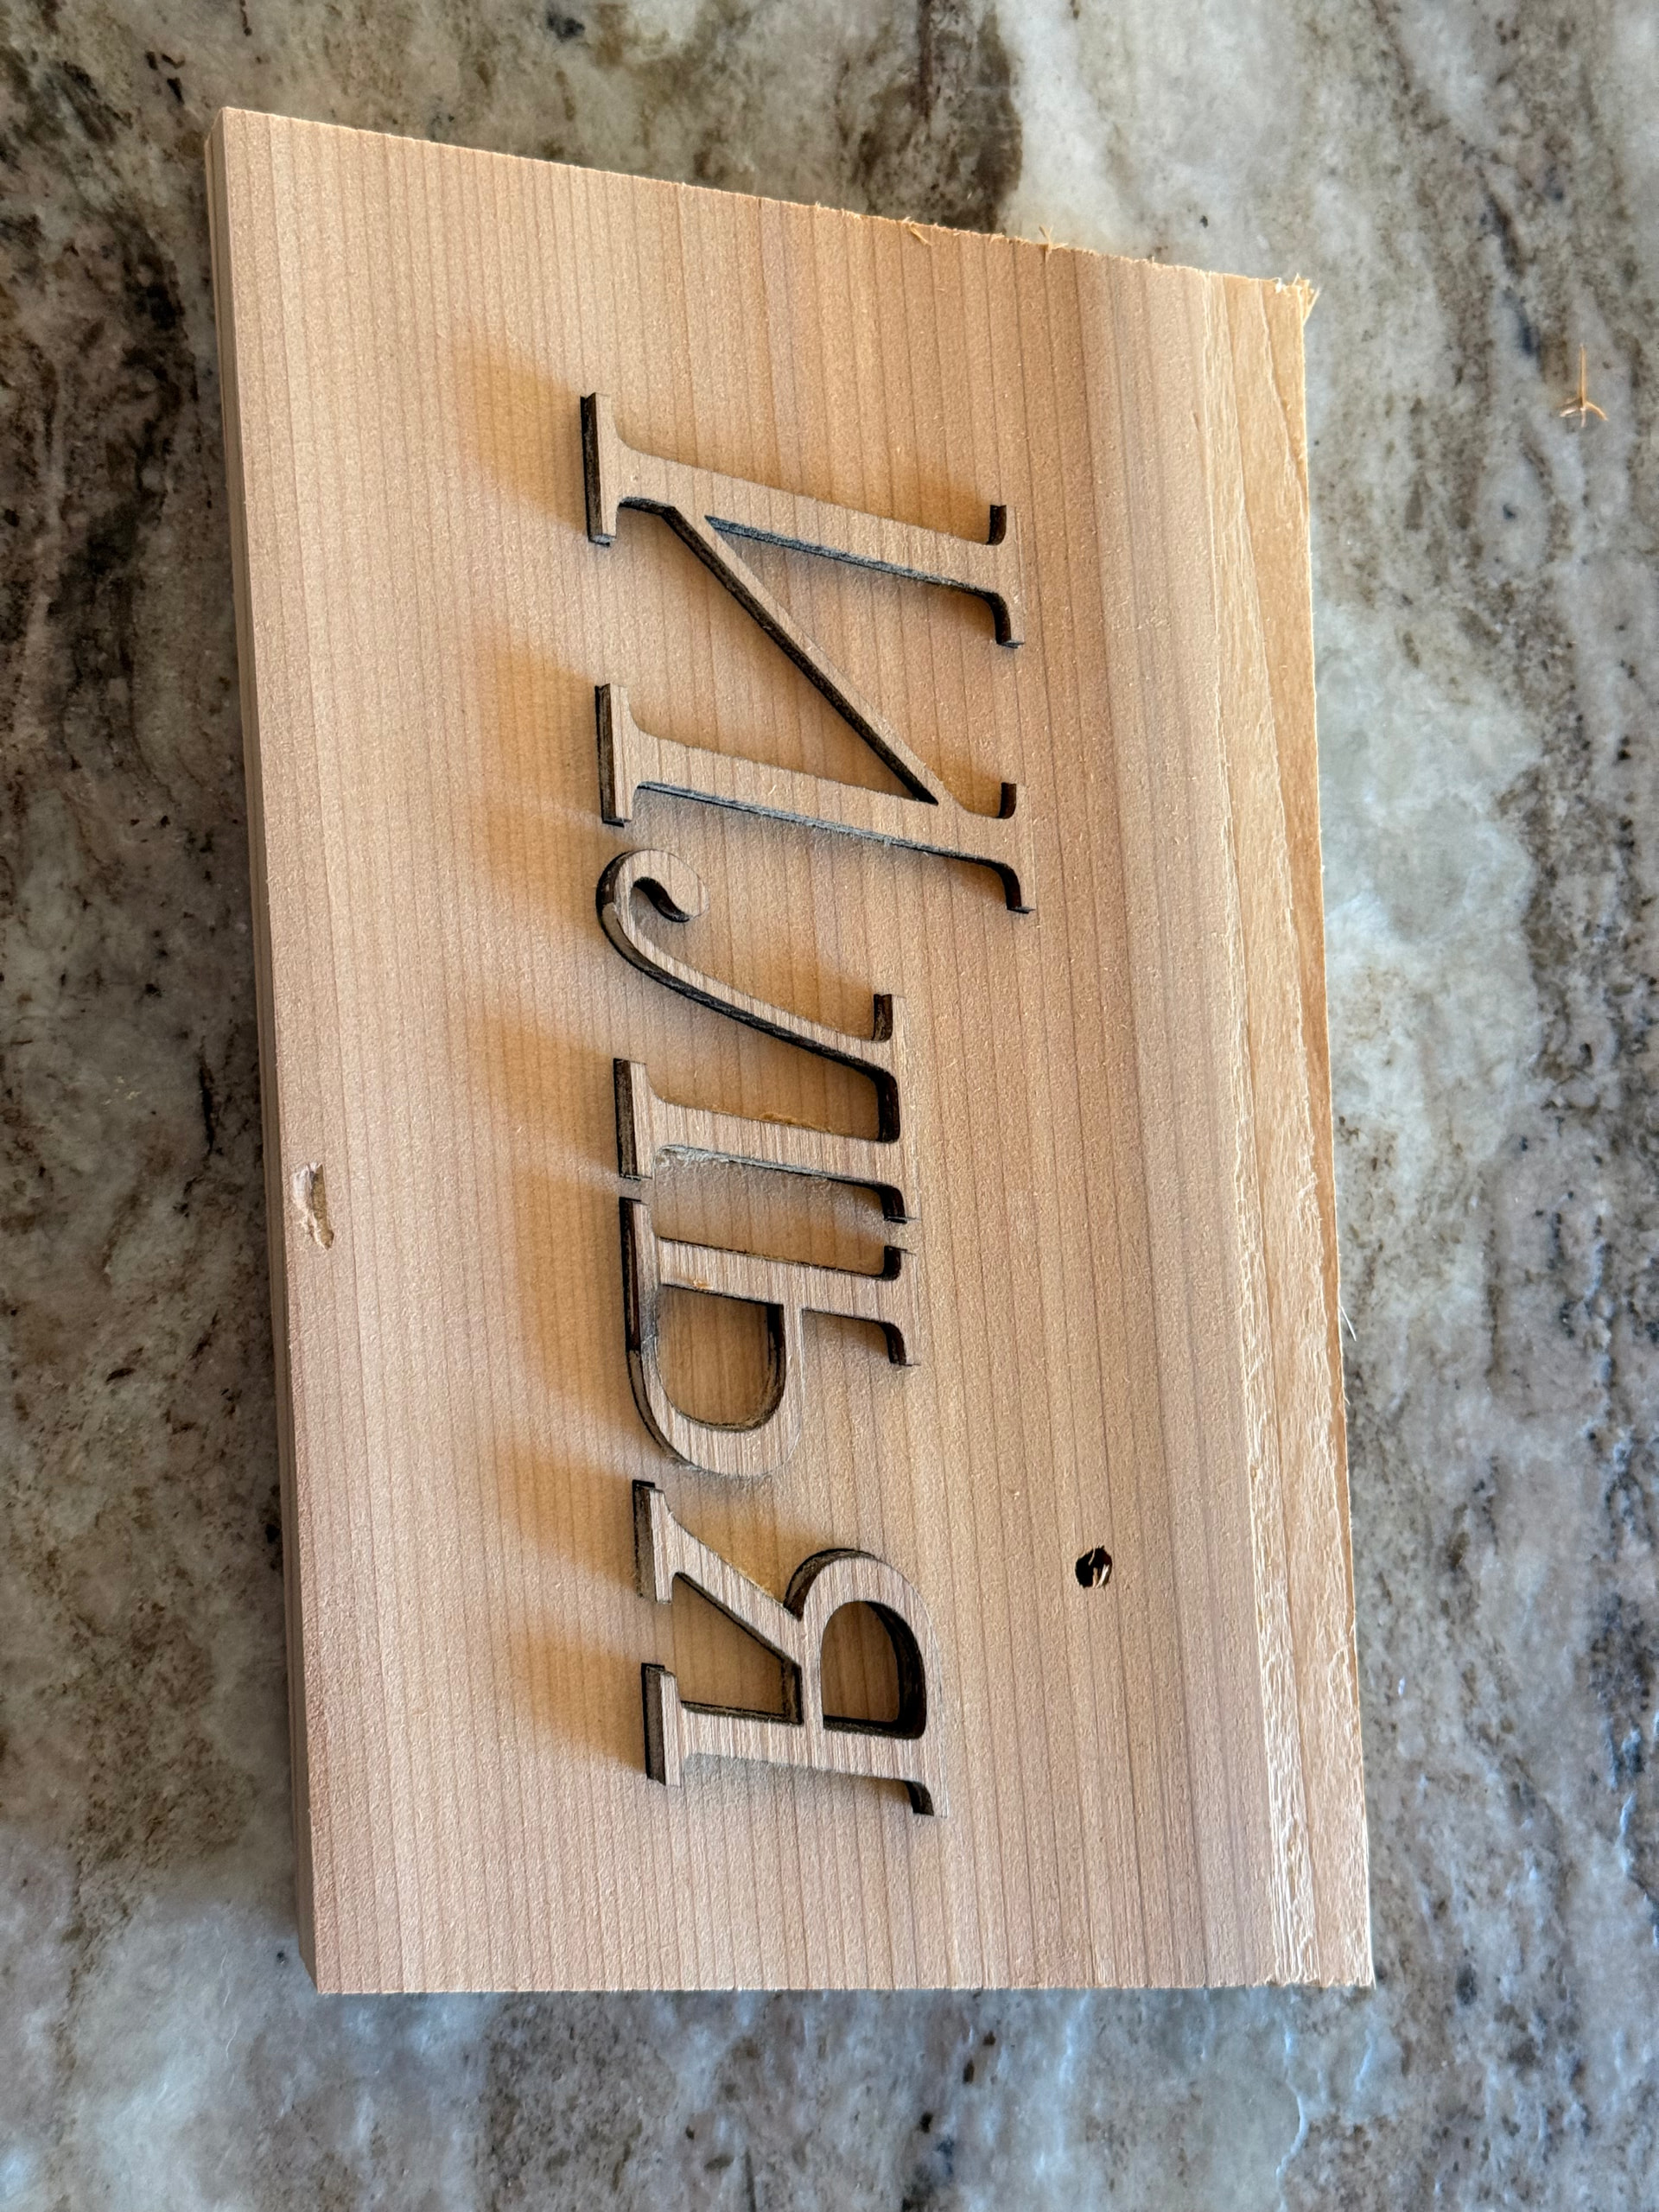
Moved to GPIO 26, and after getting the config straight it started working again. And boy does it cut cleanly through western red cedar:

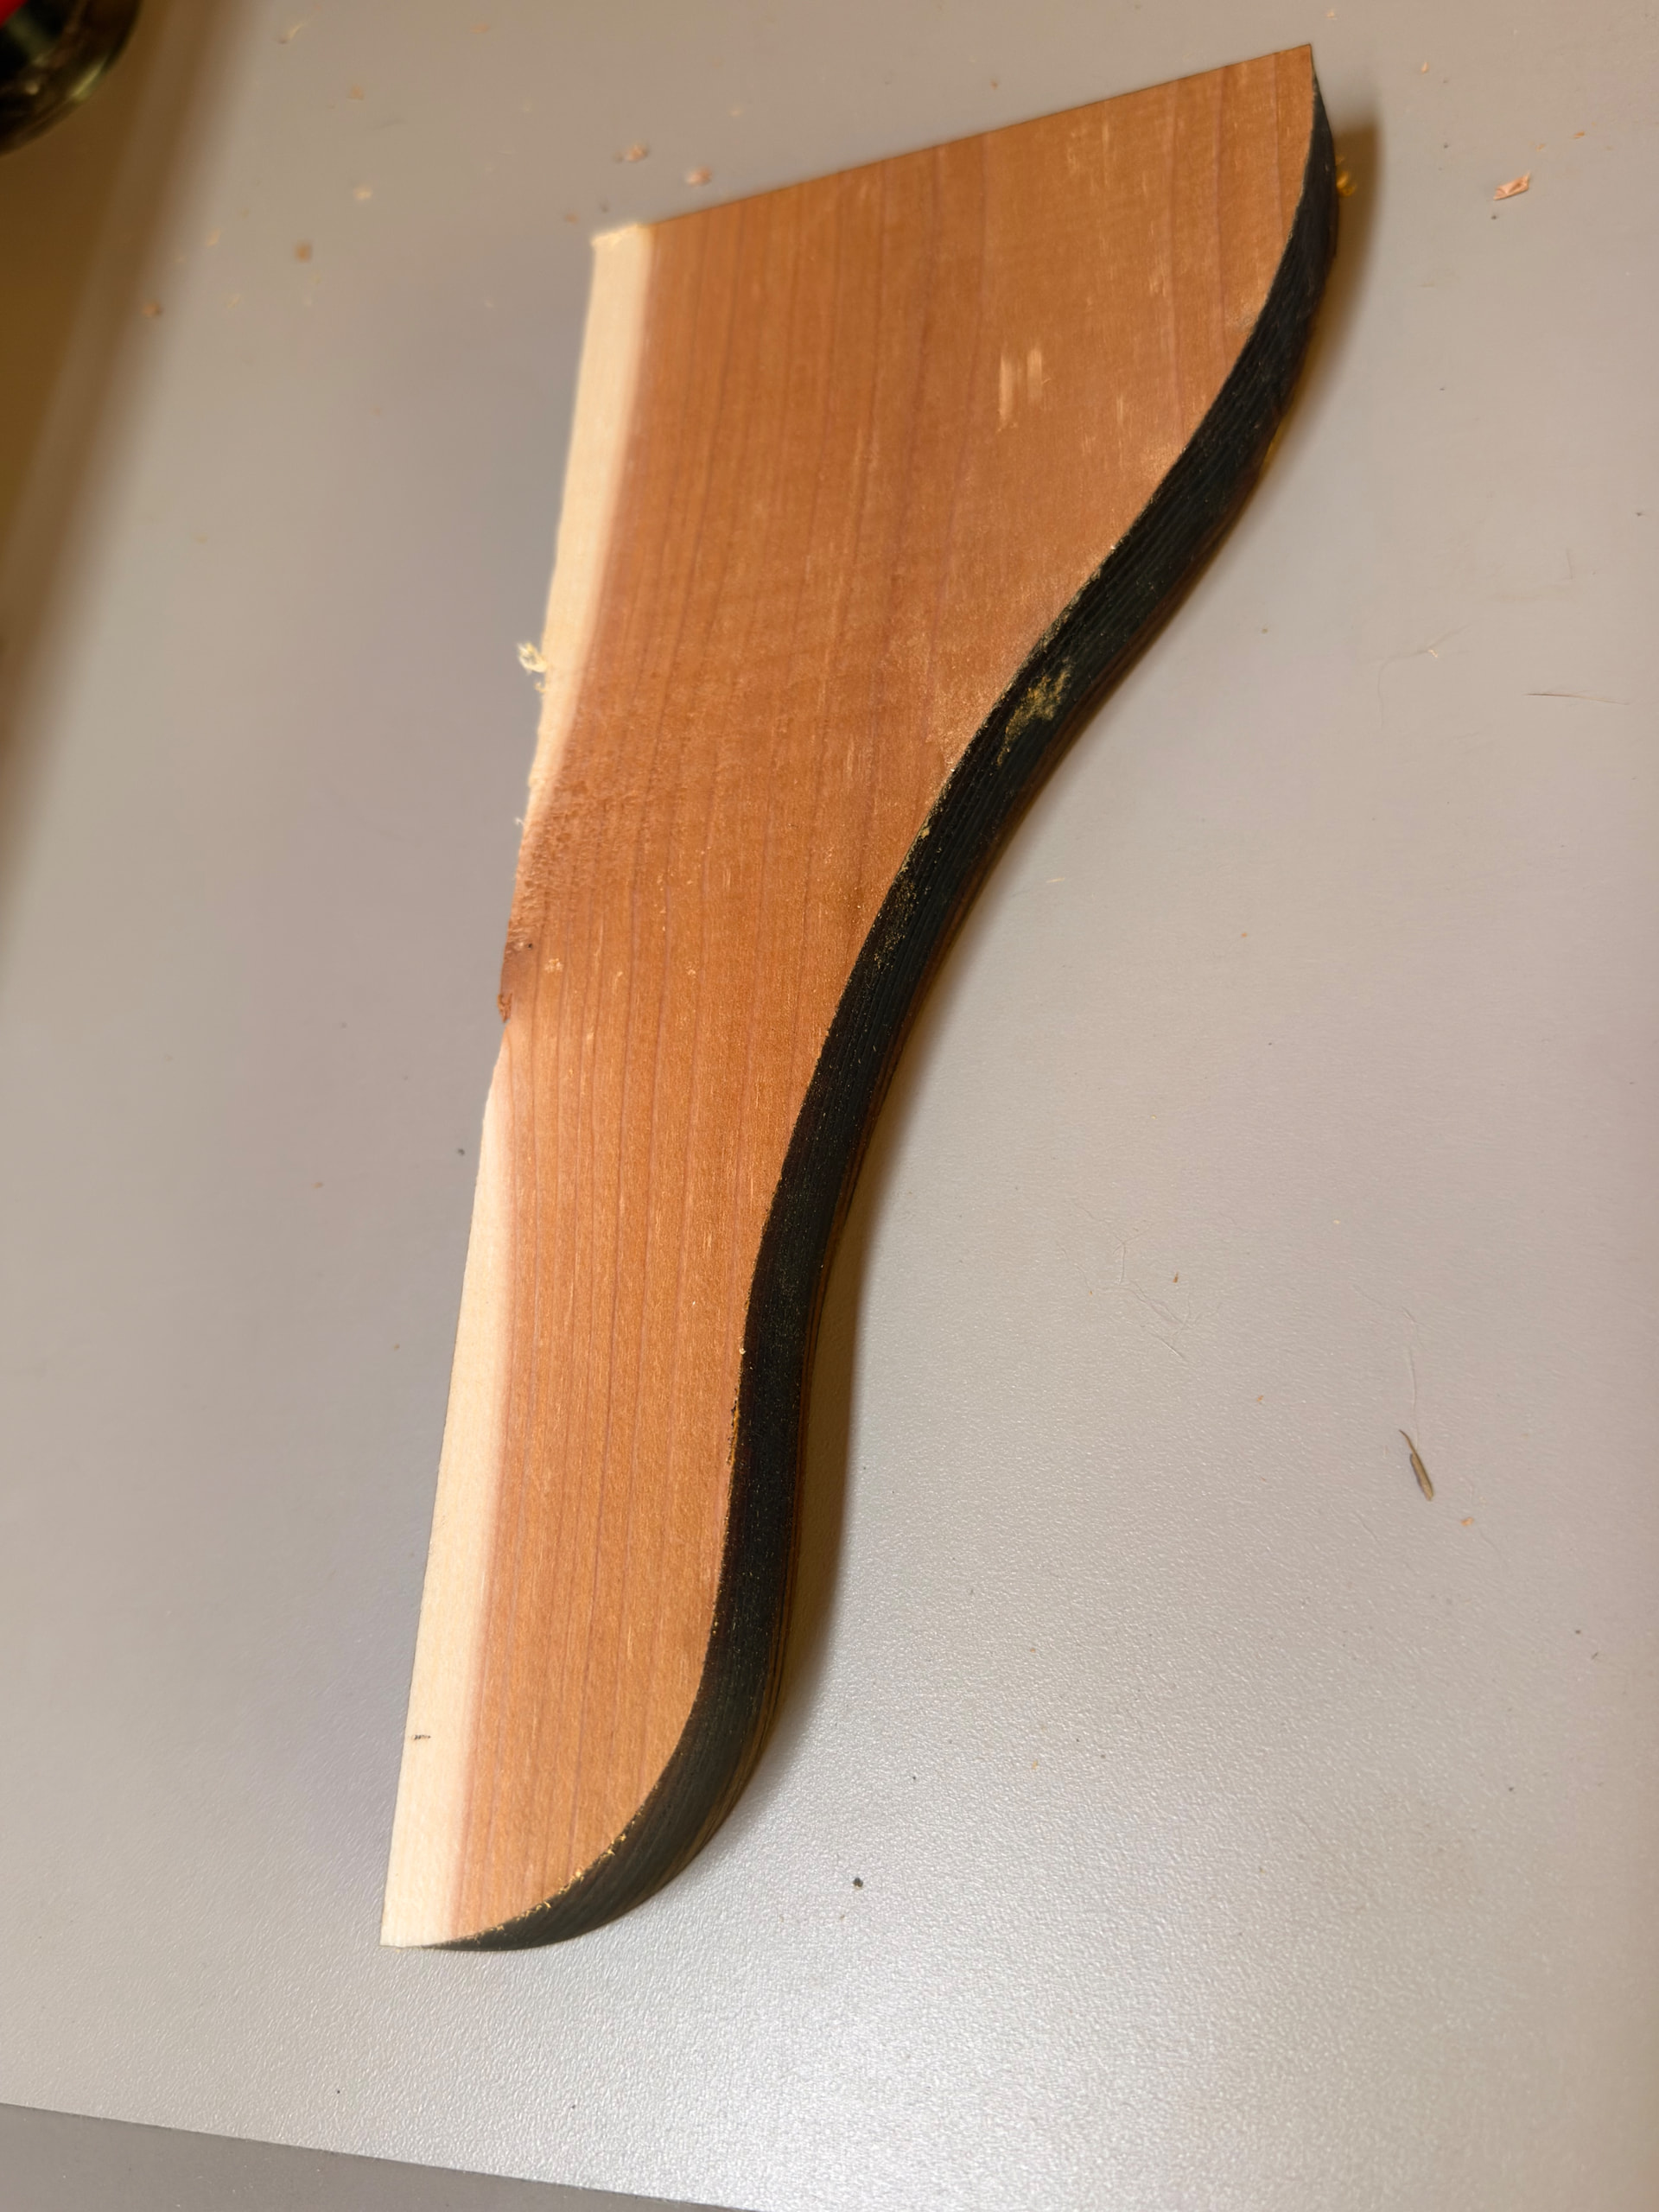
Cut so cleanly I was able to pop the letters out and keep them there by friction alone, really opens up some possibilities. Single pass, 130mm/min, 50% power on 60w setting. Eyeballed the focal distance, used the bad of an old trailer for a honeycomb, clean cut, no back burn at all.

Today I tried again on a test piece from my Adirondack chair build. Getting the non-power issue. On the Lightburn settings I noticed the cutting settings didn’t have constant power mode on. Selected that, did a soft reboot and went right on. Cut at least as fast as the router would have (but again having issues cutting on that).

Straight off the table, no post processing/sanding/etc.

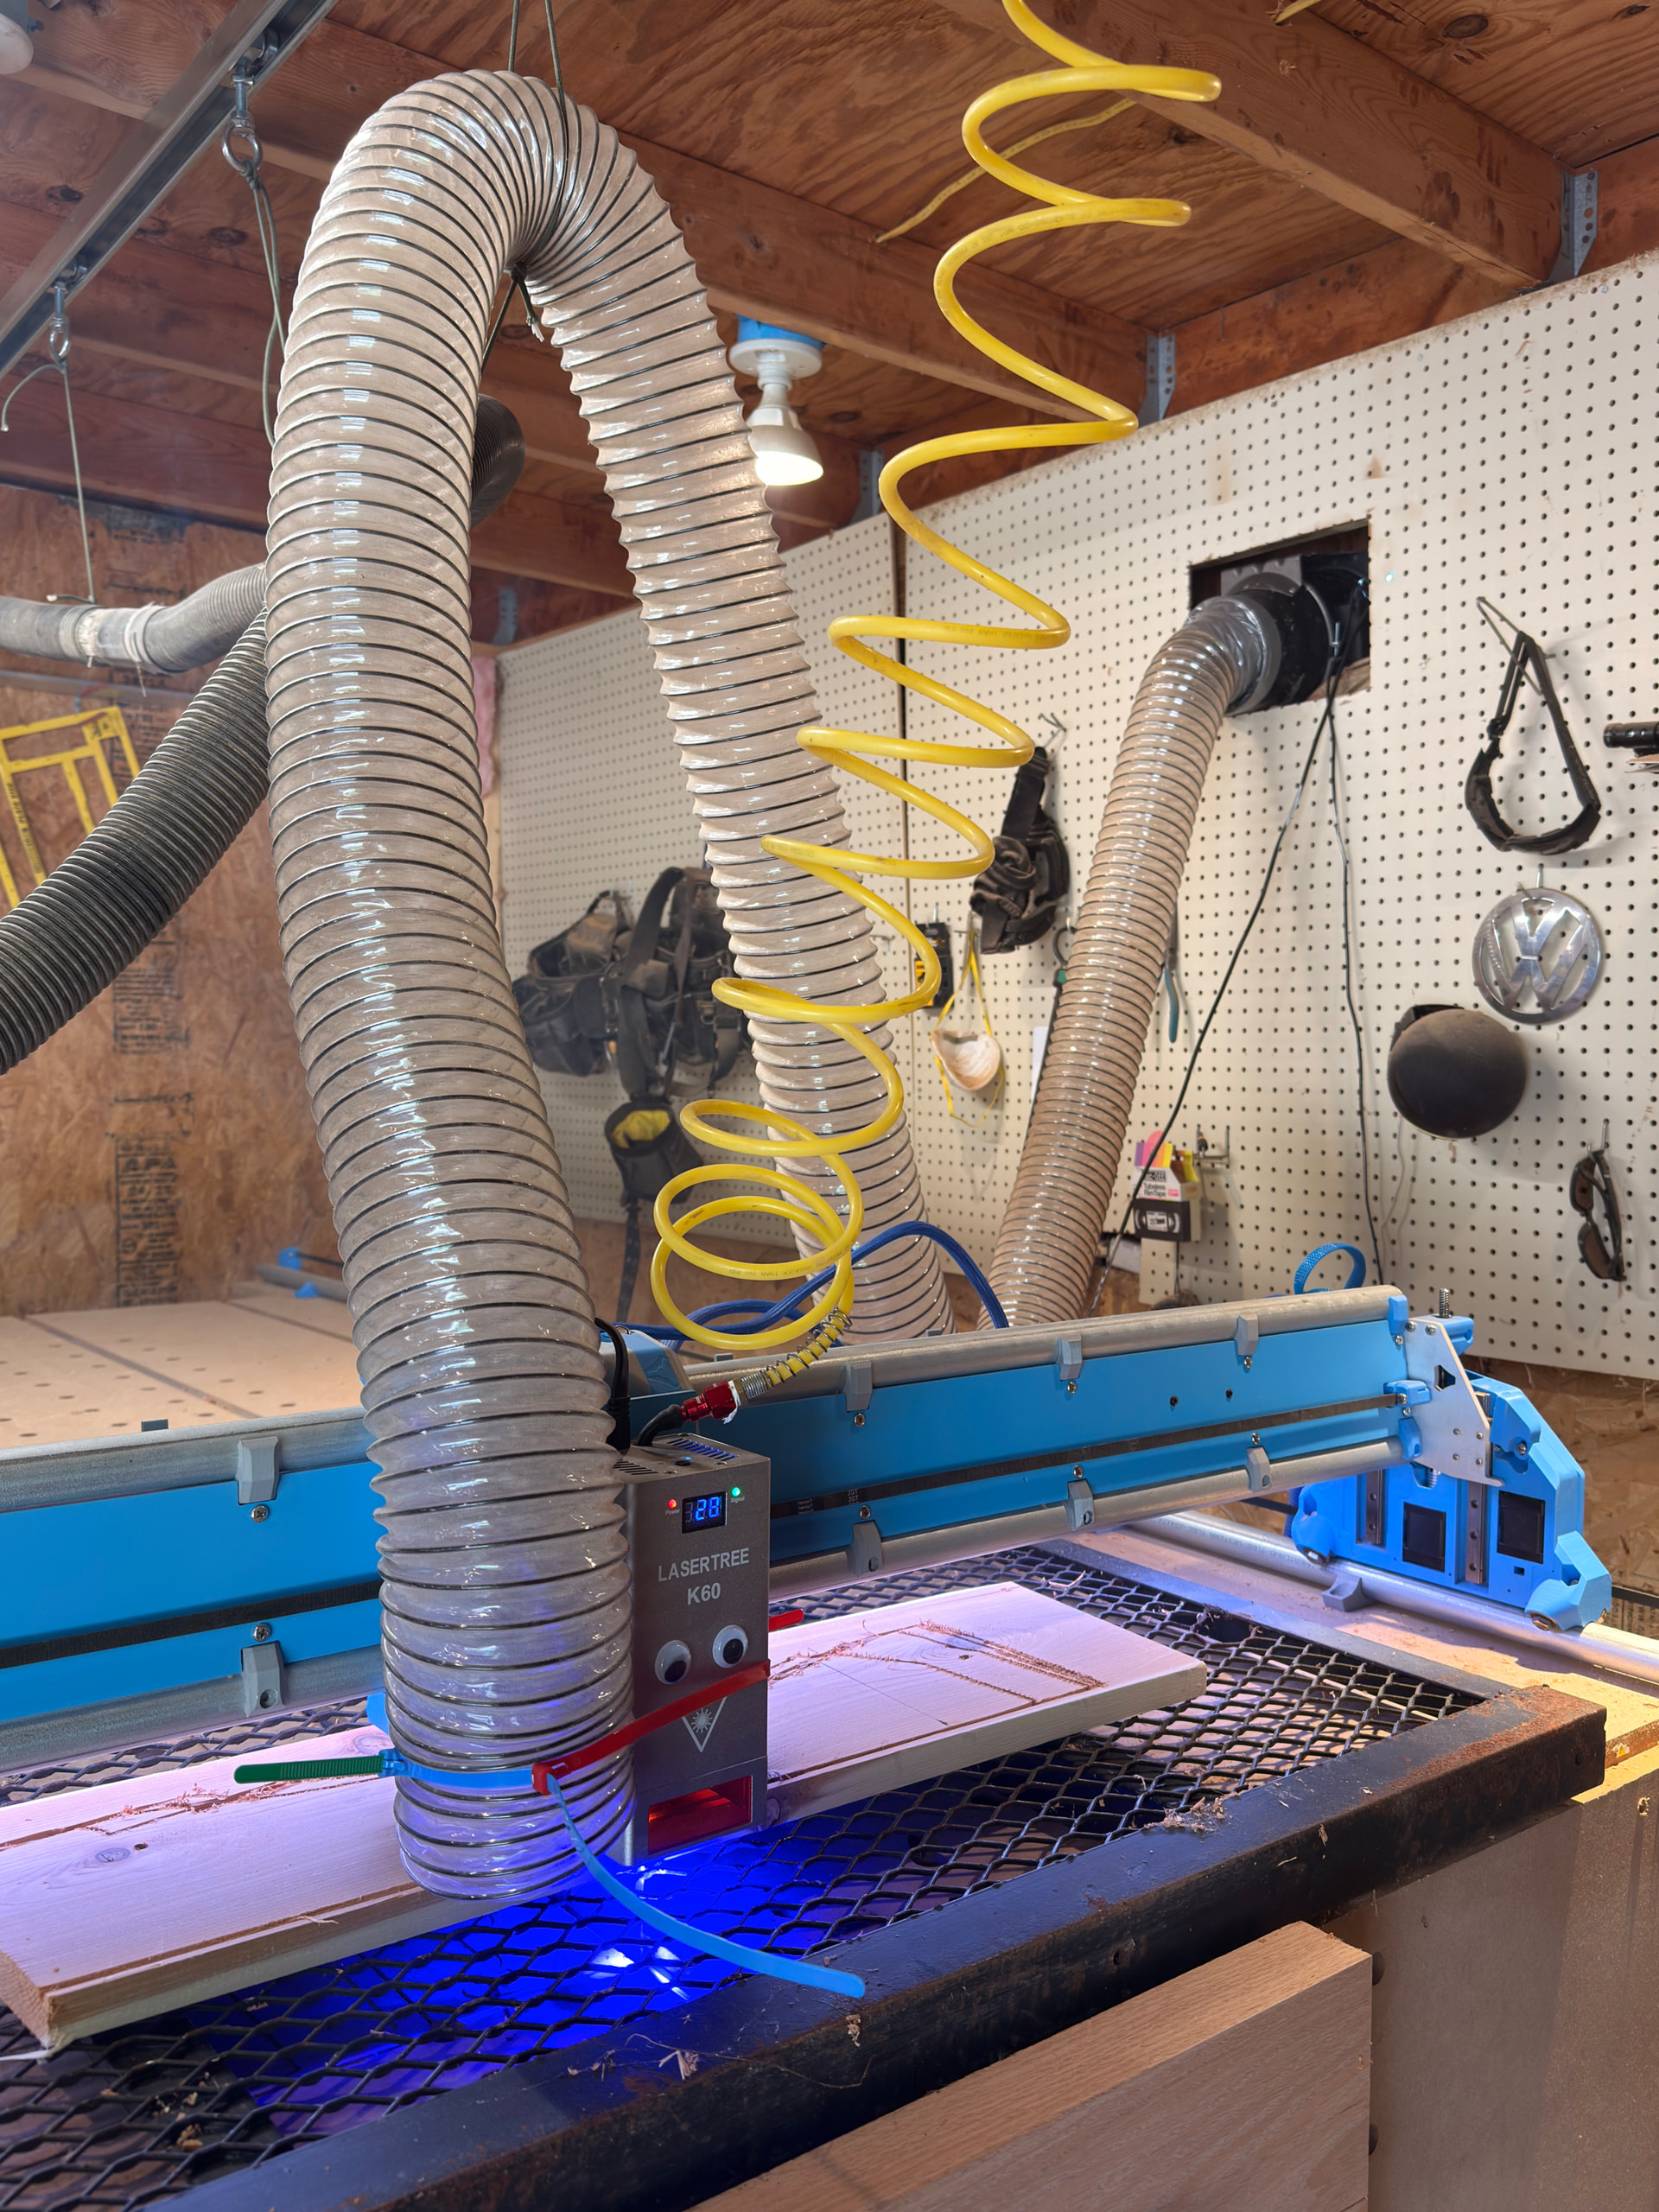
Trialing my smoke extraction prototype, first attempt got ~50-60% of the smoke out. Will have to 3d print a vacuum attachment that would wrap around the laser unit to get a higher extraction rate. Overall, in a large open bay with doors open it was acceptable but I think I can do better.

A too long 4” powertec hose “mounted” (duck-taped) to a 6” AC Infinity ducted fan to the outside. This haphazard setup has no right to cut this well.

I don’t know that i like this setup. I see so many things that should be different.

What you should change:

Needs to be in my shop

Parts should be black

Monitor is just a touch small.

What you nailed:

Everything else including you paying for it

Seriously, very impressed. I was looking at a similar doubleheader for my machine with plasma and router. But I was going to be lazy and just build a second gantry and control set up. Power interlock so only one could power up at once… etc. Yours is far more advanced. After getting a cheap 20w laser machine, my new train of thought is 2 low riders. One for a router. One that has two gantries for plasma and laser. The laser doesn’t gain my anything from a function standpoint, but it is so much faster at cutting out one of pieces. Jigs i used to make with the 3d printer are done before my machine heat soaks.

Hey thanks! Black would be nice, but then it wouldn’t be a Cookie Monster! I have thought about a plasma table attachment, but don’t have a project that makes it necessary - yet. There is another design out there that puts the entire CNC work surface on magnets so you can put it directly on the metal sheet, it’s a pretty interesting idea.

There are still some bugs to be worked out, one I just found is the table is not as flat as I thought…. Including the unistrut. Will have to do a little tweaking to flatten it out right, may be the source of my router issues having it pull out of step.

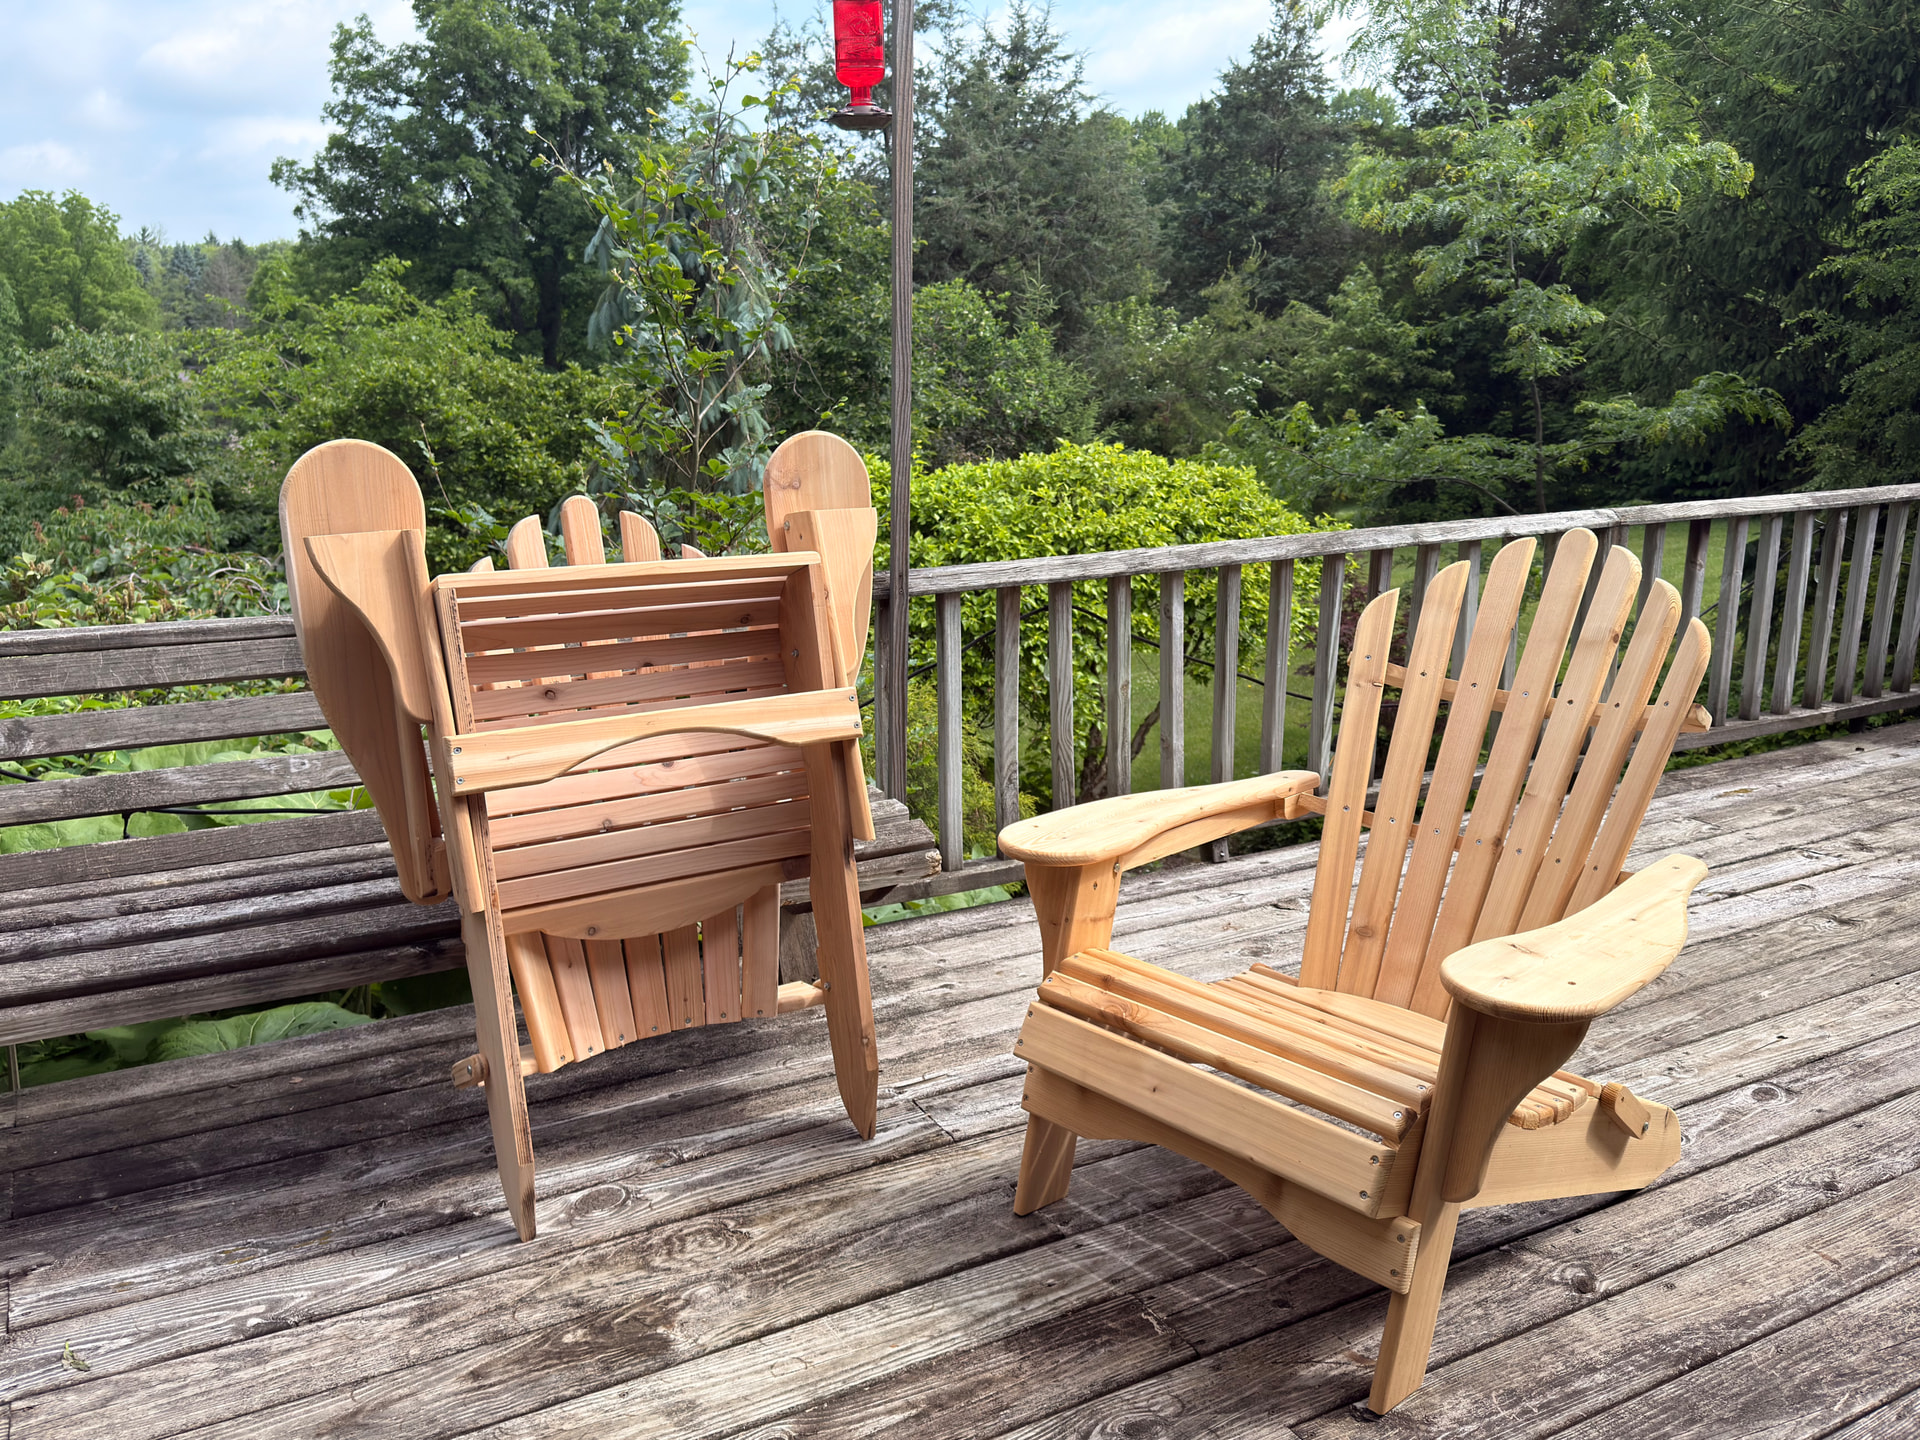
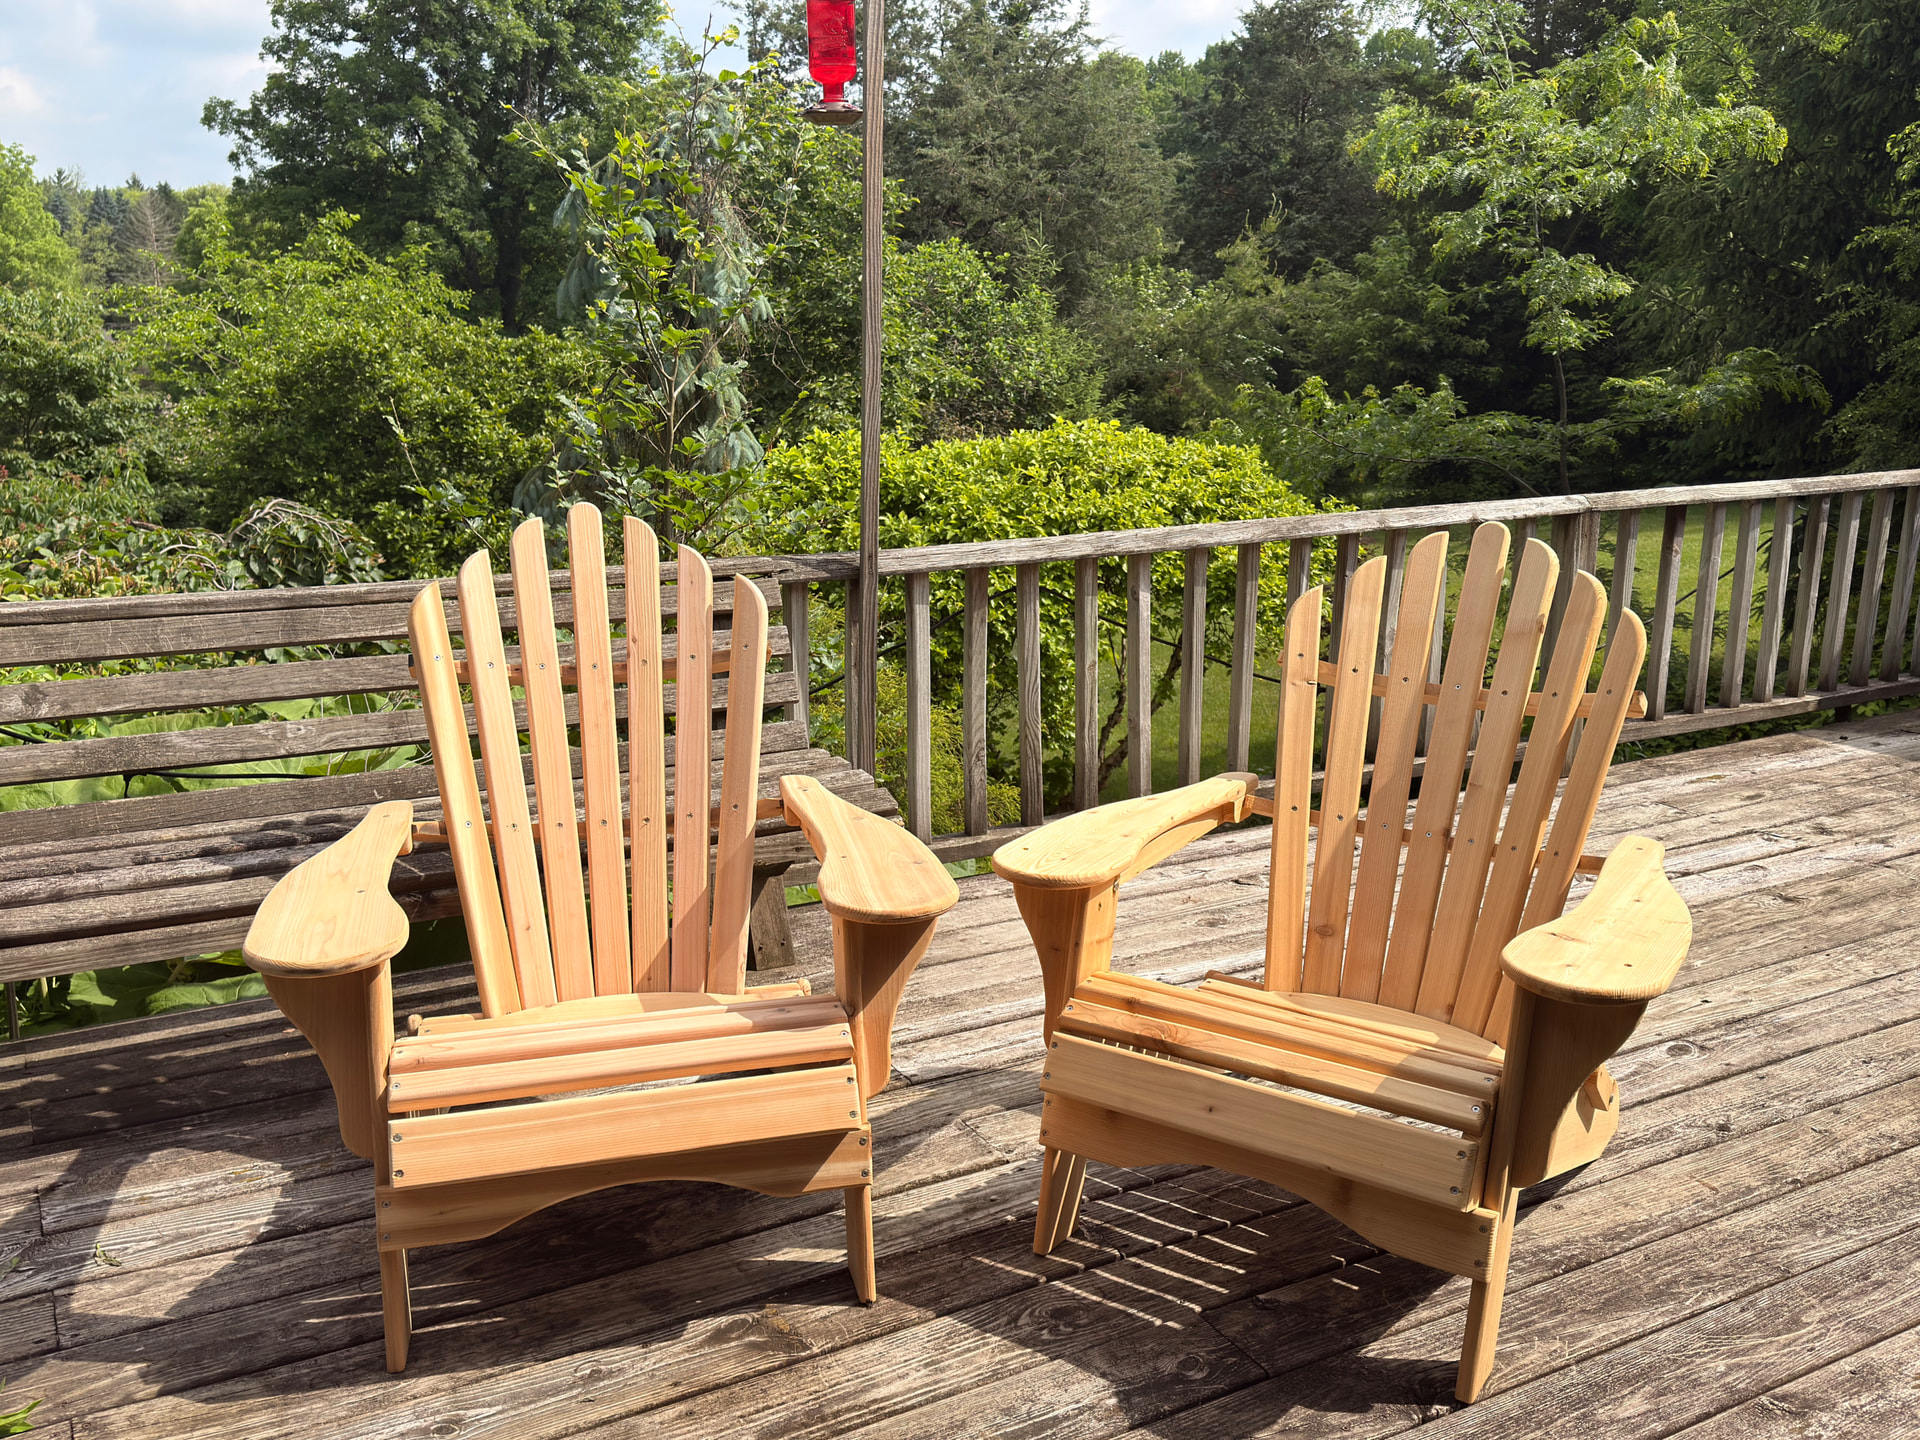
This 60W laser is a BEAST however! Single pass 3/4” cedar at 50% power around 135-150mm/min and parts come out perfect. Didn’t have a single missed step making Adirondack chair #2:

The wife loves them very much!

Next project is on to my nephew’s Mustang style guitar (come on Fender, go ahead and sue me!:joy:) Not sure if I’ll have enough time to fix up the table and diagnose the gantry tracking issues on the Y axis for a full 1 3/4” hard maple cut, thinking of lasering a template and taking it to the router table.

Those chairs are awesome! Is that something you would share? I use Lightburn if that’s what you used.

Thanks, they are pretty great but I can’t take credit for the design. Designs for the folding chairs and other outdoor lounging are here:

Paul’s a good dude and has a pretty good YouTube video of the build.

I plan on making some of his table height Adirondack chairs next.

Thanks, what is the largest part of the chair. My LR4 is 36” X 48”. I saw the plans are 24” X 56″.

The plans are formatted to be printed on a plotter which is why they are that big. I can fit everything on a mix between 1x6x8’ and 1x8x8’ boards. The main legs are the longest parts and come in around 35” so you should be fine. My janky back of the trailer “honeycomb” is around 3’x4’ and everything fit well on those.

If you have the ability to let the boards hang over you may be able to combine parts more efficiently with the wood. I made some 1x6 and 1x8 boxes in Lightburn and assembled all of the pieces as a different level (tool number? Still getting used to the lingo) then let it cut section by section.

Thank you for letting me know that the parts will fit on my LR4.