You’re not kidding… $32 each sheet… I recommended the lessor R-factor one at $17 per… for 1” thick… even the 1-1/2” is @20.
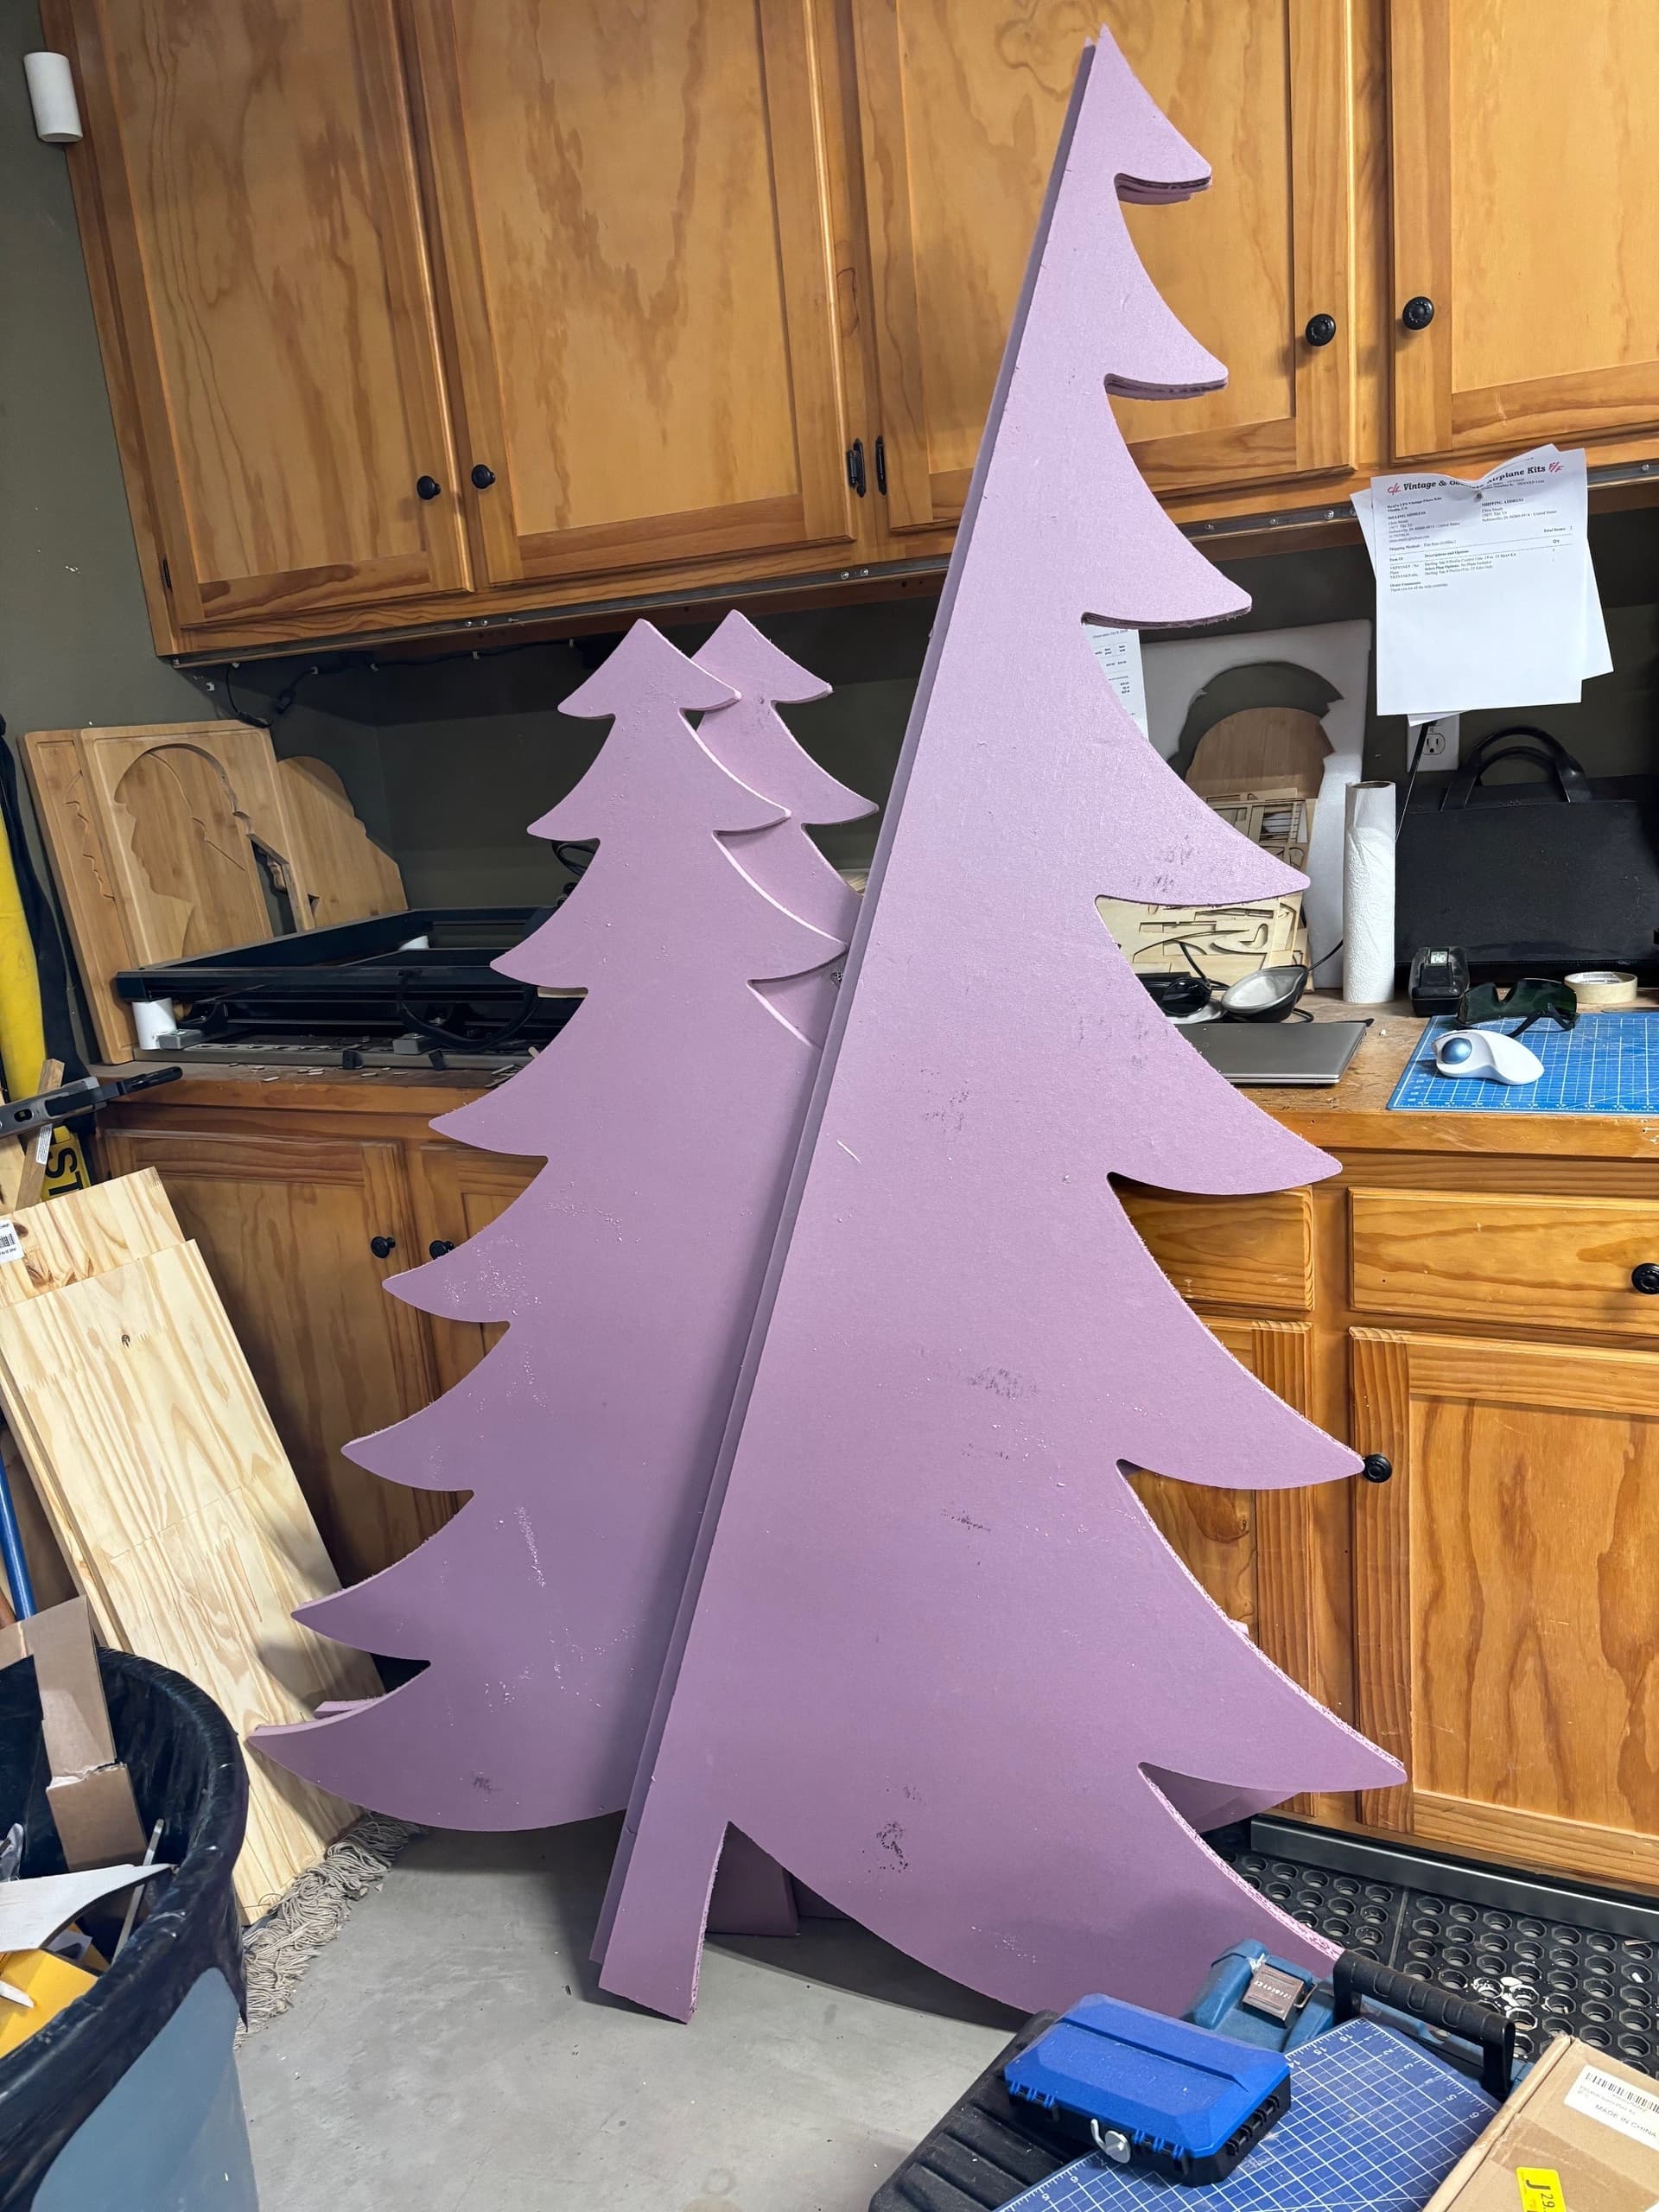
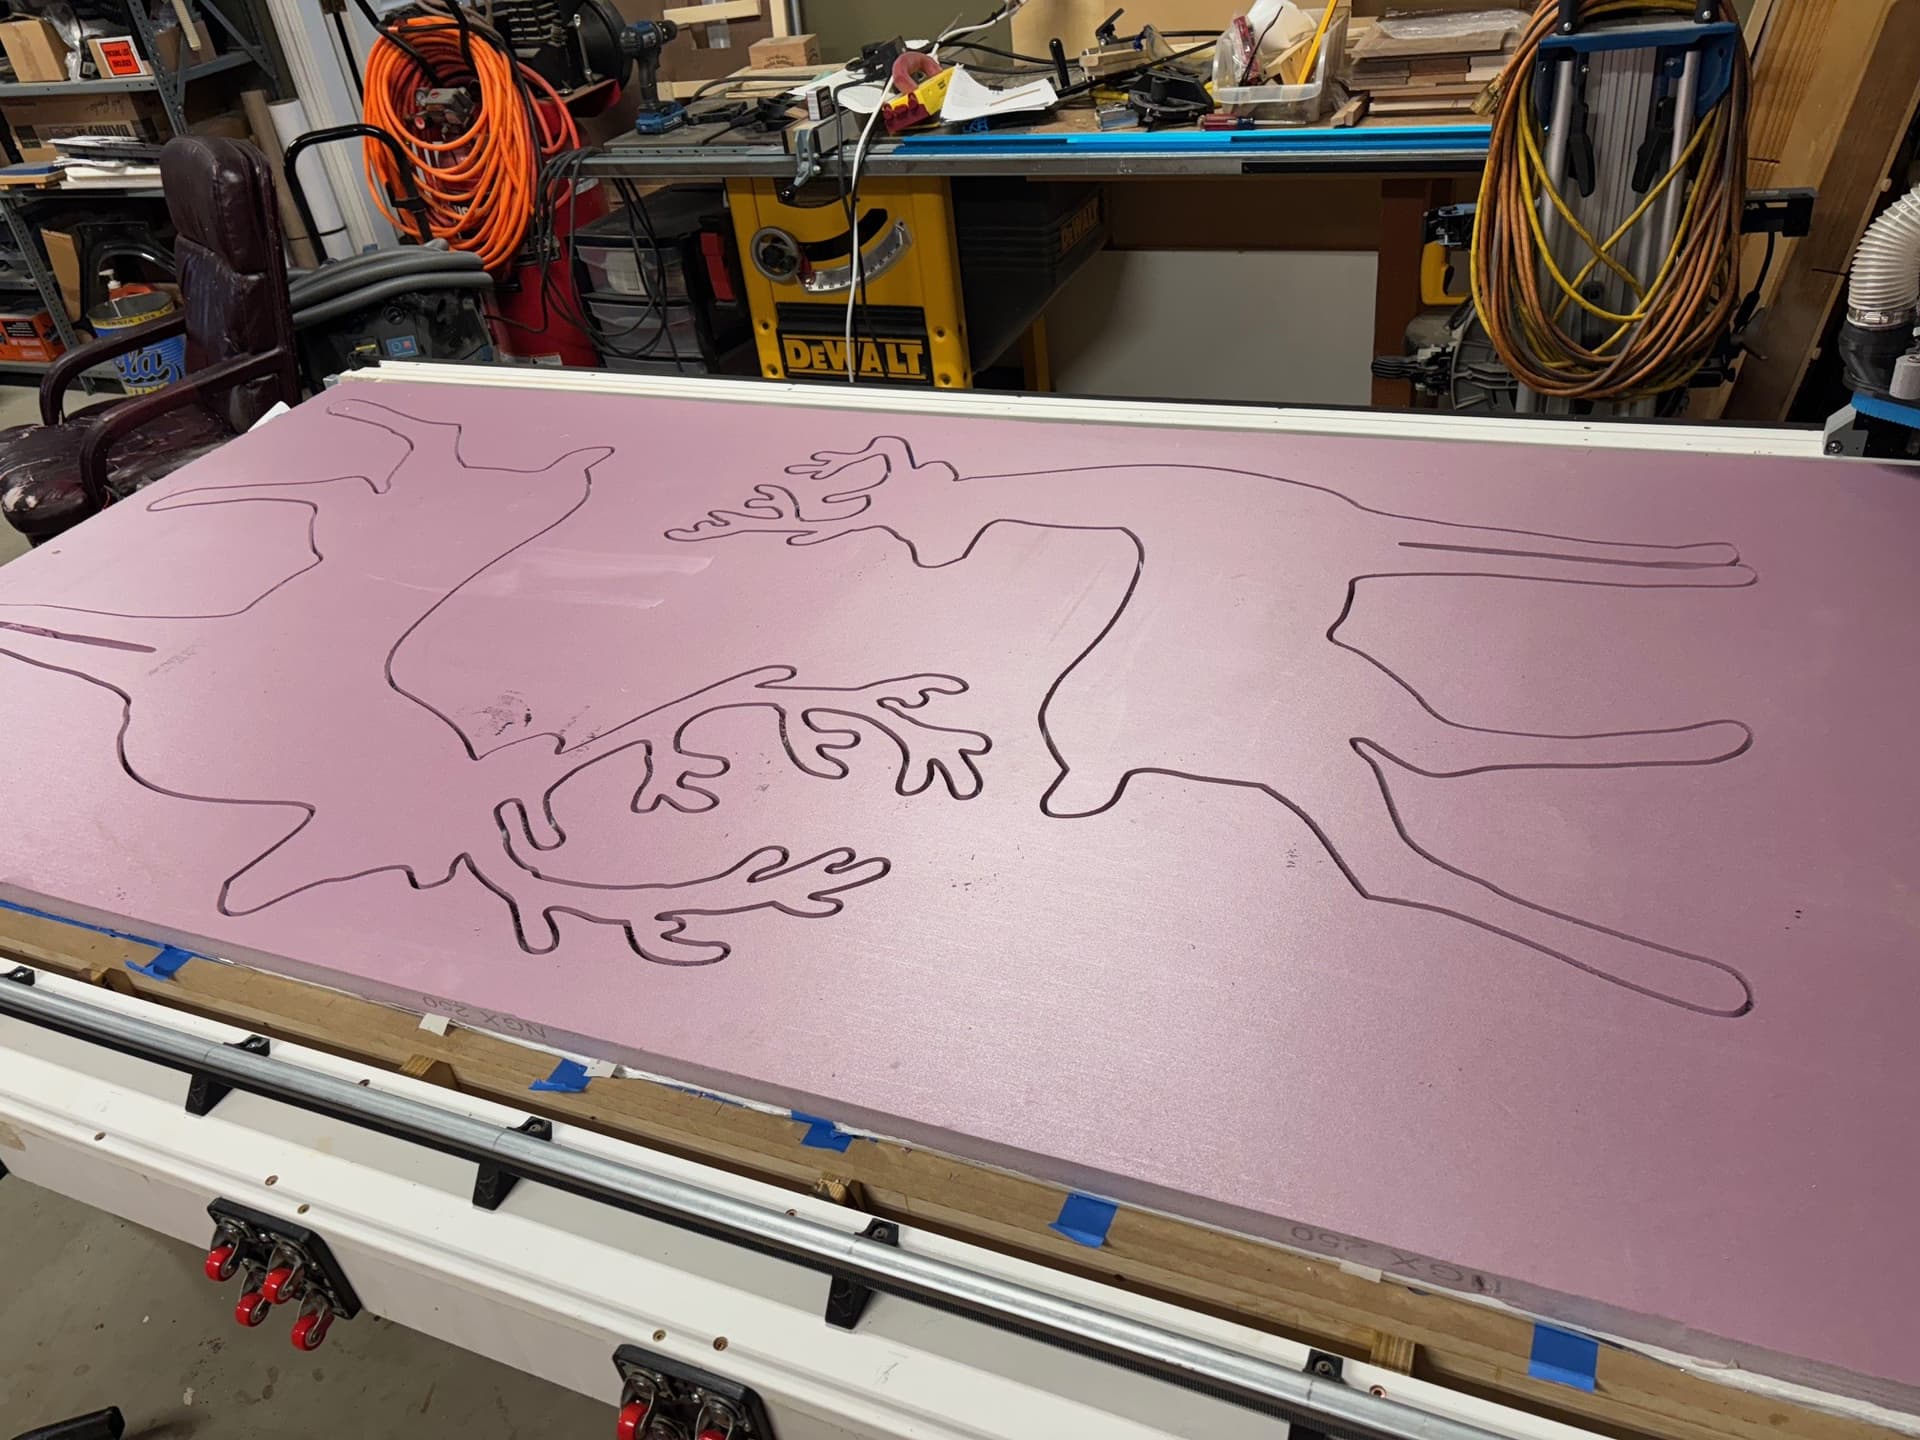
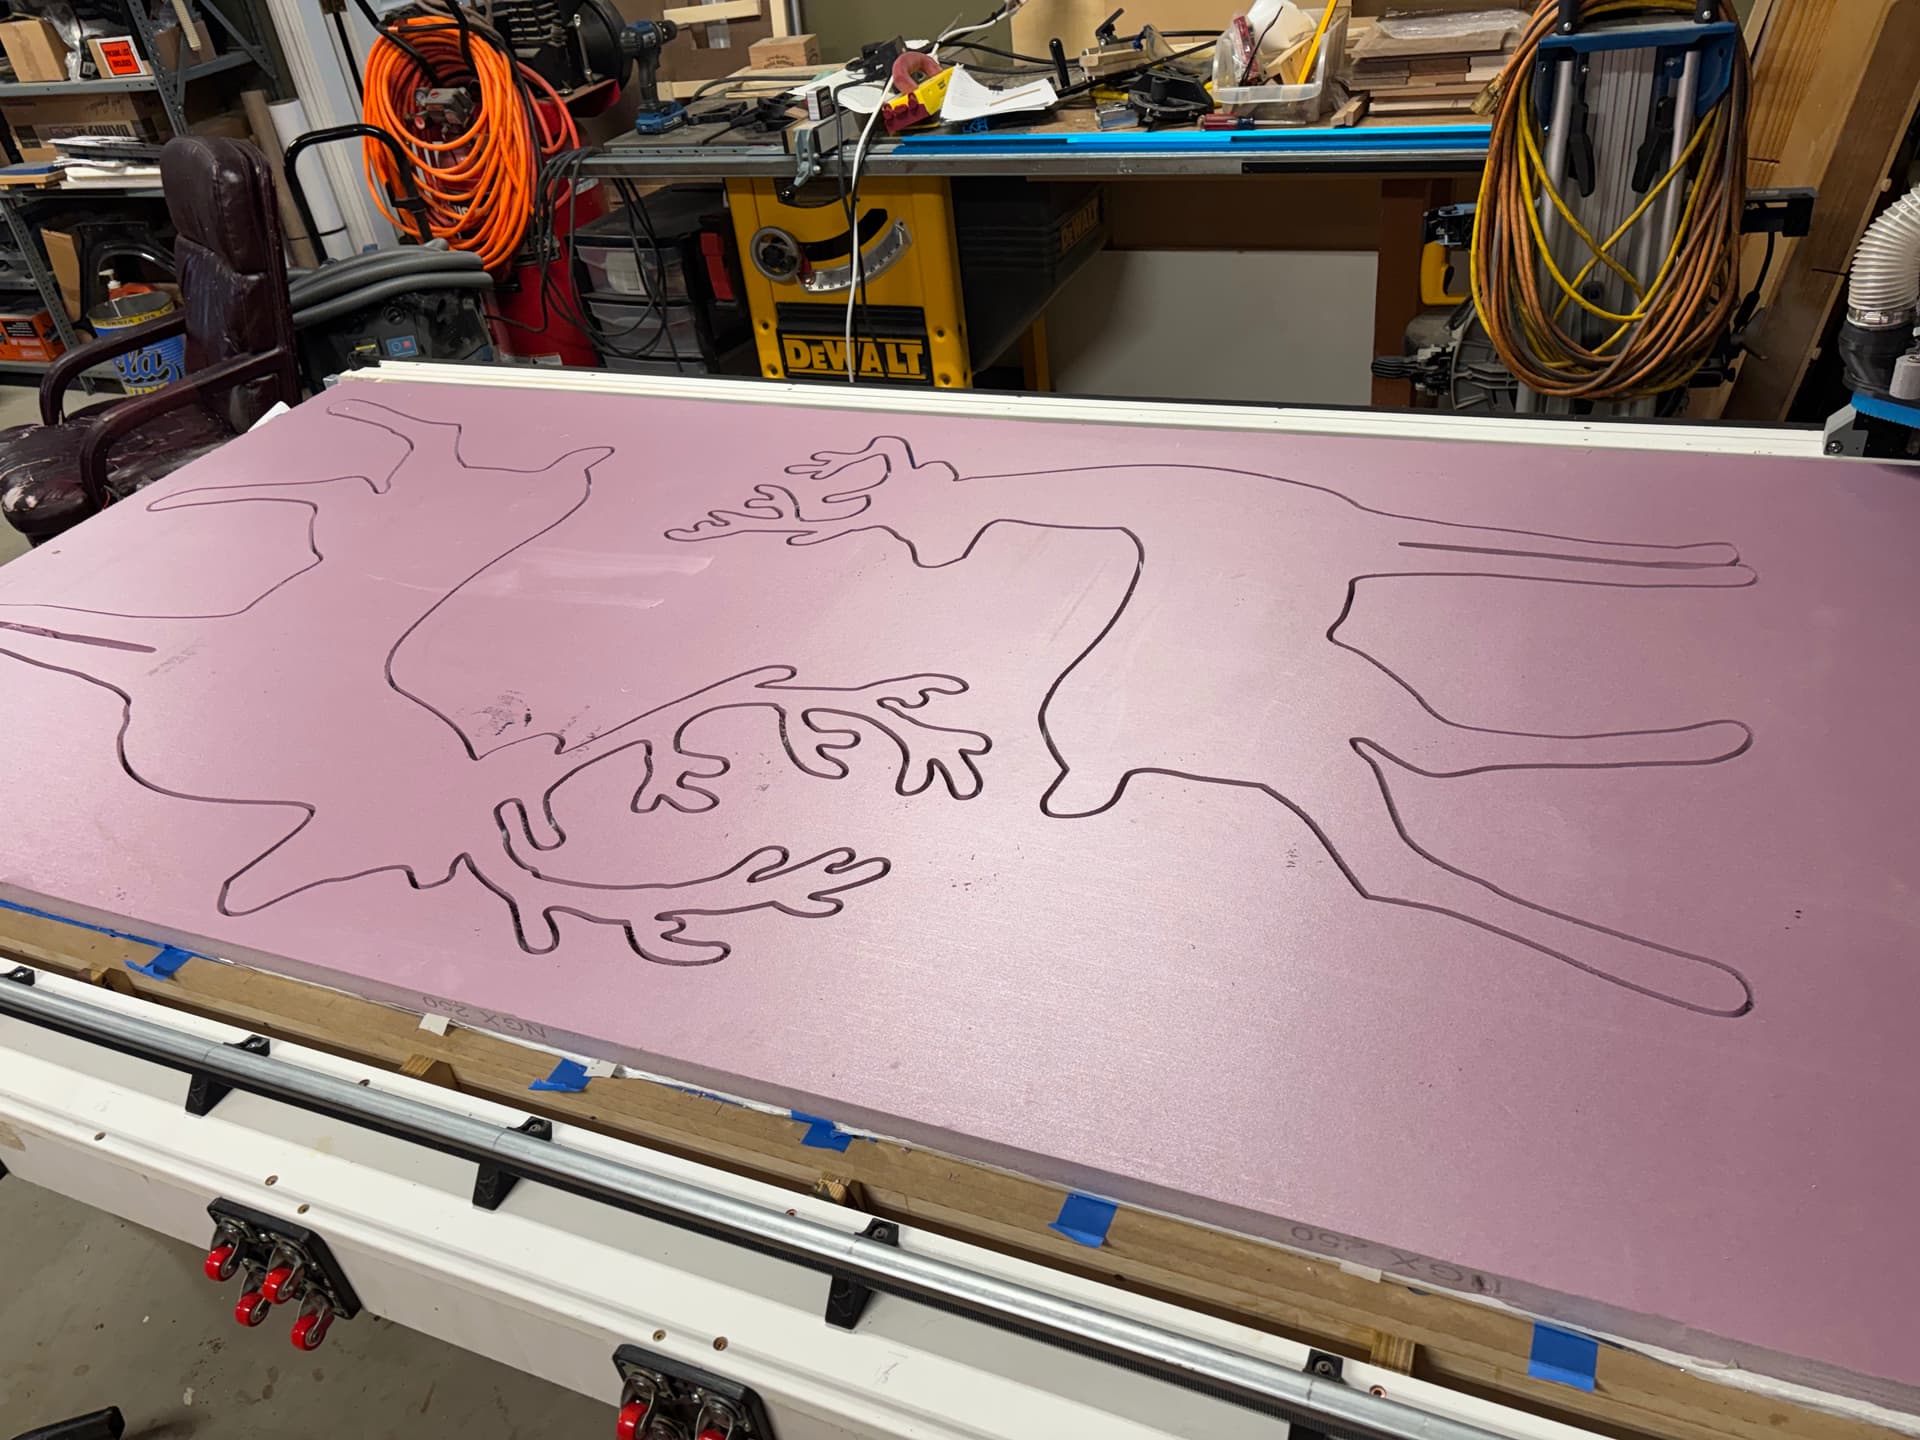
I am just lucky I was able to remake the broken parts since having purchased the X1C… and now will proceed to cut the remaining 16 trees and a couple 5’ reindeer too.
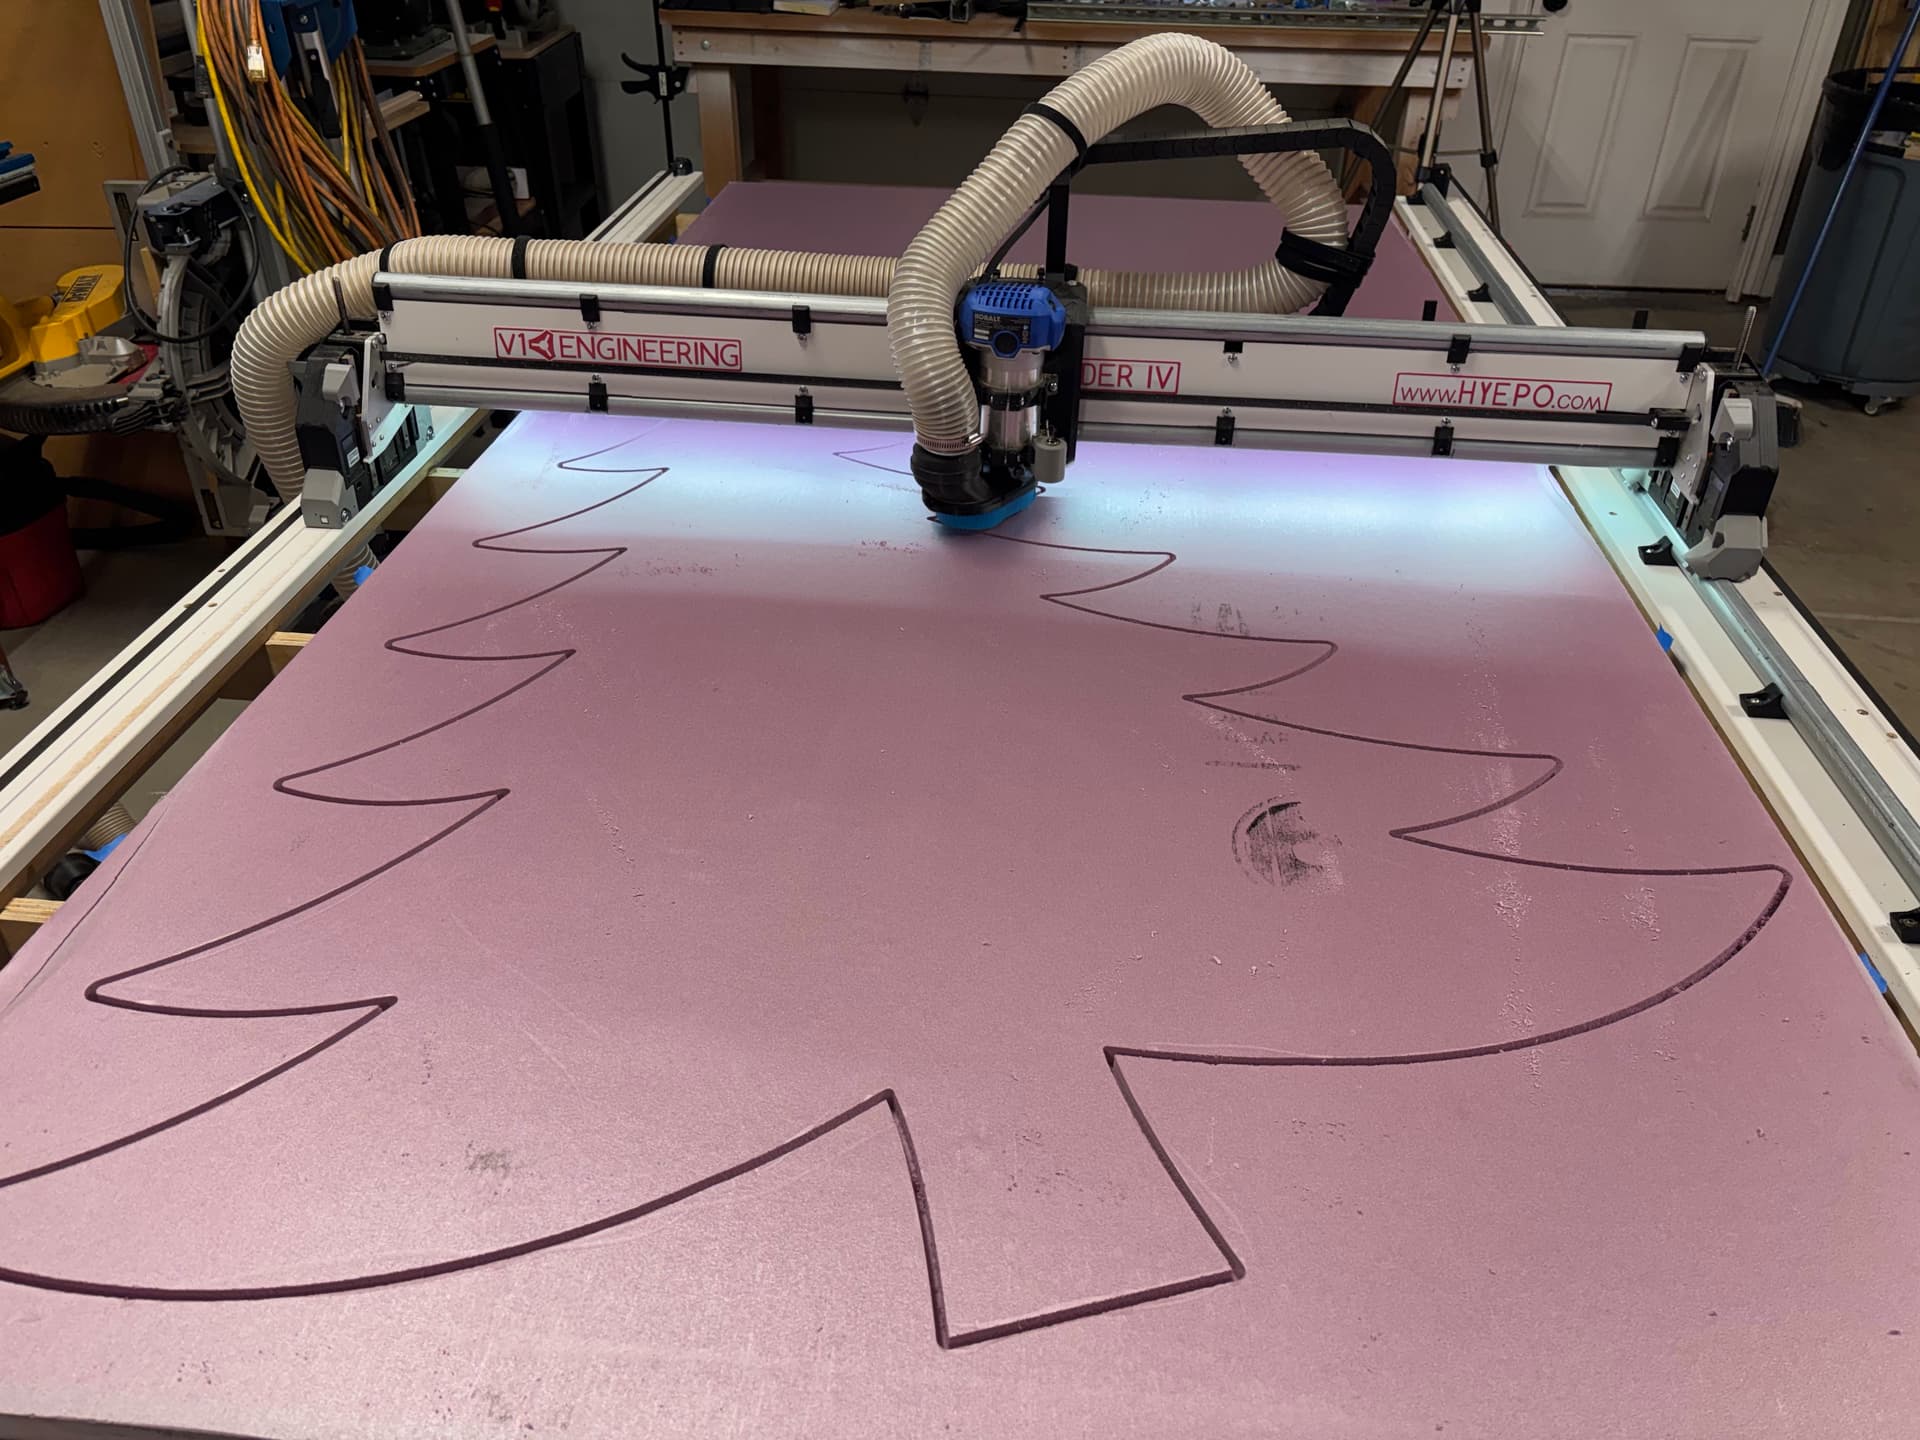
The party I am cutting them for provided the file they purchased off etsy, but I had to redraw it and then create the dxf files.. split the tree in two to fit the board… easier just starting from scratch LOL
I began cutting with a 1/4” down cut 2 flute bit… this was great for the first of two parts.. then the foam clumped on the bit and left a jagged cut on the second part. Good enough but not nice and smooth…
so changed to a 1/4” 2-flute up cut and got better results (also rested between two parts and cleaned the bit before proceeding to second part cut). I determined that the cheap ass foam 1/2 spoil I used under the dense 1” foam being just Styrofoam was the reason for the clumping… which didn’t ever occur until I made that last pass and then started the second cut…. the Styrofoam must have a much lower melting point than the dense foam board.
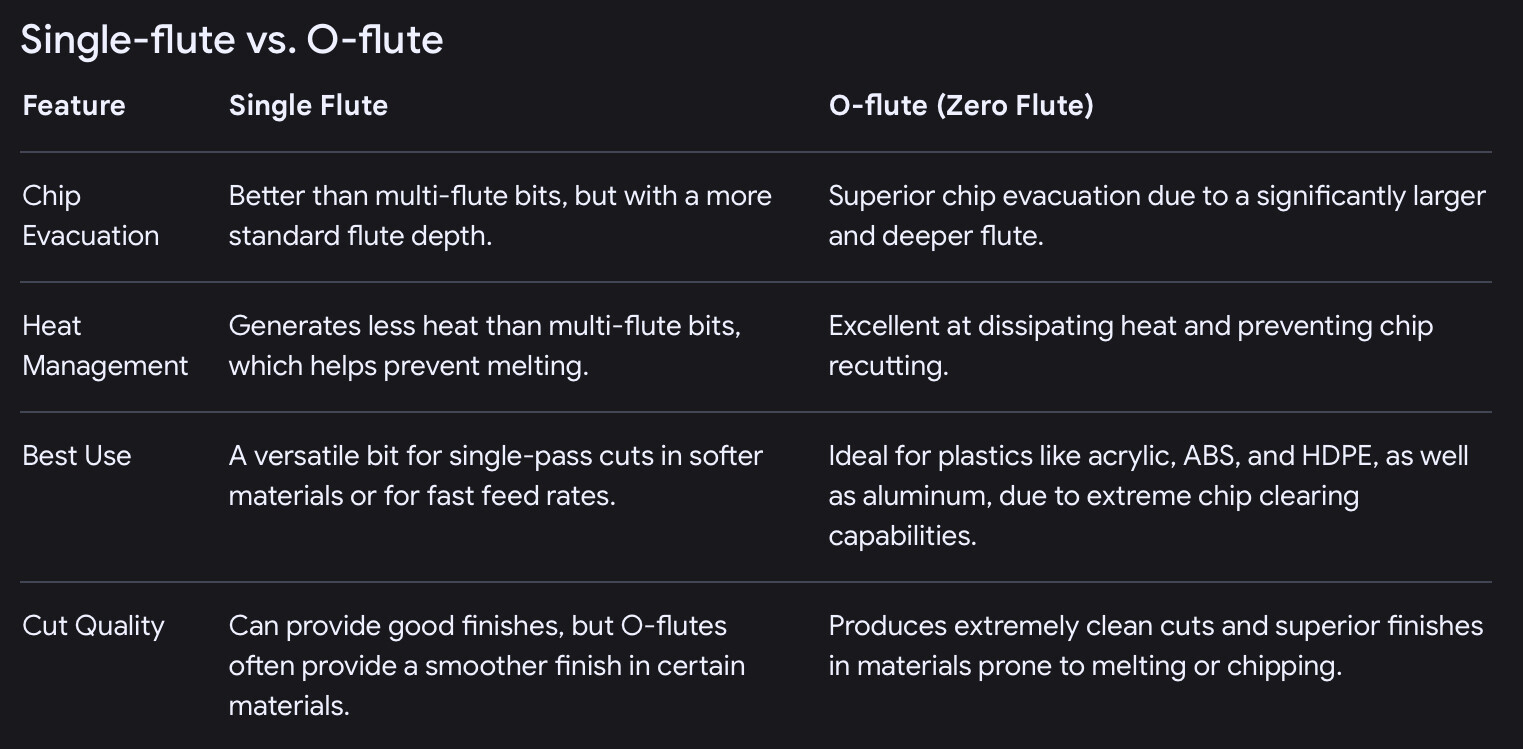
Google is my friend (in this case) I found it to be a general consensus that a 0-flute would be best for plastic, including foamboard and much faster speeds.
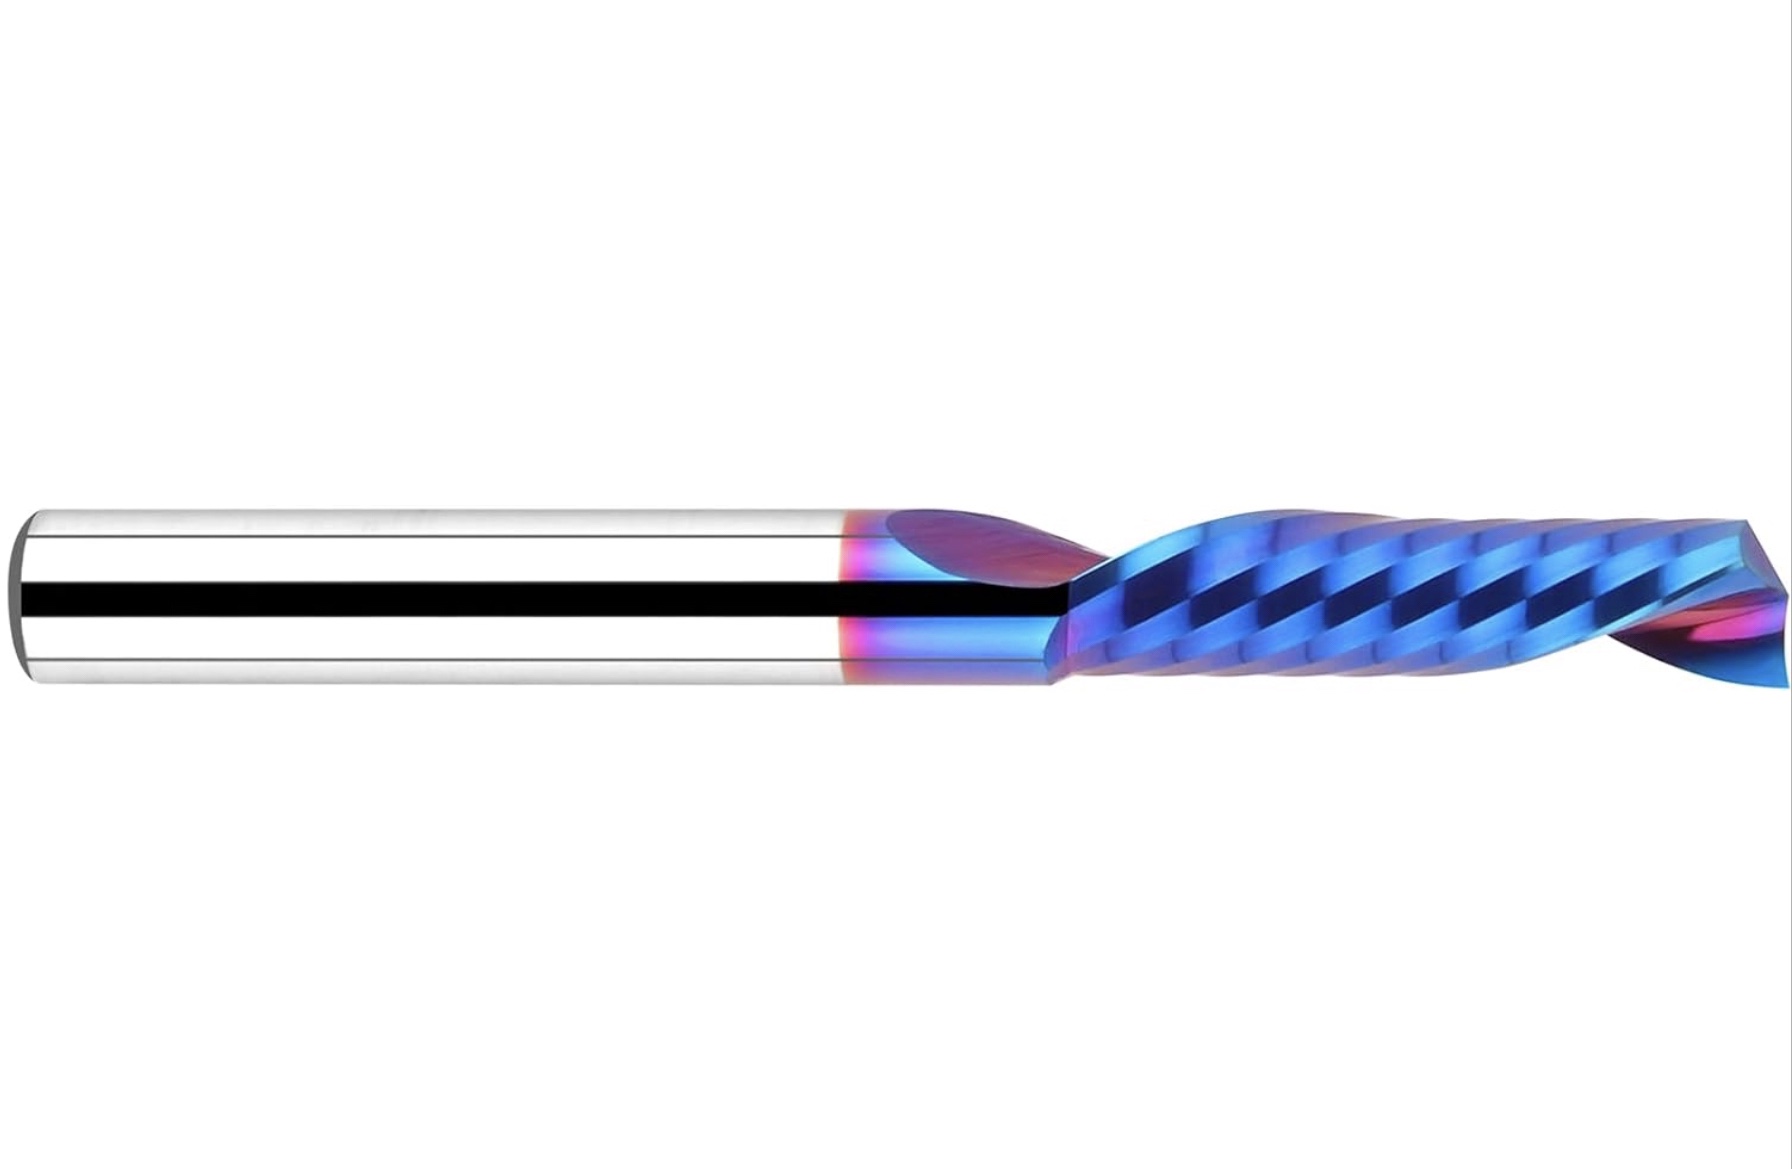
I just ordered a 0 flute, 1/4” up cut bit made for pvc/plastic etc. will increase speed to 105mm/s and run the router at around 24000 rpm… hopefully going fast enough to prevent foam from clumping on bit, better extraction is expected with the 0-flute up cut… tomorrow evening I will be able to run another test cut.
From what I learned on Google, ****A single-flute bit has a single cutting edge, while an “0-flute” or “O-flute” bit is a specific type of single-flute bit designed with a large, deep flute to efficiently clear chips and evacuate them from the cut so there is less of a chance to melt chips when faster speeds are required…
Finished cutting all the Christmas trees and characters for the Christmas Tree Auction black tie event. The o-flute 1/4” bit was wonderful. But I have to report that was not the issue of the foam heating up and sticking to the regular flute bit. Turns out that the adhesive of the double sided tape was the culprit. When I began putting the double sided tape on areas that did NOT come in contact with the bit, there was no foam sticking or melting.
I figured that was the deal when i noticed that the foam was sticky or playable well after the bit cooled (which really never got hot to begin with). So note to those who might venture into cutting foam, do not use double sided tape where the router bit will travel. LOL
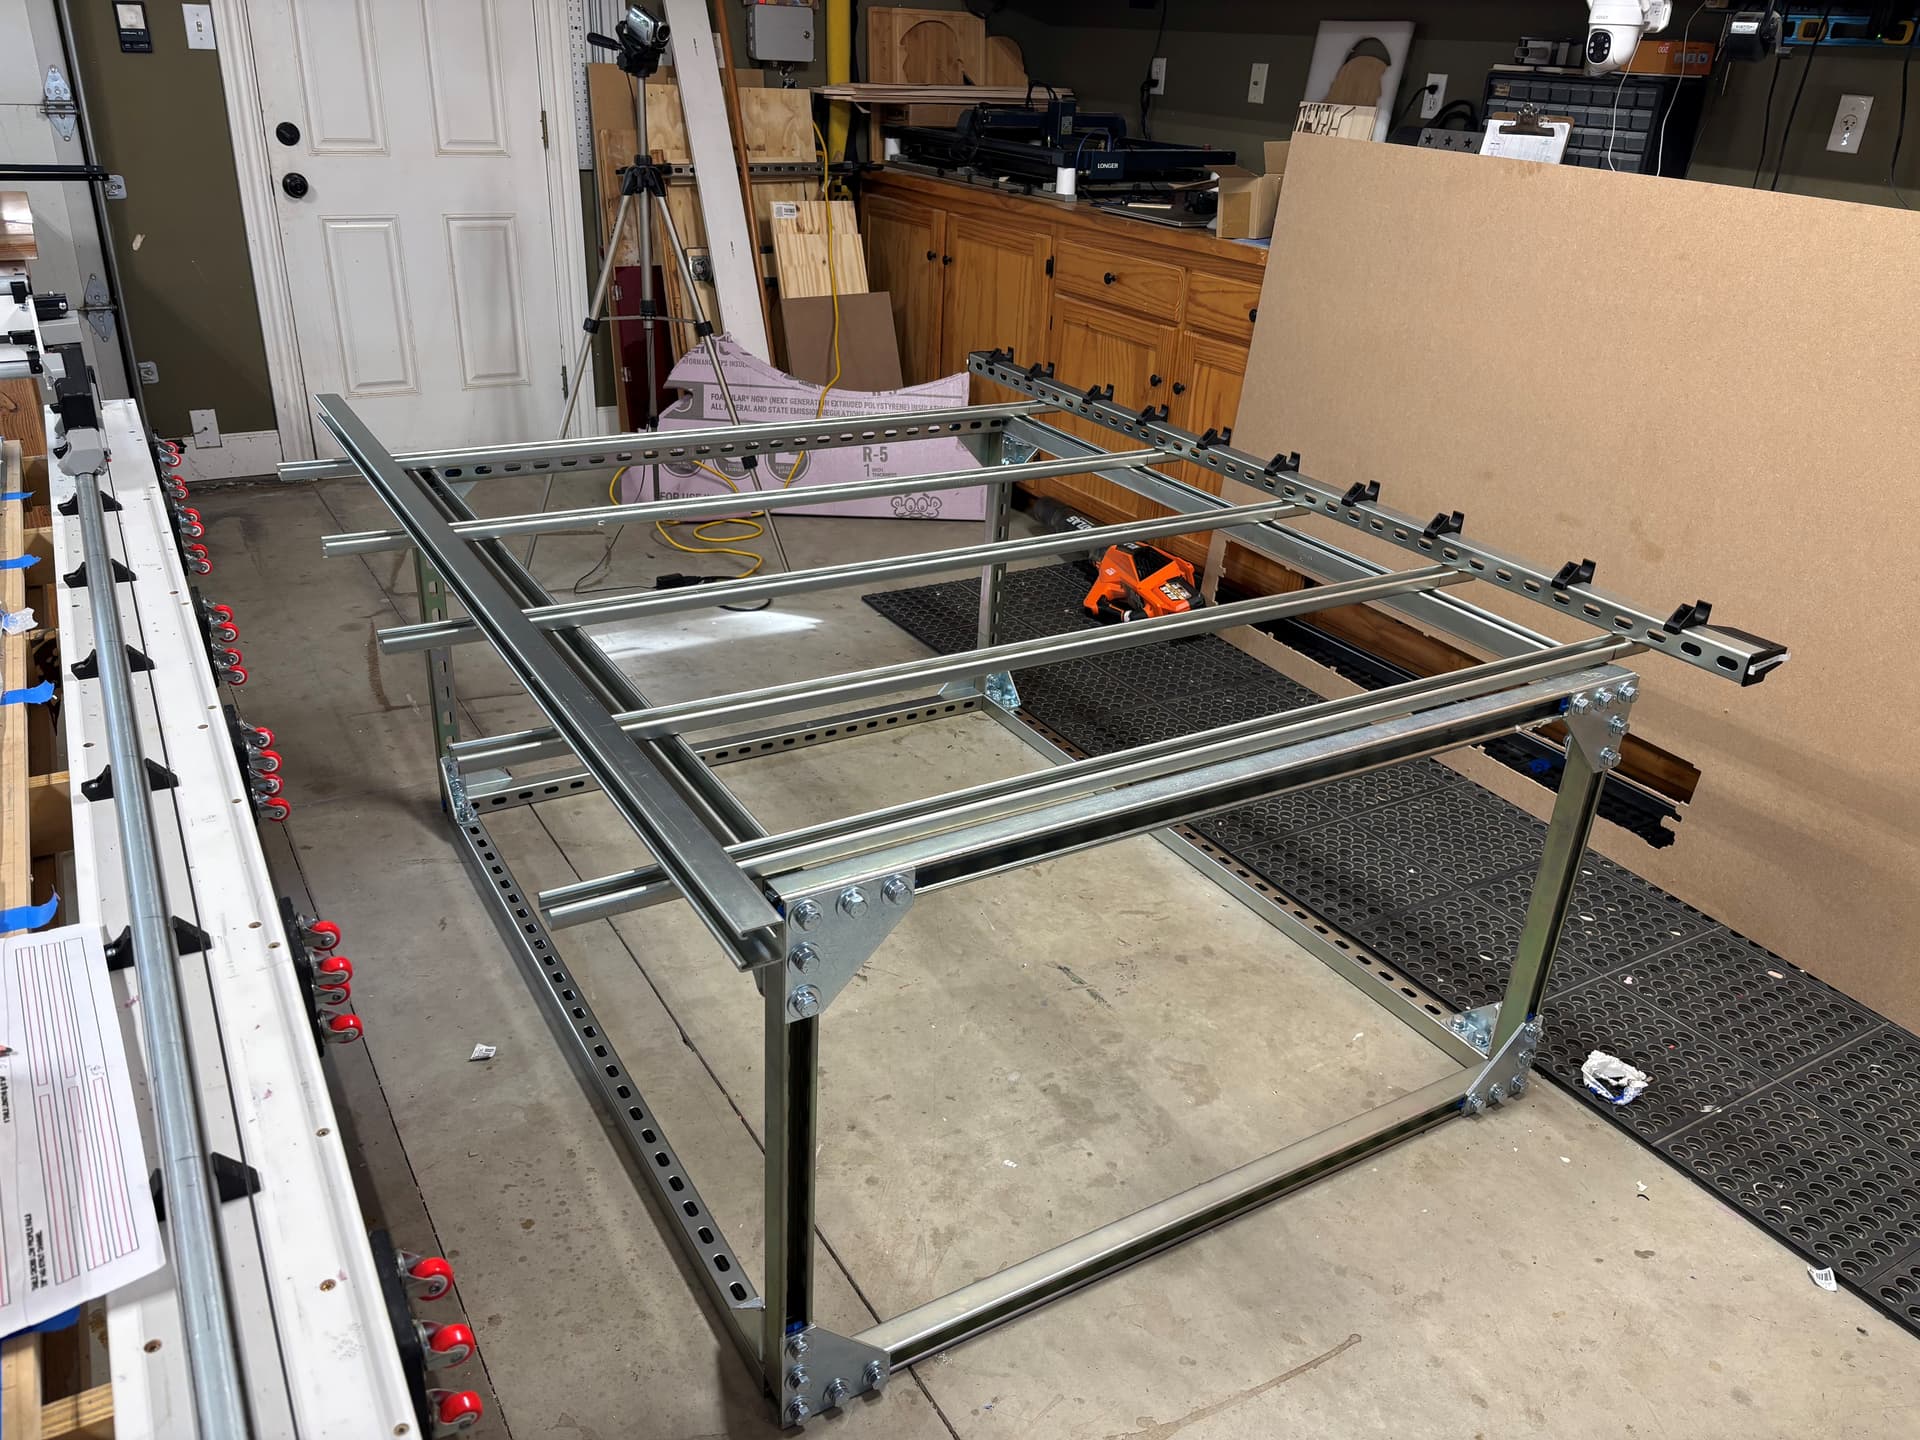
Now that the 8’ foam board project is complete, it’s time to direct my attention to the unnecessary task of building the table… again, only this time with 100% strut channel
LOL why… because. no other reason.
Actually, after having the table for nearly a year, I’ve concluded I do not need such a large machine. So, the new table will be 48” x 60” workable.
After seeing @DougJoseph reworked parts for strut channel, I couldn’t resist.
I will post a full build on my YouTube at some point for those with insomnia.
Lol, 2 years ago I had similar experience.
But it was with oak flooring. I was making jigs for my cnc. Cutting them on the cnc and cutting the alinement in holes. Seemed like a good idea using the double sided woodworker tape. I was cutting 1in strips 16 inch long. Did 4 of them with no problems. Had a cam recording. One edge done, running the other side ,almost done, bam! That 1 inch strip shot like a arrow across the shop punching a hole in the wall.
A close inspection showed the tape built up on the cutter and grab the strip. Last time I used that tape
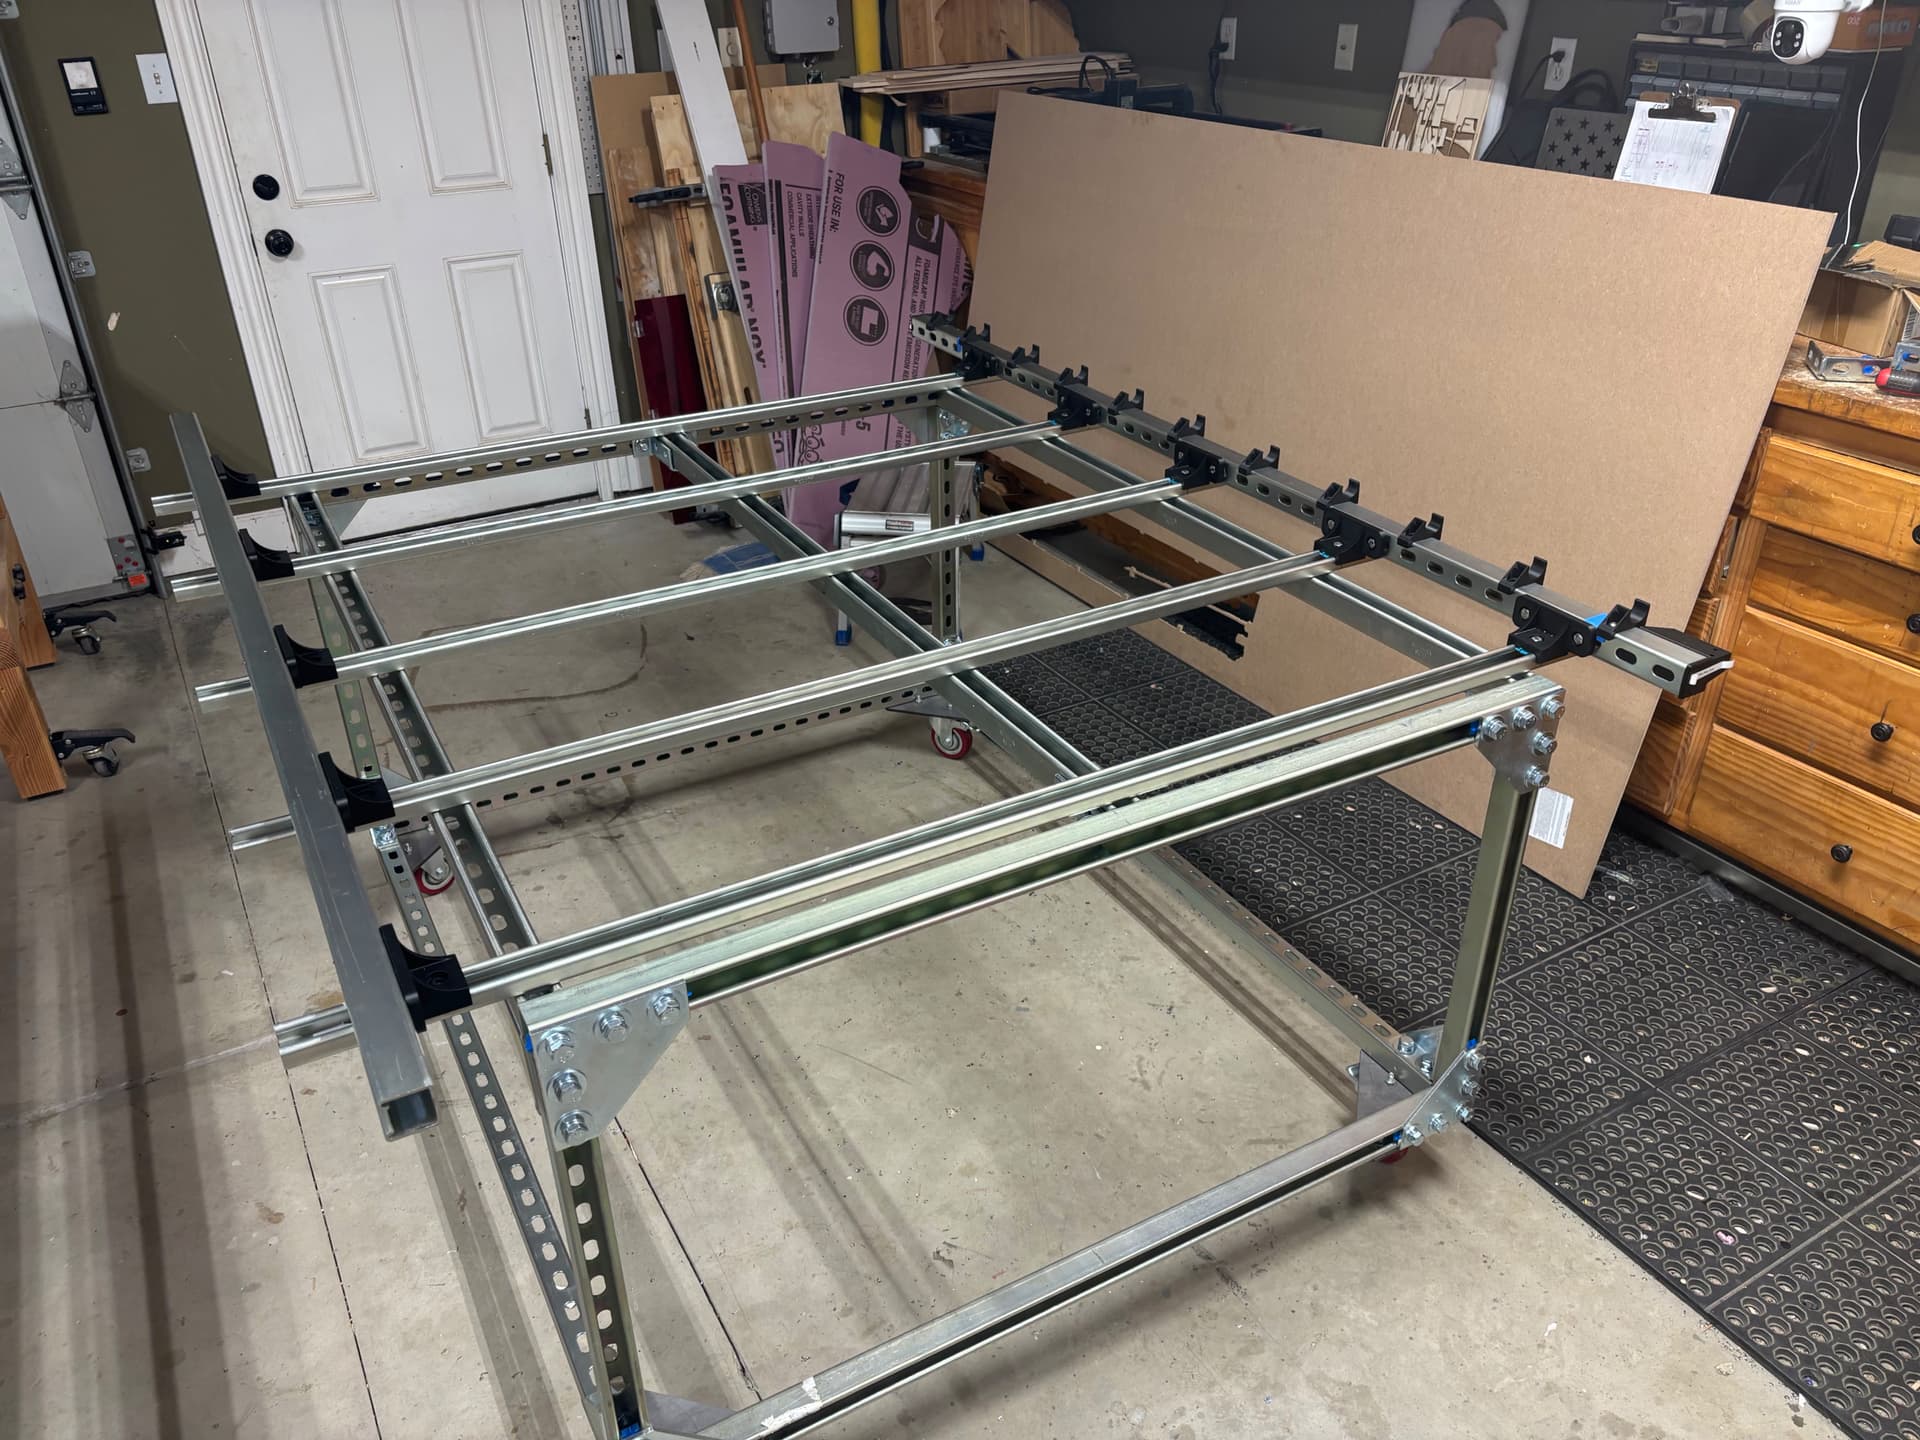
Making good progress on the new strut table…. Had to print a few more EMT holders - since it is all strut, i just printed the placement jigs for all the Y rail holders.
Also had to modify the 90-degree bracket to work with channel up whereas the original was designed for the bottom side of a channel..
Also, to address the idea of plunging into the channel, I planned on having 3/4 MDF as the base, then t-track and 3/4 MDF ripped with 3/16 lip to cover T-track so only slot is exposed giving me a bit of wiggle-room with unintentional plunges and to help hold the t-track down. That gives me 1-1/2” before the bit hits the channel (still it could hit the t-track but better aluminum than steel).
In my unheated shed I find that MDF moves a lot as the temp changes.
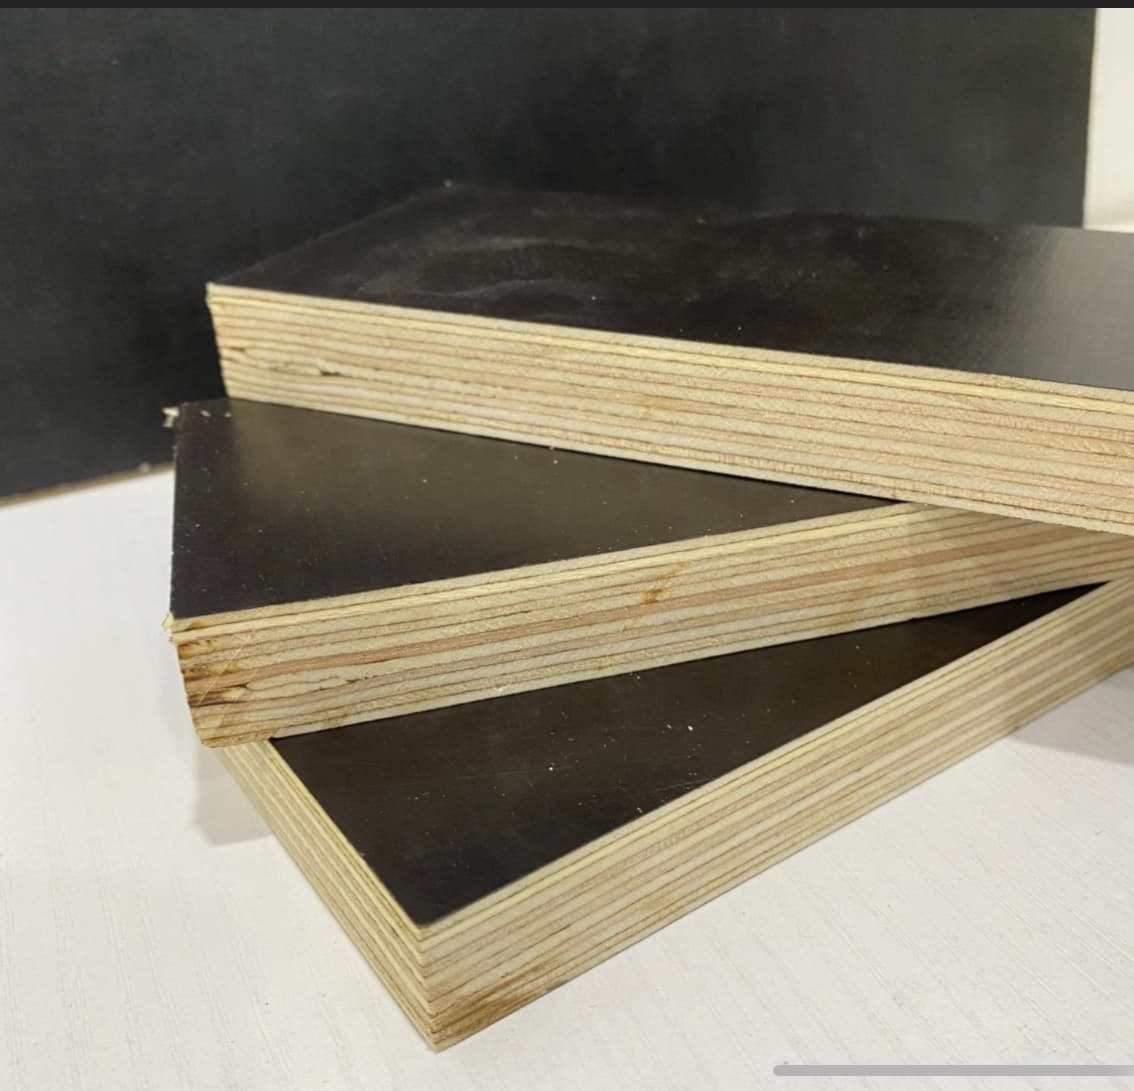
I’m using OSB at the the minute and it seems a little better. But next time I was thinking of using the phenolic faced plywood used in construction for concrete shuttering. It’s pretty cheap and should hopefully stay nice and flat.