Okay, as a short it doesn’t work because too much is cut out. Should have thought about that before. So a short “normal” video hopefully. ![]()
1 Like

Why don’t you just make your Y axis bigger than your X axis so you don’t have to do all this ![]()
3 Likes
so how did you make the estlcam line up with your reference holes?
GRRR!
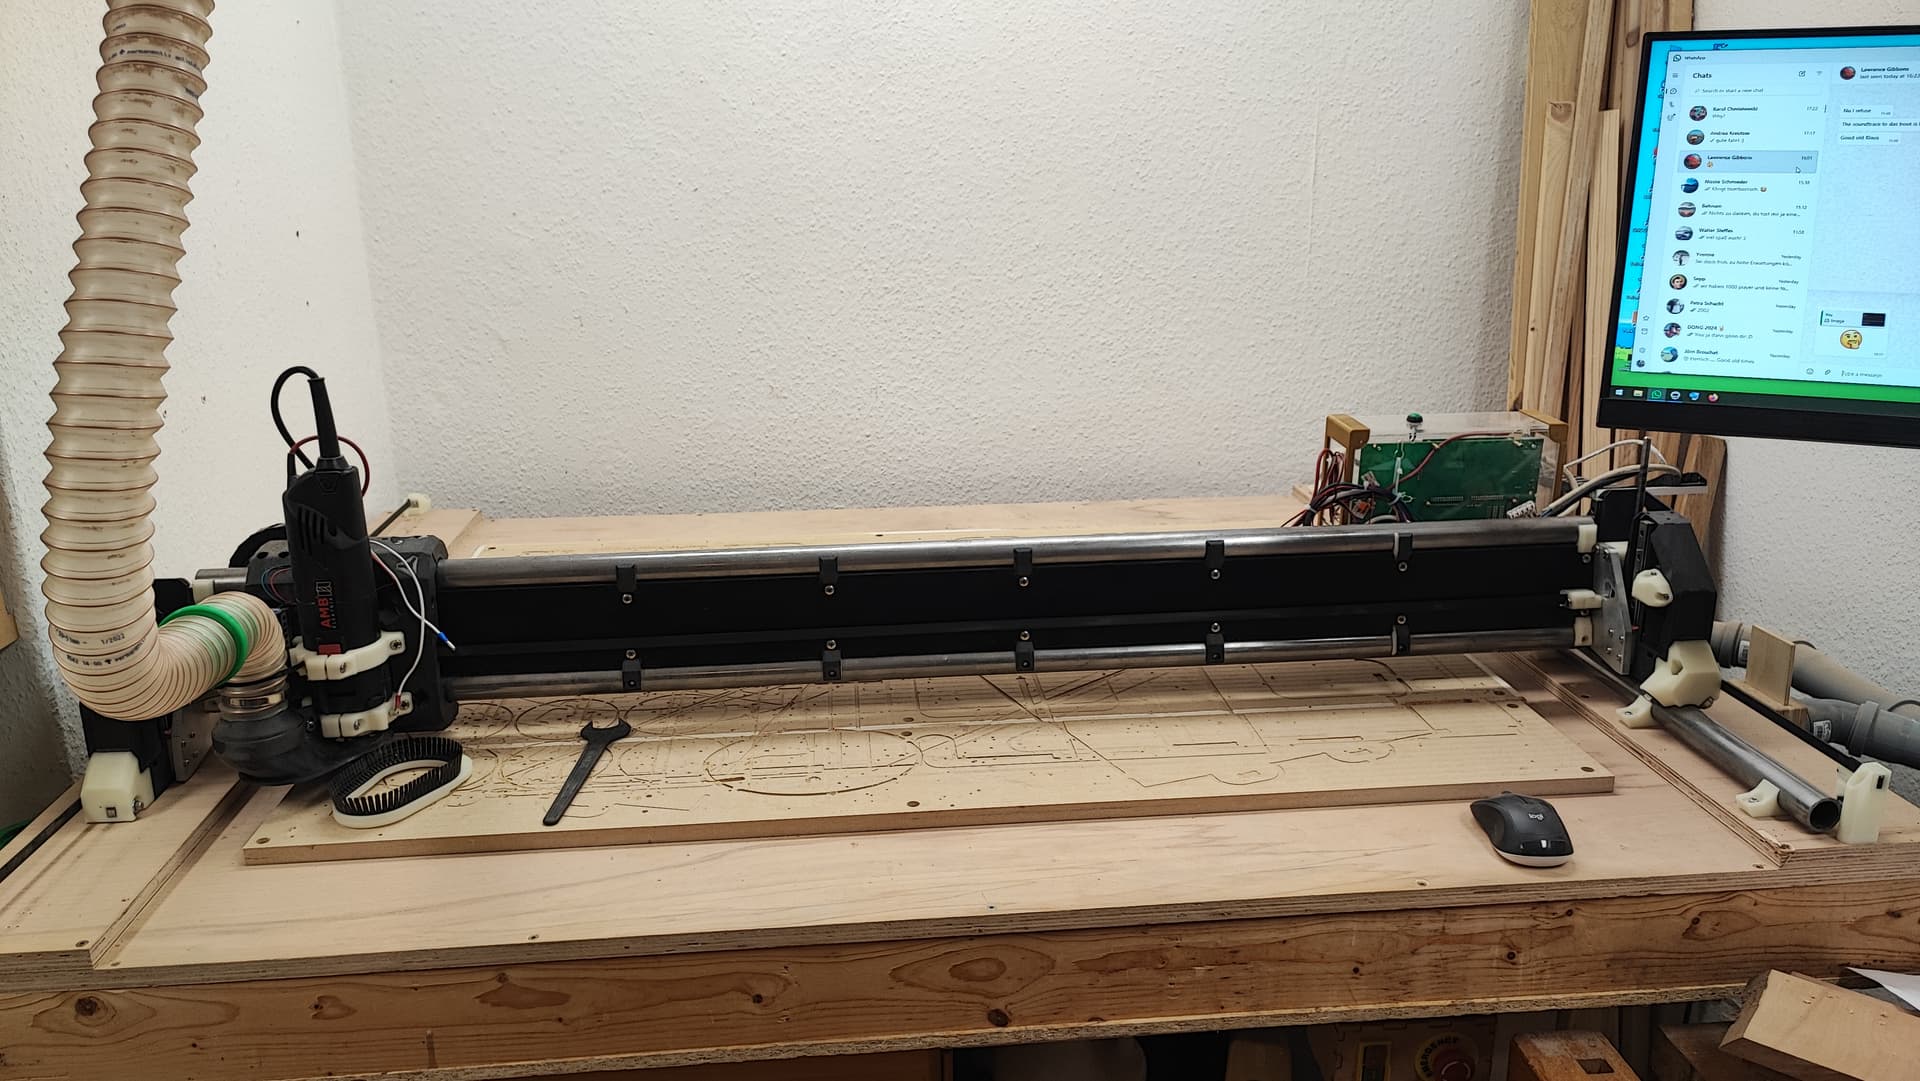
Because I have (for real, no lie) just 1cm space between the sled of my table saw and the table of the LR. ![]()
3 Likes
I feel your pain on this. I have a 24x 24 garage and it is loaded with STUFF, it is not just MY garage, LOL
The dowel hole is the zero in Estlcam for both programs. Other than that it is just flipping the dxf and programming both sides separately with engraving toolpaths.
3 Likes
OHHHH Got it!!!
I think. I will need to try it tonight.
3 Likes
P.S.: The vacuum table works splendidly with those sausages. ![]()
3 Likes
Vacwurst? ![]()
Yeah, this one: LR4 - Ghostrider B2/RC2 - #89 by Tokoloshe, normally it’s to put under silicone grouts.
1 Like
I just added the new strut plate. And does that make a difference optically. It says bad boy right here! ![]()
When I tried to reattach the X belt I noticed that the screw wouldn’t hold… I checked what the issue was. You’ll never guess: It didn’t have a nut in it at all… Every cut I did after changing to the RC2 braces were made without a nut in the X-max brace… ![]()
![]()
The Star Wars coasters, the planing of the spoilboard, the cutting of the new struts, all without the X-max nut… I am laughing my ass off here.
9 Likes
Oh my word! How is that even possible? I guess the screw was just barely holding in plastic threads and the little plastic part was holding in the little notch area?!?!
2 Likes
No, it wasn’t held there, the way the belt is attached to it, the belt pulls it a little to the front in addition to left, so it was just wedged there a little crooked… ![]()
3 Likes
That is super crazy. All that accuracy and just on a stuck belt. I love it!
6 Likes
I can tell you after trying to hold a slipping Y belt on one of the earlier Betas those motors pull HARD on those belts so that’s just awesome that it stayed in there no problem.
5 Likes
@Tokoloshe, couldn’t see in this topic, but I recall you’re using something like 32mm stainless pipe, 1.5mm wall thickness? Looks like you’re upgrading to 6mm MDF Struts, with no current plans to secure braces with self tap screws?

Personally like seeing the wood color with grain length ways, considered color filled Strut?
Nah, 32mm with 3mm walls (so 6mm in total). Might have been overkill. The second one is getting 32mm with 2mm walls.
The strut plate is 5mm HDF again, just cut the bigger version and sprayed it black. ![]()
Taking them off takes a few minutes, so you can still do that. I slid the core to the very left after undoing those screws and then just pulled the strut plate out to the right after unscrewing everything.
2 Likes