The Y
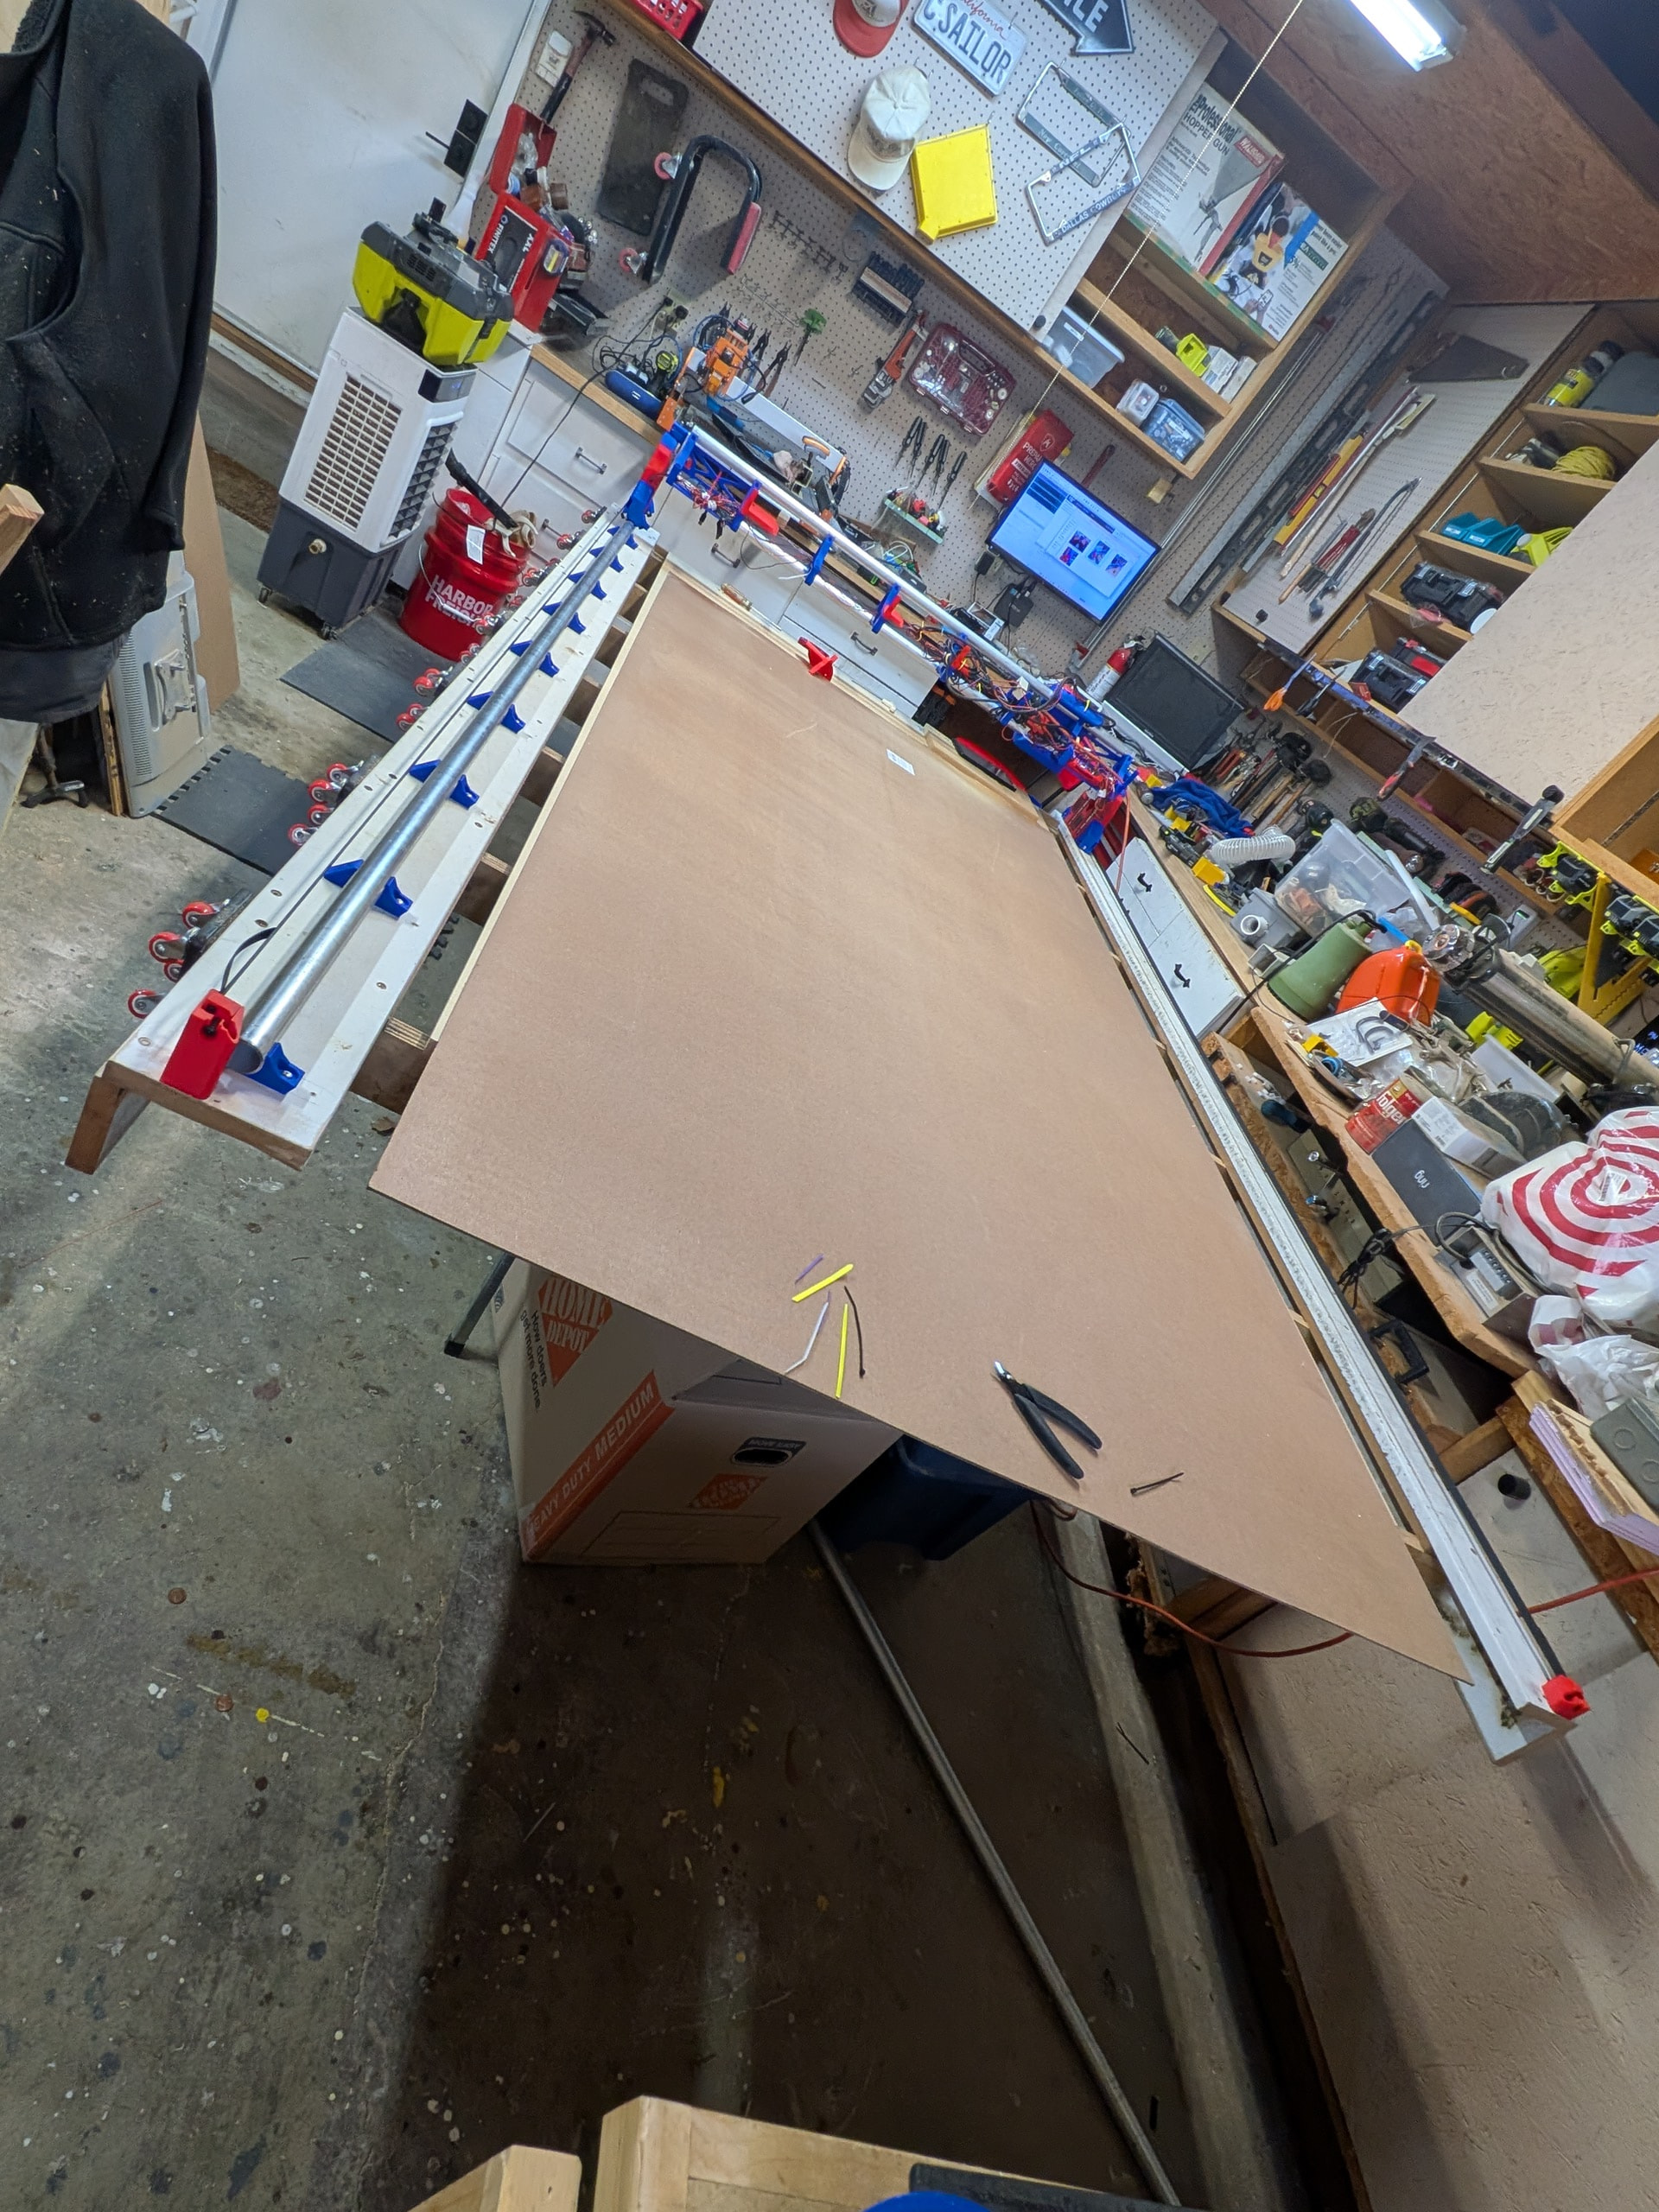
Now I needed to mount the Y tube/rail/thing. I left it full length originally so I could make sure I knew how long to cut it. I have the table and used the calculator but I convinced myself I was doing high end reserve math matching the machine to the table rather than the table to the machine. It was probably a bit silly on my part but it worked out.
Here it is. The YMax is closest in this shot. It has a piece of 3/4” mdf spoil board on it and then a piece of hardboard that I plan to cut the struts out of.
Here is the belt holder at Ymin/Xmax (rail side). (I think I have that correct) It seems to be perfect.
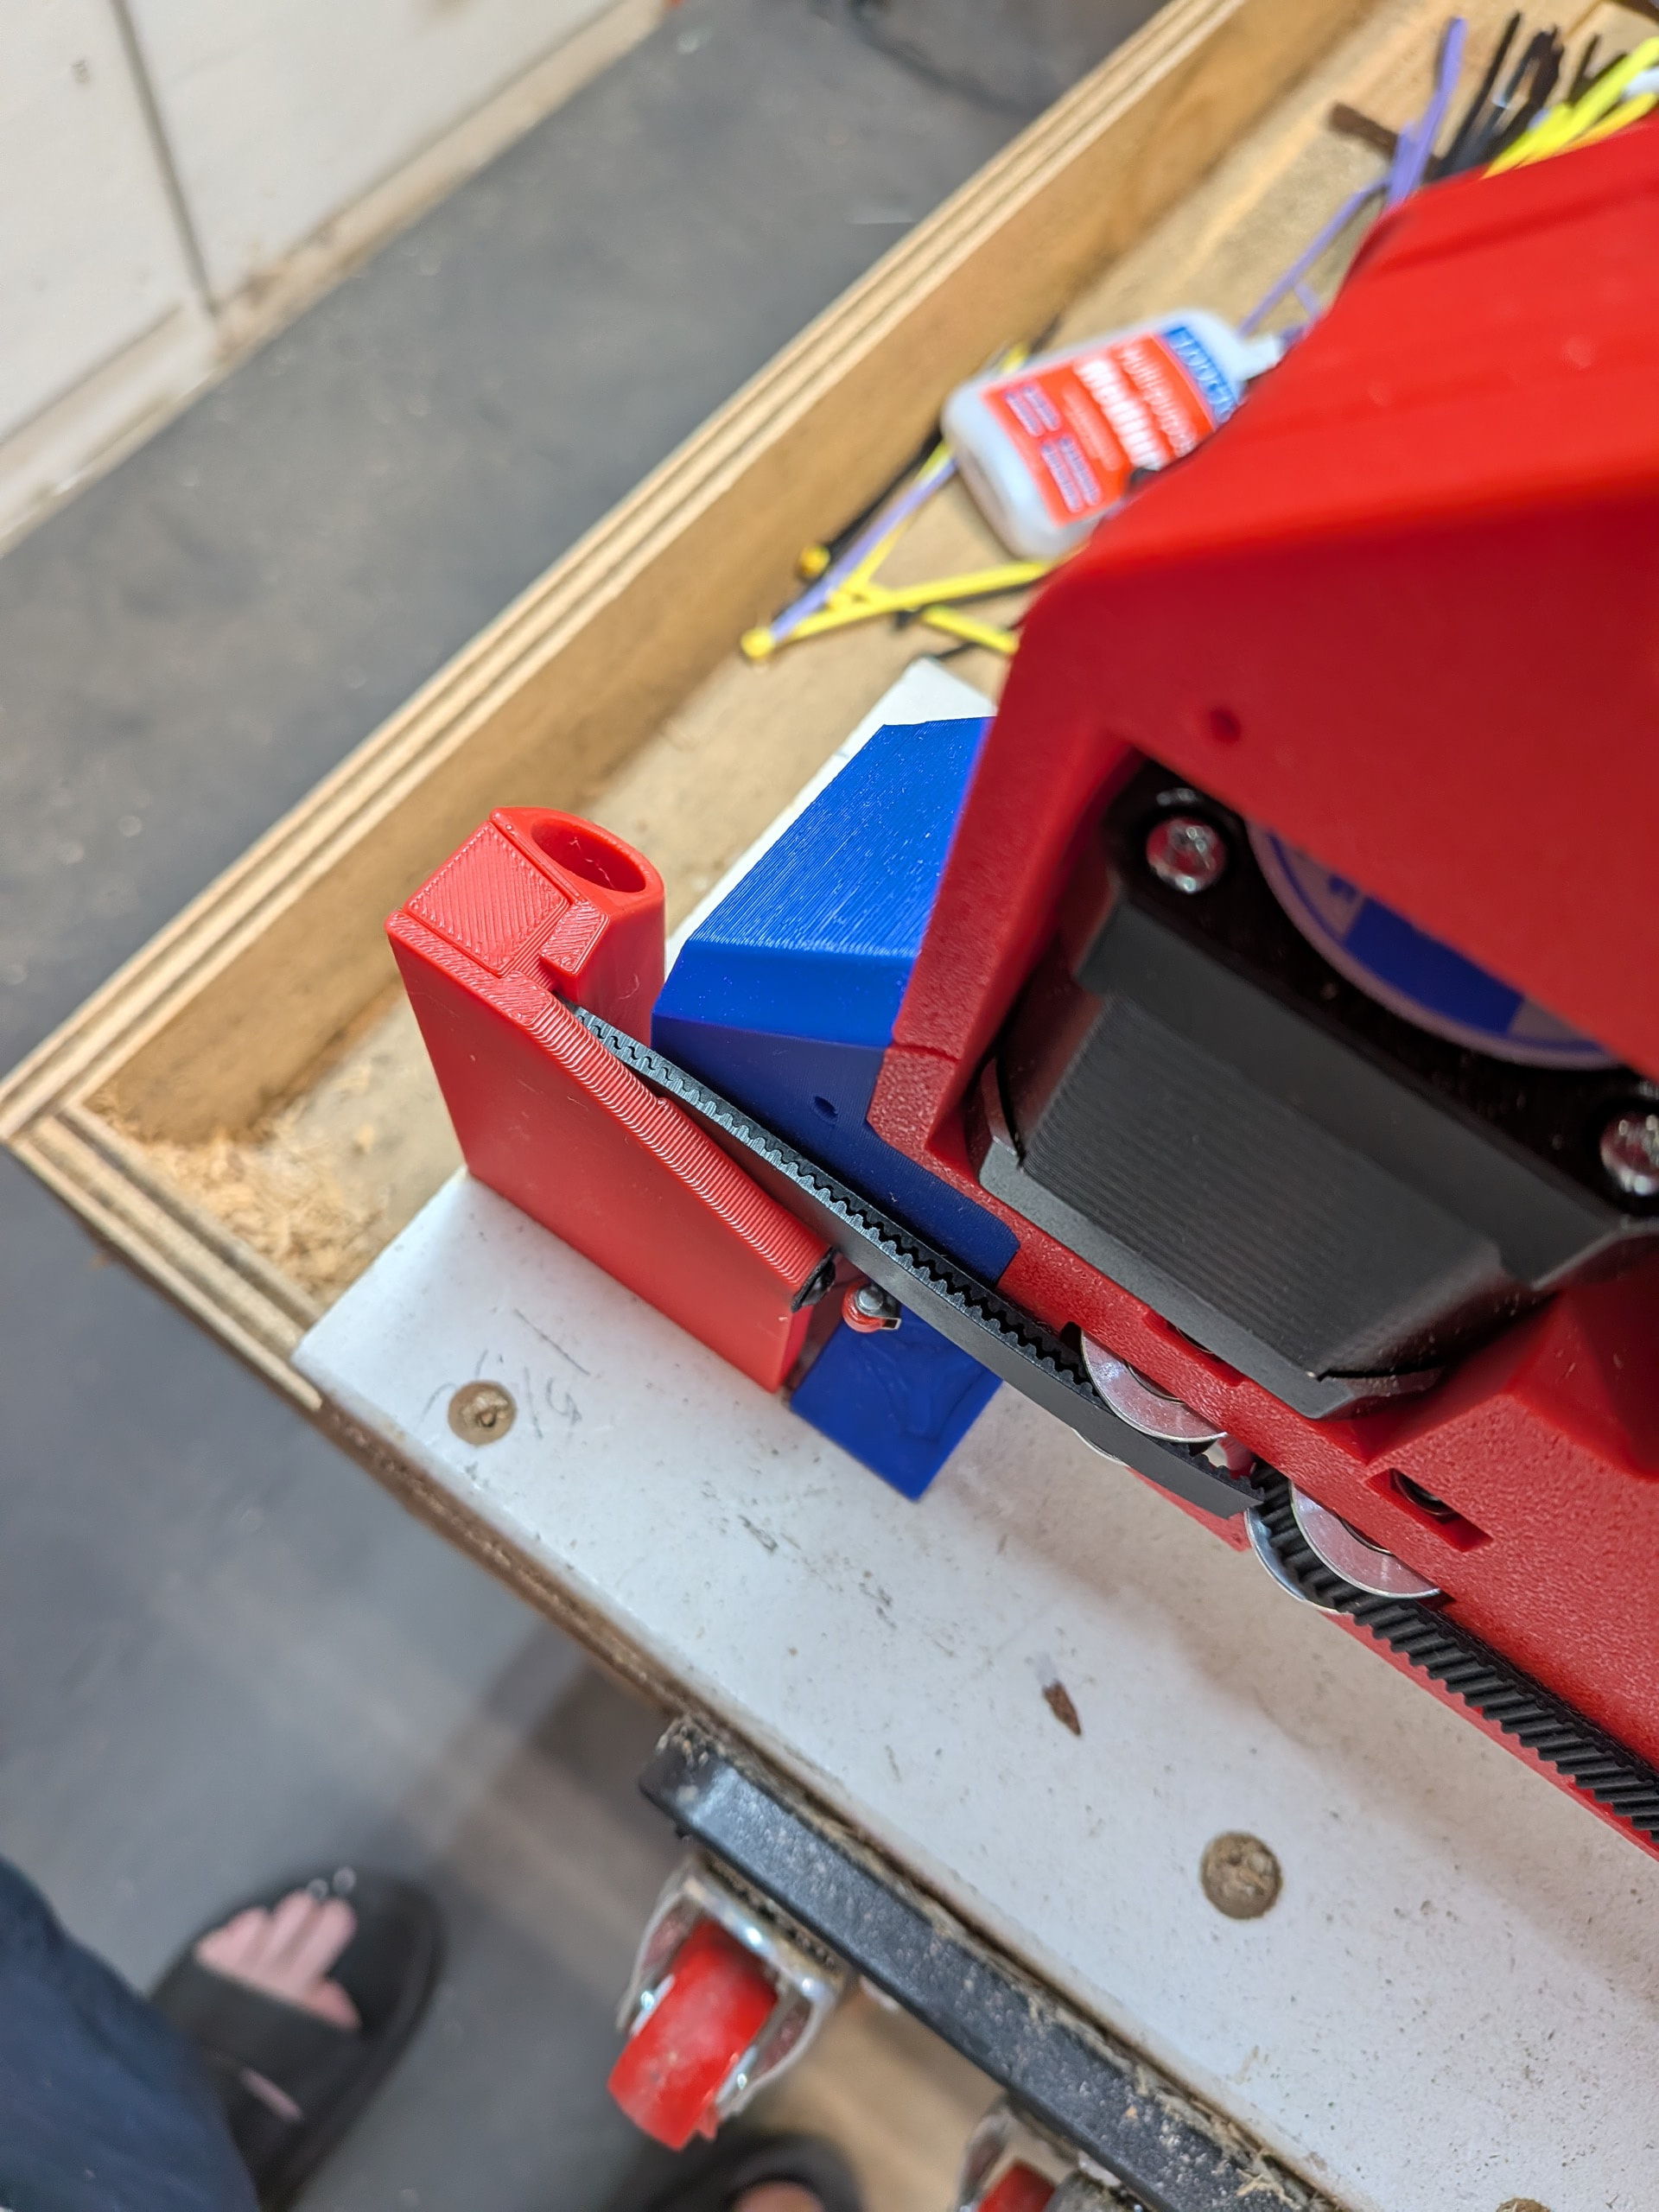
This is the Ymin/Xmin side (below). I have been running into issues with the endstop missing the screw. I think the gap is a bit too wide between the YZ tower and the belt holder. Often I find this side rides a bit toward the Xmax side and slips past the screw to trigger the endstop.
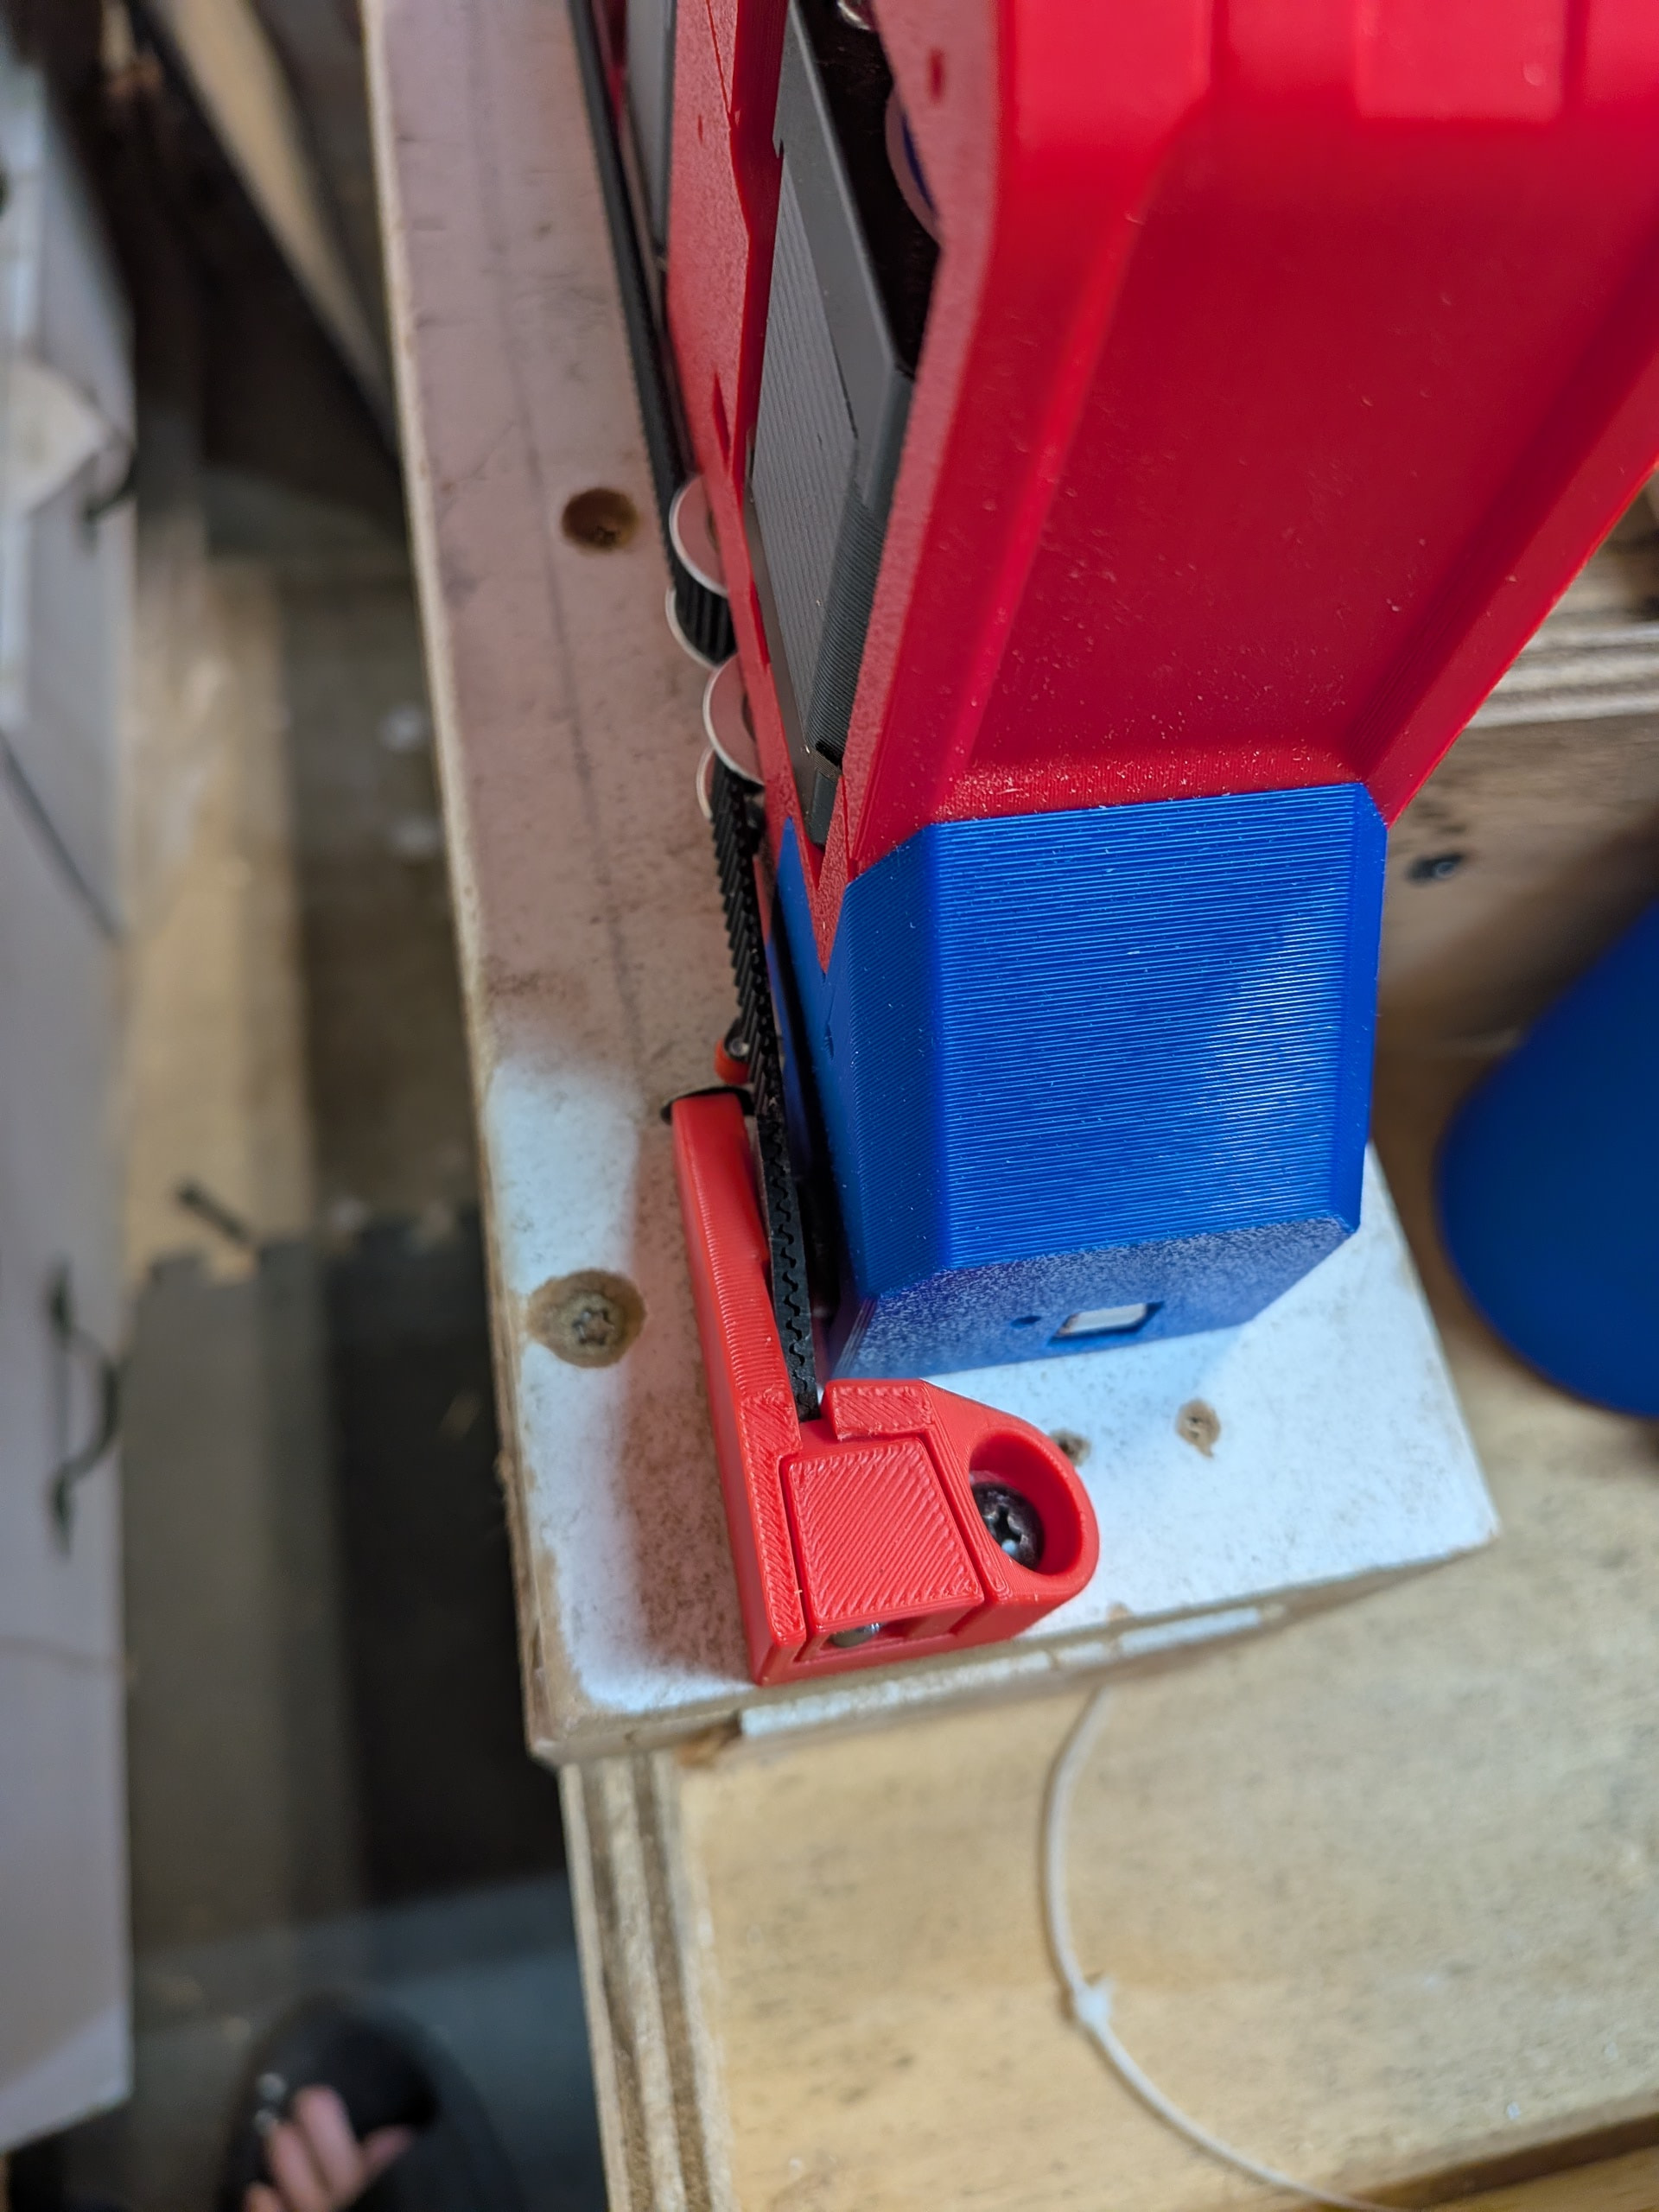
I can adjust it later but for the time being I added a couple washers to the screws to give a bigger target for the enstop to hit. I am thinking about using this one.
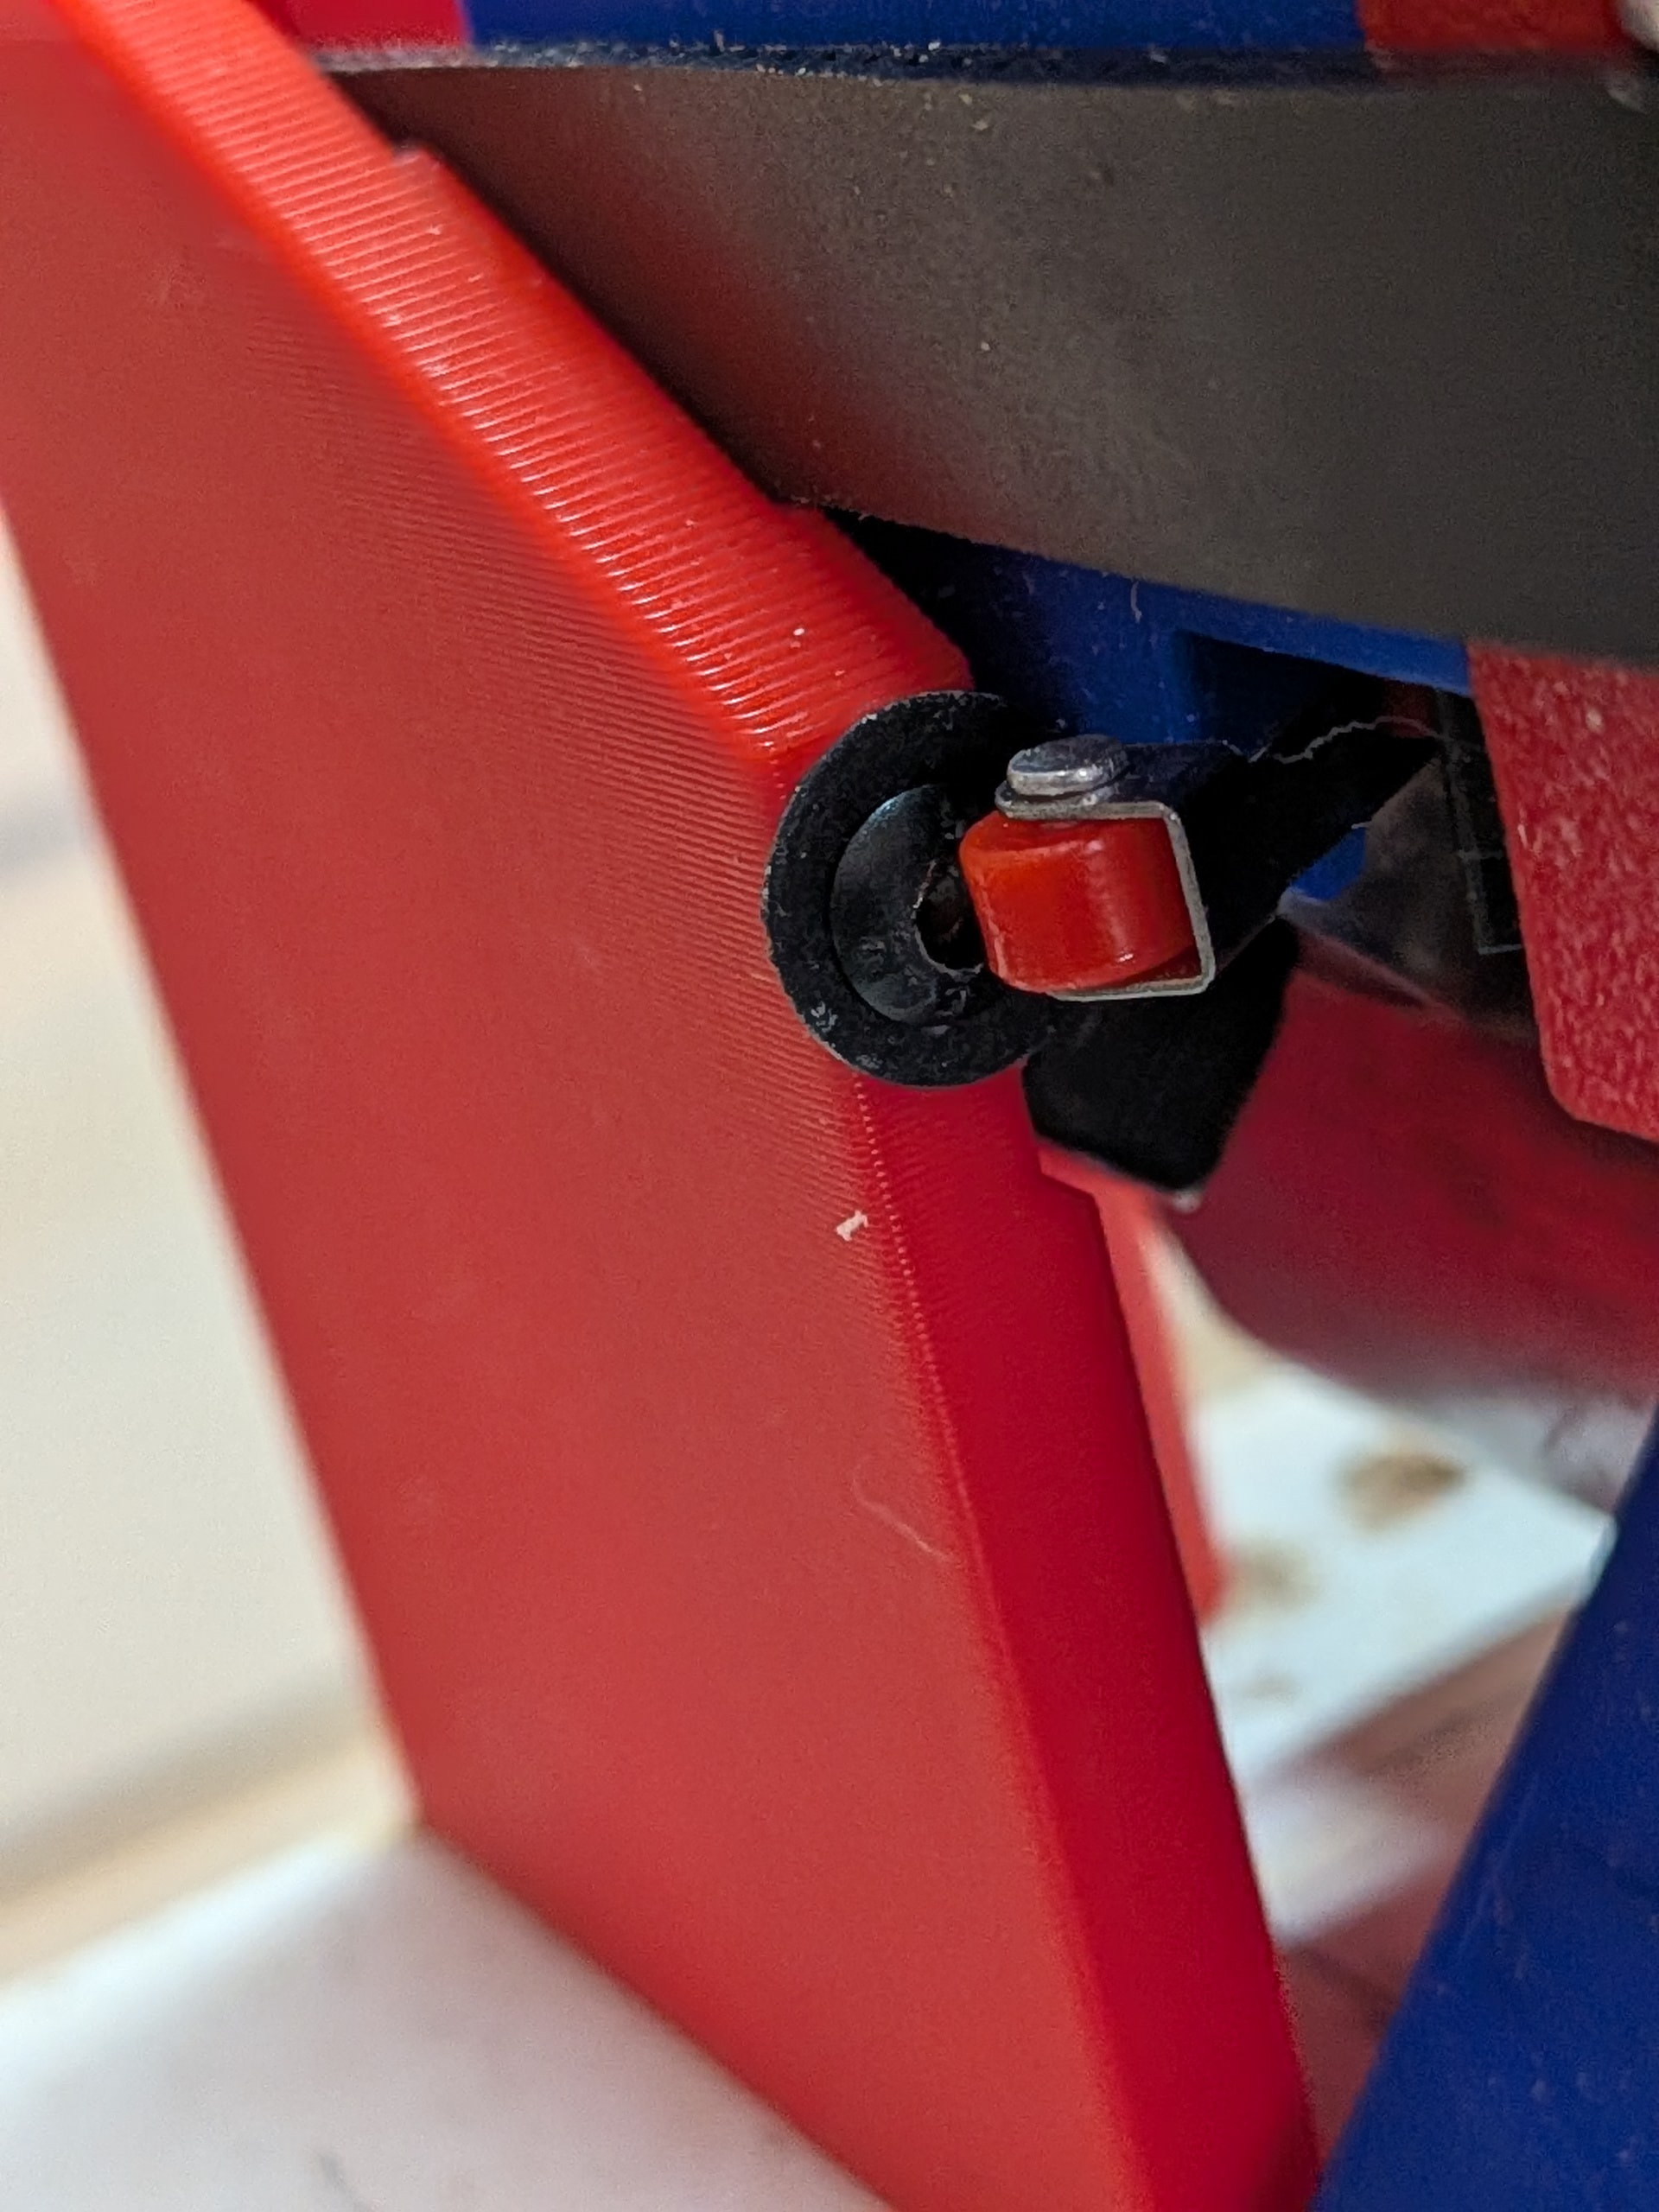
Here is the Ymax/Xmin (below) belt holder.
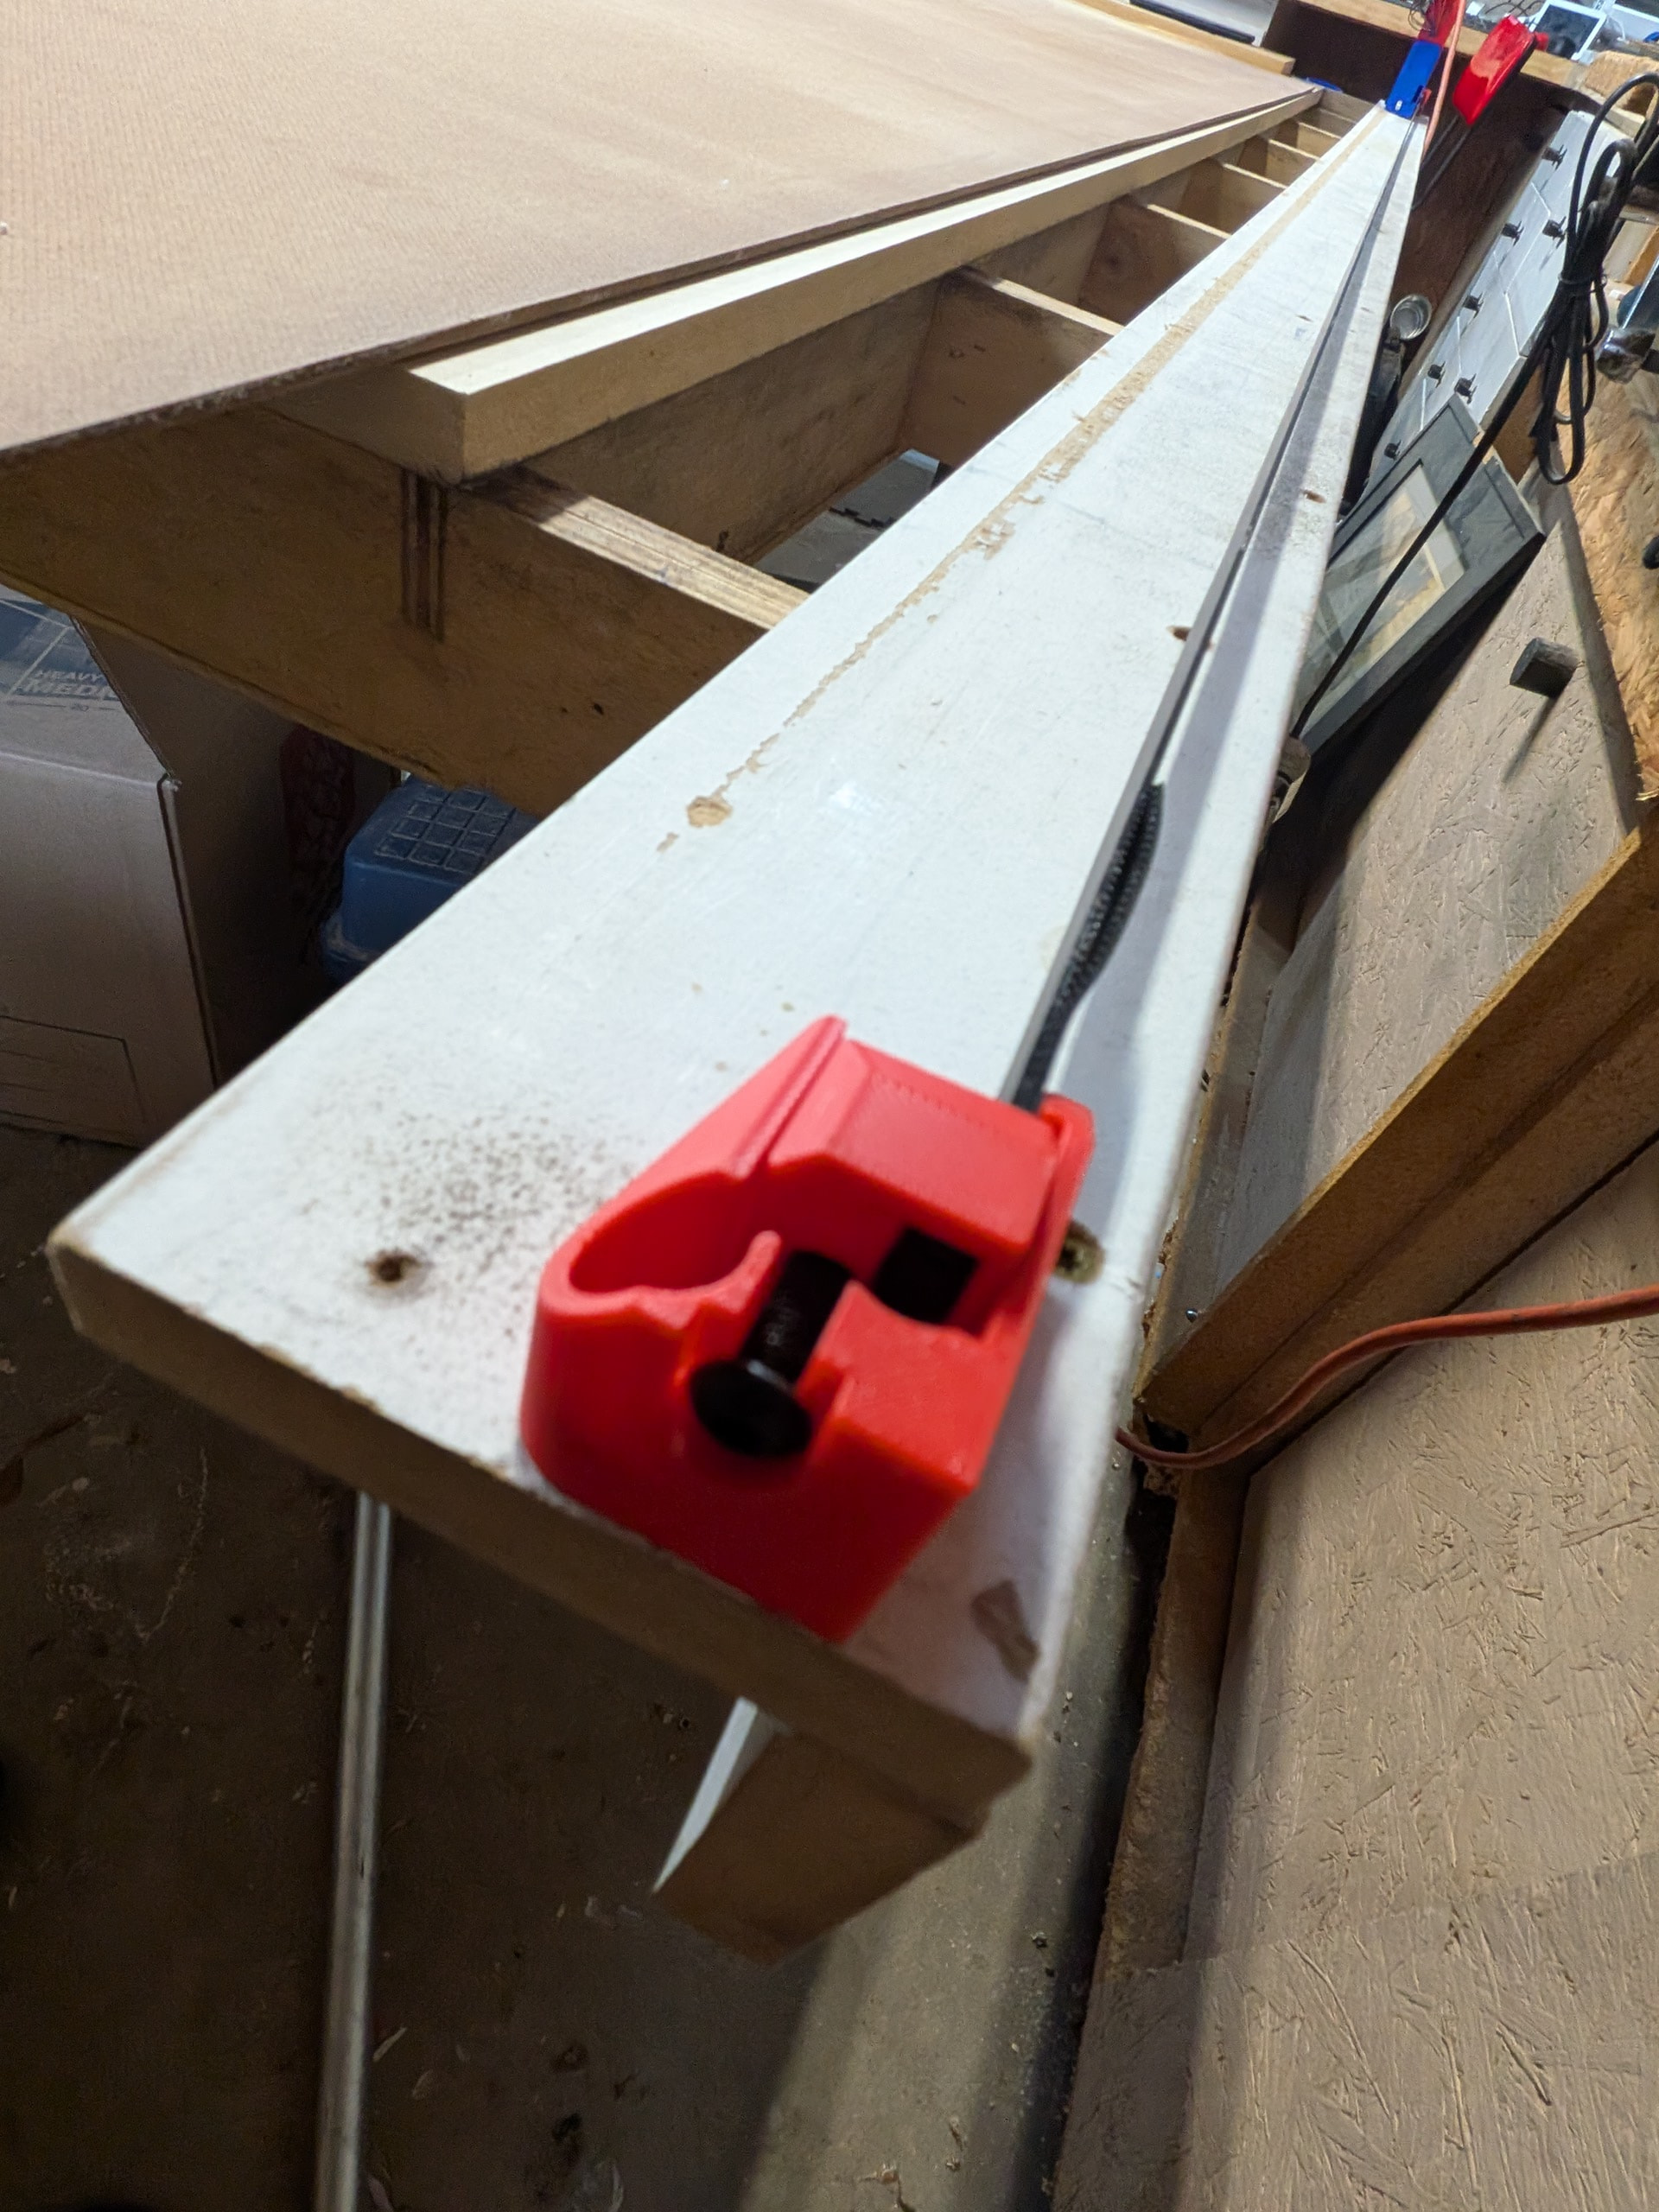
Here is the Ymax/Xmax belt holder (below). I left the belts a little long just because every cut seems so permanent. 
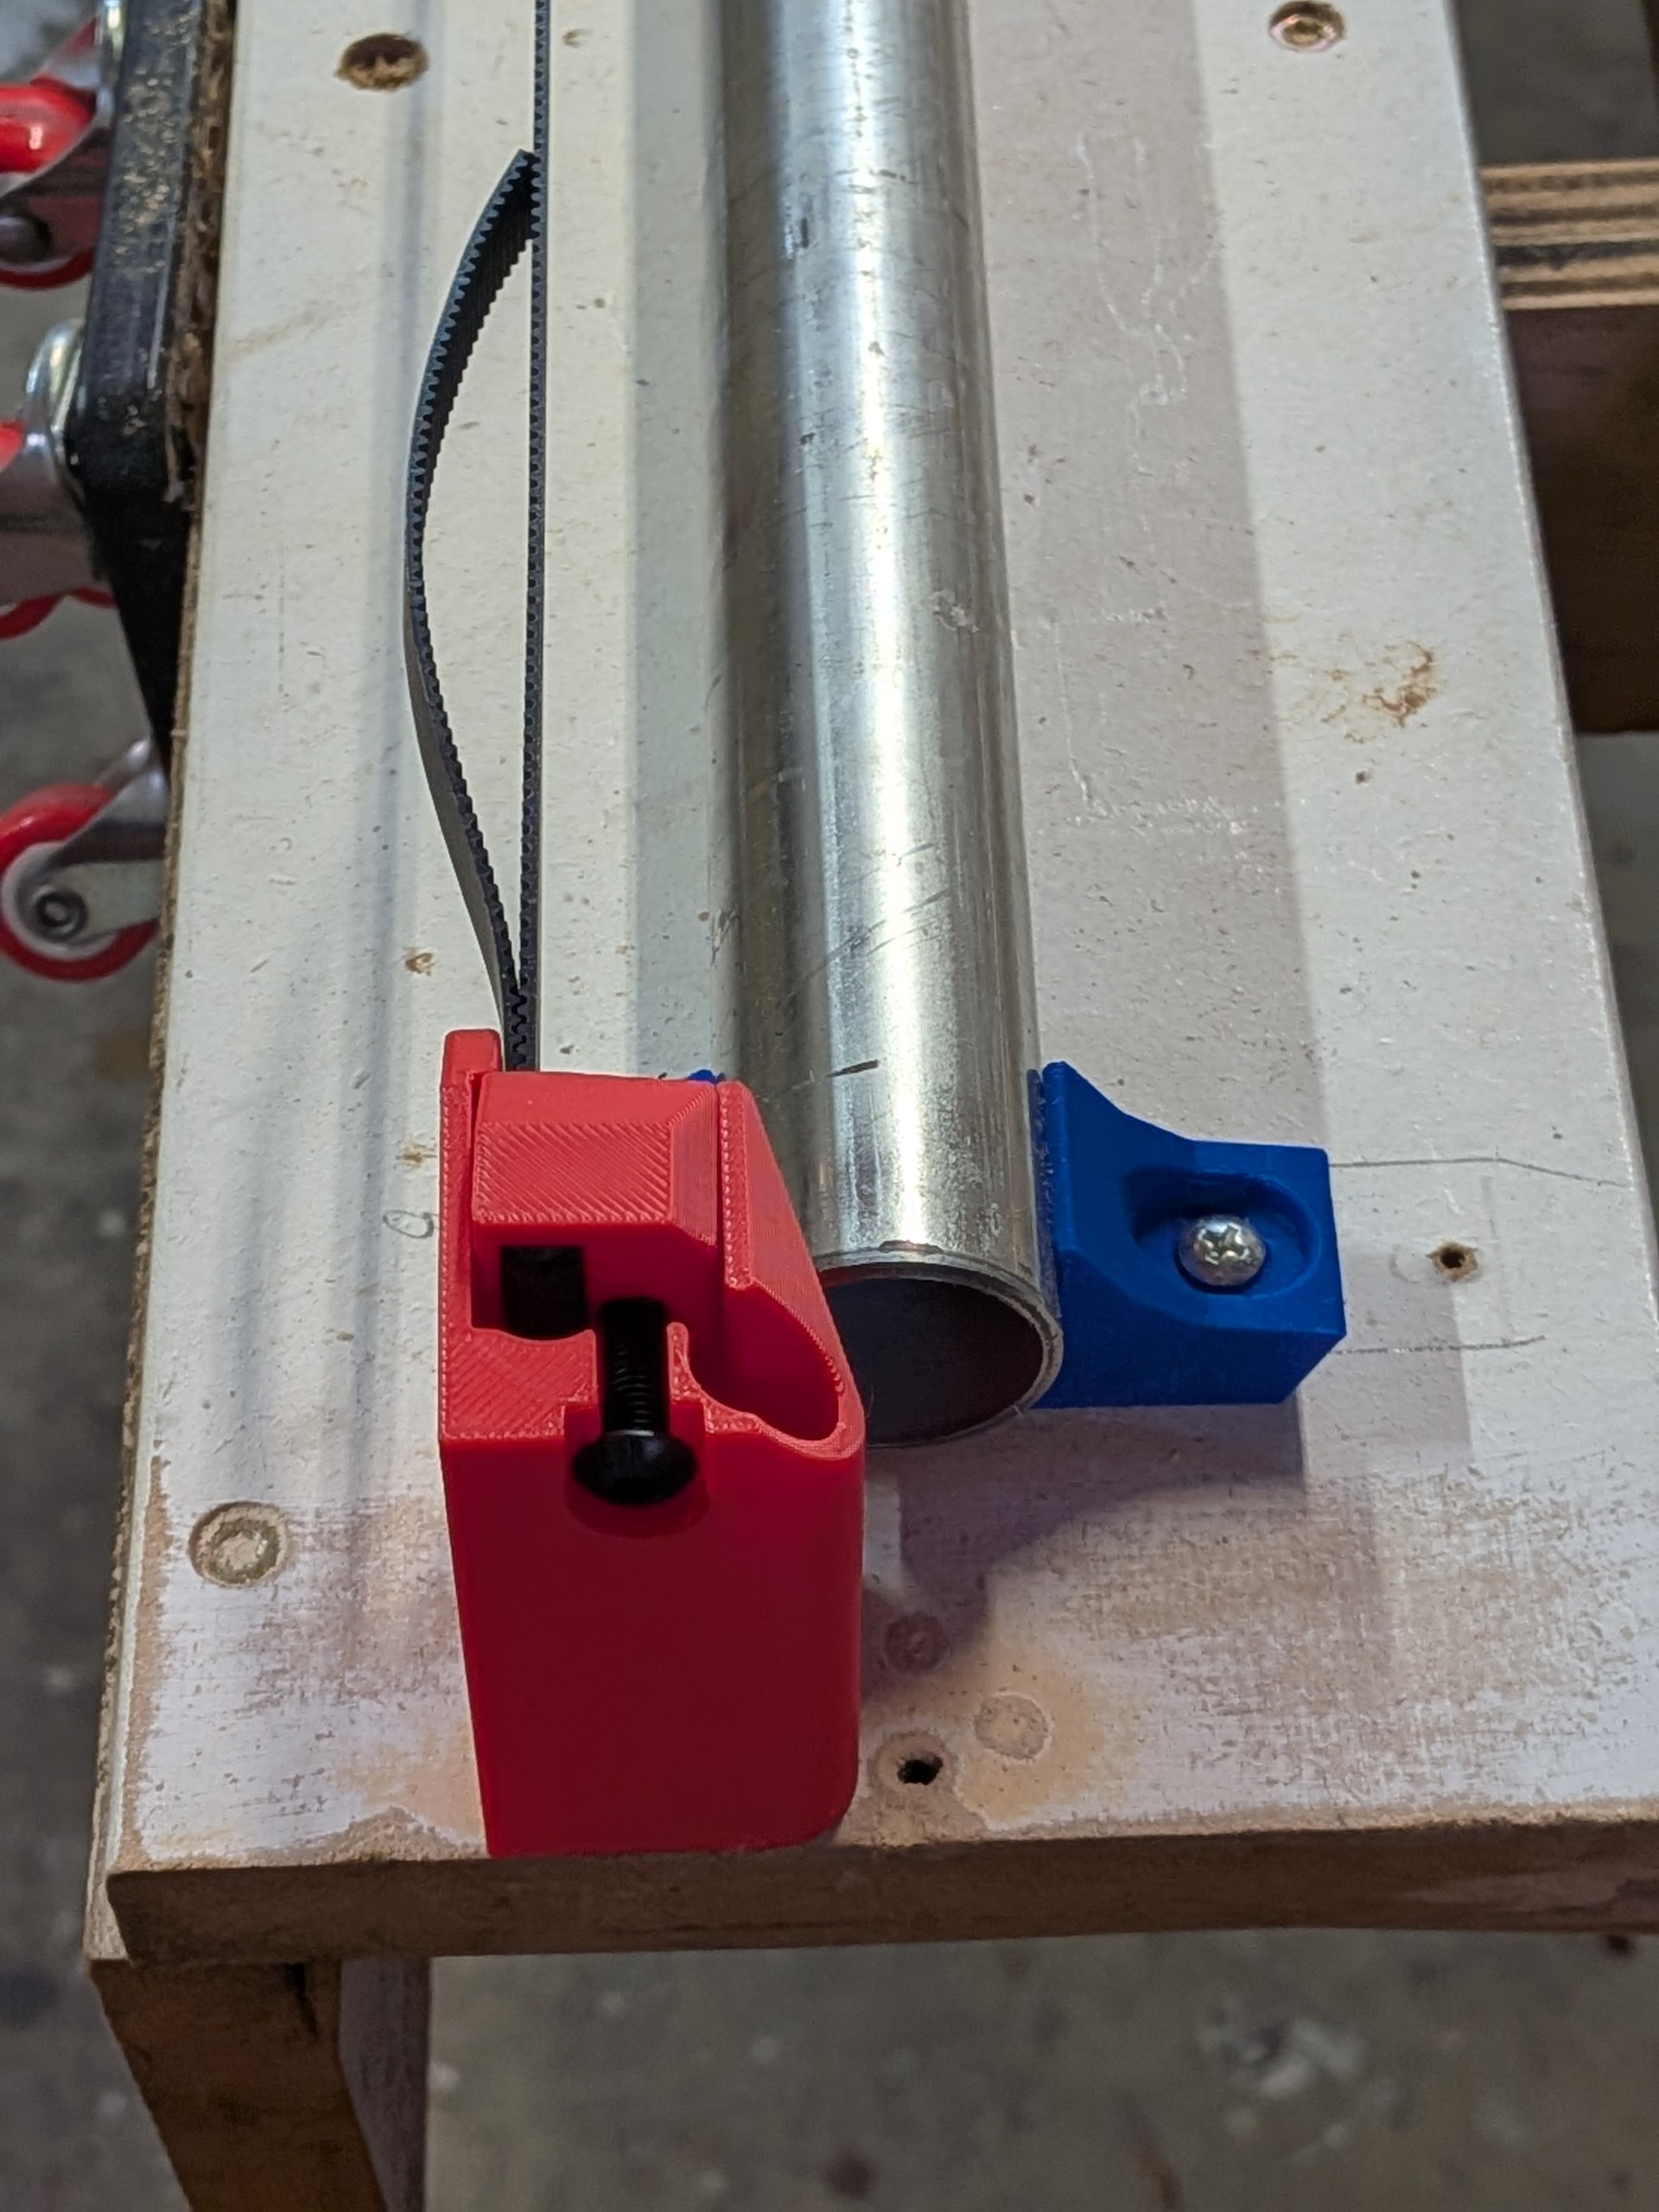
Now I added a couple of Z blocks for times when it is powered down.
I am concerned posting these photos because I still lack confidence regarding min and max, etc. Having run the machine around a bit I feel better since Y+ goes away from me and X+ heads toward the rail side, etc. I think I am getting it. Feel free to correct me if necessary.
Also, you will notice the bolts through the Z stub and the Z-nut. This appears to be controversial and unnecessary (based on threads on this forum) but I got tired of having to reach in and spin the Z-nut back up into the Z-stub when it would fall out. I watched a video suggesting that the Z-nut should fit semi-snuggly in the Z-stub but mine is pretty loose.
I originally ran a zip tie through the stub/nut hole but realized it might interfere with the Z-travel. Instead I placed the bolt and nut through but did not tighten it at all. It simply is keeping the two parts together. Z seems to be working well so I think it is working.
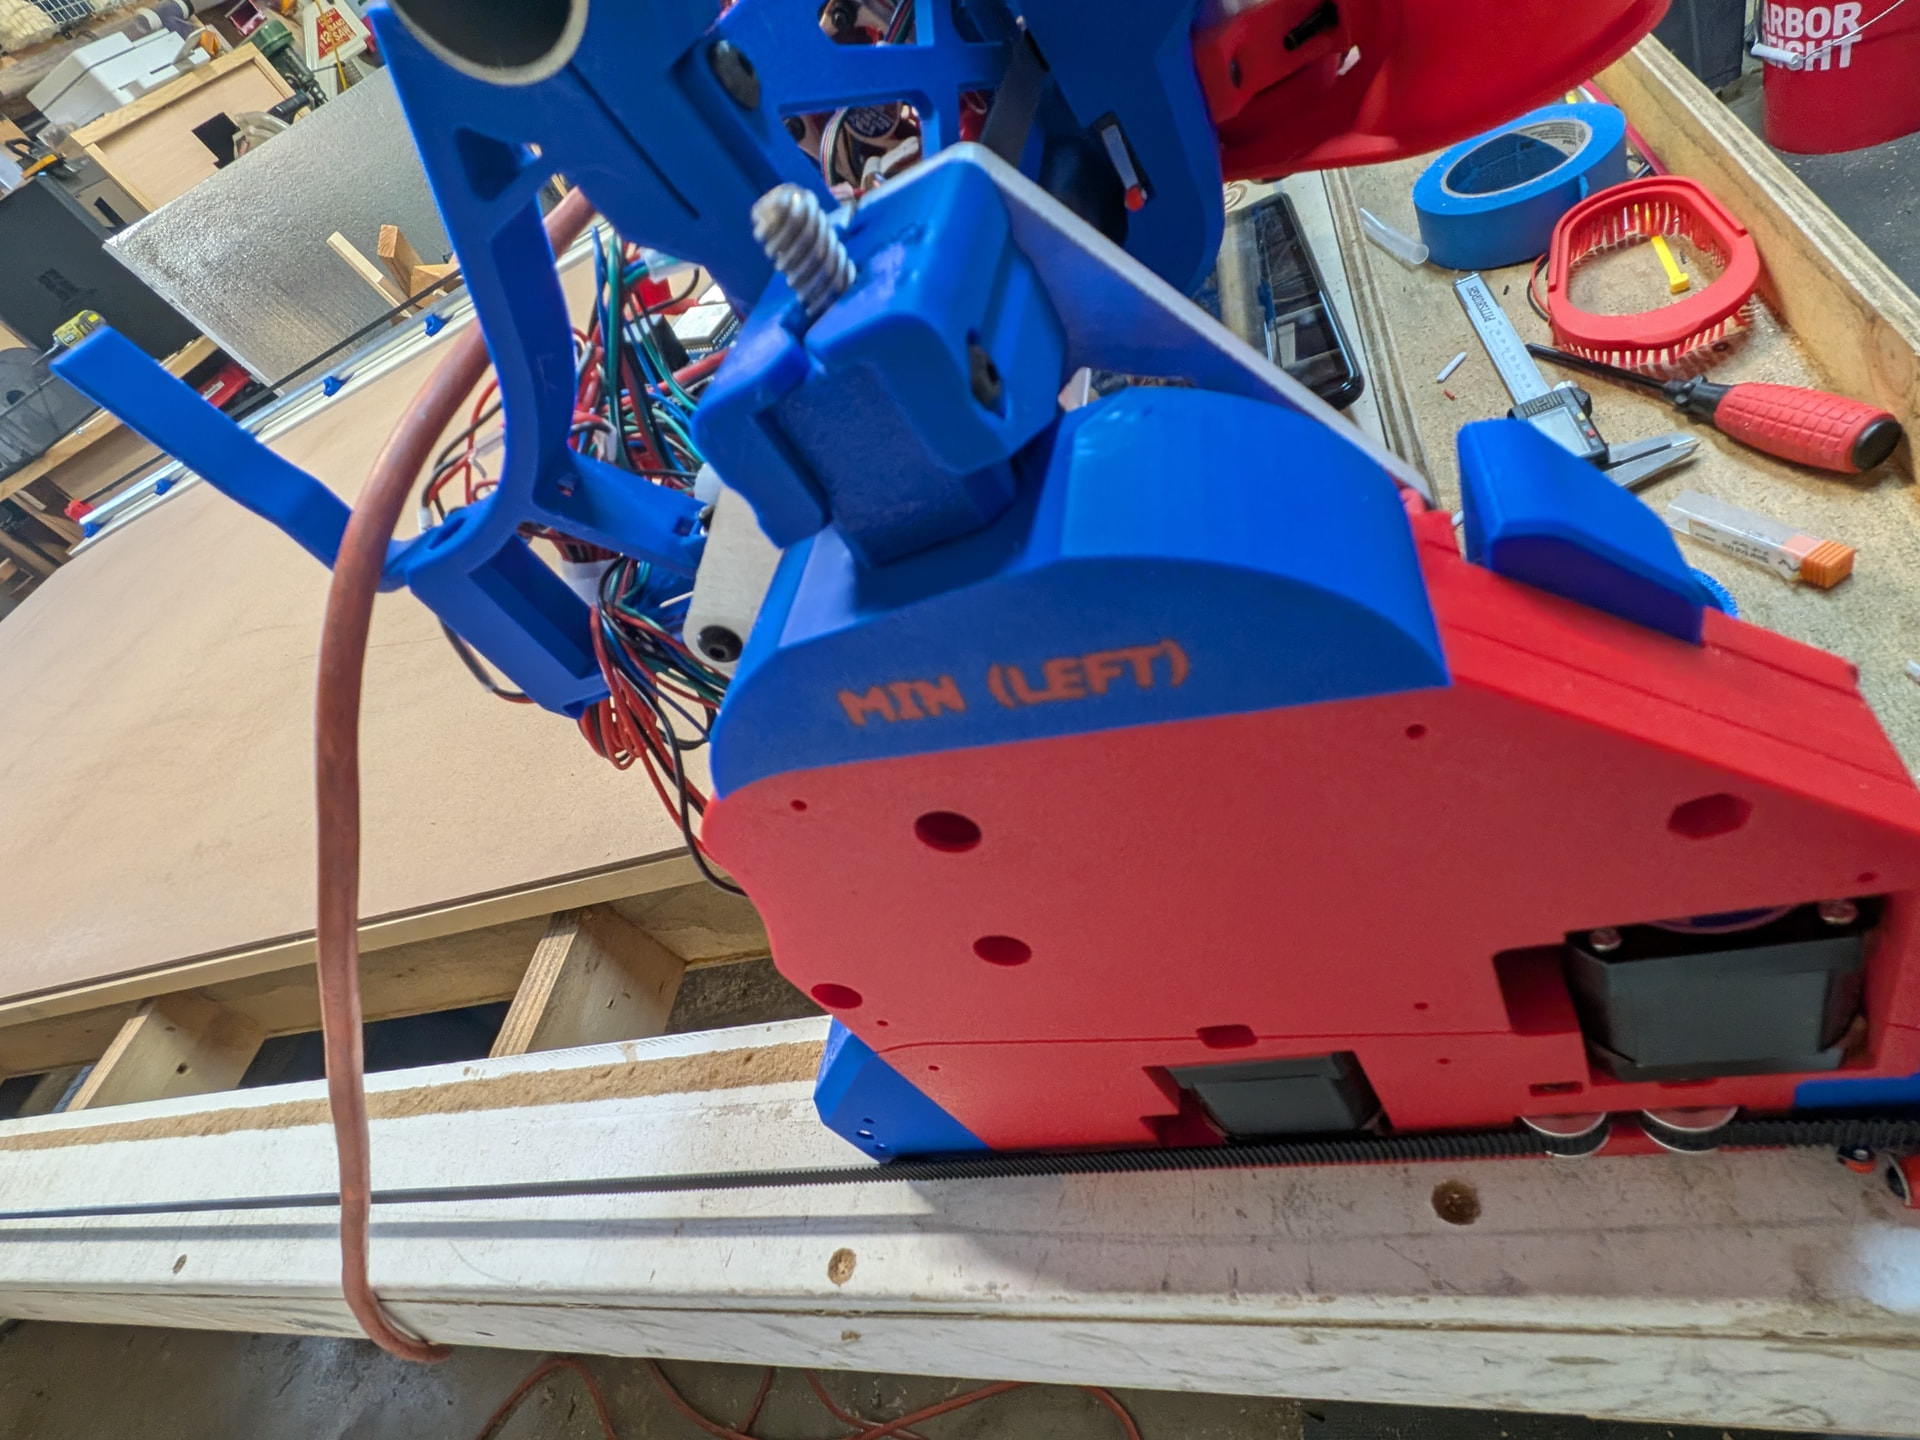
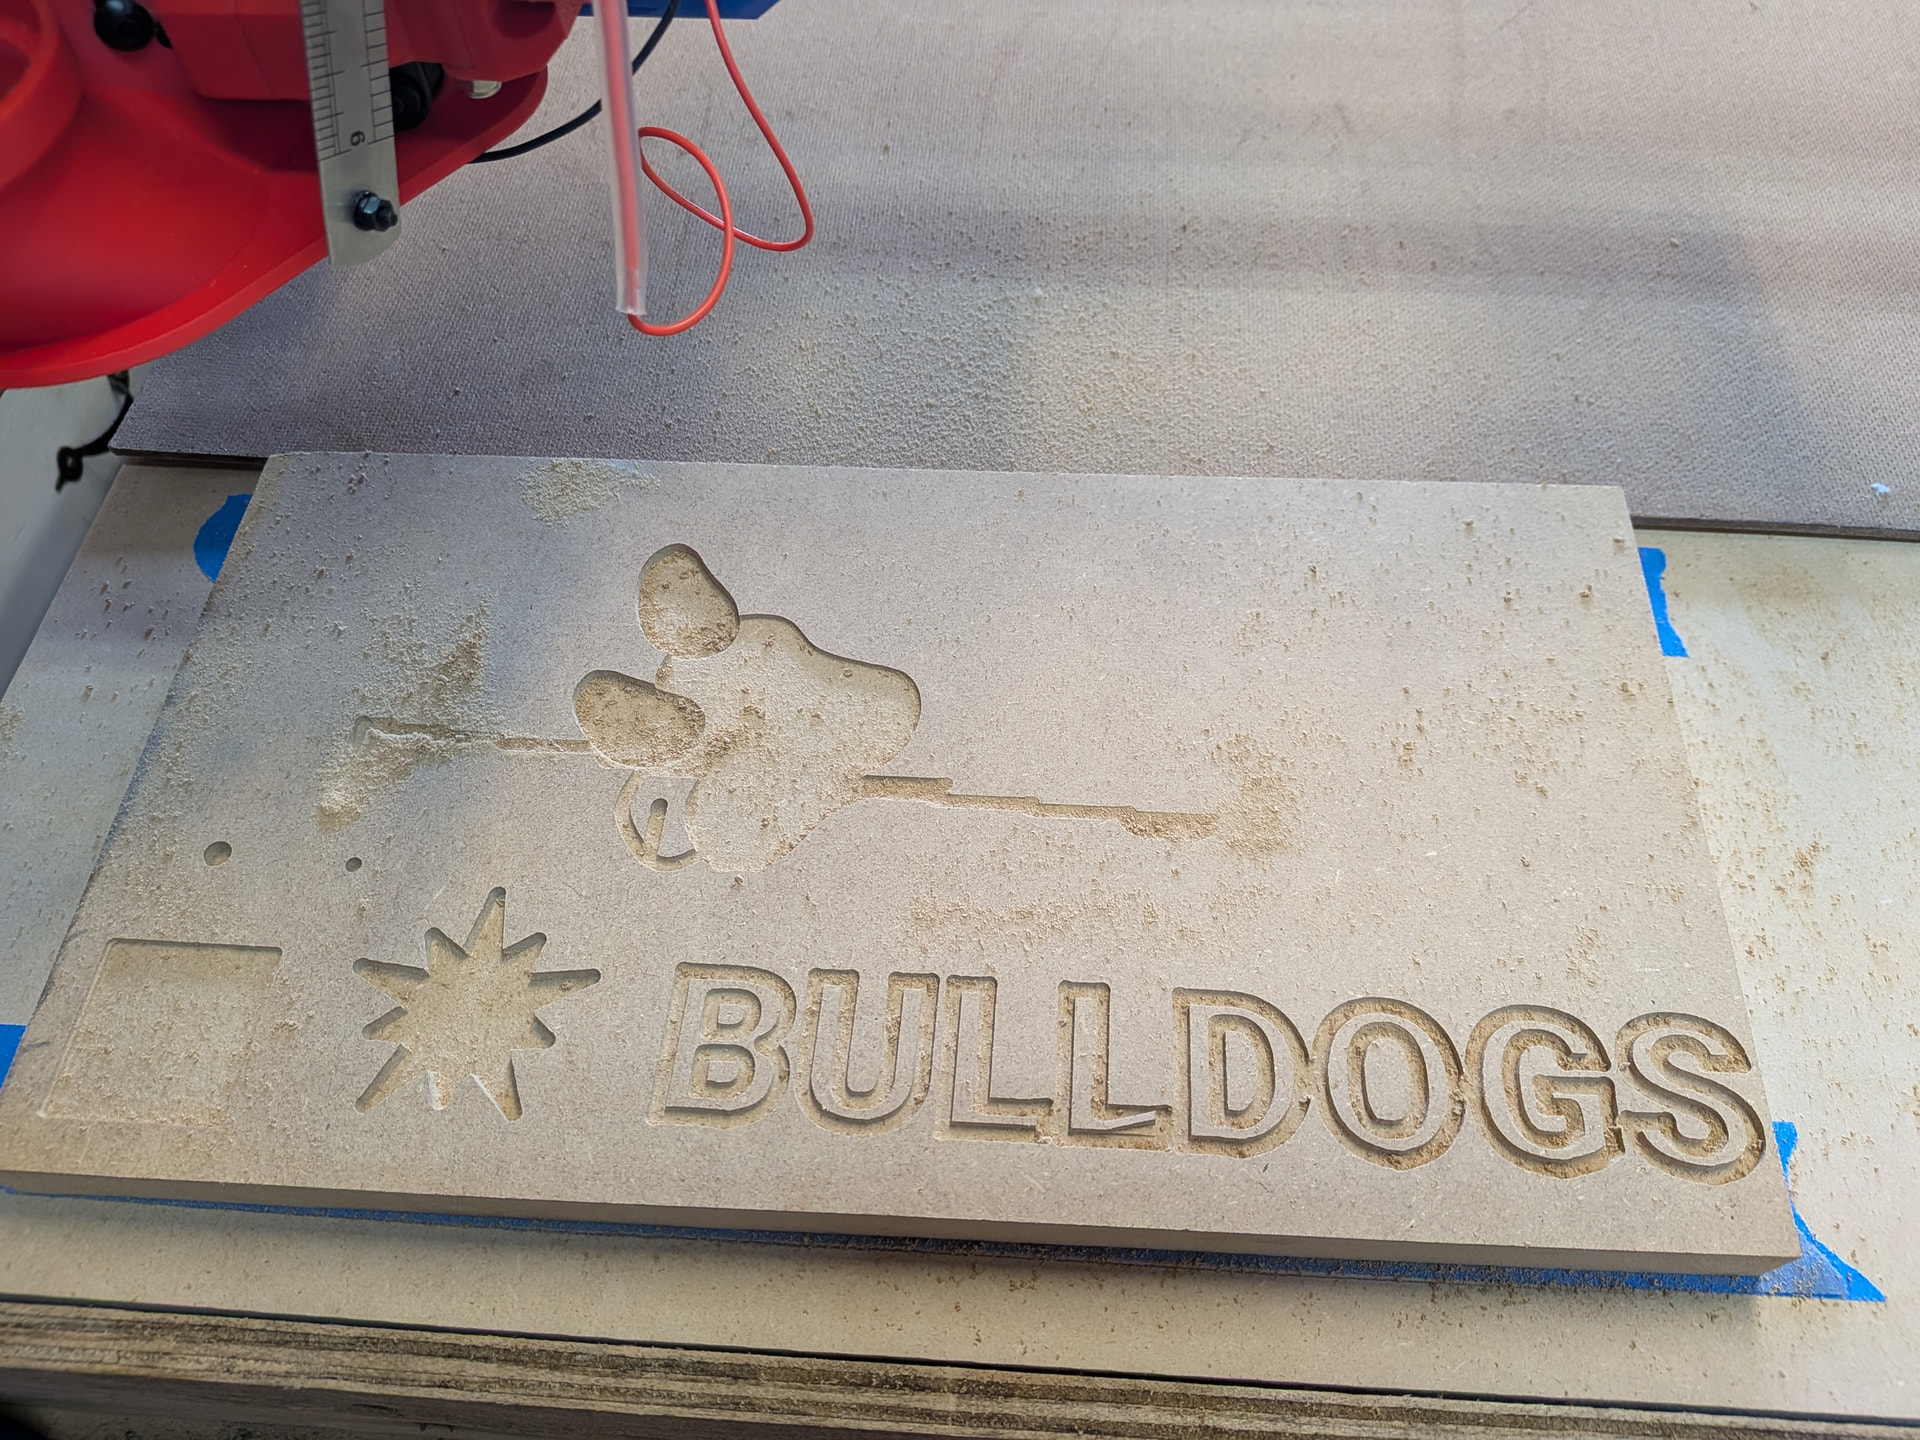
That is as far as I have gotten thus far. I was able to make some cuts. It was fun (until I started having problems with X. More on that in the troubleshooting forum.
Still to do -
- * Fix issue with X travel
- Cut struts
- Replace temporary struts
- Clean up wiring including running braided sleeving
- * * Mount the power block for the Jackpot 3
- Find a design for a “control panel” featuring an emergency stop, on/off switch, vacuum on/off, lights on/off
- Install LED COB lights (one last off road adventure) using @DougJoseph clips
- Run vacuum hose
- Initial Calibrations
- Install and surface the spoilboard
- Using the * * threaded inserts and nylon bolts similar to those originally used on this table by @HyeBuilder This will hold the spoilboard but I need some additional stock holding options. I mostly used CA glue with tape on my Foxalien but I don’t see that as a good option when I am wanting to cut larger pieces.
- Switch from an AP connection to a STA connection.
- I have been messing around with Millmage. It is really easy and I am very familiar having used Lightburn with my laser but having my desktop hooked up to AP prevents me from having internet access and I need that to continue working on the computer when the job is being cut or while designing the jobs. Also, it doesn’t seem to have a soft reset. Perhaps it is one of the macro buttons but, if so, it is not real clear.
- Note - I went off-road and tried to switch this earlier this week but ended up so far off the Yellow Brick Road that I was not sure I could make it back. Gemini was helping me navigate and I almost had to reload the firmware. Fortunately it all started playing nice again.
- I have been messing around with Millmage. It is really easy and I am very familiar having used Lightburn with my laser but having my desktop hooked up to AP prevents me from having internet access and I need that to continue working on the computer when the job is being cut or while designing the jobs. Also, it doesn’t seem to have a soft reset. Perhaps it is one of the macro buttons but, if so, it is not real clear.
- Tray to hold bits and router wrenches, etc.
Future enhancements -
- Router controller (* power relay) or buy the Sienci router (not necessary but seems really cool).
- Plasma cutter attachment (to be used on a different table)
- New table (perhaps incorporating my job site table saw and router table) - size to be determined based on elimination of other tables in the shop