Hello again everyone! After much anticipation, I am finally upgrading my Lowrider 3 to the new Lowrider 4. I only finished my LR3 a few months ago, and have used it extensively. I made a build log about it, seen here. I, like a lot of people here on the forums, was checking everyday to see when the LR4 would be released.
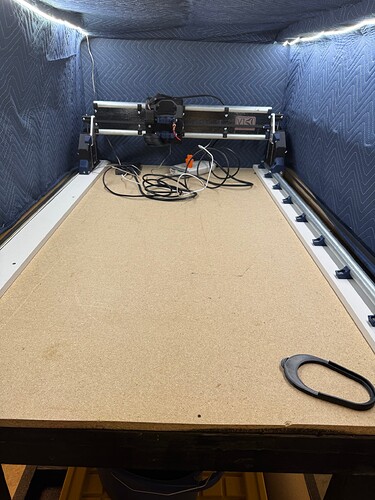
The size I am choosing for my LR4 is a cutting area of 2ft x 4ft, as that is a commonly available sheet good at hardware stores. At one point, my LR3 had nearly full sheeting cutting area, and I found I never actually used the full size, so a smaller build makes more sense for my work area and needs.
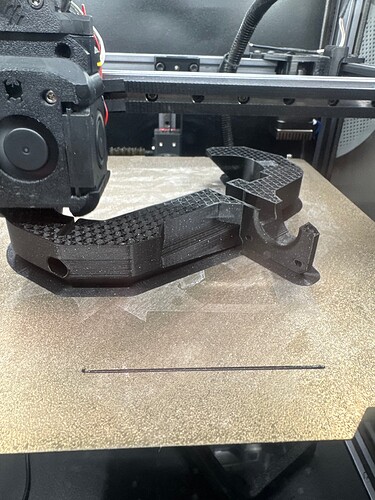
I began printing all of my parts on my Voron Trident, using Polymaker PLA Pro in Metallic Black and Metallic Blue, and Bambu Lab PLA black sparkle. One regret I have with my LR3 is that I printed all the parts with whatever filament I had on hand, and while it was still functional, I think a build looks much better with a nice color scheme.
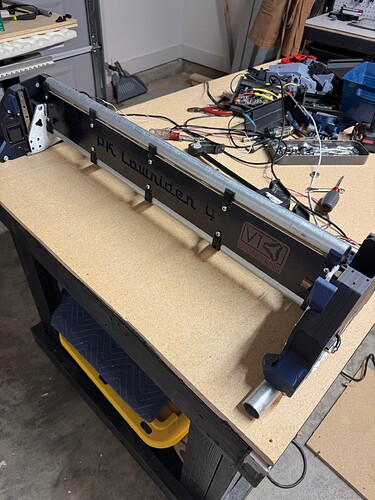
I cut out the strut plates on my LR3 using the strut generator, which is super nice to have. I also made a few modifications by importing it into fusion 360 before milling.
I gave it a nice paintjob, and of course had to add a V1 sticker.
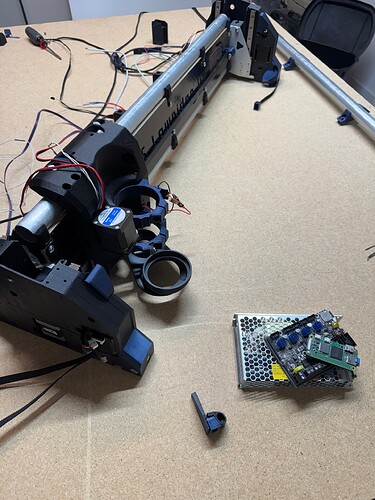
Assembly was fairly easy, and I think the most notable difference between building a LR3 vs. a LR4 is the attention to detail. No knocking the LR3, but with every step in building the LR4, there is a small little something that really shows everything was thought of; a place for the screwdriver to fit through to reach a bolt, cable management holes to route wiring, or a little cutout to make putting a part in easier.
Up to this point, I have gotten all of the hardware built, at least the best I can. I did make several (educated) guesses when building the table and placing the far y rail, and I am sure once the detailed instructions are released I will have to go back and make a few changes.
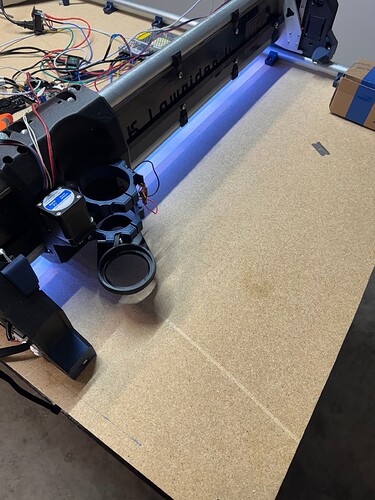
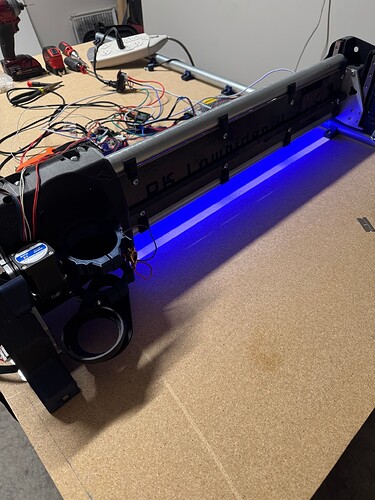
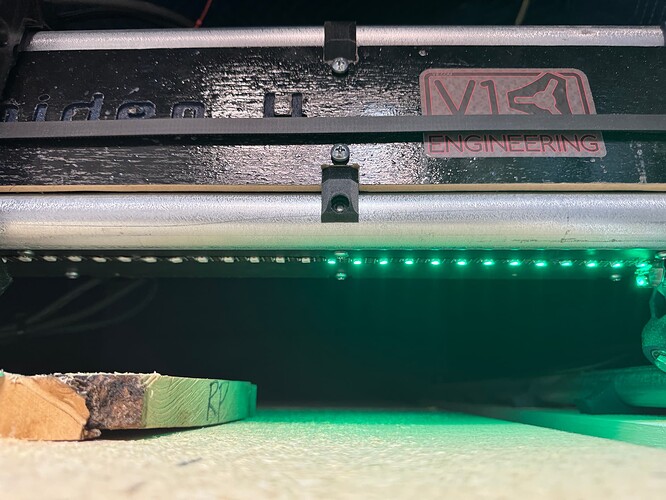
Currently, I am waiting on new leadscrews to show up to get the unit actually moving. During my wiring checks, I also added some neopixel leds to the underside of the gantry.
It gives a nice glow that bounces off the table and spills onto the worksurface.
Because I am using Klipper for my firmware, I plan on using a macro that will make the leds act as a progress bar to show how complete a job is. So as the job progresses, more and more leds will become lit up, which is another reason I placed the leds in a horizontal fashion.
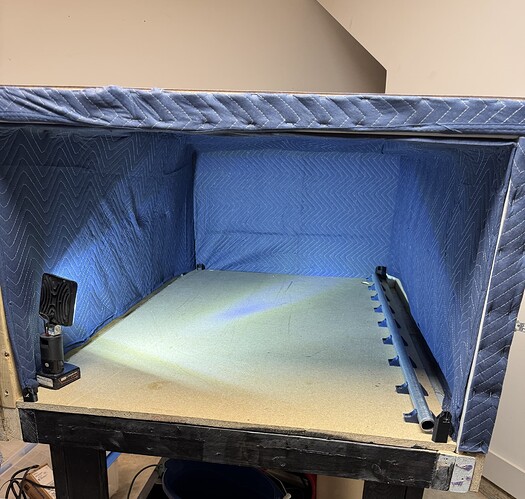
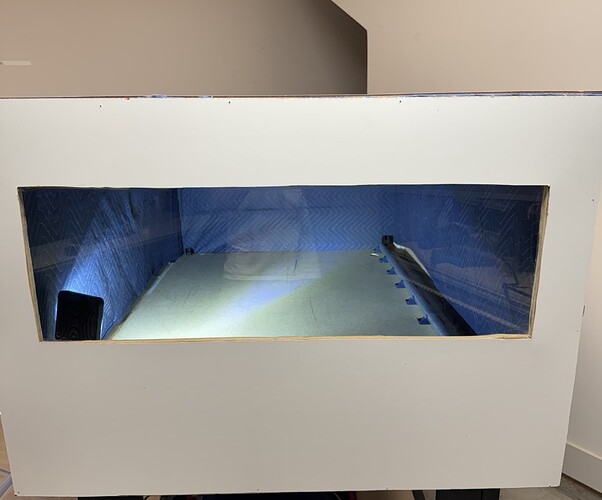
Like my LR3, I plan to build an enclosure for my LR4, with the main goal being sound suppression. I have not seen too many other enclosed builds, so if anyone has any suggestions, comments, or pictures, I am always open to learn more.
I am sure more updates will follow, and for now I can’t wait to see everyone else post their builds!
