That’s so great to hear!
Please if you can, take a moment to post those cools pics as a “make” on Printables, and leave a good rating for the listing!
That’s so great to hear!
Please if you can, take a moment to post those cools pics as a “make” on Printables, and leave a good rating for the listing!
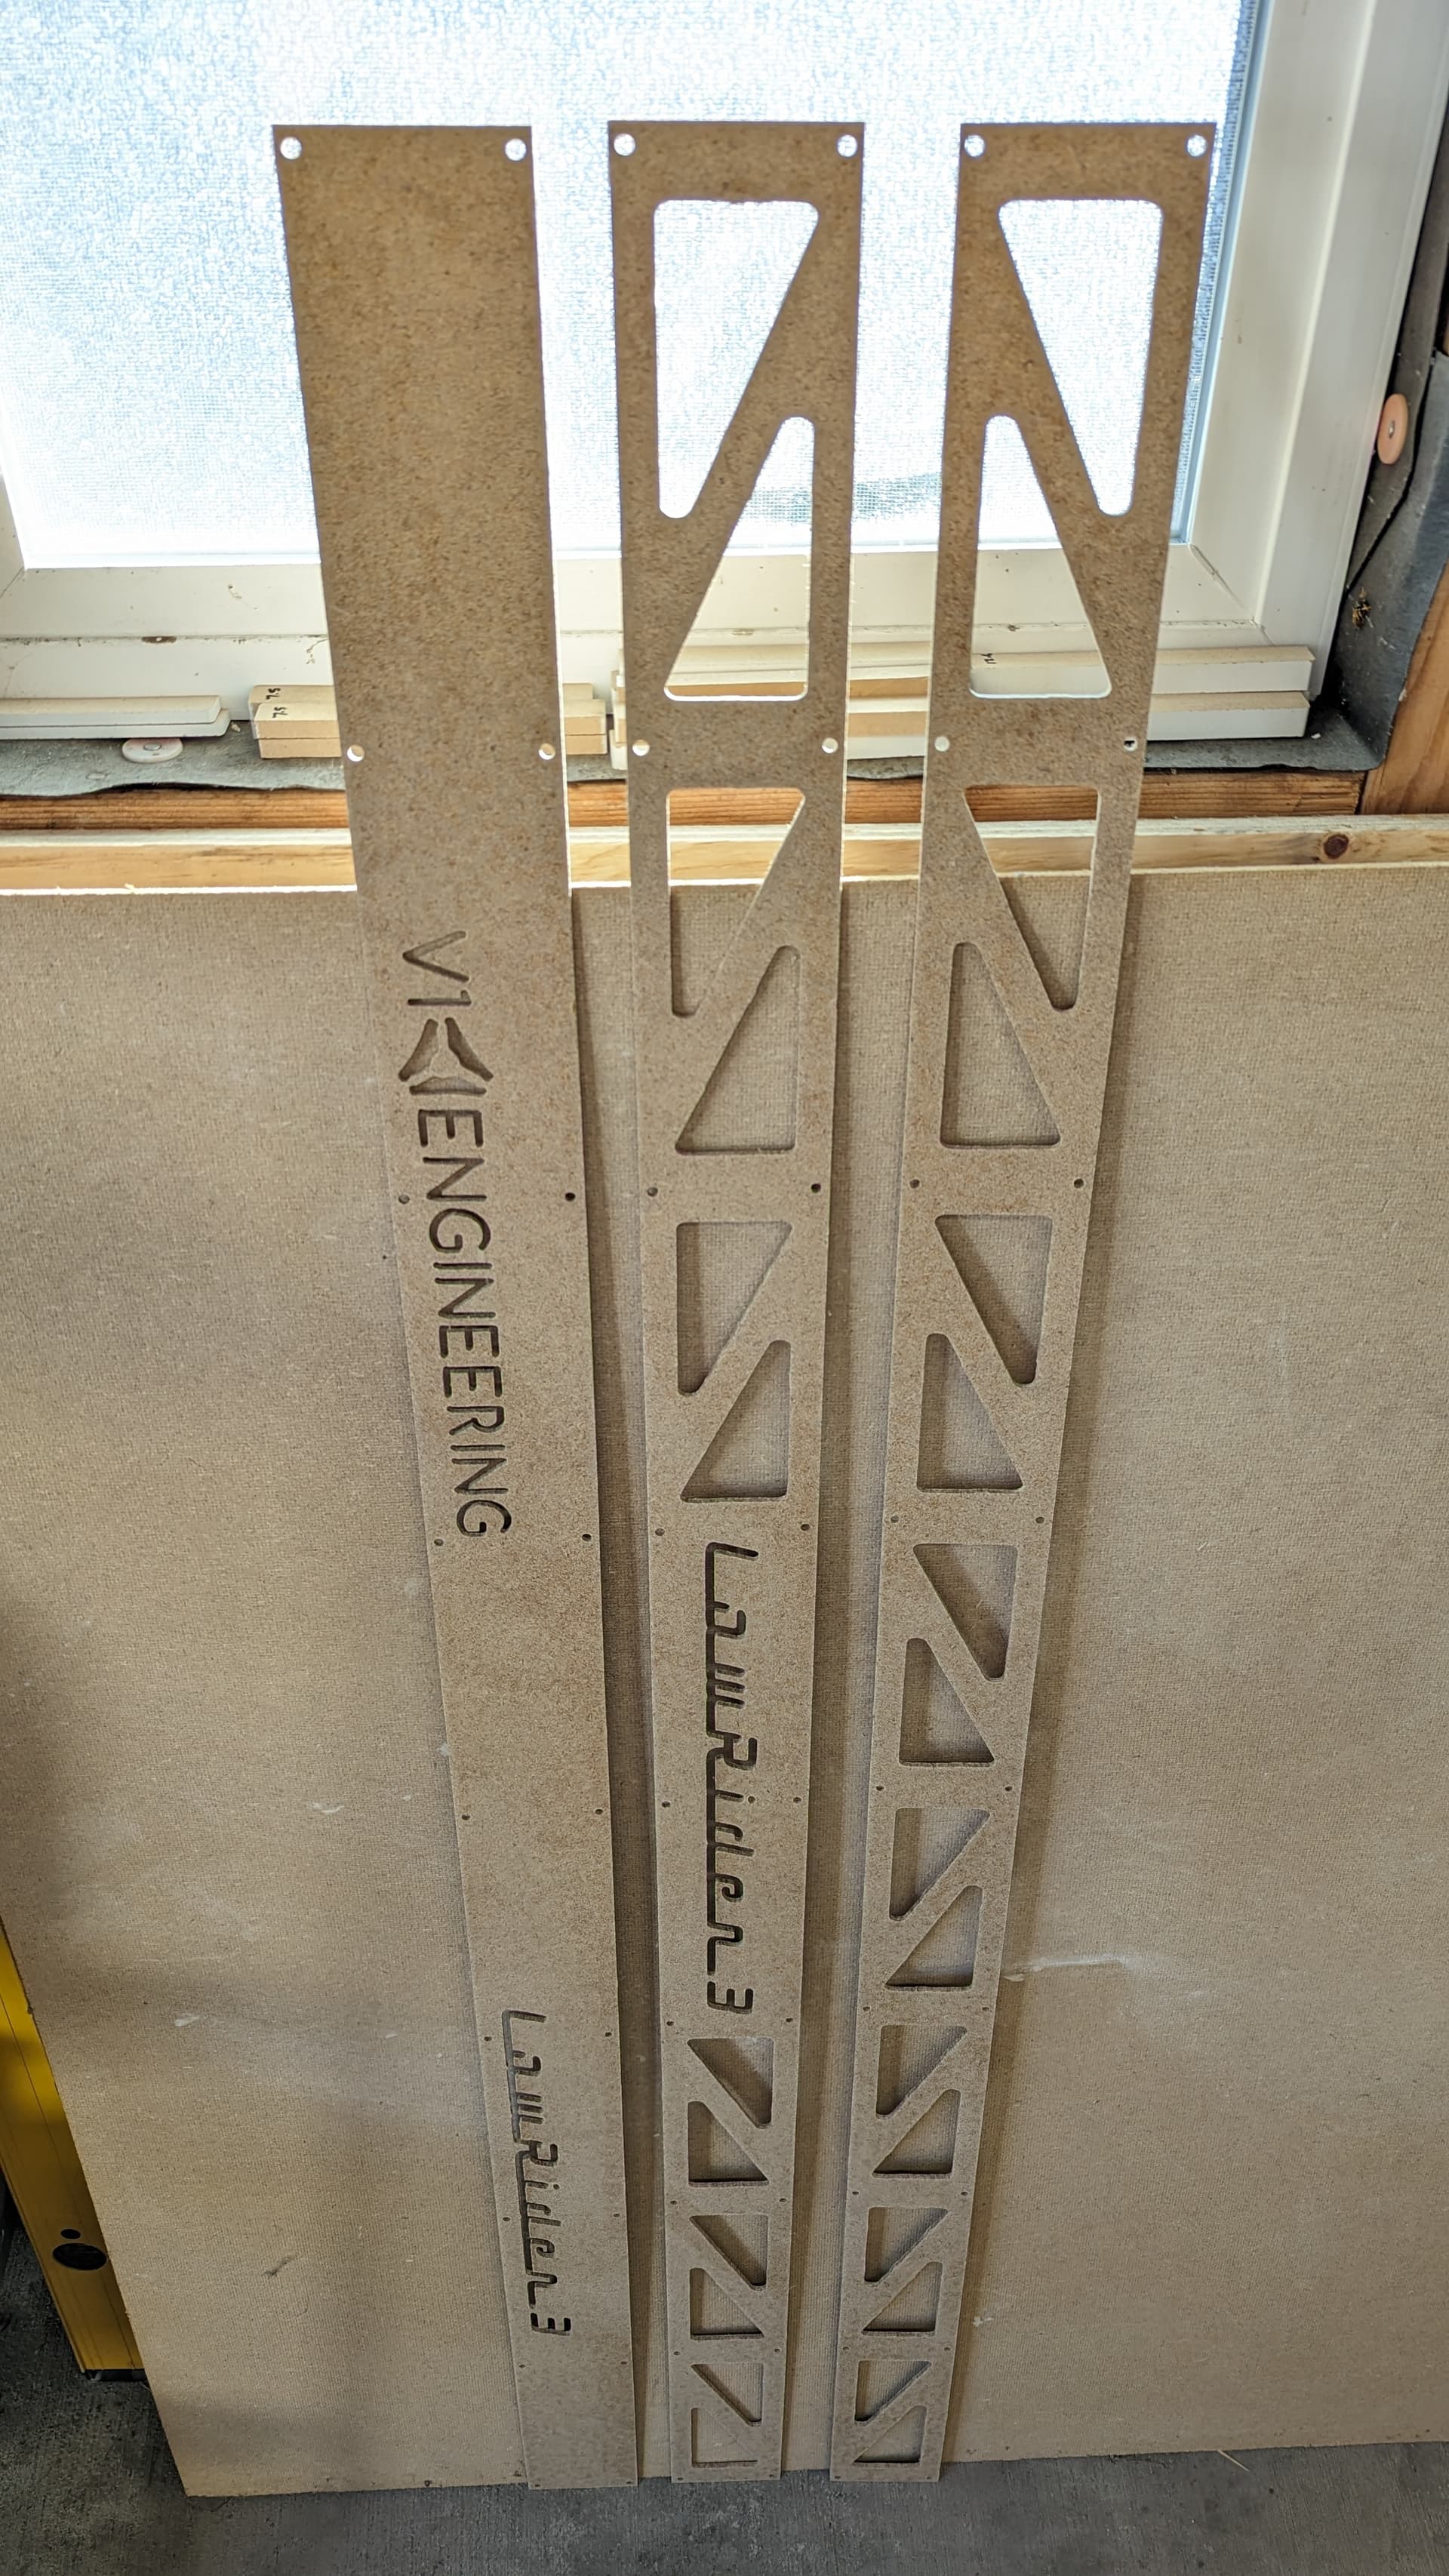
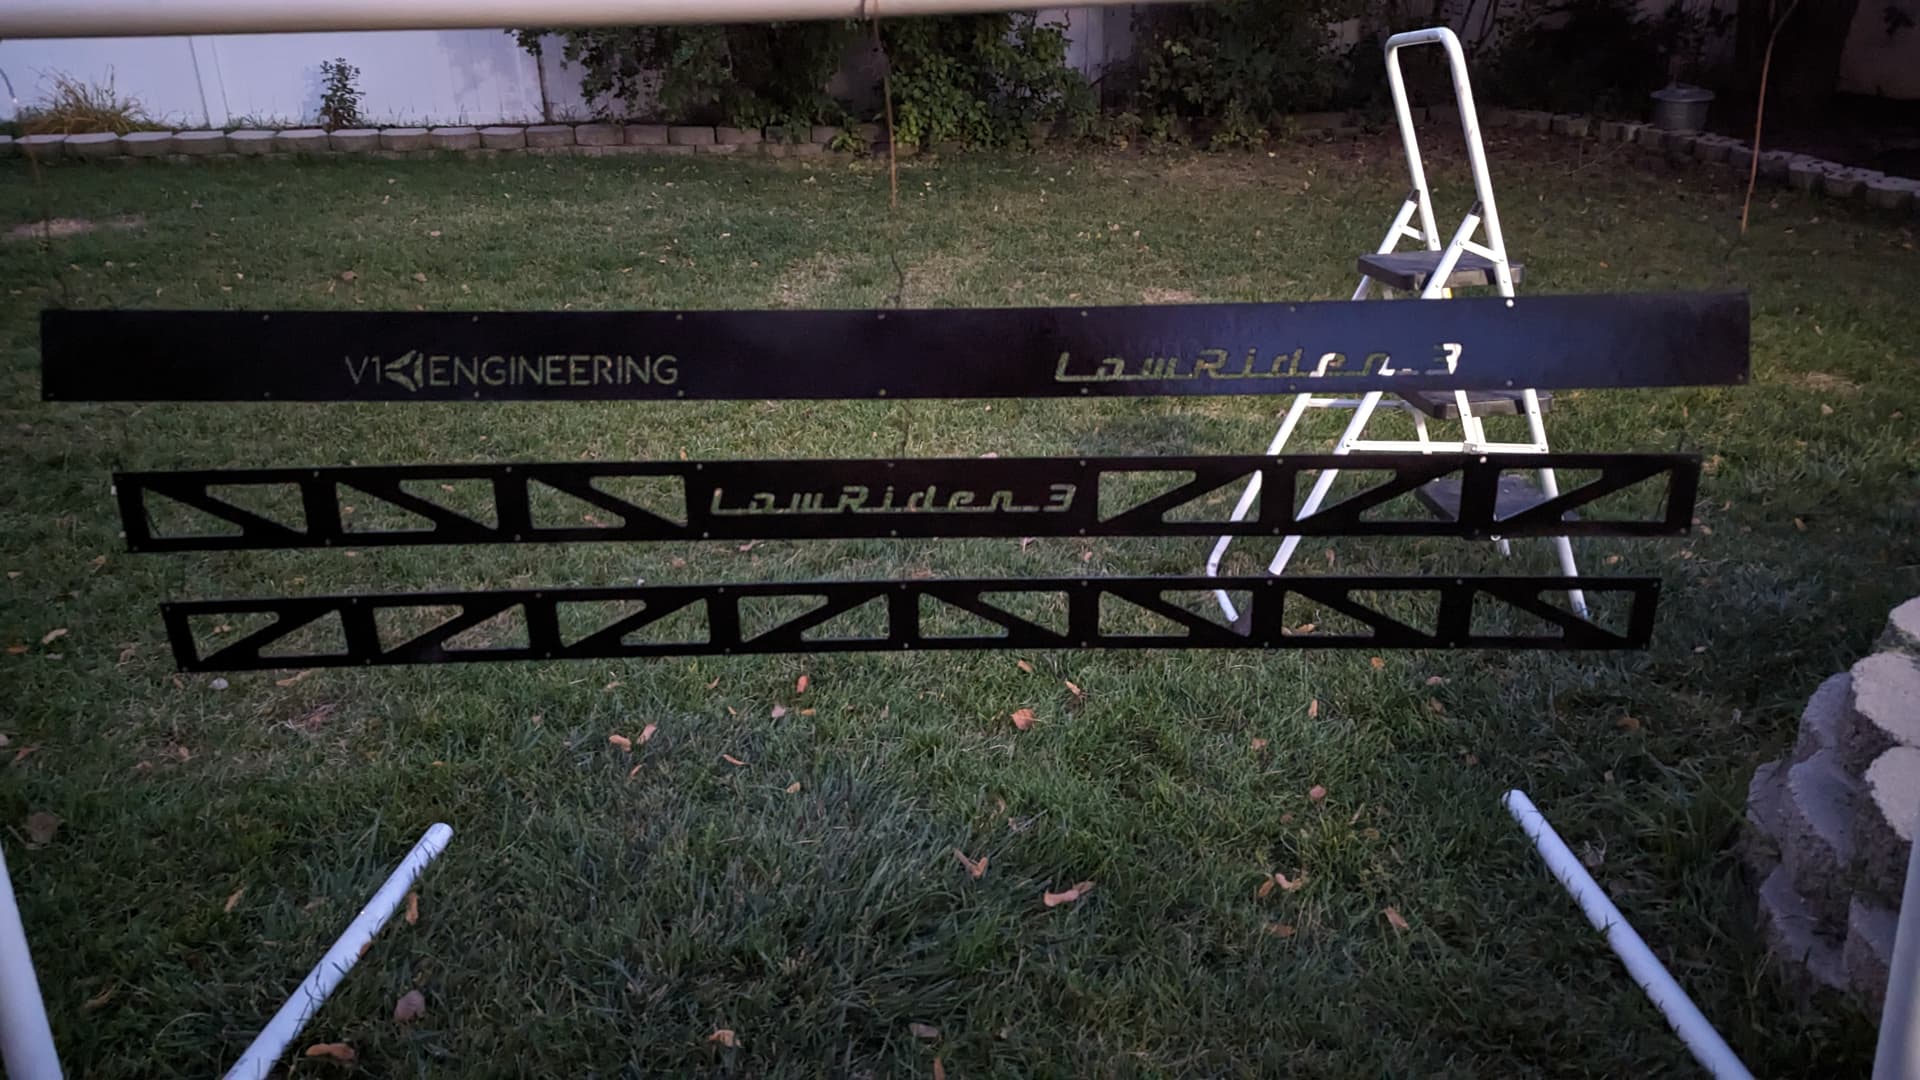
Struts are cut!
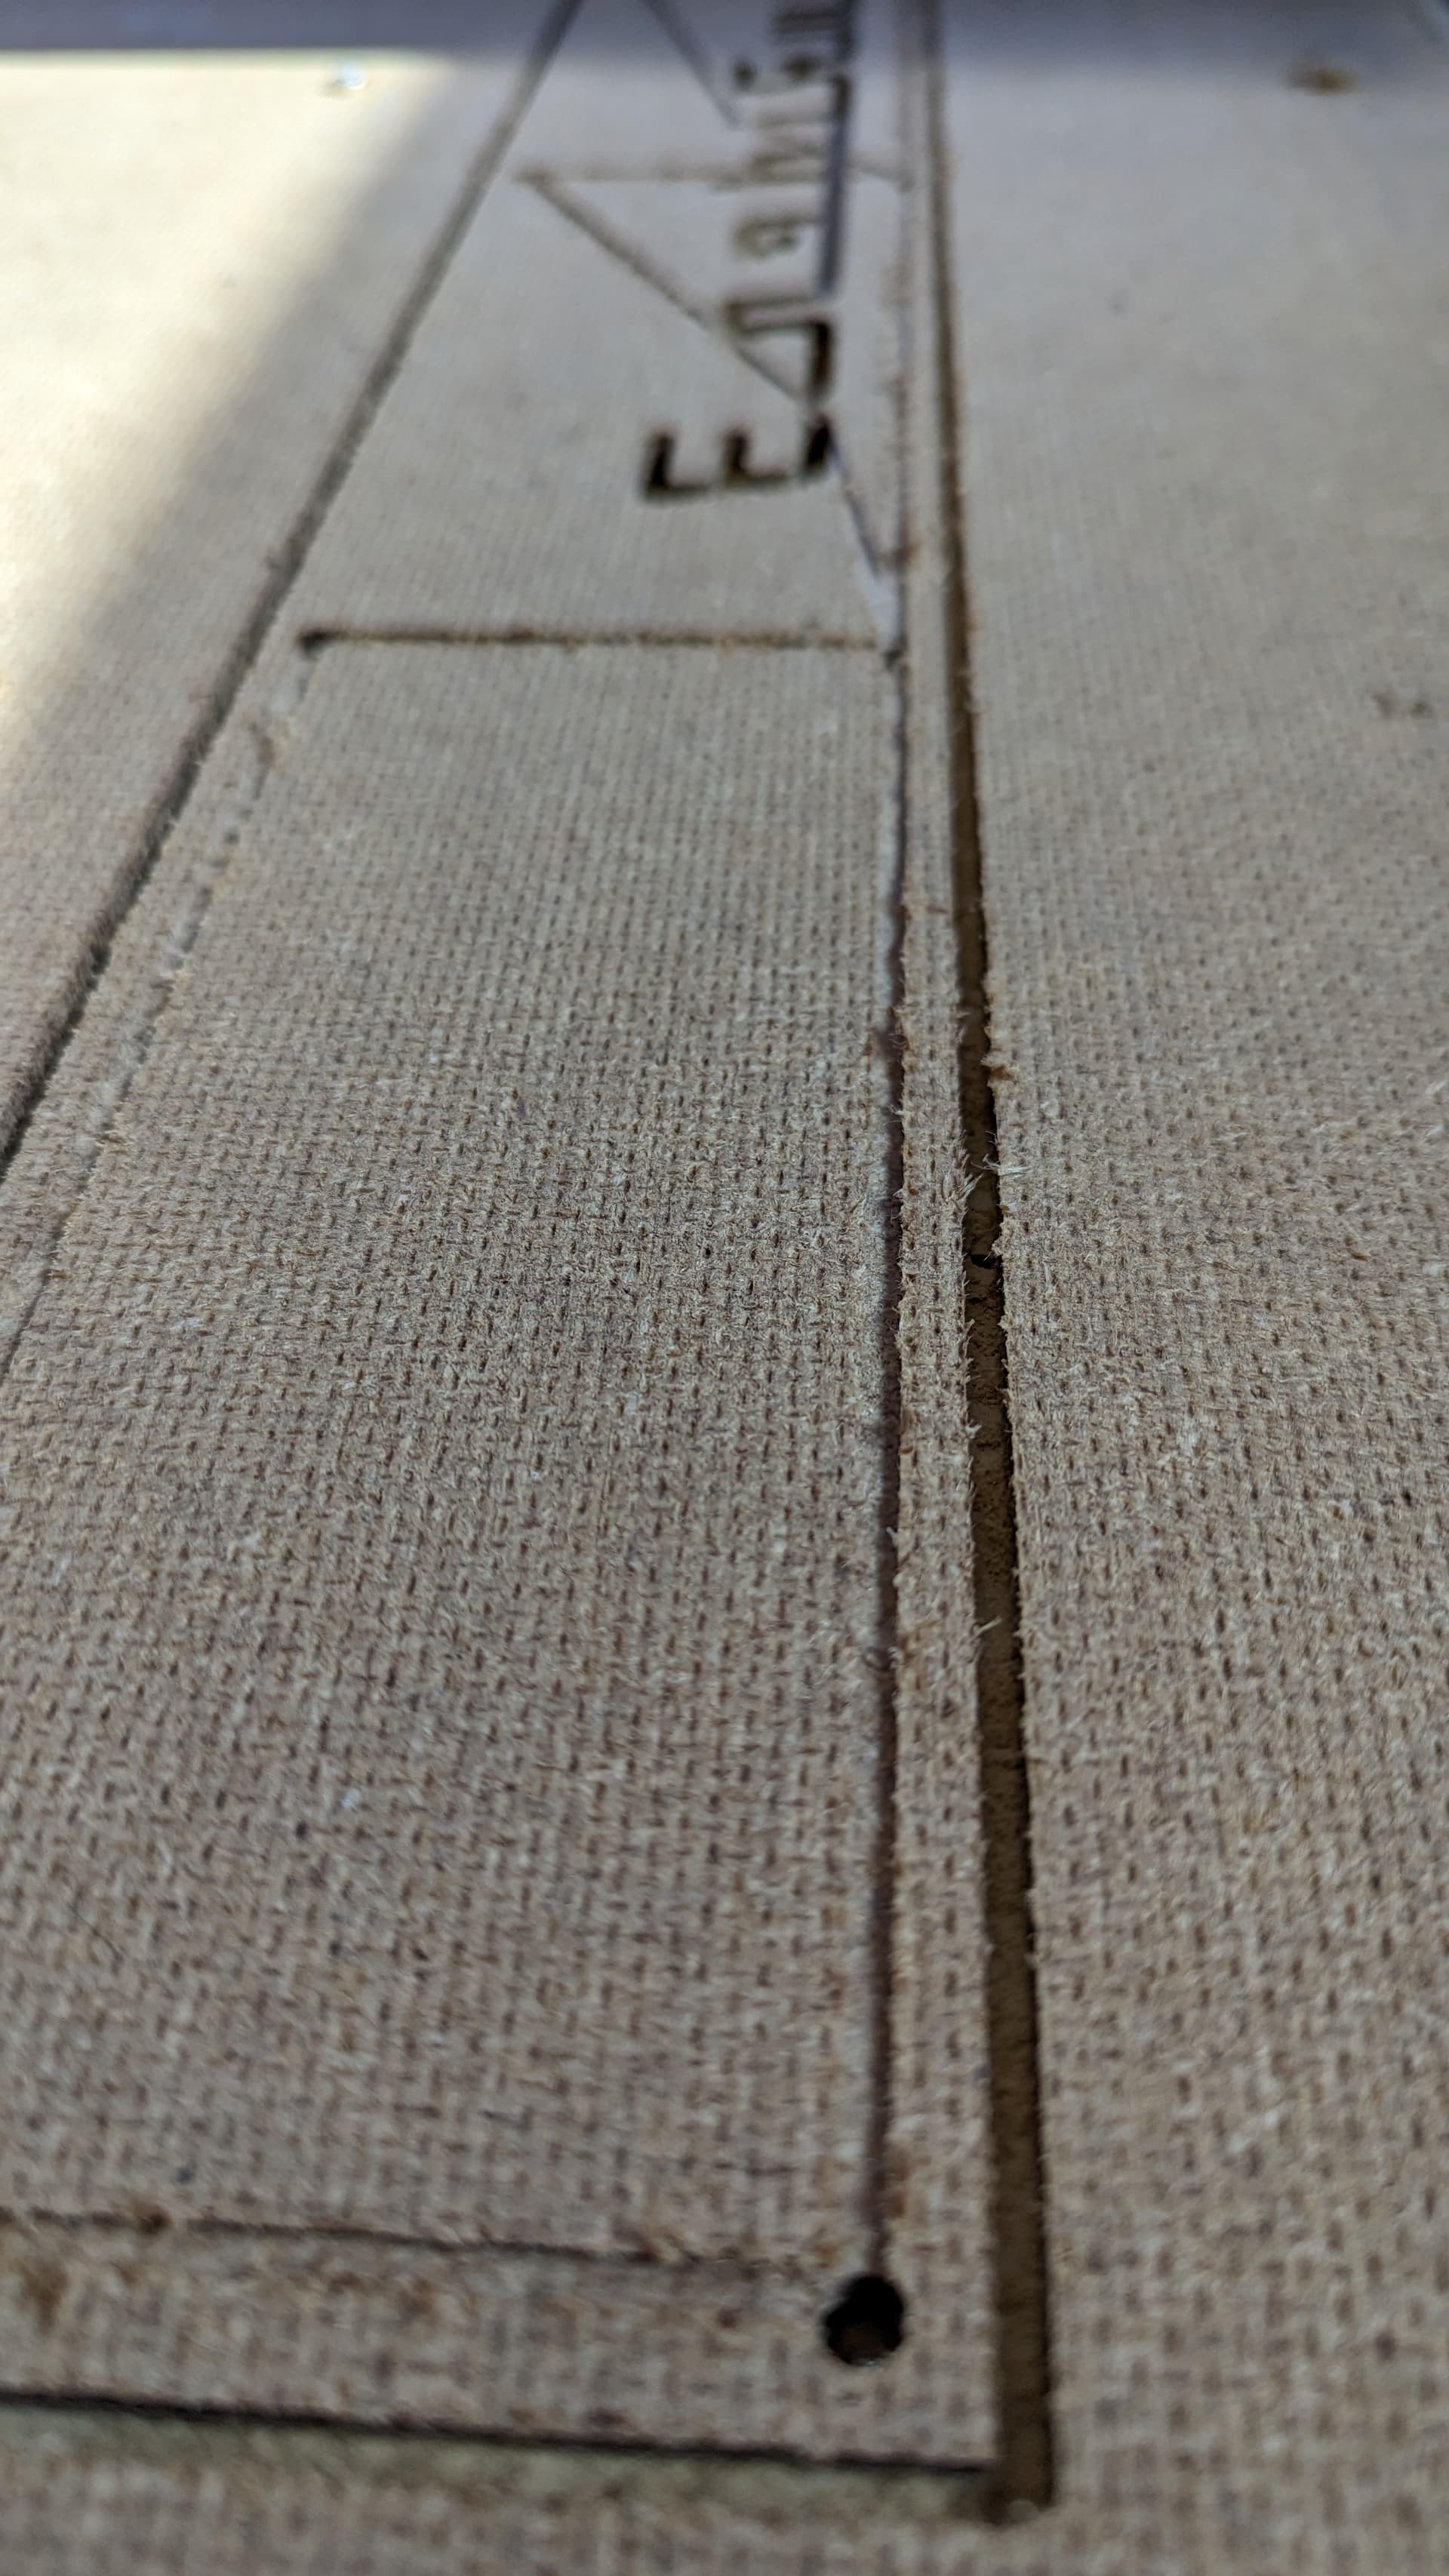
Lots of learning from this process, which is always a good thing, and I only had to re-cut one (the strut from the previous post snapped in half because of the scoring on the back side).
Looking forward to painting the struts (black). Not looking forward to taking the whole machine apart for final assembly. 
(Front, rear, bottom, in that order. Props to @DougJoseph whose design I used/modified!)
Woo hoo!
Regarding putting things together, pay close attention to the order in which you put the struts on. If you are using the standard braces that have captured nuts on only one side, that side is the one that the strut should go on last. That allows you to reach in to hold the nuts on the other two struts — for ease of assembly.
I’m not 100% certain that I’m remembering correctly, but I think that you can add the struts without disassembling everything — with the exception of disconnecting your belts, so that you can flip the gantry over to get at the bottom for attaching that strut.
Wellll… that would be the case, except that at the time of initial assembly, I installed 8 braces, but the width of my gantry requires 9. And of course, I ran the wires from the X max electronics through the already-installed braces. Oops!
Ah, gotcha. Yep you have some disassembly ahead.
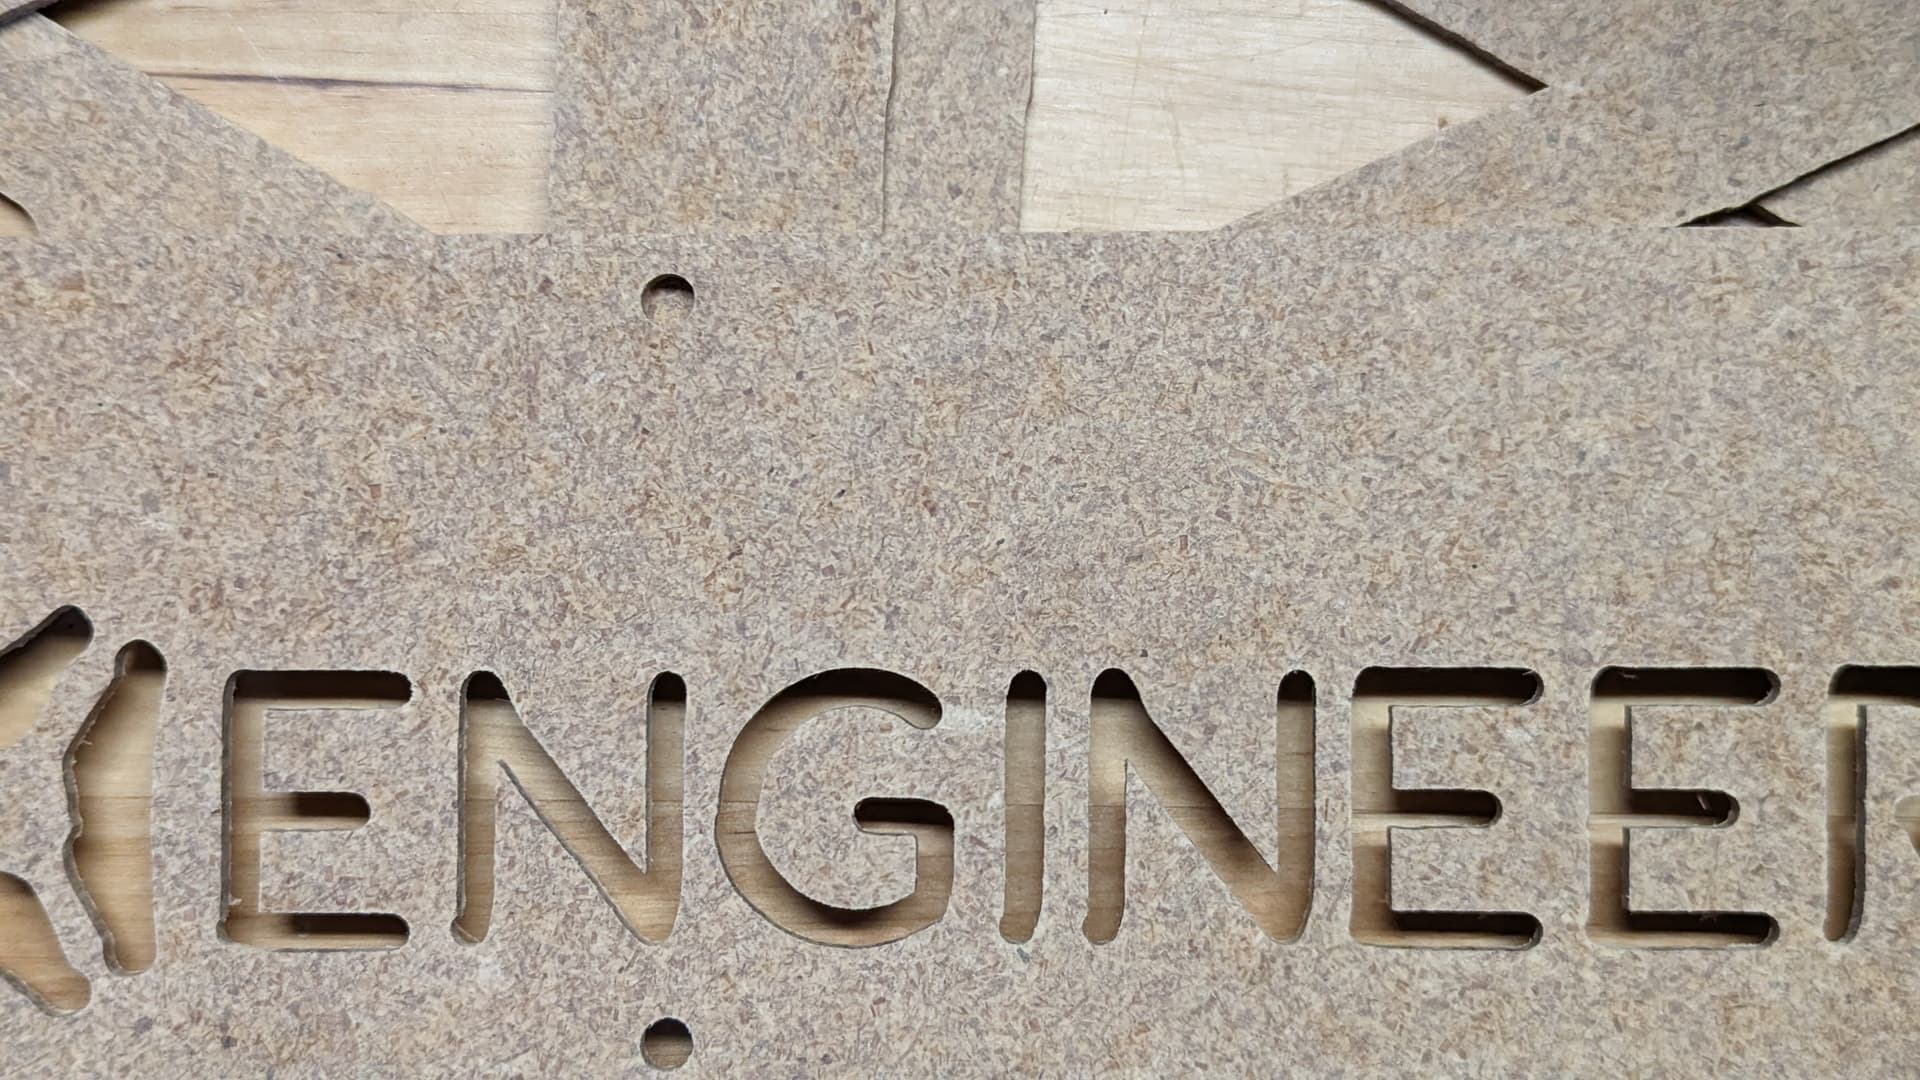
On closer inspection, some of the lettering is misshapen. I suspect this is from the bit dragging in the MDF spoil board. I did this cut on one pass, and depth was probably a little deeper than it needed to be. If I were to redo this, would I be better off reducing the total cutting depth, increasing RPMs, or both, or something else?
That was probably a pretty ambitious cut to make without struts. This is what I meant when I said you might not really be saving much time if you try to go full depth, instead of just taking the time hit on the first cut doing 1mm DOC or whatever.
If I were you, I would go ahead and put those struts on, then go about making new ones with a rigid machine. Once you fix all of your braces, etc. the struts are not that hard to replace.
With the 1/8" hardboard, I was able to move my core all the way to the side and just slide it in behind it.
I’ve always wondered whether you can’t just take off al the screws and then slide the strut under the core. There should be room and there is a little flex in the HDF.
/edit:
And if I had just read what Mike said I would not have needed to ask that question… -_-
One screw to take off the X belt, two bolts to take off the lower core bearings and the core comes off. The X belts are quick release. IT really should only take a few minutes to get full access to the entire beam, and it makes things super easy.
Every time I’ve had to take all 4 of the outside bearings off to get mine off. (Both machines).
If you take the bearings and bolts out it should literally just be hanging there.
Oh man…

so why have I been taking off an entire end assembly, balancing it all and having to check realignment every time??
I’ve done the same thing three times now… Maybe we are just stupid. 
@vicious1 This belongs in the docs… Write it down on your list, next to stretching the couplers, please… 
Tell me about stretching the couplers! (I’ve read that somewhere!)  Whatever it is, I suspect I’ve done it.
Something is wonky, because my machine is cutting twice as deep as I expect it to. I think I set it up for 2mm passes with a total depth of 3.5mm, but it ends up cutting down to 7mm instead. Probably user error; I’ve posted details here for specific troubleshooting and “hey knucklehead, you did all these things wrong” feedback.
Nice
lol… I was going to tell you the other day to make sure you don’t paint them…
It will make you less likely to want to replace them