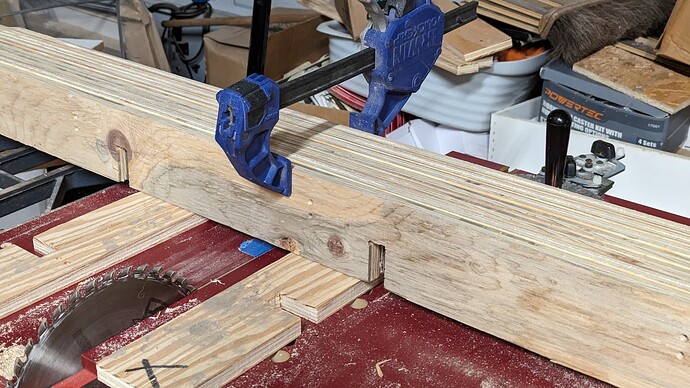
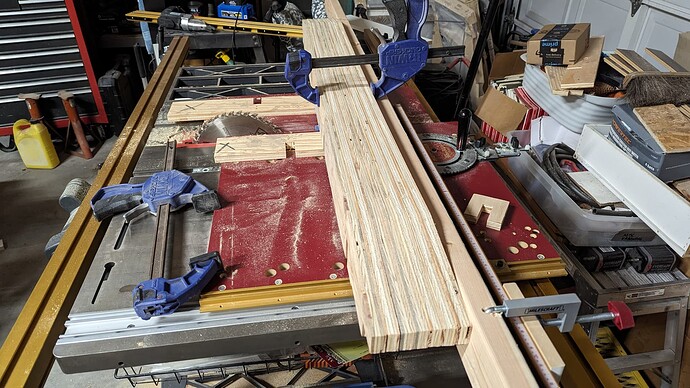
I don’t have one of those, sadly. But I have a pretty solid plan for using the table saw with a crosscut sled (and an extra pair of hands). Testing tonight.
You can definitely do it that way. Provided you have enough room off to the sides!
It looked something like this:
… and worked quite well! (Slots aren’t in line with the blade because I forgot to take a pic when they were and it was cold and I was tired and blah blah blah ![]() )
)
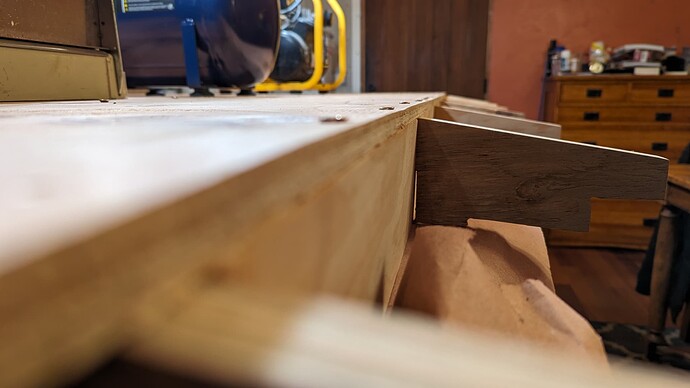
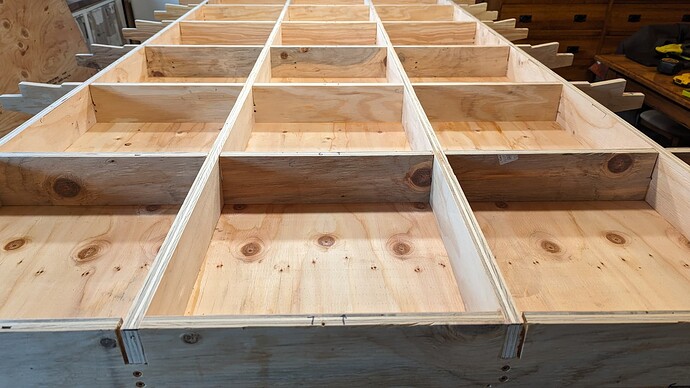
Next up is cleaning up all the spars and ribs, and in particular, cleaning up the slots so they are the right depth (they are a little too shallow right now). I’ll be getting the 1/2" MDF for the top and bottom skins at some point over the holiday weekend, and perhaps assembly will happen Saturday or Sunday!
Just saw this the other day in a YT video, but to help get all the slots to the right depth, you can use the same setup you have there (all the spars/ribs clamped together), but flipped over and use a straight cut bit with a bearing in your router. The bearing will make sure you don’t open up the slots side to side, and the straight cut bit should have a flat end to it to help square out the slot to the correct depth.
Forgive me for asking the stupid question, but why don’t you simply cut the slots to the correct width/depth using the LR3 that you used to cut slots of the incorrect width/depth?
I suppose I could… but that would introduce a bigger margin of error to do that by hand. Given that the machine somehow didn’t cut the slots properly in the first place, even though all the dimensions were correct in Estlcam and the outside dimensions of the cut pieces are correct, I don’t really have faith that having it try to redo the slots in an automatic fashion would work out. ![]()
Ultimately, I’m tired of fighting plywood with the LR3, and I just want to get the goshdarn table built already.
That answers my question, but,…
That seems backwards. The LR3 is supposed to be able to cut or engrave within fractions of a mm, certainly more accurate than a table saw , one would think .
I understand the frustration and desire to just get the damn thing finished, but there must be something in your CAM or in the LR3 that is making the slots the wrong side.
35 posts were split to a new topic: Table Ideas for those just getting started
Several companies provide 1/8" bits with flute lengths that can handle 3/4" material. I have been using both an upcut and a downcut version from Amana Tools for years. I recently started testing an extended length 1/8" bit from IDC Woodworking.
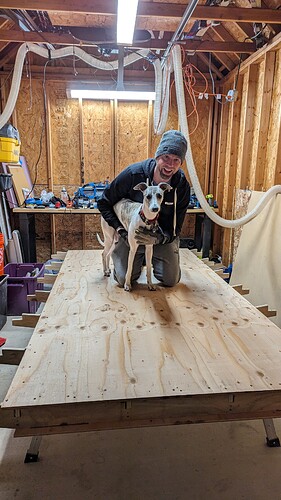
Final stretch!
WOOT! WOOT!
That’s one way to do a load test ![]()
Looks awesome! After seeing your build I can’t wait to see what you build with it!
Clearly still some work to do - gotta get the superstrut cut and installed, as well as the spoilboard. Then I can start tweaking and tuning; I need to look at my floating dust shoe setup, as it wasn’t behaving properly for me, and I want to do some accuracy tests before I cut anything else. Progress is slow in part because it’s so dang cold after work and the workshop is not heated or insulated right now…
After all that gets done, I already have a project in mind, so I’ll slap a sheet of foamular down for some test cuts!
Perhaps remember @steved 's implementation of a “drop table” for CNC cutting on vertically mounted items. He used a couple of vice screws and some extra ribs glued together, and by leaving his metal struts longer than the minimum, he has ability to clamp things to the front of his table for cutting. I really wish I had arranged that, but I did not.
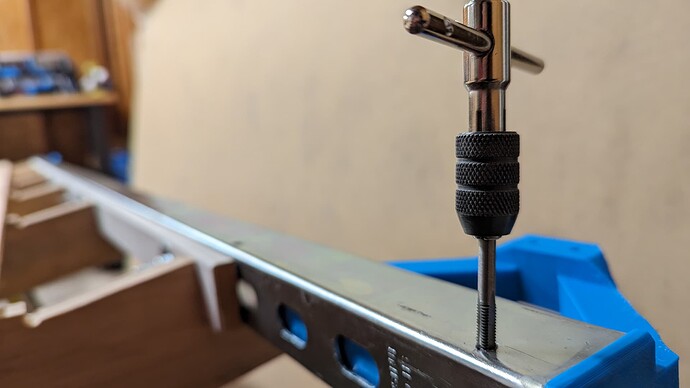
Superstruts are mounted and all the rail block holes have been drilled and tapped. That was all the pup and I could take of the cold, so mounting the rail will have to wait until tomorrow.
Then I need to wrap up the gantry. There are a few more electronics tasks to finish, and I want to convert the non-rail side to @DougJoseph’s hidden belt configuration.
Congrats on more progress!
