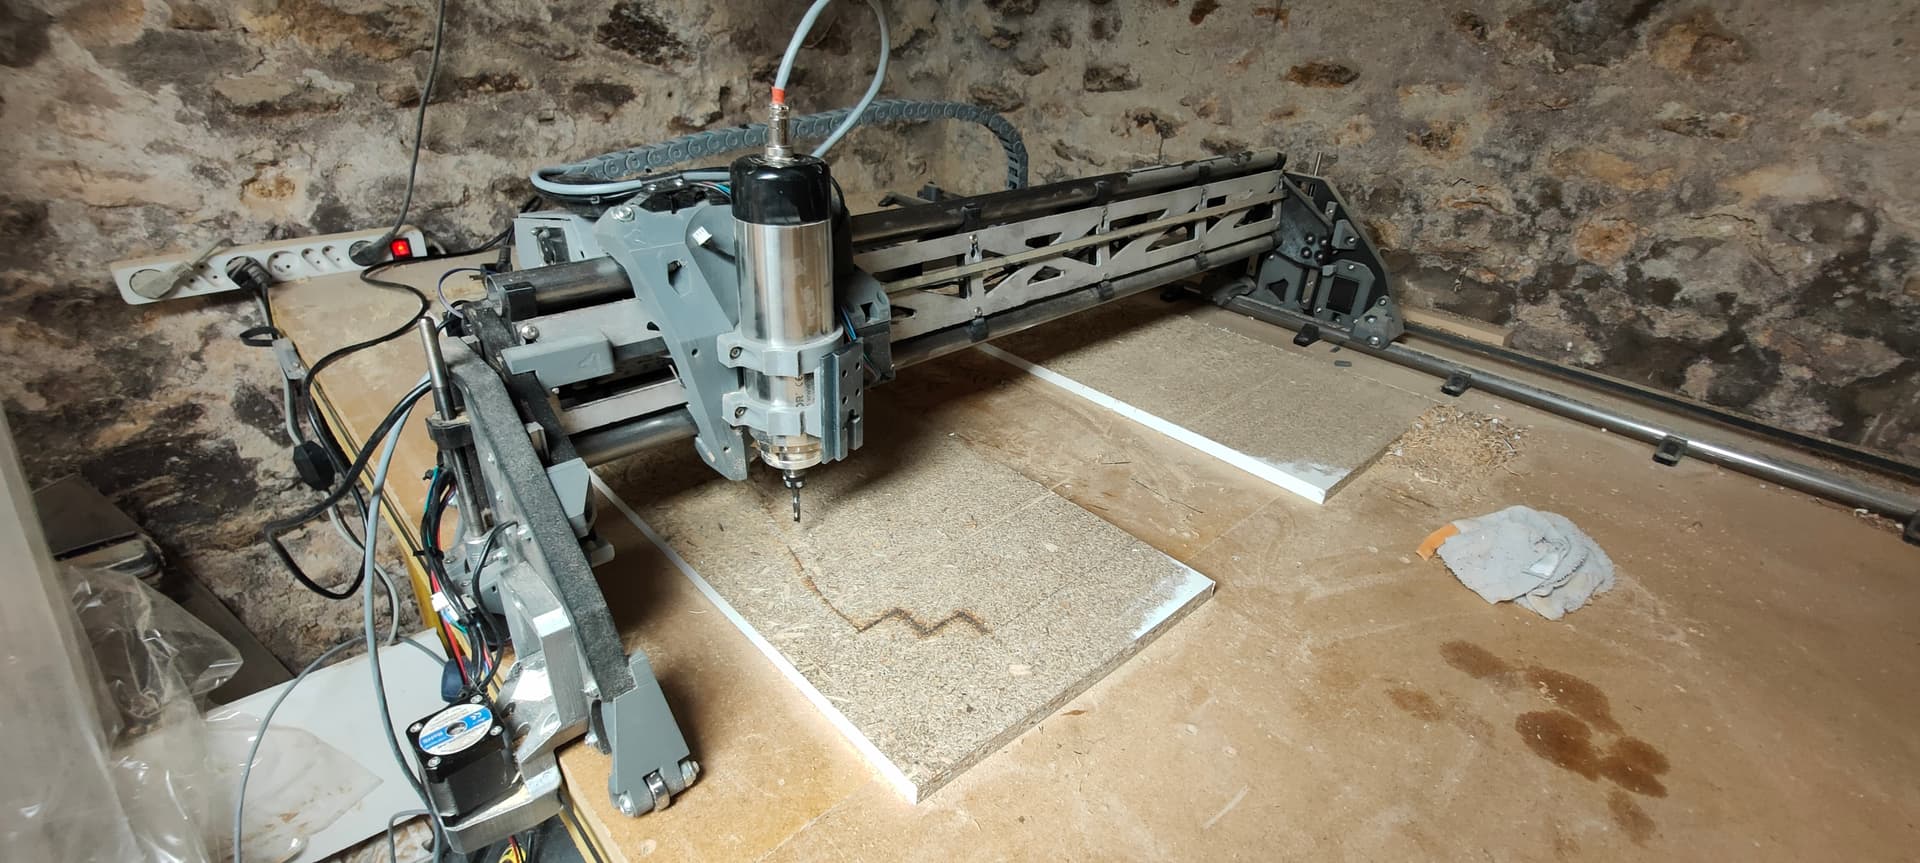
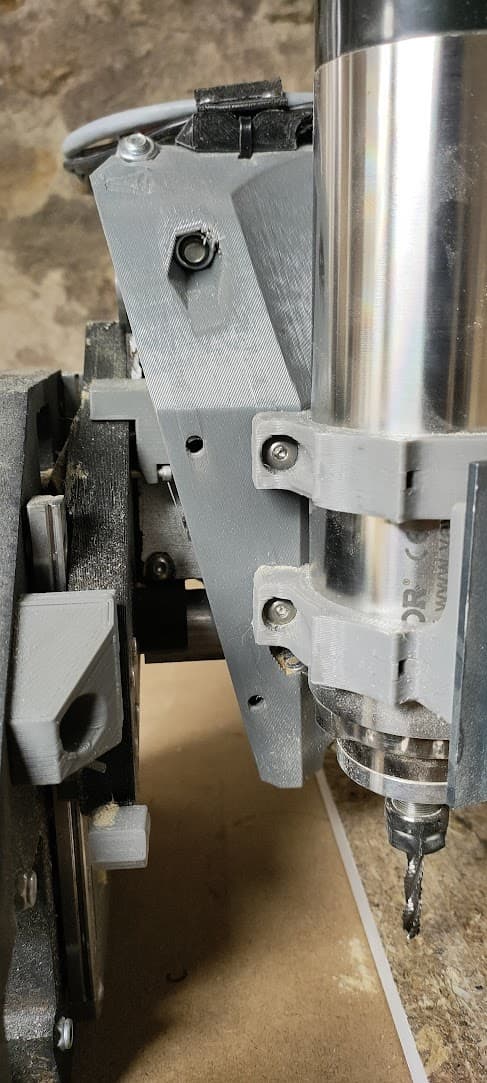
I wasn’t quite convinced by the 1.5kw until just a few days ago
So far, I’ve had pretty similar resuklts with the makita clone I previously had: no major improvement in cut speed or quality, the only real benefit was that the spindle is a lot quieter
Then I switched from my usual “1$ a piece” 1/16" bits to a “not so cheap” 20$ a piece 6mm roughing mill
With this bit, the spindle really started to shine, no bogging down even when removing a lot of material
I’m just starting pushing it right now, but 2mm DOC at 1500mm/min in hardwood (Oak) is fine
3mm DOC at 2000mm/min in hdf went perfectly well too
Fabian, what chain did you print? Is that the AR cable chain that Philipp posted in his build thread?
What size chain is that?
I have printed a few of those links a few days ago, but the clips don’t really stay on. I used 0.6mm nozzle so maybe that is what caused it.
Just trying to make sure before a start changing settings or the nozzle.
With regard to the chain length, The way I determined my length was to move the X (Core) to the max then add links as needed to make the curve to the core. That lets you get to the far end without having the chain hang over the side.
Another technique is to move the X to home and then the curve should be a little beyond the mid-point of the gantry.
In the current state, and in order to avoid re-routing all cables, I think I’ll just pull the tail end of the chain until I’m satisfied with the curve at max X as you said, and then remove links as needed
I may have to re-route a wire for the probe though
EDIT: actually, I don’t think I can remove any… This is X max
Yeah I feel your pain the whole Christmas thing is really getting in my way too!! I spent all yesterday either working on house renovation designs for one of my kids or cuddling their kids!
The population of our house will vary between 2 and 14 for the next ten days or so, and when it’s down to 2 it’s mostly about getting ready for the next lot!
Just as well we love 'em!
Now back to the question in hand - OR you could just chase out the stone work to give clearance!
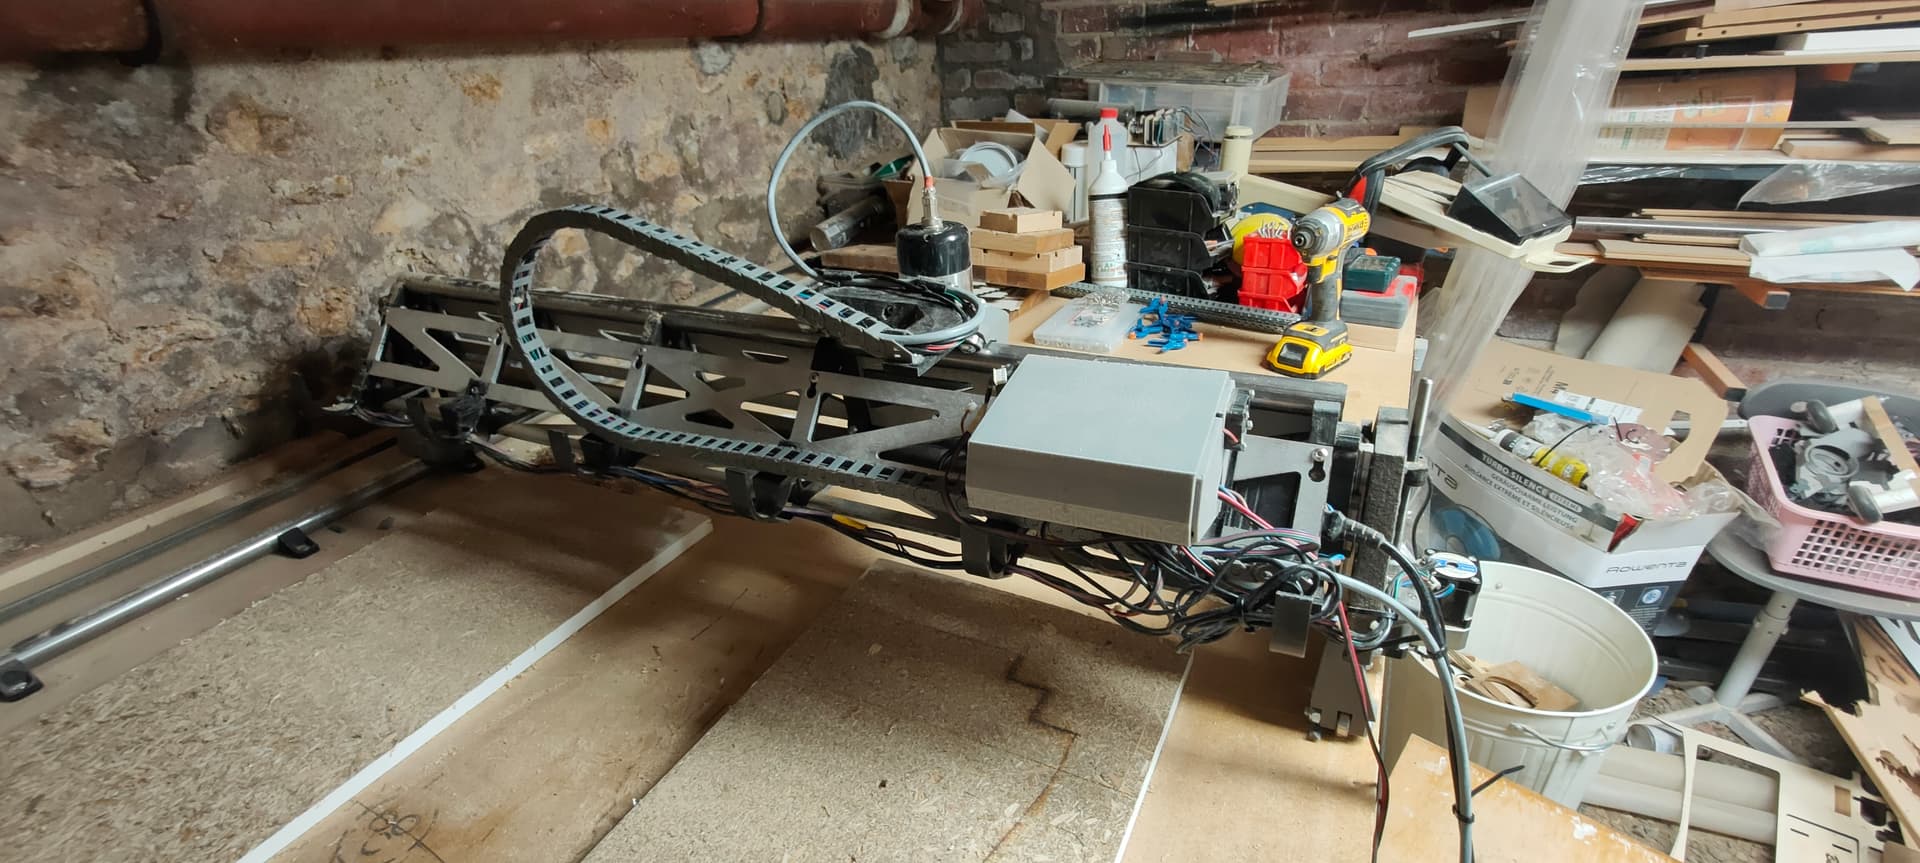
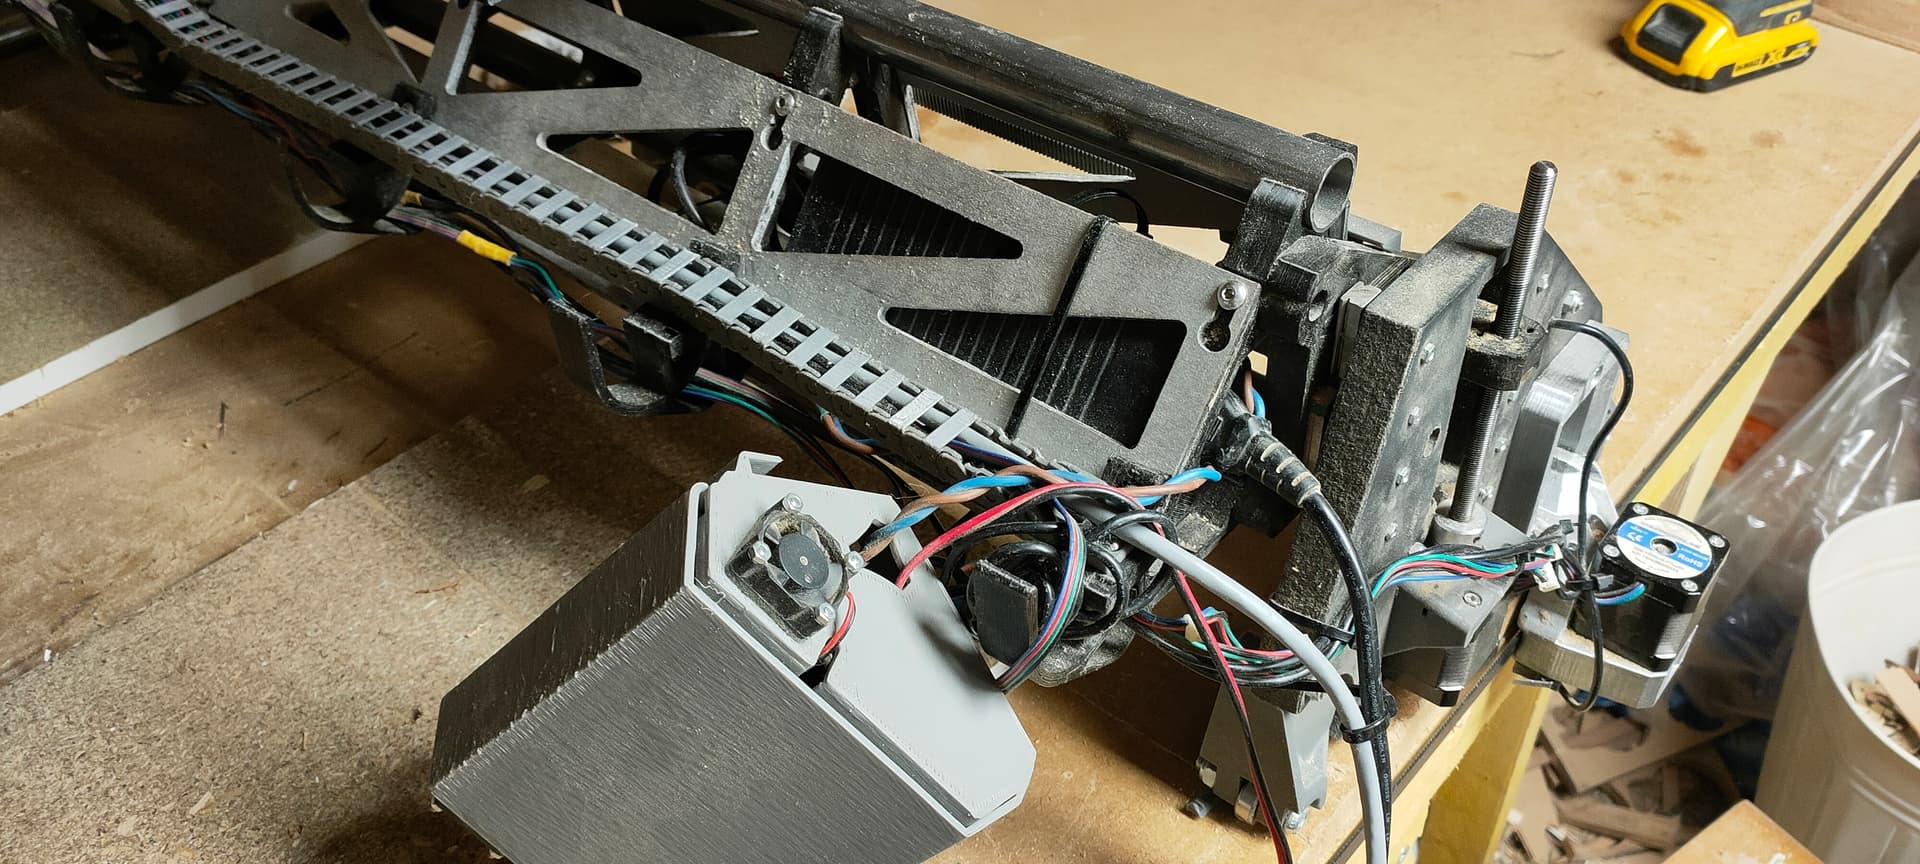
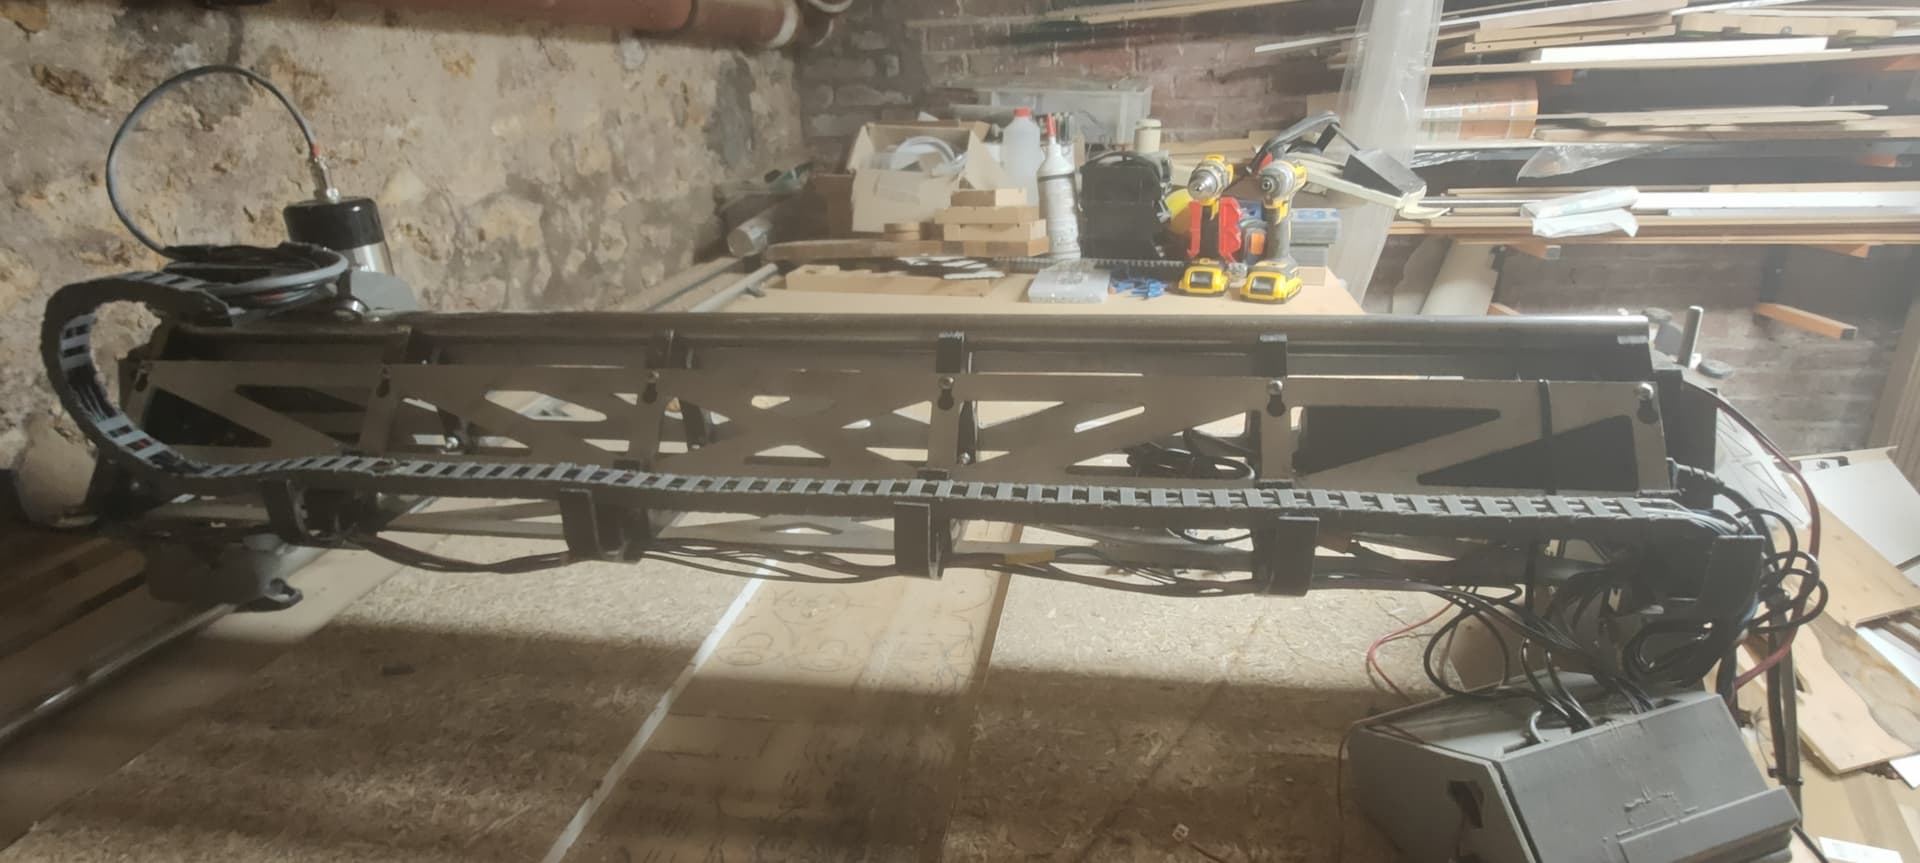
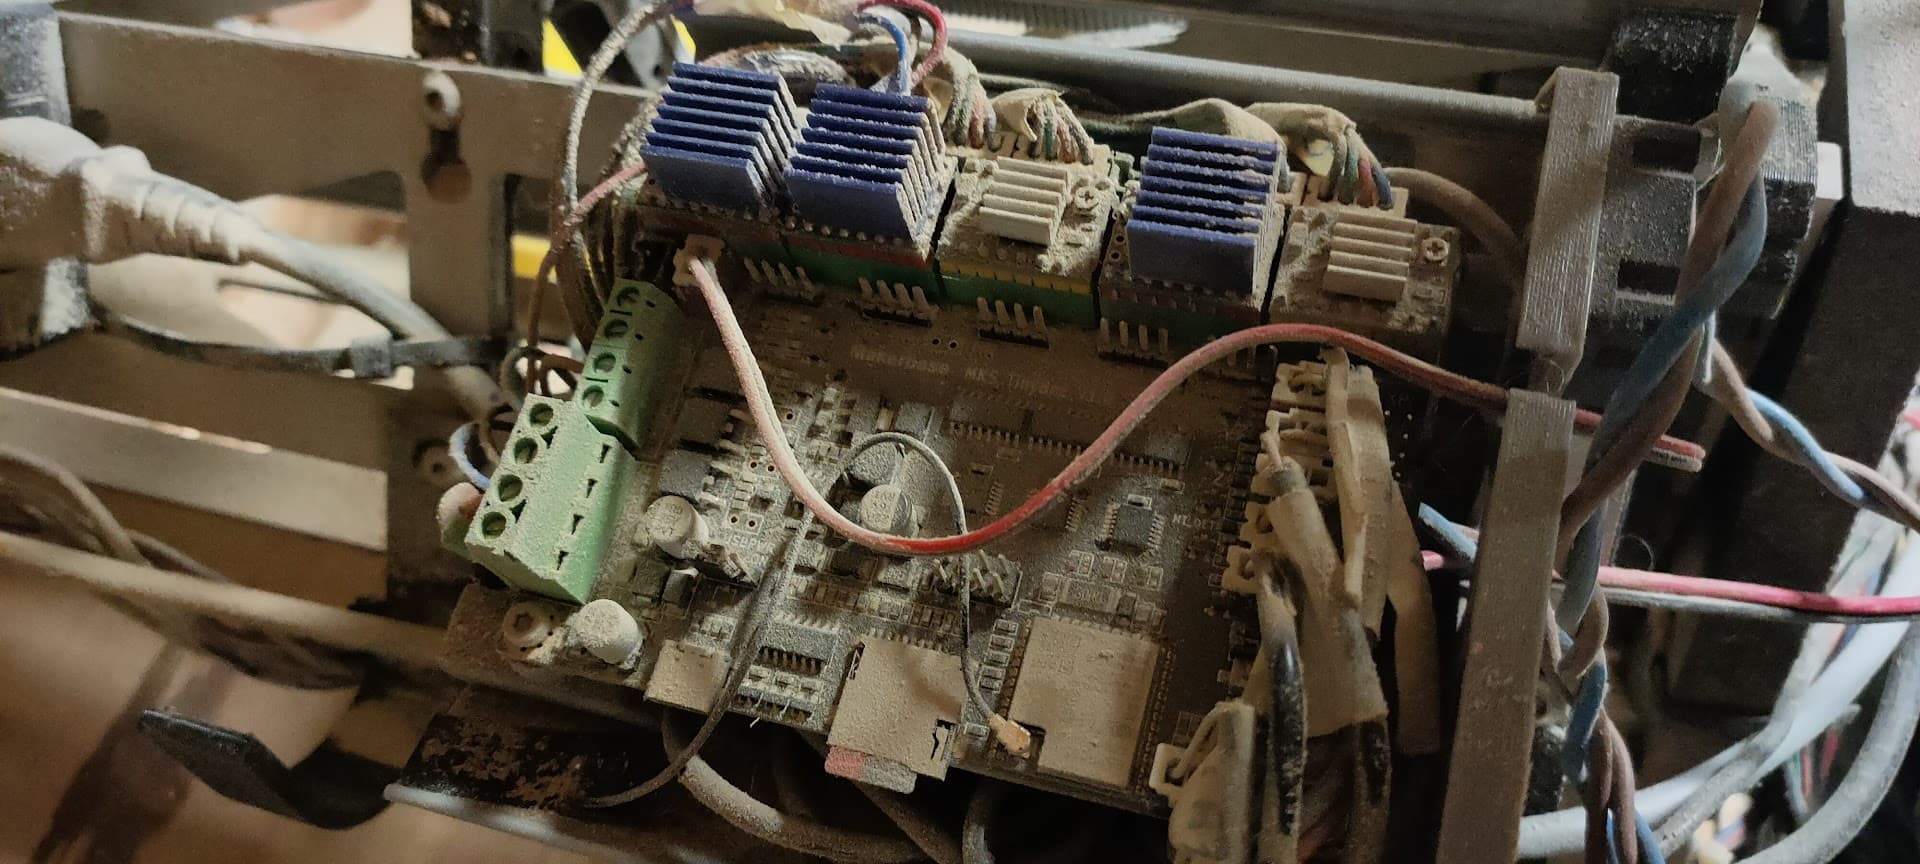
While I was at it I tidied up the wiring both in control box, struts back, and table side…
I’m not completely happy with the drag chain I printed… it’s loosing its covers,doesn’t stay in place, and is not very smooth
I stumbled upon a drag chain I printed 2 years ago that is much smoother and a bit wider, I may design the missing end pieces and switch to this one at some point…
I have never actually homed Z anyway. It can’t be skewed, so why bother? Only for projects where I needed the absolute coordinates later and I only had two of those.
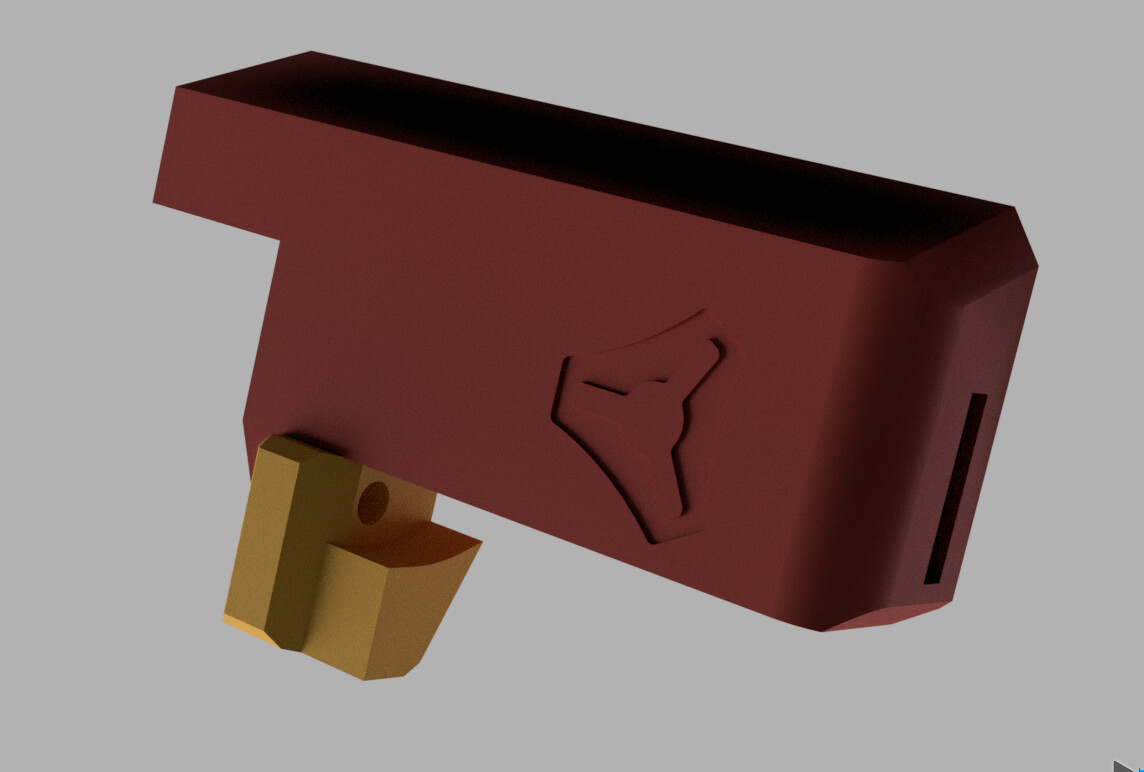
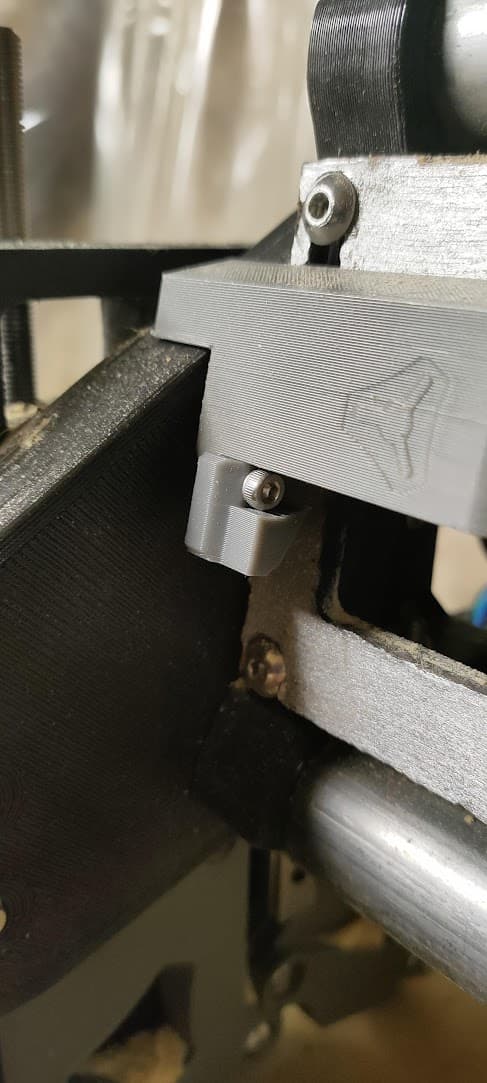
@Fabien , I think what may have been throwing some was these, but they do serve a purpose here, and while they could be described as optional, I think you’re good with them too.