Cool!
Color me impressed…
Same part, but this time it’s Oak ![]()
500-750mm/min at 1.5mm DOC

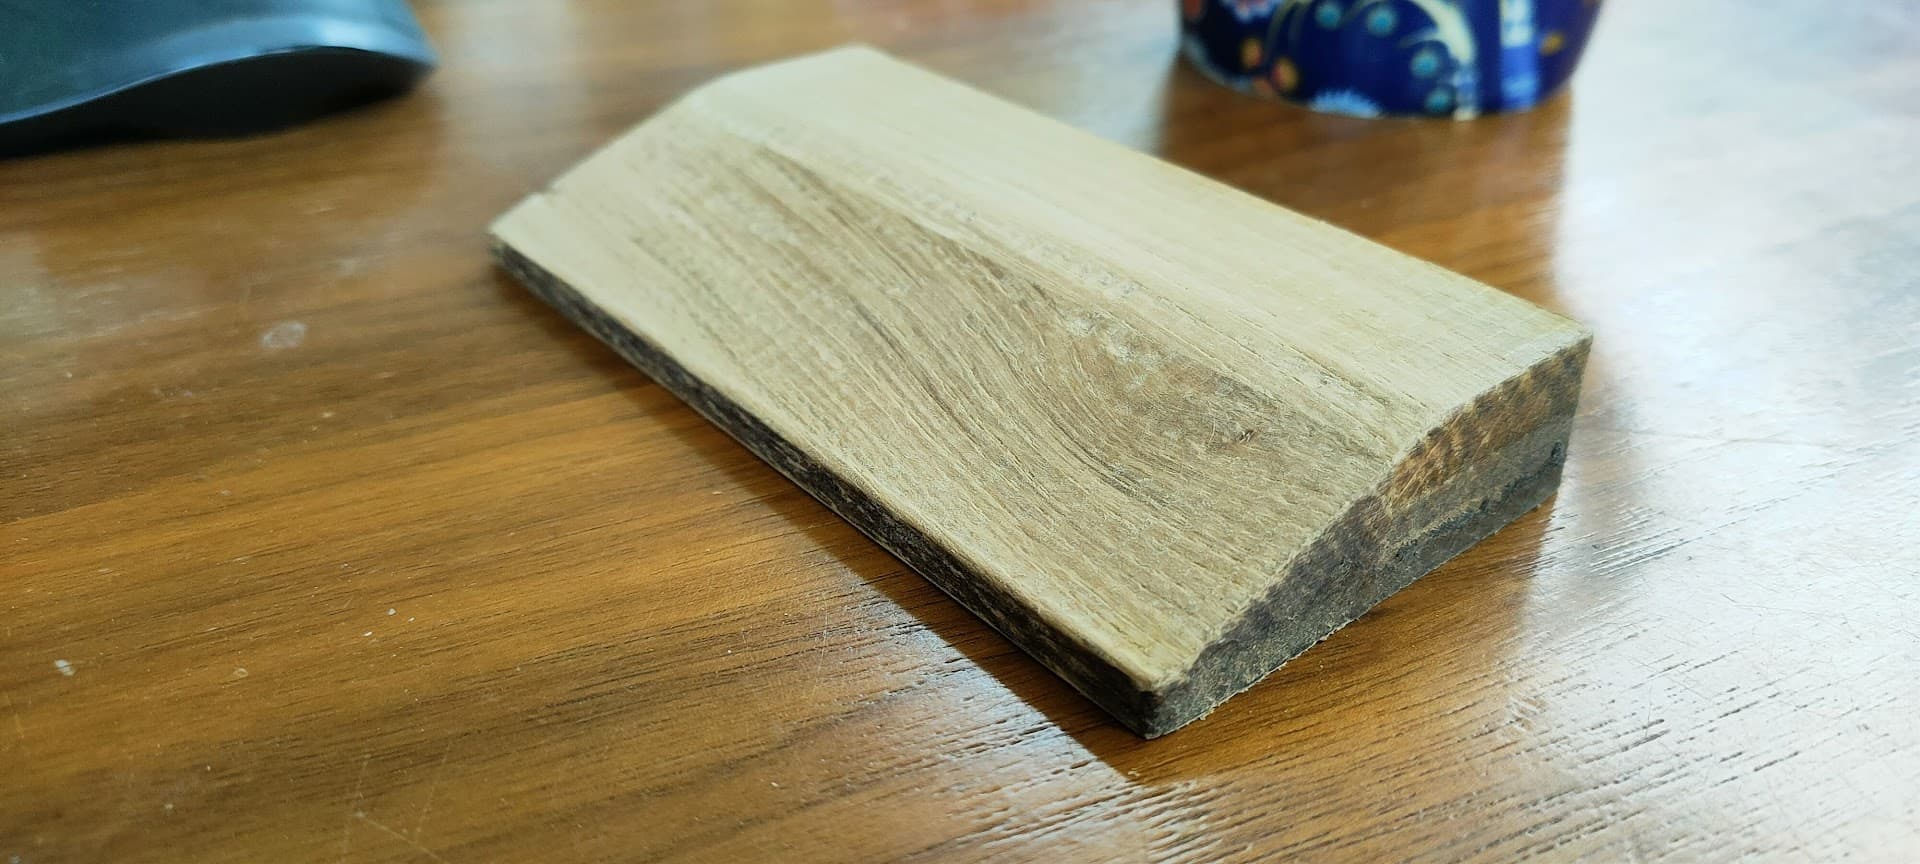
Wouldn’t even have attemped this on the LR2 ![]()
6 Likes
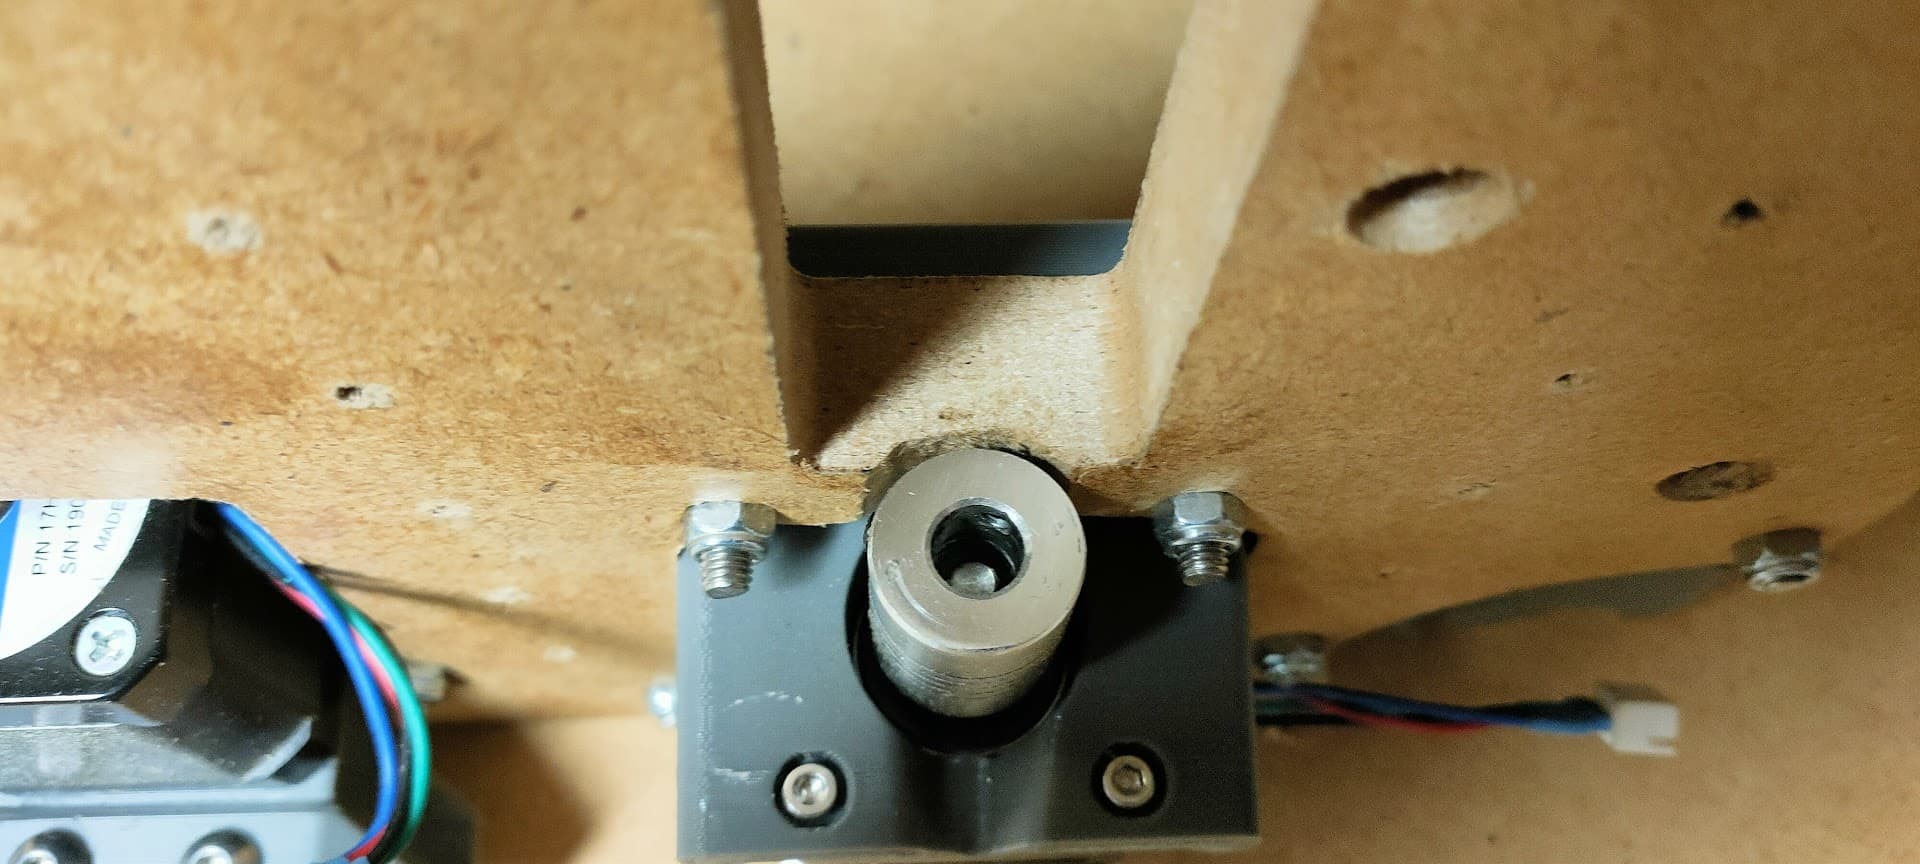
Very small mod today, but it makes a big difference for me
My LR3 now homes in the Y+ direction (that is at Y max rather than at Y=0)
This let’s me home it next to the parking position rather than traversing the whole table each time

Had to make a small block holding an adjustment screw for the rail side
The blocks just clears the bottom of the Z motor but still hits the endstop on the Y drive
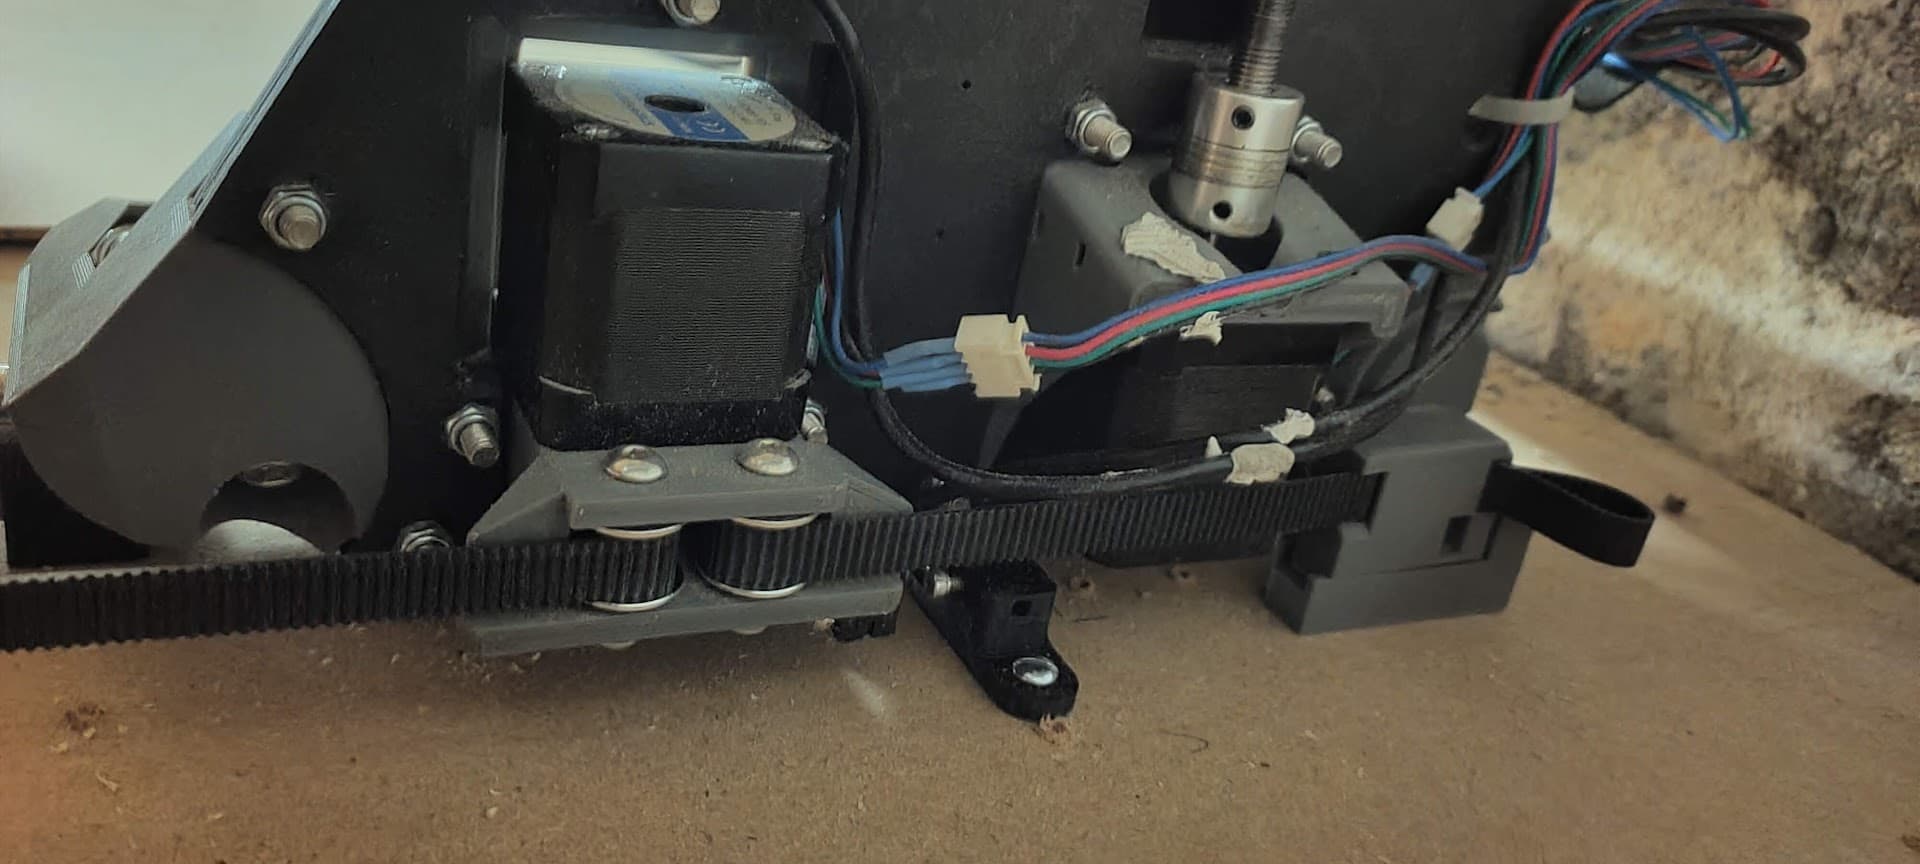
On the “rollers” side, this has been a bit easier, because my belt hodler is on the side of the table, so it already clears the Z motor
4 Likes
Looks really neat!
You can do more! I believe in you! Today I made a carving in oak with 3mm DOC and 1200mm/min (with a 6mm 2-flute though…). ![]() The LowRider can do a lot! Go hard!
The LowRider can do a lot! Go hard! ![]() Granted, I’ve never tried 3D though, might be different for the endmill.
Granted, I’ve never tried 3D though, might be different for the endmill. ![]()
1 Like
Haha! That’s the plan… but for now…
I’m getting the all too common issue where the front rail rollers lift up and disengages from the rail >_<
I think this may be the cause of this problem, the rollers have been a bit hard to install and I needed to force them into place, maybe they’re installed at a bit of an angle or something…
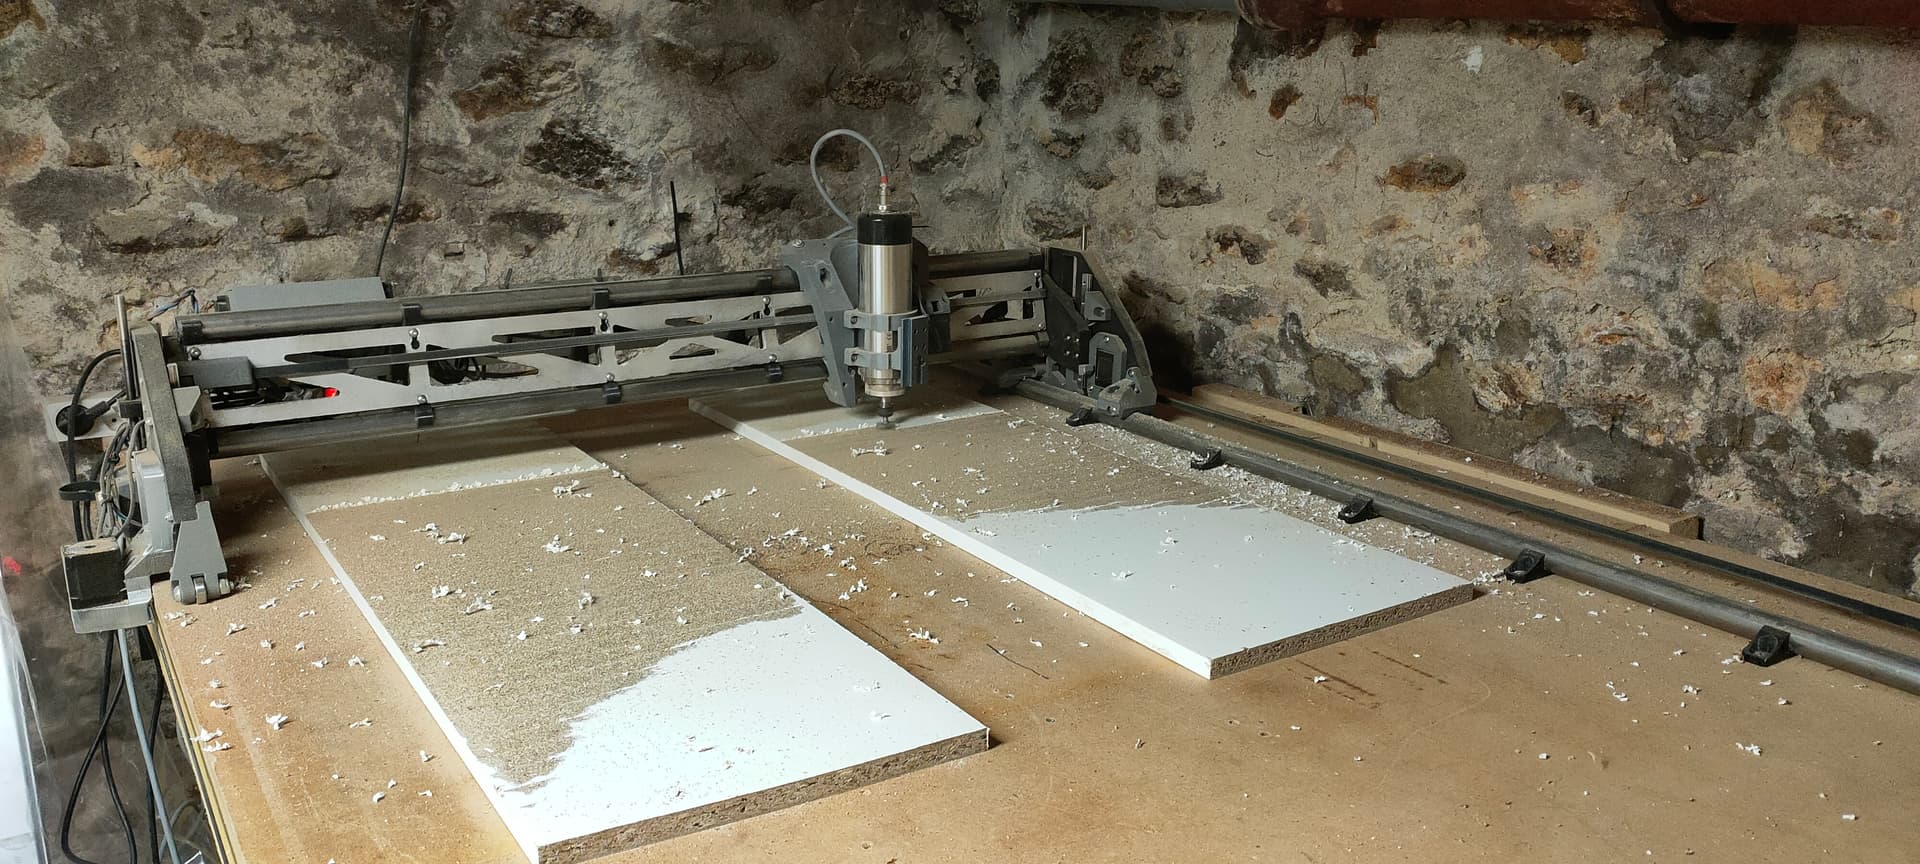
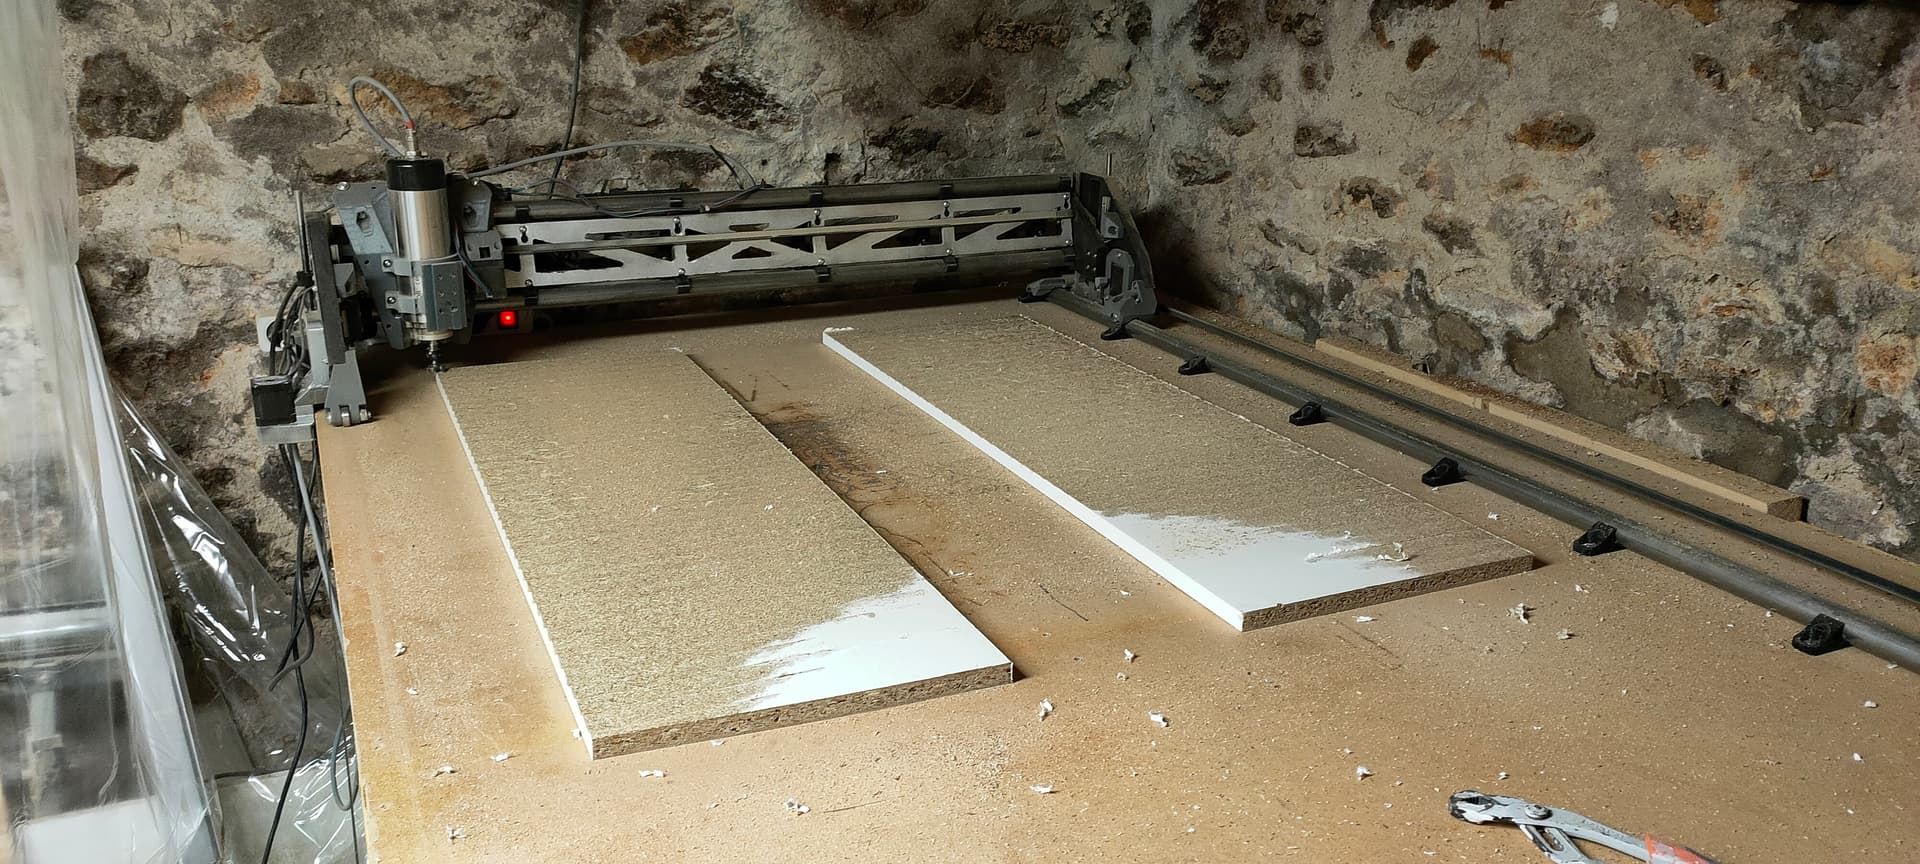
I cut some new plates out of 18mm MDF this time rather than the 3 stacked 5mm plywoods
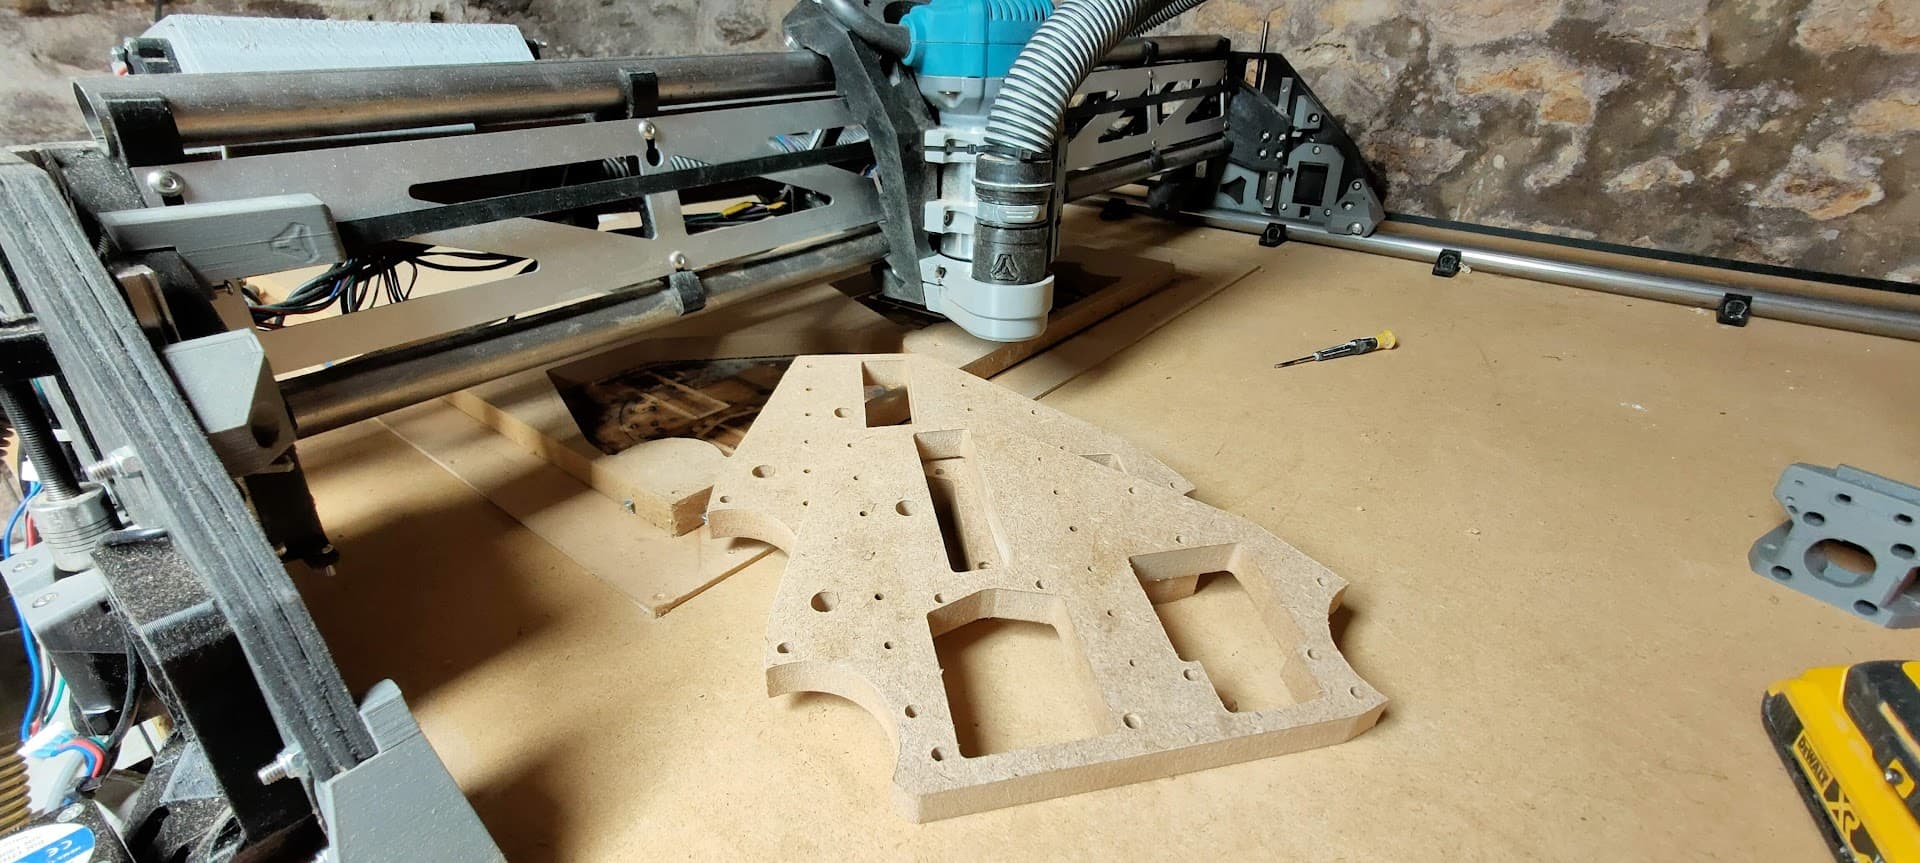
And began assembling it… so the LR3 is already down after a week of service ![]()
By the way, when the doc states “Don’t make the plate’s thickness any larger than 15-16mm”, now, I know why ![]()
Nothing a small cutout couldn’t fix though ^^
I hope rebuilding the side plates will fix the alignment issue…
Anything else I should keep an eye on while rebuilding?
5 Likes
Everything looks so much nicer after a quick coat of paint
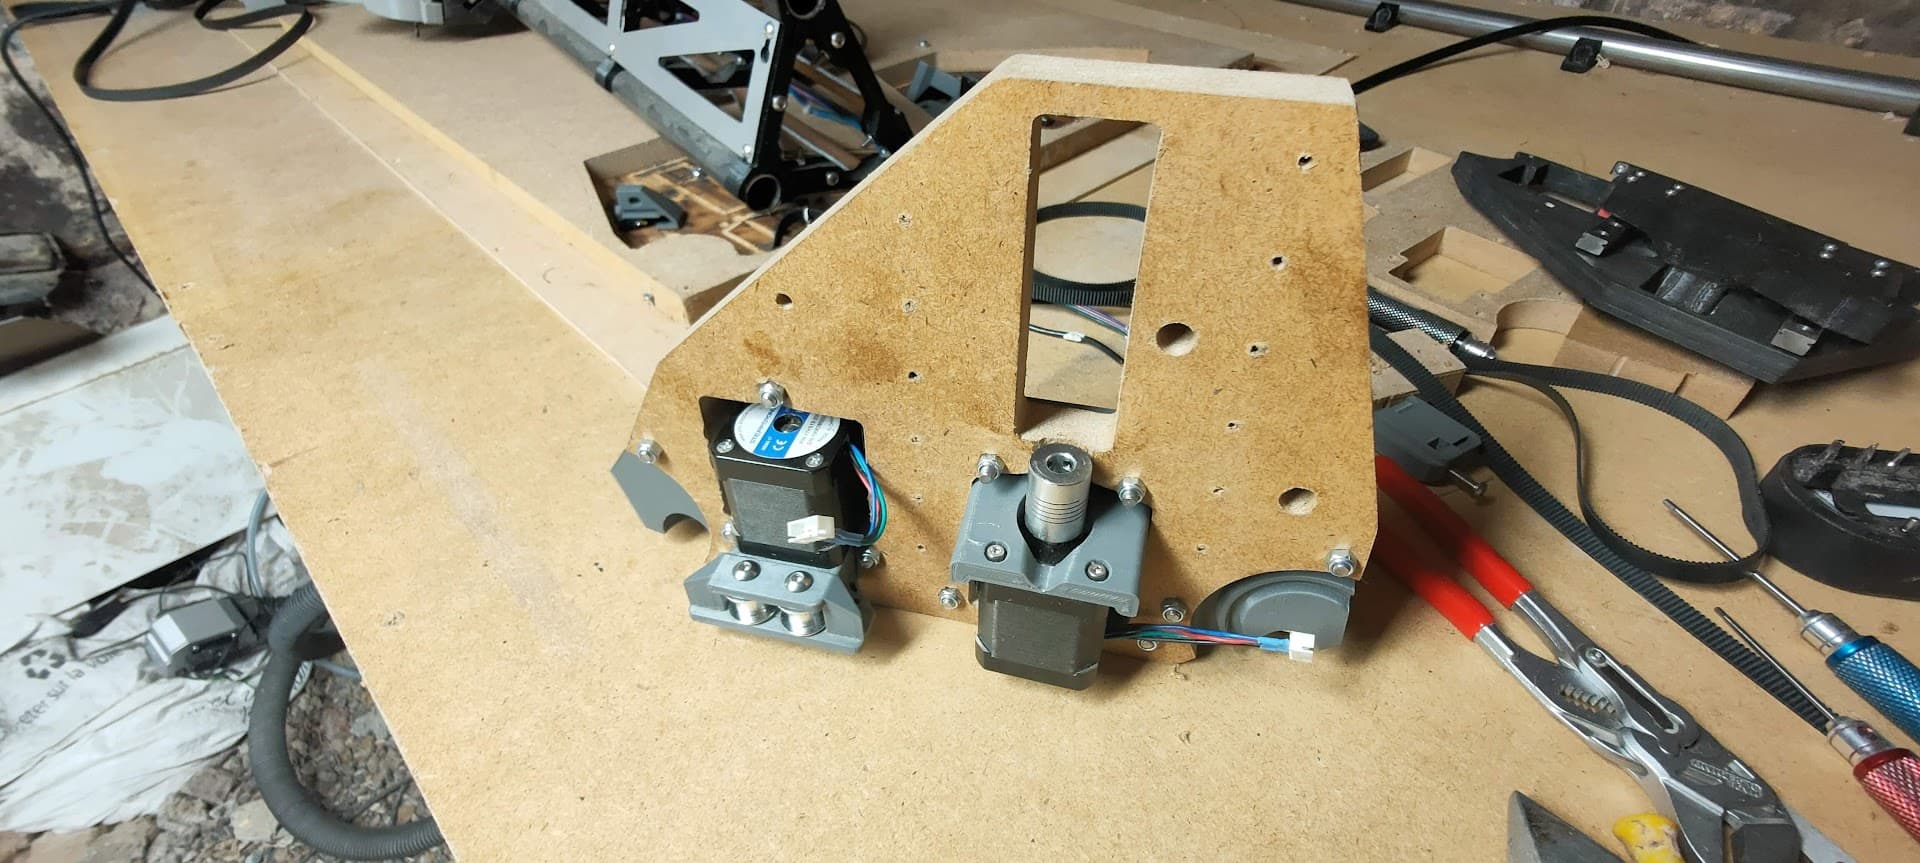
That’s one side done… now I need to rebuild the other one
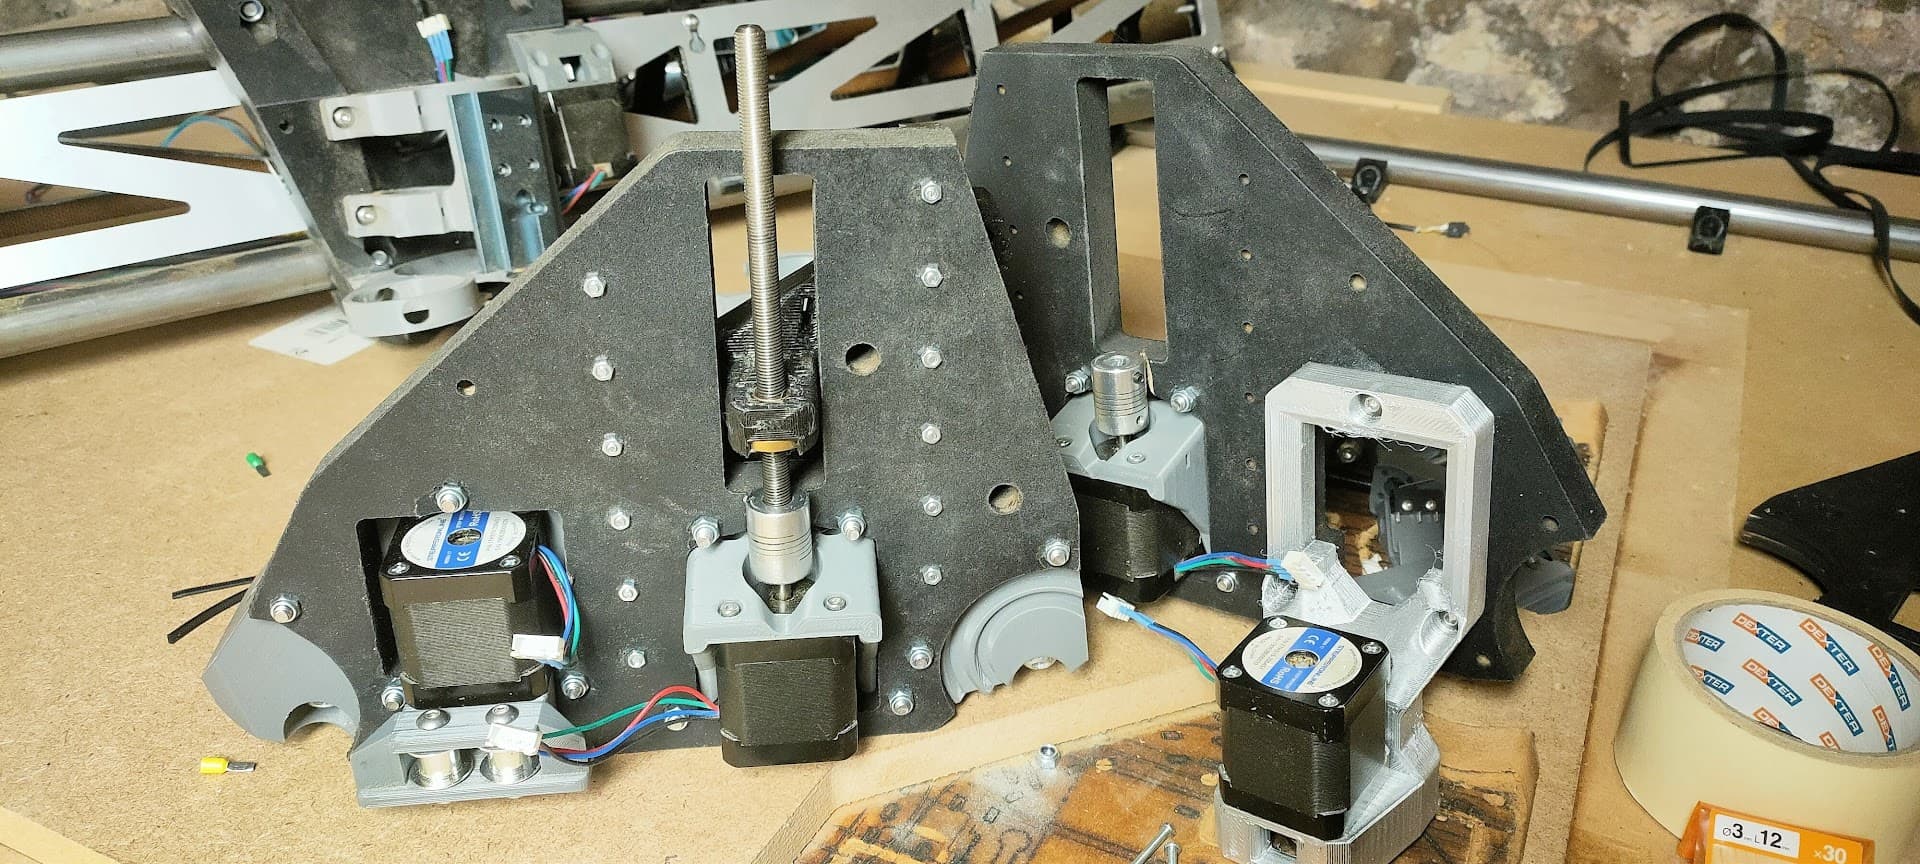
This time around, I went with through-hole m3 bolts for the MGN rails.
I noticed the wood screw had a tendency to move around, plus I find it easier to install and adjust so that the blocks slide smoothly (just screw the nuts loosely, adjust start and end position and tighten them afterward)
4 Likes
Behold my new and almighty LR3 “enclosure” ![]()
Now I need to add some 100mm conduits to connect the air extraction inside
4 Likes
All kidding aside, not a bad idea… lol
Not pretty, and really messy at the moment, but it definitely works pretty well…

This could be even more efficient with a better/stronger air extractor (thinking about recycling an old cooker hood…) but it’s definitely better than nothing
1 Like
Long overdue task, but I just started surfacing the board…
I have a pretty deep bowl in the center -_-
4 passes and 3mm down already but it’s still there…
2 Likes
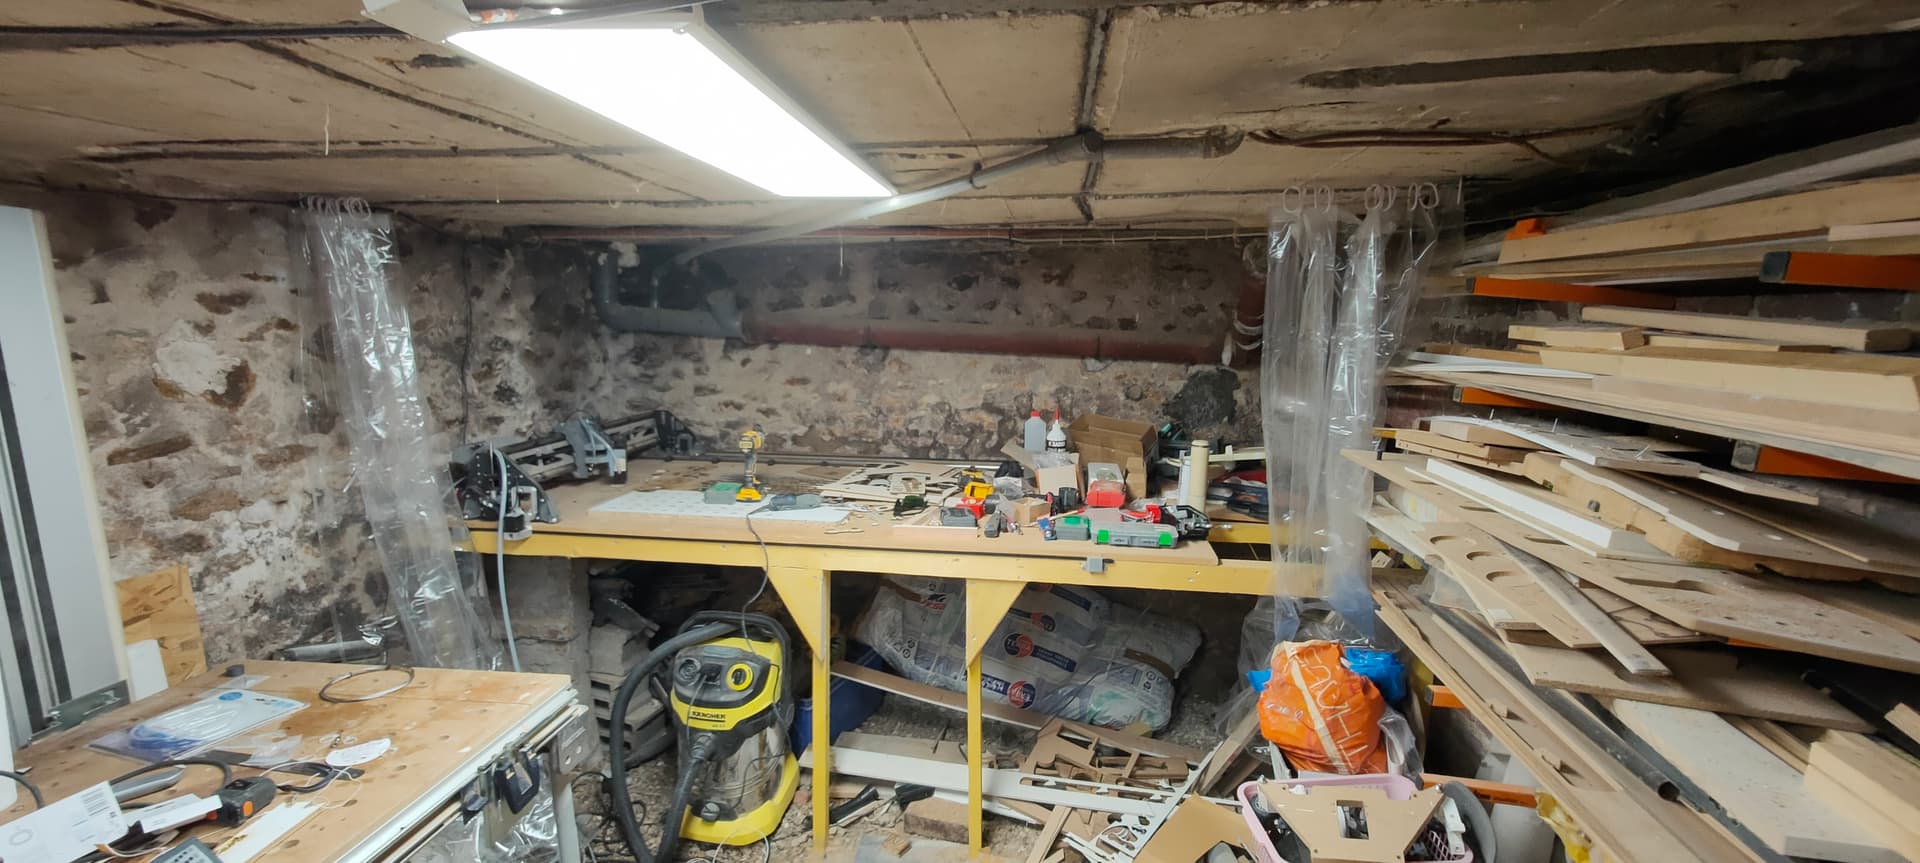
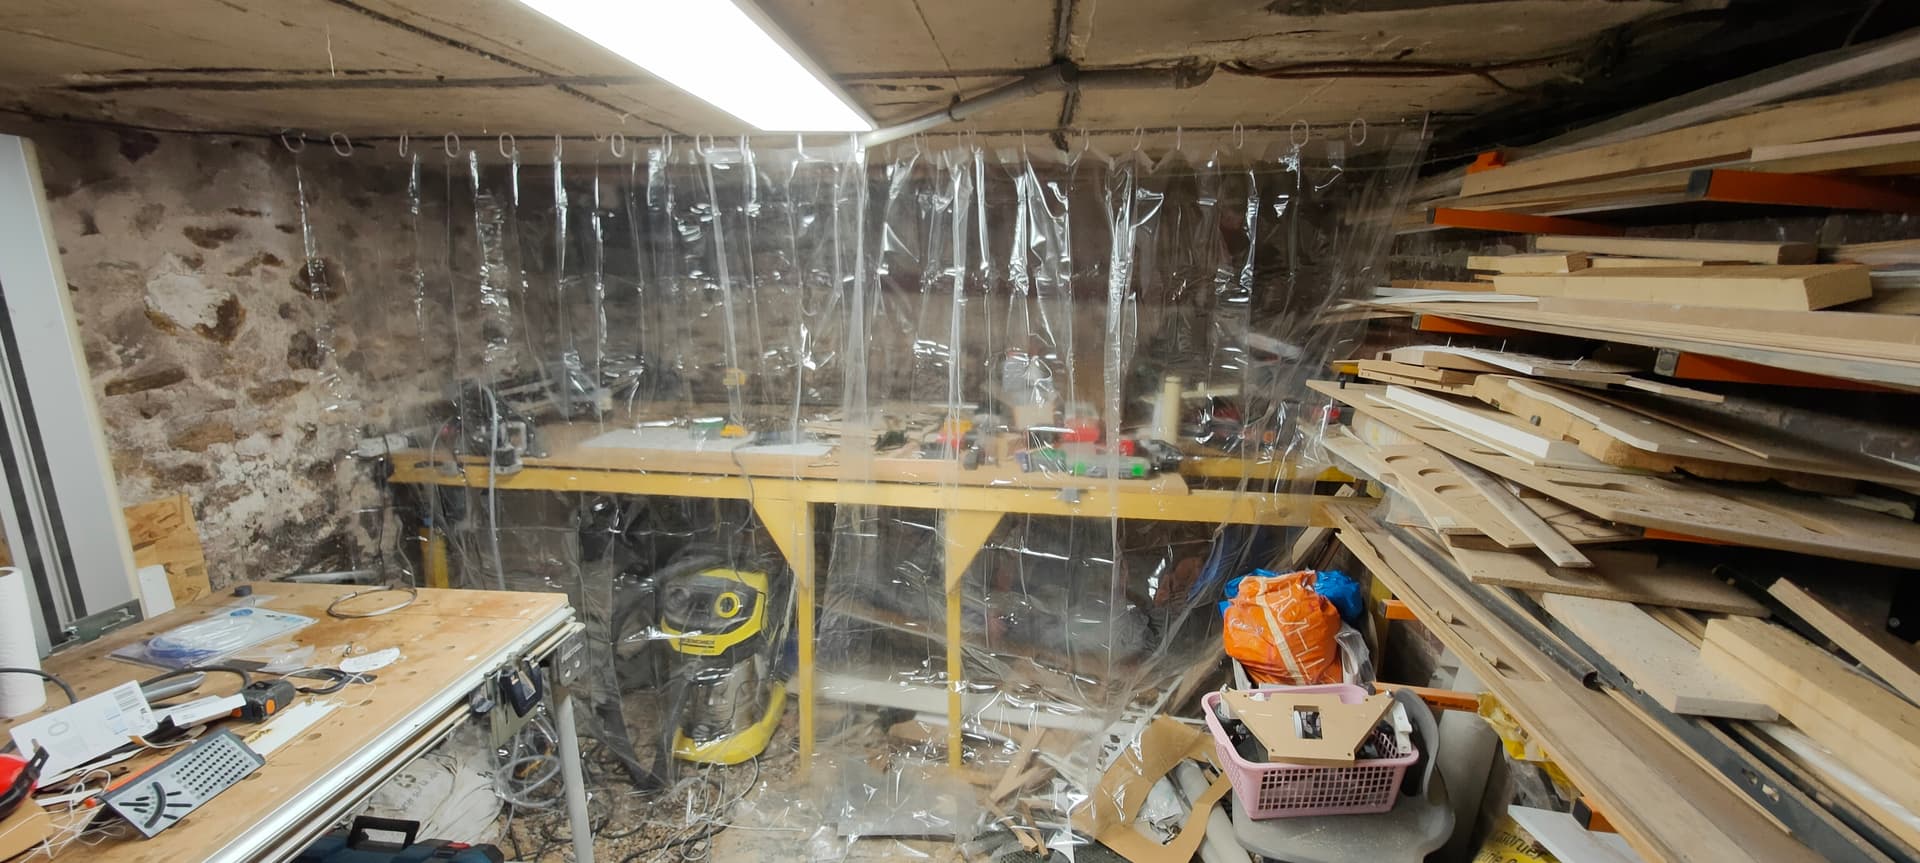
Love the stone walls last place we were had them only problem was the 5 foot five floor to rafter hight i could only walk east to west without ducking ![]() i love the enclosure easy access and tough as nails
i love the enclosure easy access and tough as nails
1 Like
We fell in love with those stones ![]()
You can’t actually see them inside except for the basement but the external wall is just those stones assembled with lime
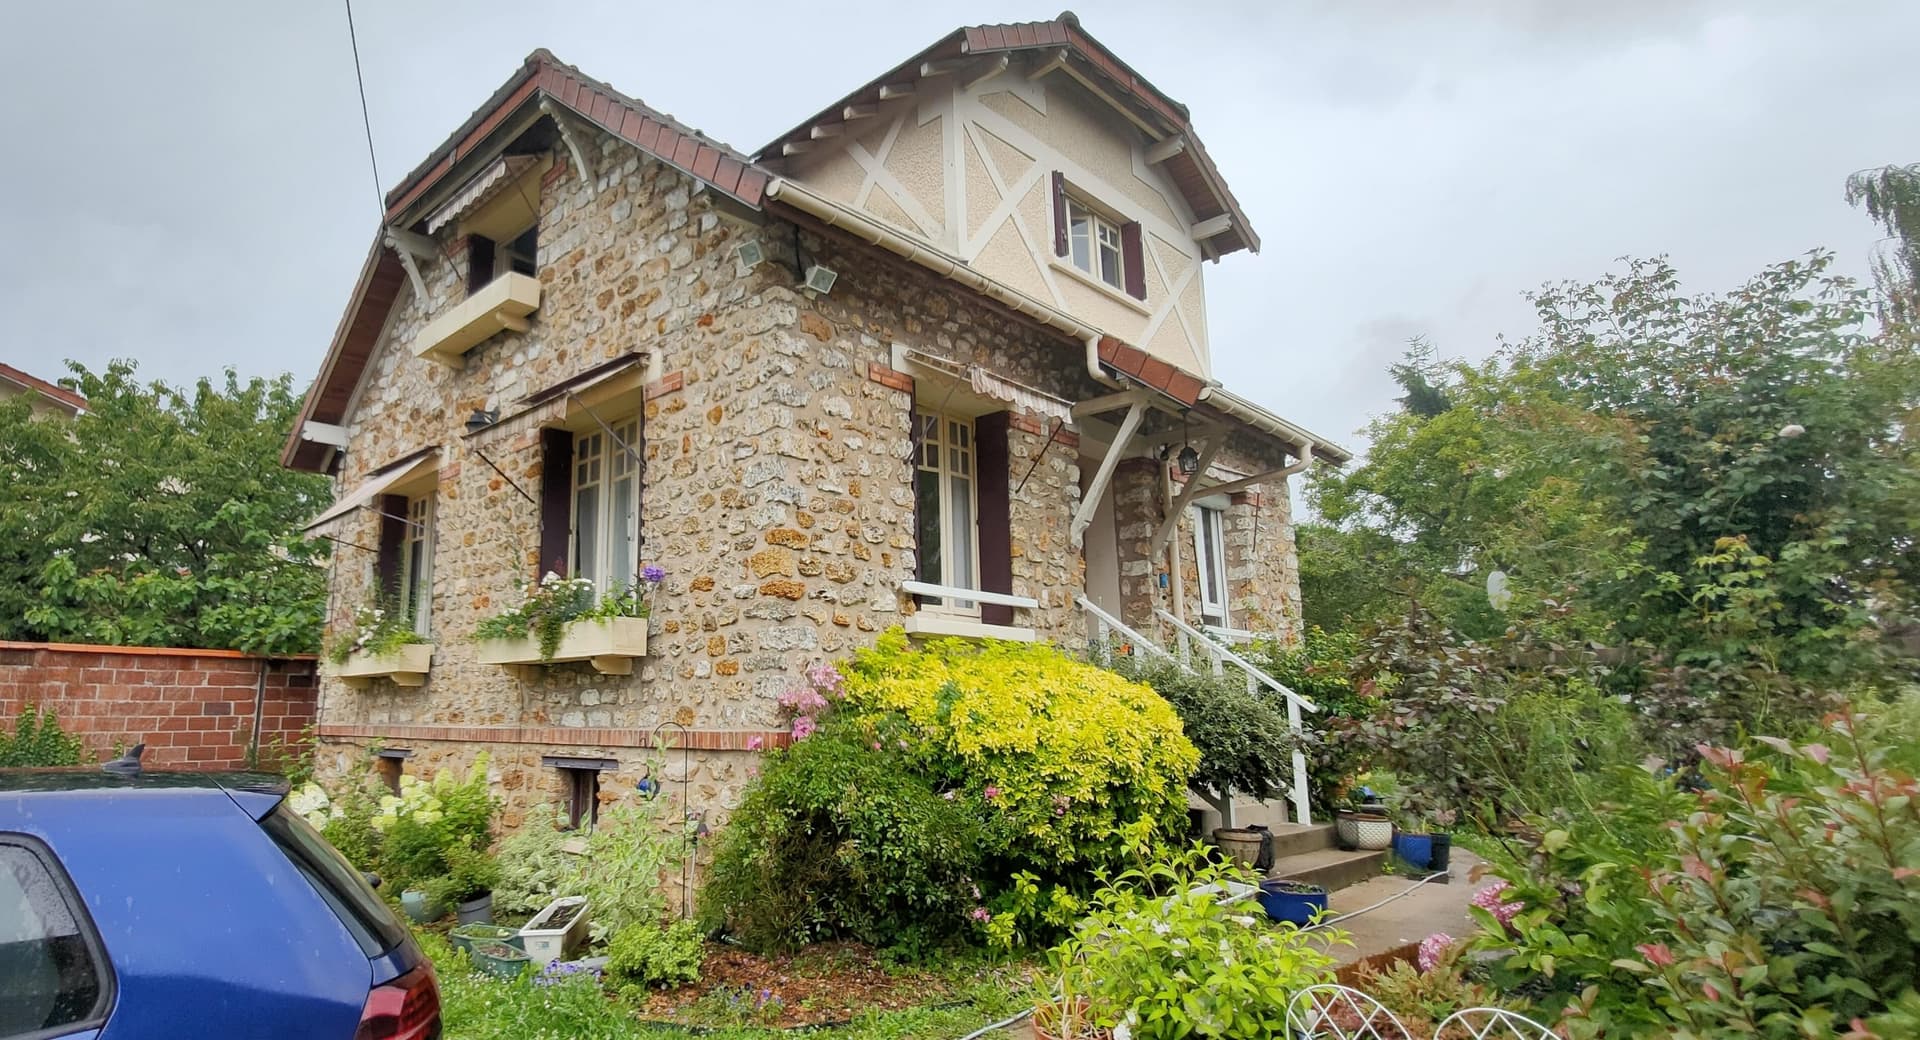
The basement ceiling is pretty low though, 1m75/1m80 , so I can barely stand
Those spaces weren’t meant as proper usable rooms initially, it was just a crawlspace where you also had the coal stock for the house
6 Likes
Small improvement, following an idea by @bitingmidge
I made a makeshift “knife laser bed” using drywall corner studs leftovers.
It works beautifully, and costs next to nothing, plus it’s easy to install/remove/adapt depending on the kind of work you’re doing
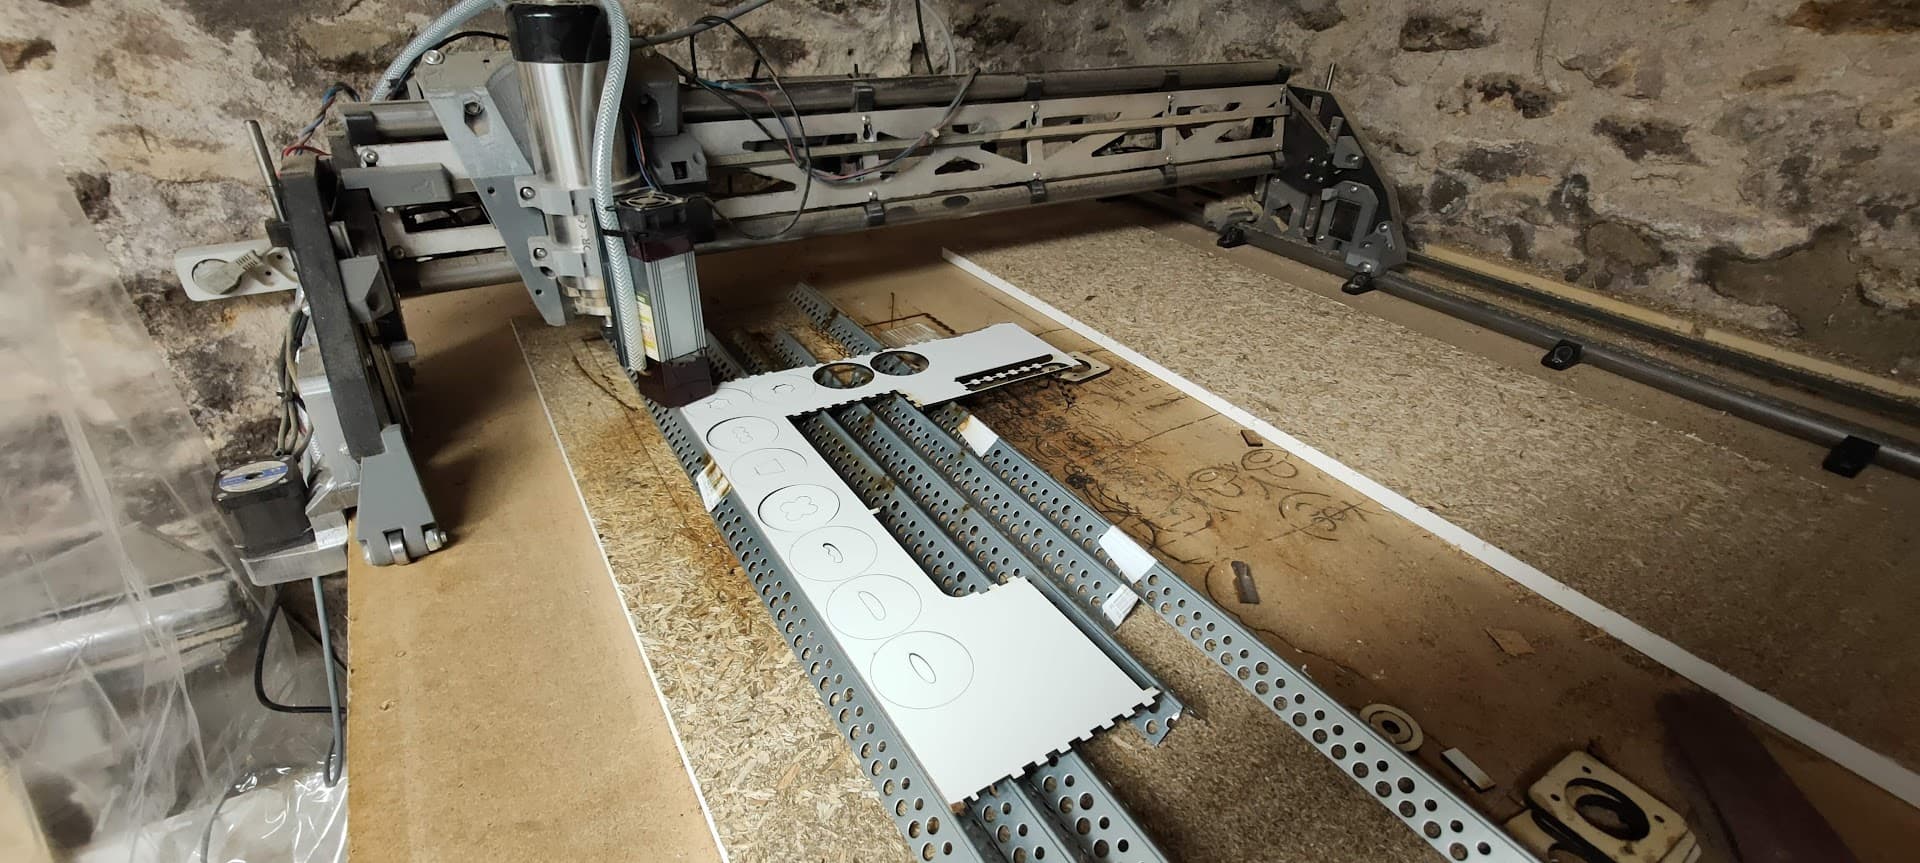
If you want to get a bit fancier, it should be pretty easy to mount these studs inside a frame and drop it on the LR3 bed as a whole assembly
4 Likes
Nice! You blokes all have me wondering why I’m such a coward - but even the 17 year old grand lad worries me - he’s at that age where he should leave home while he knows everything! ![]() Actually that’s not fair but he really seems to want to find out what’s behind the advice I give - “that nozzle will hurt you quite a lot… see!!”
Actually that’s not fair but he really seems to want to find out what’s behind the advice I give - “that nozzle will hurt you quite a lot… see!!”
I am just not game to have an unenclosed laser round them! (I’m not sure I can be trusted either!)
Hopefully next week I’ll have a grid of my own built - I’m going to use 12mm channel @ about $6.00 US for 6.3m!
1 Like
Nice! Cool way to do it affordably!
I have two kids. One believes me when I say, “This is hot”. The other has to learn themselves. We really have to cater our parenting to each of them. It would be nice if we could just find one solution and copy/paste it. But that is life.
2 Likes
I’m building a LR3 at the moment and see some things in your build that I might copy.
But for now I have 2 questions.
-
Is there room in the Tinybee enclosure to fit the fans inside? If not, I think I will remix your design to make it fit.
I think I will have to make some changes anyway, as my strut plates are 7 mm thick and the mount will not fit. -
What spindle do you have mounted in the last few pictures? Is that a 0.8 or 1.5 kw version? Did you mount it in the Makita mount?
-
The fans barely fit inside, but they may collide with the wiring
I prefered keeping them outside, it’s easier for installation and maintenance, although a bit uglier
-
It’s the Vevor 1.5kw spindle. It has the exact same diameter as the Makita router so you can swap them with no modification
1 Like
Thanks. Now I got an idea about the size of the 1.5 kw compared to the Makita.
Still not sure if a go for the 0.8 or 1.5 kw.
If you go with a 1.5kw unit, be careful what you order. I was just looking at several 1.5kw spindles online, most seem to be 80mm diameter, only a few were the same size at the Makita (65mm).