Cutting the struts…
5 Likes
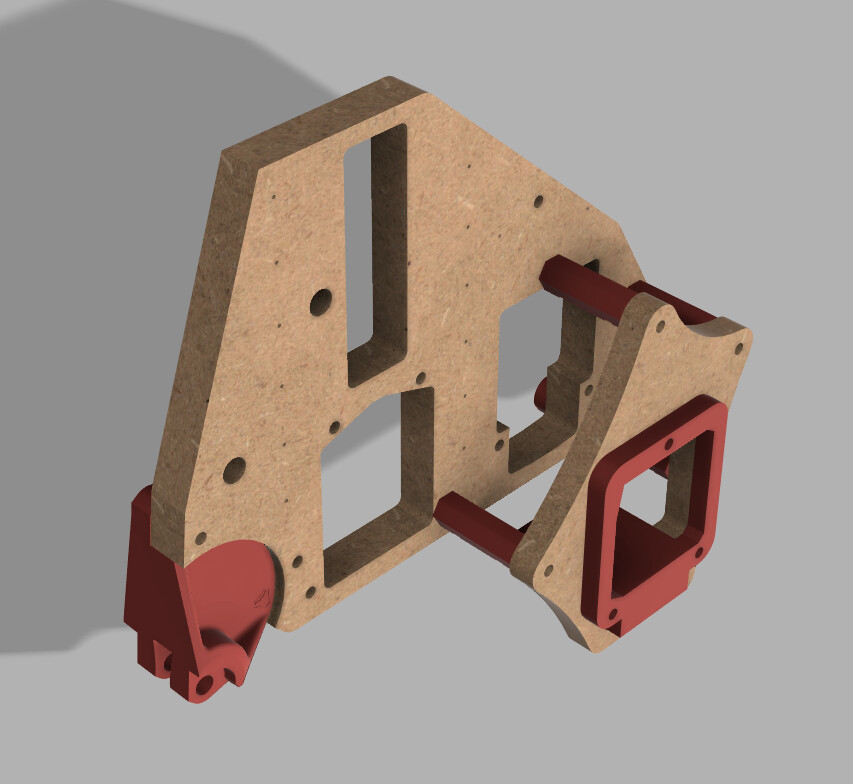
Painted and installed the struts
Still abit of troubleshooting to do, I have a few spots where the rail hits…
5 Likes
Excellent idea! I’m also planning to side-mount the non-rail side belt. Any chance that you could post the print files?
1 Like
Sure! That’s on the bucket list.
I just need to cleanup and package a few things before posting this
Maybe early next week.
Also, be aware it’s only been tested with laser as of now, so I cannot testify if ther’s a loss in rigidity
2 Likes
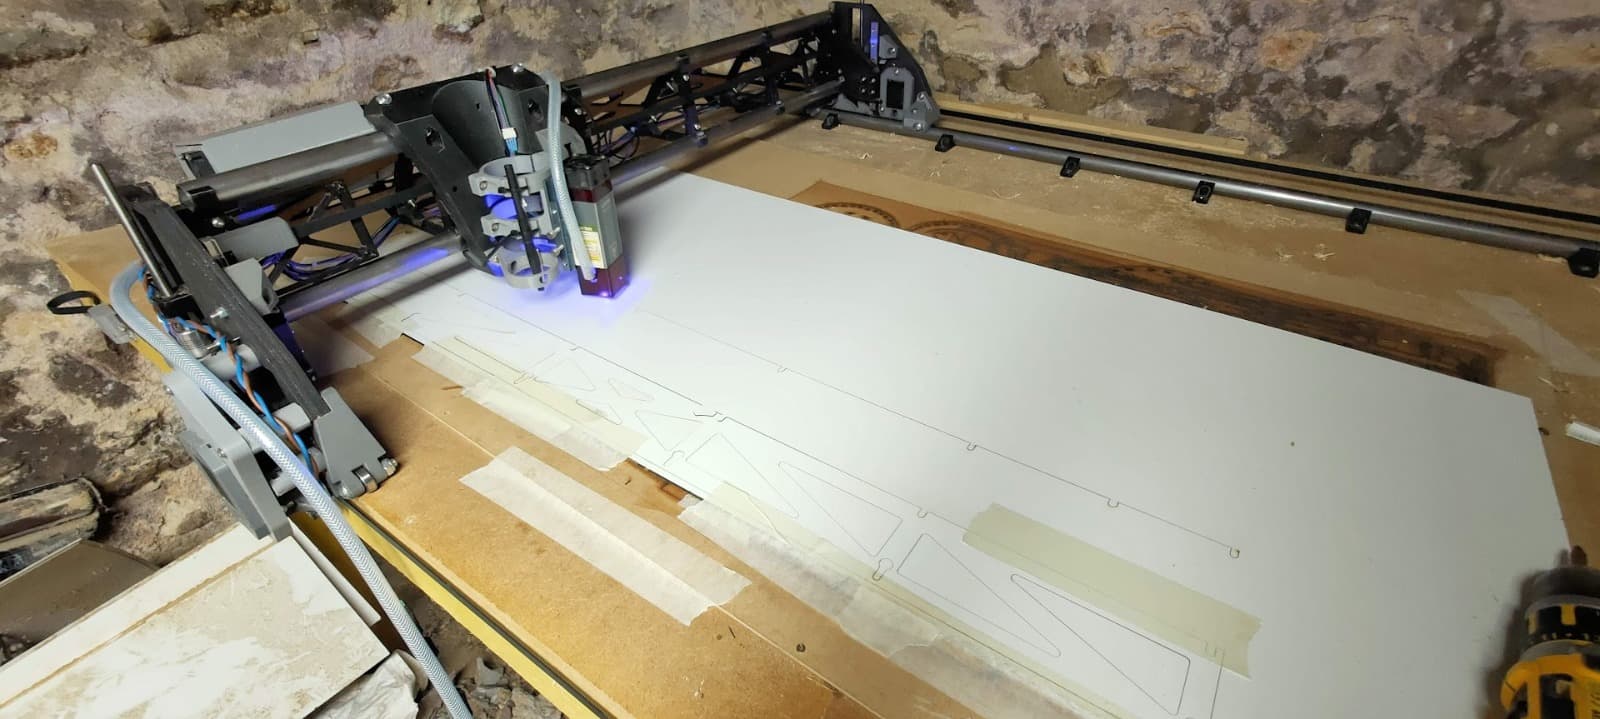
First real cut (side plate for the side-mounted front belt) in 12mm MDF
Went really smoothly, I was quite conservative for this first cut: 12-15mm/s with 3mm DOC (1/8" cutter)
Really happy, it seems a lot more rigid than the LR2, hope the nex cuts will be as smooth as this one ![]()
4 Likes
Ok, I ended up re-drawing the whole thing, so it might take a bit longer ![]()

On the plus side, as I said earlier, the design is heavily dependent on the thicknesses of your plates, and the spacer’s length needs to be adjusted accordingly
Having re-drawn the entire thing in Fusion, I think I’ll share the design to allow for easy customization
3 Likes
Cool!
BTW Doug, I tried to mill the side plate using the SVG you provided, but could’nt quite use it because the circles for the holes have been exported as poly-lines, so I can’t select them in Fusion for a “Bore” operation (the profile needs to be a circle)
Also, the scale is not right when importing, probably a unit thing ![]()
1 Like
Wouldn’t it make sense to shift the “wheel” bearing holders?
I believe they have been designed to be in the middle of the plate. So if you would push the bearings to the inner table section I believe you might win some distance, no?
I guess ESTLcam is not as picky as Fusion re. CAM prep.
Do you mean adding some spacers between the YZ plate and rollers to move the rollers toard the right (as seen from the front)?
A bit like the rail side ?
Indeed, but watching your other pictures I believe it might not work
What would be the objective ? Getting the additional side plate closer to the YZ plate and avoid flex?
Interresting but I’m not sure it would be that effective
Currently the design adjustability relies on just changing the length of the spacers
You can reaonably get the belt to sit anywhere between “right below the YZ plate” (need to add an overhang strip of wood or an unistruts), to “5-10mm left of the YZ plate”
If course, the more extent you add, the more flex you get
1 Like
I’ll post a dedicated topic when I get back from vacation, with a few more pictures to make those options clearer
2 Likes
Looking forward to that! I’m hoping to have my YZ plate and roller running near the edge of the table, and have the belt mounted on the side of the table, but I’m hoping that the “new” YZ side plate extends as close to the original YZ plate as possible.
2 Likes
Indeed! I would think such “large” spacer would add a lot of flex (plus more stress on the parts)
1 Like
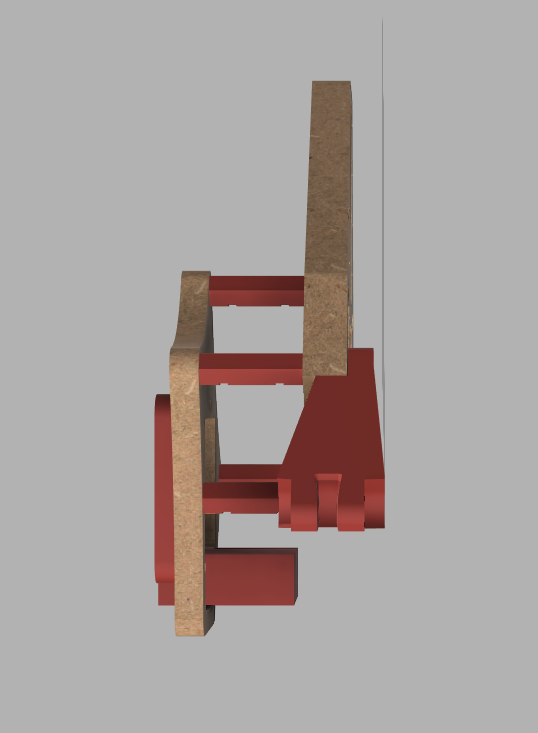
I think I have a solution that would content anyone ![]()
With this configuration, thicker plates mean smaller spacers, so it should be a win-win situation for rigidity ![]()
The screenshots hère are with 15mm YZ plate and 12mm Y extension plate
I’ll post some with 15/15 ans 20/20 when I get back for you to see ![]()
2 Likes
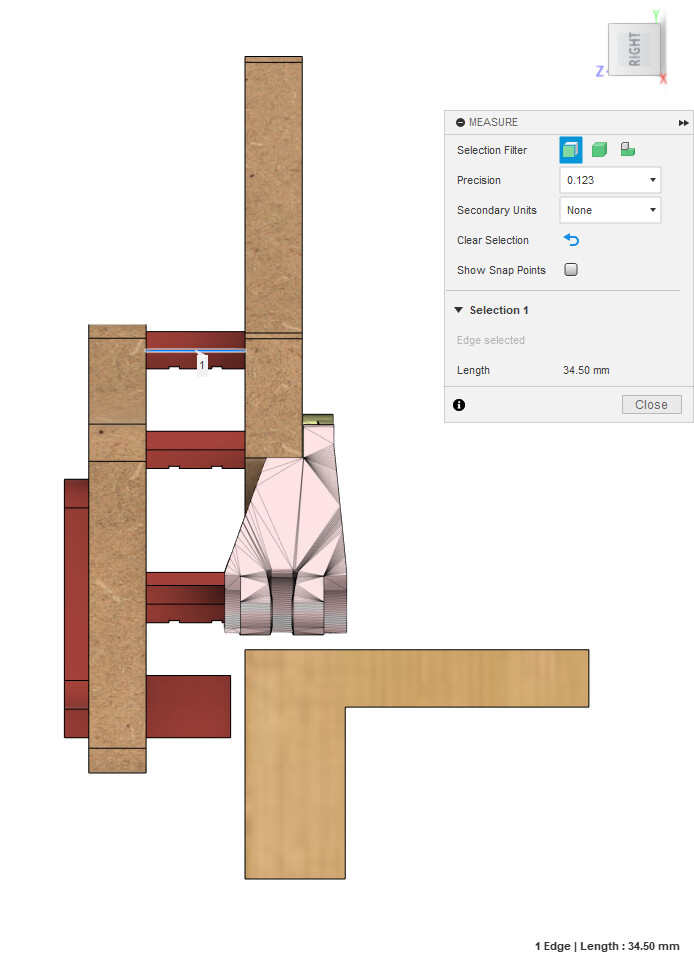
With 20/20mm plates, I get a 34.5mm spacer (5mm margin between the Y idlers and table)
And this is with 15/15mm plates => 39.5mm spacers
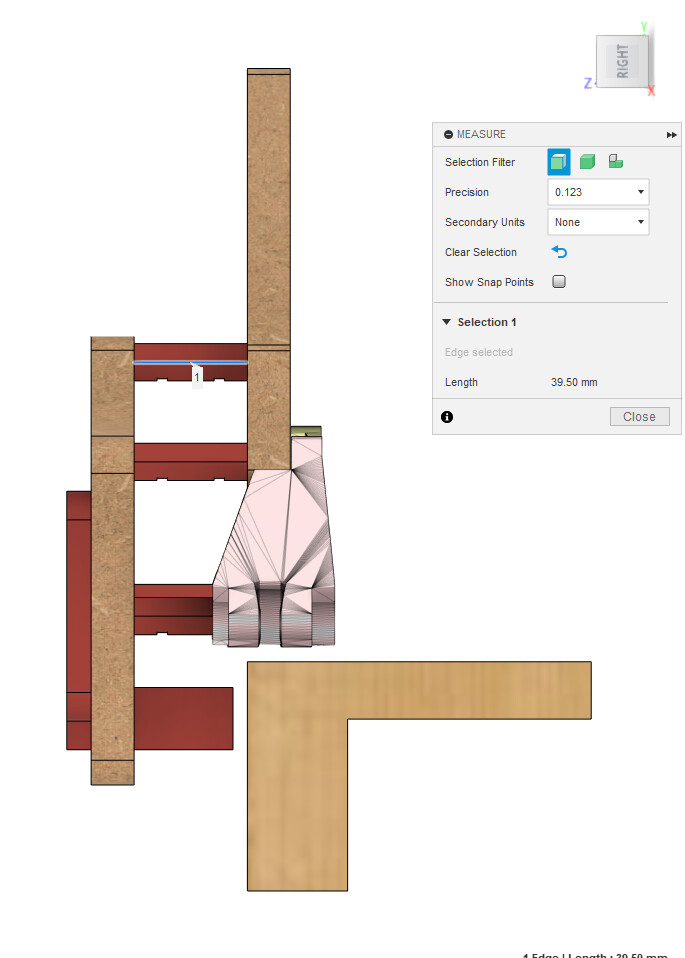
You can also specify a negative margin betwwen the table and idlers and get the belt just under the rollers
If you want this setup you’d need to add an unistrut or strip of wood on top of the table for the rollers to ride on

1 Like
Yep, this is exactly the kind of potential application that I had in mind …
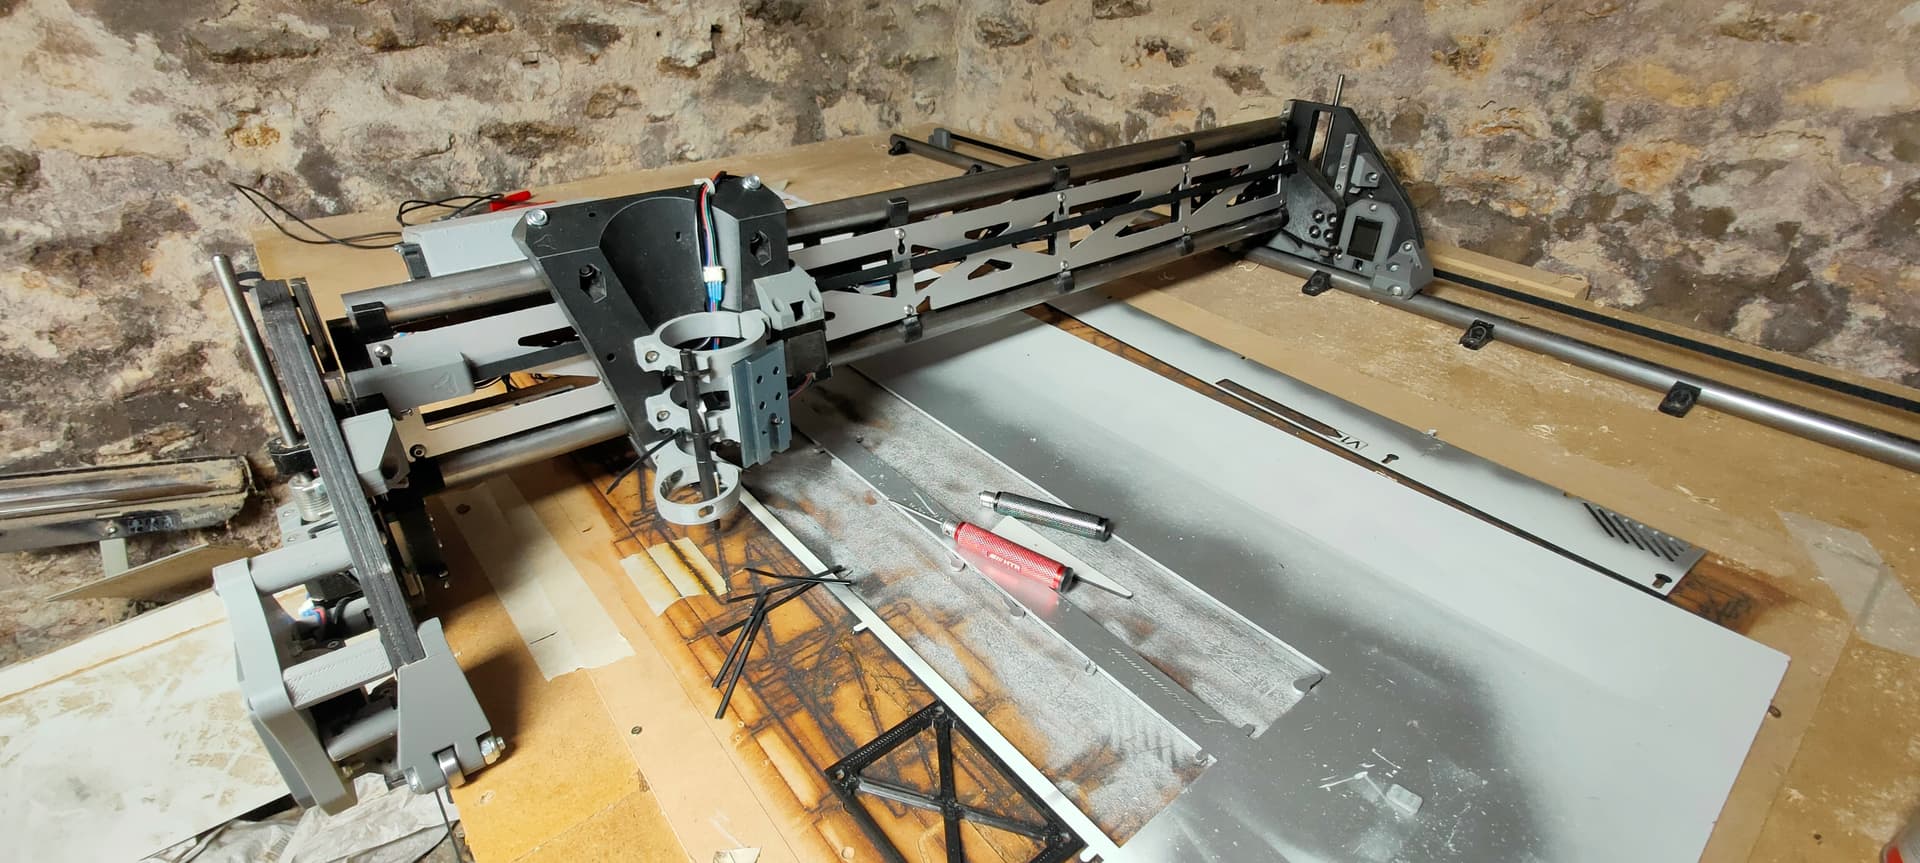
Made some use of the LR3 this weekend
I’m currently installing sliding doors for the office at home and tackled a few jobs with the LR3…
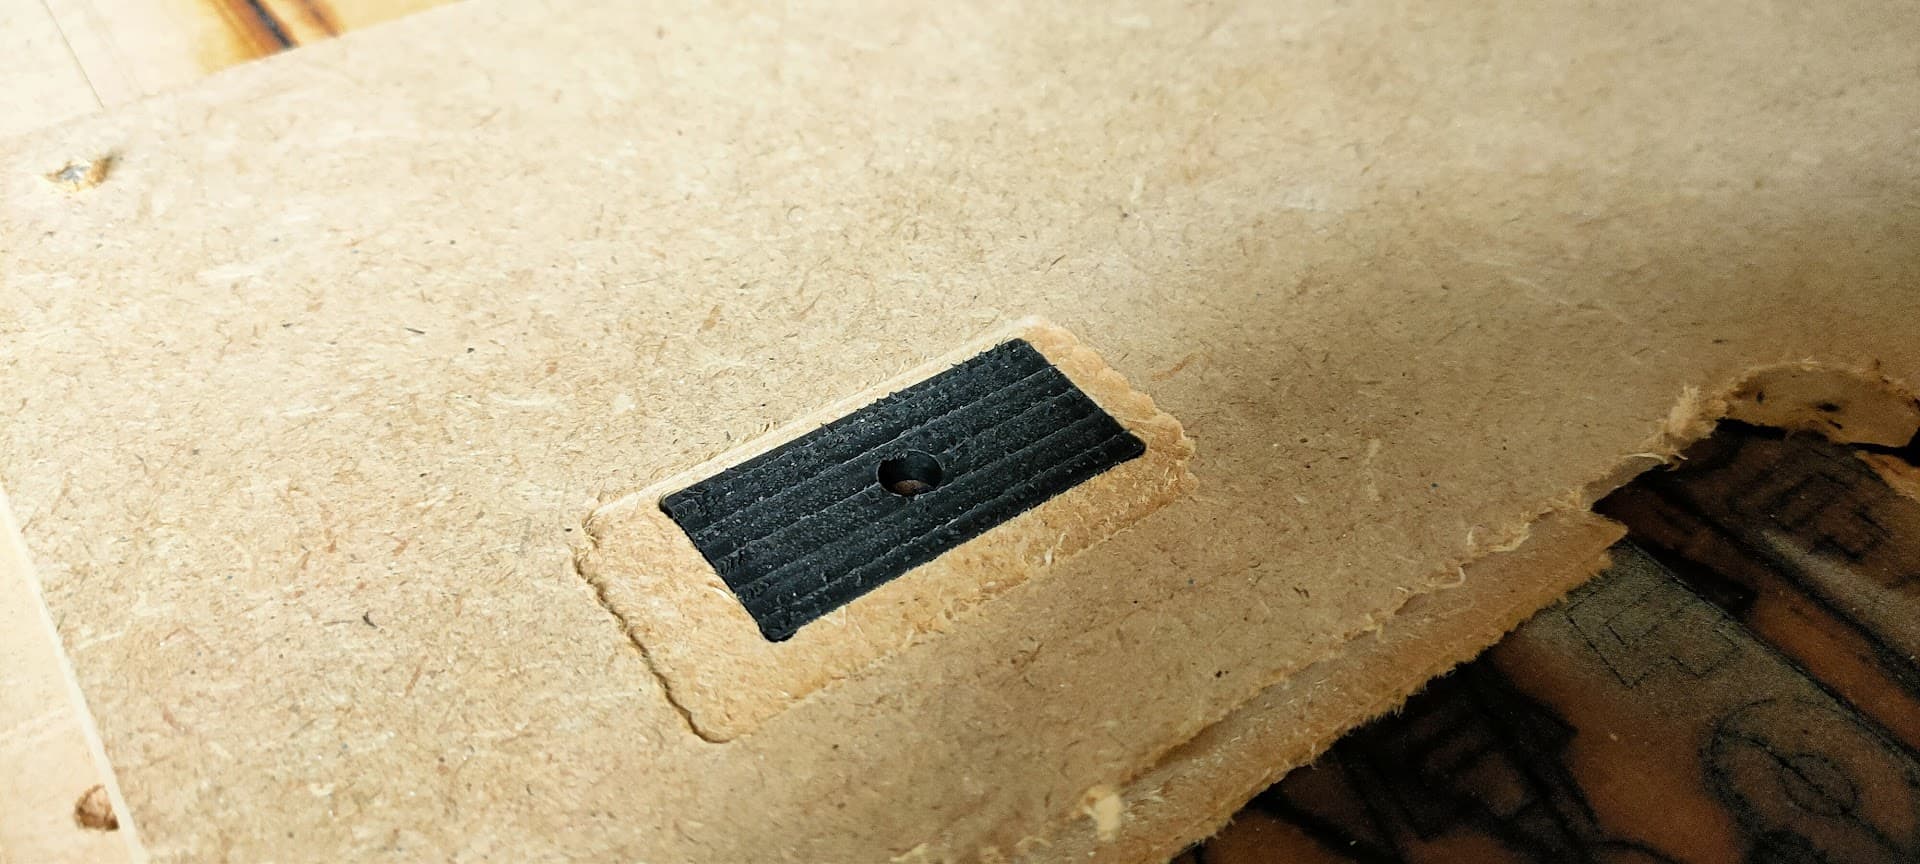
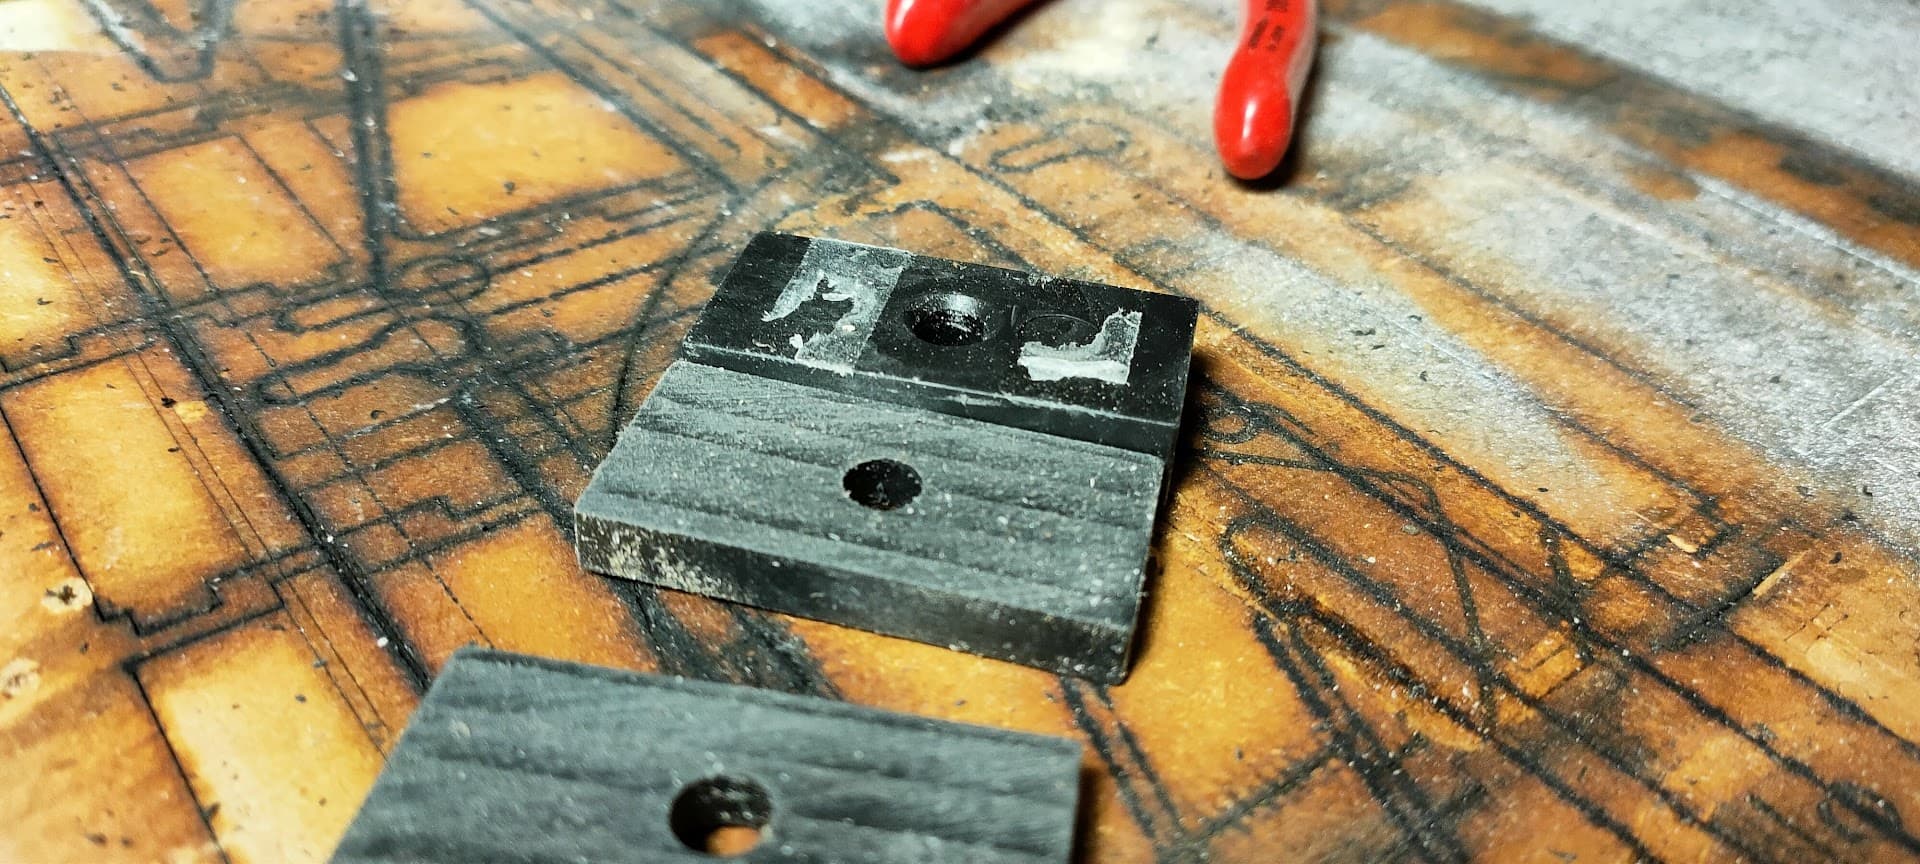
The rails for those sliding doors has small rubber spacers to get it away from the wall, but those spacers are a bit too thick
Carved a little pocket in a leftover of mdf, and whipped up a quick face operation to shave 3mm off of it
Went smoothly and quite quickly for the 10 blocks I had to do ![]()

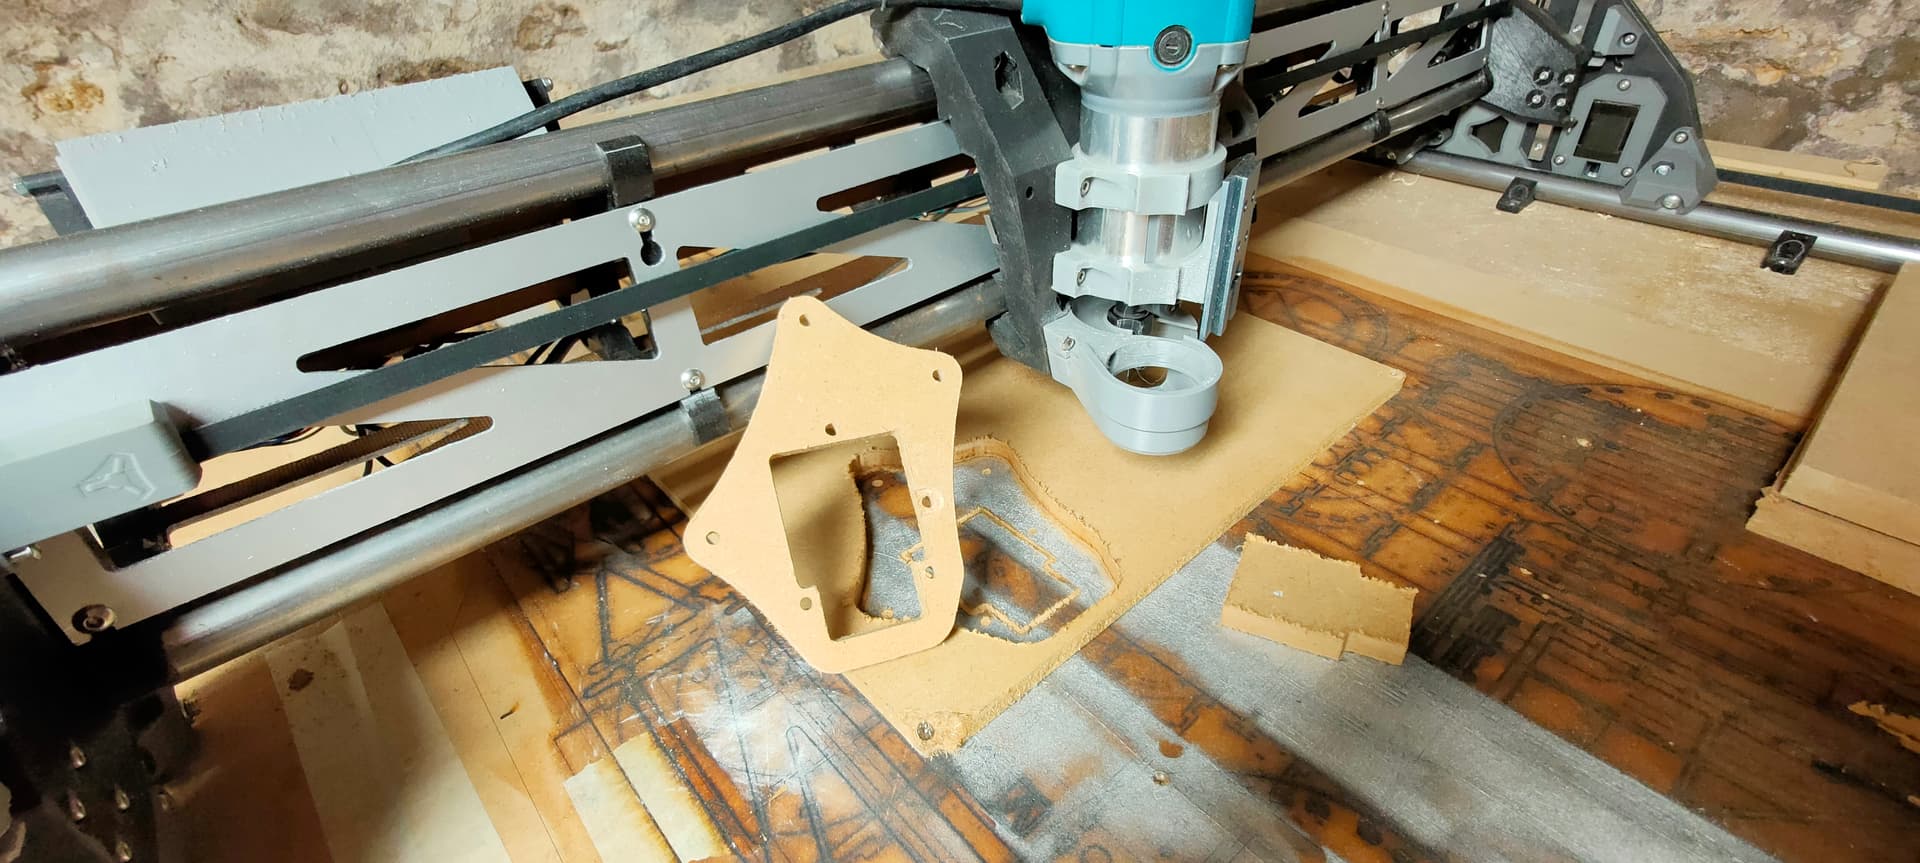
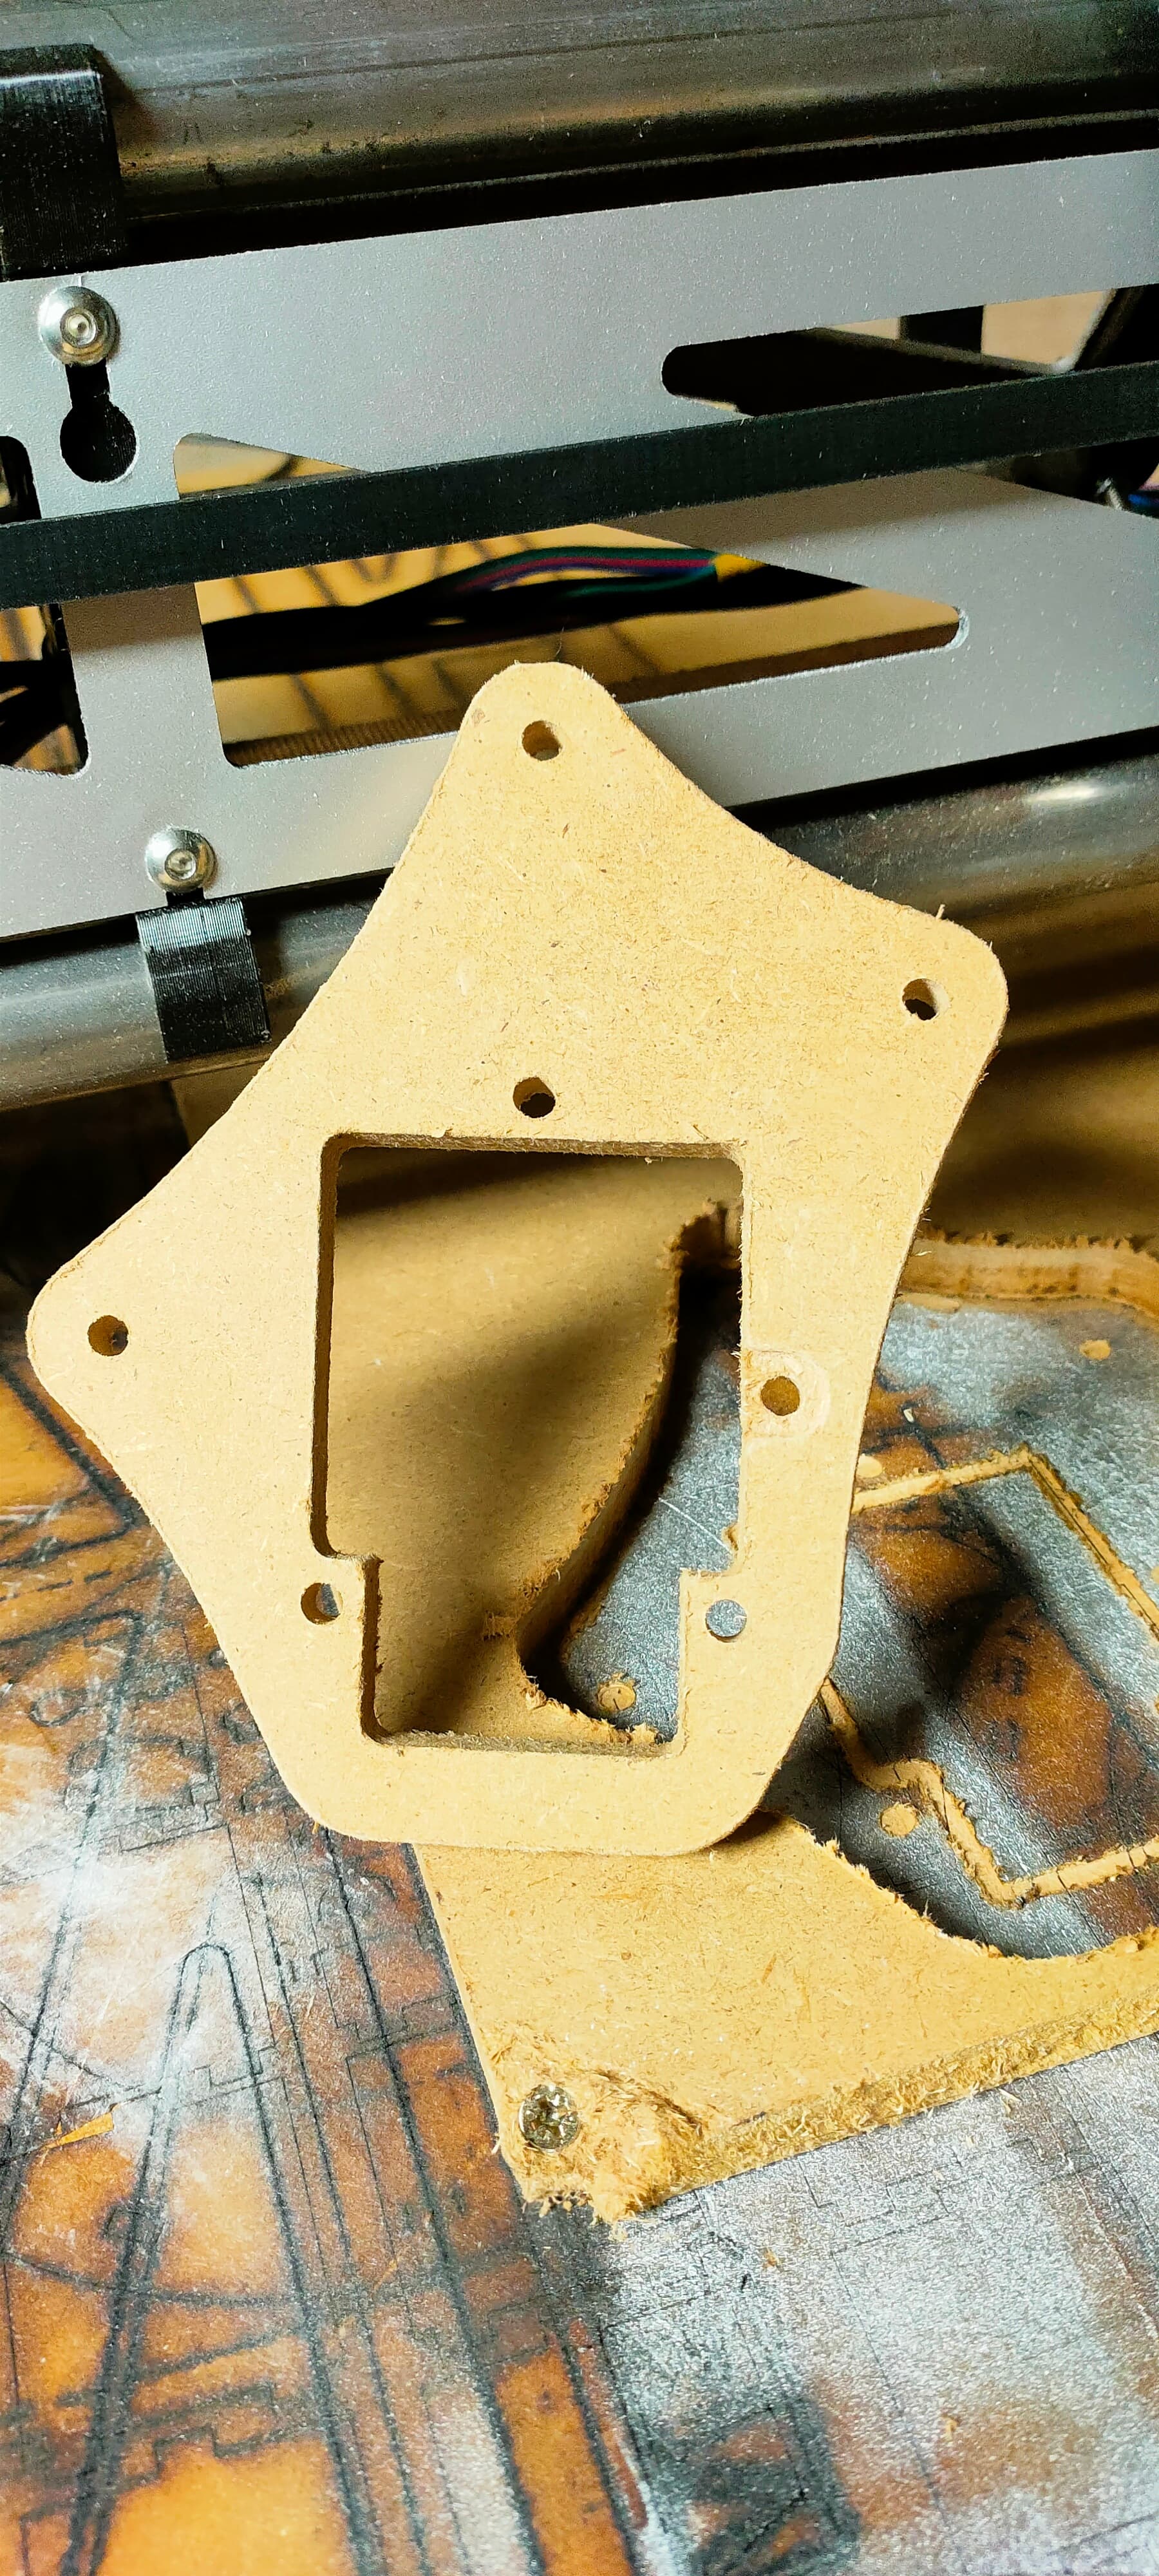
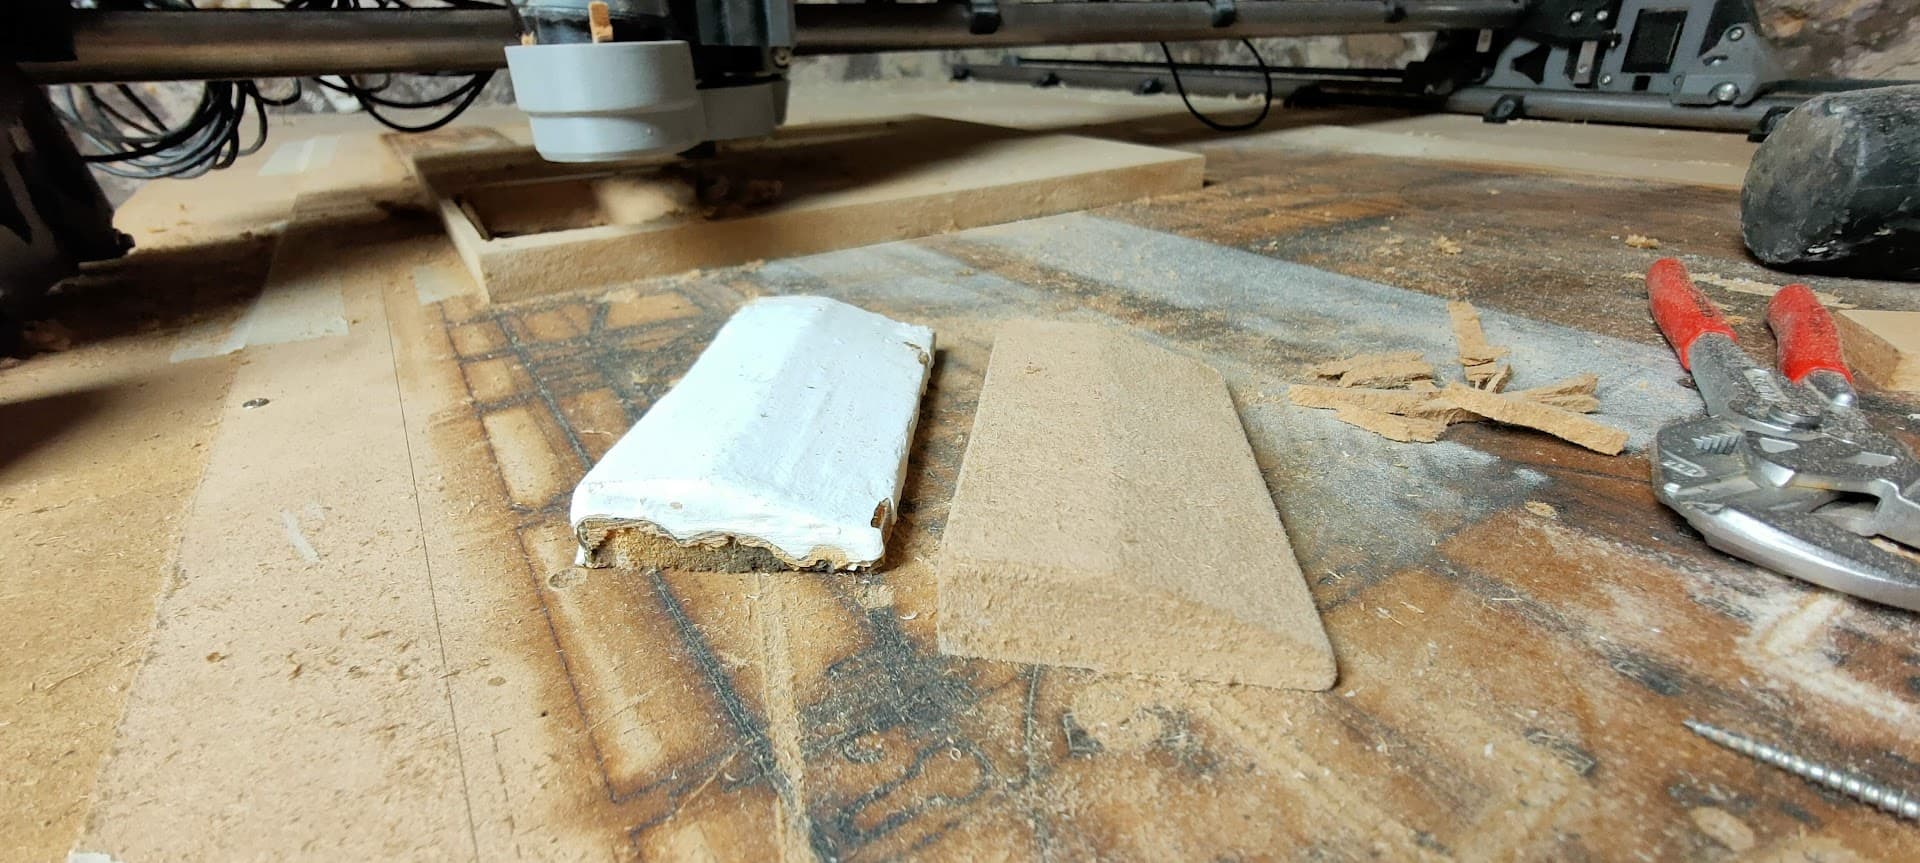
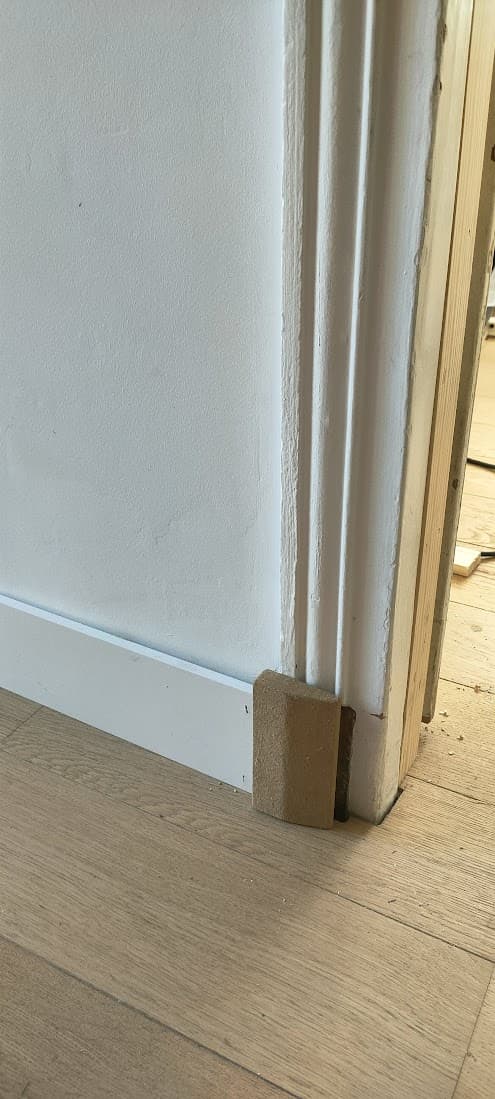
I also had to re-make a small piece of baseboard that shattered when trying to remove it
First “3D” mill I’ve done, and the LR3 delivered, even with astraight bit, nothing a quick sanding couldn’t take care of

6 Likes