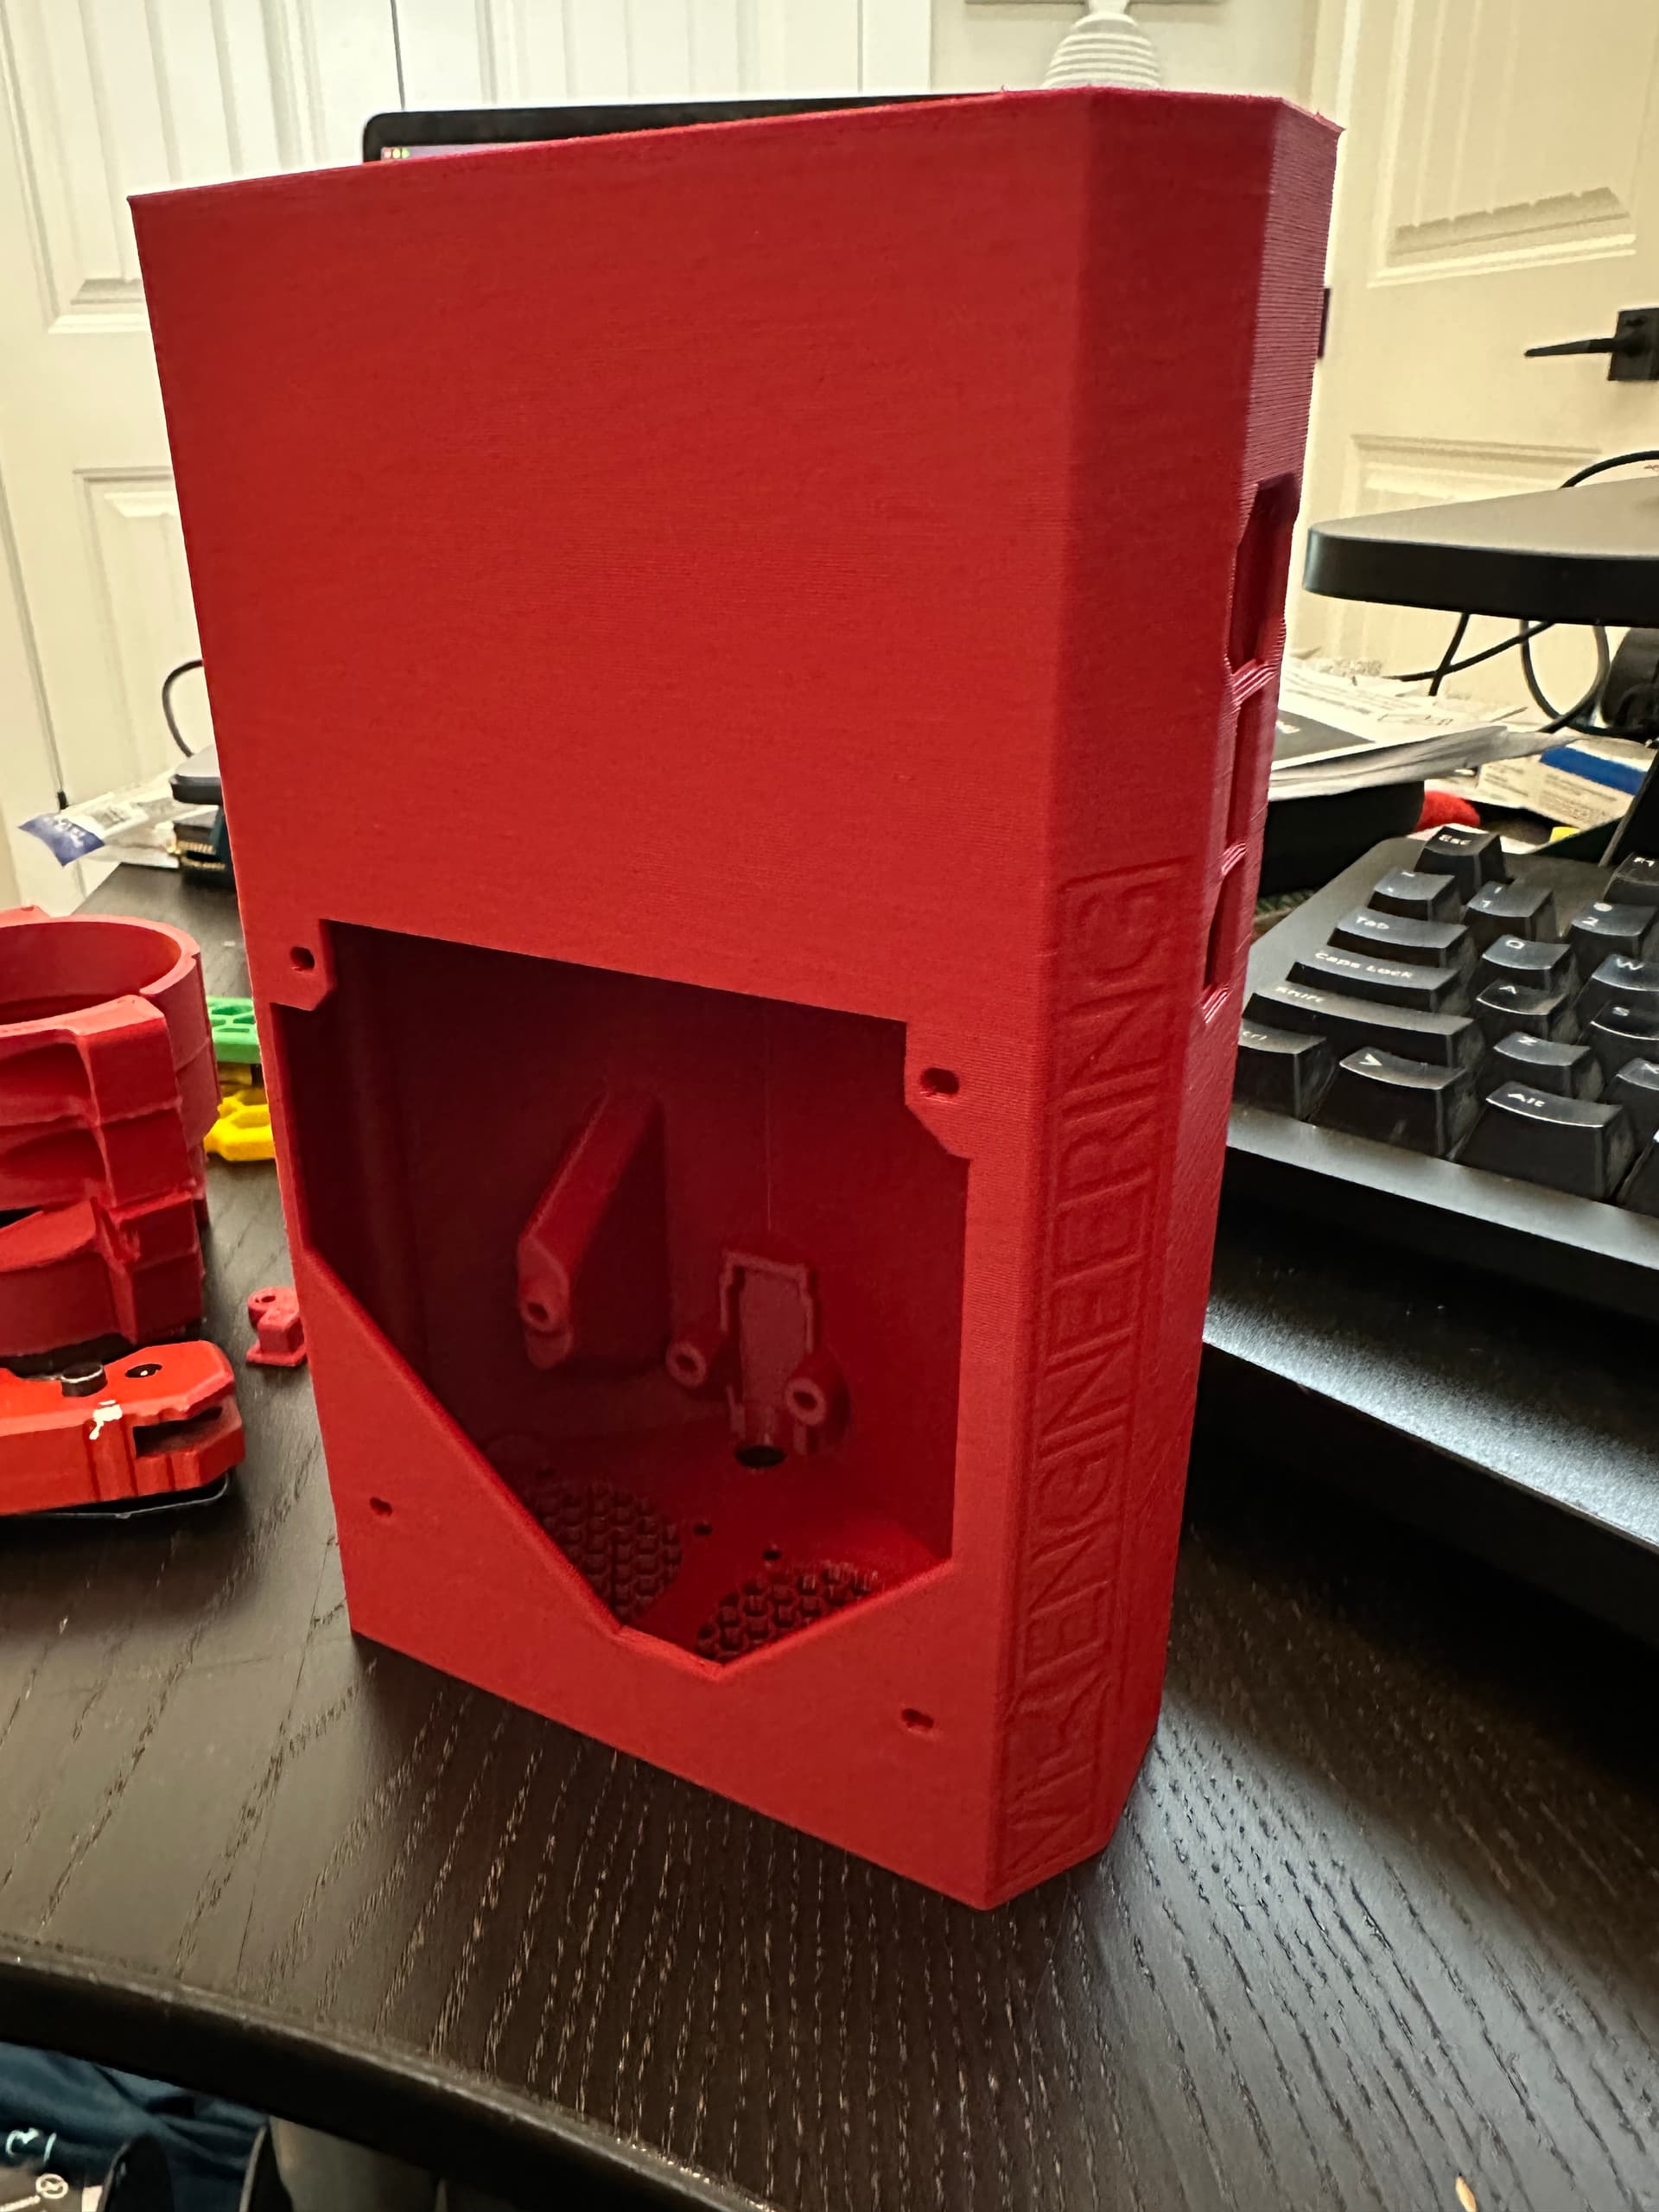
So it was still too big to print so I decided that I will figure out another solution for the Pi and printed the smaller ones you made for someone who only had a Prusa mini. Those turned out great!
4 Likes
Looks great, is that the orientation it was printed? If so, that’s great bridging imo for the flat top edge of the hole.
2 Likes
It was printed on the other side so not as long of a bridge to make.
2 Likes
Hey, nice looking print! If you get a chance, post that pic on the Printables listing as a “make.” Thanks!
1 Like
Hi Nate, It looks like your build is going great! I plan on using a colt (that I already have) for my initial build as well. How did everything end up fitting?
Thanks,
Joe
It has been a bit since I last posted. Got caught up in all those tech layoffs but hoping to finish the build this week as I have some extra time off. I decided to forego the custom tool holder and bought a makita router.
I am mid build but have all the parts. Still deciding the best table set up and then I need to determine the controller to use. I have a spare machine running Ubuntu on a mini pc. I could also buy a rpi 4 io board for a compute module I have. Any recommendations?
3 Likes

I got most of the more intricate parts together today. Tomorrow will work on the rest of it on a test table. Trying to decide on building a 4x4 torsion box that is foldable or if it is worth the effort.
I also ordered a raspberry pi 4 with 8GB ram to be the controller for this beast. Hopefully it comes soon. I will find a temporary controller in the meantime.
5 Likes
For what it’s worth, I have mine on a piece of 1/2" MDF supported by 2x4s ~14" on center and its flat enough. A torsion box is cool, but not needed . Just something flatish.
3 Likes
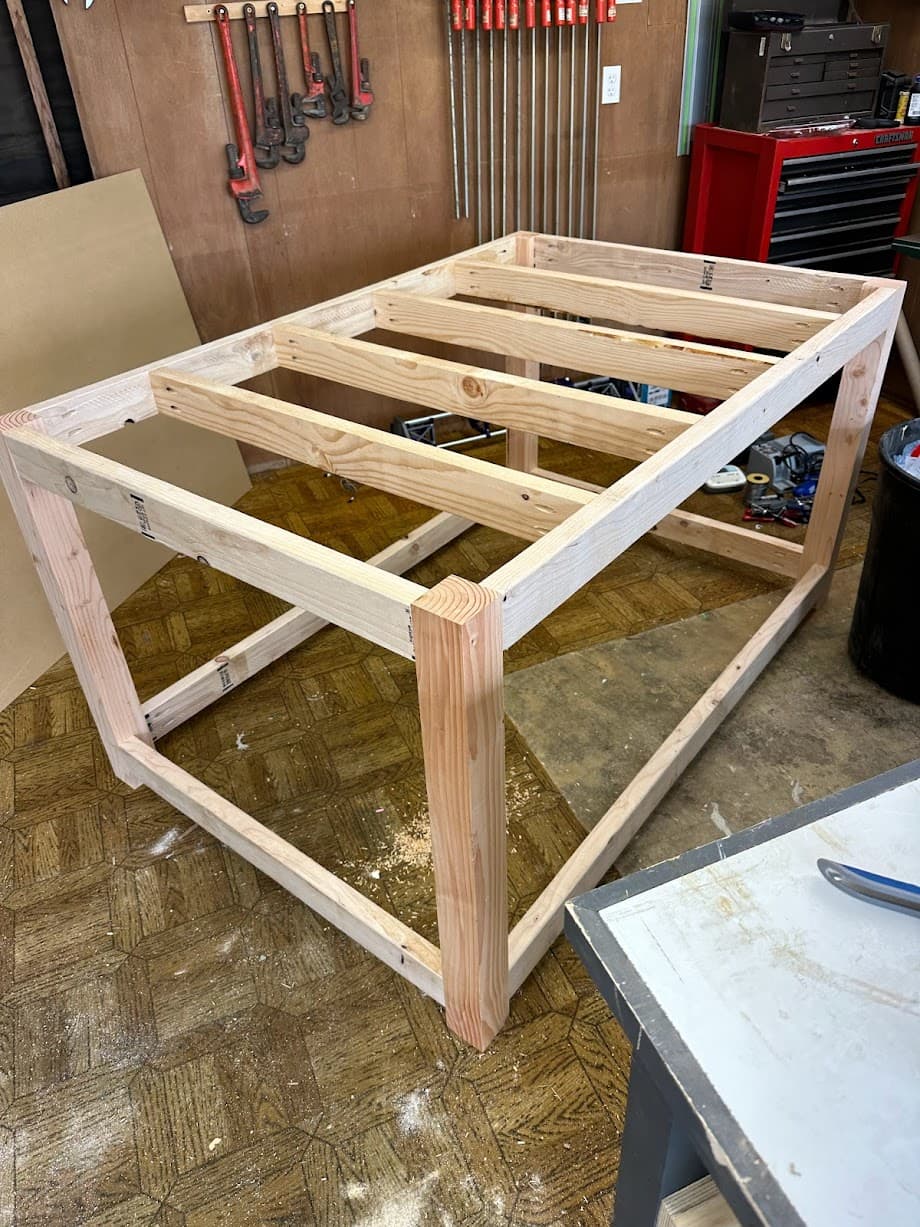
Thanks! I have lots of 2x4s so I think I will go this route until/if I find I need higher accuracy.
3 Likes
You could probably do something similar to what I posted. Maybe laminate to 2x4’s together for the legs
1 Like
Yeah I also have spare 4x4s. So I think I will probably copy it exactly.
1 Like
I made it 8 years this way. Surfaced my first LR table a couple months back and it makes it nicer…but not needed until you find a big bump or dip that gets in your way. Surprising how not accurate things need to be to make accurate parts!
3 Likes

I had less time yesterday than anticipated. Then had to grab a couple boards from the big box store. It is getting closer. Still adding some leveling casters and then the top. Going to glue and screw the 3/4 inch MDF top.
3 Likes

4 Likes
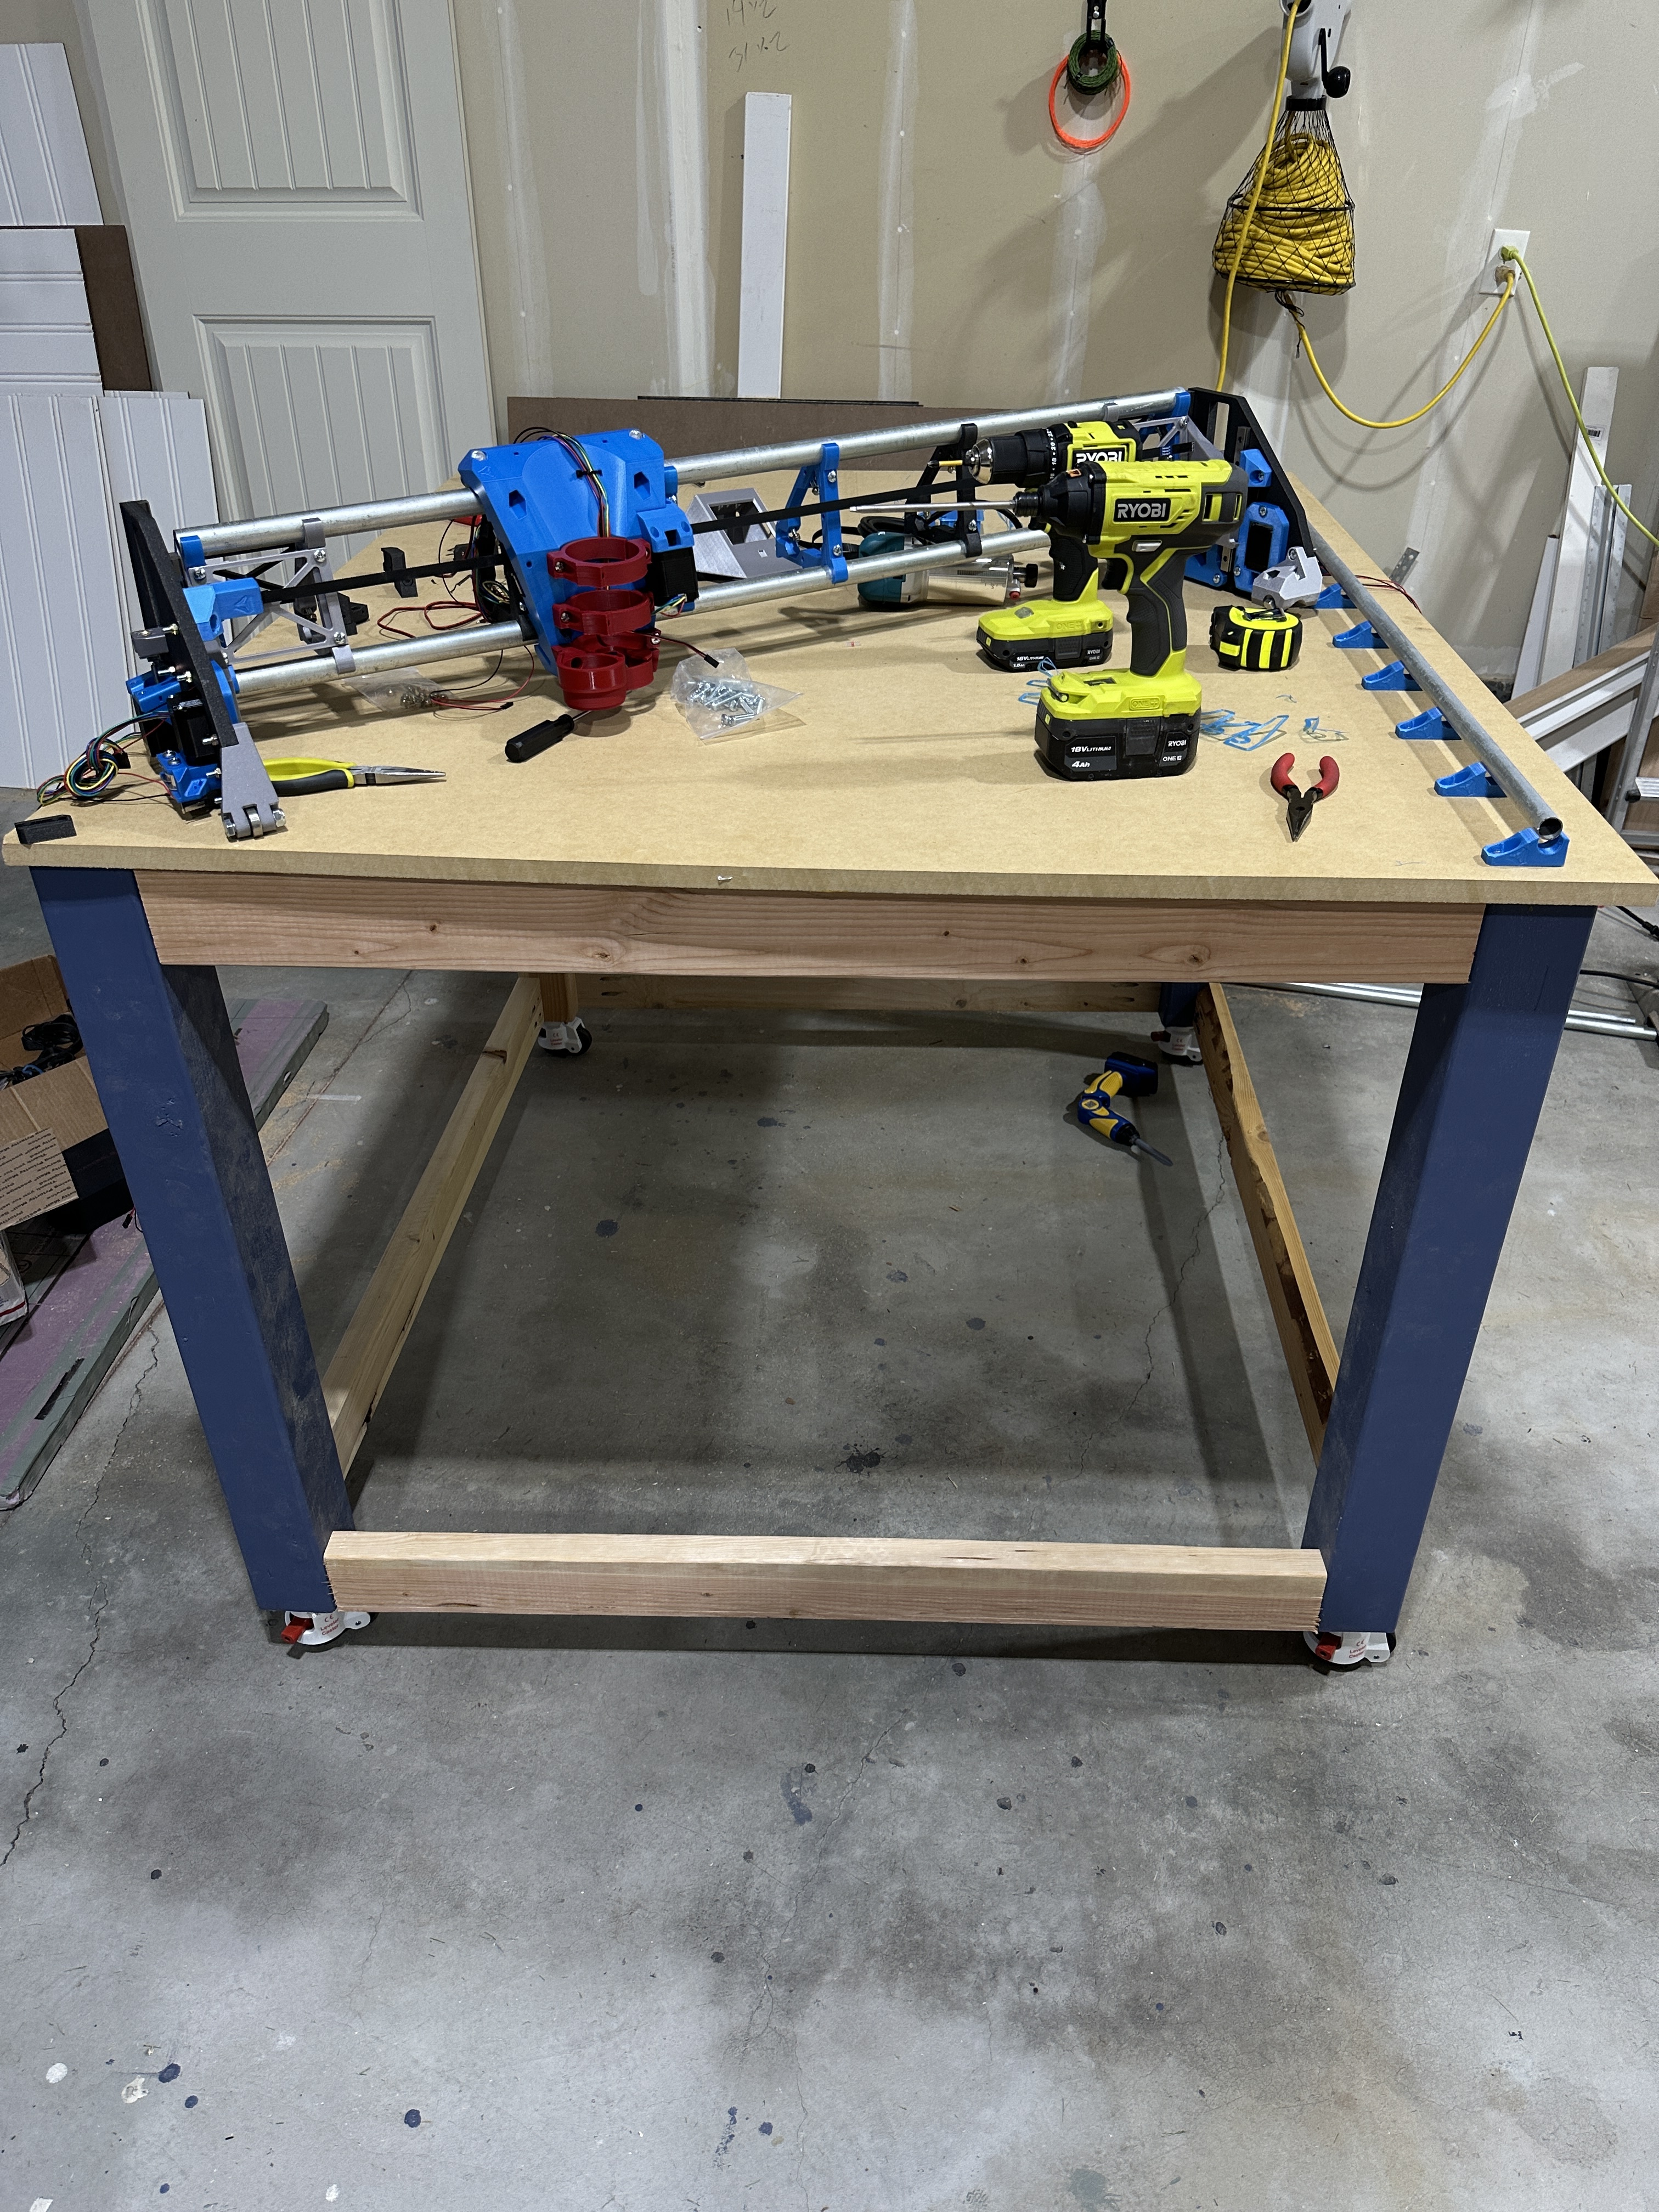
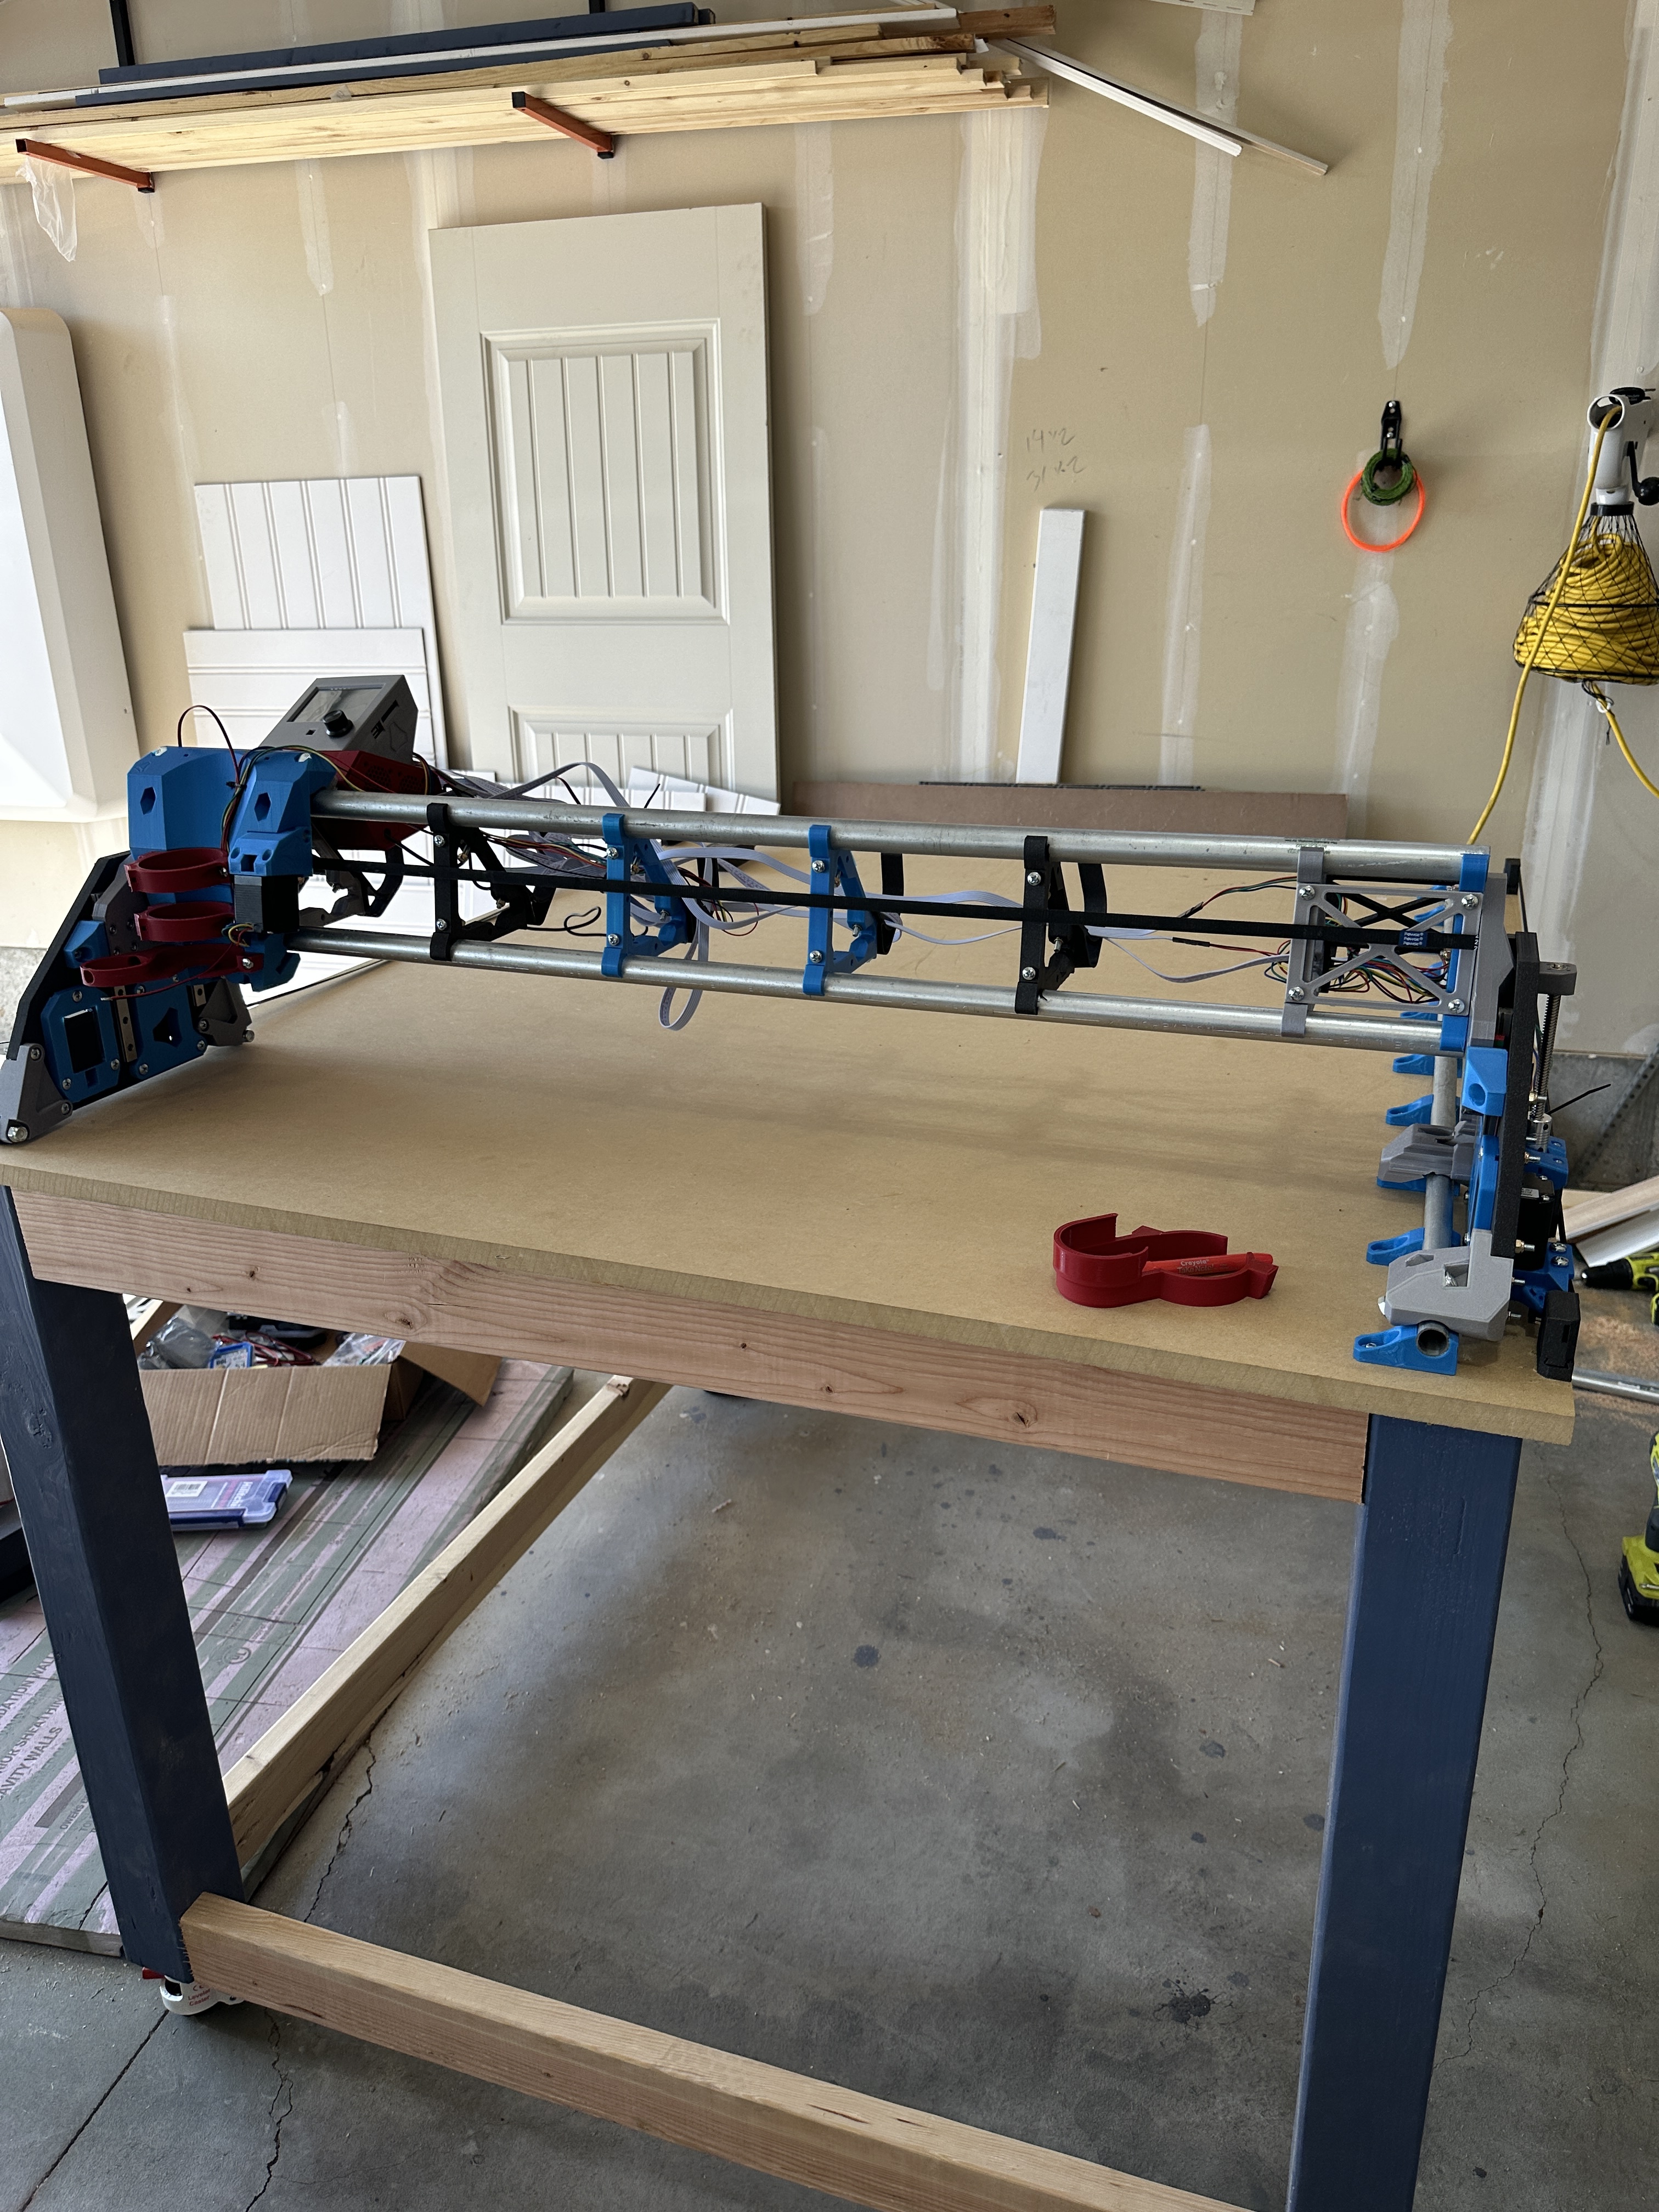
I have the build up and wired! Only issue I see currently is when I try to home Y, the right side falls off the Y rail and it even broke a y stop. So printing a new one of those right now. Any ideas? I was able to move it back and forth without issue, but home struggles. This is all from the TFT touch screen.
Also, where is the crown file and estlcam is the recommended control program?
1 Like
??? The endstop didn’t stop it? Test each individual endstop with M119 in the terminal.
Test crown
1 Like
So I sent it 800mm and when I was bringing it back on Y home it moved the left side but the right side just kind of stayed in place.
1 Like
Sounds like your endstop is shorted. Test each one with M119
2 Likes