Me, trying to ignore the noise from you lot asking about progress on the LR3, while scanning the horizon for signs of the delivery truck bearing the Mk$.
Had a lovely time away, thanks for asking, but now I’m wondering if I should get stuck in to the LR3 again and hope it’s not still in pieces before the Prusa arrives and I get distracted…
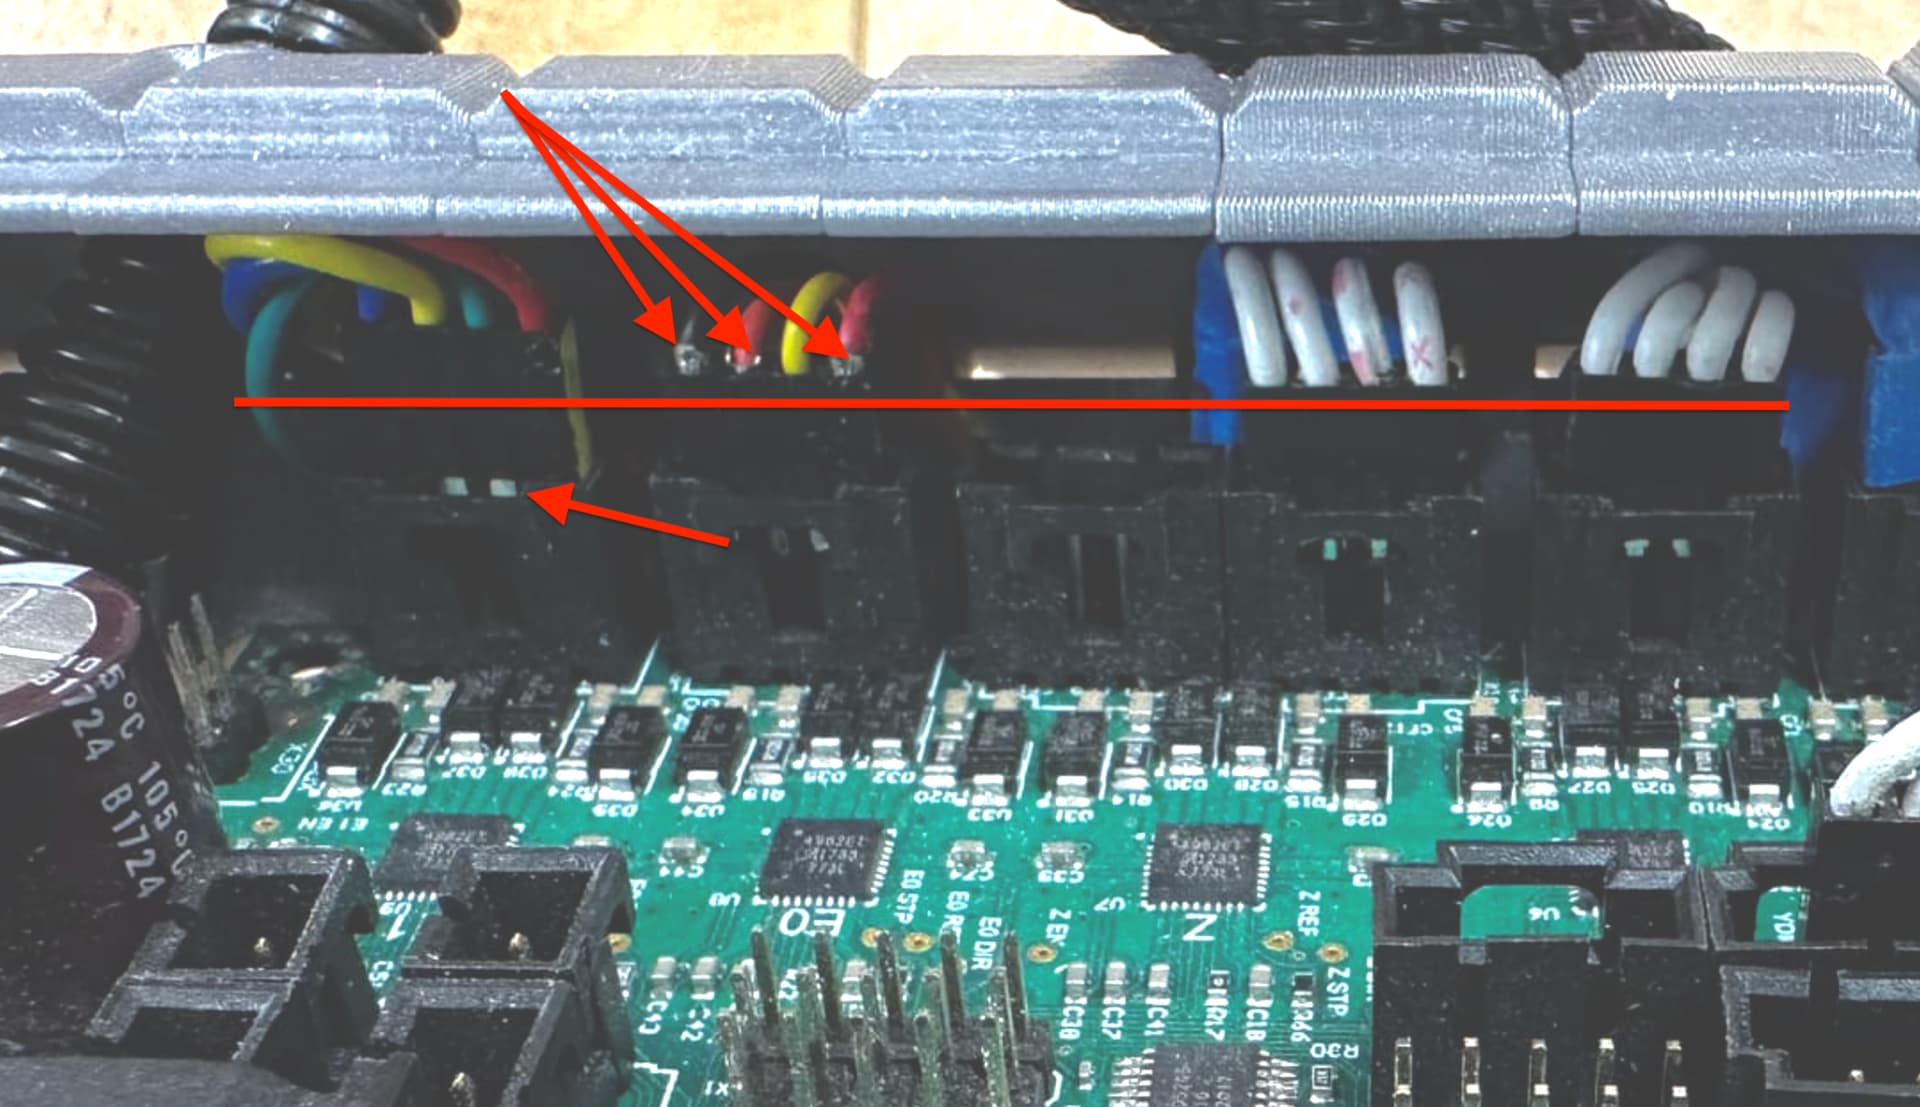
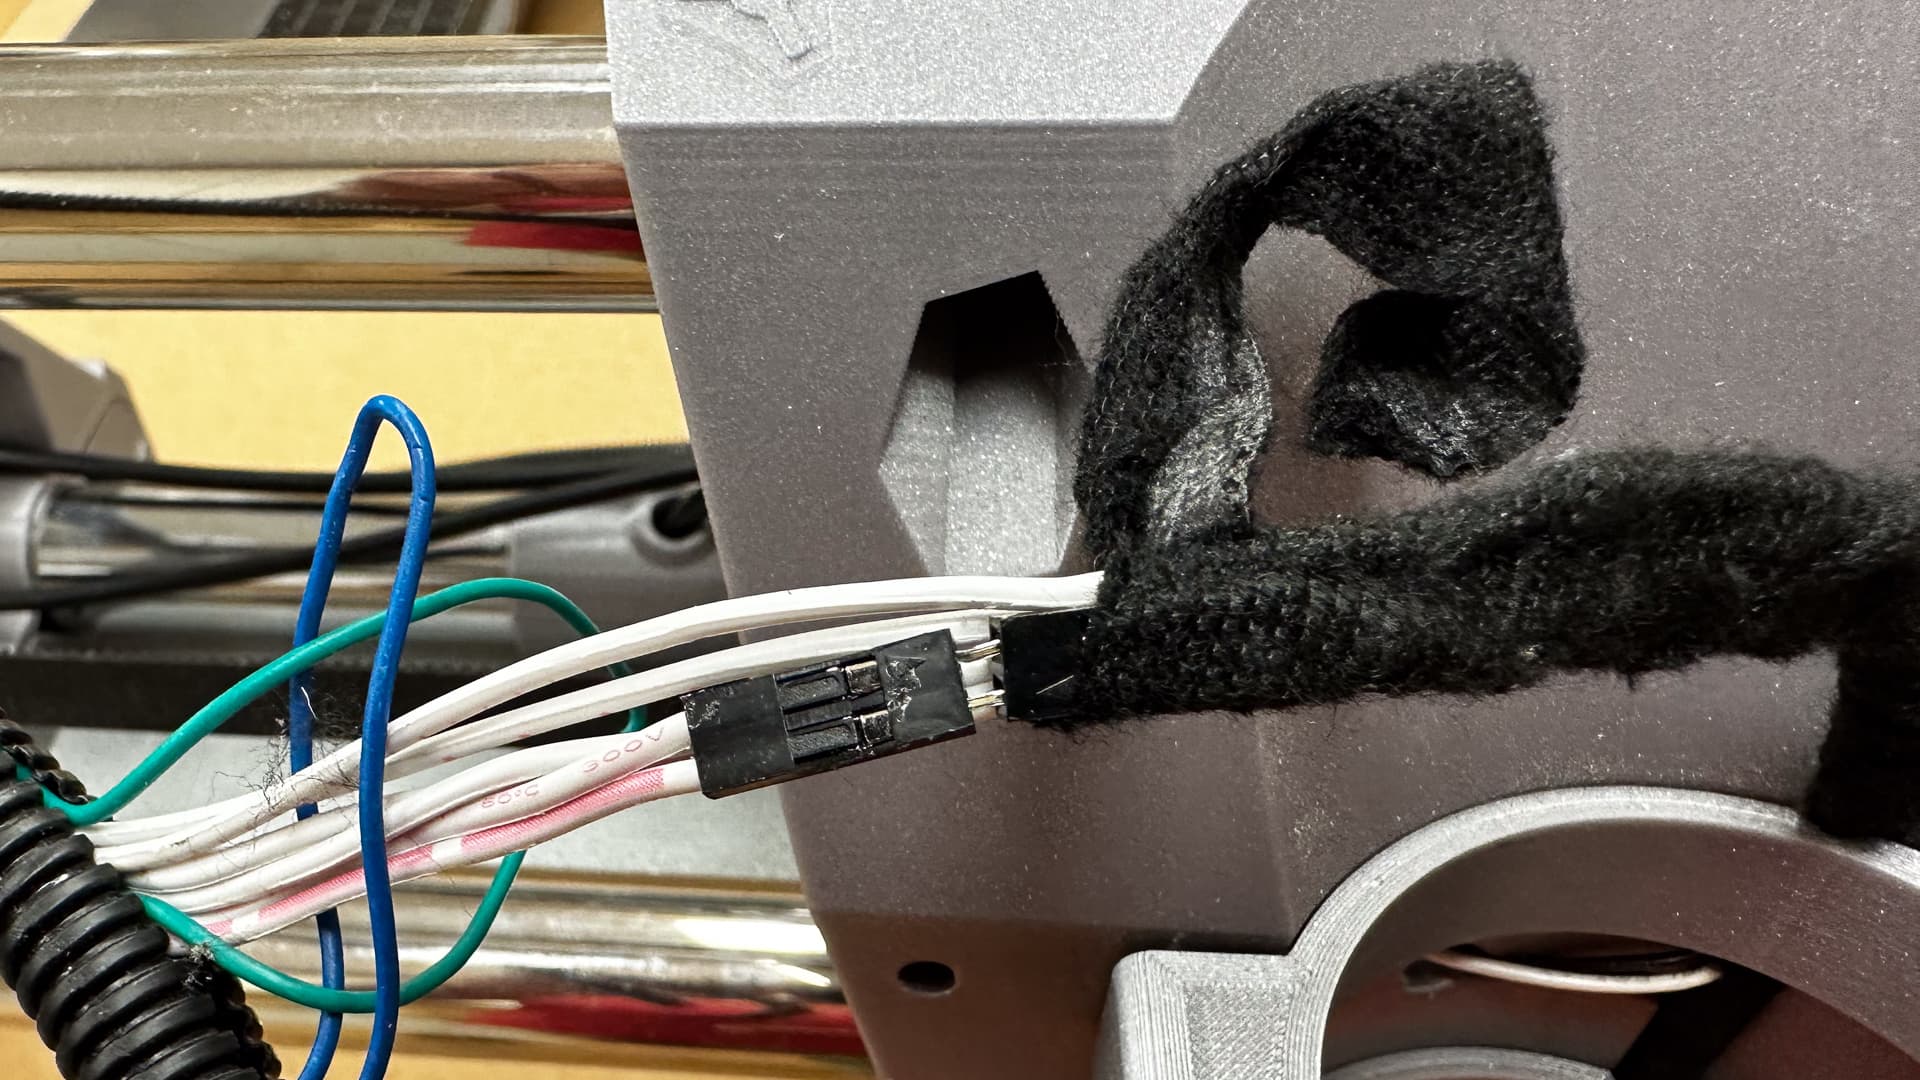
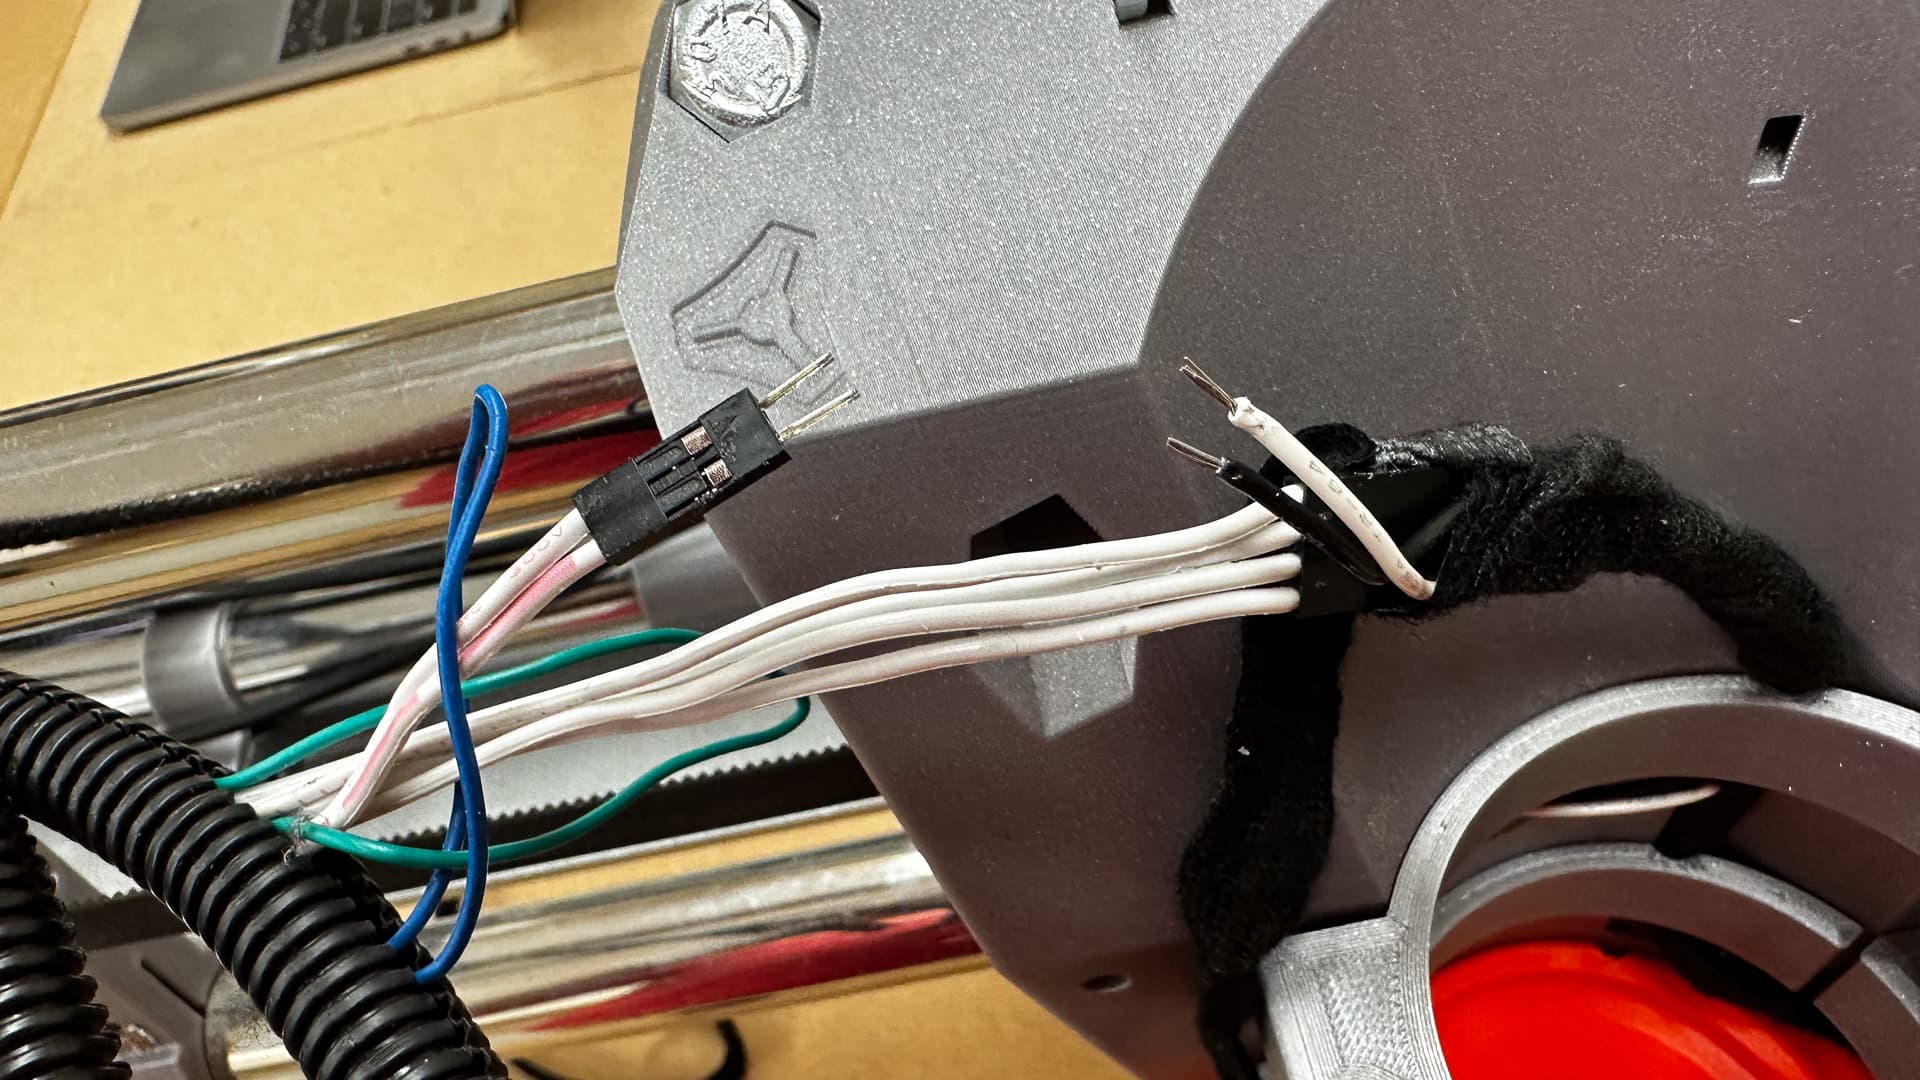
The problem was pretty evident in the photo above - the X was easy enough to fix as the pins happily slid down into the plug housing and all bedded nicely, but the Y “plug” won’t push home. I’m guessing one of the female terminals has a dent in it or the pins are slightly out of alignment.
It seems to be jammed though, I gave it a gentle tug and it wouldn’t budge - neither would it move if I gave it a gentle shove. Contact has been re-established and all runs again, but it’s probably not smart to pretend it’s fixed.
I guess a bit more disassembly is going to be required, and new terminals added all round!
As far as your crimp. I’ve had that happen when I stripped off too much insulation and the wire strands get into the section where the pins go. Not sure if that’s what you are dealing with or not. Only way I’ve ever been able to fix it is unfortunately cut it off and crimp a new one.
Bingo! As soon as you mentioned it I reckon that’s what happened. It’s such a temptation to think “really”??? I need just a bit more… - I am really fighting the temptation just to ignore it - but really it’s only ten minutes or so to remove the two struts, and just suck it up!
Says the guy who ADMITTED to finding zen in crimping! (I mean, so do I.) But yes, frustrating to have a bad crimp in a difficult spot. Hopefully it really is a quick disassembly!
Point well made, but the the error in communication is mine! It’s the disassembly I don’t want to do, because really I just want to get on with using the machine - but the REWARD for me will be those four crimps (or six if I get two wrong! :D) in the middle of the job!
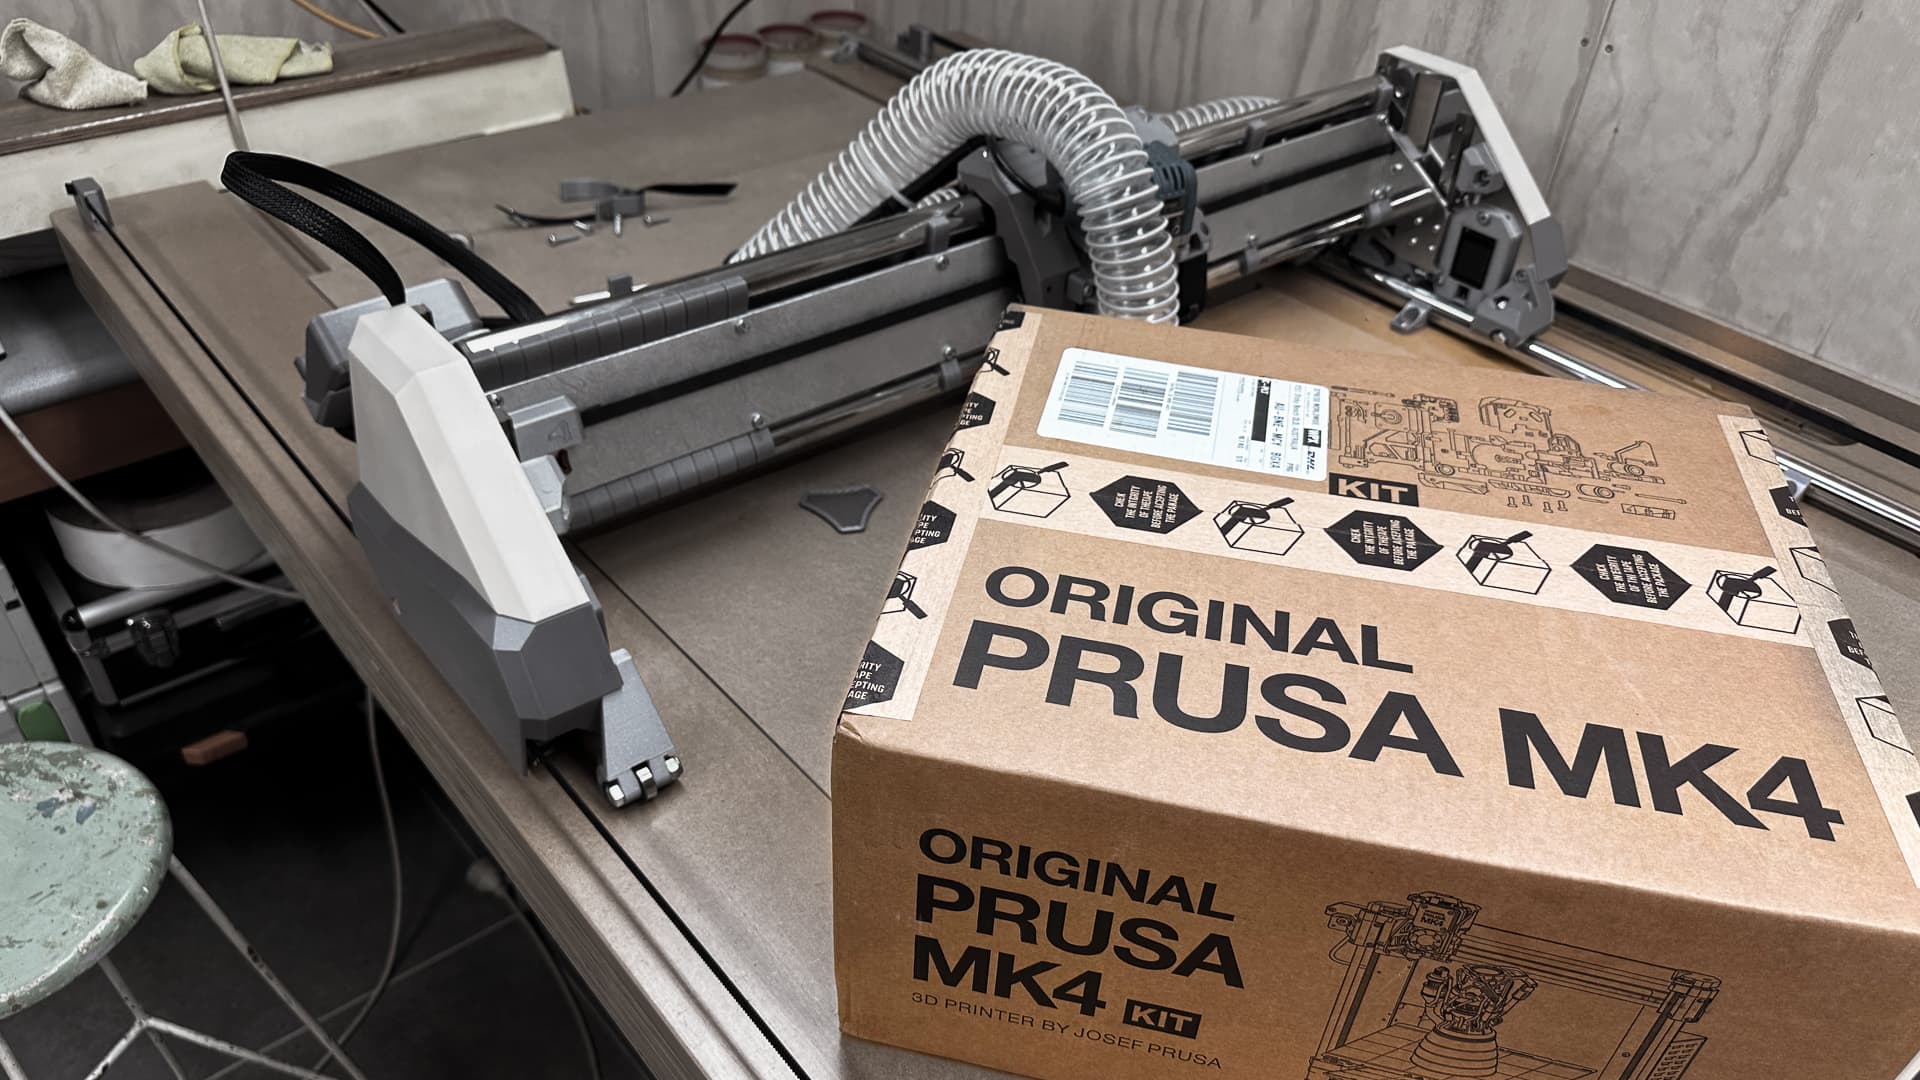
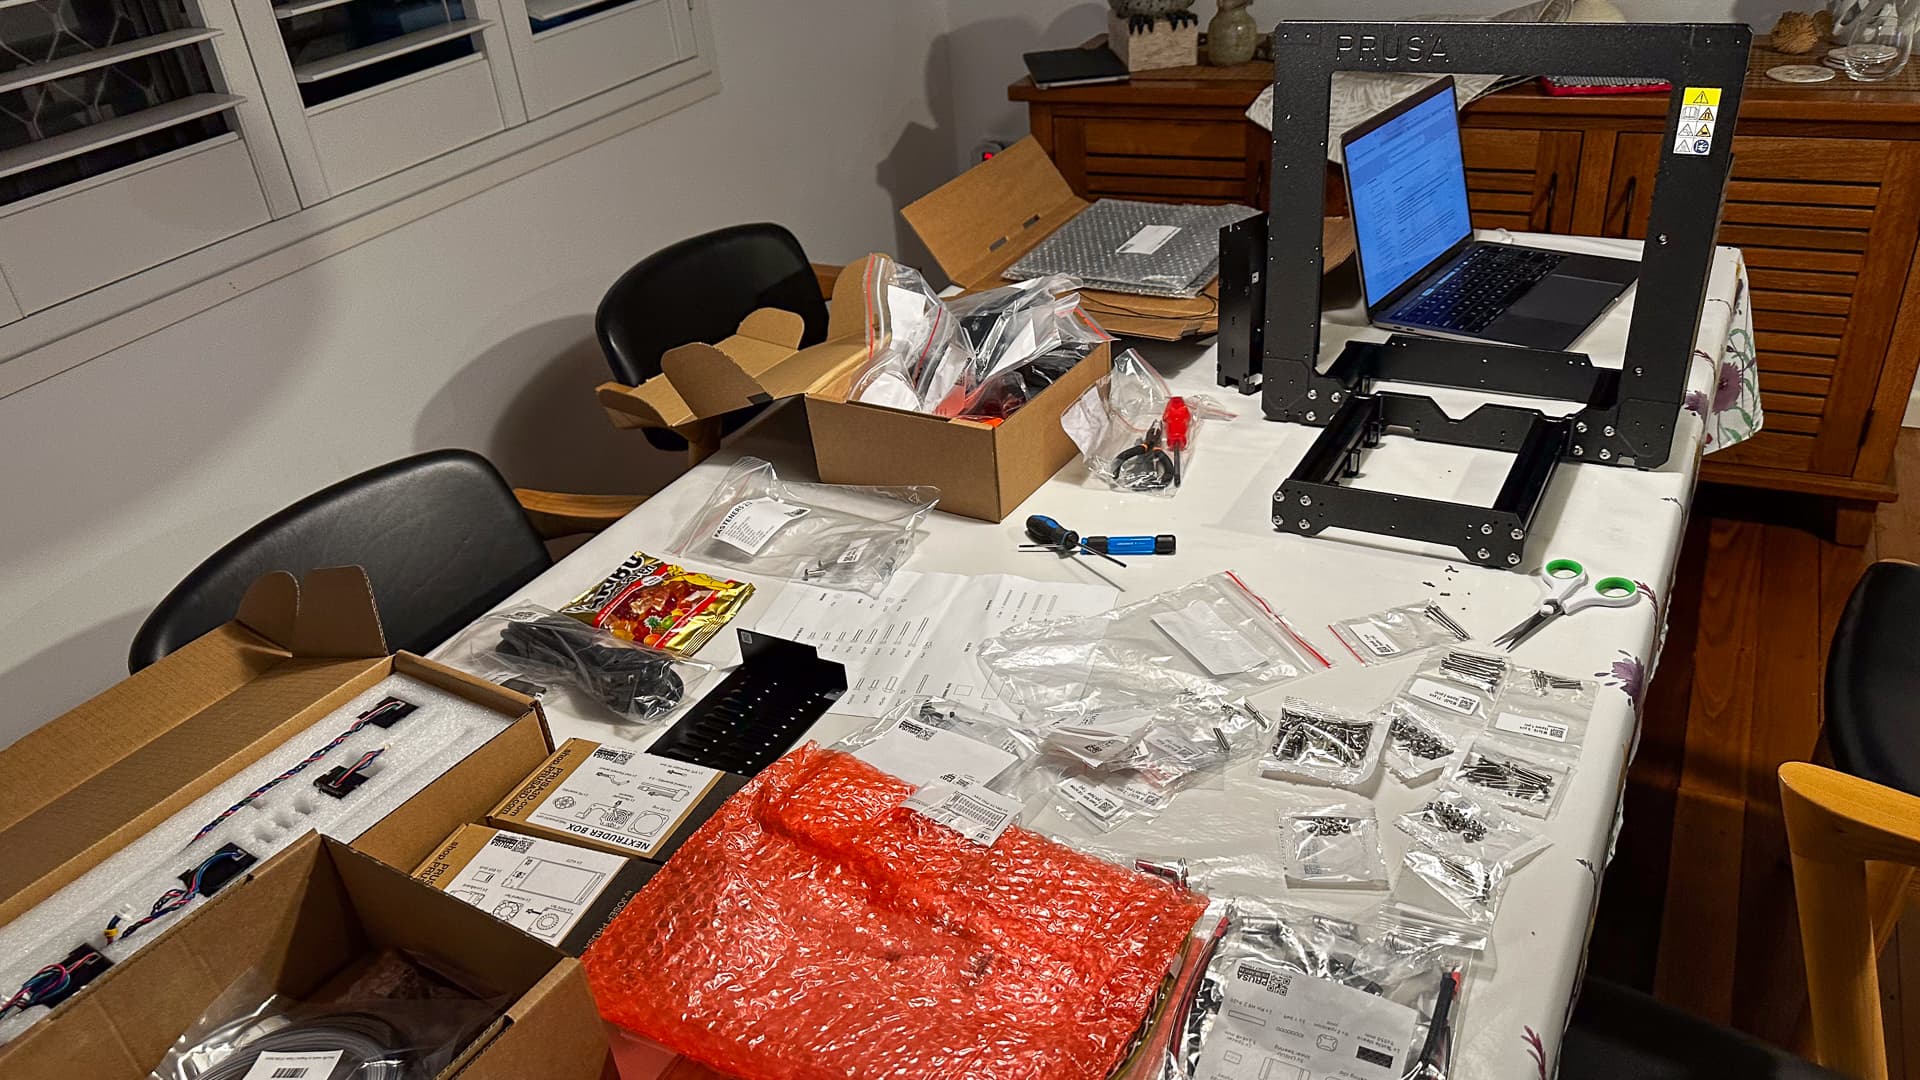
But the Mk$ is currently covering our dining table, so I guess that has top priority at the moment, and I’m not a believer in “how fast can it be done!”. I have to say, fanboy or not, the quality of those castings is spectacular!
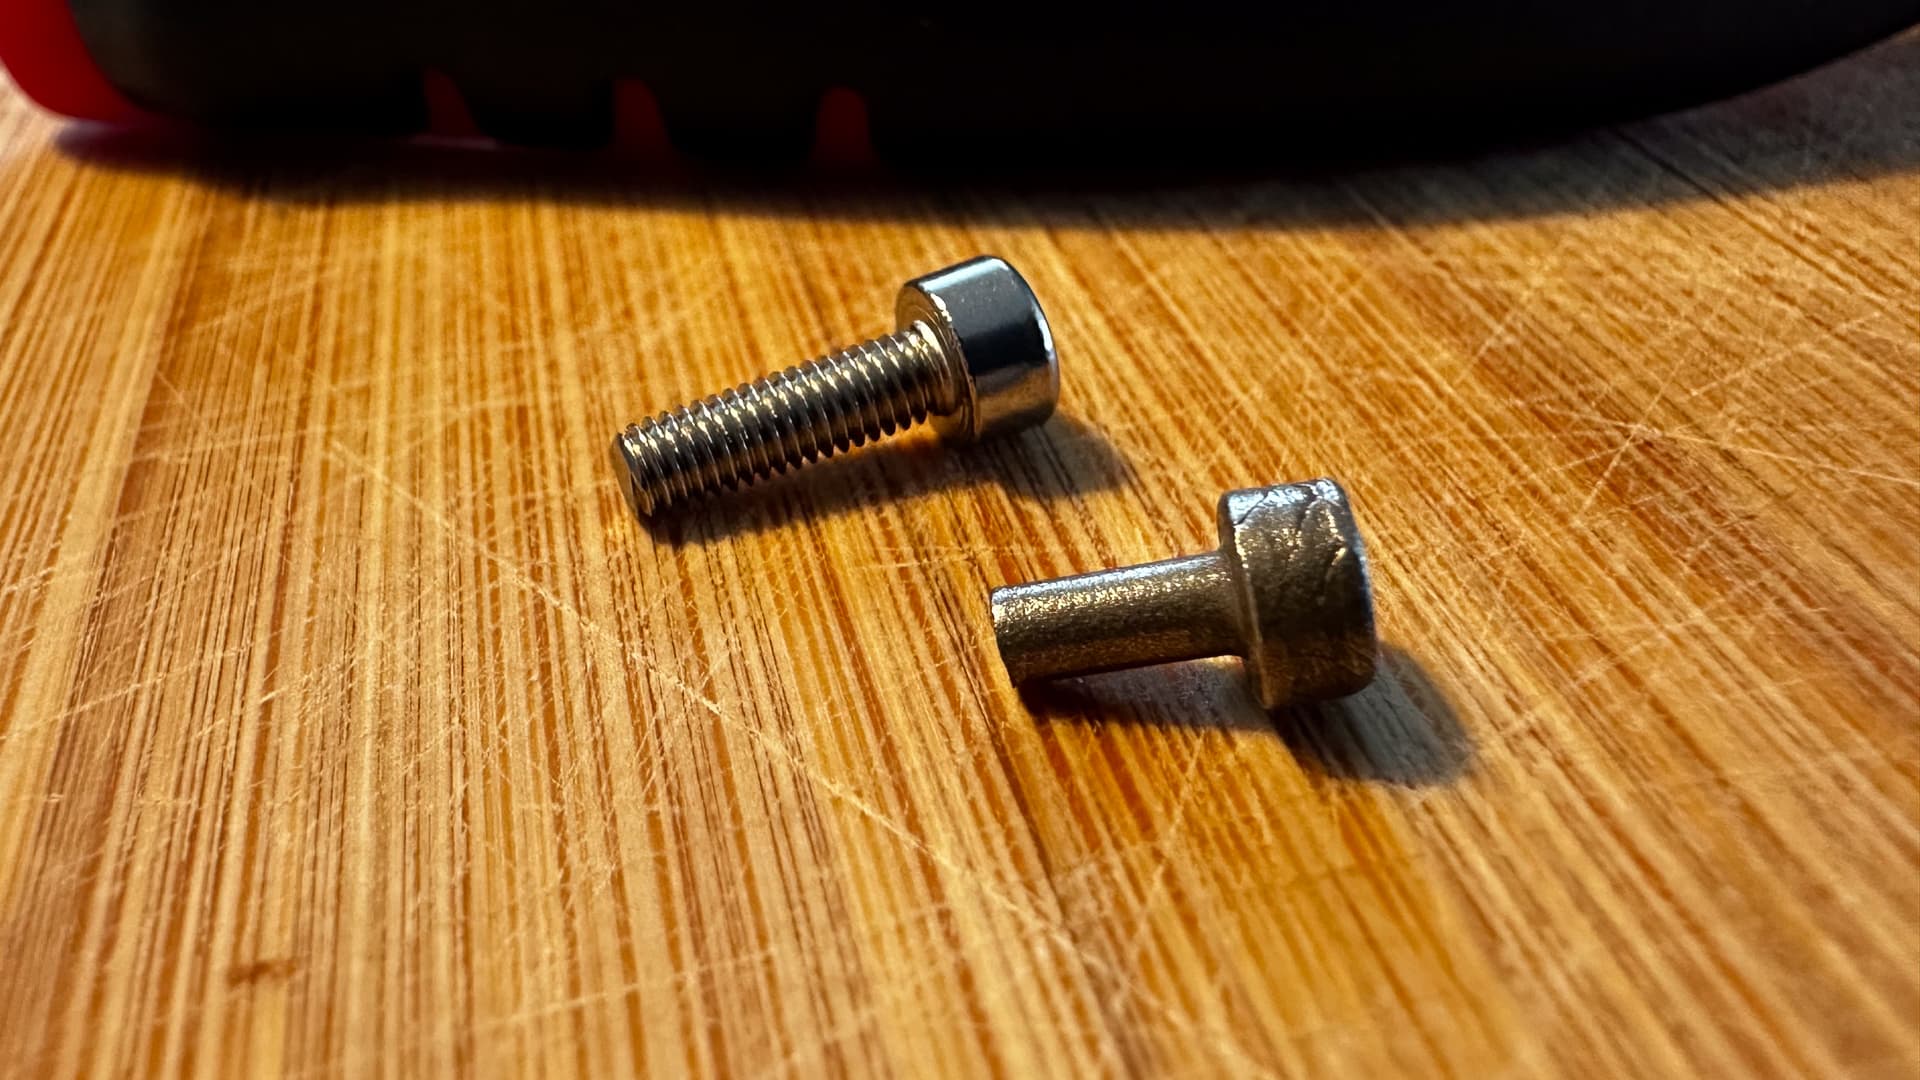
Progressing well in between other tasks, got to screwing the earth wire onto the board of the Mk$ and the screw just fell down the rabbit hole.
Too lazy to put my specs on, I shot a short video of me pushing the screw straight into the hole and pulling it out again, and got on to Prusa Chat to see if I’d ruin my warranty if I tapped a bigger hole in the board.
While waiting for my little vid to upload I decided to try to get a photo of the non-tapped hole interior, only to discover with the benefit of spectacles and a strong light, a perfectly formed thread.
Then I looked at the screw… @vicious1 did that to me on the LR2 as I recall so you could fairly ask what I learned from that experience. I can’t help but think they were both deliberate acts!
If the line has been running for a long time, every once and a while that 30 year old, broken, never actually tapped blank that was stuck in some corner of a supply bin will pop free from whatever crevice it was stuck in and end up in the output queue.
I don’t really care at this stage - I have really wondered since the announcement in April, why I haven’t been stronger and resisted by beloved’s pushing me to get the new one, but it’s finished, I’ve printed the “Original Prusa” keytaag in 8minutes which is exactly one third of the time the Mk3 would have taken and I’m impressed!
Now what was that other project I have lying around here somewhere?
No no, not the strip and rebuild the Mk3… the other one.
We might have a crown tomorrow.
Oh no.
There’s a certain 4 year old’s brithday party that means we’re away till Monday.
Monday’s are always good days for commissioning CNC machines.
Well it didn’t happen Monday, Tuesday or Wednesday, but I did get the new crimping done and plugged and tested on Tuesday, and today (which is Thursday in Aus) I confidently pressed the “home all” button, to discover the old x axis demon is back.
Homing moves 10mm + “home” is wherever the Core is at startup and nothing I can do can convince it otherwise. I’m off to check all the “X” end stop wires again and have my fingers crossed that I have shaken a plug loose. Might have to pull out the crimps again!!
I used connectors, but they aren’t the problem! I think I mentioned above that I was having a horribly high failure rate with the dupont crimps initially, because I was using the wrong crimper (the jaws are the “same” pattern and I just wasn’t thinking - they were the ones I used correctly for the blades!) I suspect this is the first of a couple of “fails” that will bob up.
Because they were the first crimps I did, sadly they are deeply buried so I’m glad I’ve discovered the “old undo two bearings to pull the core off” trick.
If a job’s worth doing, it’s worth doing again! Ugh - all the tape in the world won’t save a bad crimp.