And then I went to print the new front mounts (thanks again @vicious1 Ryan.) and remembered I don’t have the Mk$ yet so I’ll just have to wait till this job’s over to print them.
Never mind, a day off the LR won’t hurt I thought, so I went off and made similar mistakes on a cabinet I’m building and will no doubt get back to it in the morning with a fresh brain.
As a senior safety monkey around here, I can assure you we don’t really care about your feet. We figure roofing nails and stray Legos should teach you everything you need to know about safety below the knee. Your parents should have taught you about safety between the belt and the knee, and we tend to focus on above the belt safety. No dangling cuffs, proper eyewear, engaging your brain before engaging the robot with the spinning hunk of death metal… And, of course, never turning your back on said robot with aforementioned spinney metallic death attachment.
I was one ear down before I even found V1E years ago, and the tinnitus has just gotten worse over the years. I watch TV with closed captioning on to make sure I don’t miss any critical dialog (and because I watch a fair amount of anime and foreign film/TV, and prefer subs over dubs; probably childhood trauma from bad 60’s & 70’s WuXia/Kaiju dubs).
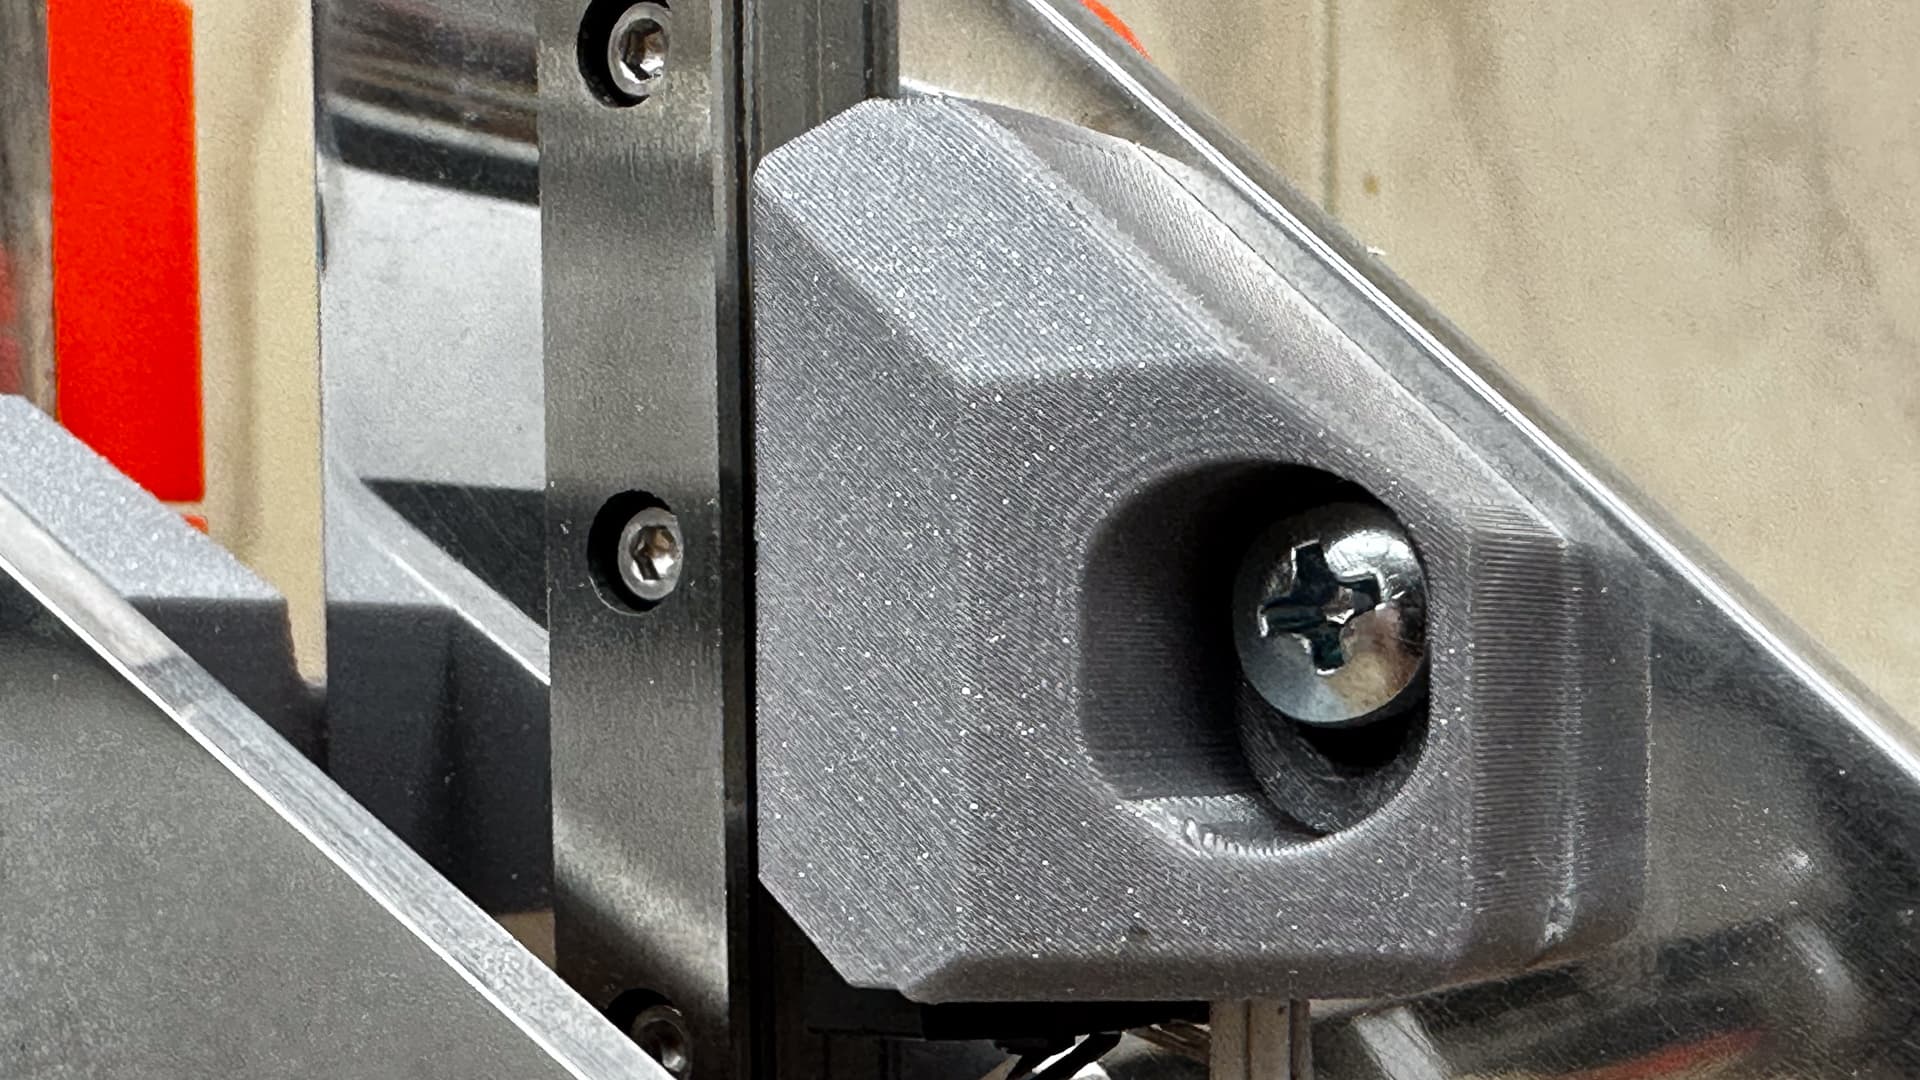
After one of those days when life has just got in the way at every turn, at 3:30 I finally got downstairs and installed the new front stops. They are super easy to adjust as one would expect with the slot.
As reported on another thread, while I had the back strut off, I switched out a usb cable and Repetier started talking to the Mac!
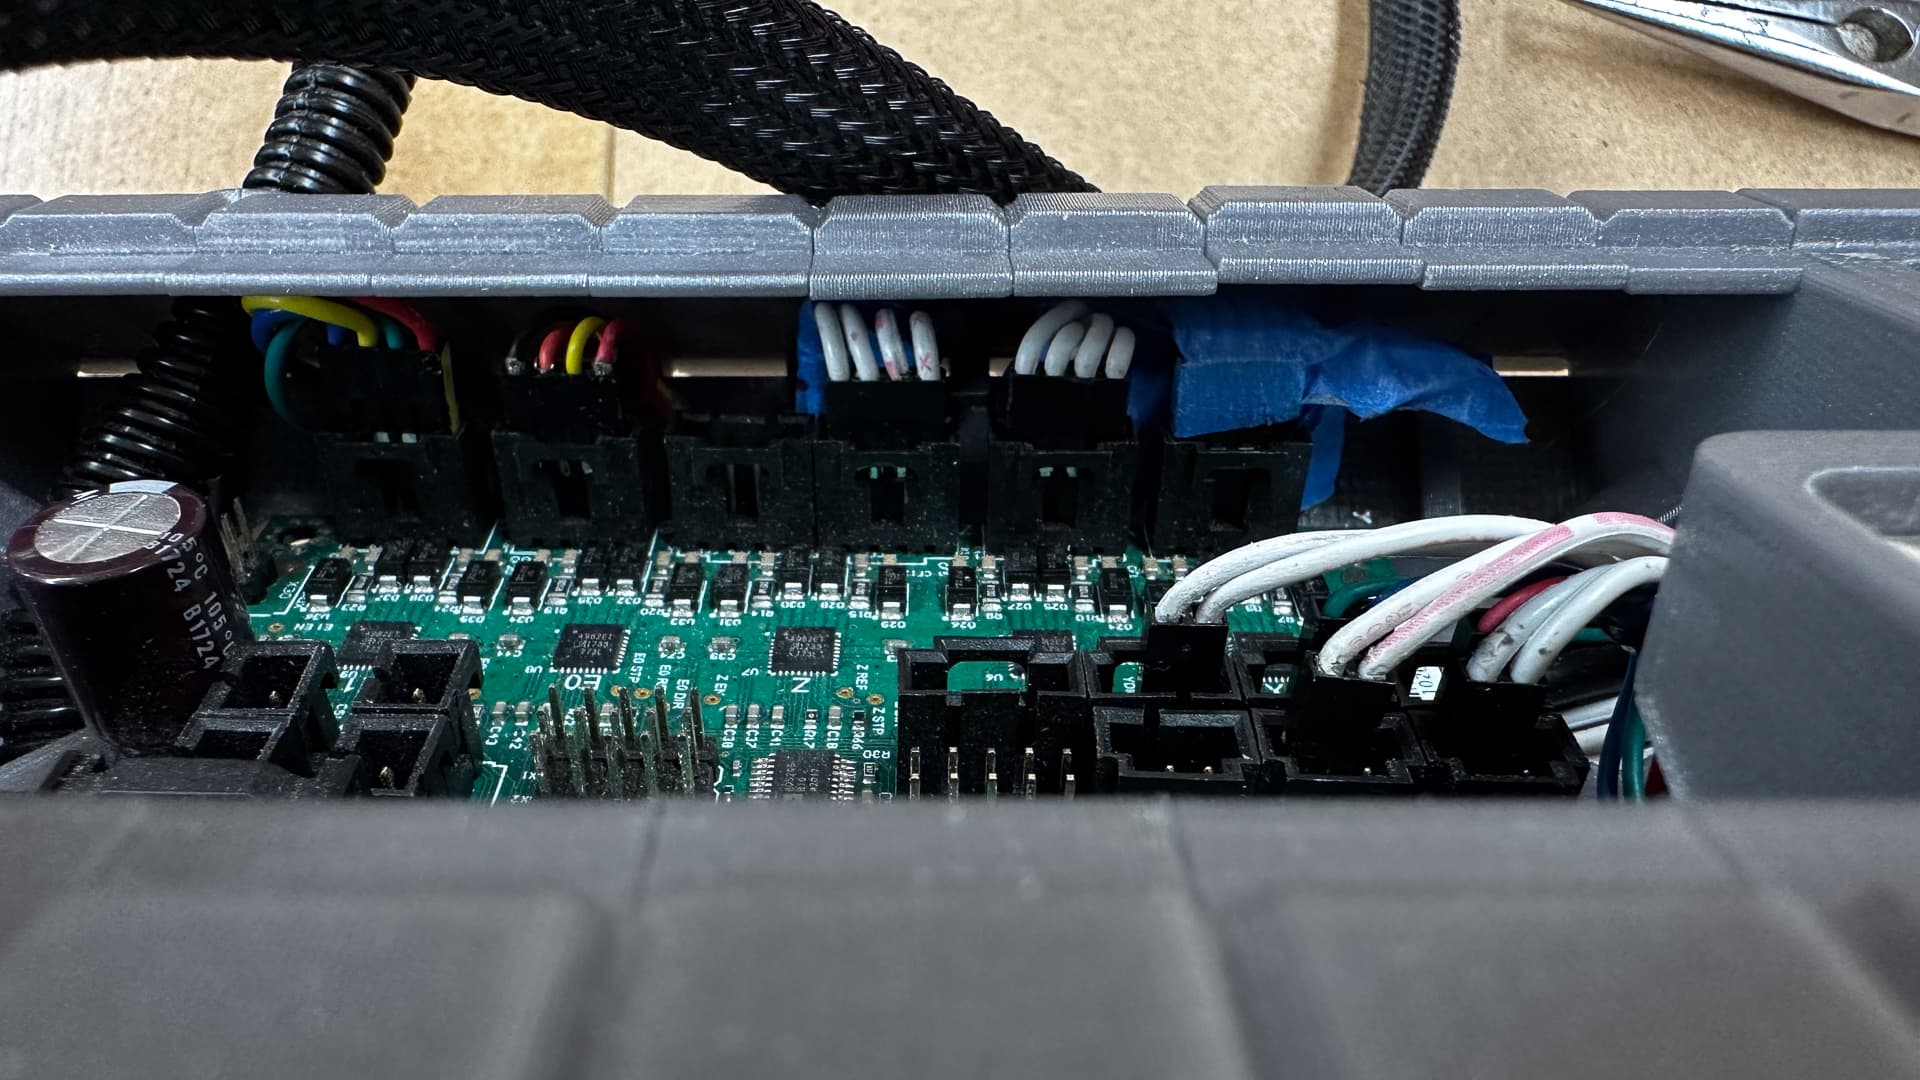
Then, despite my chronic lack of room, I managed to switch the “Y”'s using a pair of long nosed pliers and the old hold-your-breath-and-hope-you-don’t-wiggle-a-pin-off-technique, which all wen’t surprisingly smoothly.
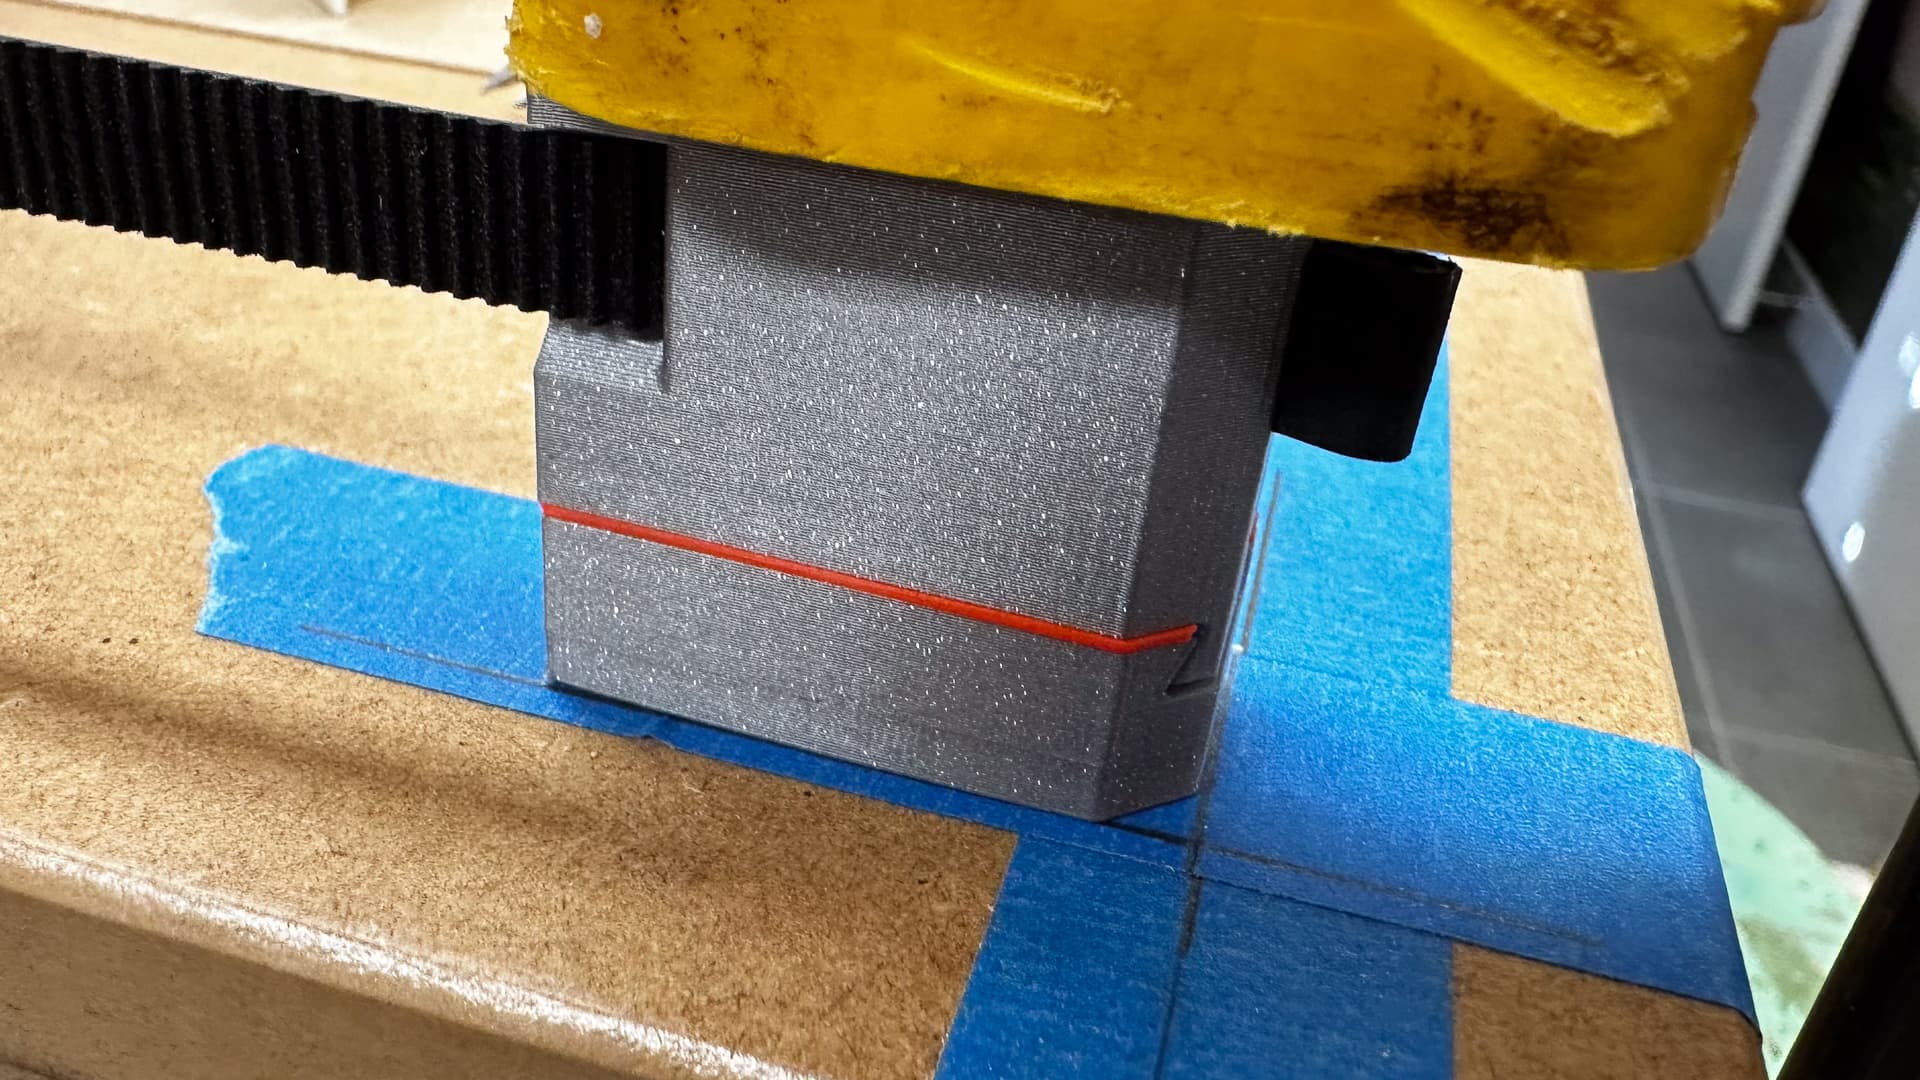
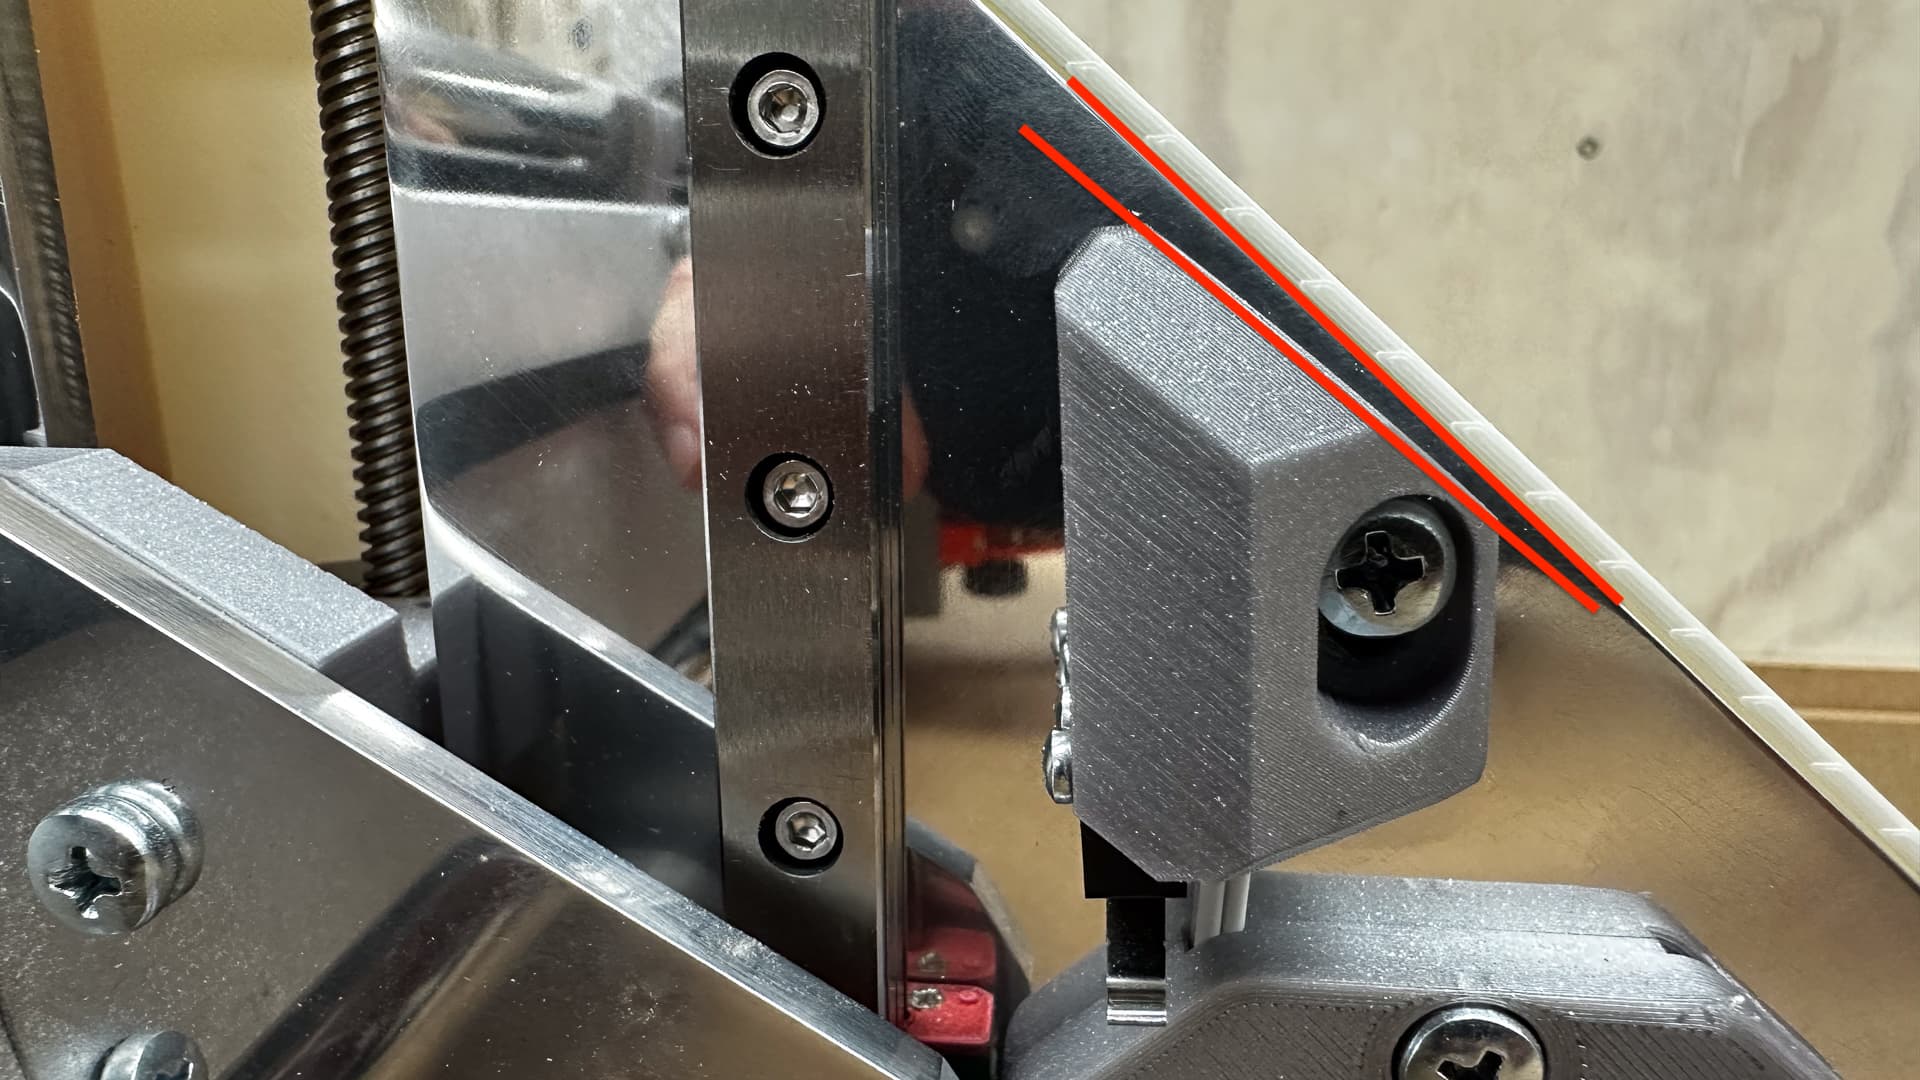
Time flies when you are having fun, so a couple of hours later, everything is almost working. I plopped the router in to see how things were and apart from tilting forward by a shave, all is well with the world.
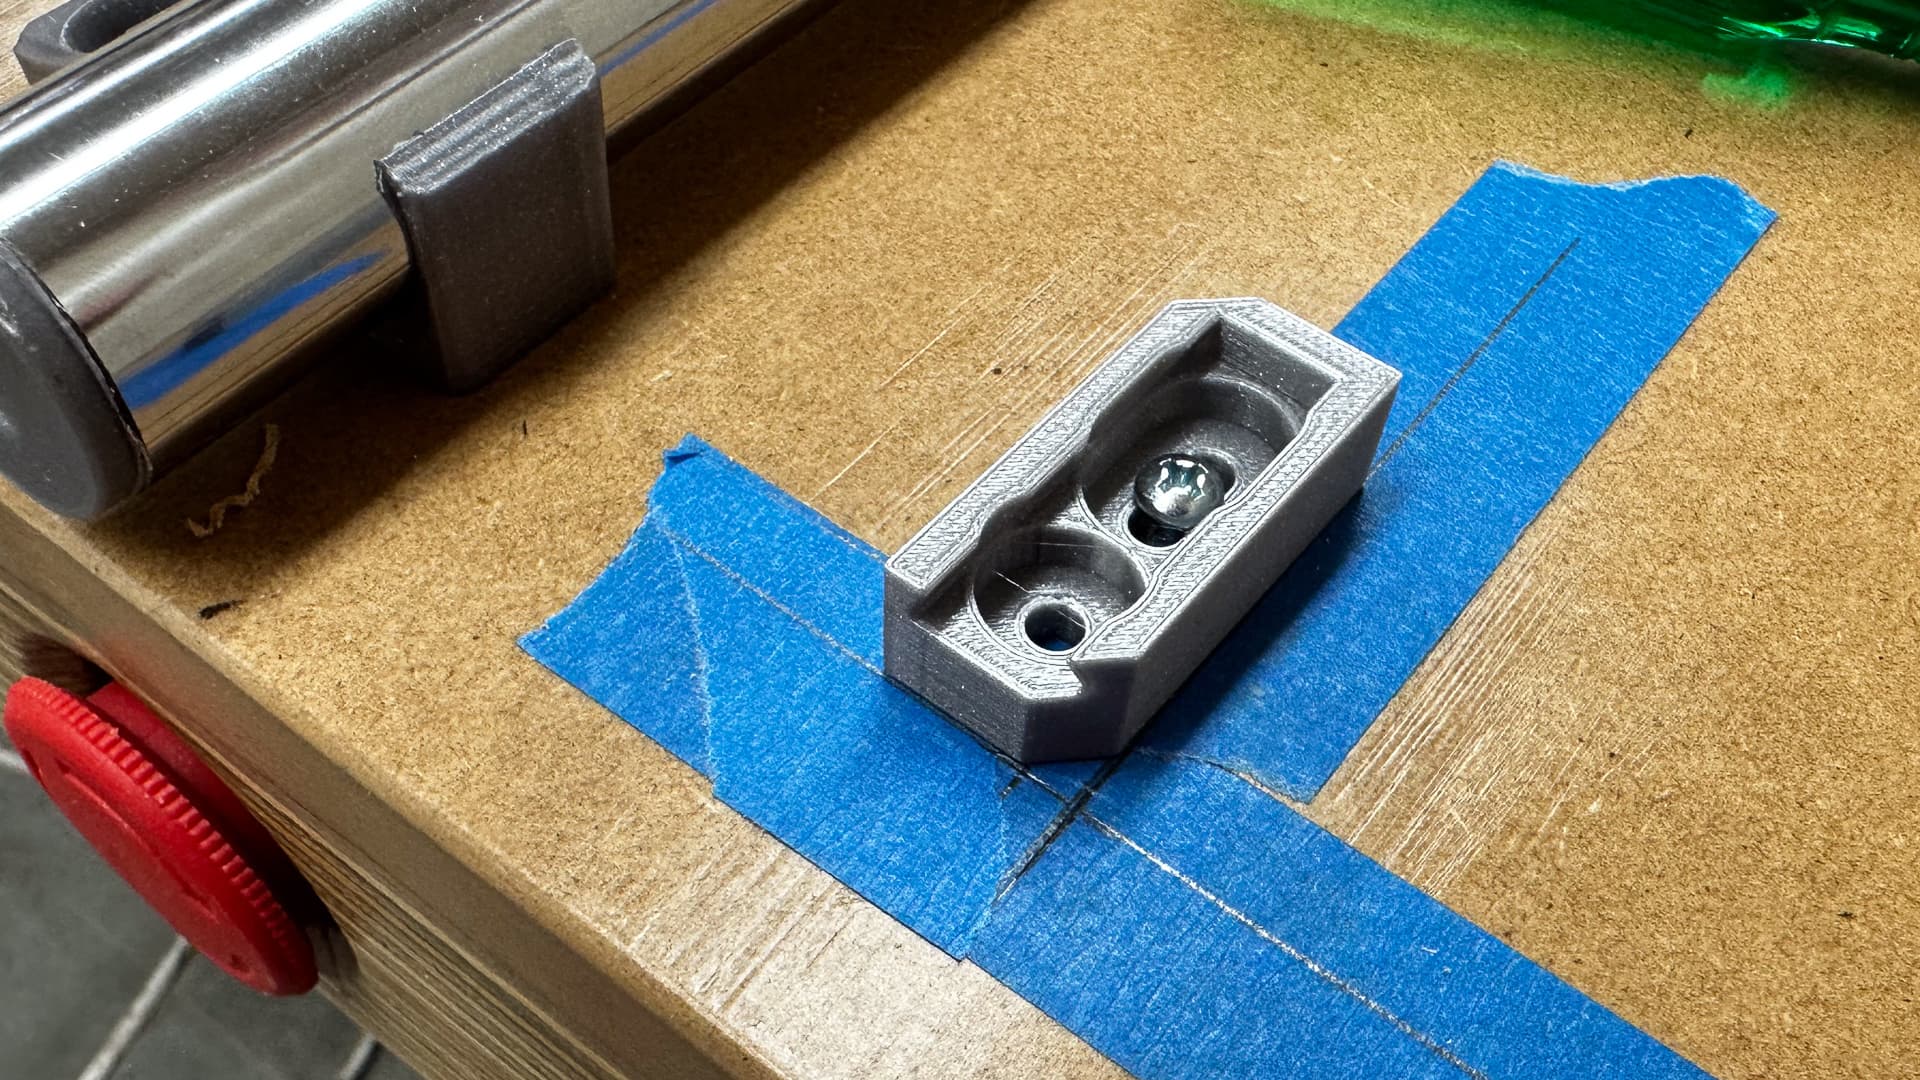
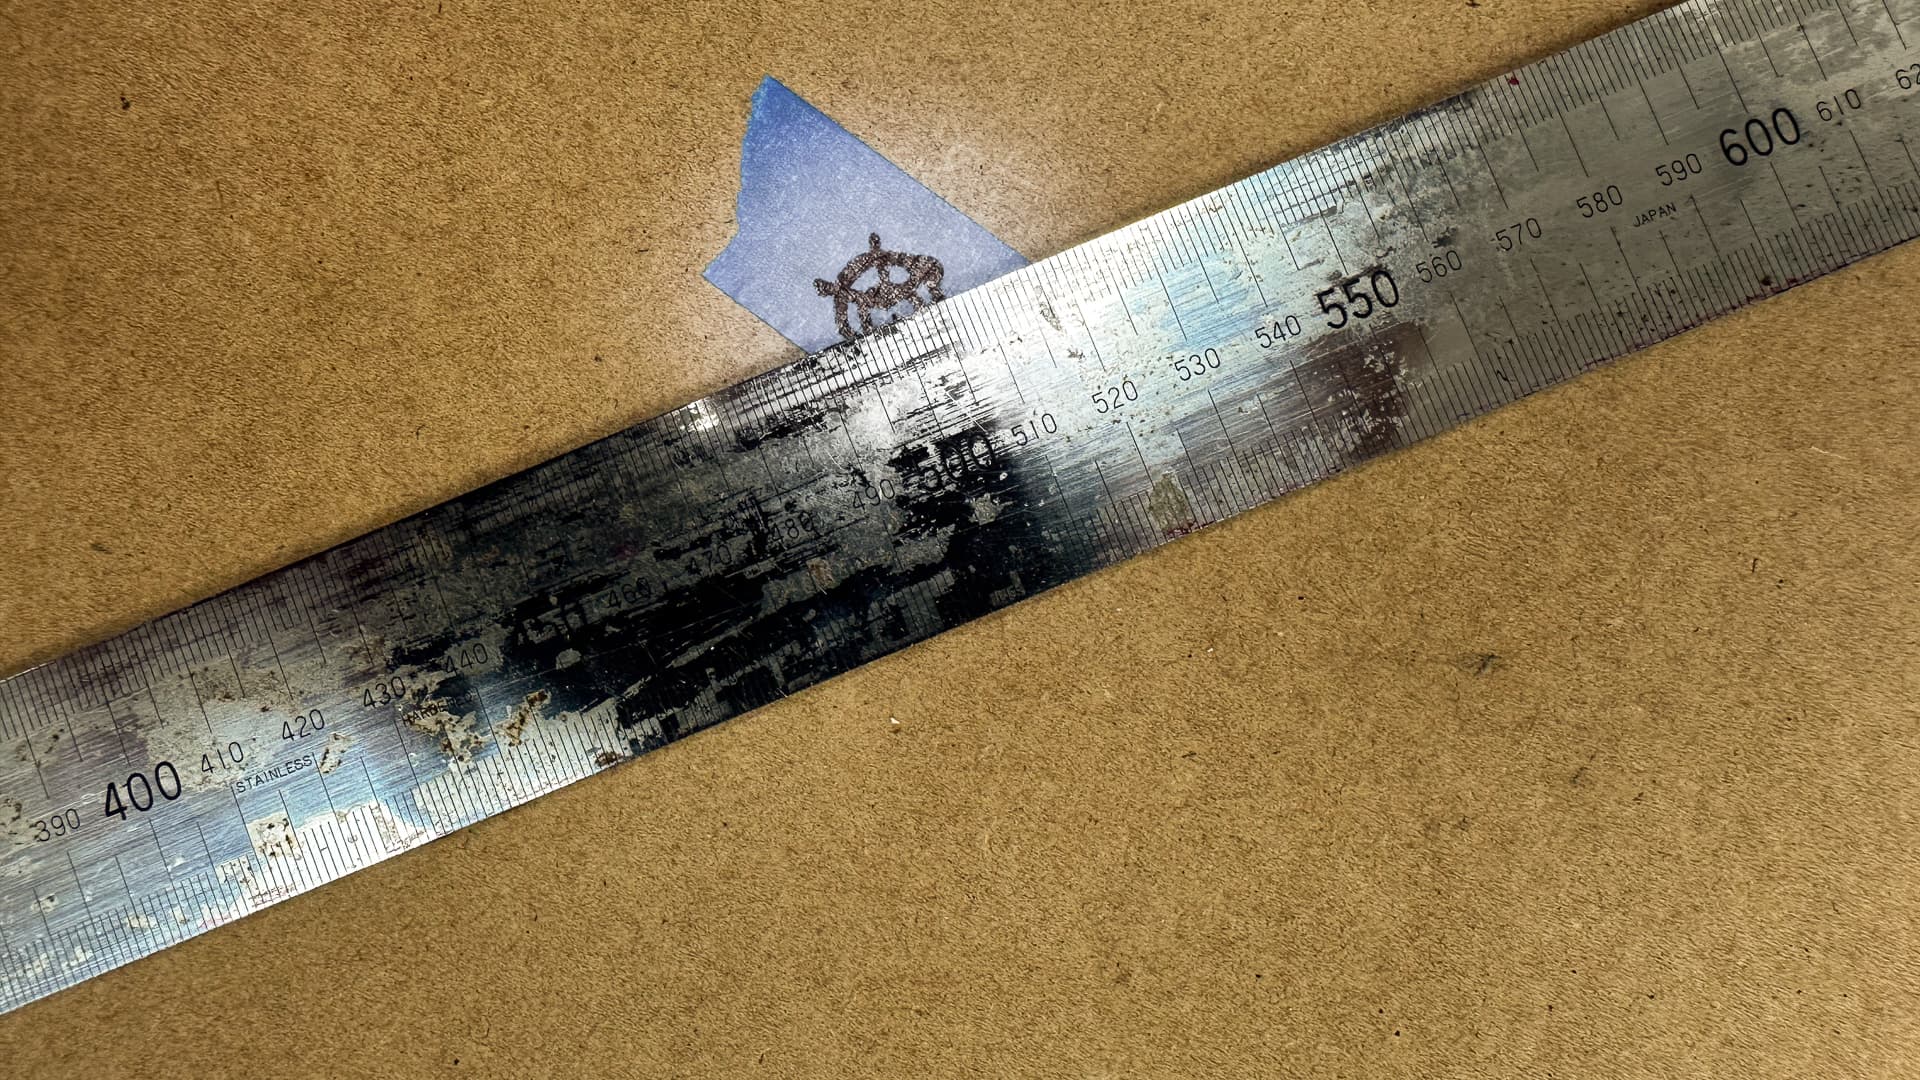
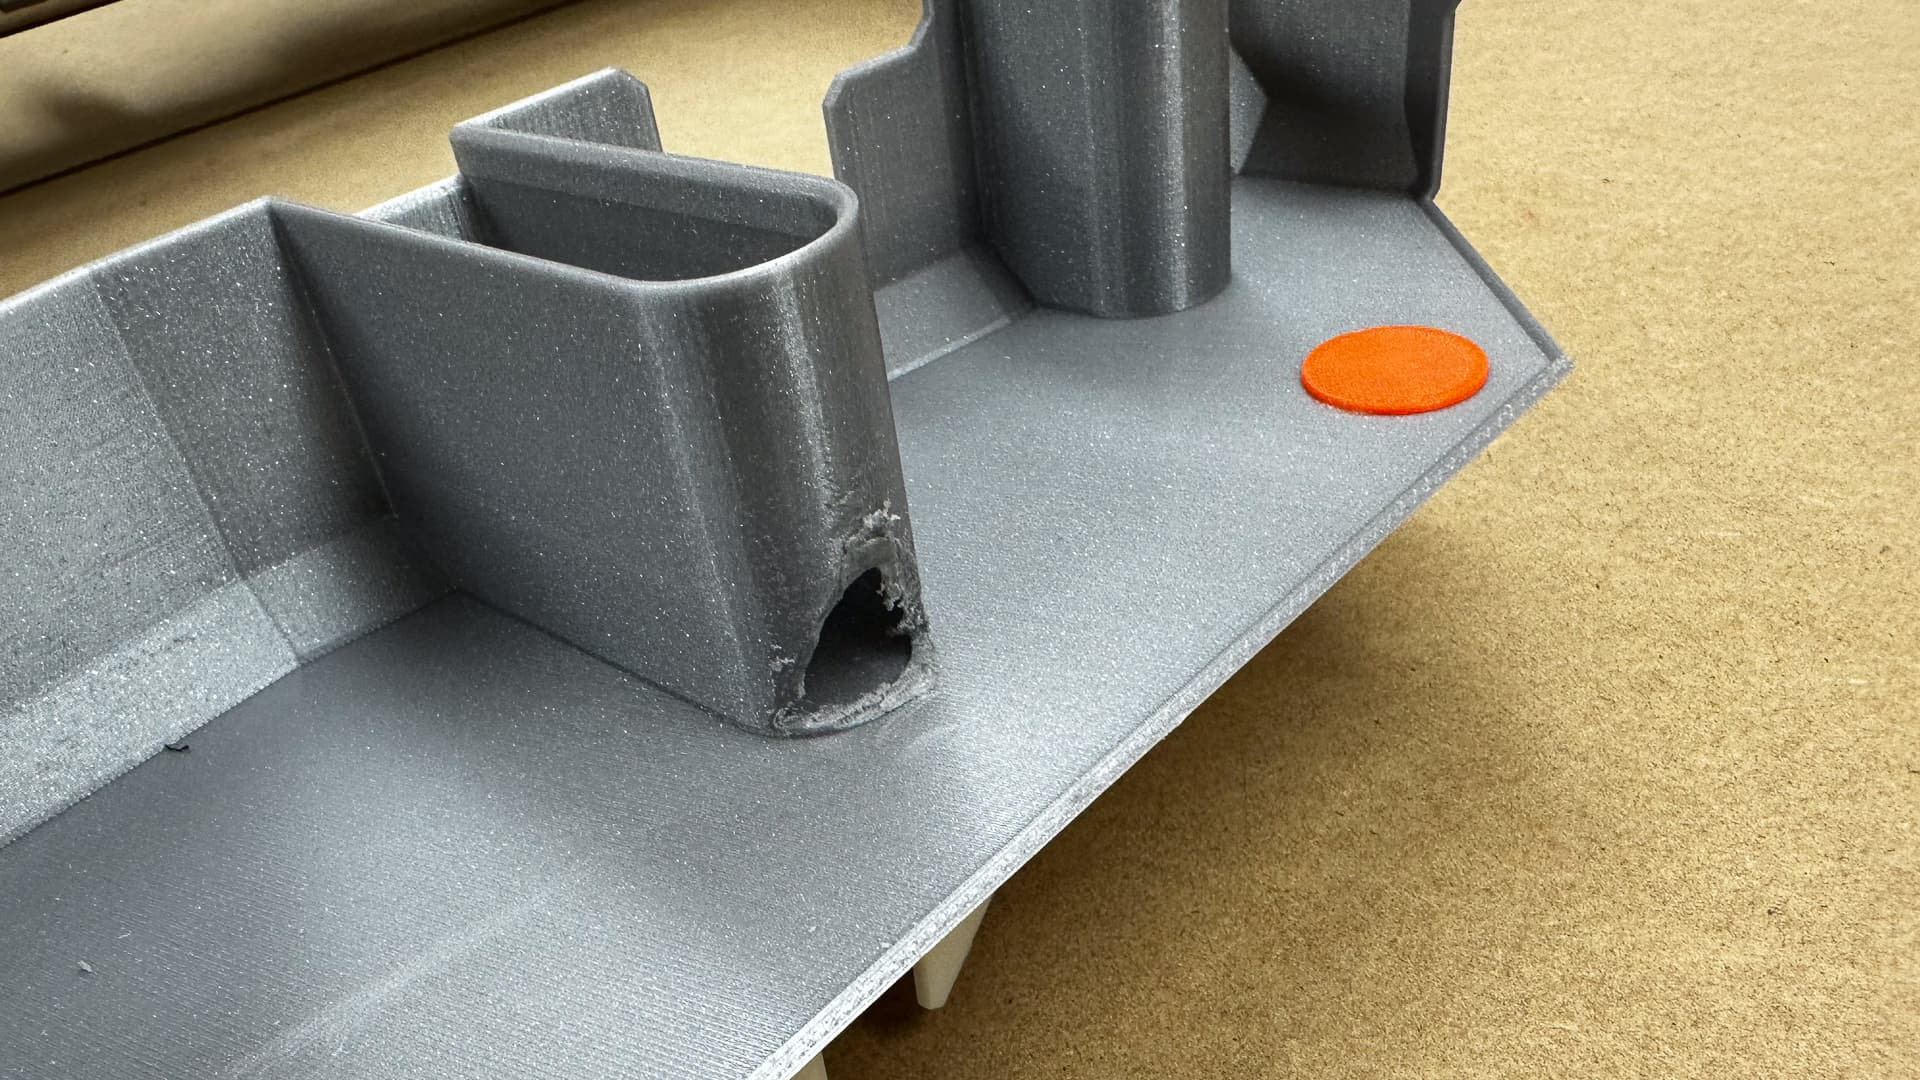
I’m not ready to run a full square test yet, and probably won’t for the time being because I did do a quick 3-4-5 check only 300mm 400mm and 500mm and I was absolutely astonished by the results. Under that little sharpie dot is a pin prick and I’m going to say that at that size and with the implements at my disposal the out-of-square is immeasurable. It’s certainly good enough for the girls I go out with when you consider the next thing of importance will be the braces and they are only 80mm not 300 wide, so the error will be a quarter of this at worst.
I might even tape a pen in there tomorrow, because, you know…
Oh, and perplexingly enough - the original open circuit error on x homing has not recurred, so either the joint has wiggled itself back and all is well, or it’s getting ready to ambush me when I am more stressed and in a rush to do something.
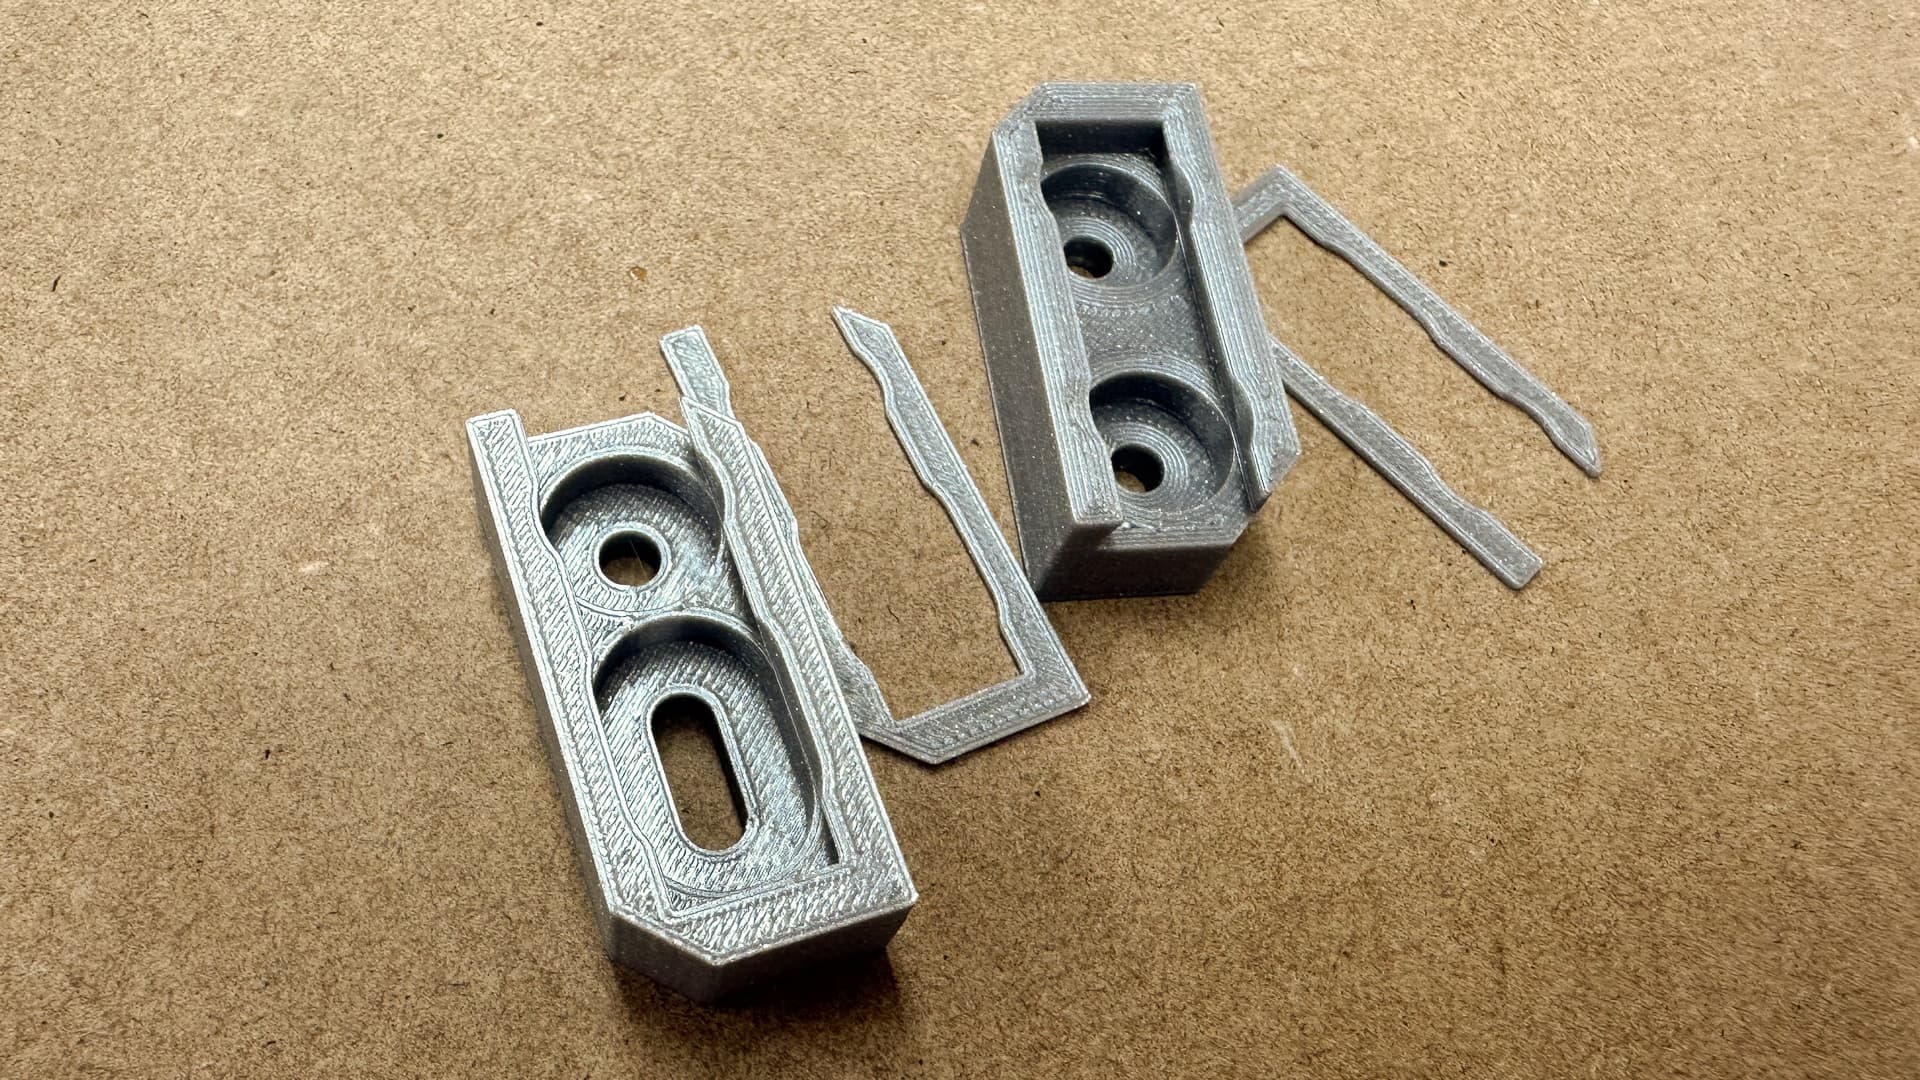
I have been testing an different type of connection point and do not have a good one yet. If you are not happy with the shims I think you can just scale the Z on the lower part down a percent or two and it will be tighter.
I actually think the shims are a nice solution - they work really well, take five minutes to print (both) on a slow printer and are completely optional and adjustable to take into account any printer tolerances. They are possibly a little janky compared to the super nicely sorted everything else, but once installed are virtually invisible. Since only one or perhaps two persons other than me has even been bothered about the issue, I’d suggest you get on with other more important things.
Or make shims part of the solution. I like this solution as it distributes the load evenly along the dovetailed keyway, but there are zillions of builds that tell me it’s not necessary.
Thanks I am truly astonished, but that’s down to you getting it all so fundamentally right, and only a little bit to me taking my time and being a bit persnickety checking fit on the way.
Time for a break, because I have other things to do, and because tomorrow (or perhaps the next day) I get to do today all over again.
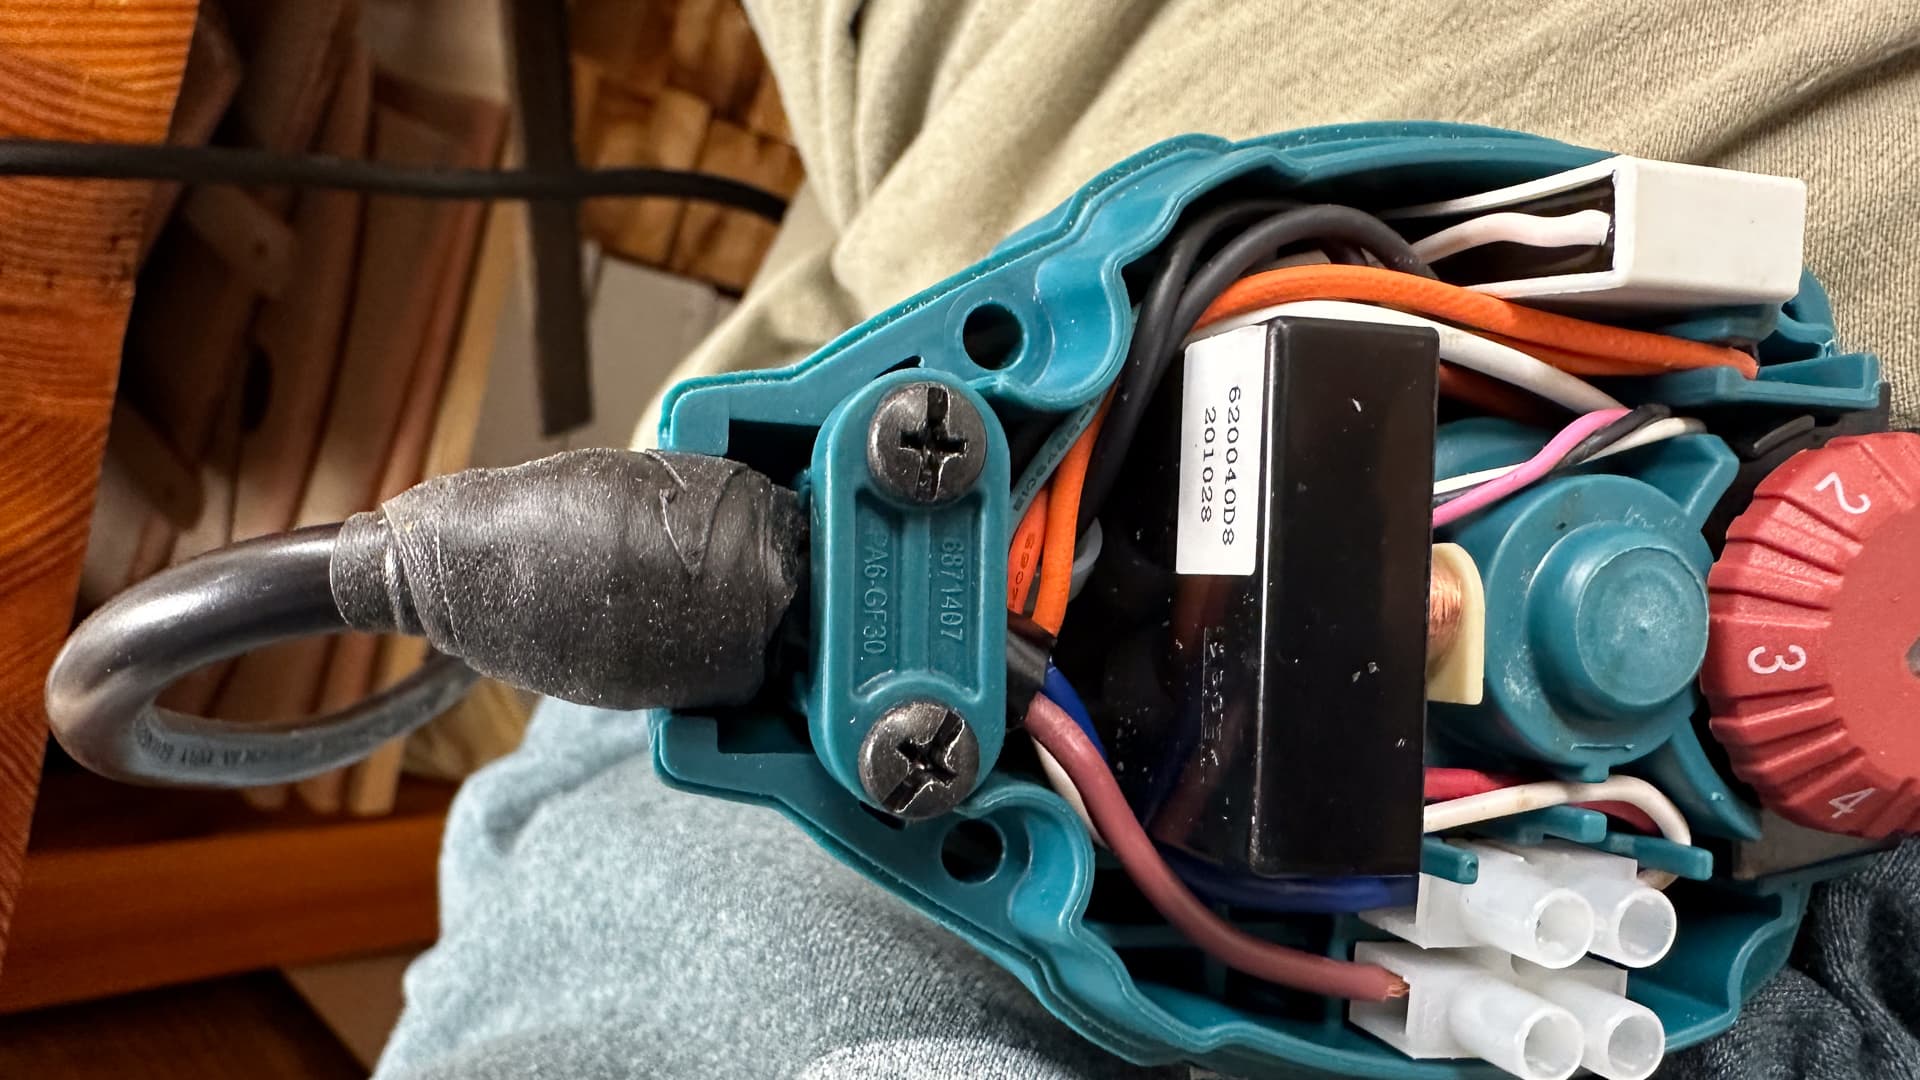
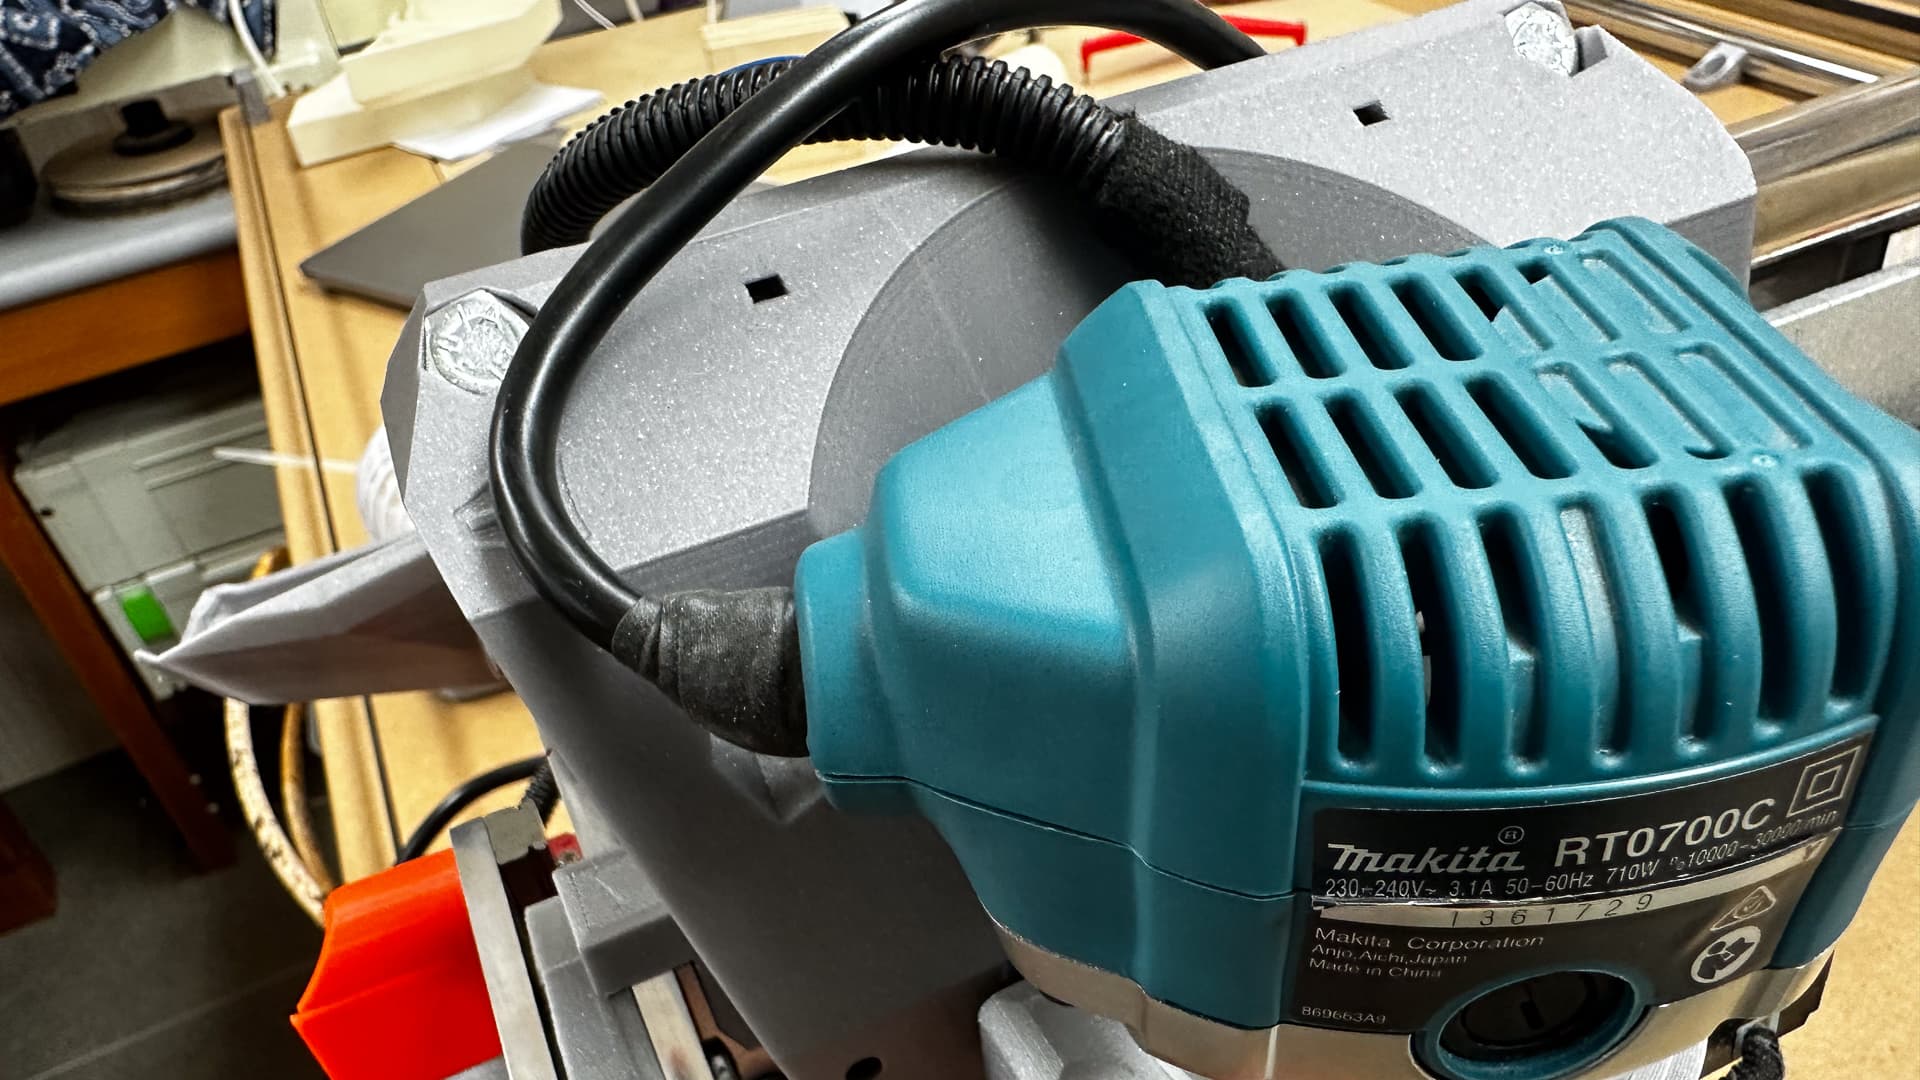
In the meantime I’ve broken the seal and ruined the warranty on my router - swapped out the cord for the IEC lead, and because I’ve just noticed in the photo the active has some bare wire showing, I guess I get to do it again tomorrow too. I have already had it apart again to remove the old rubber strain relief and make my own stubby version.
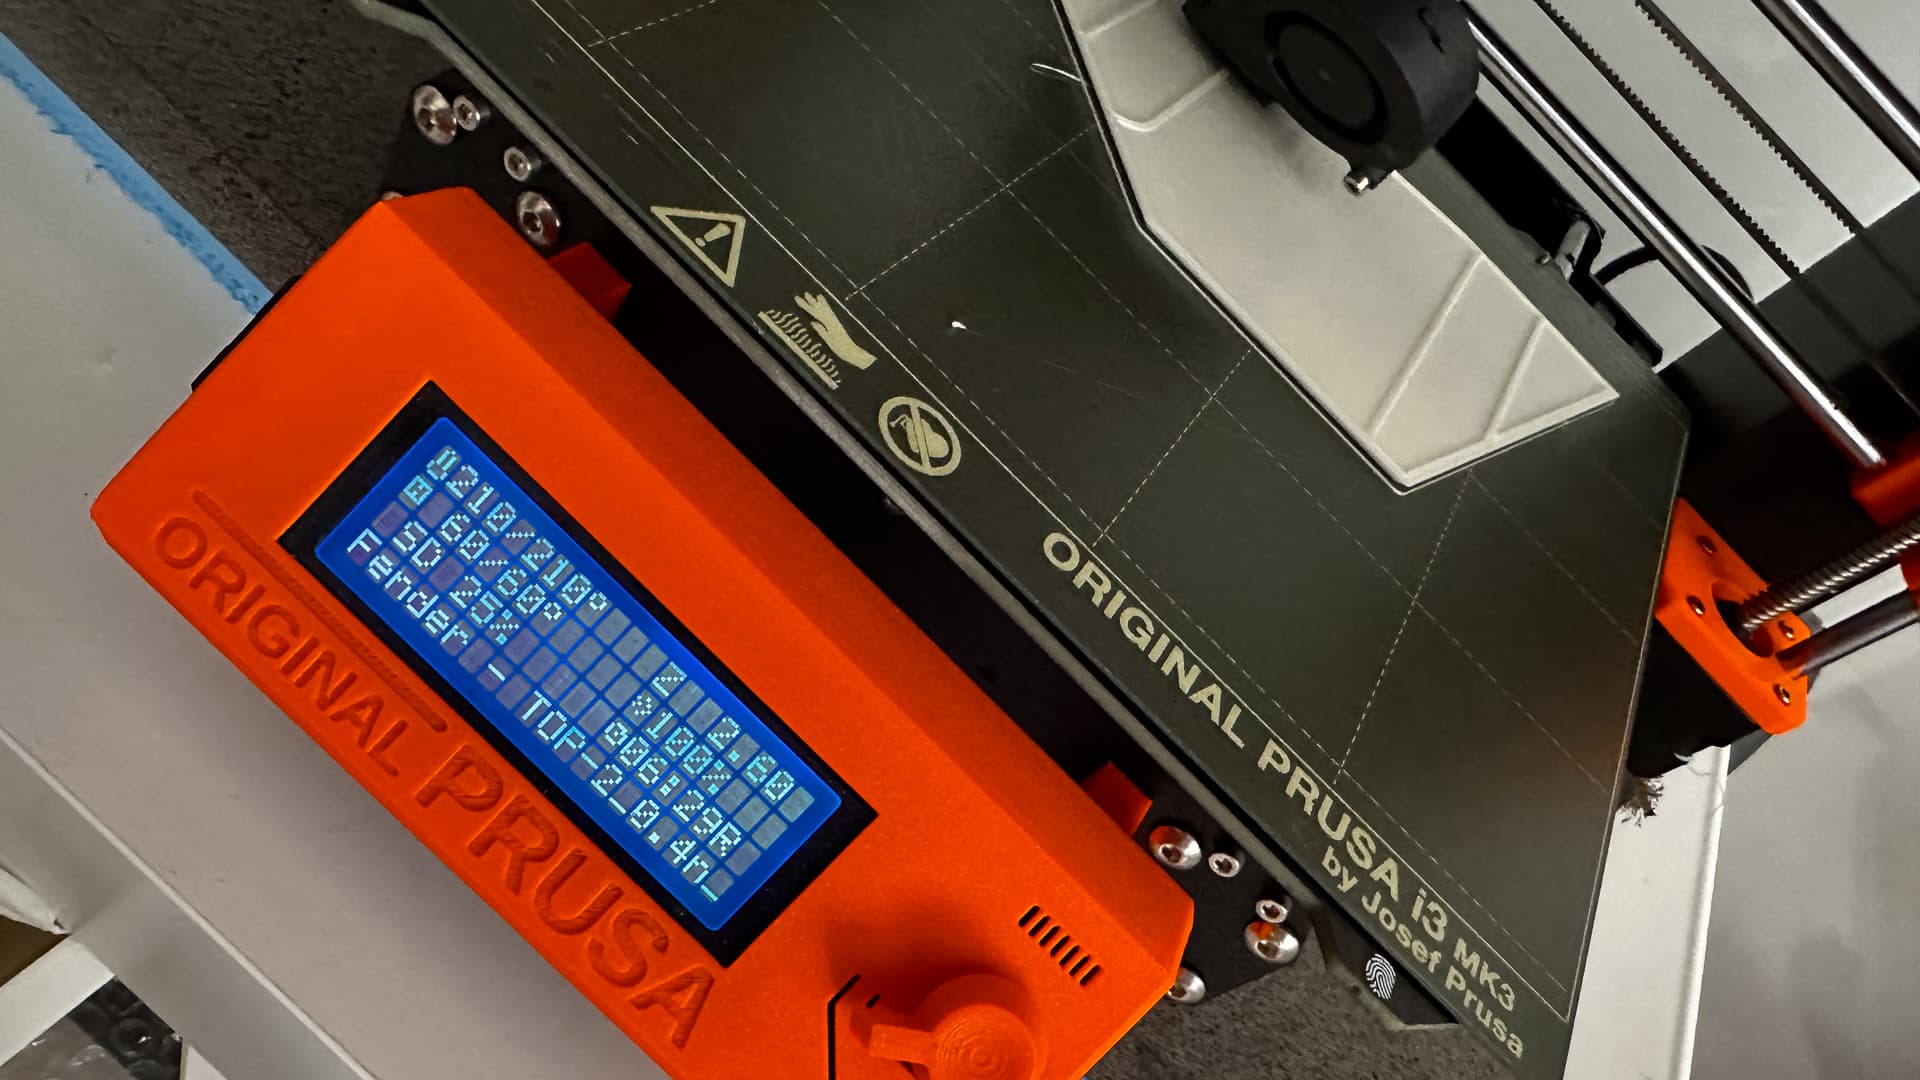
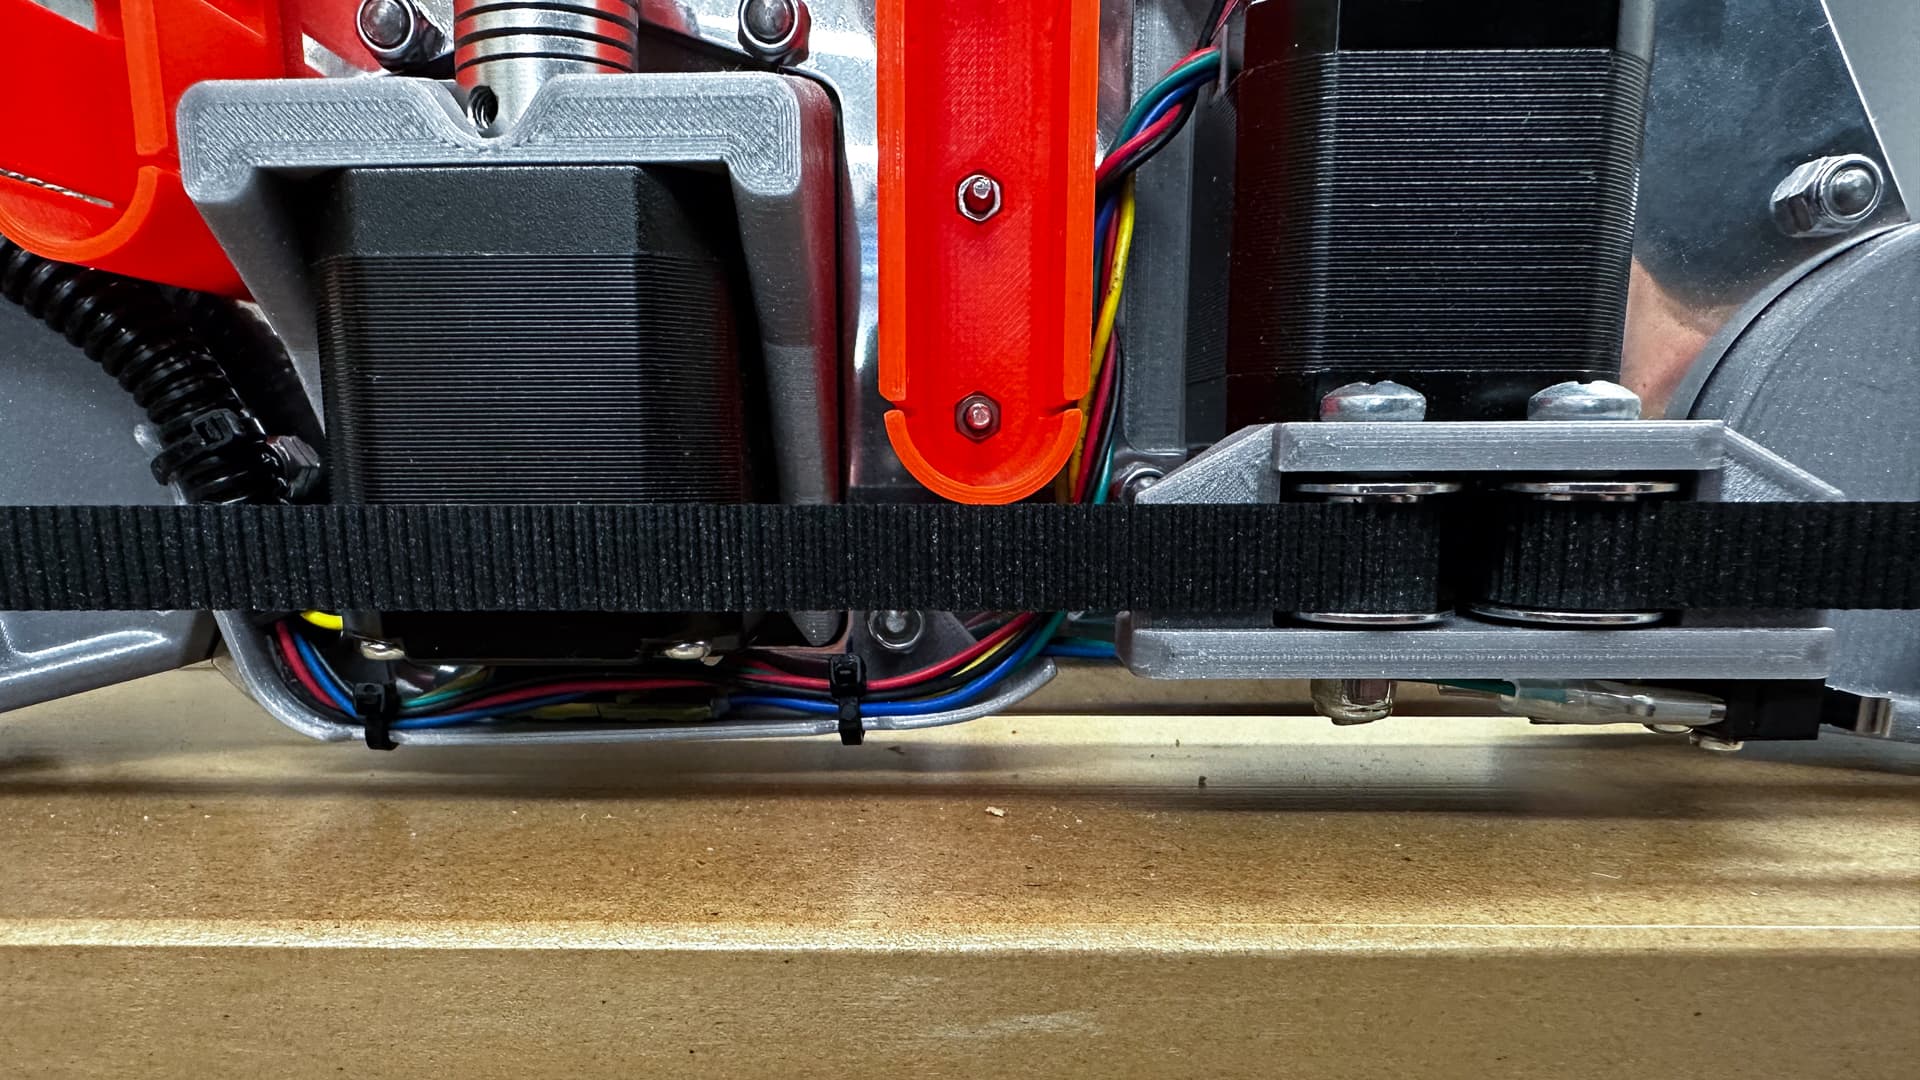
Then there’s the reason I insist on testing myself before uploading models. I came ver close to uploading the fender models but am now glad I stuck to my guns. The clash with the belt is miniscule, barely a mm maybe not, but it’s a clash I’m happy no one else has to see. Easily fixed with a Dremel albeit hasty and nasty, but it’s also easily fixed in the model so I will do that in the coming week or so, if ever I get this thing running!!
Never fear - I will be printing completely new ones once the Mk$ arrives in a week or two.
The of course there’s the right hand Z-stop which didn’t. It missed out by three thicknesses of tape as it turns out, so a slight twist of the mount fixed that - I will have to smear some silicone on the back to give it some grip on the polished metal.
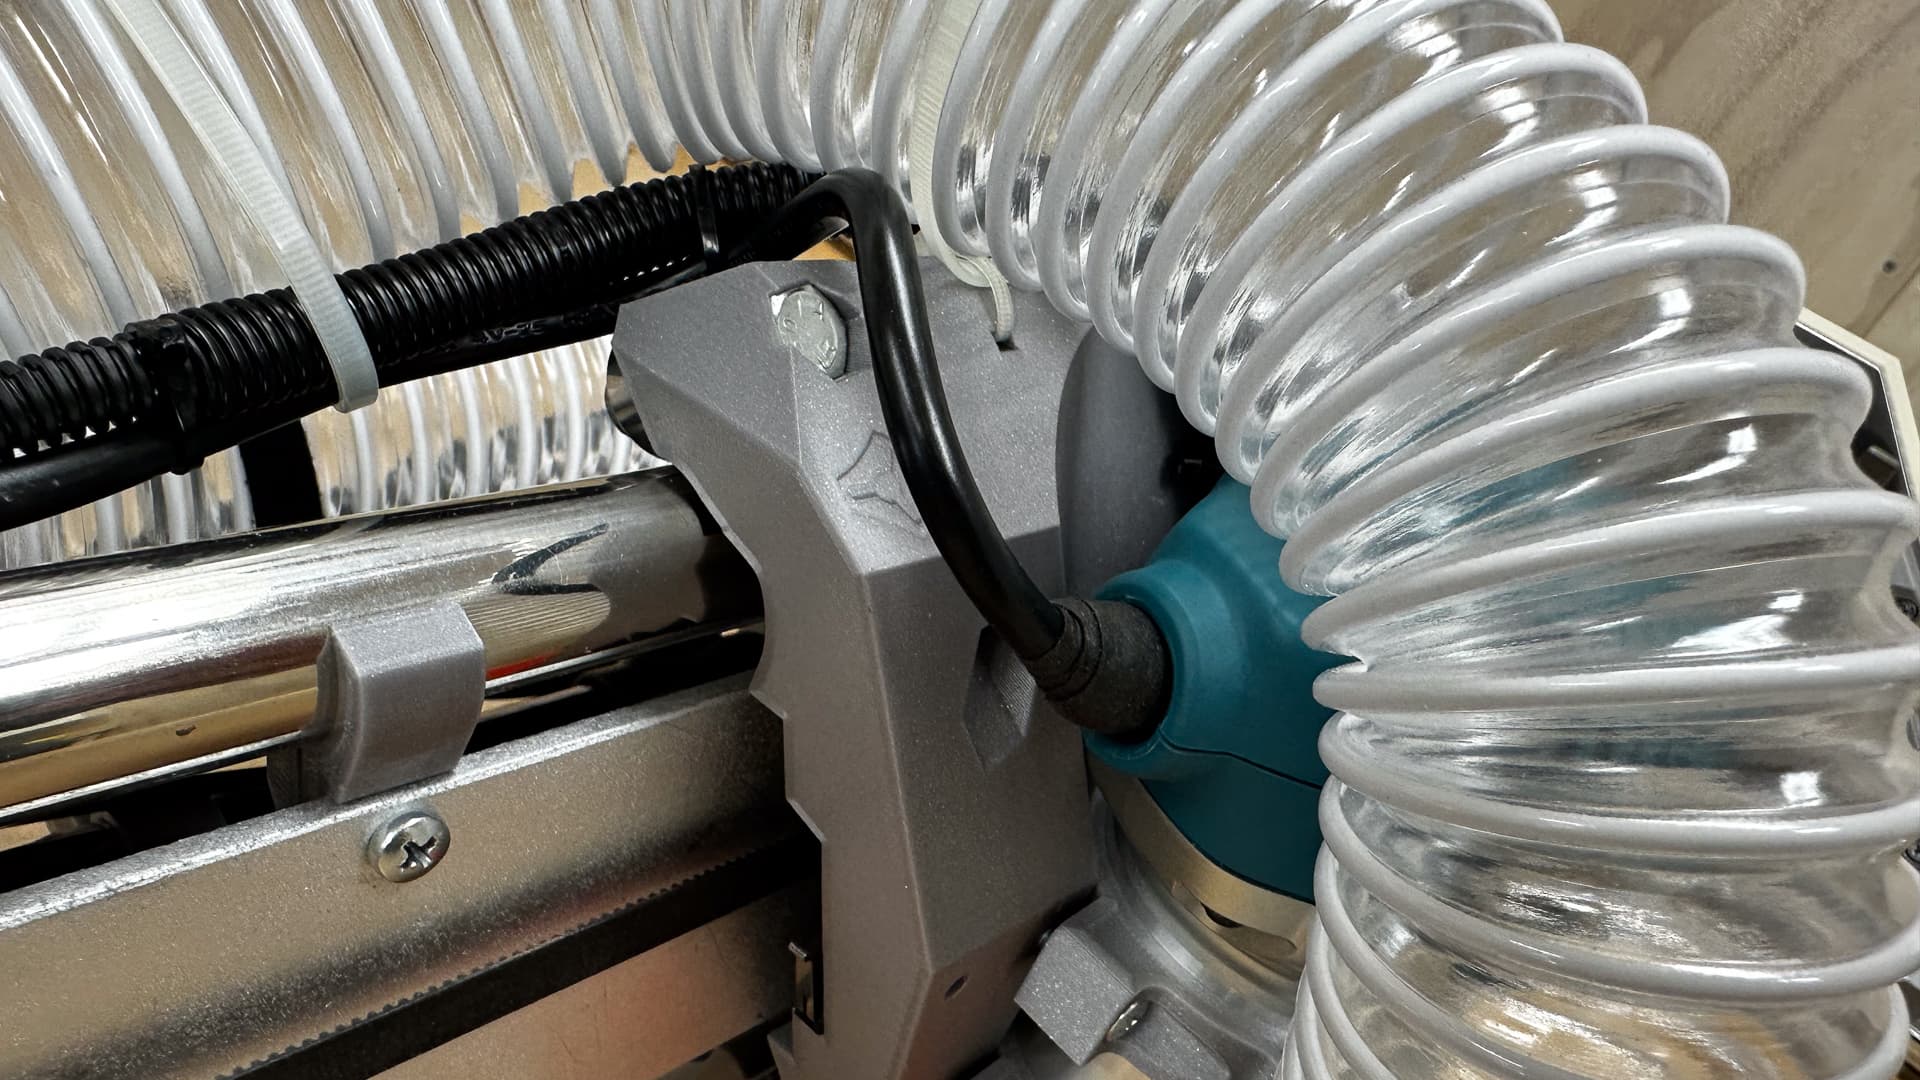
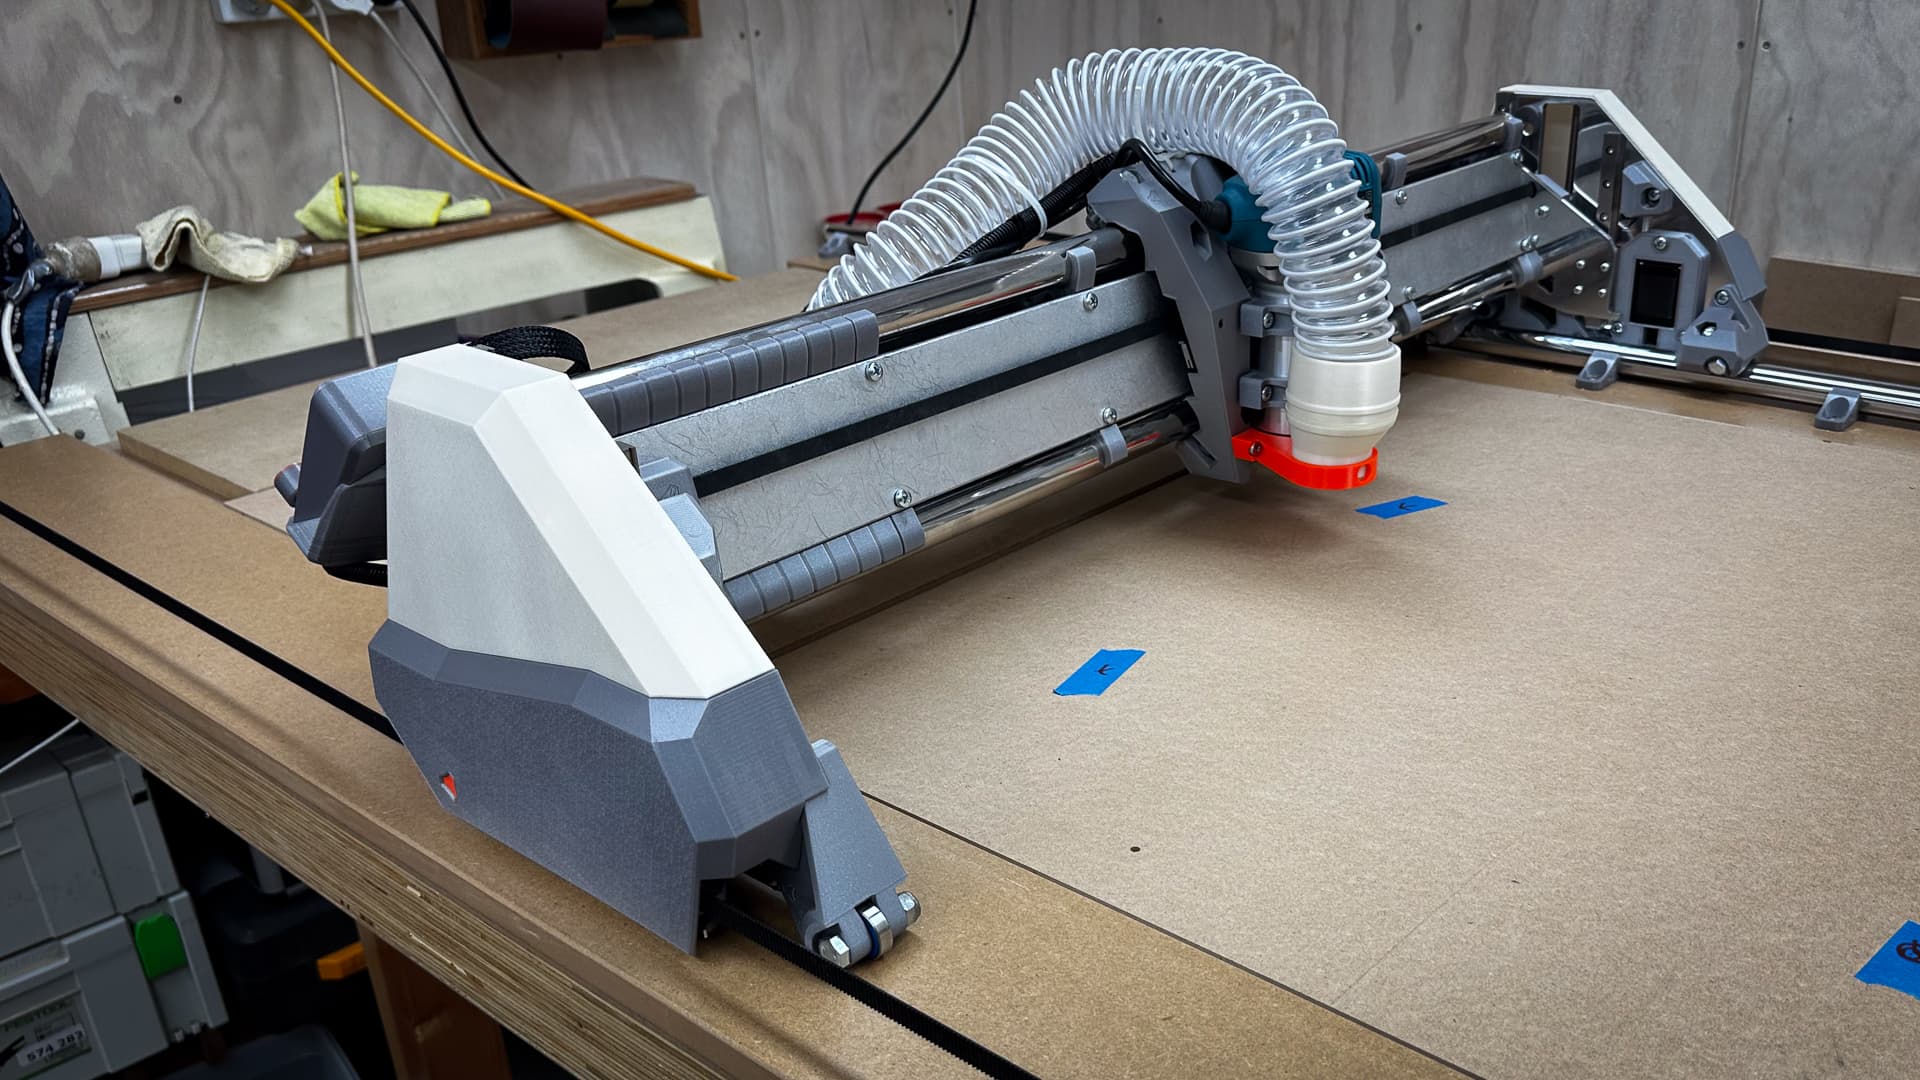
I finally had everything moving properly, homed everything, ran to the table extremities, auto homed everything and started to think about how I was going to mount that Sharpie. So I fitted all the leads and vac hoses, tidied everything up, added my fenders and thought I’d make a short video.
That was when the right hand Z jammed on the way up - loose bolt. Tightened it all, started the film running again, and the left hand Y stopped working entirely. That gave an interesting sound effect and motion. I have no idea on that - so when I regain my composure we’ll dismantle it all and look once more for the culprit.
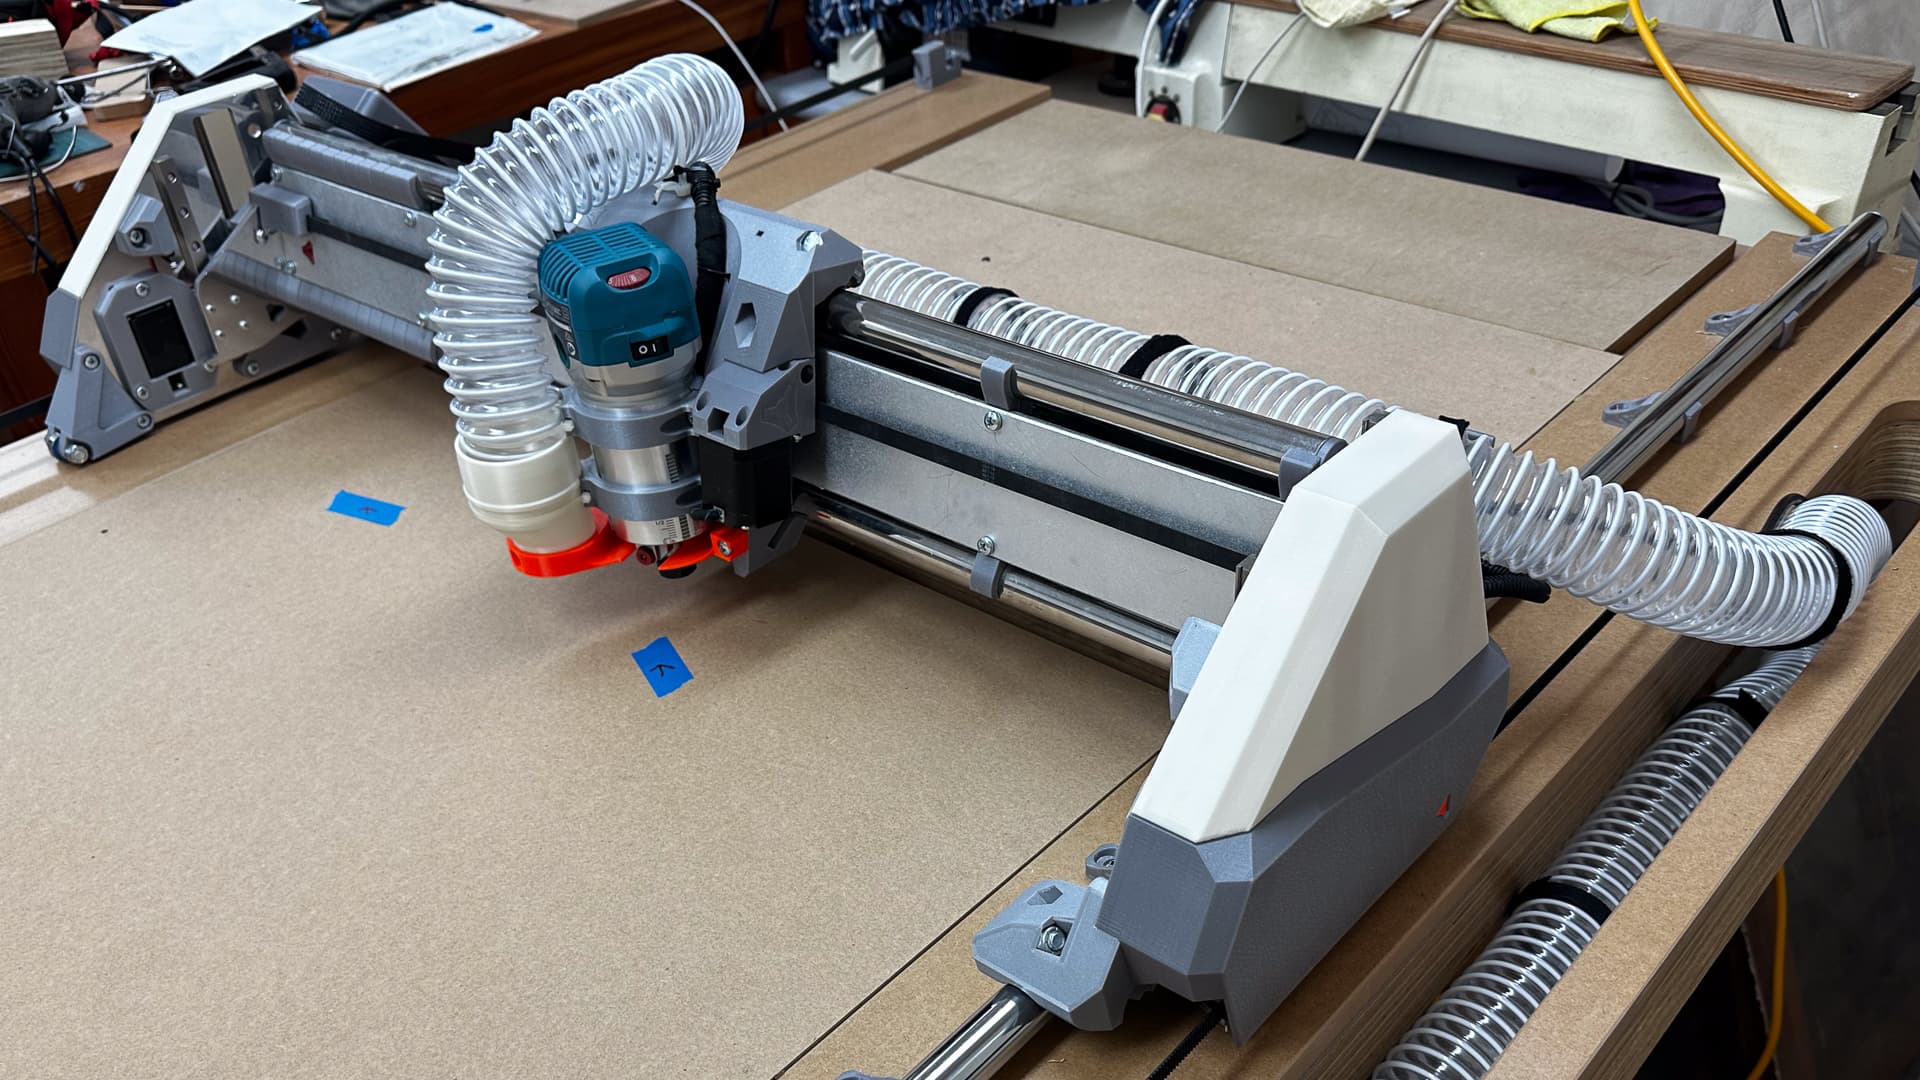
No, it’s very crooked because the Y stepper simply stopped working. I was in the process of photographing it “auto-homing” when the terrible graunching started. Initially I thought it was the hose catching in the slot, which would have been a lot harder to fix.
I guess I’ll just have a Groundhog Day today, but won’t be able to get to it till much later in the afternoon.
I’d like it if these issues would all happen at once instead of one after the other so I can fix it once, but it does make it easy to troubleshoot!
That might not turn out to be the highlight of your life! It’s been there since youtube clips had a time limit and two minutes took half a day to upload. -Mostly it is random clips of some of my boats which used to be embedded in my boat websites.
The poor thing lies where it stopped. Sitting in the far corner in shame while I find another chunk of time to deal with it. In the meantime, I seriously have to get on with the cupboards I started before the LR2 came on the scene, and that was almost exactly four years ago.
I seriously love the way it’s turned out - it makes a great ornament, will be even better when I get a few ideas for the spoil boards sorted and the struts in.
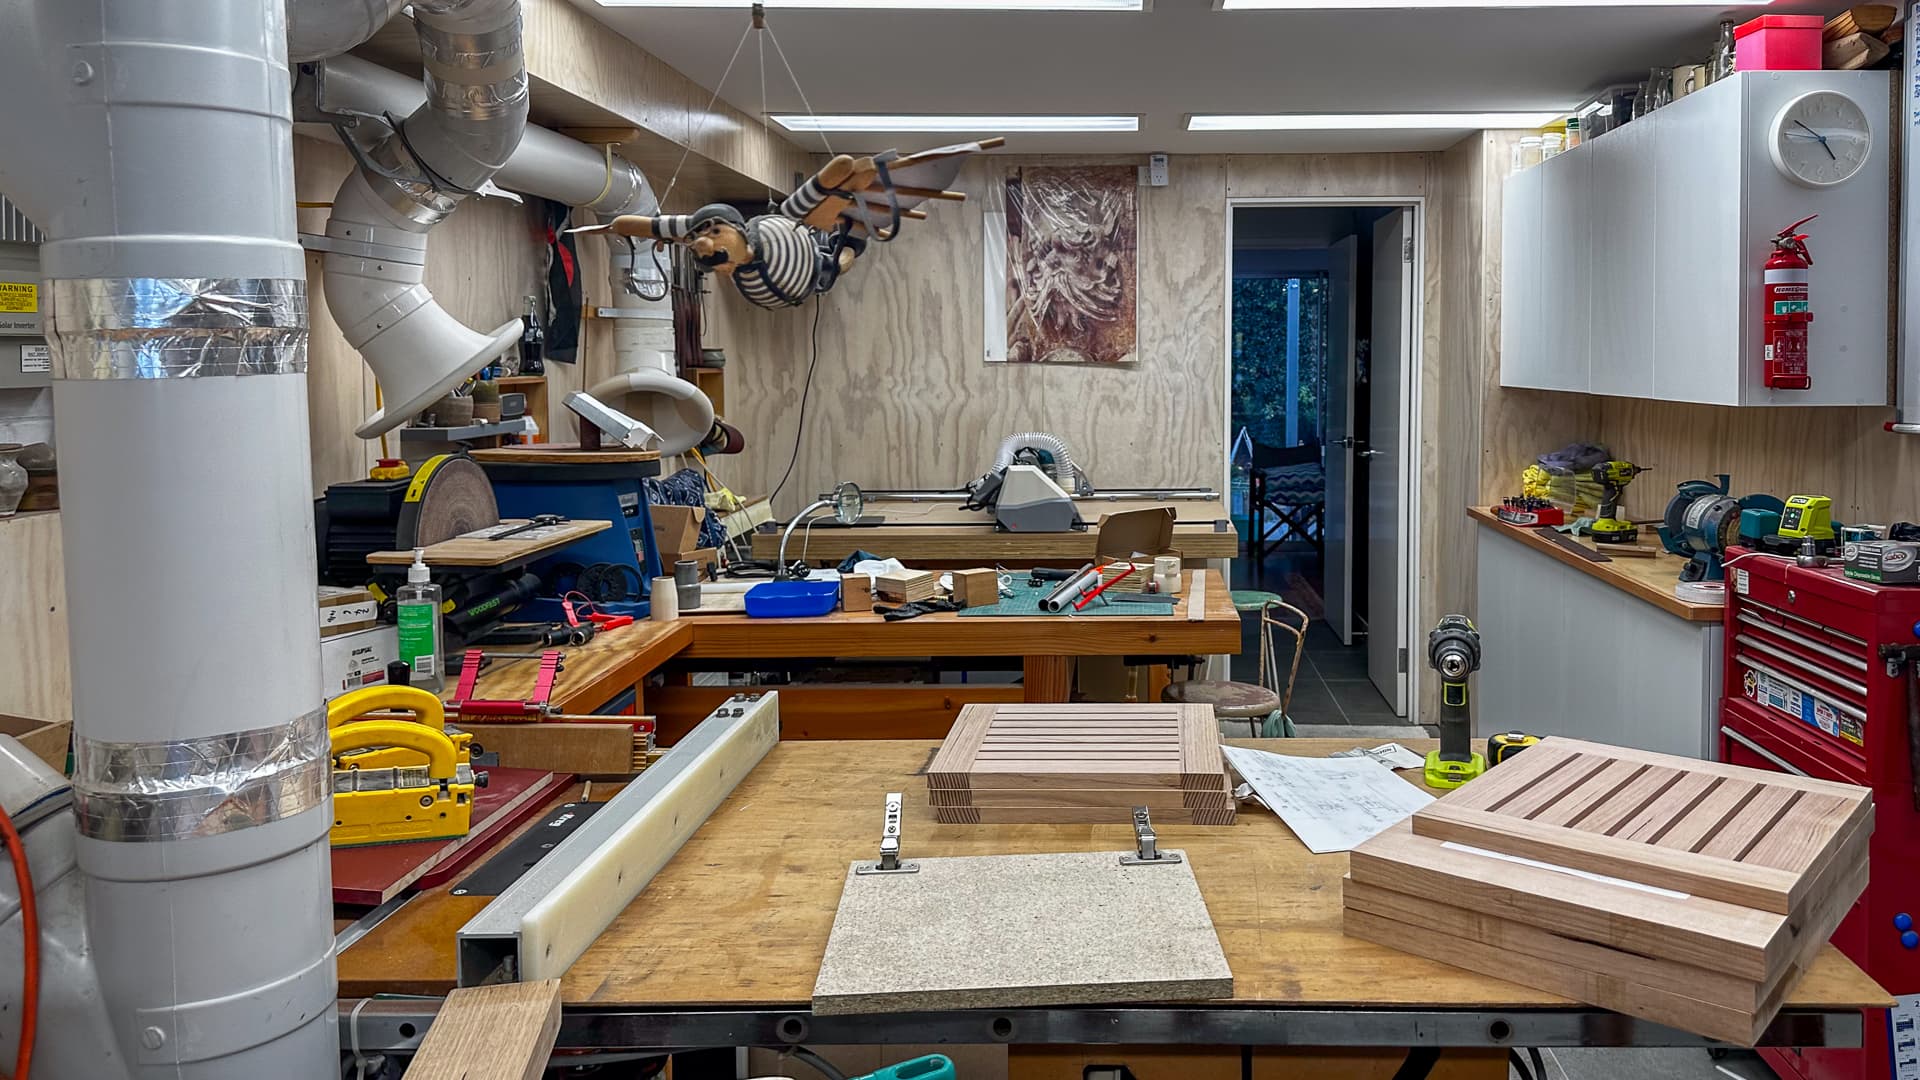
I am a bit desperate to get things up and running (and some cupboard handles made on it for the new white tool cupboards) before Christmas so it’s not at all abandoned, but we’re off for a bit in two days, and I need to get the car back in the garage, which means I need to get the cabinet to a point where I can move it out of the way!
So between cleaning car and camper and lots of other badly neglected tasks which presently have higher priority, I’ll see you in a couple of weeks!
If you are lucky, I’ll send you a postcard from Yamba in the meantime.