The little metal arm comes out. Just bend it back to normal and relevel, you probably don’t even need to take out that one screw. Lesson learned. It has not happened to me, it must have just been a fluke.
2 Likes
Of course I didn’t see this until after already soldering a new switch on and installing. Got 2 of my strut plates cut and now it’s acting a fool again. Did this earlier then just went back to acting right. The limit switch is not showing triggered. Running a M119 all of the switches work except that one. Take it off the board and test it with my meter and it works perfectly. I have checked to make sure everything is wired where it’s supposed to be 100 times. I just want to get this last plate cut and then take it apart to install lol. I’m going to make custom length wires and get that all cleaned up better while I’m at it. But I don’t think that’s what is causing this.
2 Likes
There have been three boards so far that seem to have an endstop issue. I can not be sure this is your problem.
If you are sure the wiring is solid you can add another pull down resistor on that endstop, if that doesn’t make sense to you, you can pop off that endstop LED near the stepper plugs on the board and the problem should go away.
2 Likes
I’ll see if I can find a write up about adding a pull down resistor. I have heard of doing that but never had to do it my self. Not afraid of it though. Thanks for the info!!
Oh and btw. I made a boo-boo and ended up cutting hardboard at 16mm a second 4.5mm deep through the hardboard into mdf and it never skipped a beat. If this thing is that tough without the strut plates on I can’t wait to see what it will do with them lol
3 Likes
Yeah two days ago I cut 1/4" or more into my spoilboard for the first time…so 1/2" MDF and 1/4"particle board in one shot at 22mm/s slotting…even though I screwed up I smiled while it was going!!!
3 Likes
Absolutely. When I first saw it I was headed for the screen to tune the speed down but then I noticed it was taking it just fine so I let it eat.
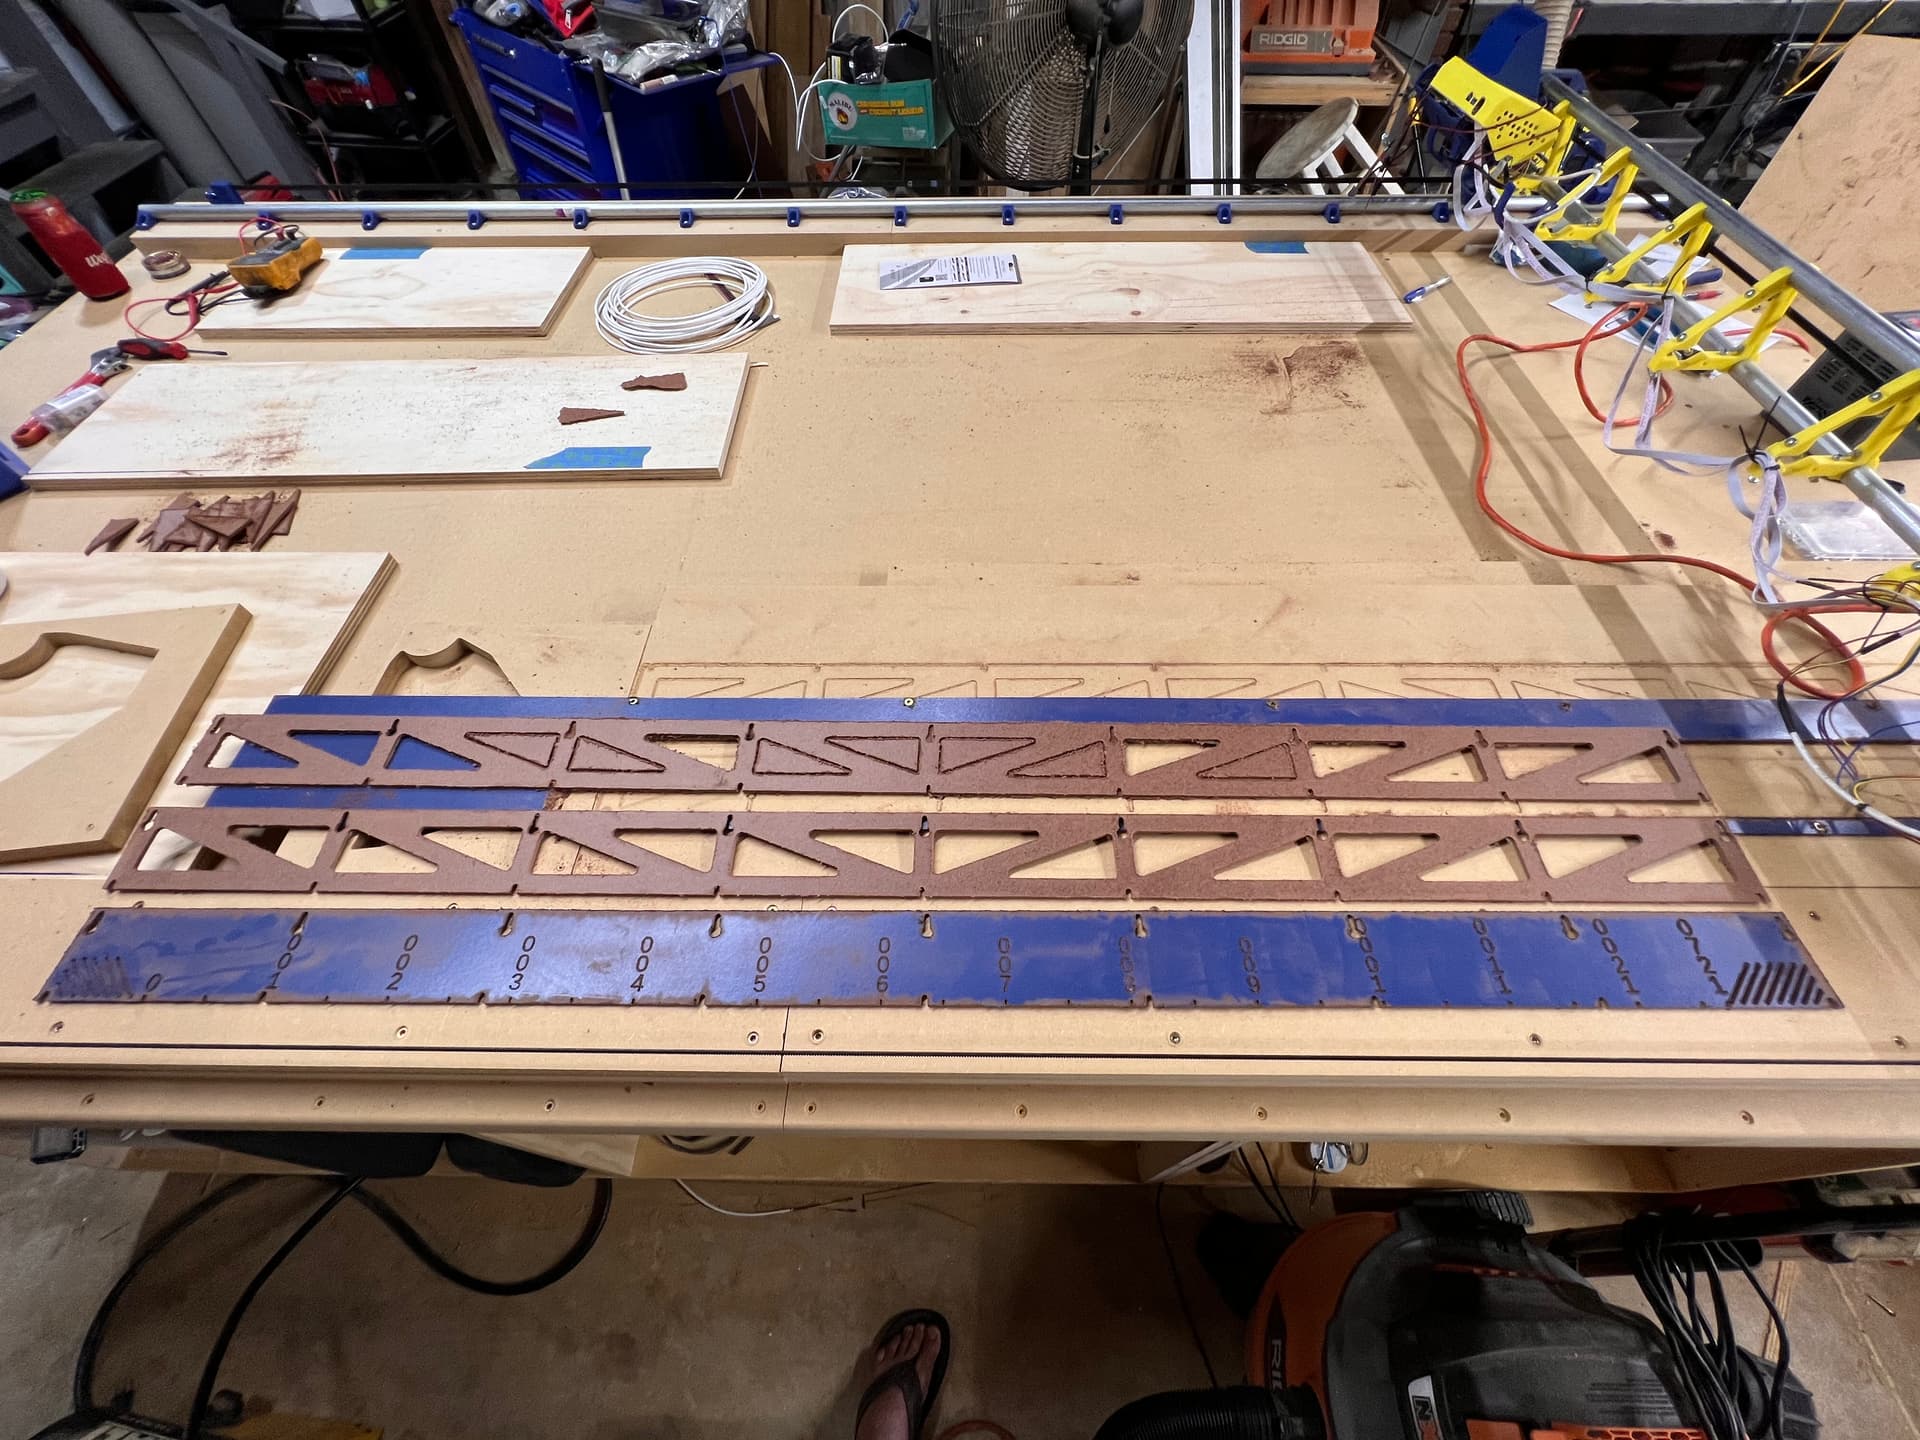
First second and third cuts on the new LR3. First one I didn’t have my depth set right. I’m also having weird issues with probing before I start. Had to change the start and tool change Goode in estlcam. The ones I use on the primo didn’t work here. I’ve noticed if I don’t run the z axis down real close to the work before I start the print then it won’t lower the z far enough to hit the probe. It comes down 5-10 mm then just goes back up. So I have to remember to start it lower as that seems to work.
The first strut is rough. Most likely I will cut another one in the morning then it will be disassembly time to get them installed and the wiring all final cleaned up.
That brings up another question as well. What is everyone doing for their power cord for the board and spindle/router? I was thinking about 3D printing some cable chain to run along one side to keep it tidy but I’m not sure that’s the best bet. I need to look around at some other builds more and pay attention to that.
3 Likes
Looking good! Hope you get the issues sorted.
Regarding my power cord for the board and router, I’m currently on not just a low tech approach but actually a no tech approach. I have the wires just dangling and they get dragged back and forth across the floor. Definitely not ideal, and I should have done something about it, but have not yet. I may.
I am going to do it like that, I already have the vacuum coming from above anyway: The 'Black and Blue' LR3 build - #116 by Neilp
3 Likes
That’s probably the coolest looking, most bestest solution for this problem available.
1 Like
I remember seeing your post before. Just wasnt coming to my brain last night lol. Thanks for sharing!! Lots of cool things in that post i want to read more about. Really thinking hard about putting a laser on my Primo.
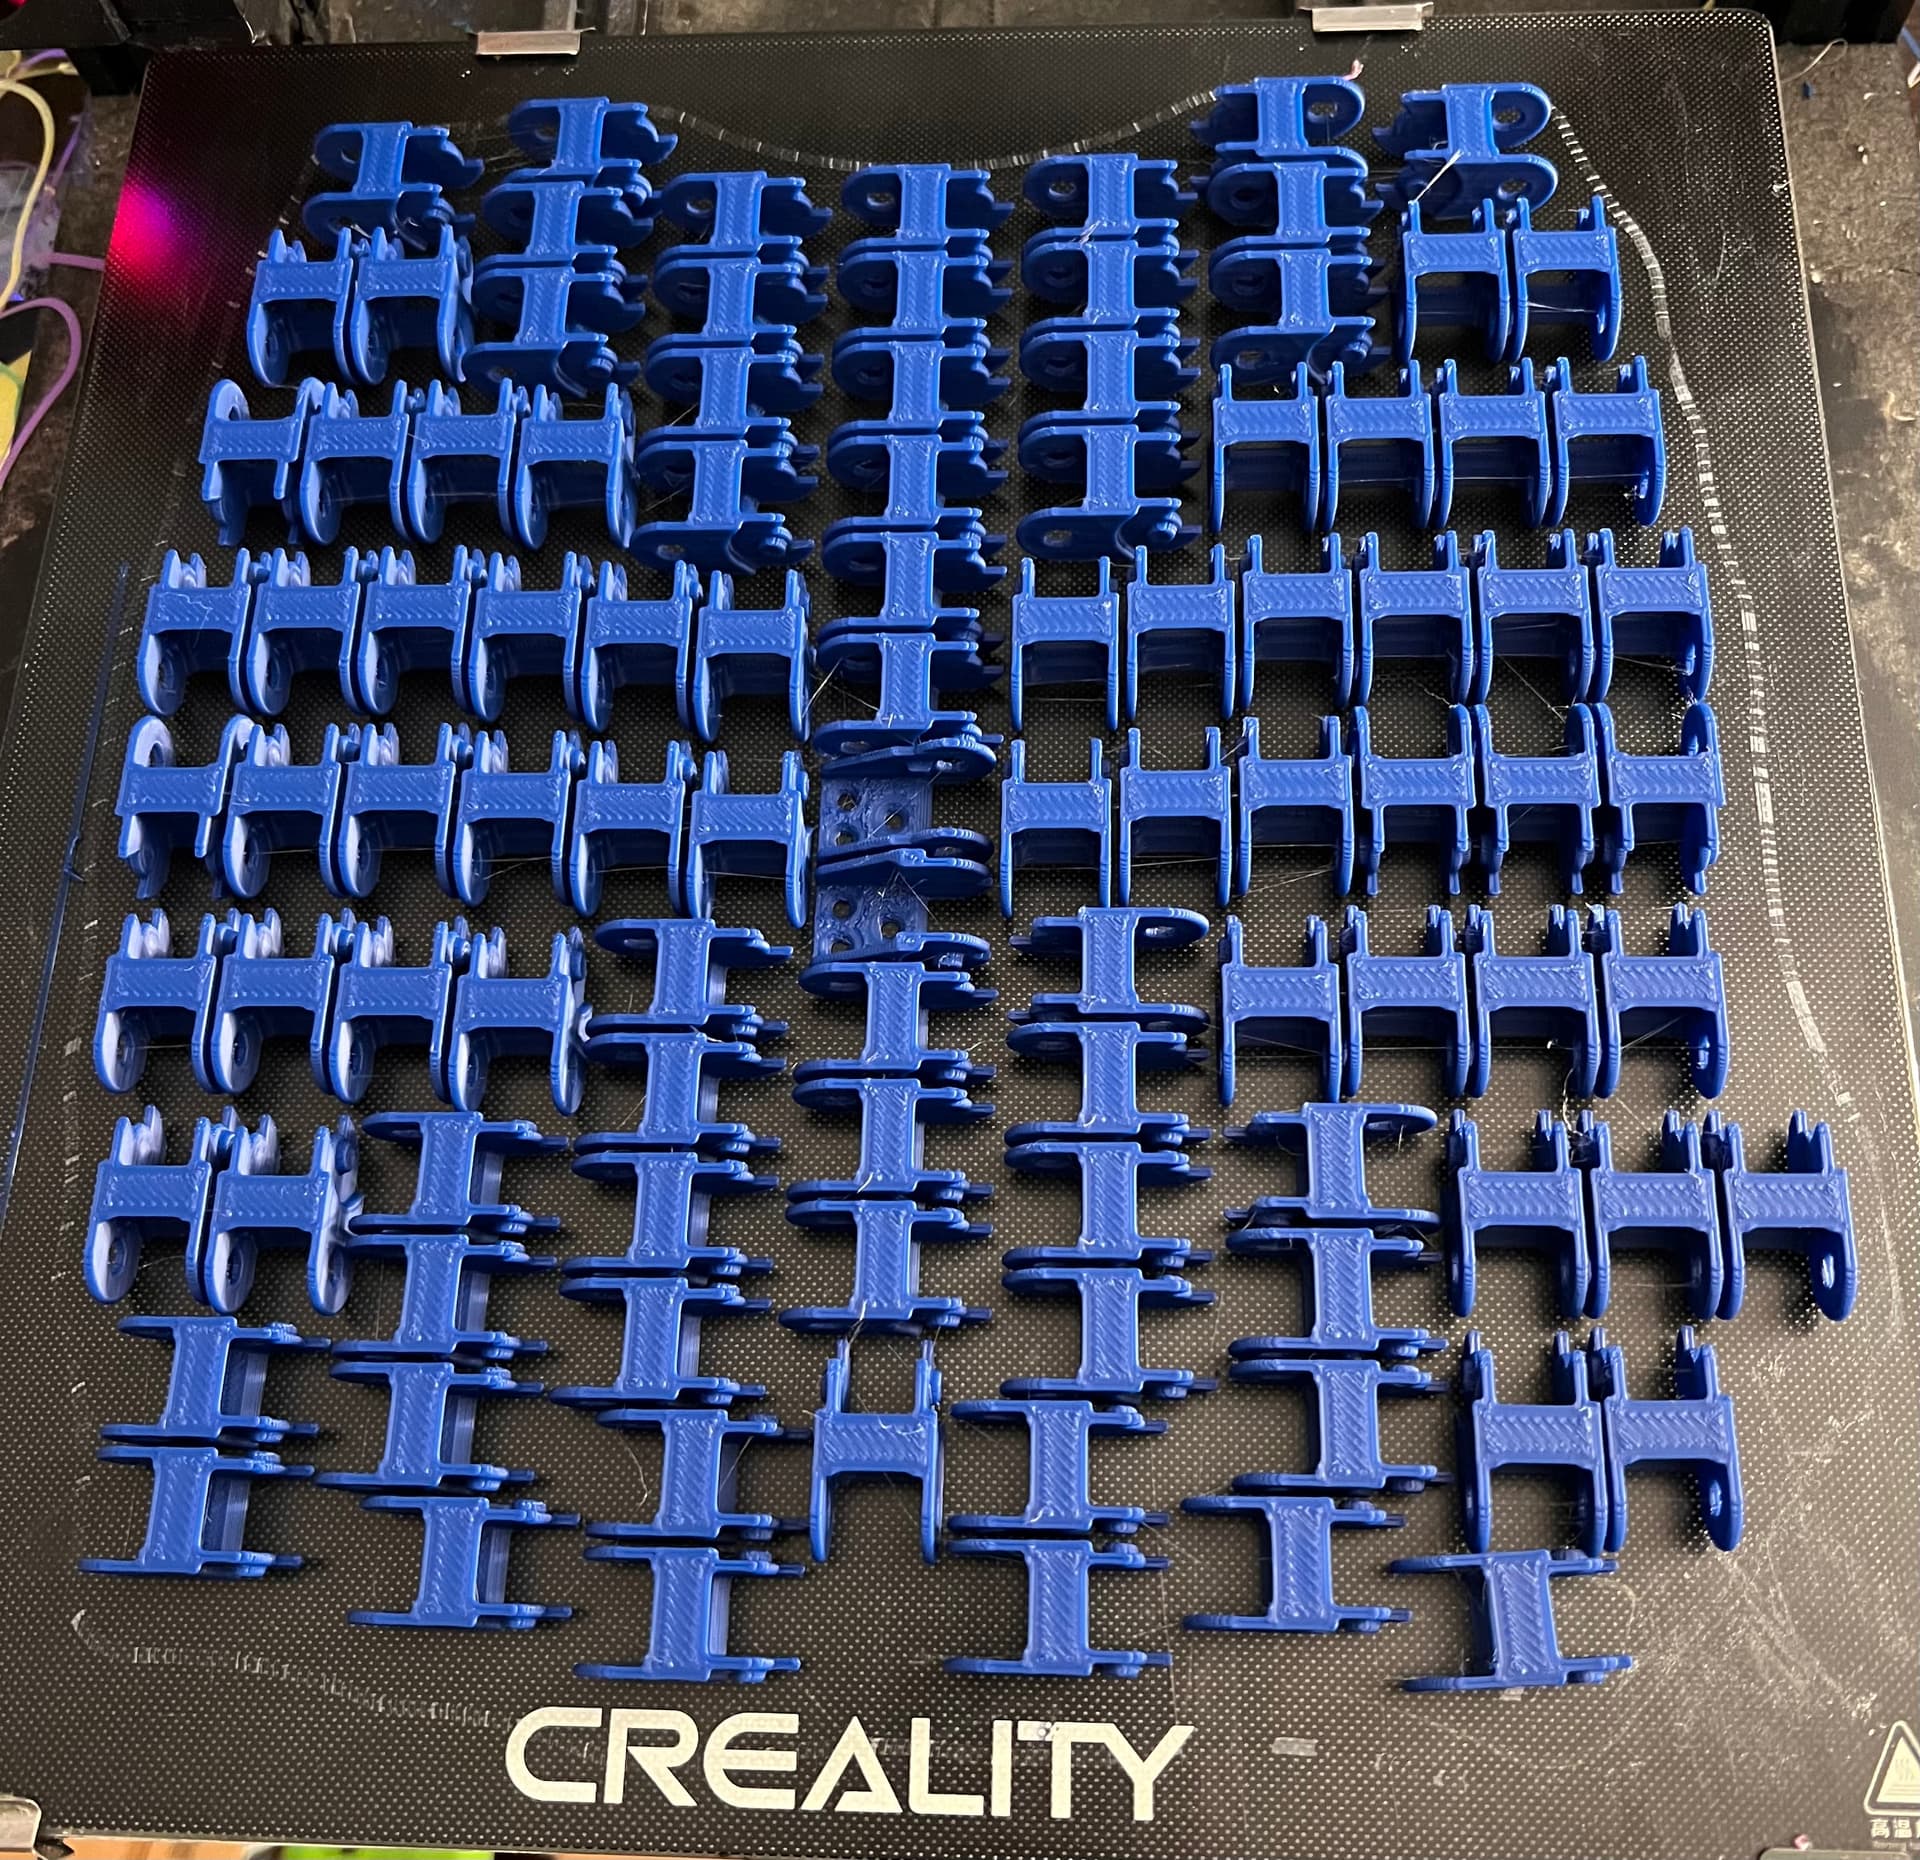
Im already planning to drop my 2.5 in dust collection hose from the ceiling. I just wasnt sure about the power cords. My build is quite large. 50x98" cut area. Im already printing some cable chain out but im not sure if im going to like that look or not. Have to see once the first 2 batches are done. 100 links printing now in blue then will start 100 in yellow and see how it all looks put together. Plus that will give me an idea of how many i need lol.
Edit: as soon as I posted this I looked over and the first set of links were complete. Now to switch to yellow…
2 Likes
I ended up chopping my router cord 18” from the router, and adding a plug and socket. So when I remove it to use the laser (I don’t like the extra inertial mass) I don’t have to unwrap a bunch of tie wraps all the way up to the overhead arm
1 Like
In retrospect, it was a spur of the moment thing, because I could have just taken the router out of the mount, and pushed the whole lot to the back. No use for a woodshop dust collection hose when lasering- those cinders have to go somewhere and I’d rather that wasn’t in my barrel full of wood dust
It does make it look more interchangeable and modular, which is cool in and of itself lol
1 Like
for me on the Primo (and LR) i run spindles so i can unplug right at the motor and just leave the wire but get the heavy spindle weight out of the way so thats a plus.
Going to have to go a different route with the cable chain. i should have just printed a few links as a test but i didnt obviously lol links are way too small to fit the 2 cords i need. oh well im sure we will use them for something else lol.
1 Like
Jonathan,
The way I solved my end stop problems, was to remove the “shrouds” from the end stop pins on the board. this let the wiring connectors seat much better on the pins and my intermittent problems are gone.
Mike
1 Like
I hear this alot- that a spindle is quieter than a router- but how do they compare when something is actually being milled? I figured the actual noise of the bit against the material would be about the same.
Just trying to figure if a spindle would be useful for the sound mitigation. Not that I olanninngettingnone any time soon, but having run my machine maybe 4x a week for 5 months, it does make my little shop a bit more high volume than I’d really like
Nice build, thanks for sharing!
1 Like
Yes sir those are all gone for the endstop pins and the stepper motor pins. Im going to have to look up how to do the stepdown resistor and try that. I have some resistors here at the house but no idea if they are the right ohm or not or even the right style. Like i said i have heard that talked about a lot but never had to actually do it so im going to have to figure it out. I like that option a lot more than removing the LED.
1 Like
Check out this video…
This is milling MDF. Now i will say the down cut bit i used on the hard board last night was very noisy. Im hoping it was just the bit. So far on my Primo it hasnt mattered what bit i used it was night and day quieter. Hoping to be able to make some more cuts today on the LR and will see how much difference the spindle makes on it.
1 Like
I wonder if I have something set wrong in the firmware…I have seen that as well. I did not think it was every time so I assumed static, but I think it is an easy test to check. Finding that setting
would be harder.
I ran a single extension cord up the my vaccum hose coupler. I tuck in my router and board wires into the beam, then cable tie the extension cord to the vac hose. That way I can take it off the table by splitting my vac hose, and unplugging the two cords right at the split. Very fast and clean. I have pics in the build instructions.
3 Likes
On second thought…I zprobe to level the gantry and it will do it all the way from the top to the bottom. I wonder if this is a bug somehow, maybe it is related to the LCD/tft, but I have leveled the gantry with the lcd as well. I guess I need to make a test file with some air cuts.
1 Like
It’ll do that if you don’t home the Z before doing a z-probe
This is reproducible for me. If I zero out a bit, run a job, change a bit, then a z-probe, it does as you say. 5 mm then stops. However, this number is actually the same as whatever I set my safe Z to. If I set 10mm as safe Z, it’ll travel 10 mm then stop when I z-probe
But if I end a job, home the Z, change bit, then z-probe, it’ll travel all the way down until it hits the plate.
@vicious1 it does this with the ESP3D too, so not a tft issue.
I never brought it up because I assumed it was an intentional feature to ensure you reset the z home before probing so it didn’t confuse the coordinates or something