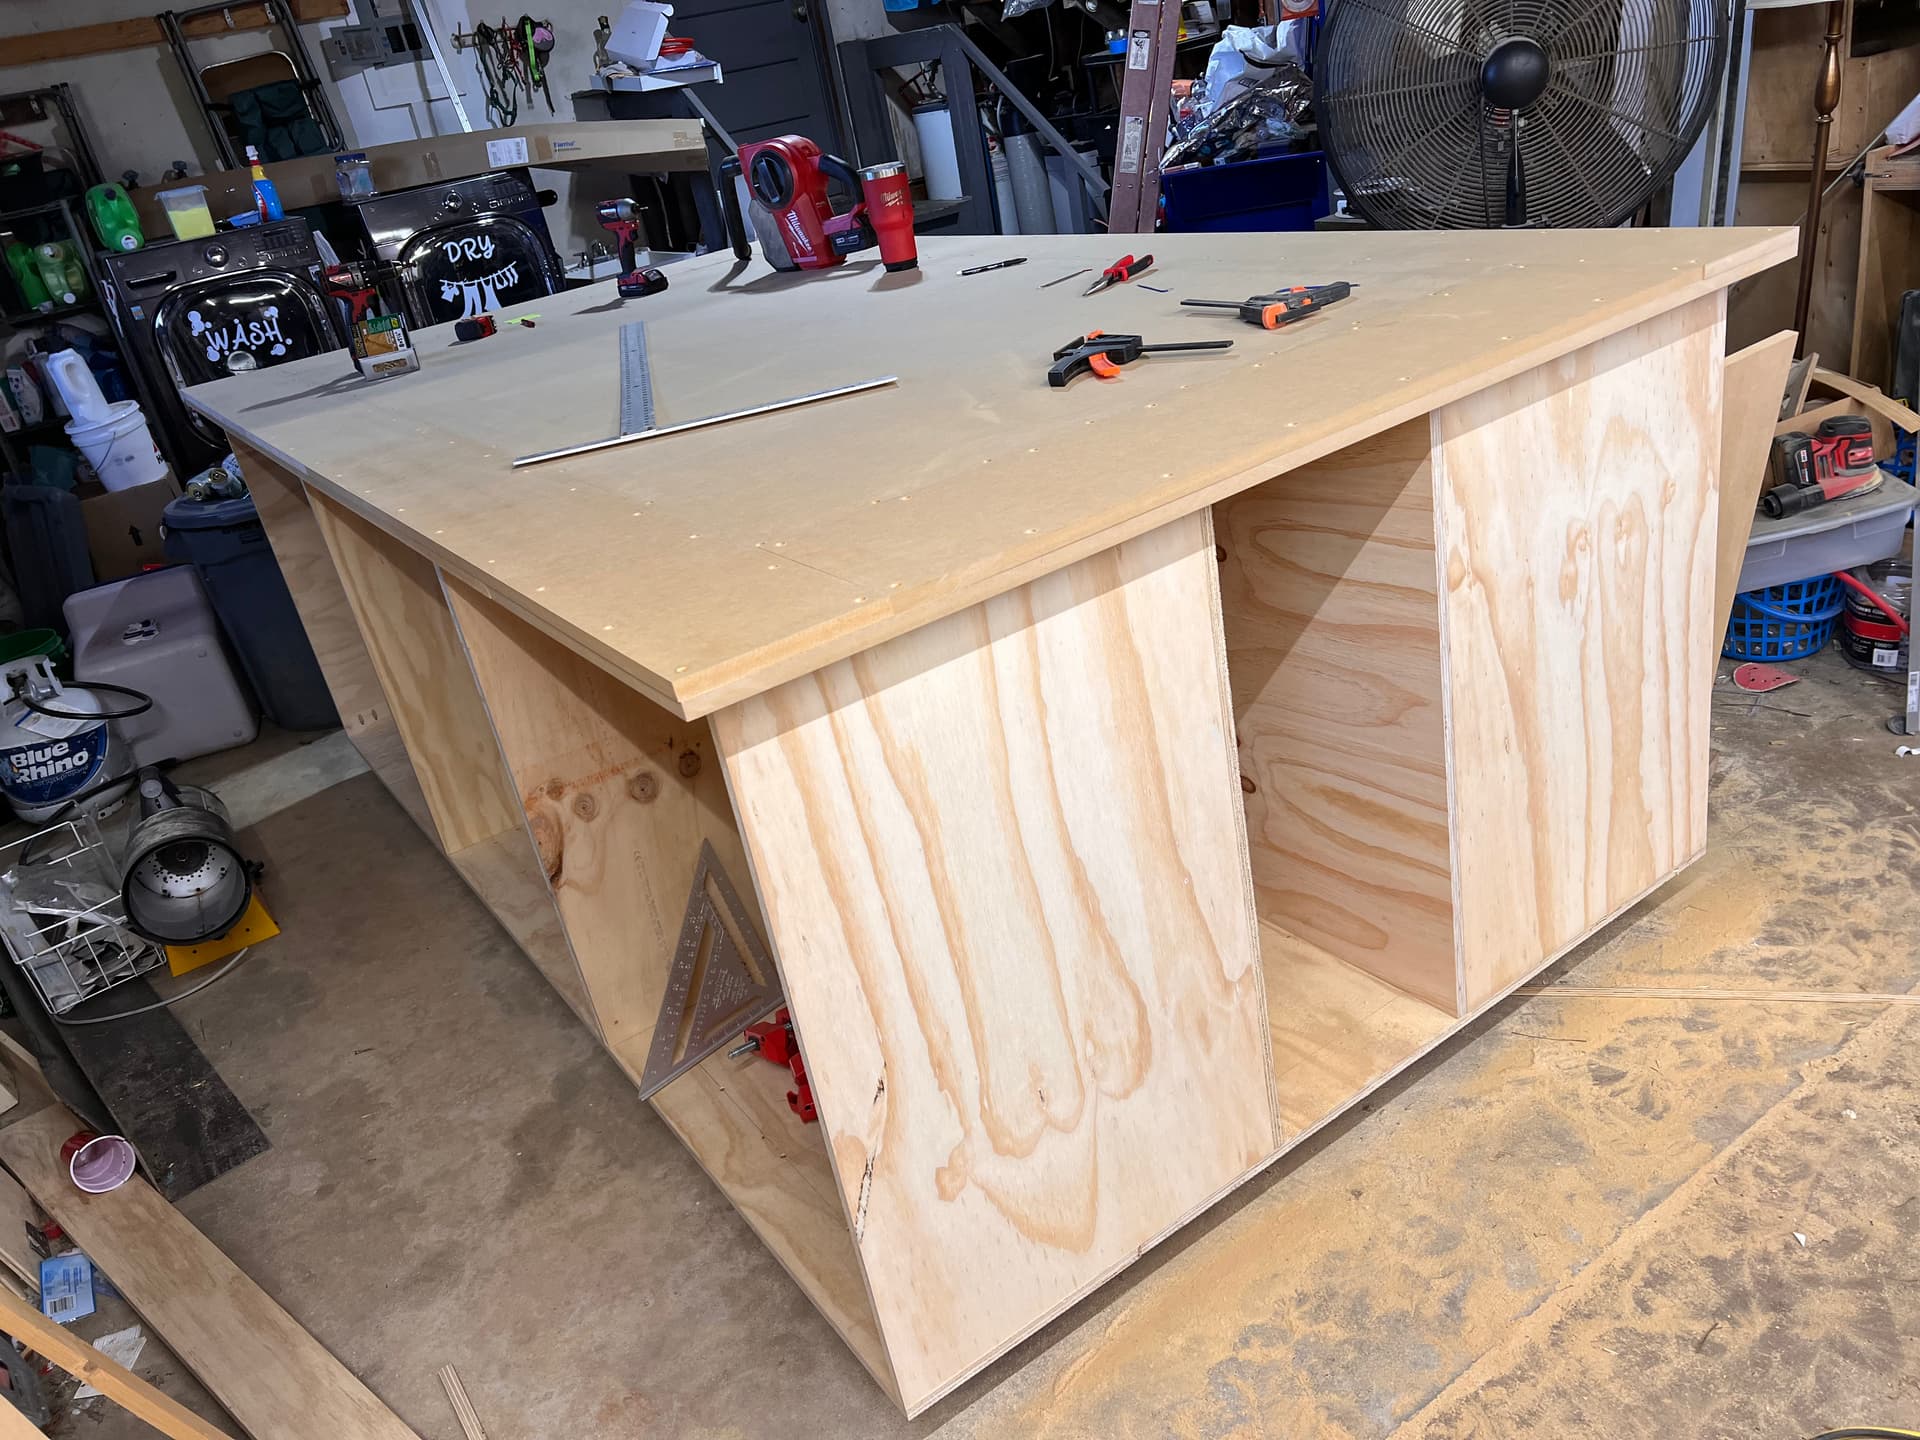
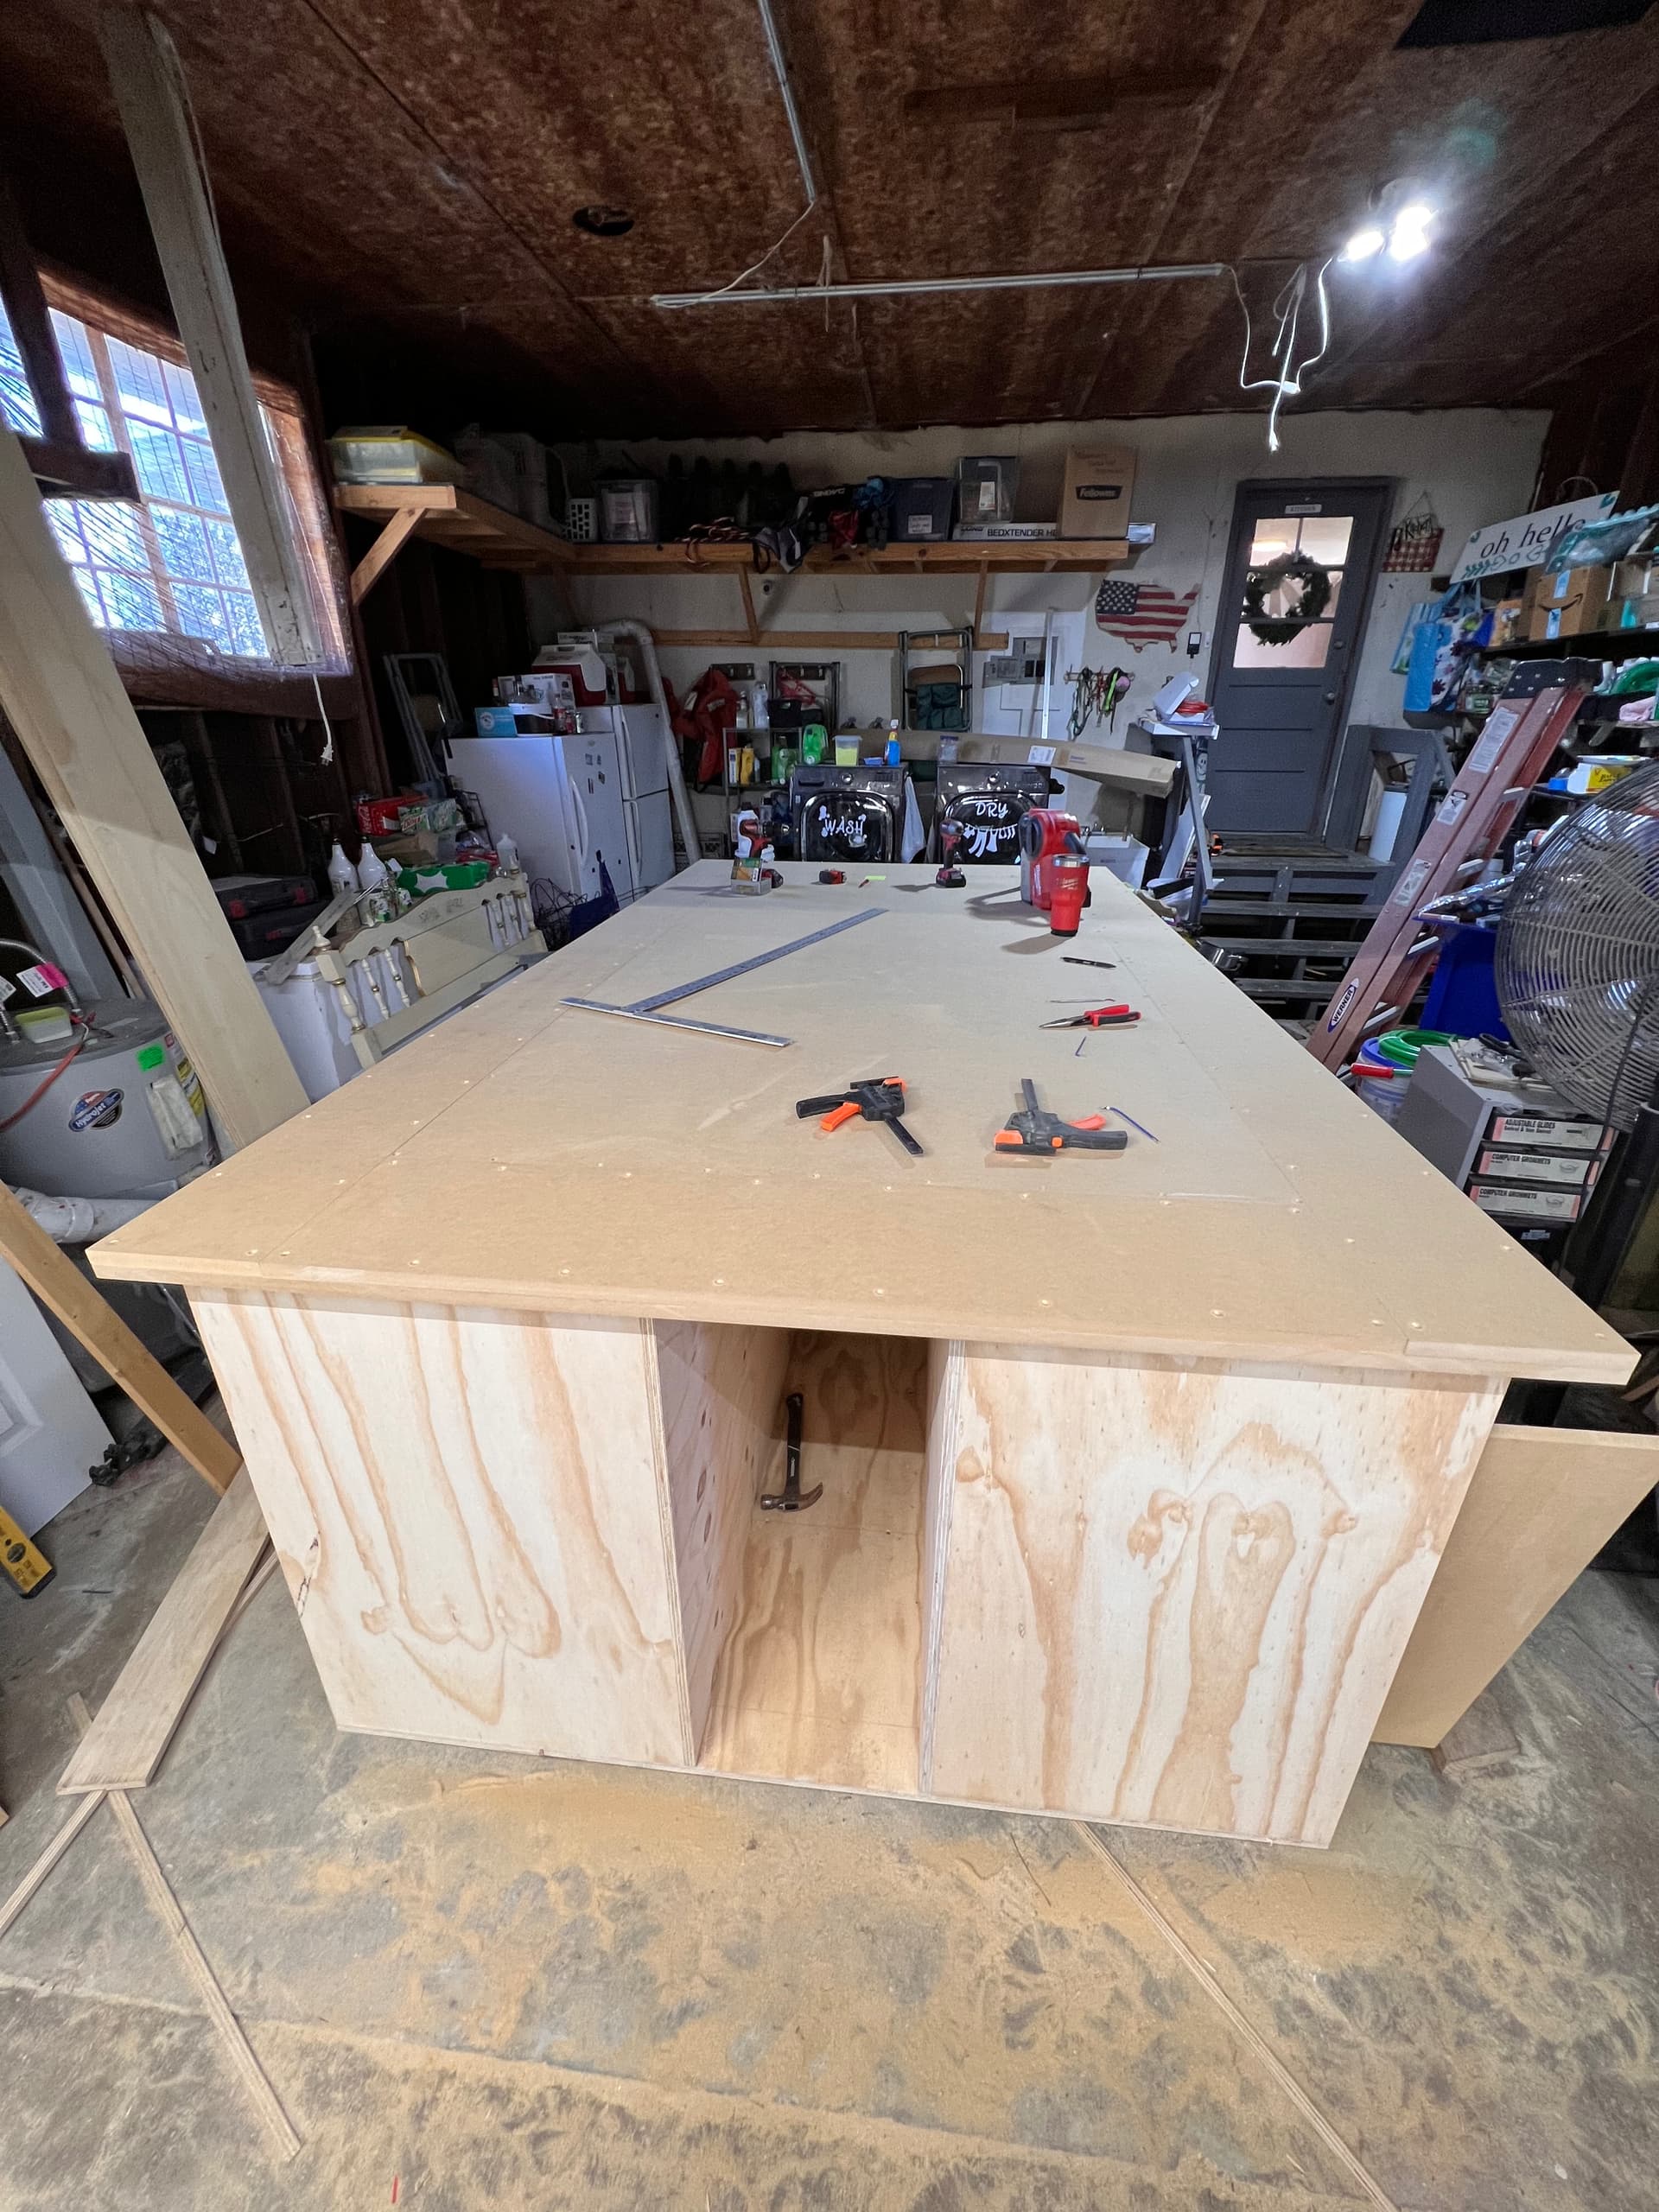
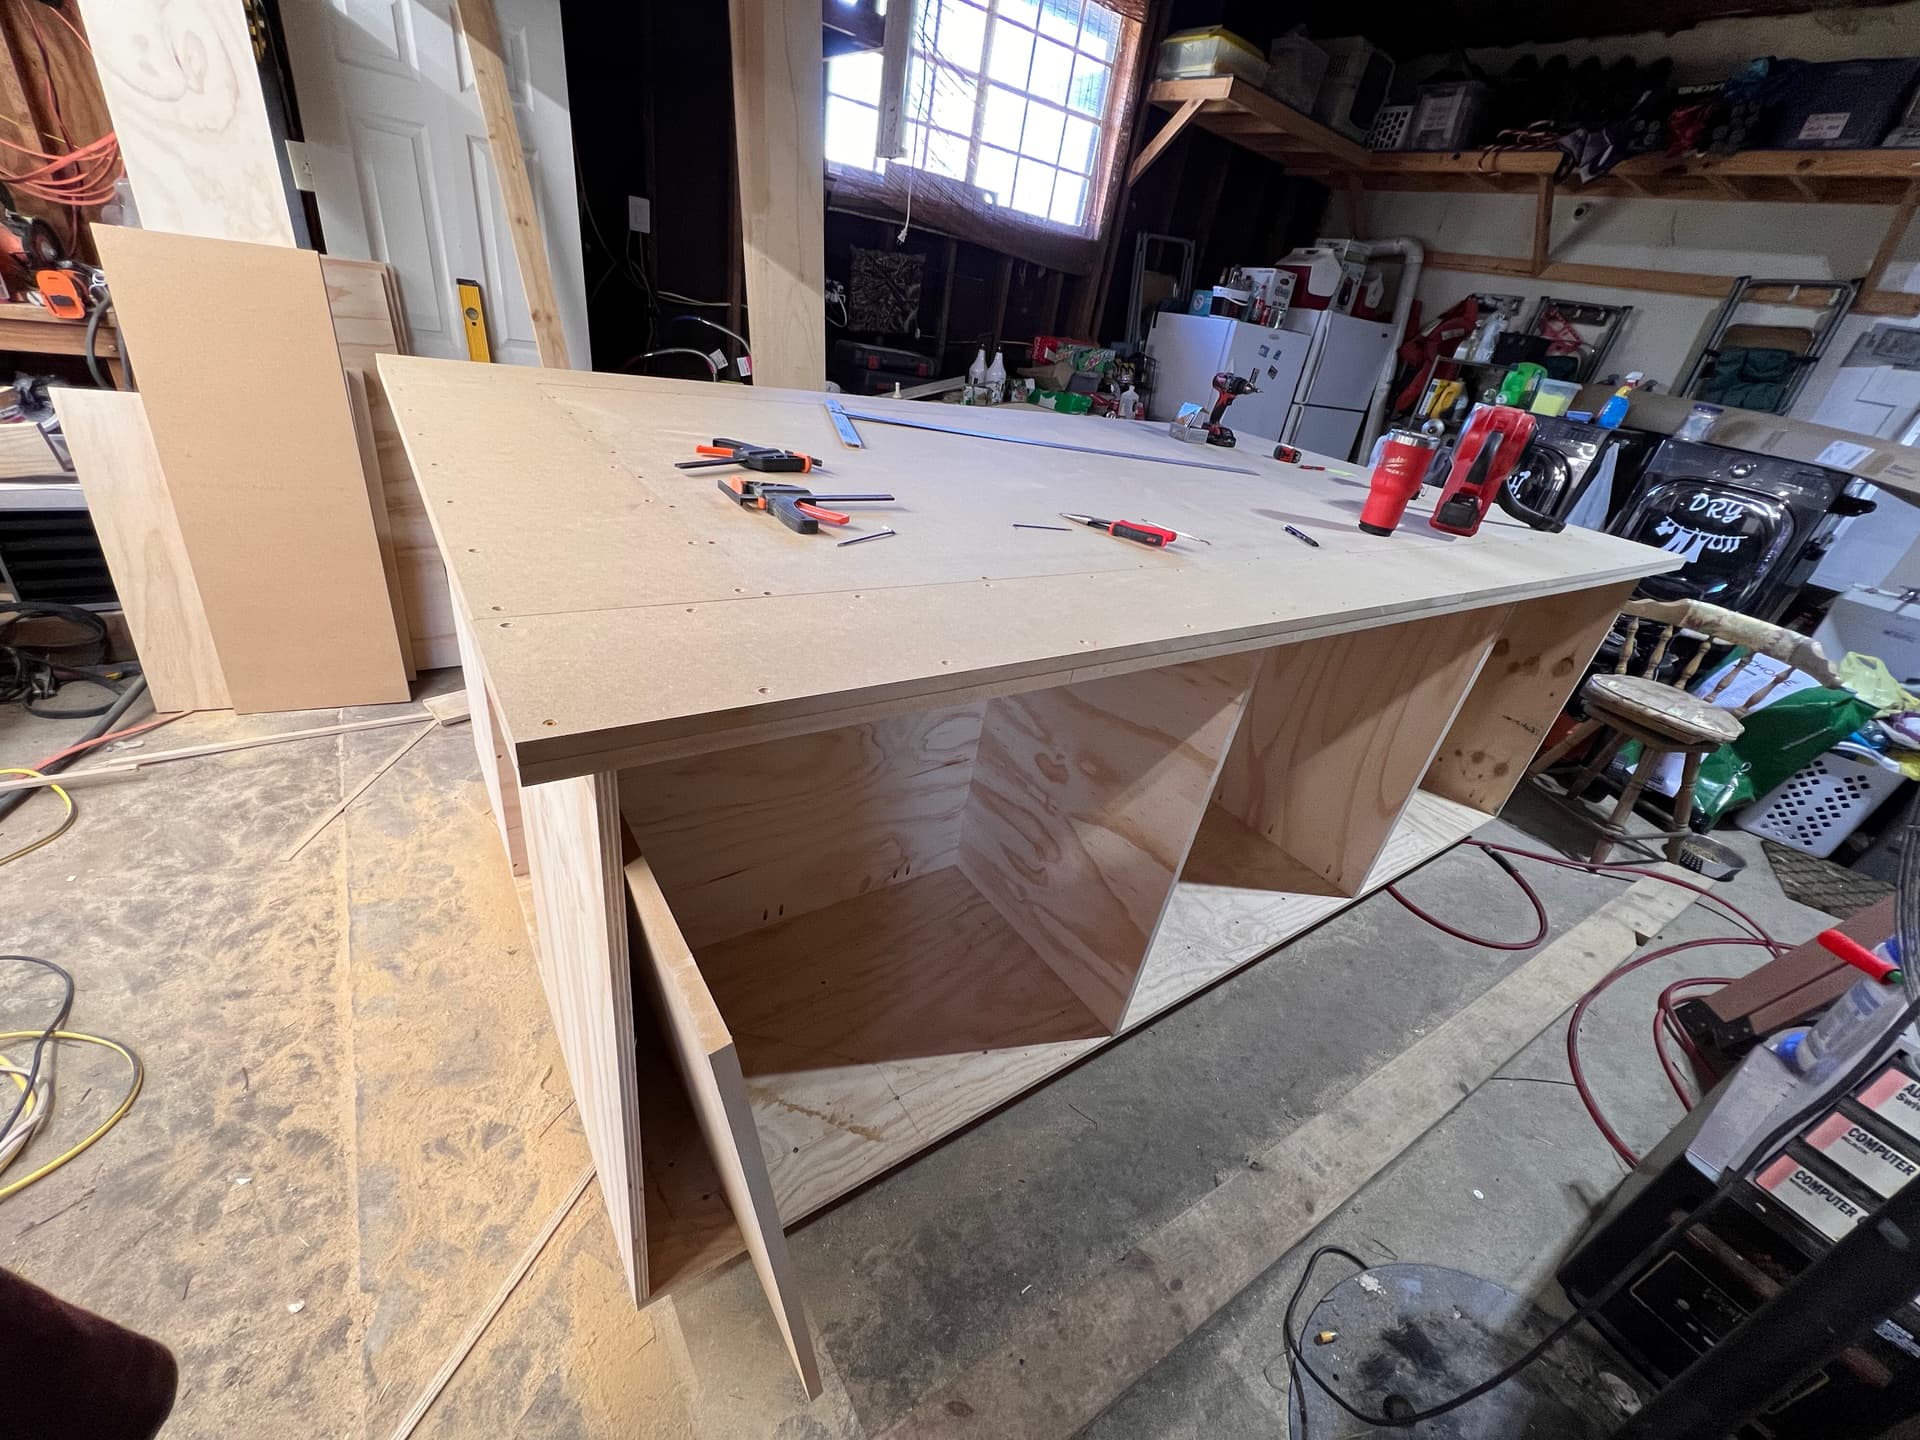
Table is 118” long and 66” wide. Has 3 cabinets down each side and a 12” cubby down the middle. Key with this table was to gain some much needed storage and organization. Cabinets are all out of 3/4” plywood and top is 2 layers of 3/4” MDF. Top layer has a full sheet centered to hopefully make it easy to replace the spoil board in the future. Already have all of the parts printed and about to start setting the machine up. One question I have is on my MPCNC Primo I originally set it up at the recommended 2.5 z height and when it was done I couldn’t fit a piece of 3/4” material and have the bit out of the spindle far enough to cut fully through the 3/4”. Am I going to have the same issue on the Lowrider3 running a 65mm spindle? My thoughts are to cut some strips of 3/4” MDF to raise the machine up 1 1/2” above the spoil board. Should I do that or is that going to be a waste of time? Thanks!!!
Im running a spindle not a router and it very well may be the mount im using. I will make another post for that issue.
The main thing i will be using the Lowrider for is cutting plywood and surfacing slabs. Sometimes up to 2 1/2" thick. That was a lot of why i was thinking about putting the strips for it to ride on. That should still keep it lower and ridgid. Sort of a built in drop. I may end up having to keep another sheet of MDF around to get plywood up high enough with it raised 1 1/2" but time will tell.
Am i thinking about this correctly? Or is my brain totally screwing this up?
Sounds solid. You have to remember though that if you want to cut wood that is 1 inch higher your table needs to be 2 inches lower, one for the wood and the other one for clearance for the bit.
Thanks! I’m going to start at 1 1/2" raised and see how that does for me. That’s 2 strips of MDF. Now to decide how wide to make the strips and exactly where to place them so i can still fit a full width 4x8 sheet of plywood on the table. Man its always something lol
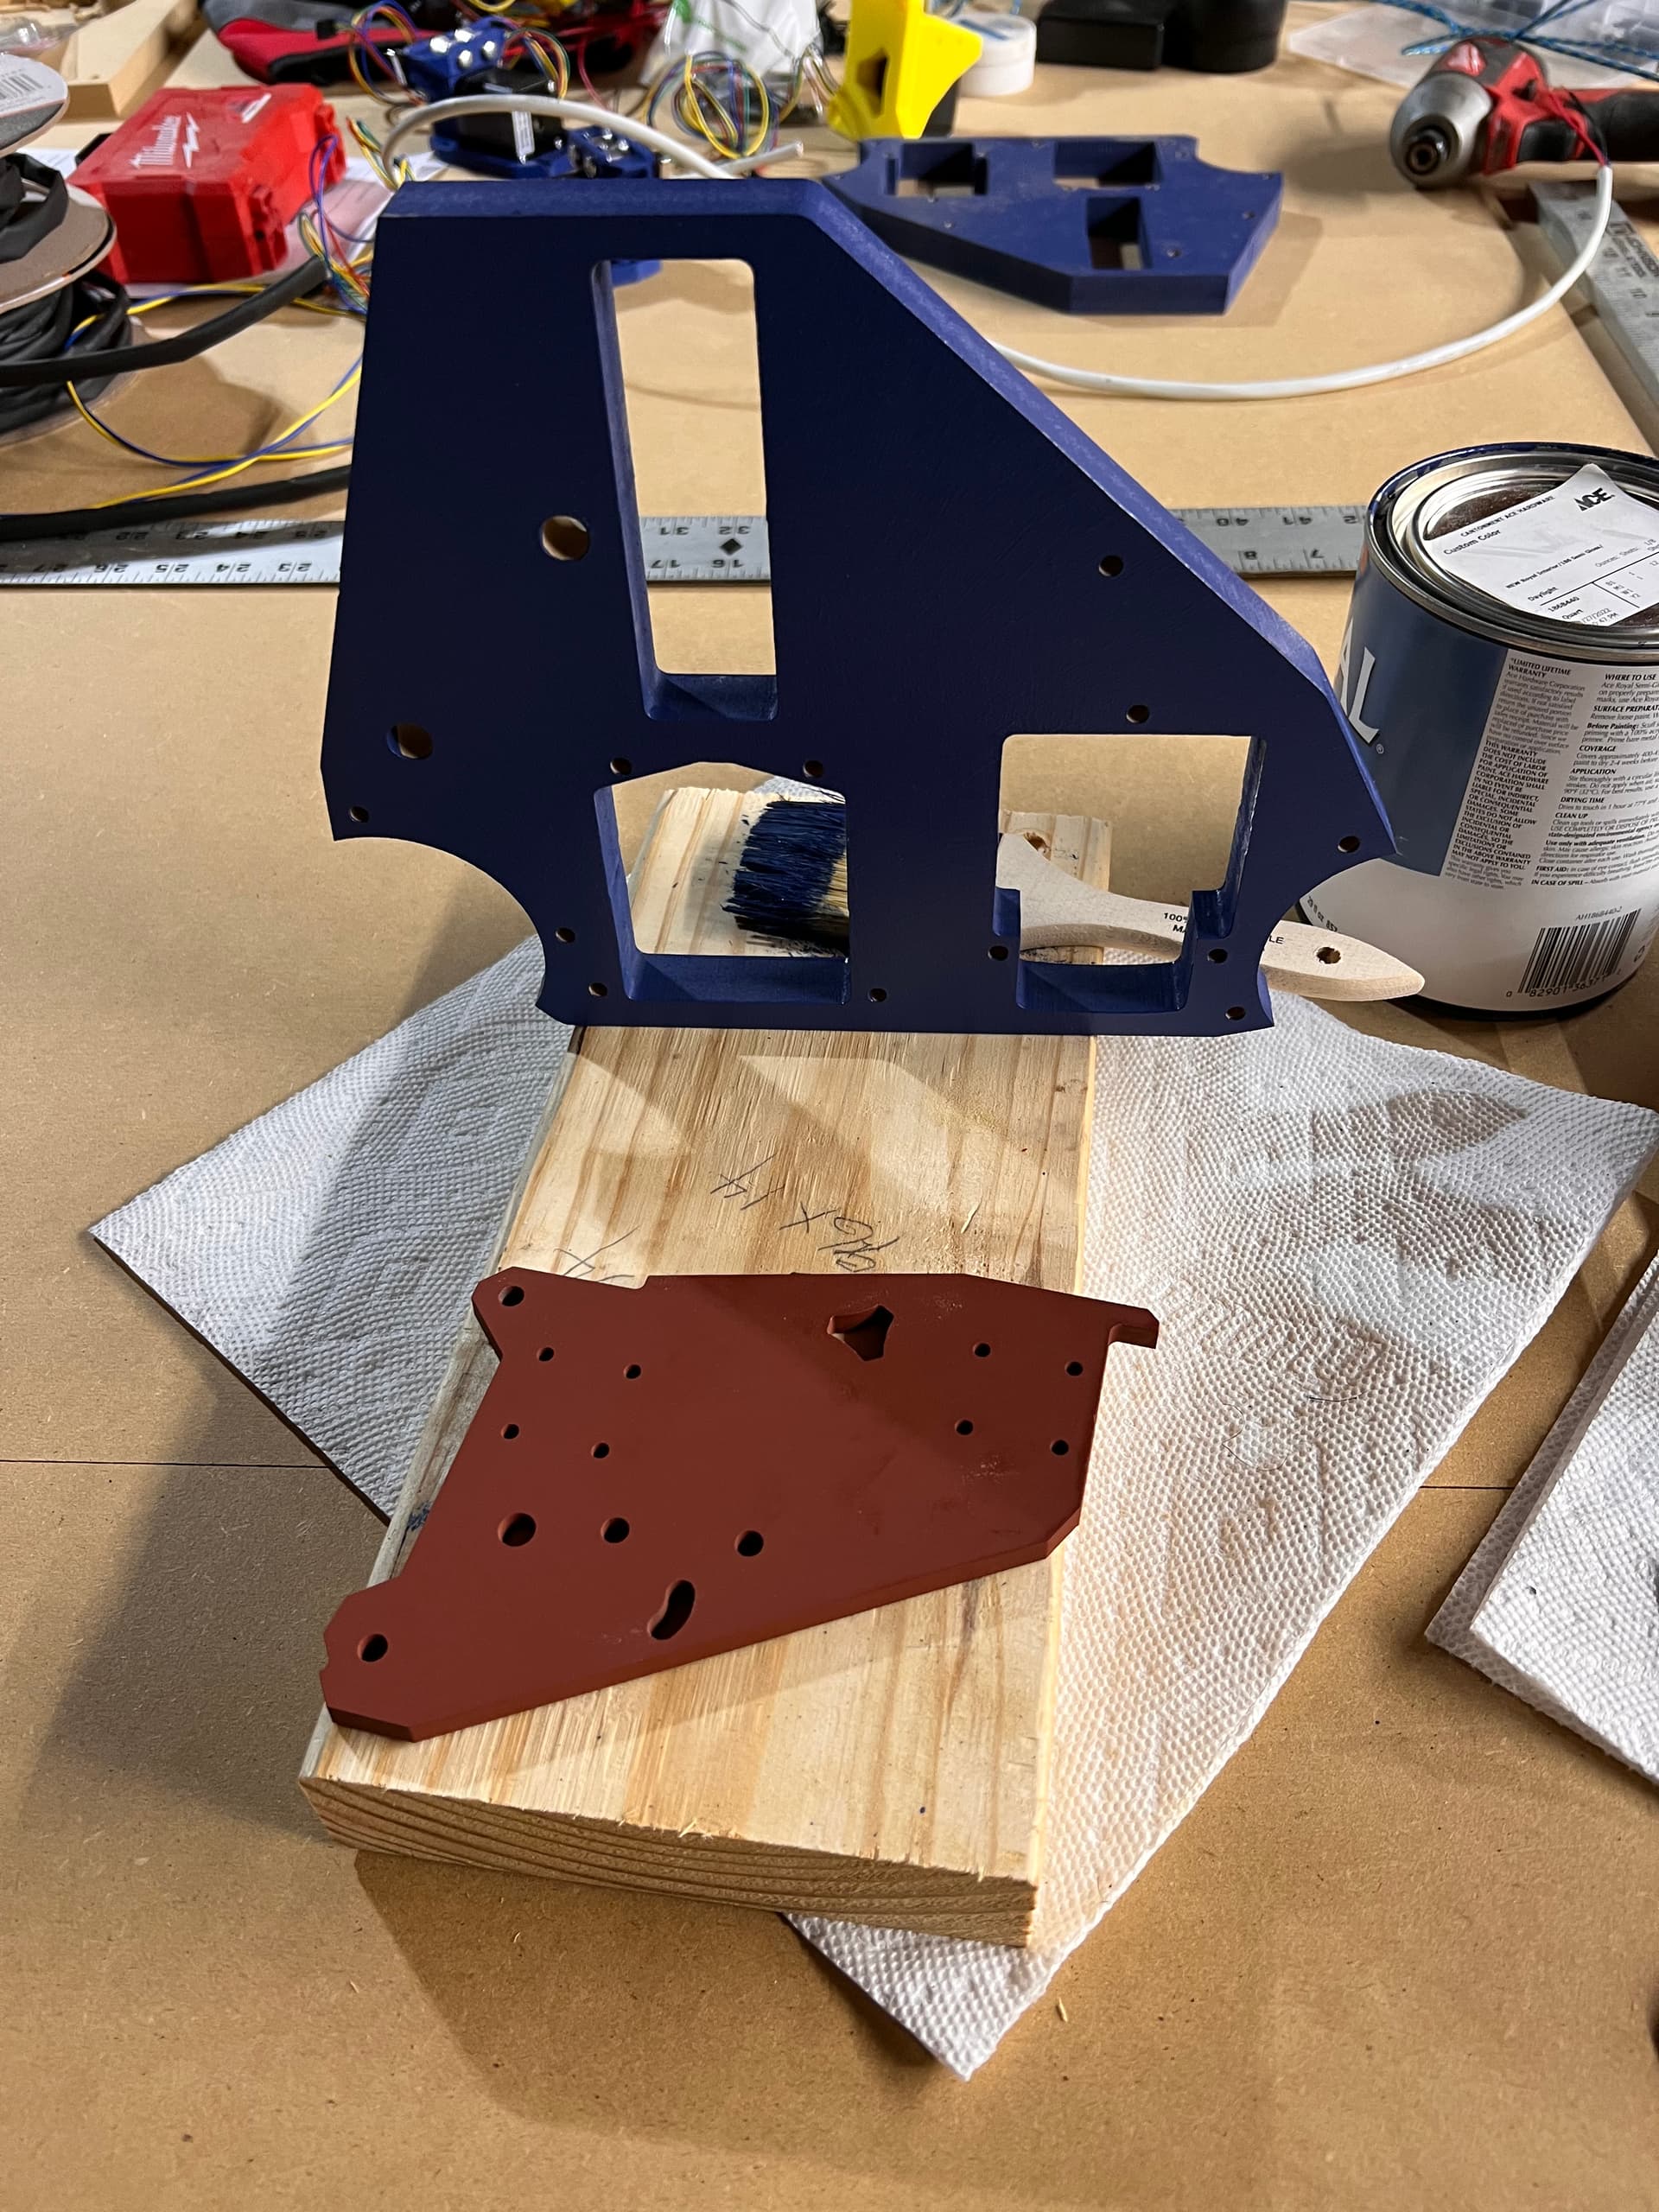
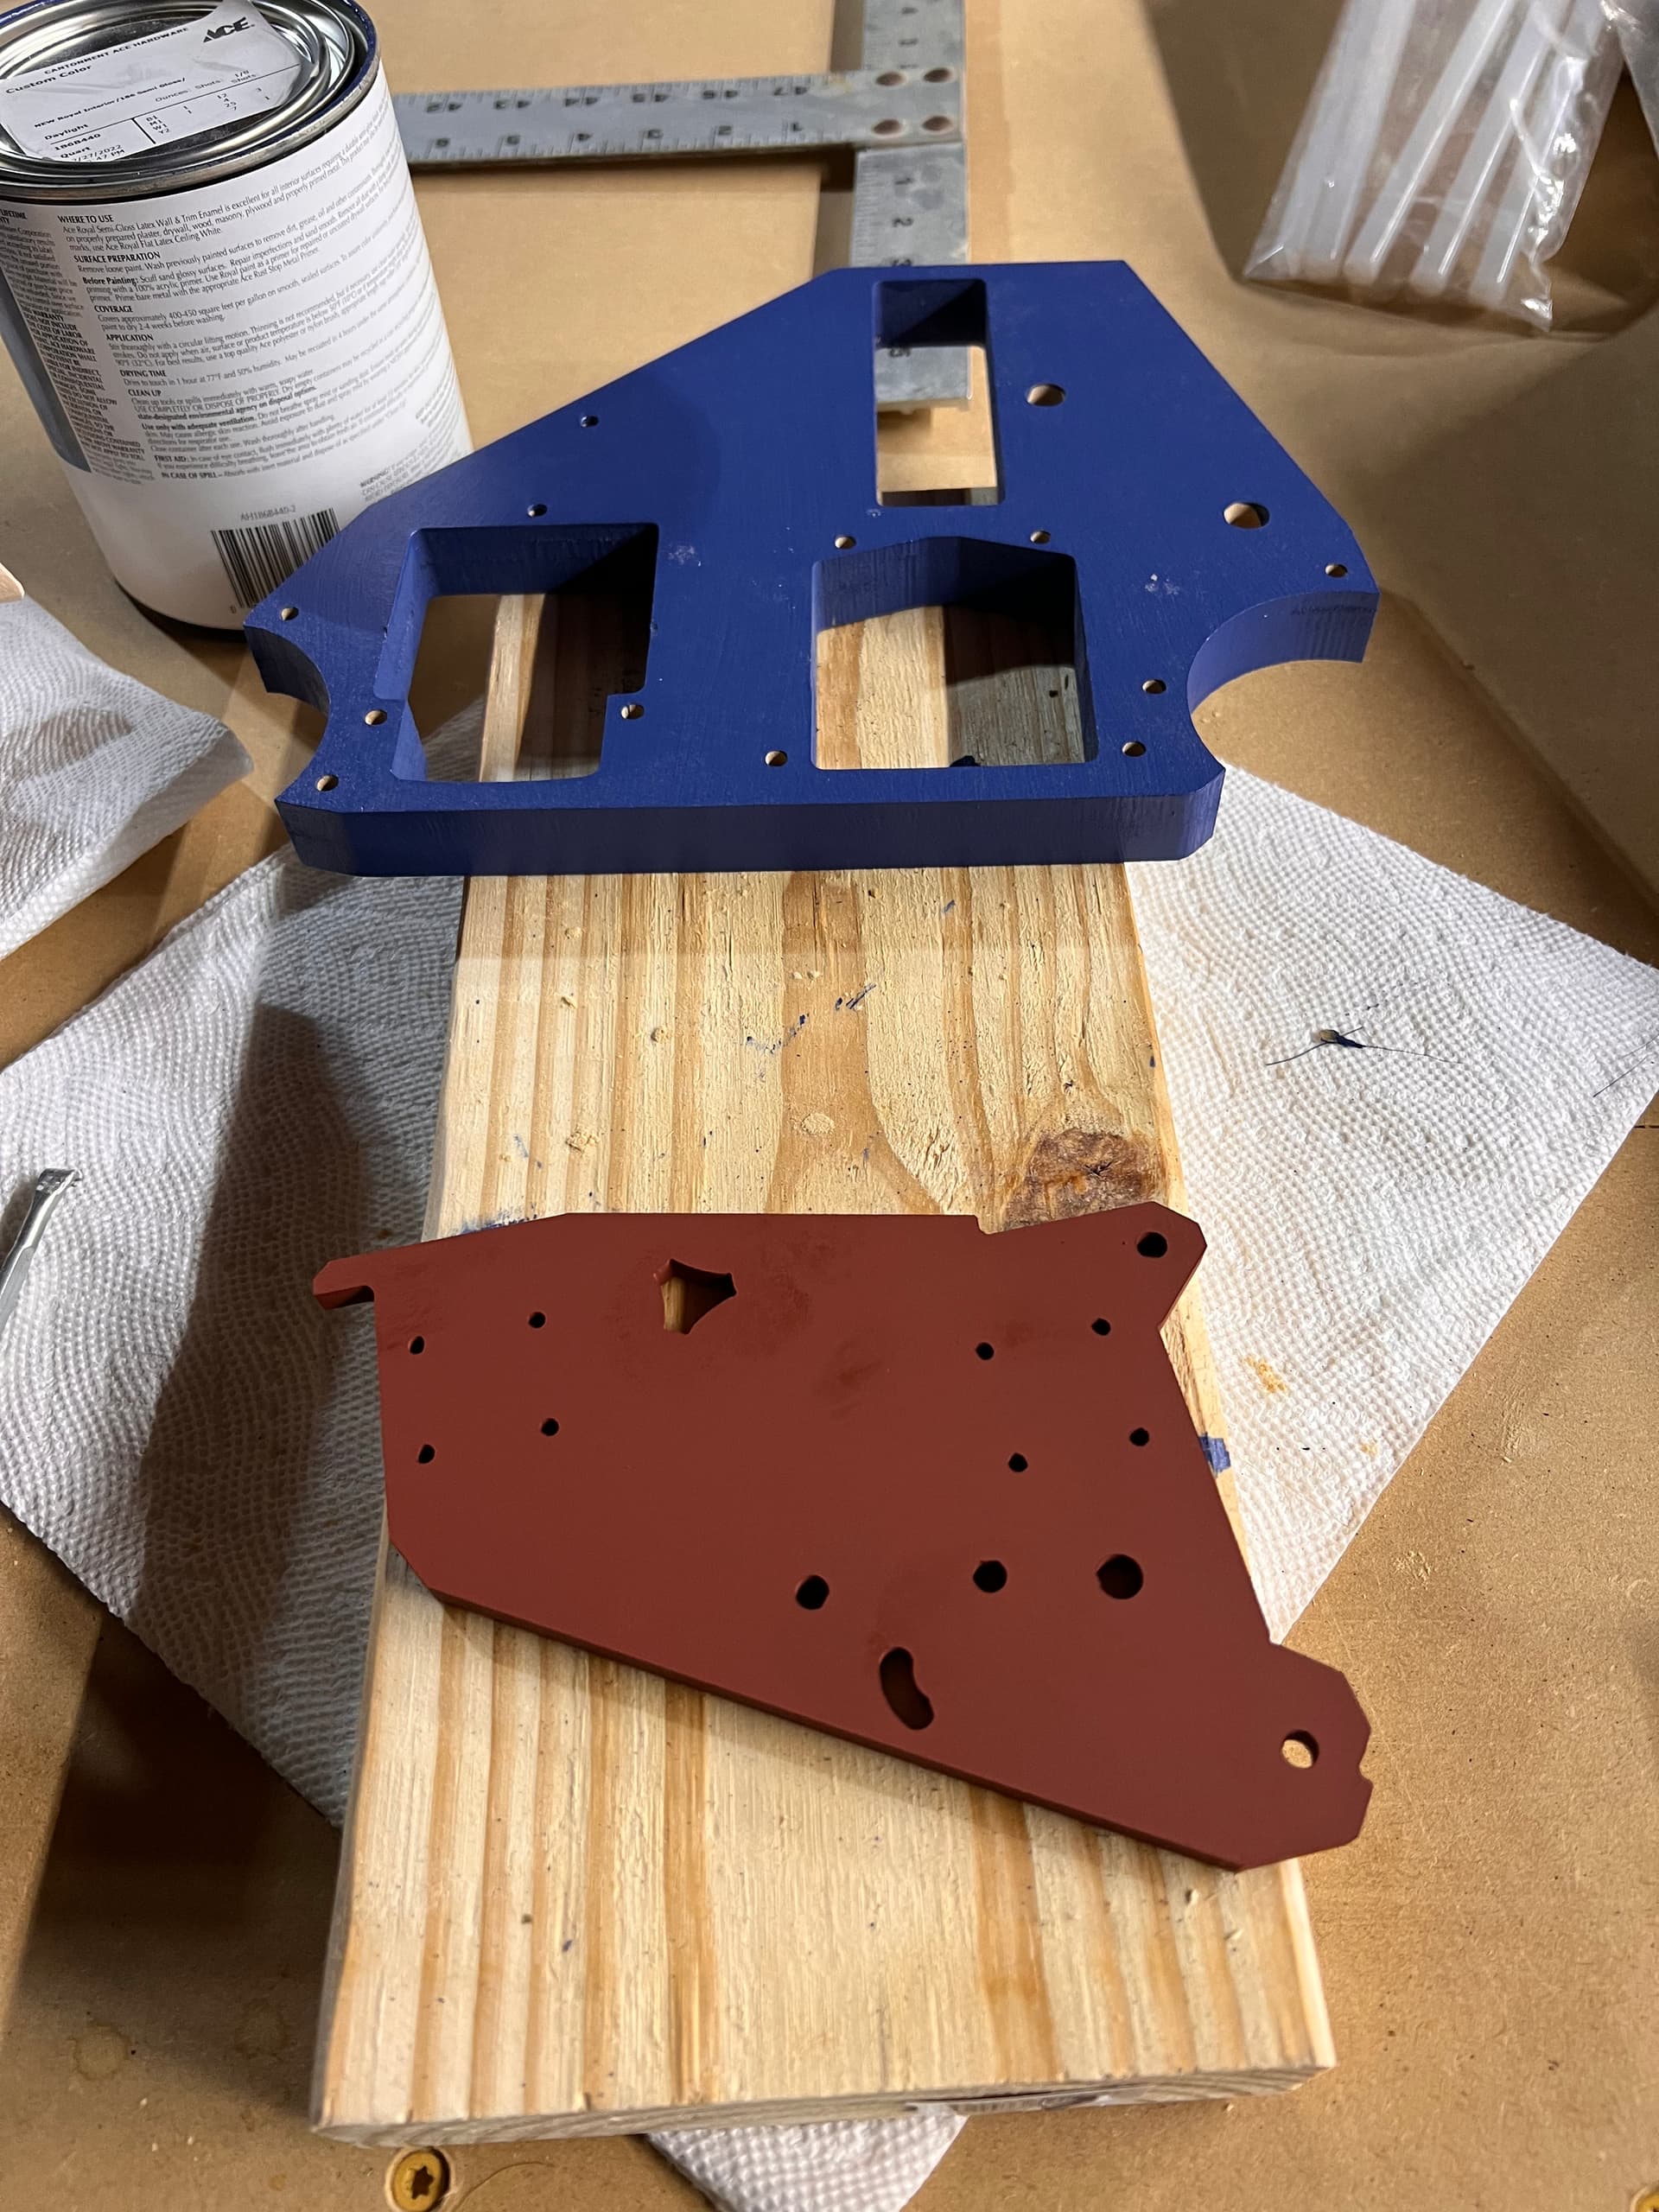
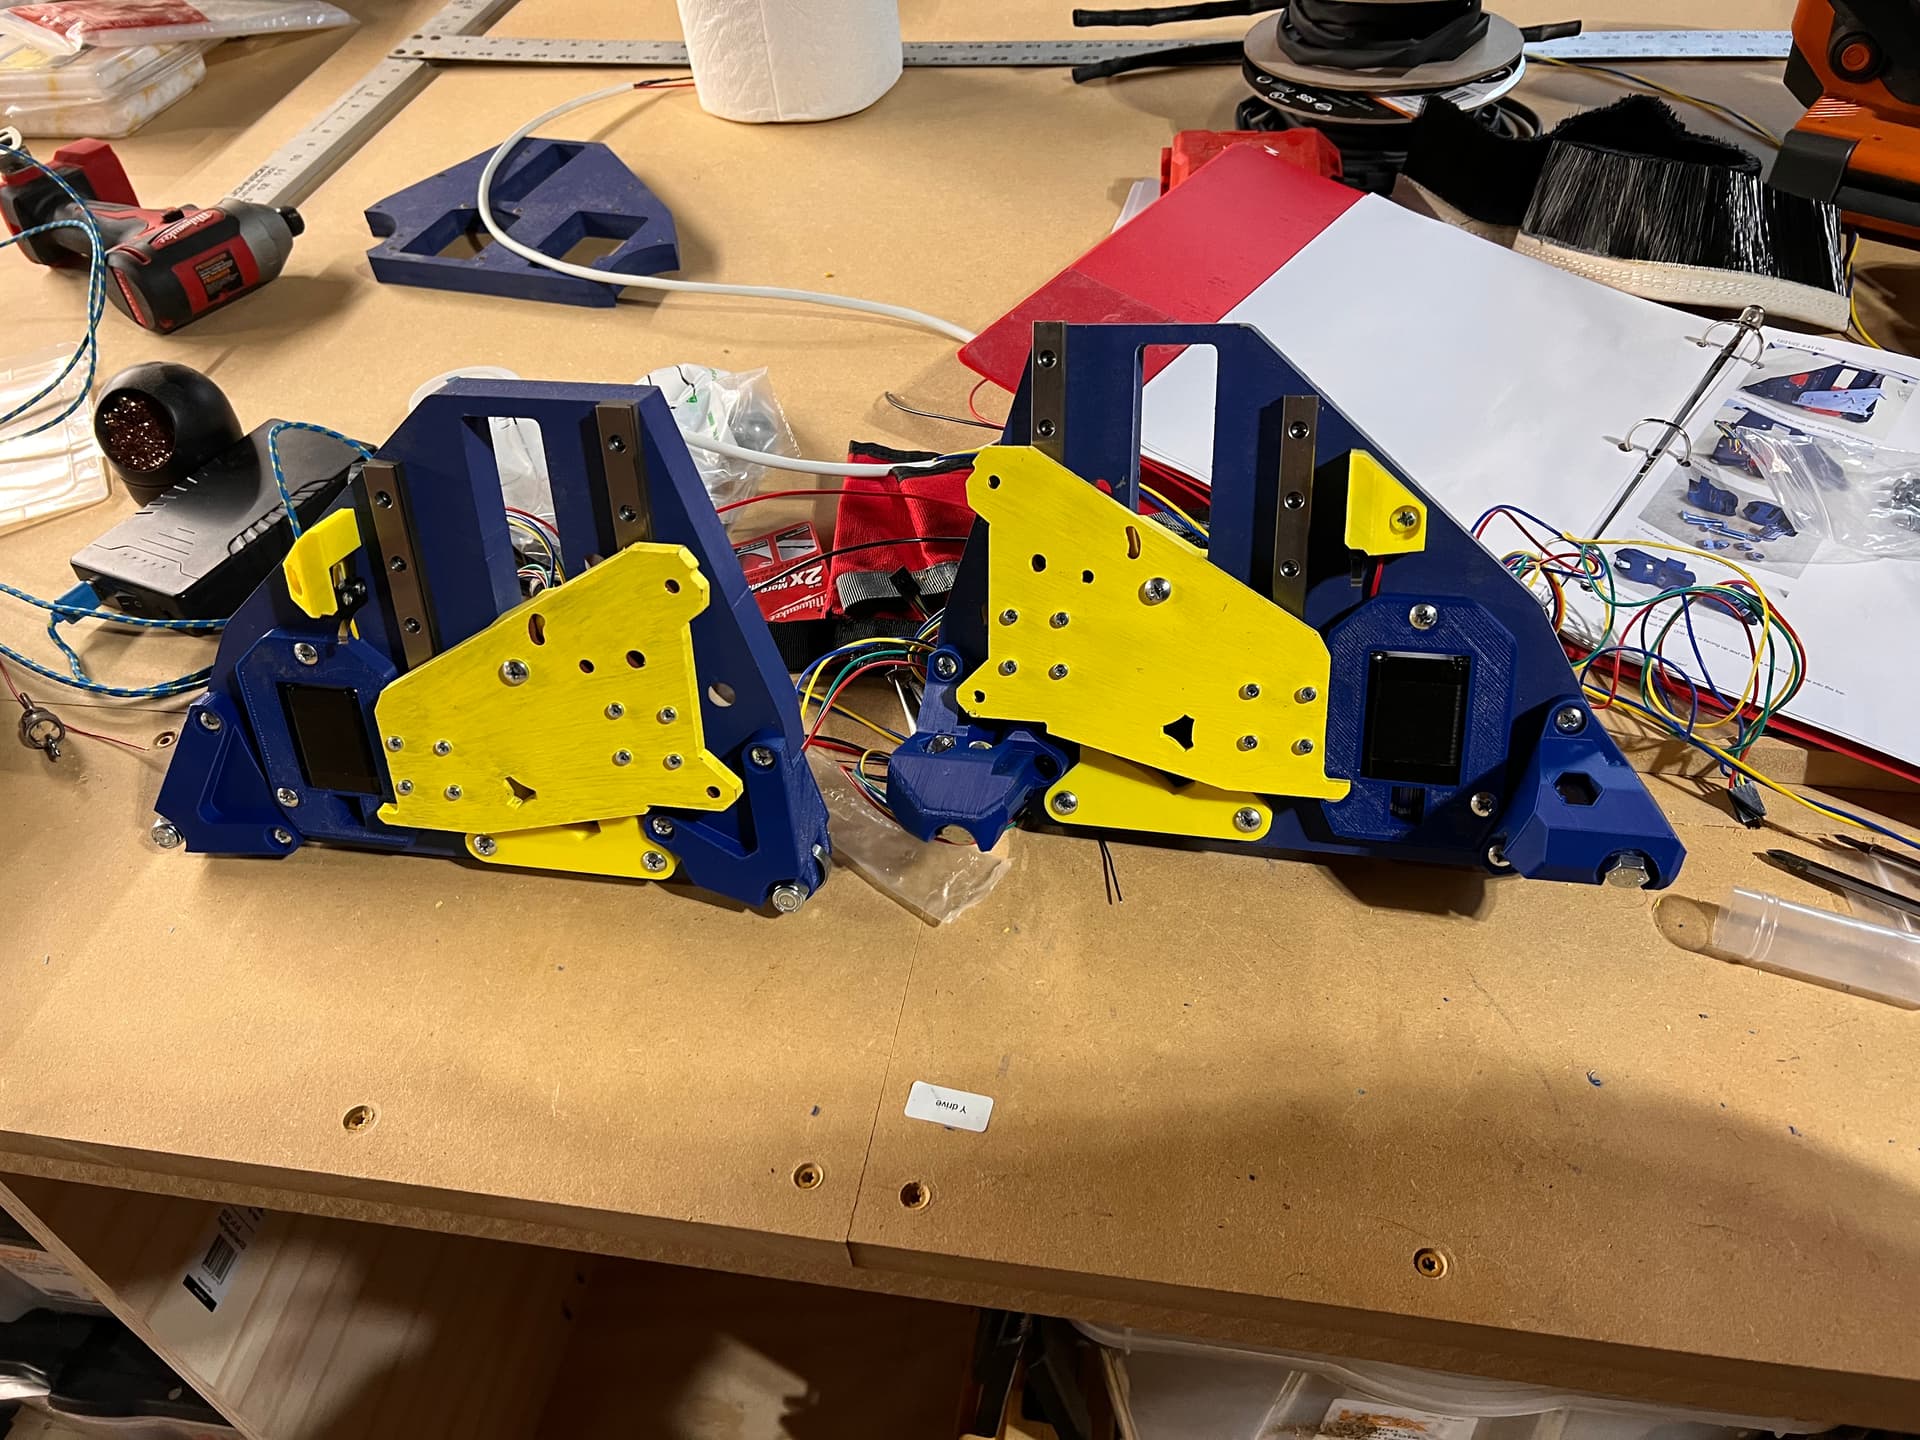
Forgot to take a pic before primer. Went to the hardware store with 2 printed parts and got some paint mixed to match. Thought that might be a nice extra touch
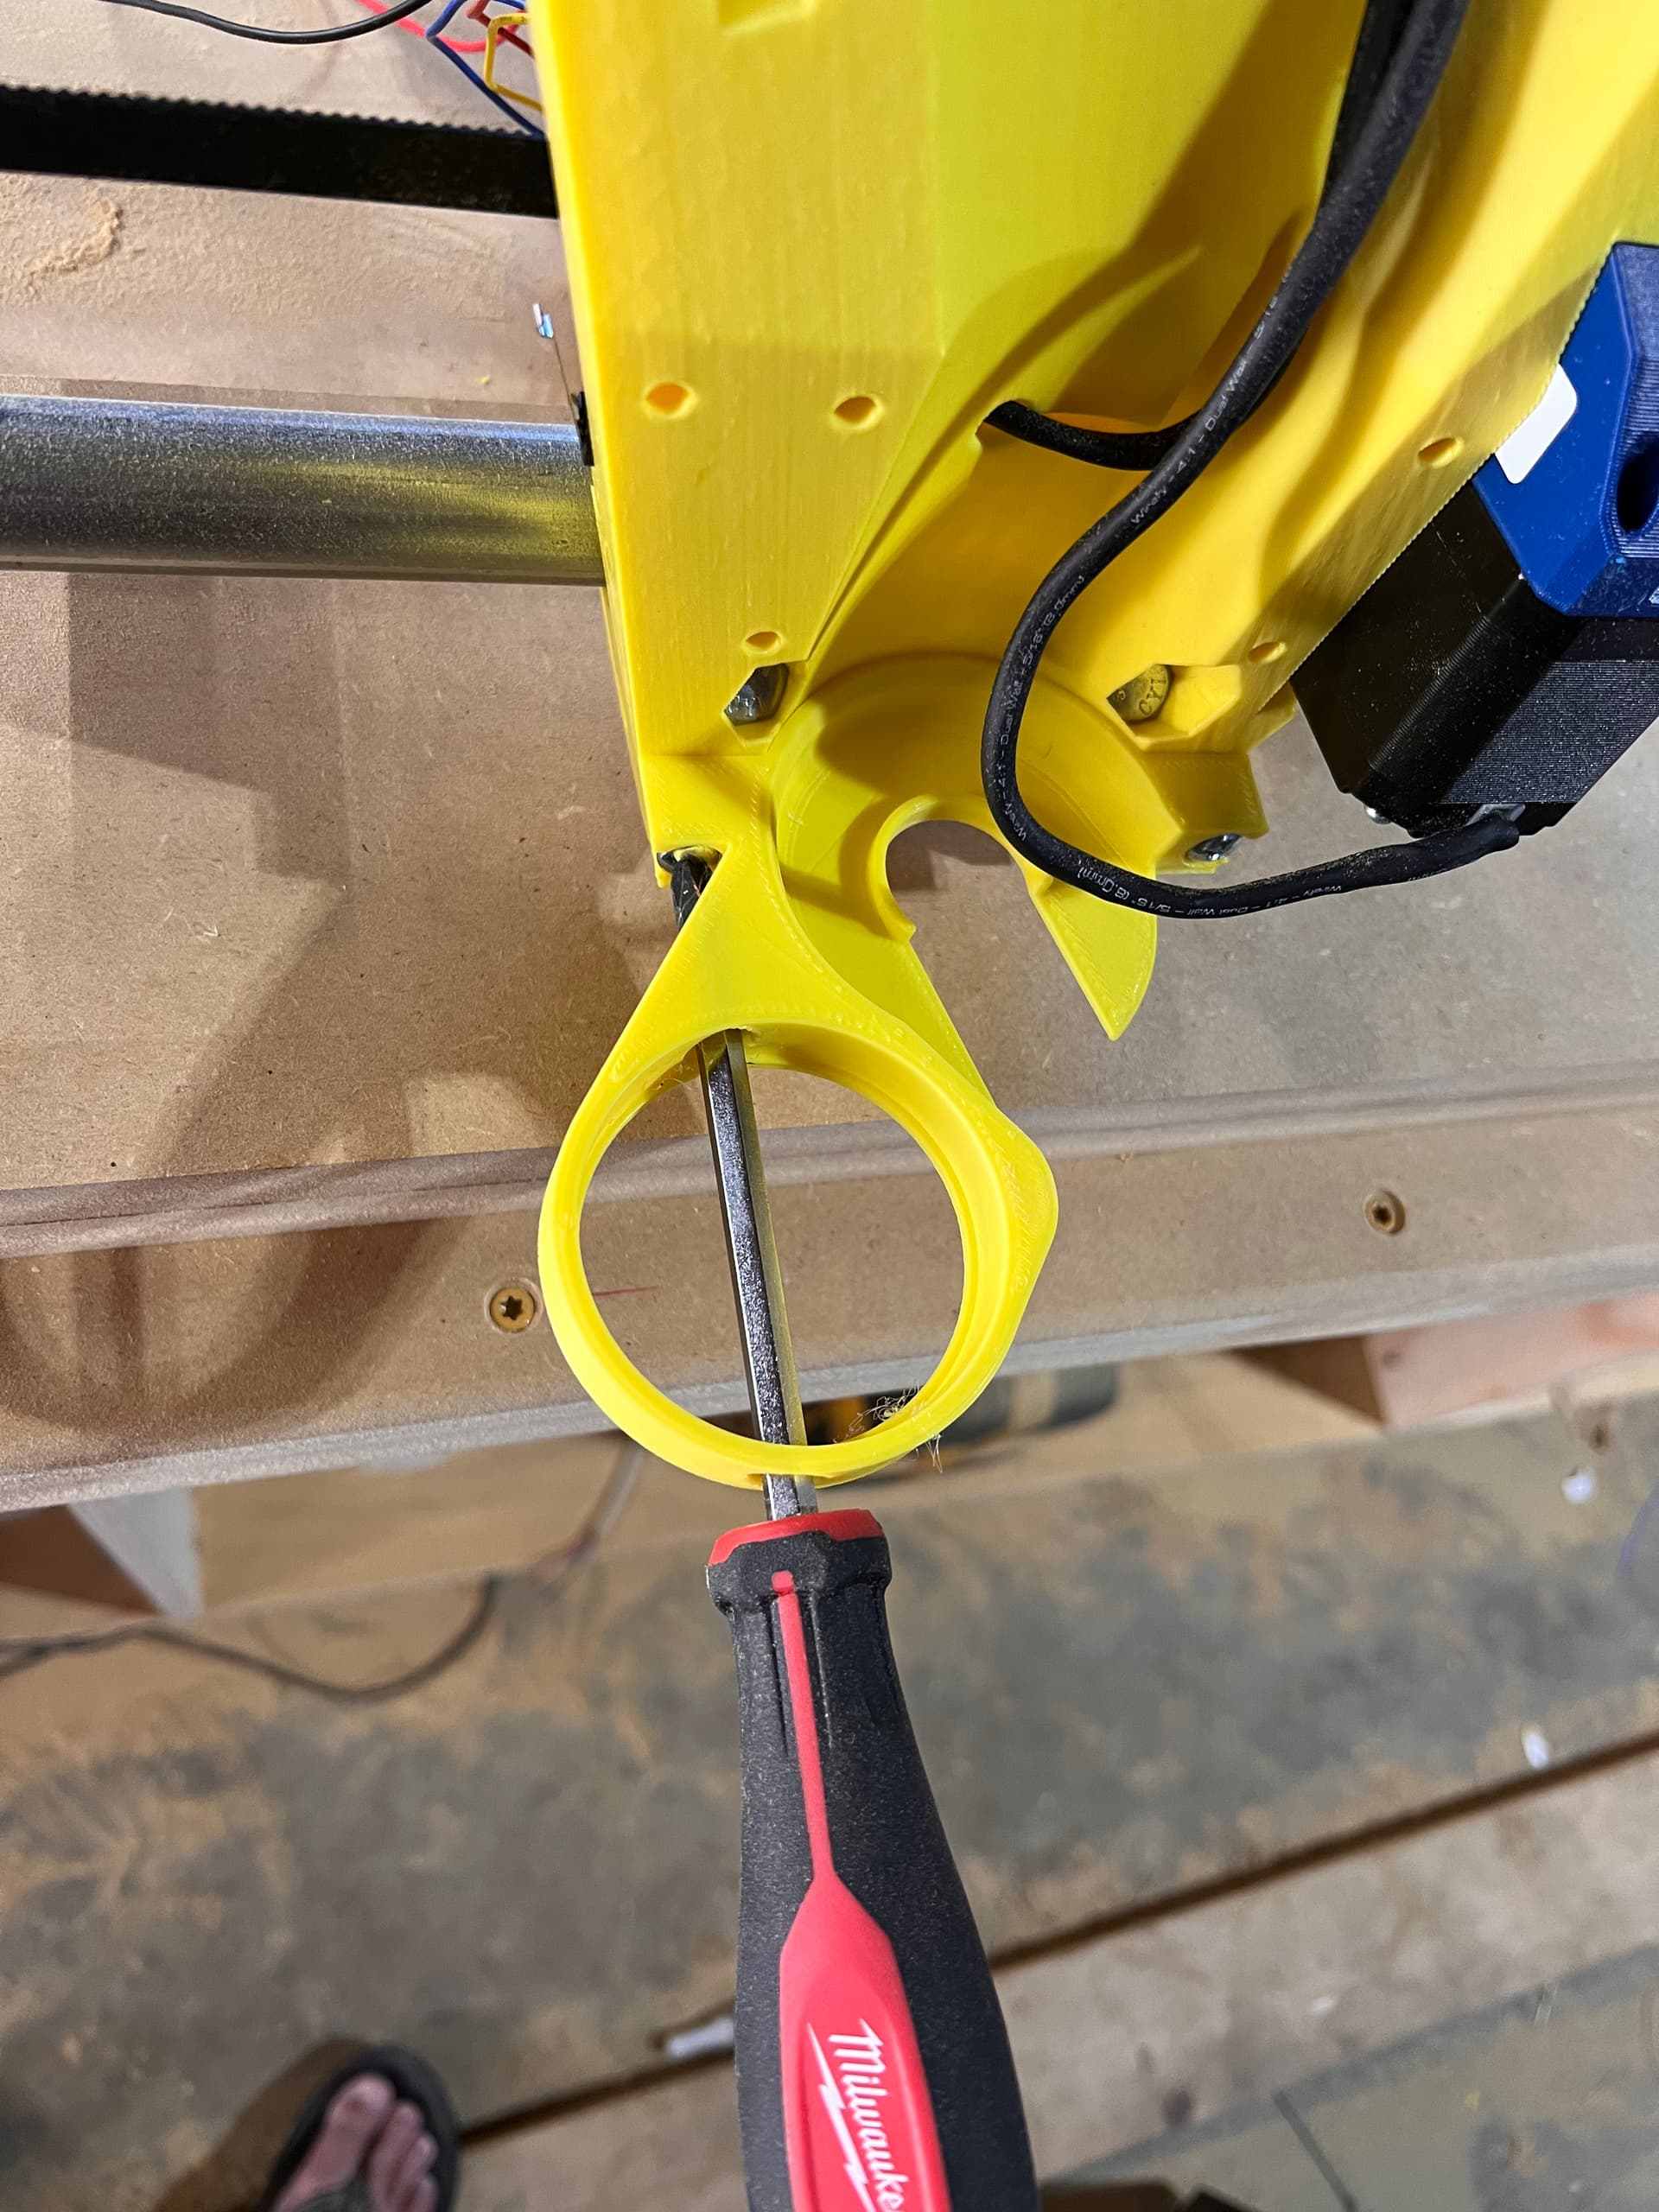
Well false alarm. Turns out “F… it. I’ll just print a new one if I break it” worked. It took some force but I got it through. Now to do the same on the other side lol
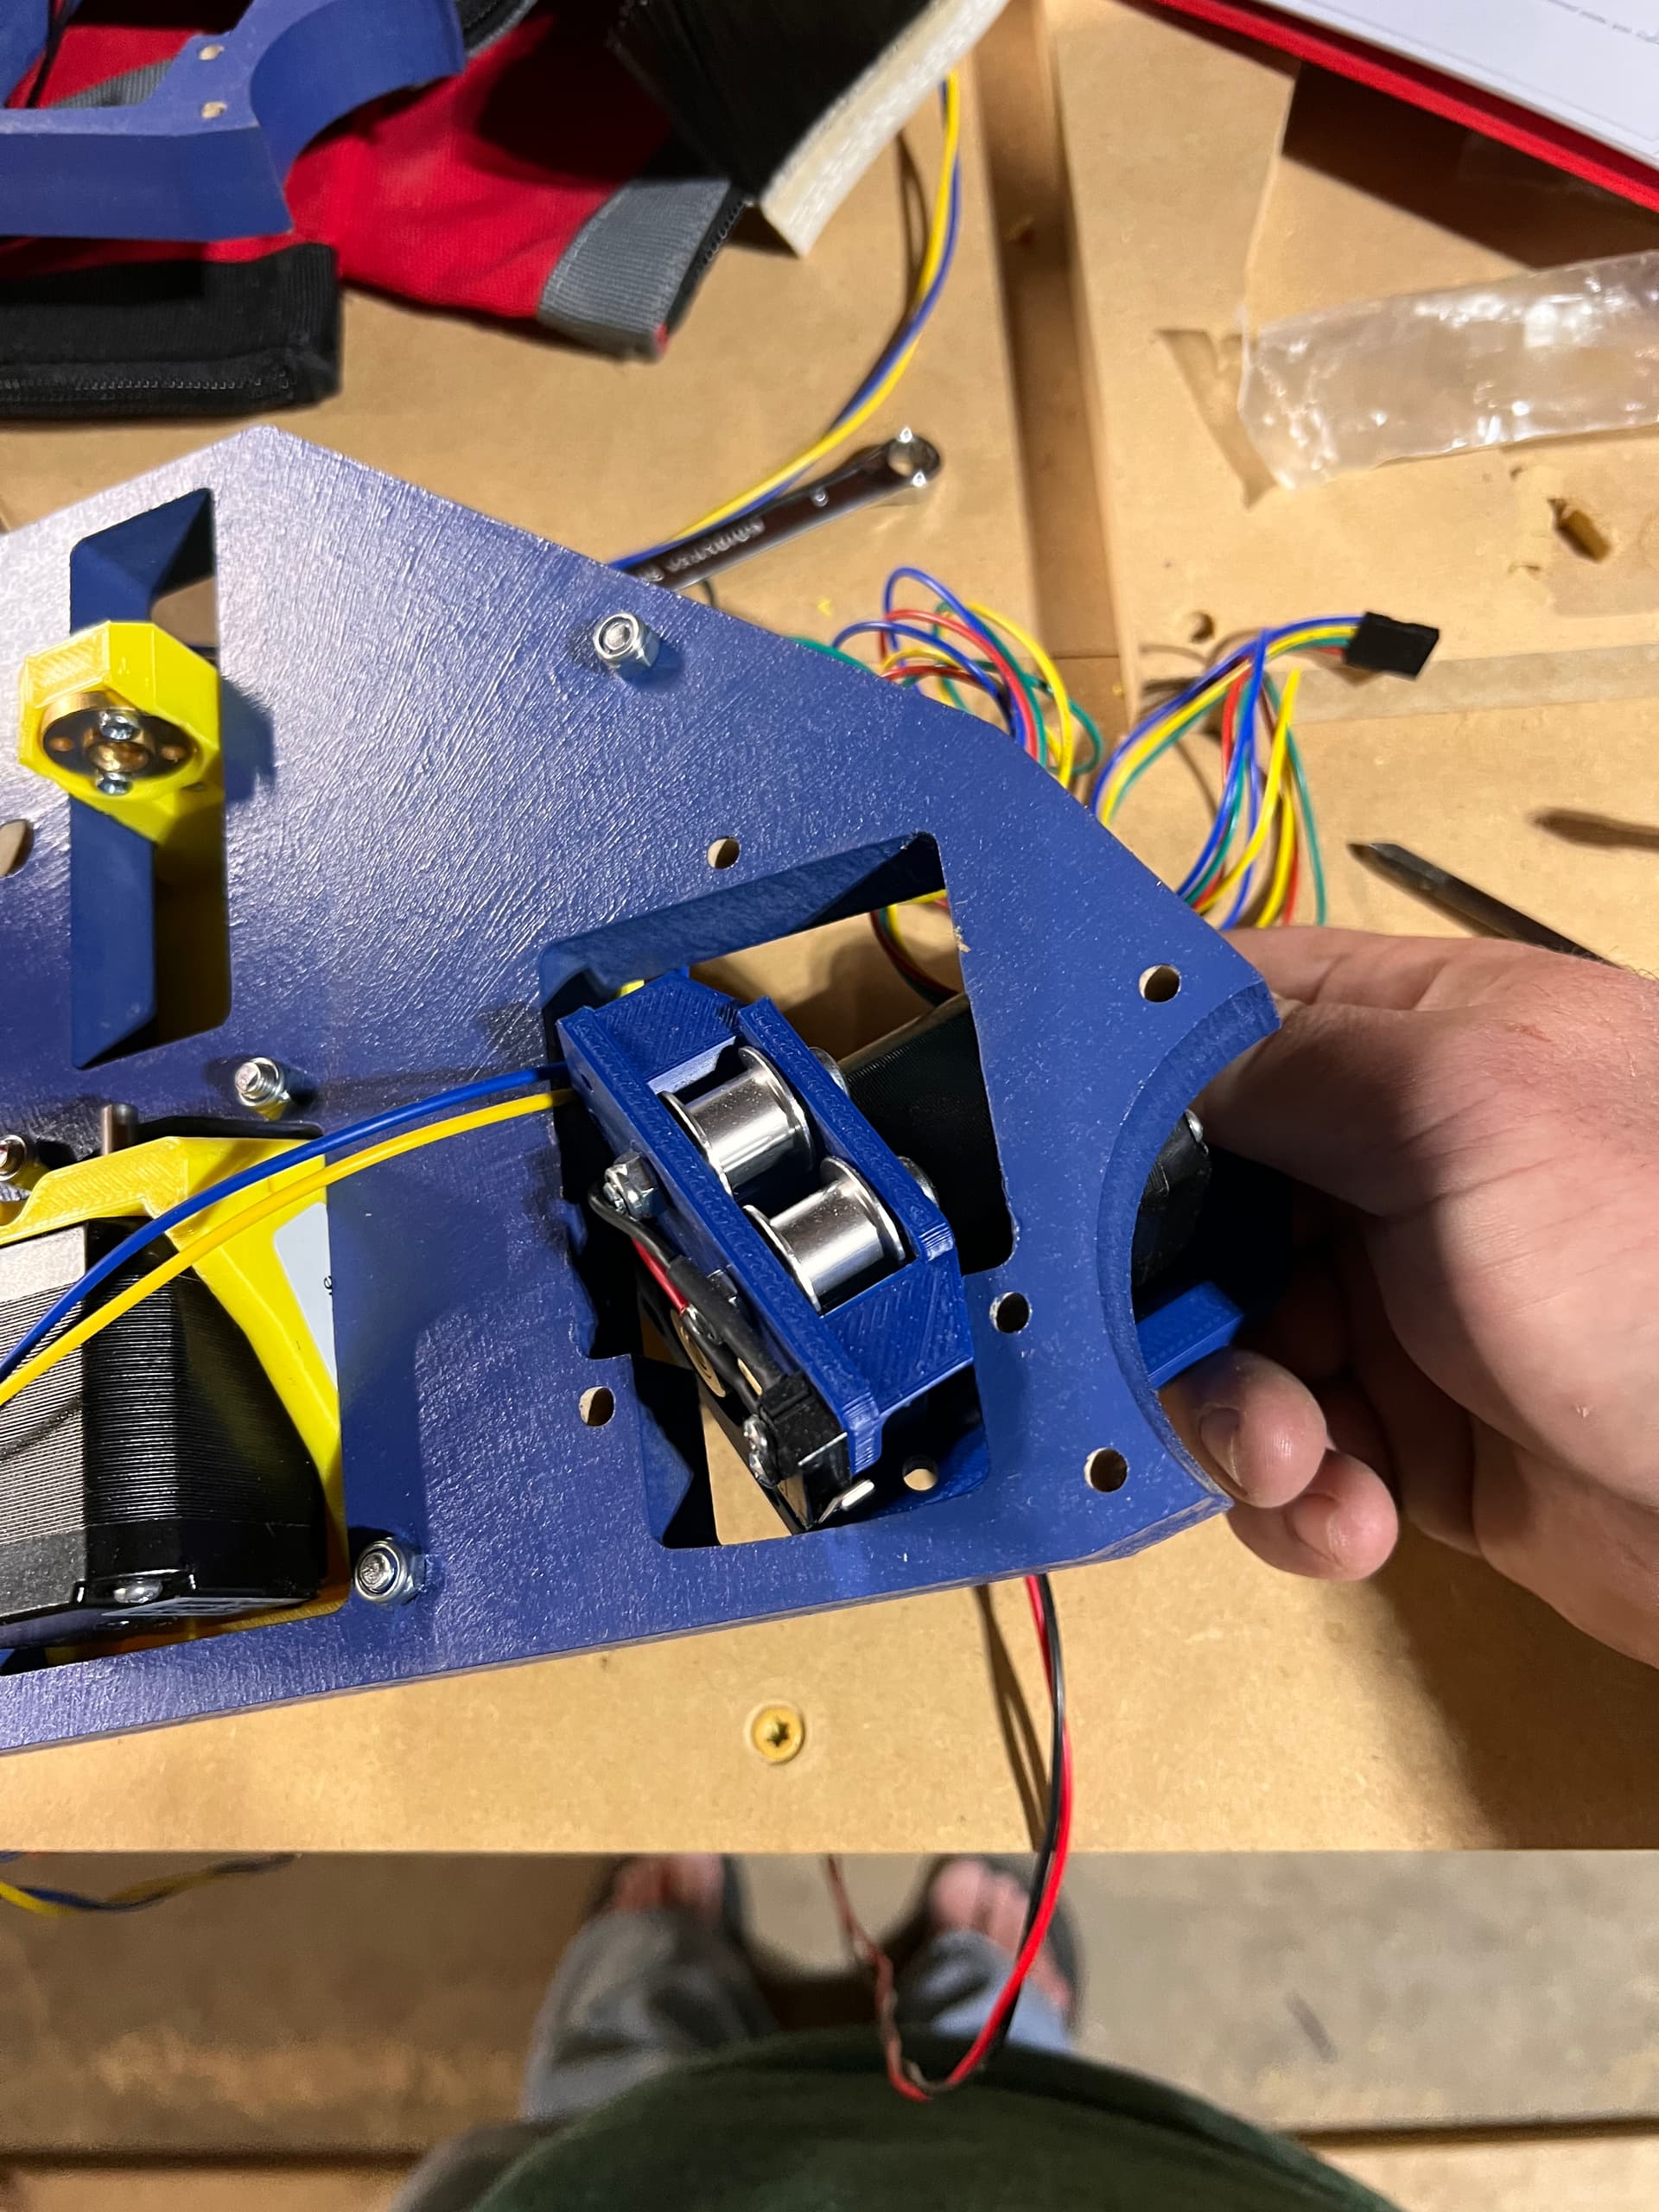
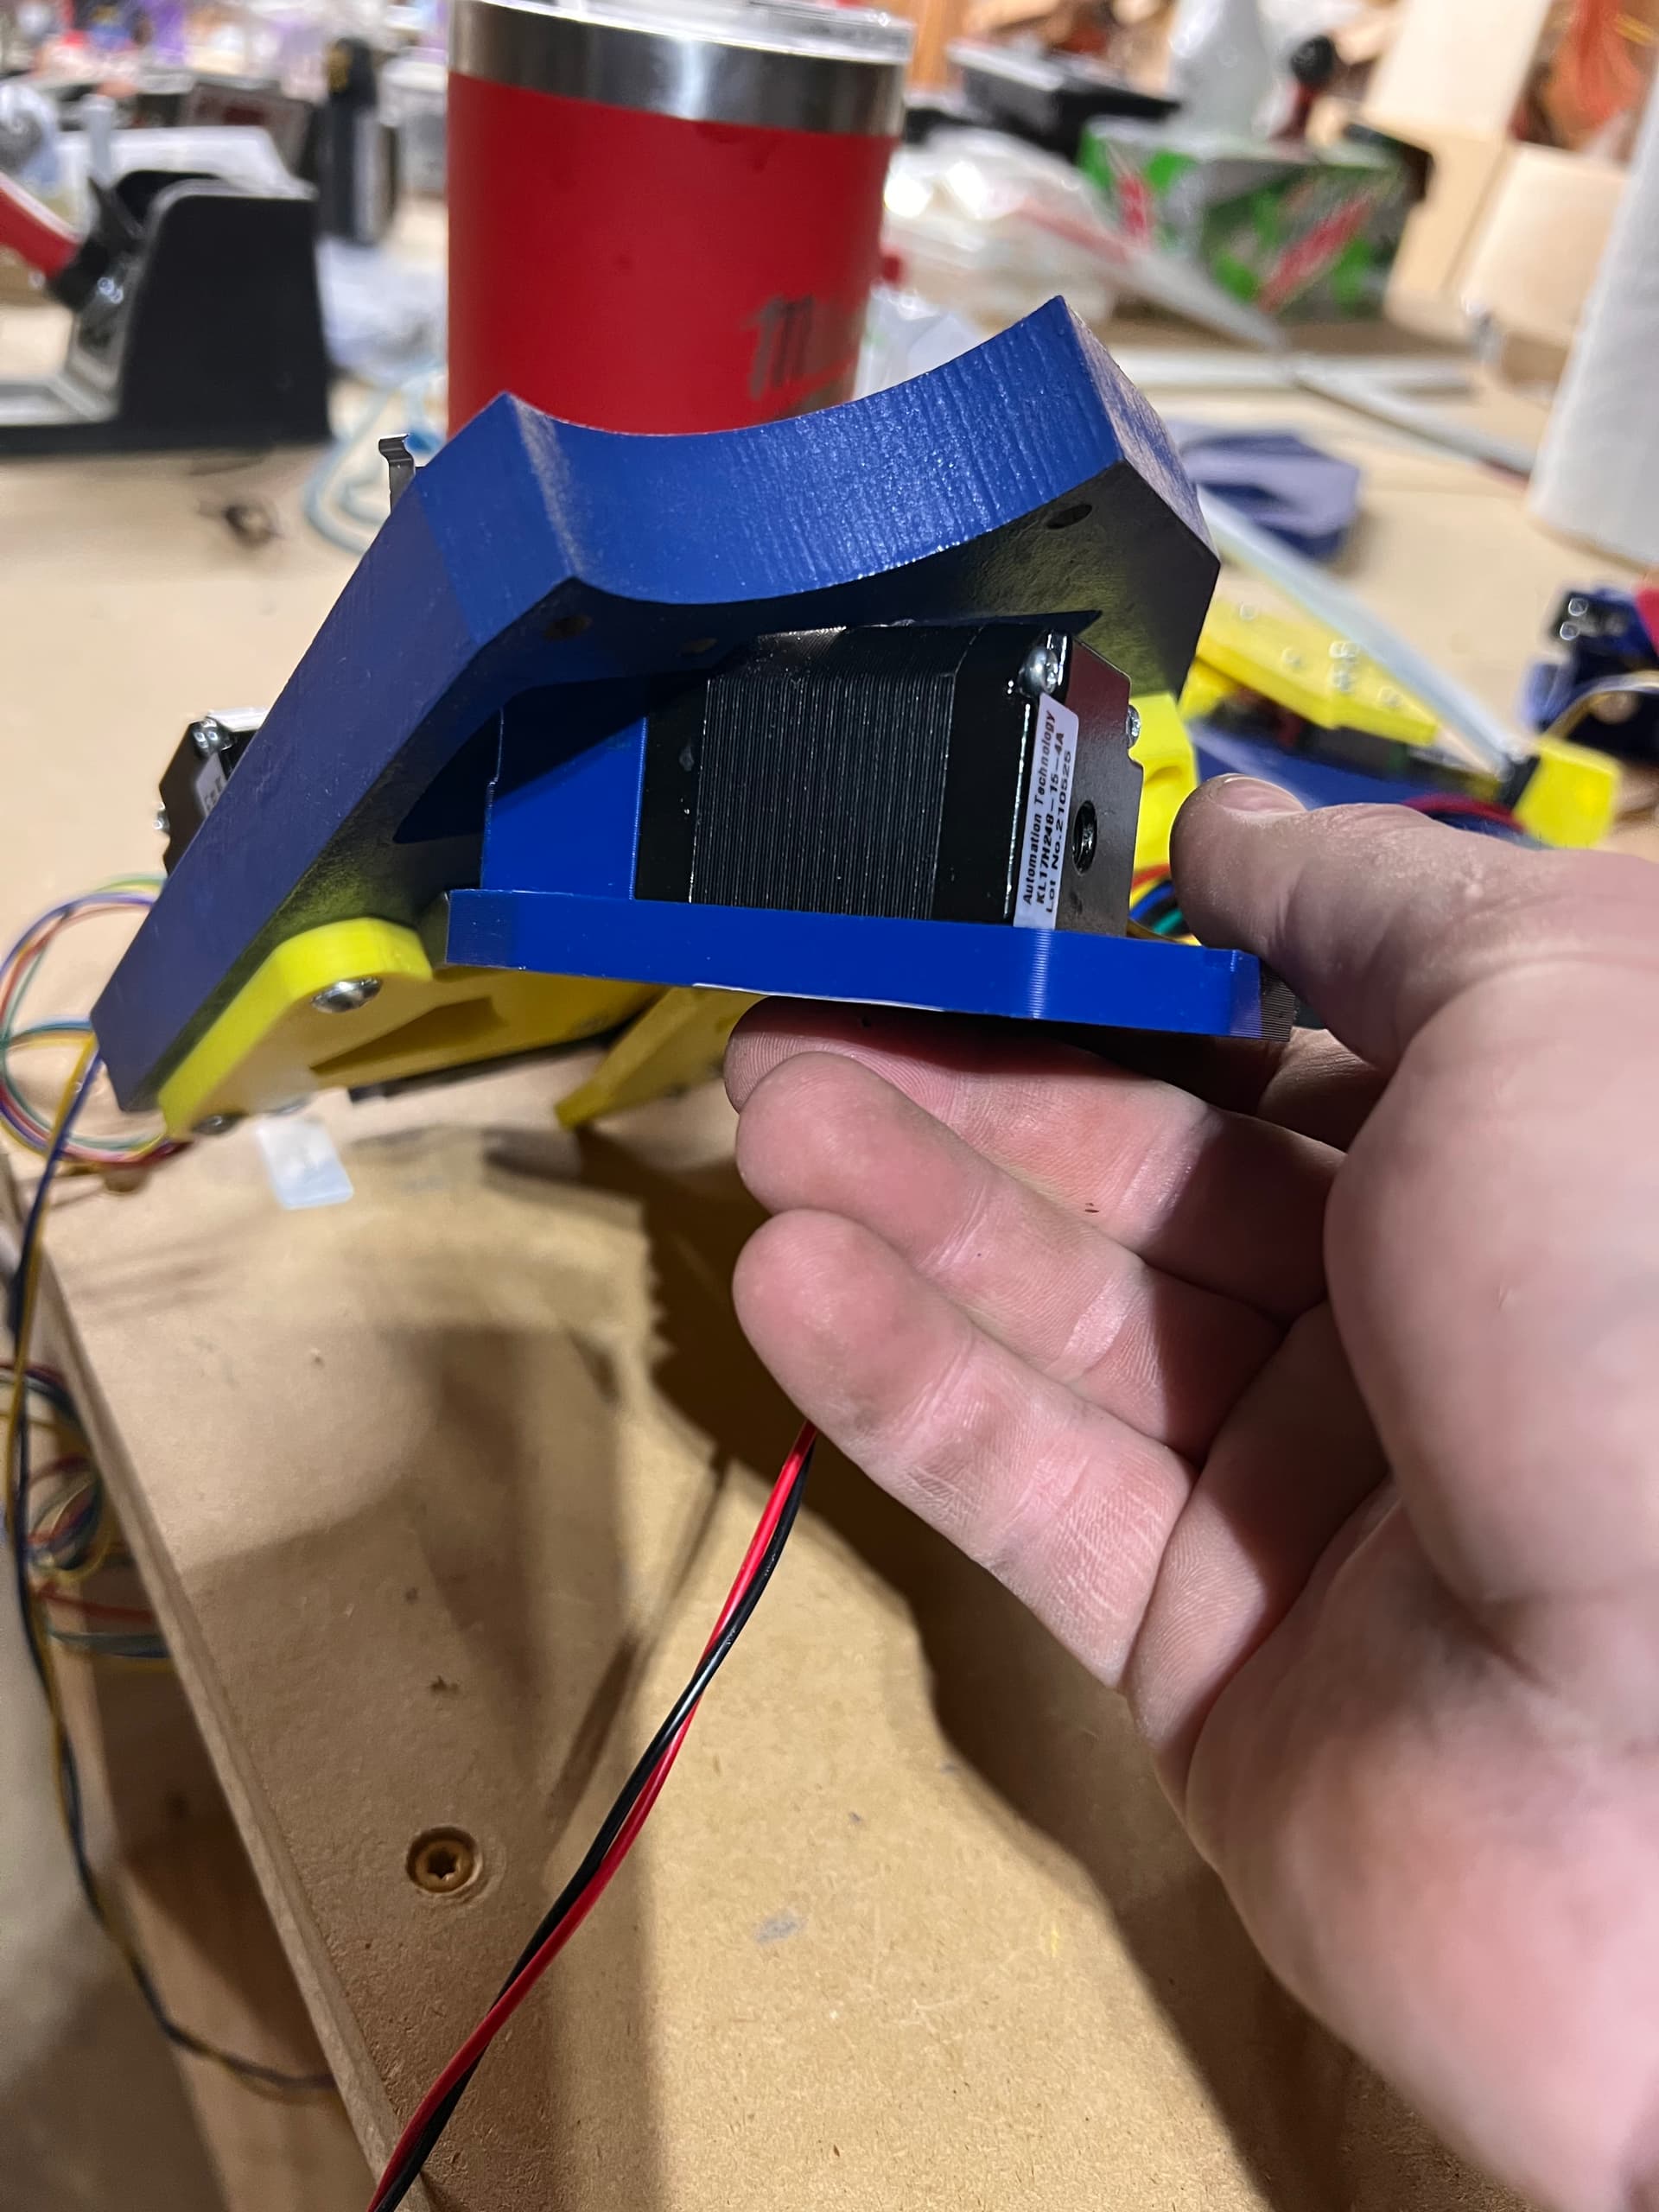
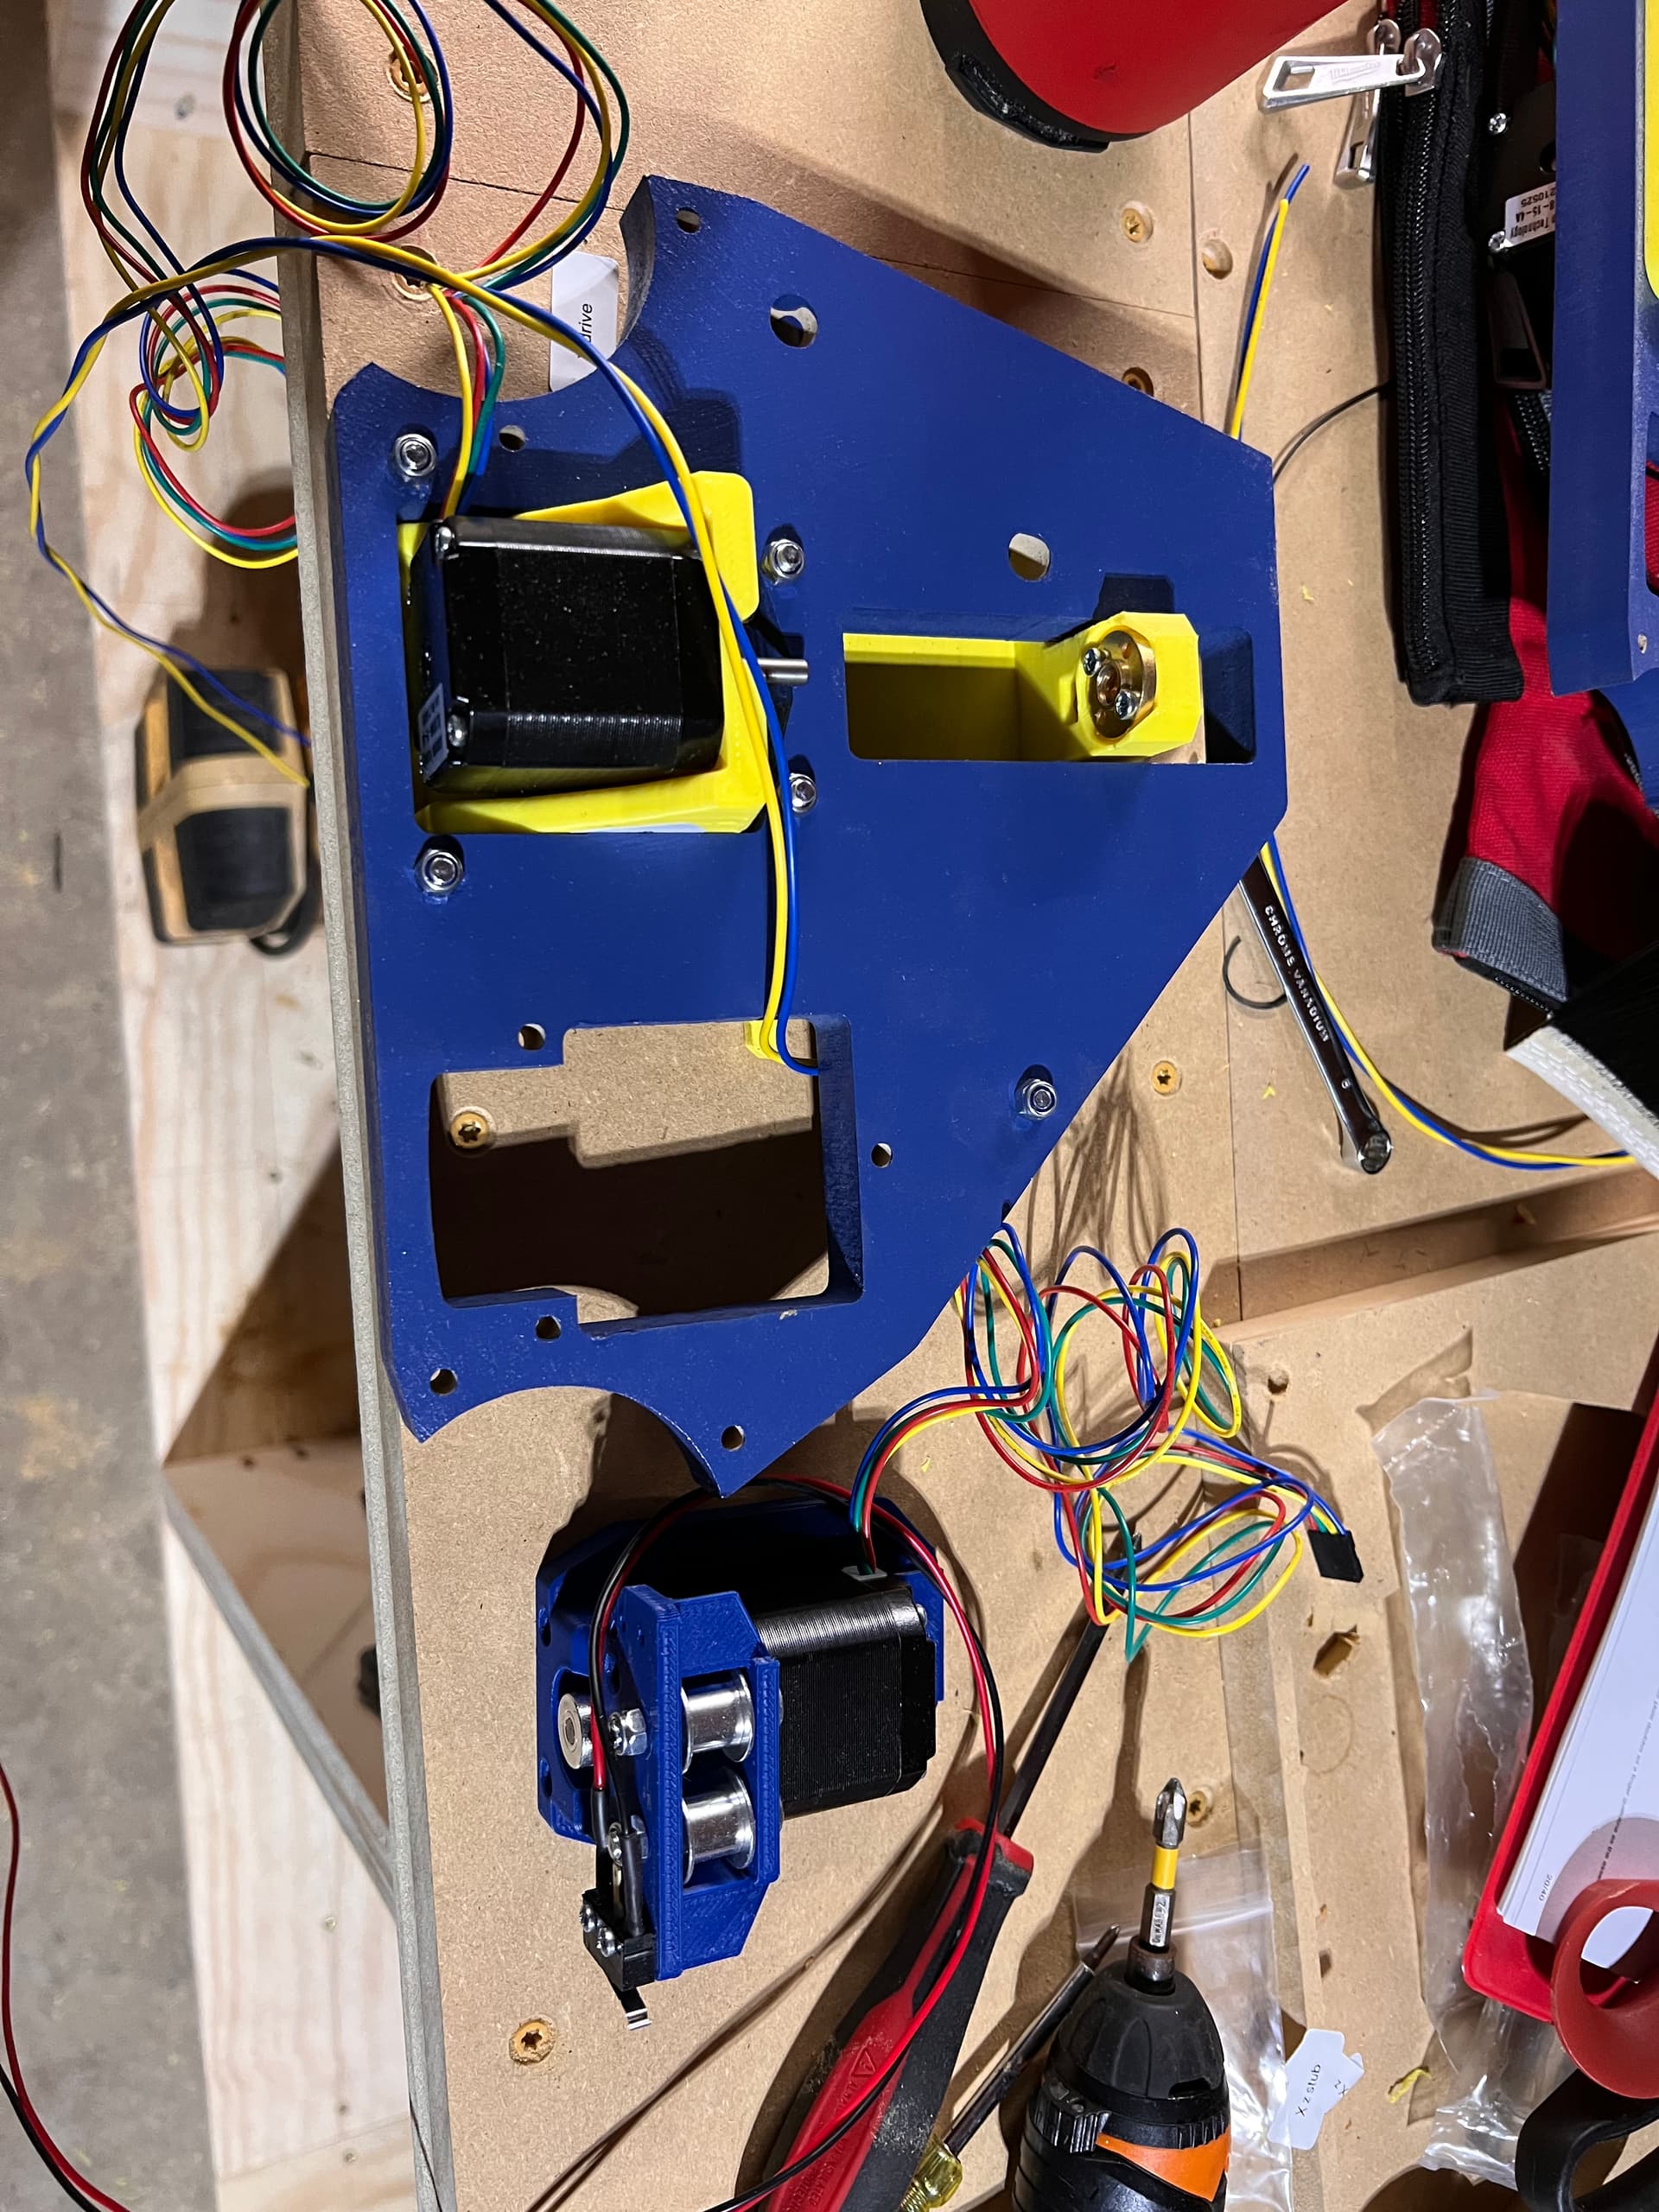
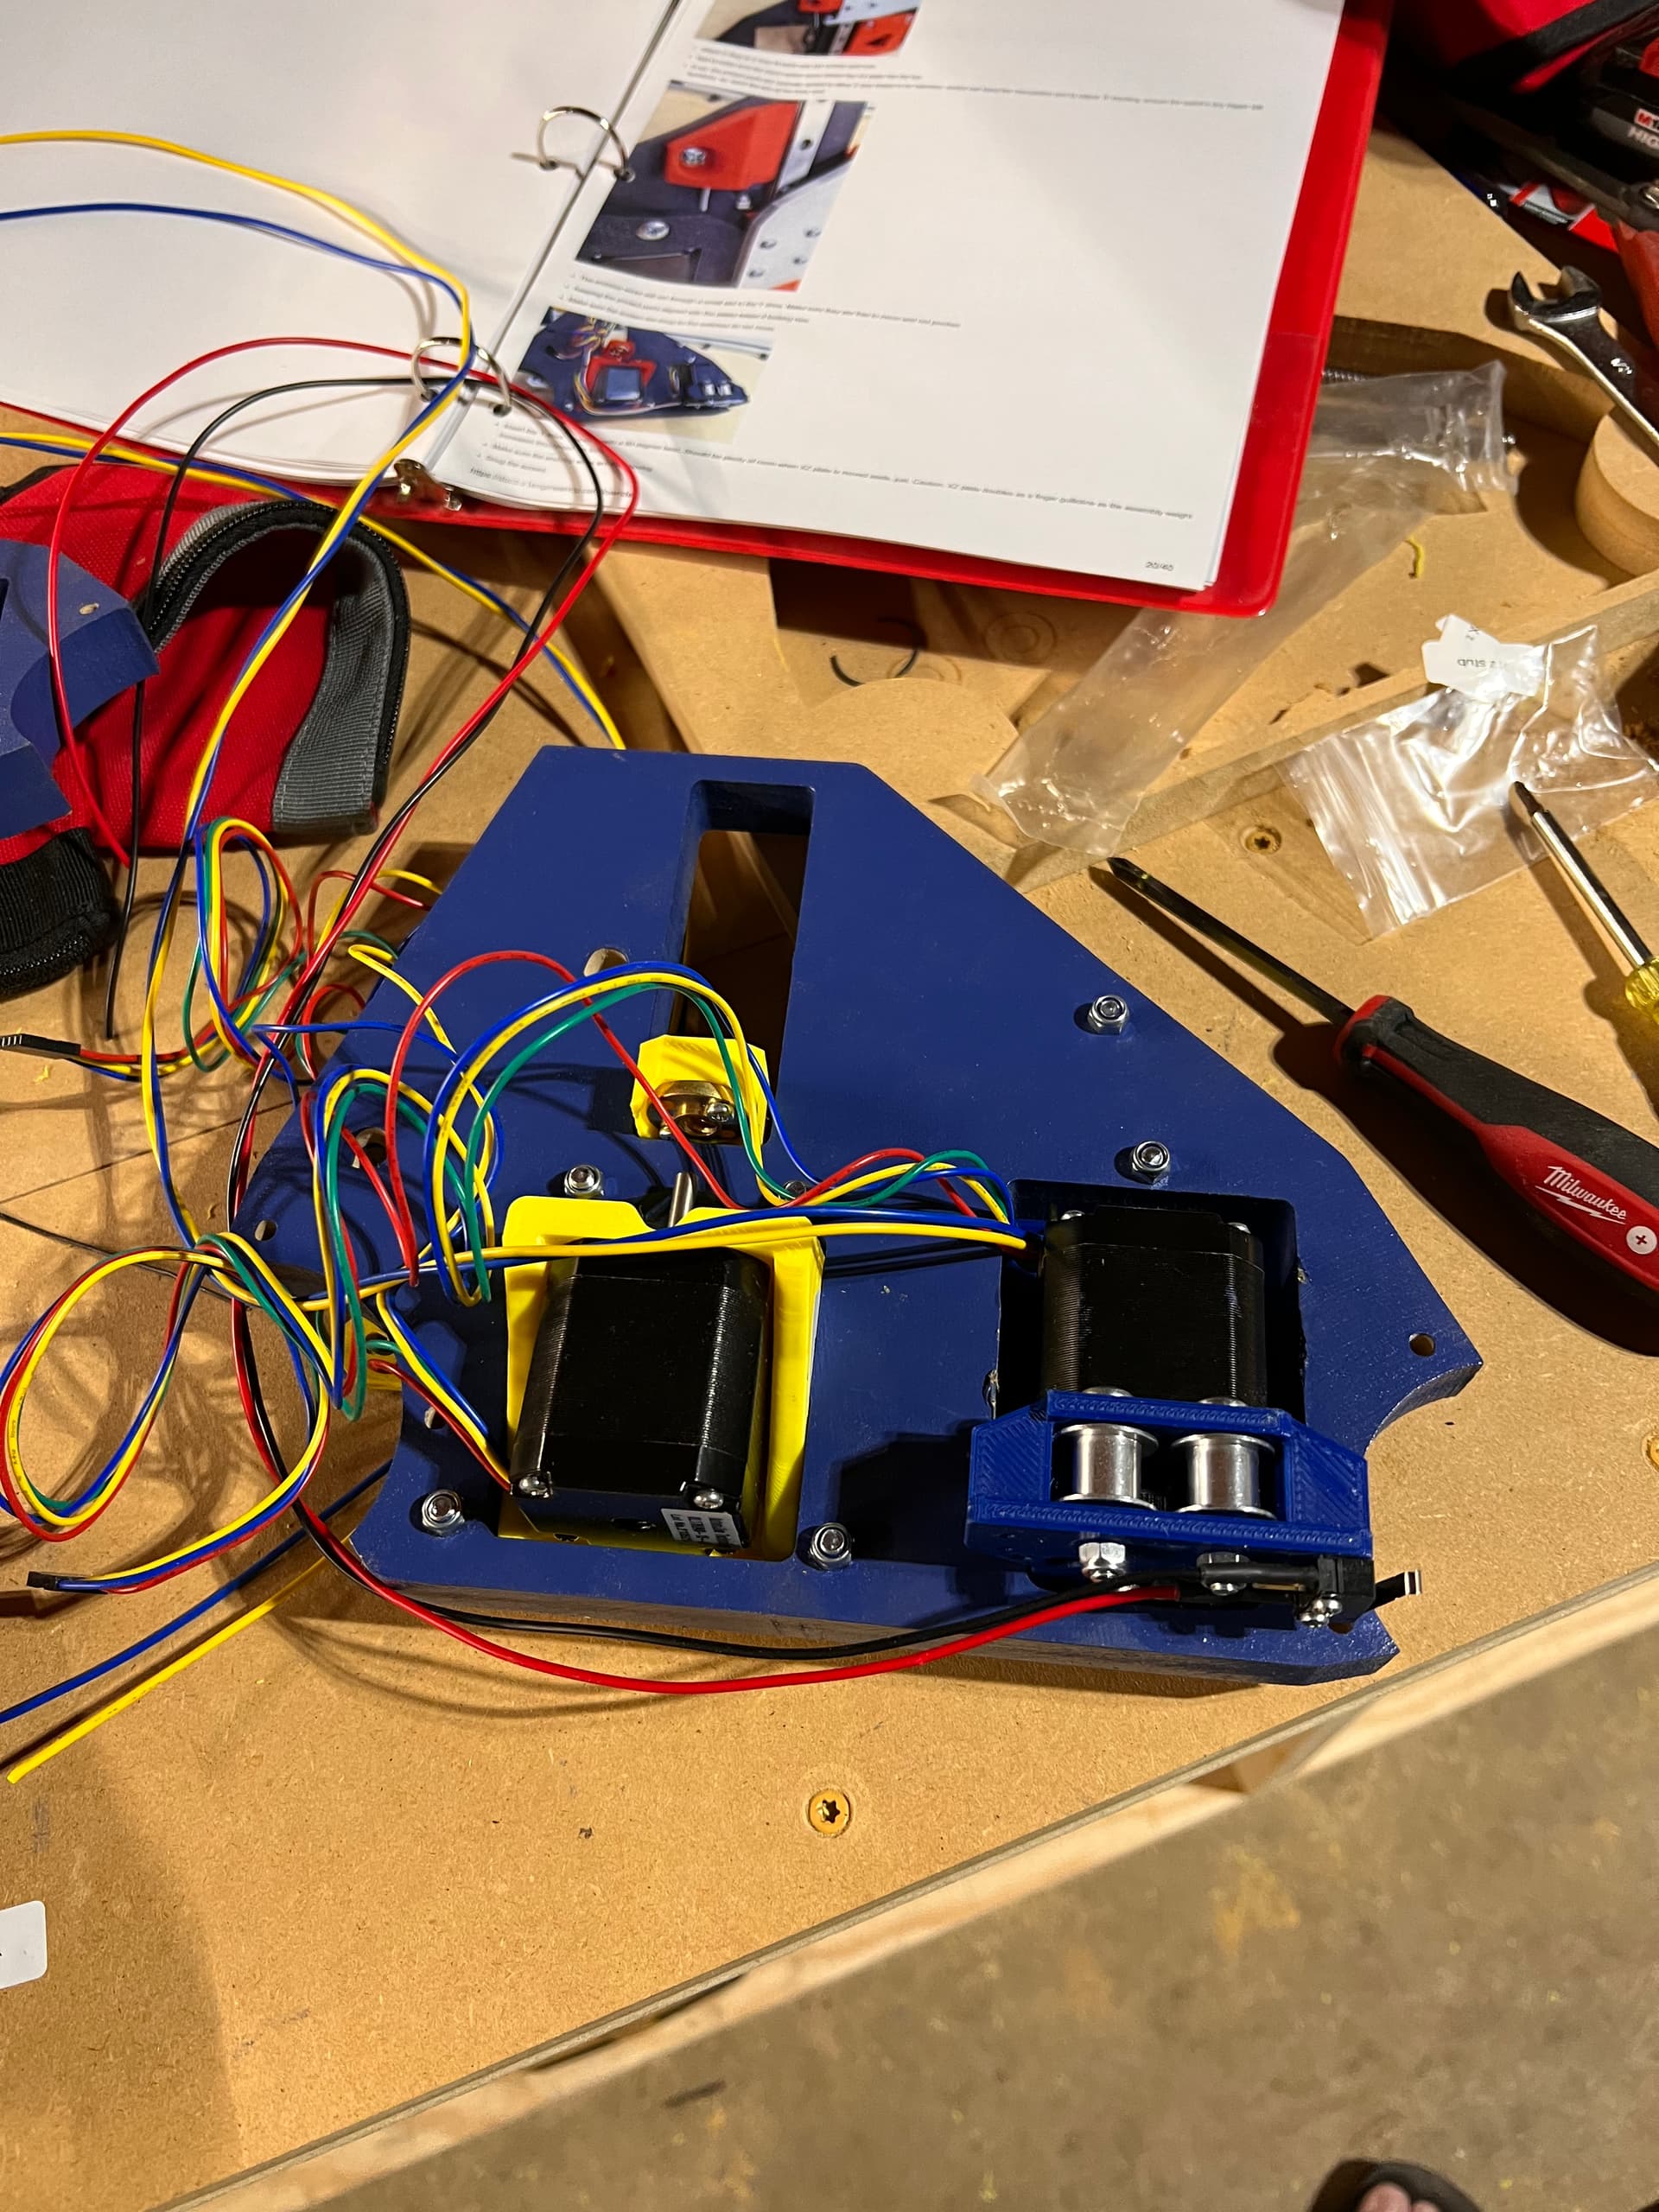
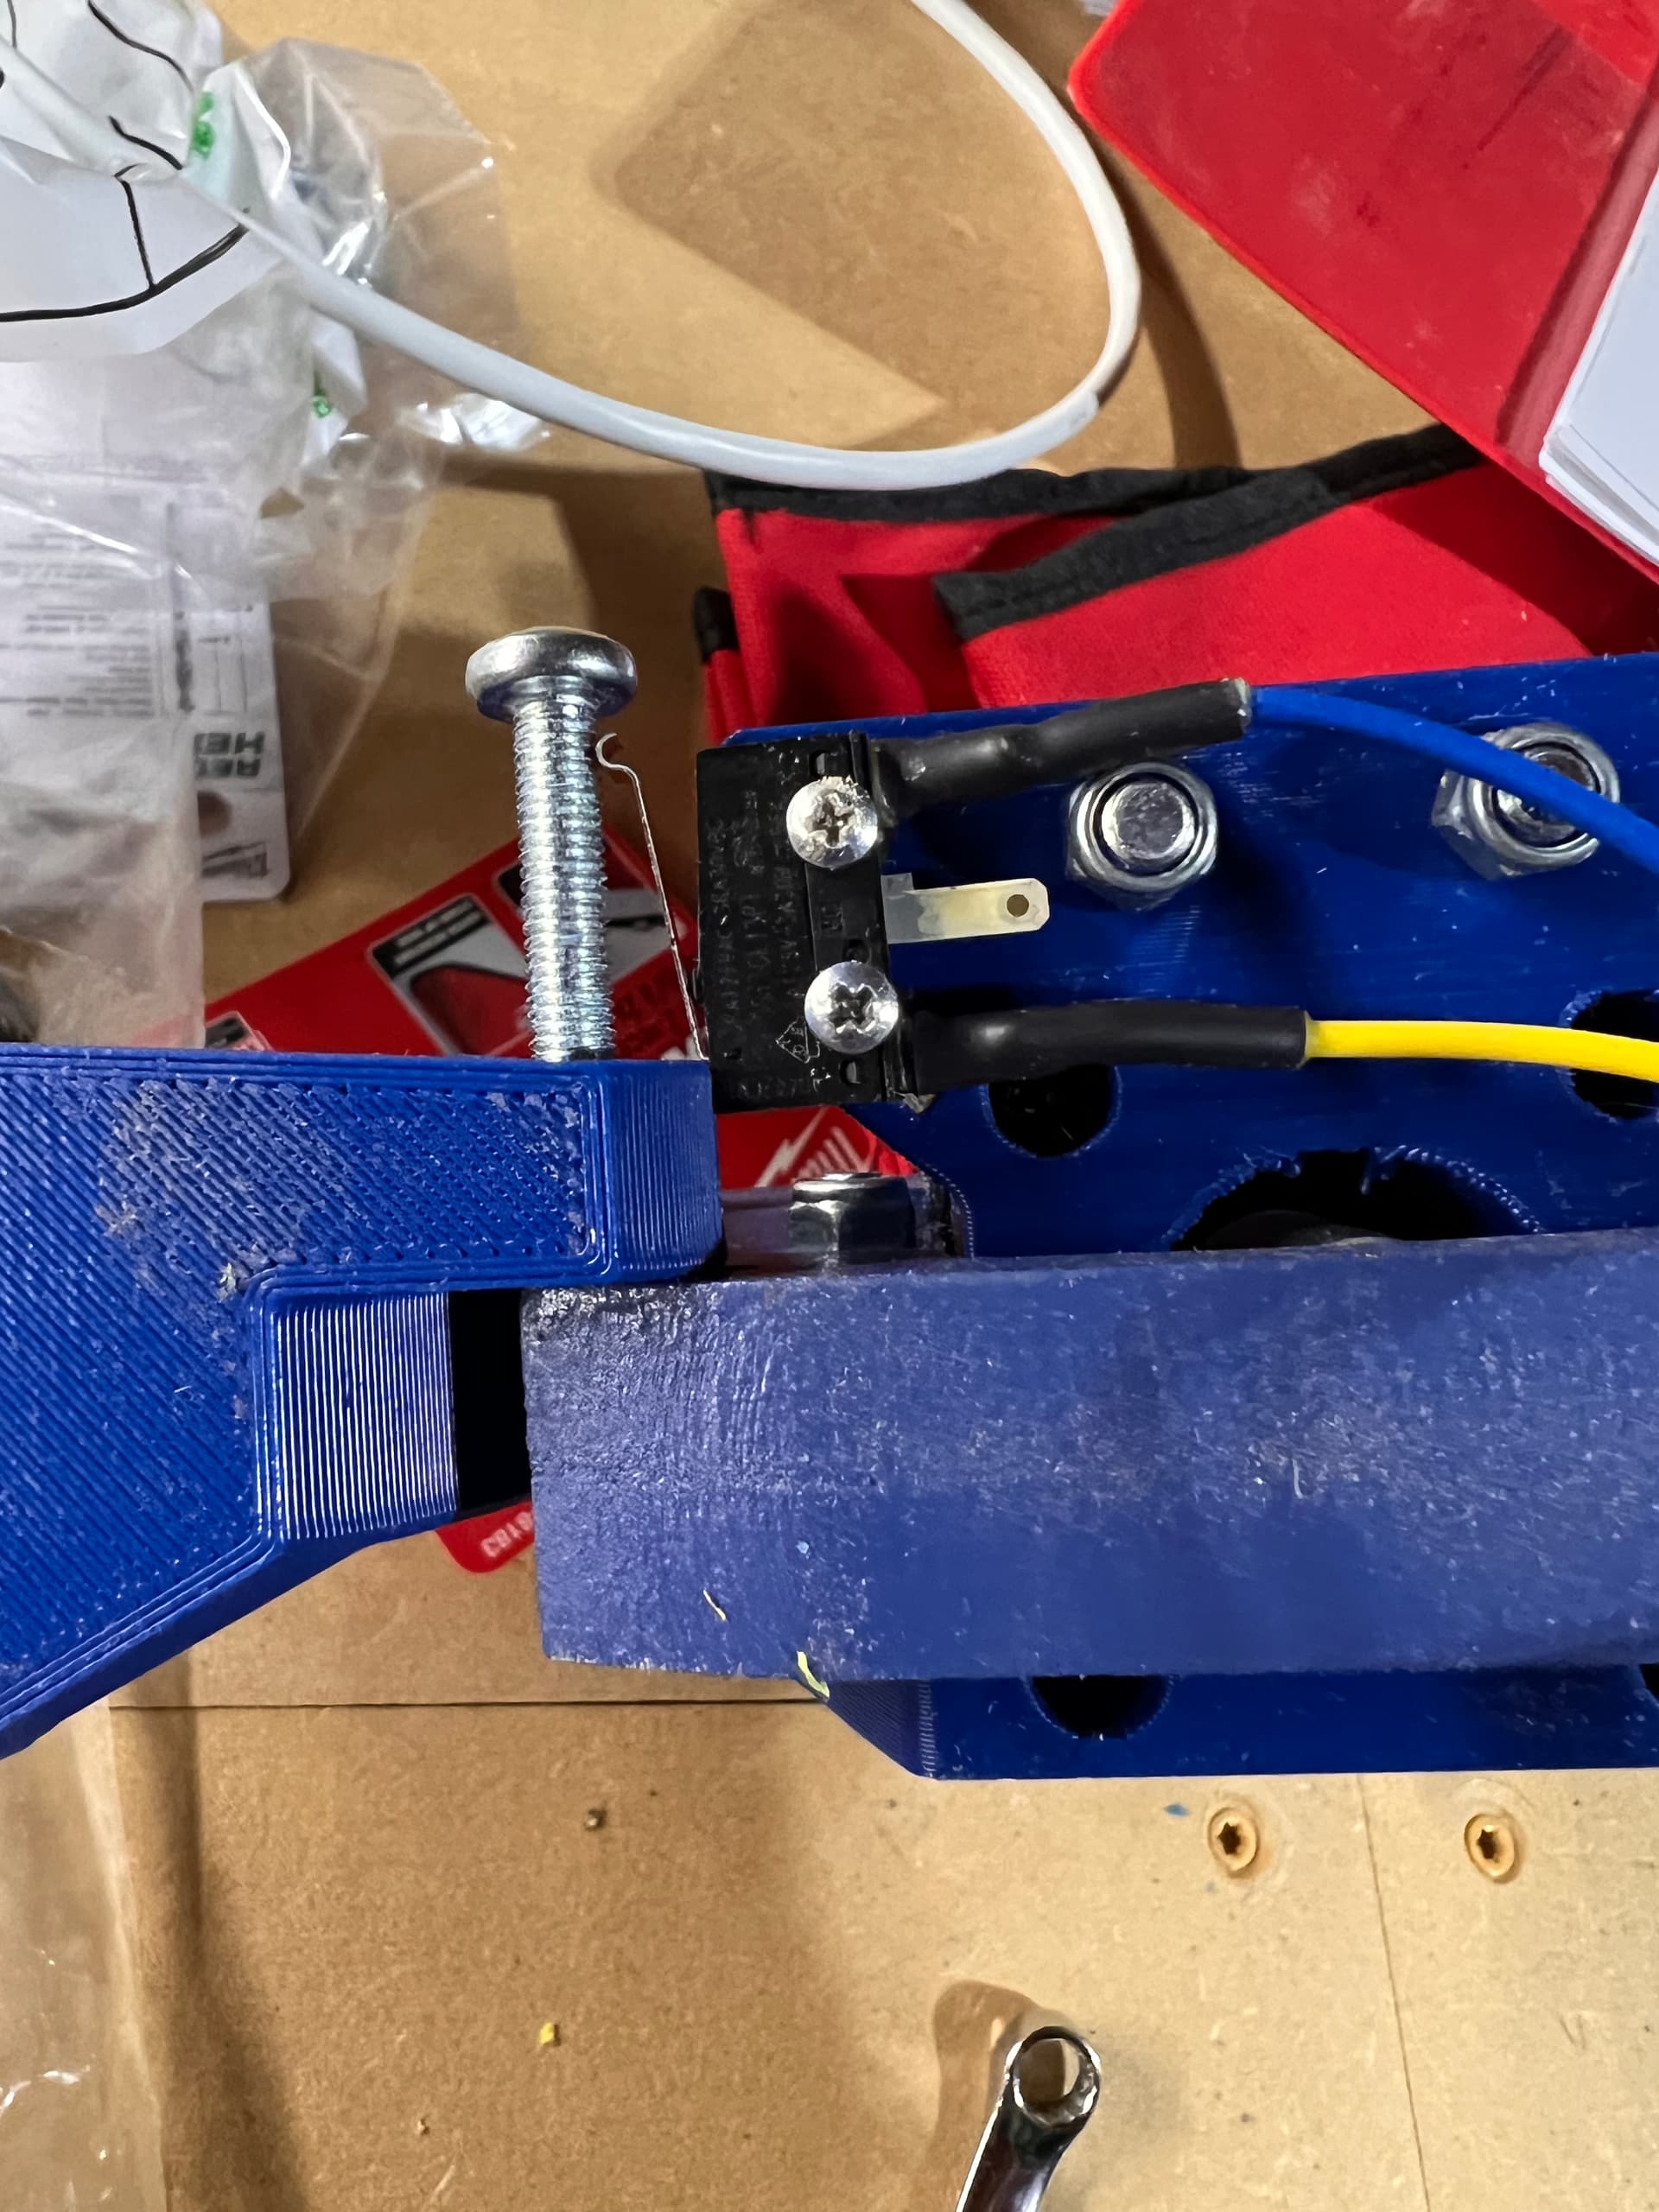
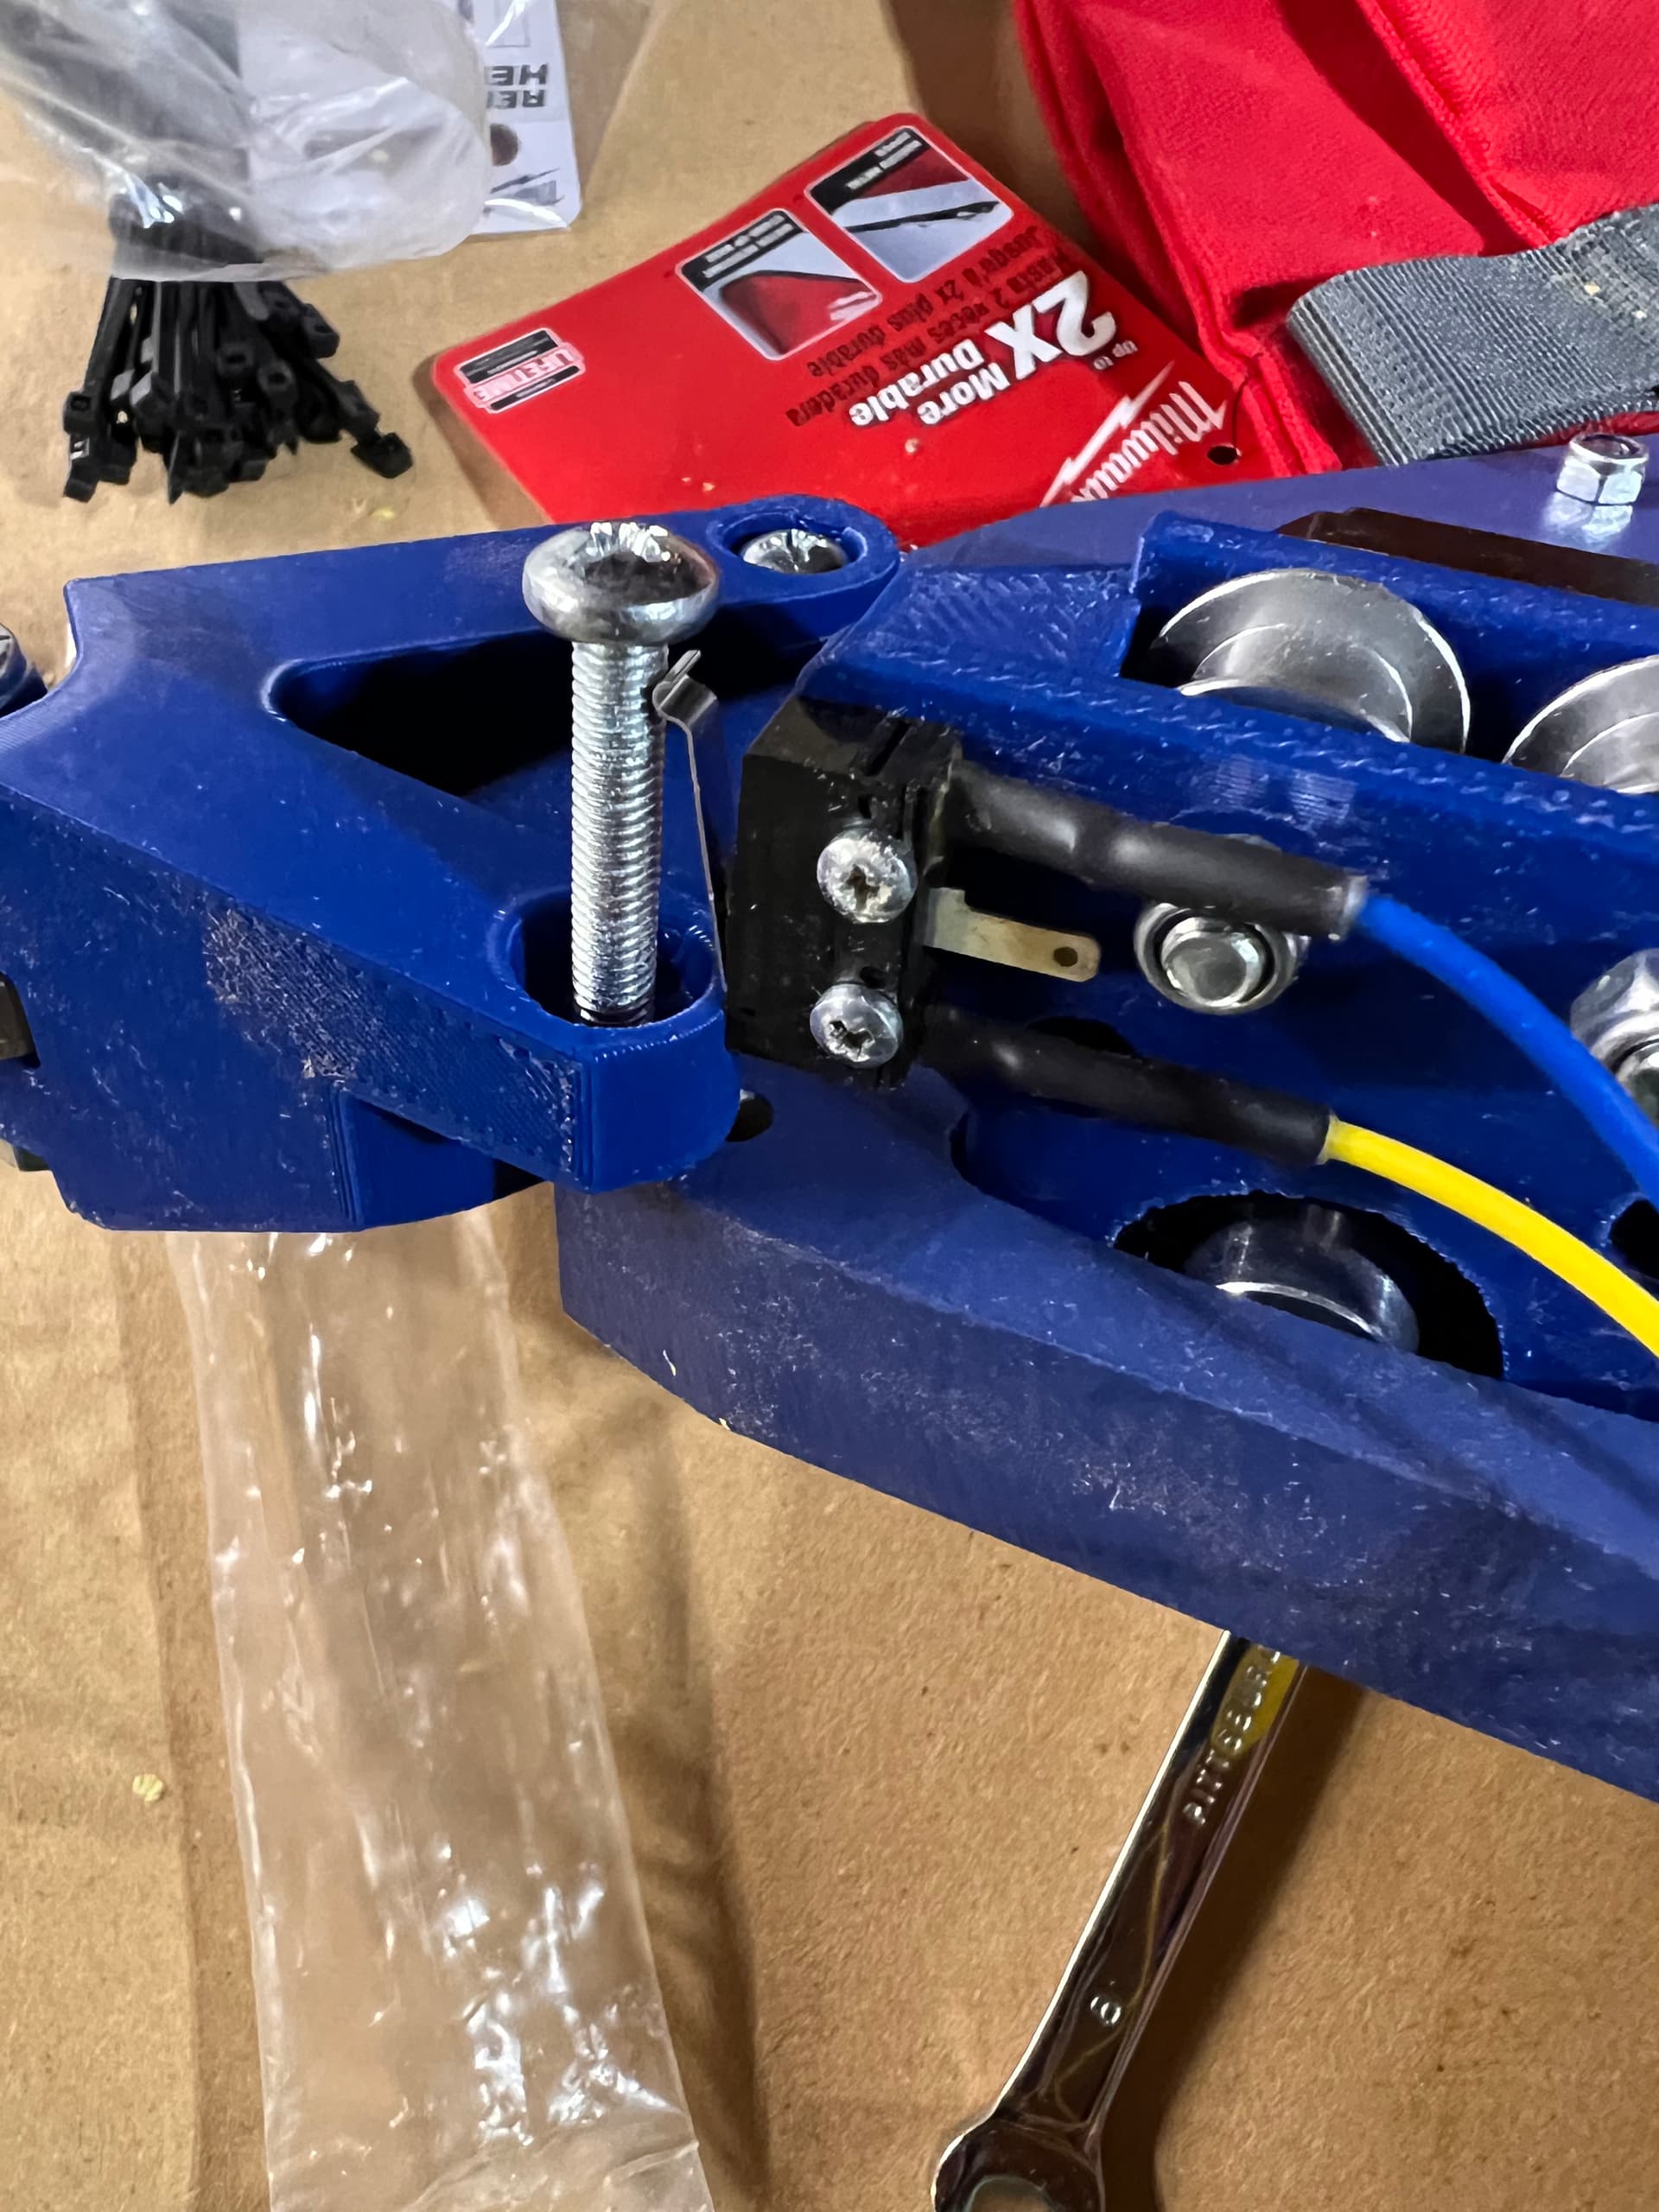
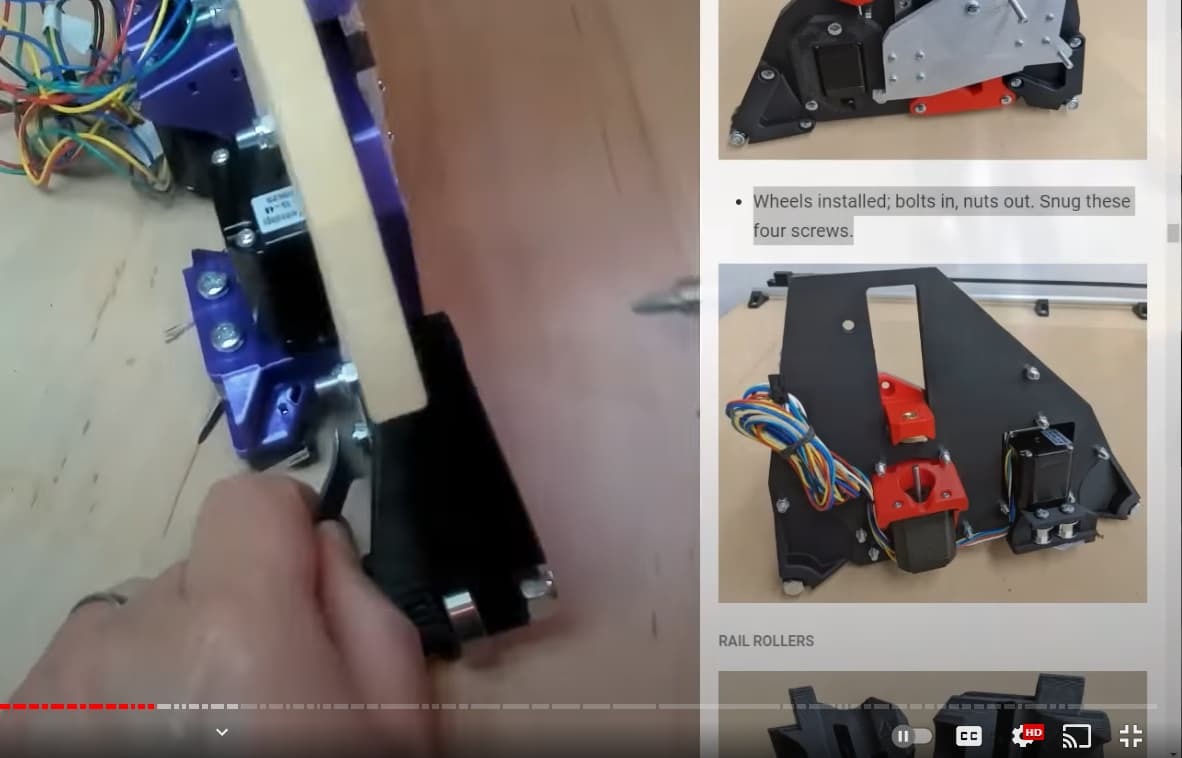
Of corse I saw the note about the longer screws but somehow completely missed that about the z coupler. I used 3/4 mdf because that’s what I had. I haven’t gotten to the z coupler yet but I did just get to the wheels and there isn’t enough clearance for the front bearing roller. Top bolt is fine but the bottom can’t go in far enough due to the limit switch on the Y drive. Looks like I will be taking it all back apart tomorrow to either clearance everything or just get me a project panel of 1/2” mdf and start over.
Good lord. It’s time for bed lol. At least with that all I have to do is take the z drive back out and clearance. That should be pretty easy. Thanks everyone for all the help!!!
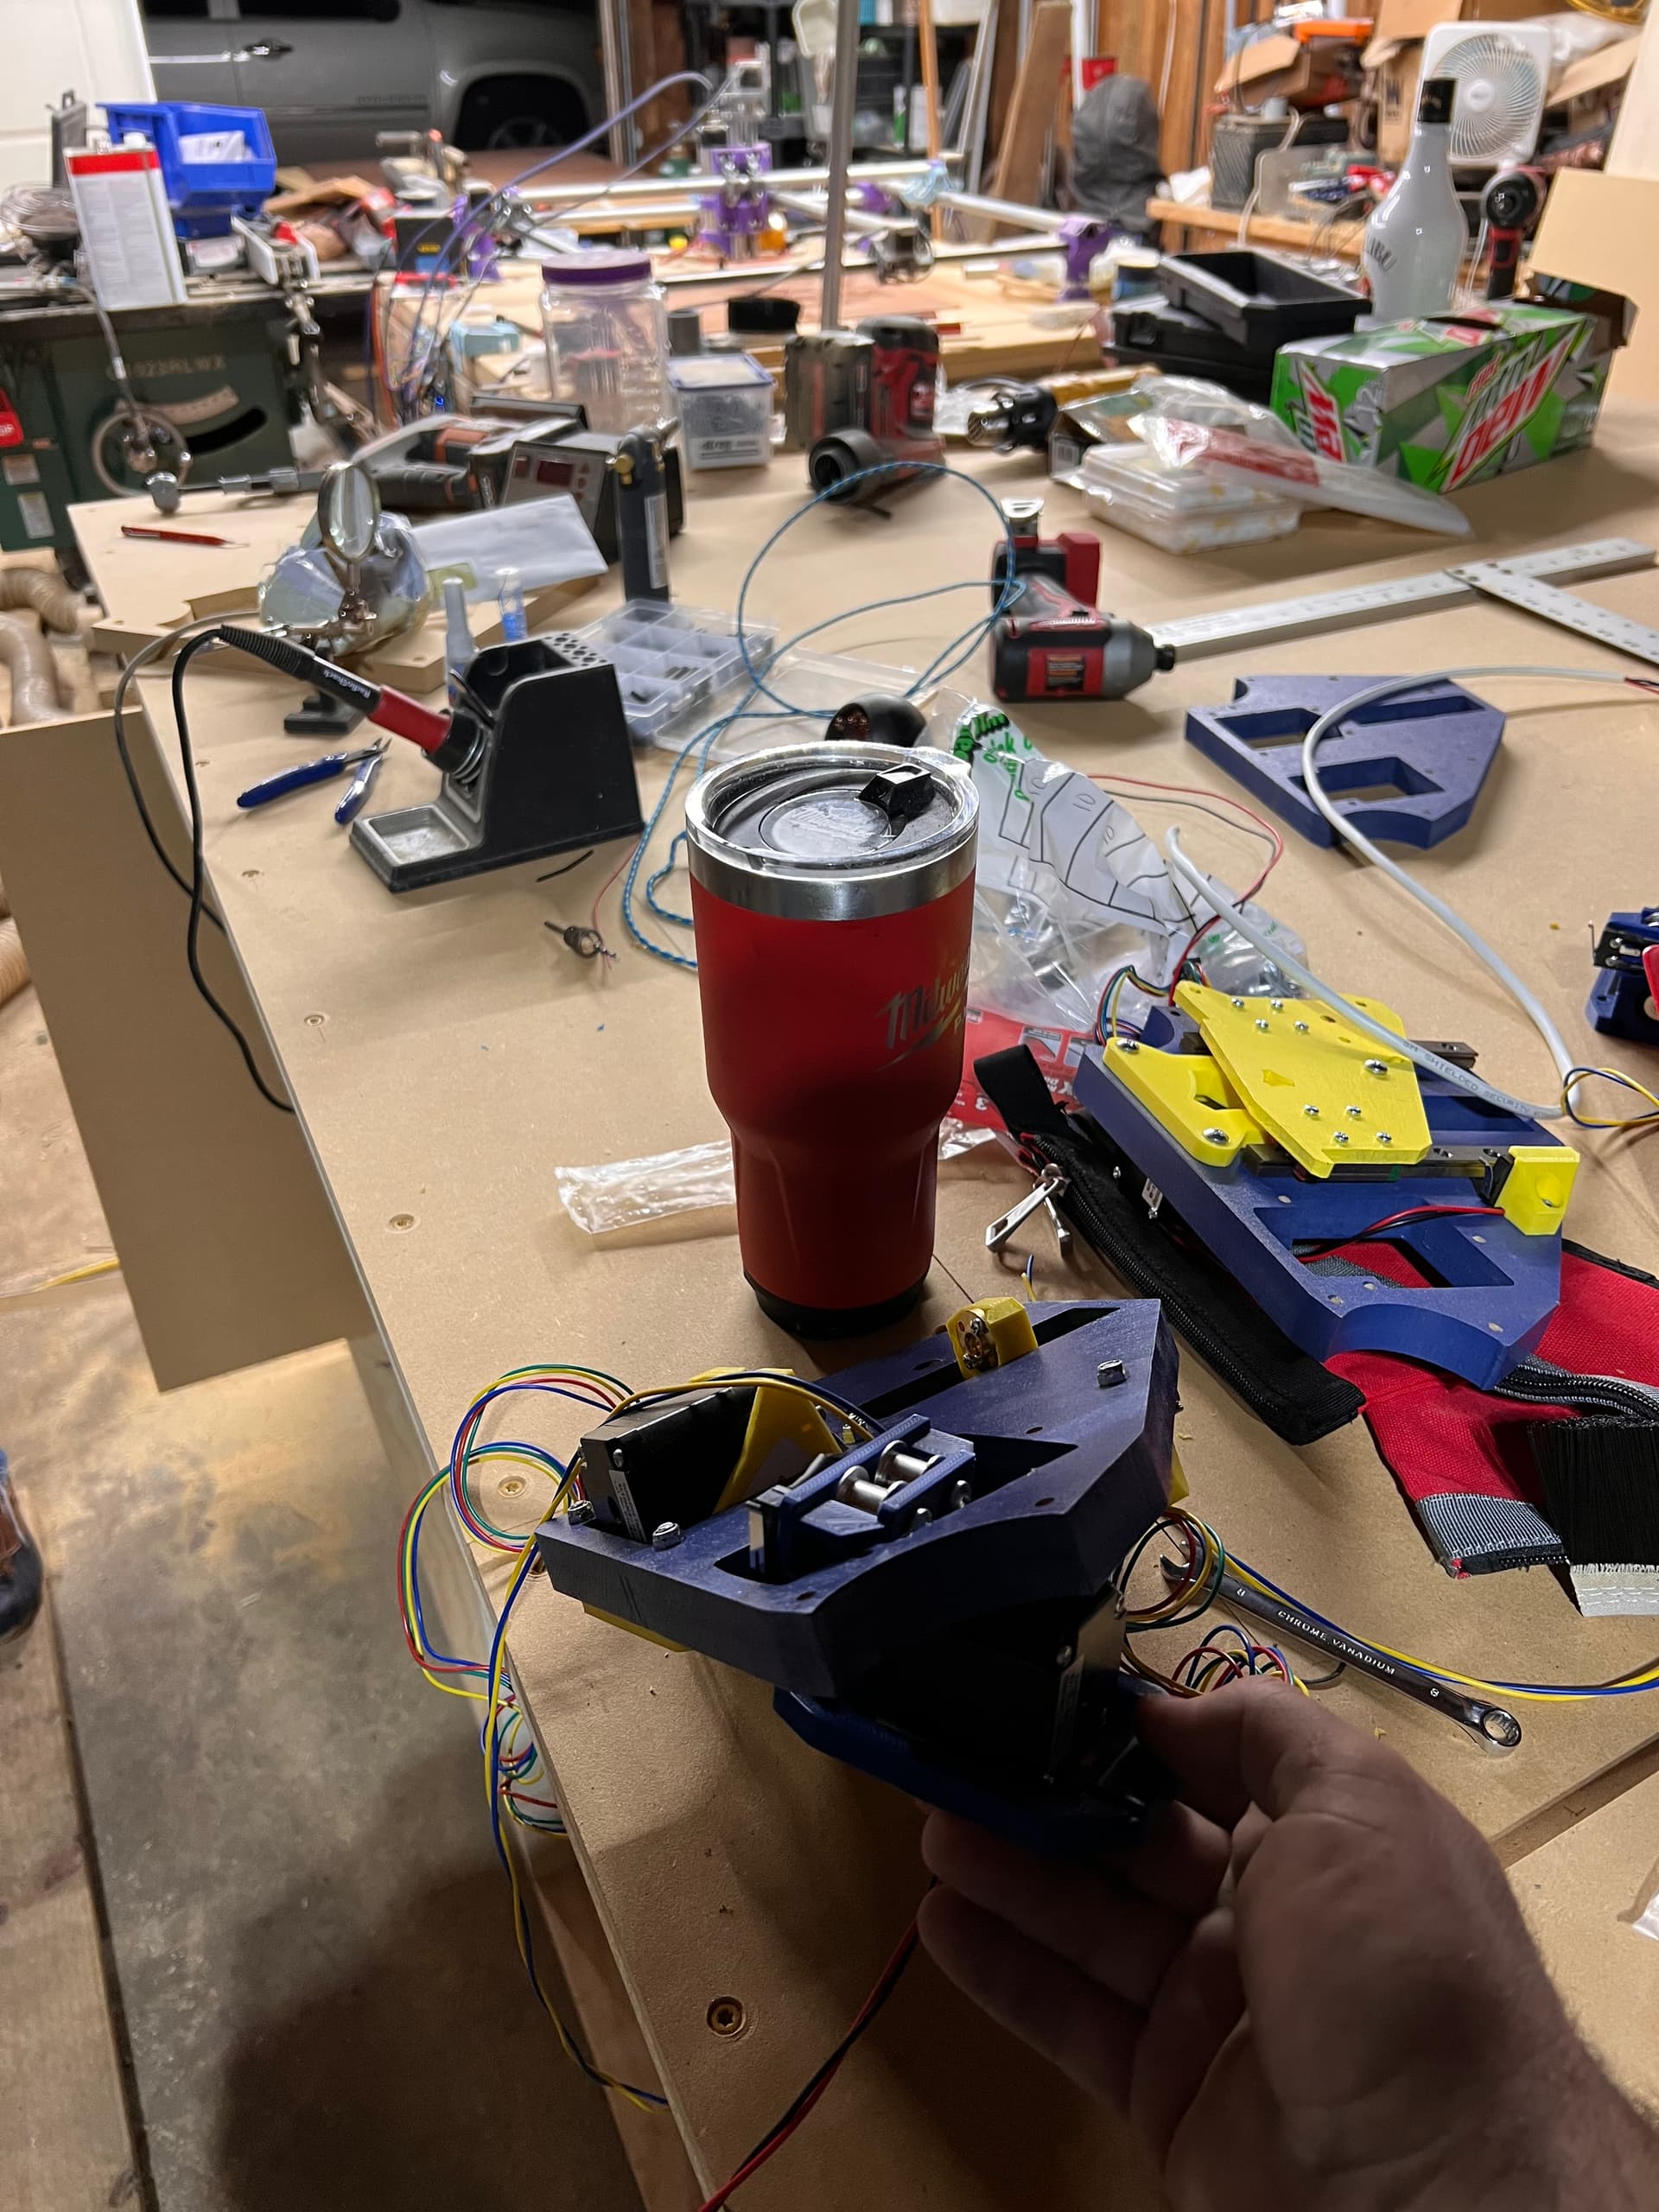
Ups dropped off my new spindle just in time. After putting one on my primo and hearing the difference I definitely didn’t want to go back to a router on the LR3. Also thank you @DougJoseph for the remix on the dust shoe. Hoping it will work well with my 2.5” dust collection hose. And good job on the screwdriver hole. I almost had to find a longer screwdriver lol
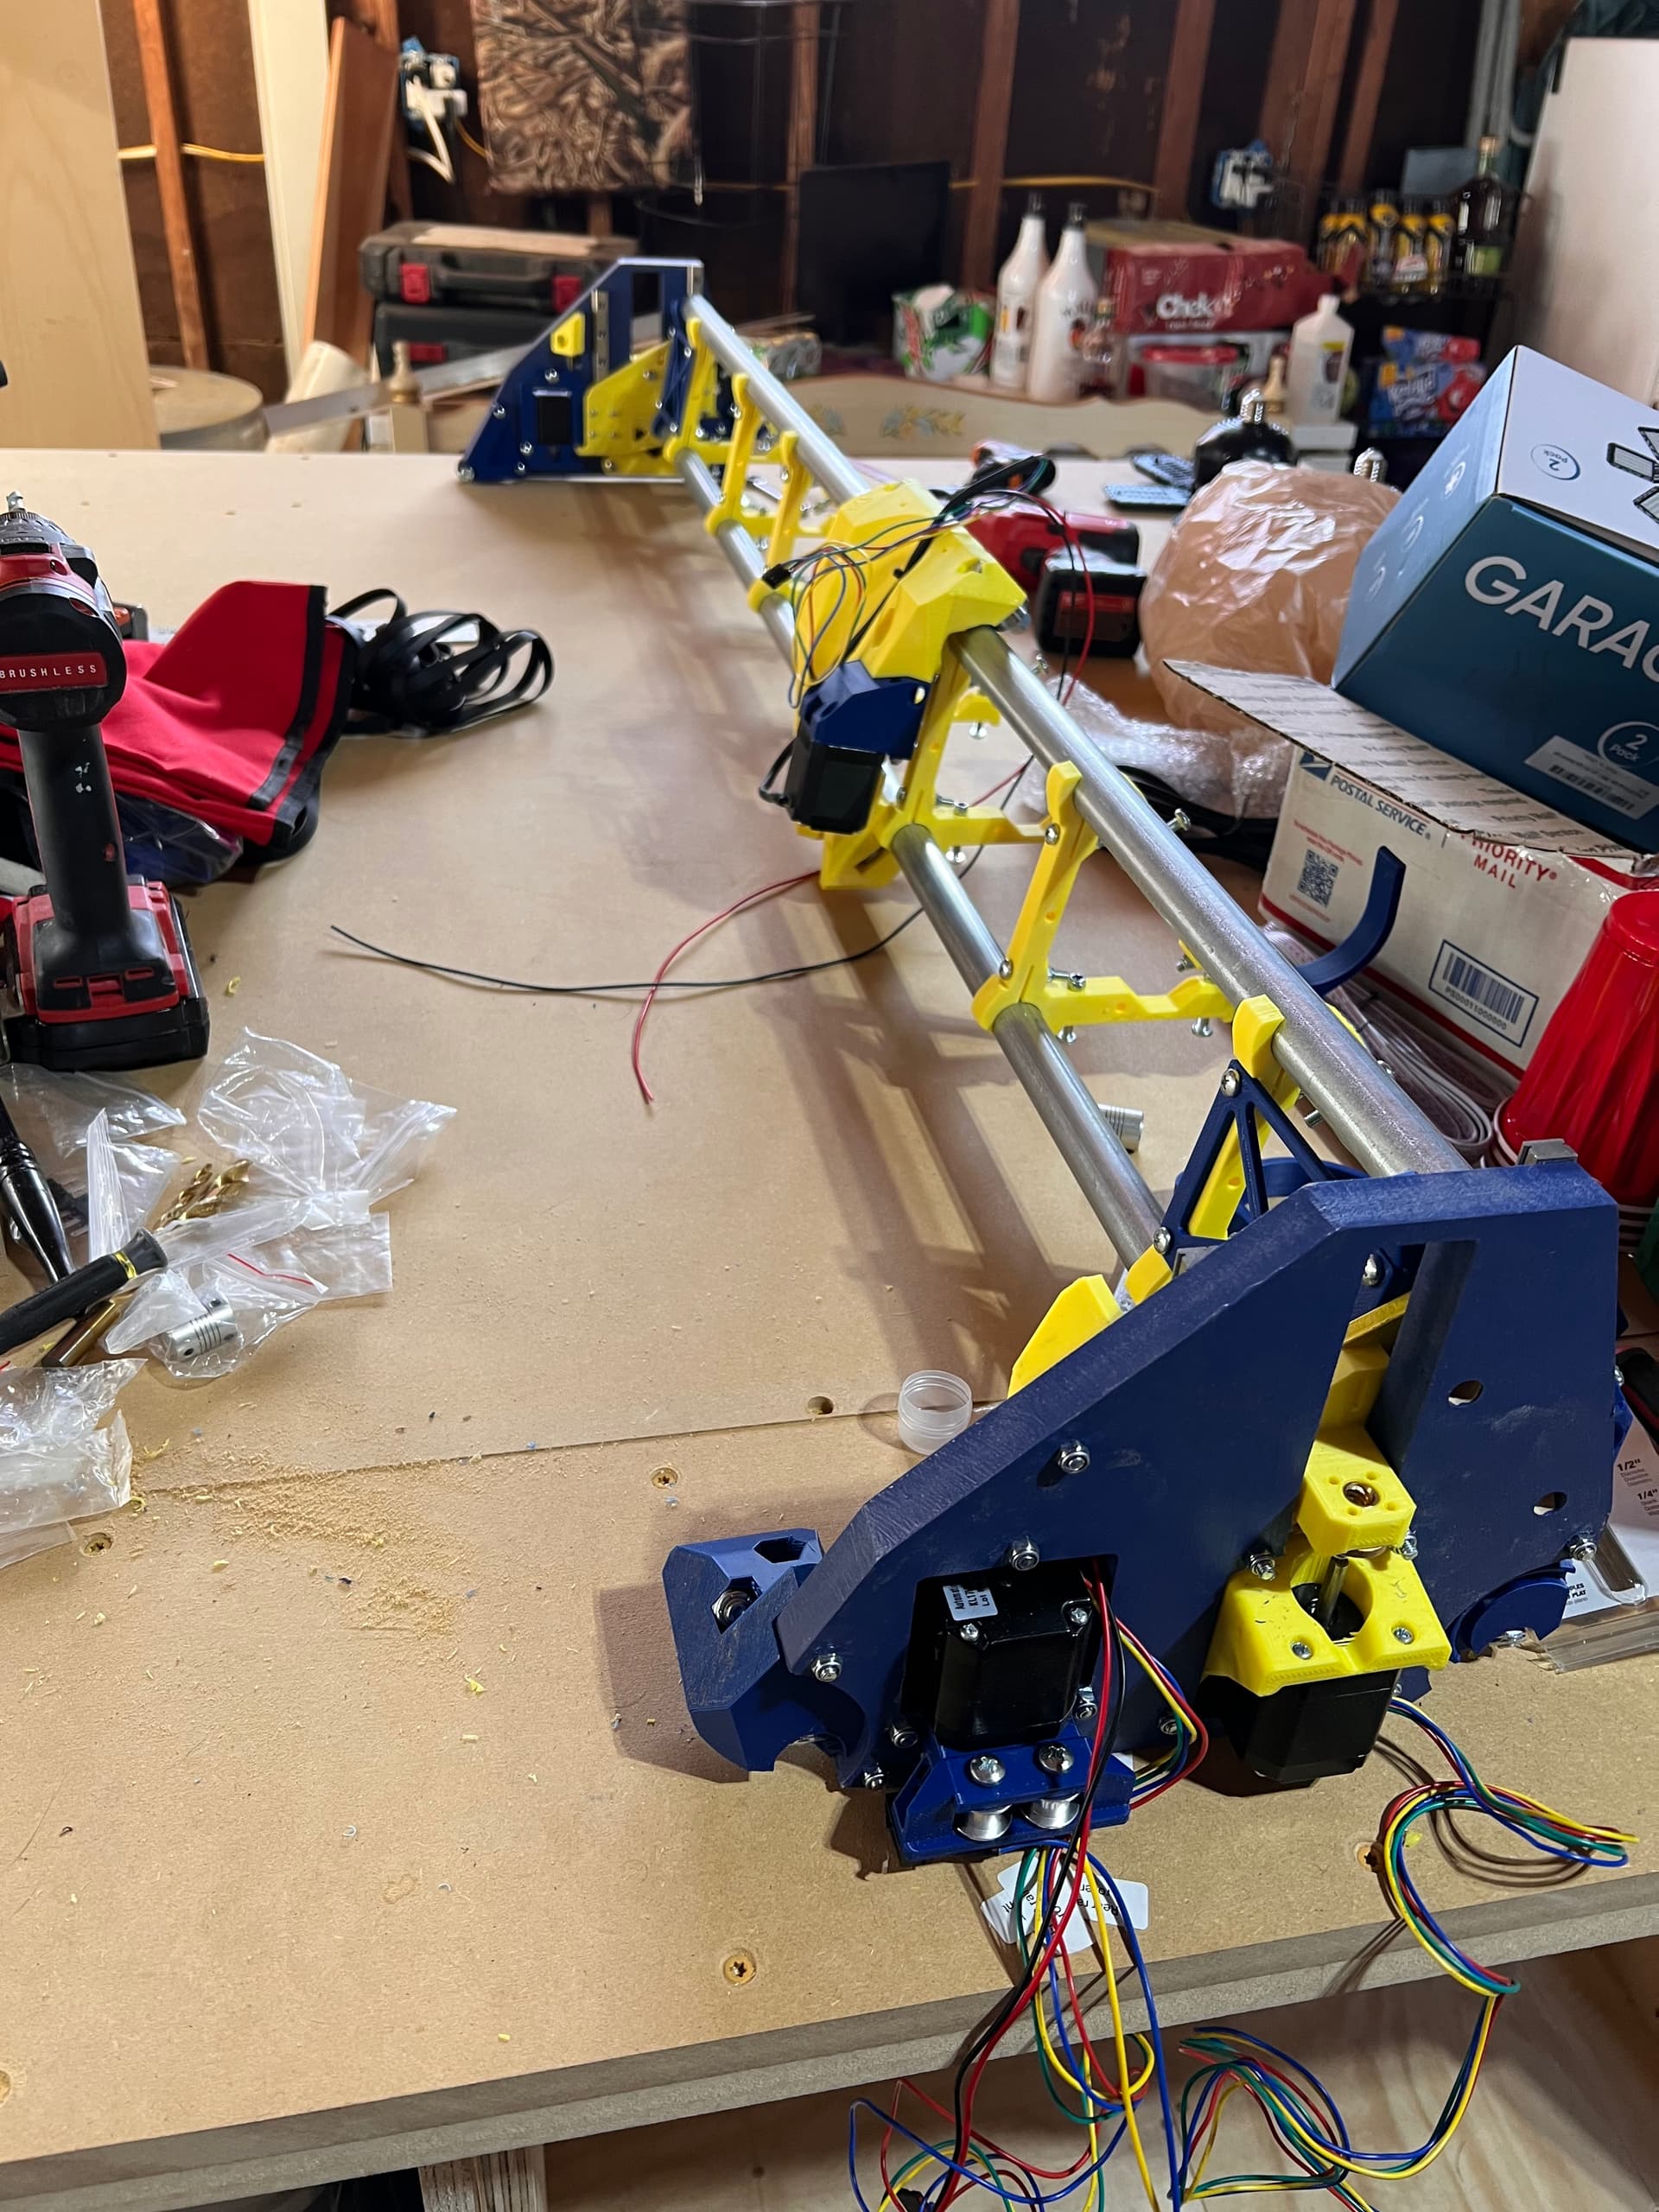
@vicious1 Is there any advantage to placing the rail blocks closer? Docs say no more than 8” but is there any noticeable difference going with something like 6” or even 4”? I’m at that step now and can always go print some more real quick if it’s better to be closer