If you’re referring to those flip up / snap on / snap off back covers that I’ve shared, they would not work for any equipment that is sticking up past the top profile of the gantry braces.
Yes, that’s exactly what I mean, I only intend to cover the middle area with the control board.
1 Like
It may work just fine. I was looking at the photo of the section that has the control board and it looks like there’s some type of a tray at the bottom, holding the control board, and that tray seems to come flush with the edge. The covers that I made have a little lip on them that is made to hook under a lip on a printed retainer strip, and, if it doesn’t jive well with that tray that you have, then a quick easy remix could remove that little lip I made that helps to hook under a ledge and keep the cover down in place.
1 Like
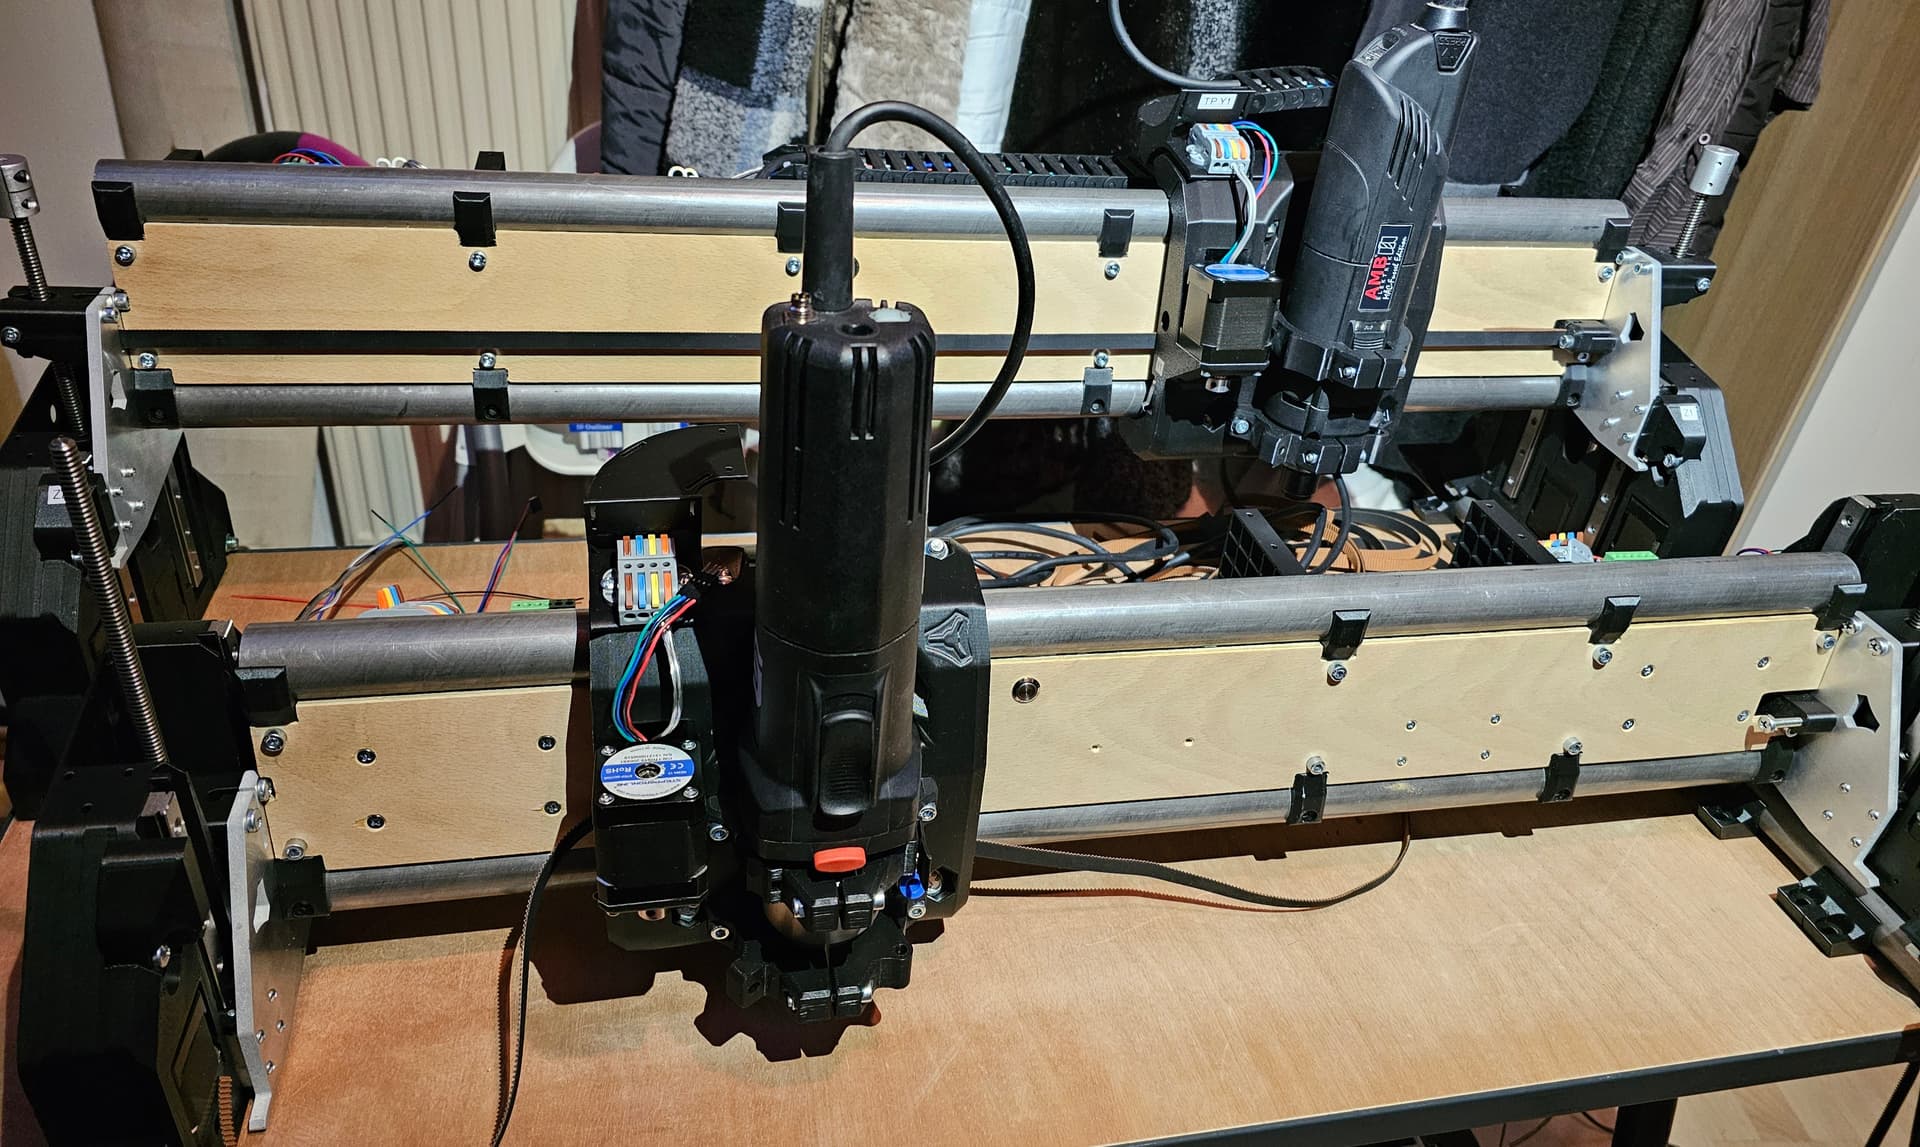
I’ve started wiring things up, trying to keep everything as clear and tidy as possible.
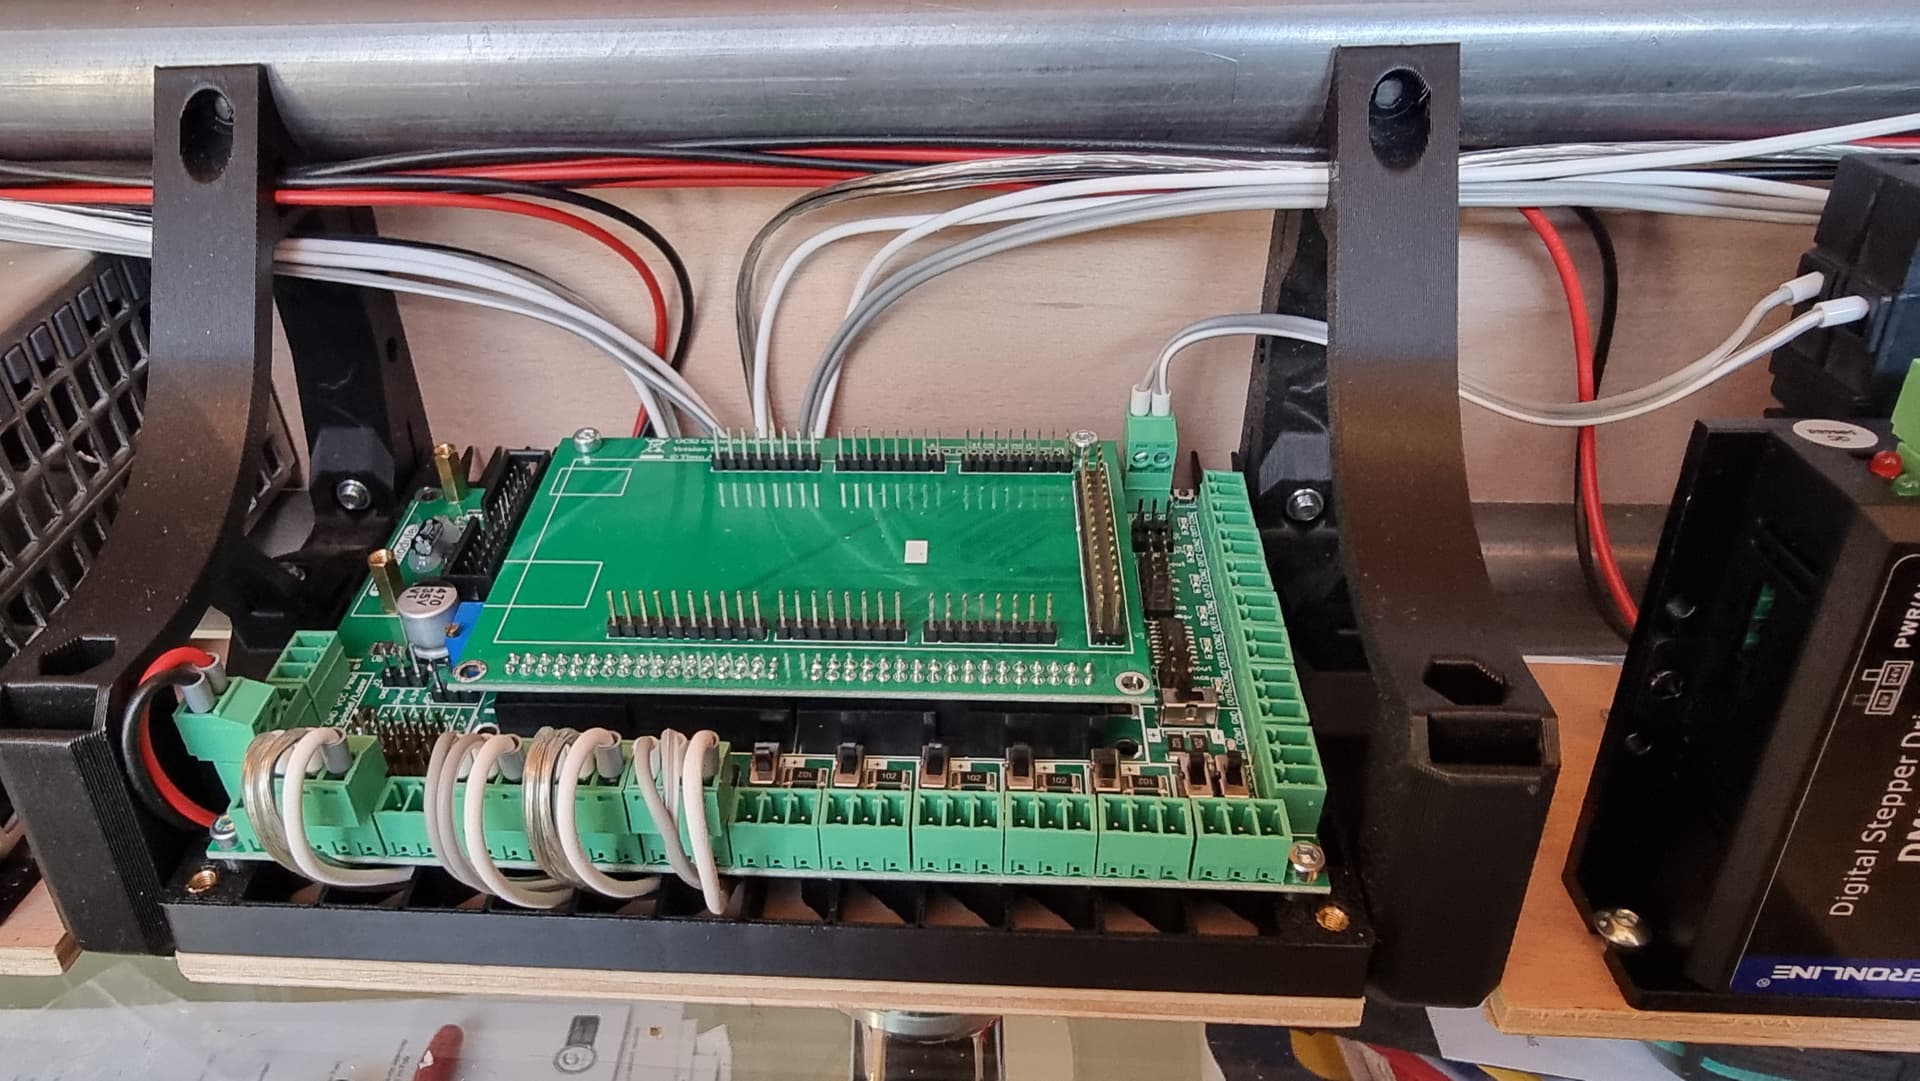
I love these little Phoenix terminal blocks.

10 Likes
Man, you are putting my “cable management” to shame… ![]()
1 Like
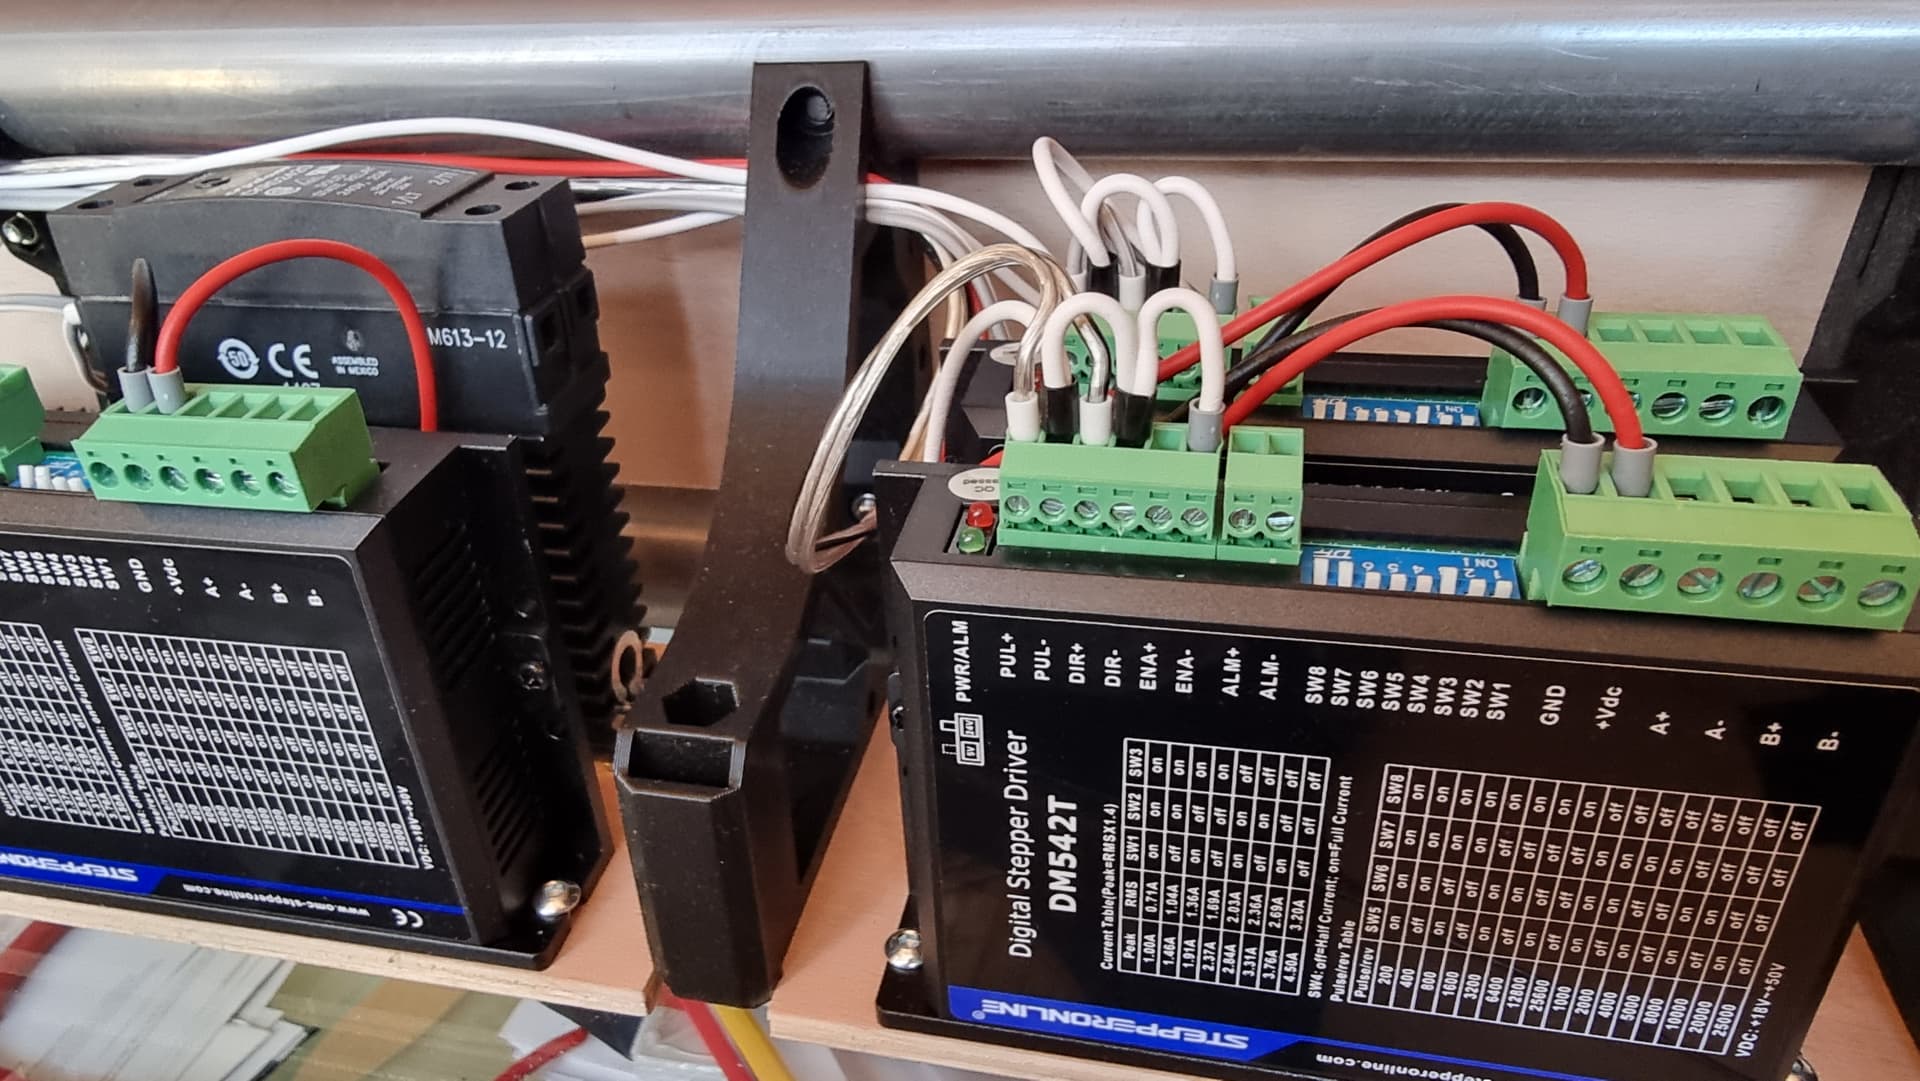
It only looks like this now, but all the cables for the end stops, speed control of the milling motor, etc. are still missing. I don’t think it will look quite so orderly then.
1 Like
Regardless, it’s a really good start.
Admittedly i have no clue what most of that is, but it’s looking awfully purdy
It’s been a long, long time—my further education kept me fully occupied. But now, all exams are behind me, and I just have to wait for the results. Unfortunately, there’s been no progress on the “big” Lowrider, as I still don’t have a table for it.
At least today I started wiring up the “small” Lowrider for the vacuum table. A few cables are still missing—for autosquaring, the 3D probe, all the endstops, and the speed control of the router.
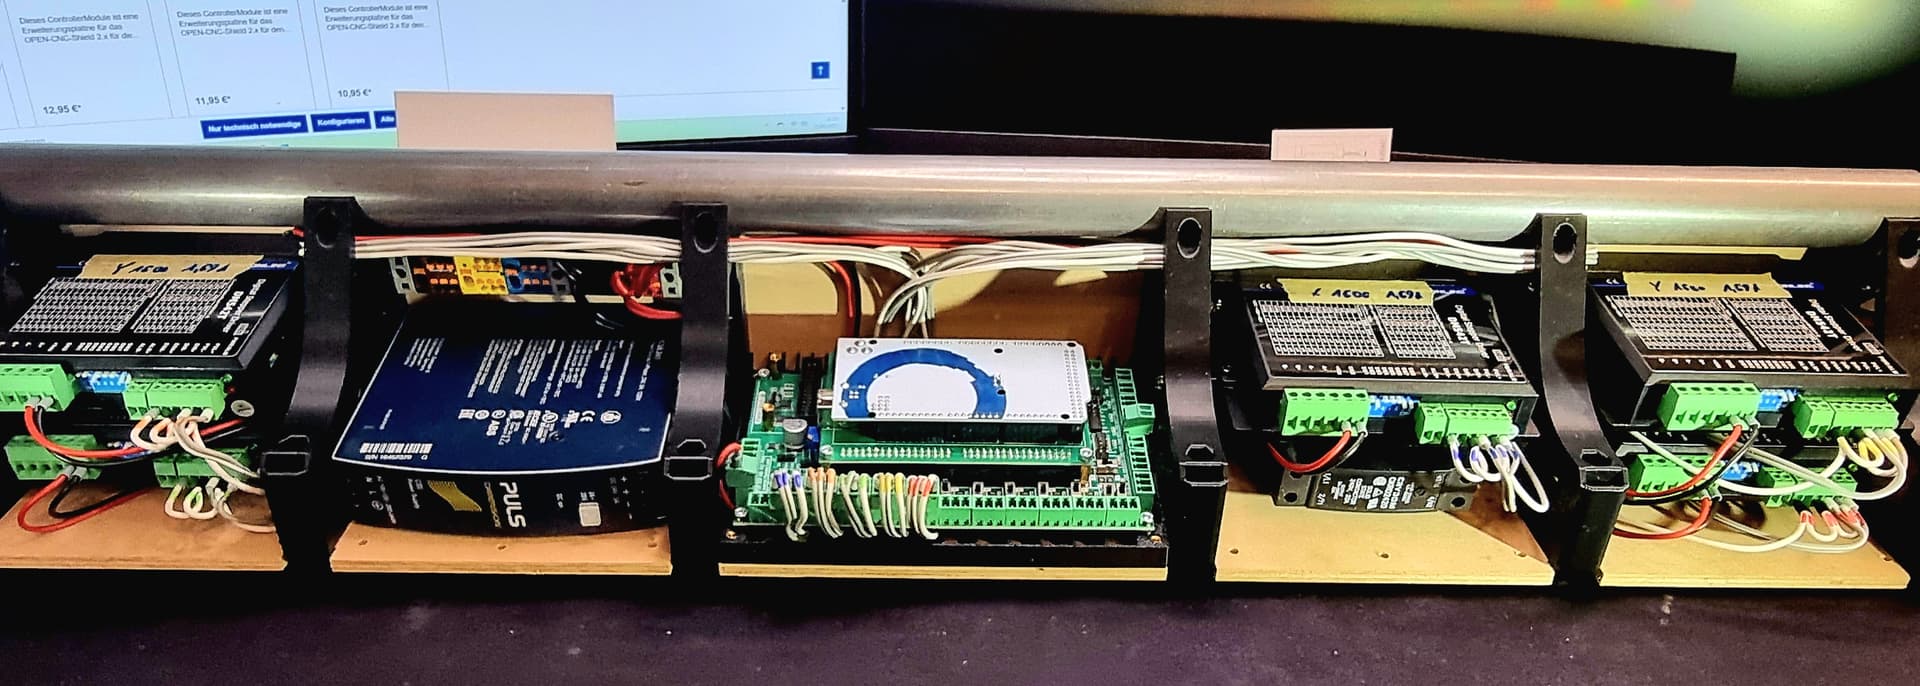
9 Likes
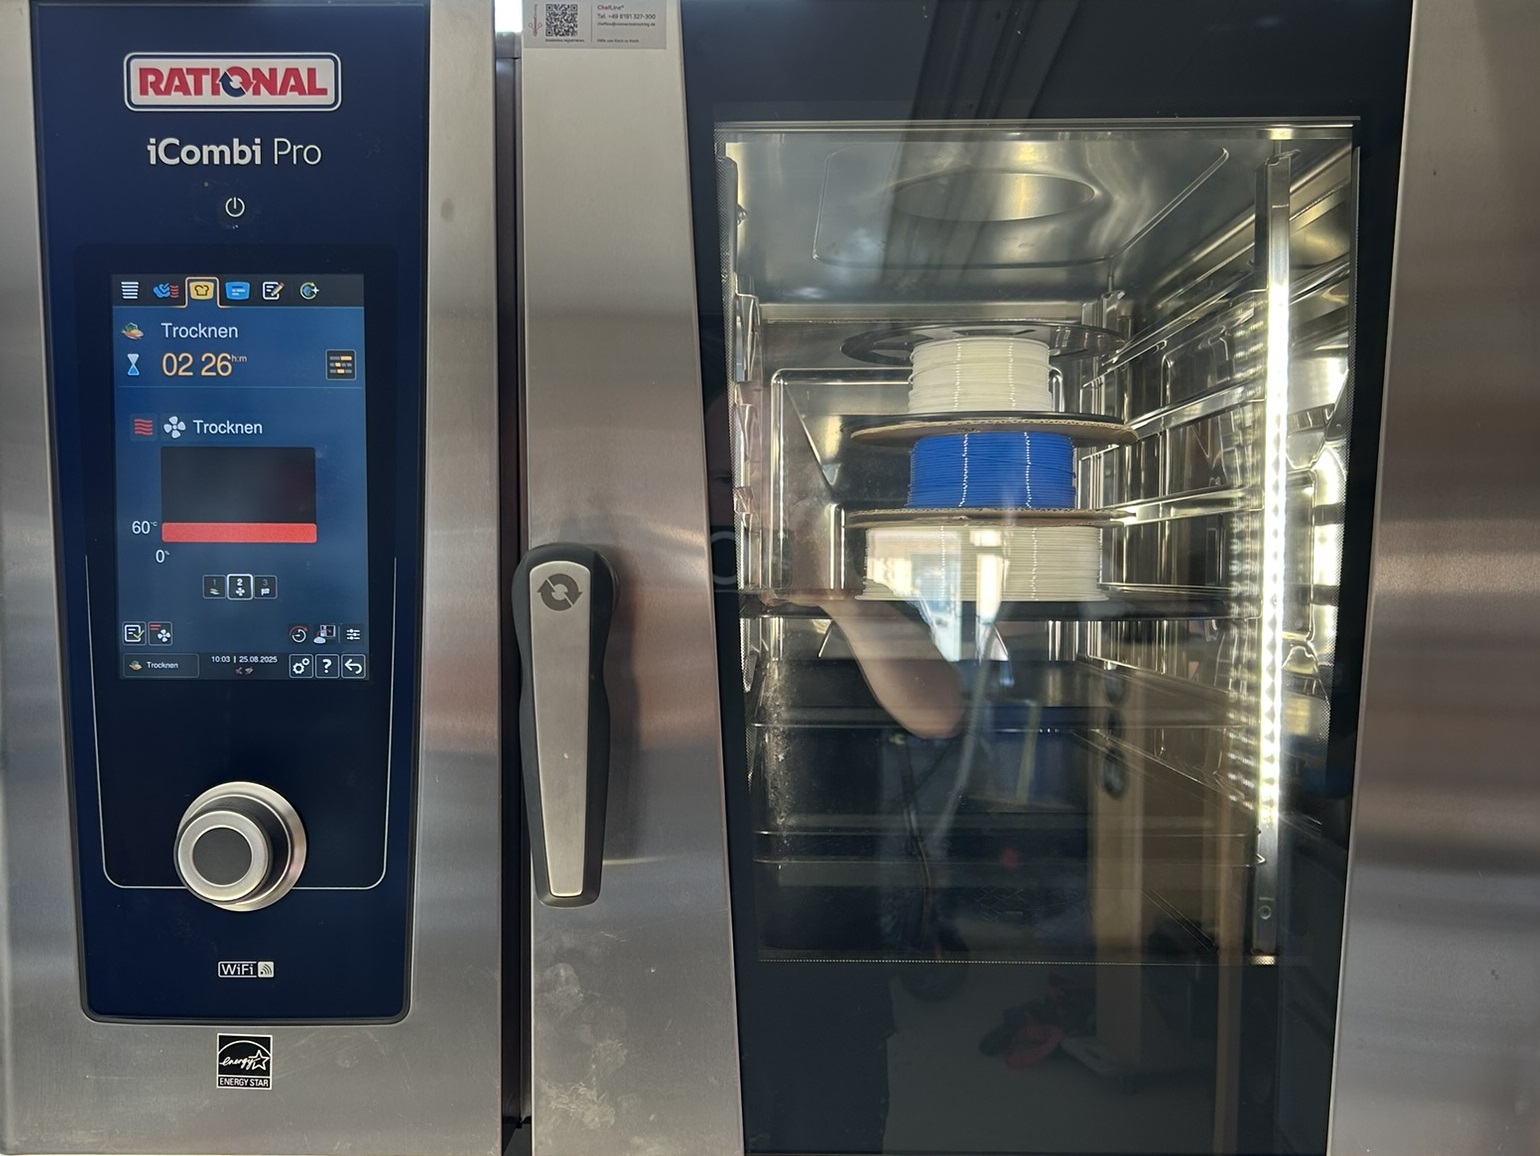
The most expensive filament dryer in the world – and it actually works! ![]()
So today I may have slightly abused my Rational iCombi Pro…
It’s currently sitting unused in storage while my kitchen is still under construction.
1 Like

6 Likes
Unless you count moving to Colorado. Our filament dries itself.
6 Likes

Doesn’t need to be so fancy. I just extended the hose hooks a little so I was able to screw an alu profile on it. ![]()
2 Likes
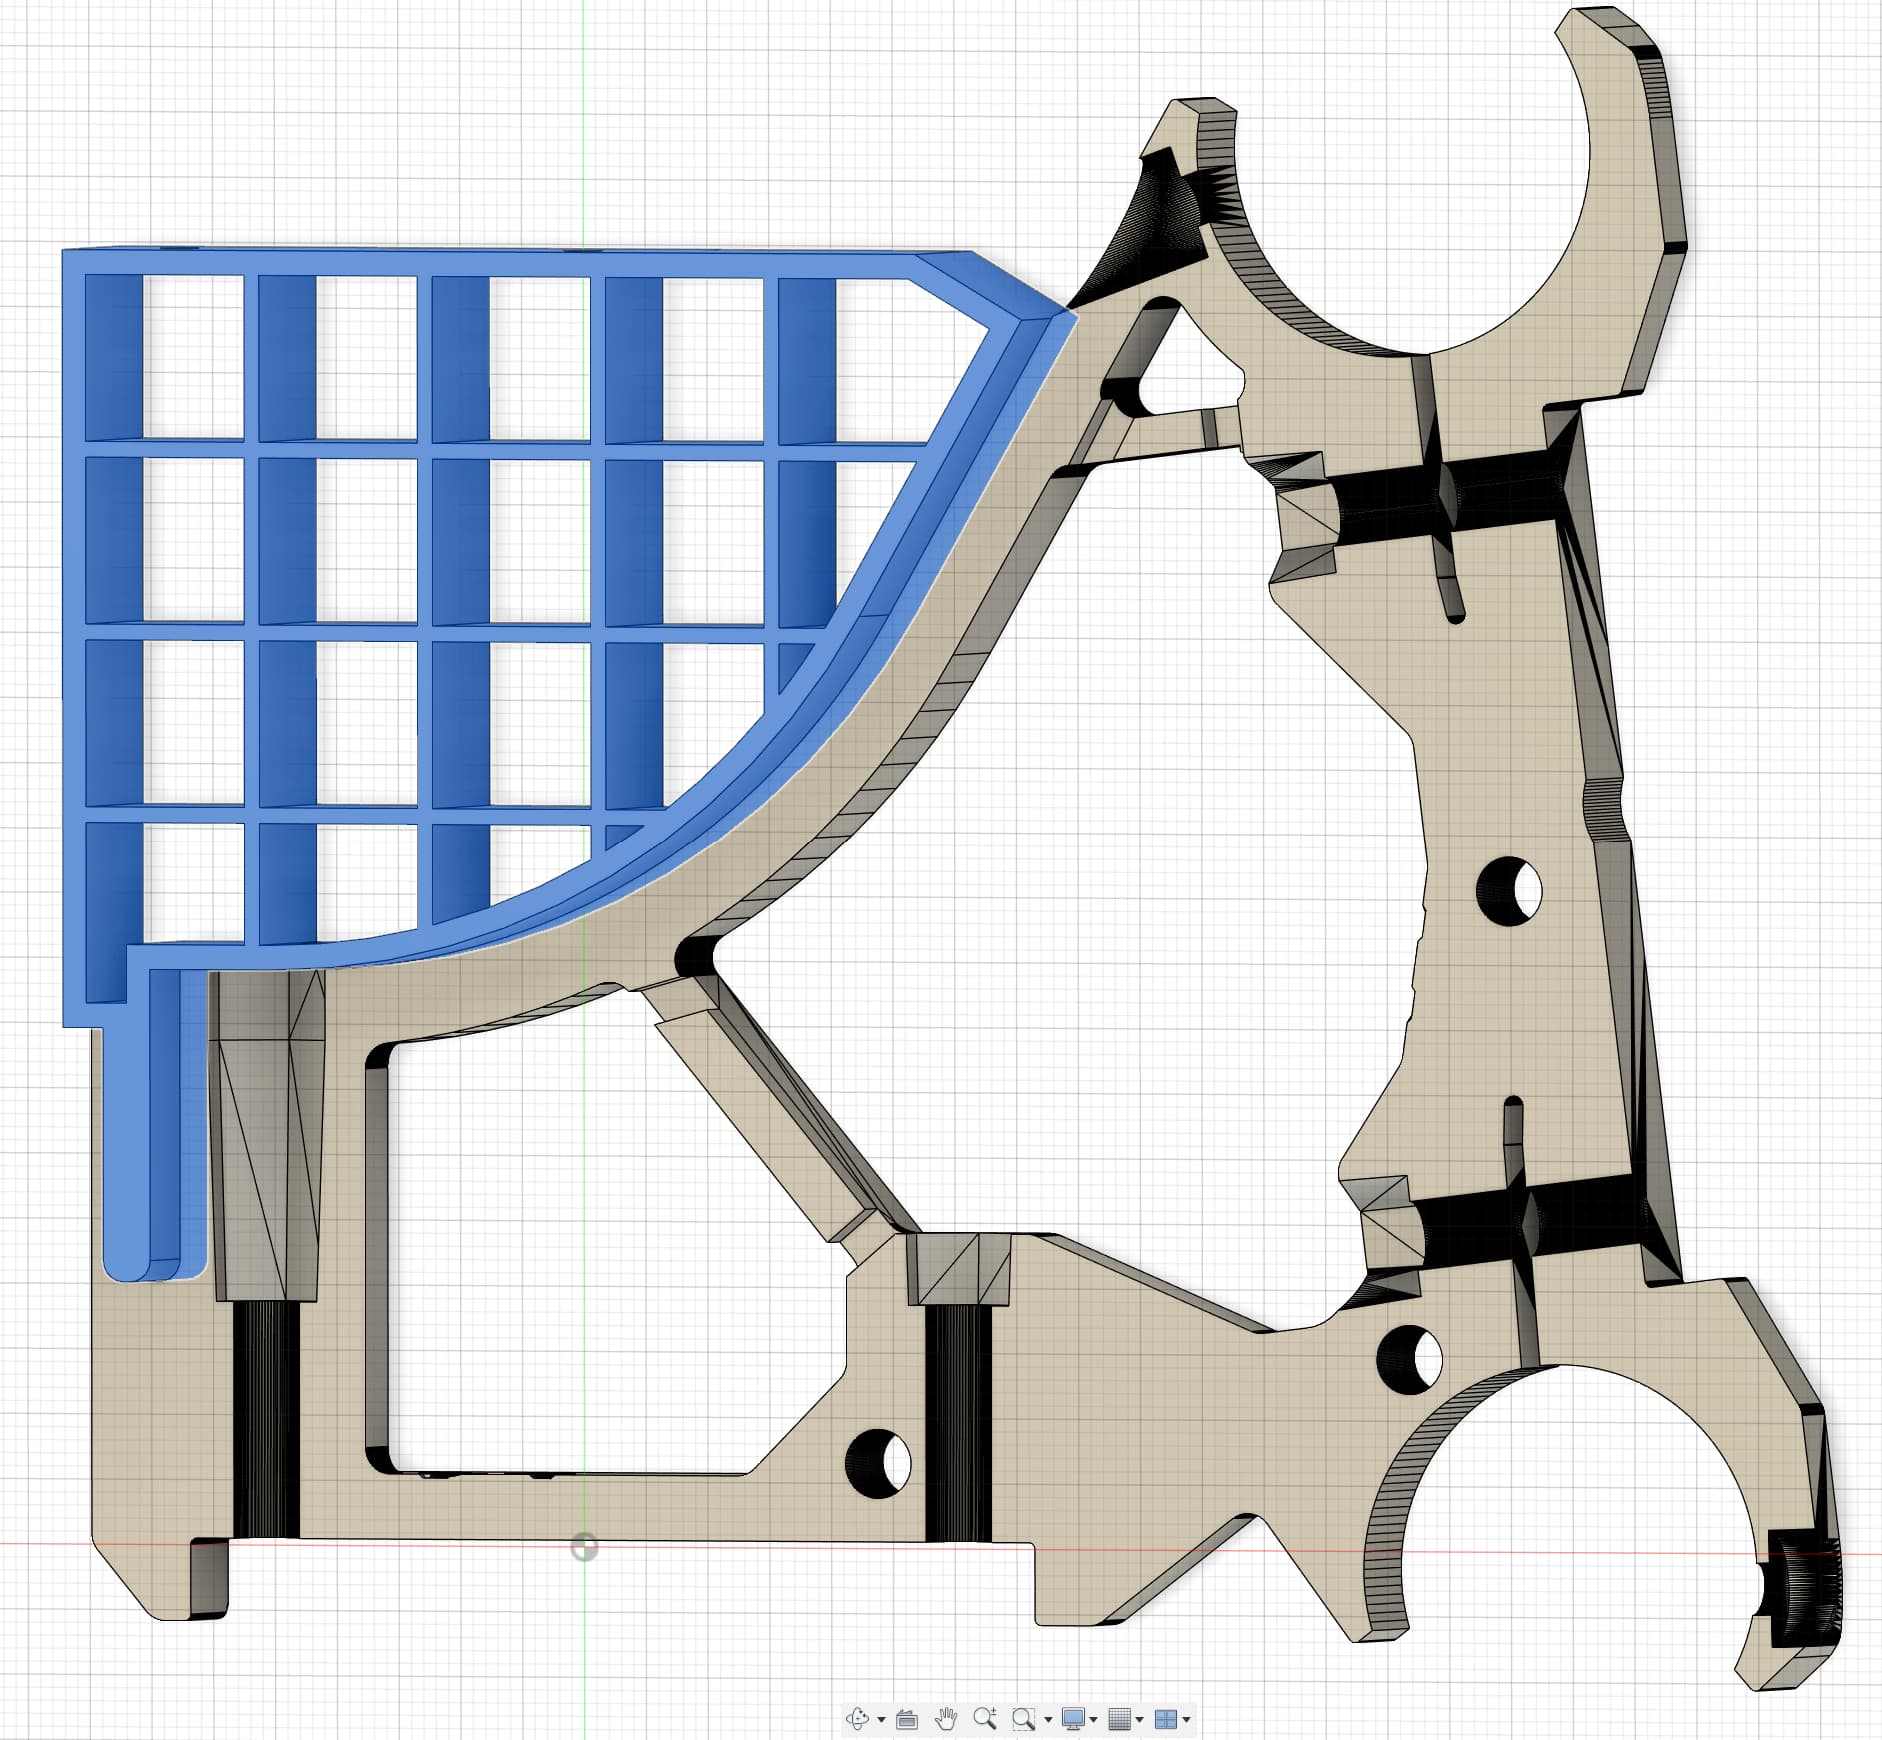
It wasn’t a huge effort, and I hope the dimensions work out as planned. I’ve added openings to route the USB cable as well as the pneumatic hoses for the tool changer and coolant lubrication system.
What I haven’t figured out yet is how to best guide the drag chain along the Y-axis without increasing the footprint of the CNC. The Lowrider is going into an existing enclosure designed for the Lowrider V3, and I’ve used up every last millimeter—there’s only about 2mm clearance all around.
When the router goes on you’ll see there’s a decent amount of room at each side on the inside of the Y rail and belt that’s outside the cutting area.
Almost half a core’s width minus the size of your cutting tool.
I initially planned it that way too, but I’m concerned that when the gantry is at its lowest position and I move it back, the drag chain will stick out to the front and could collide with the core on the side.
Spent some time working on both Lowrider 4 builds. I was hoping to finish today, but there’s still a bit left to do. The good news: the finish line is in sight!
7 Likes