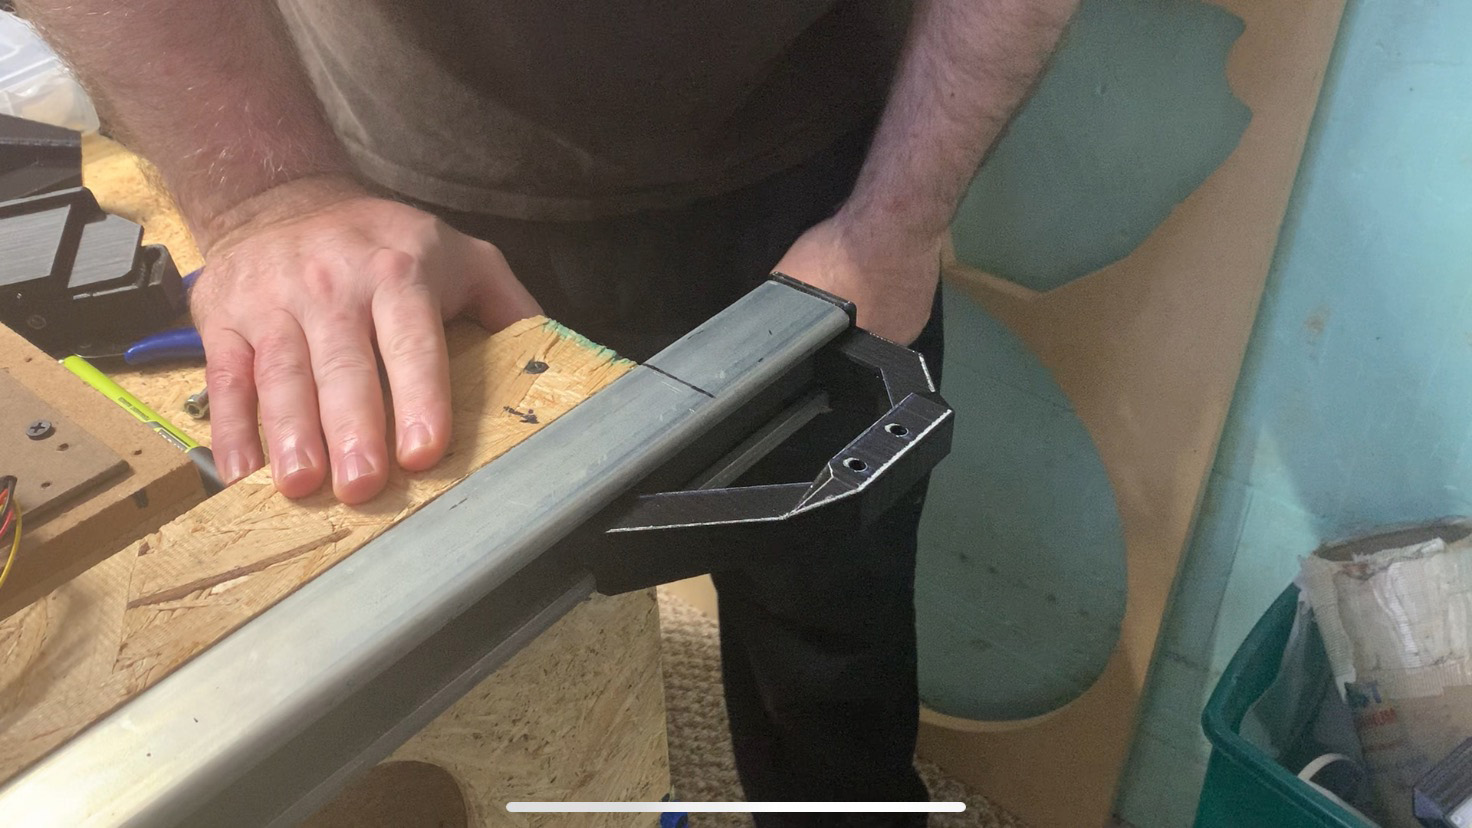
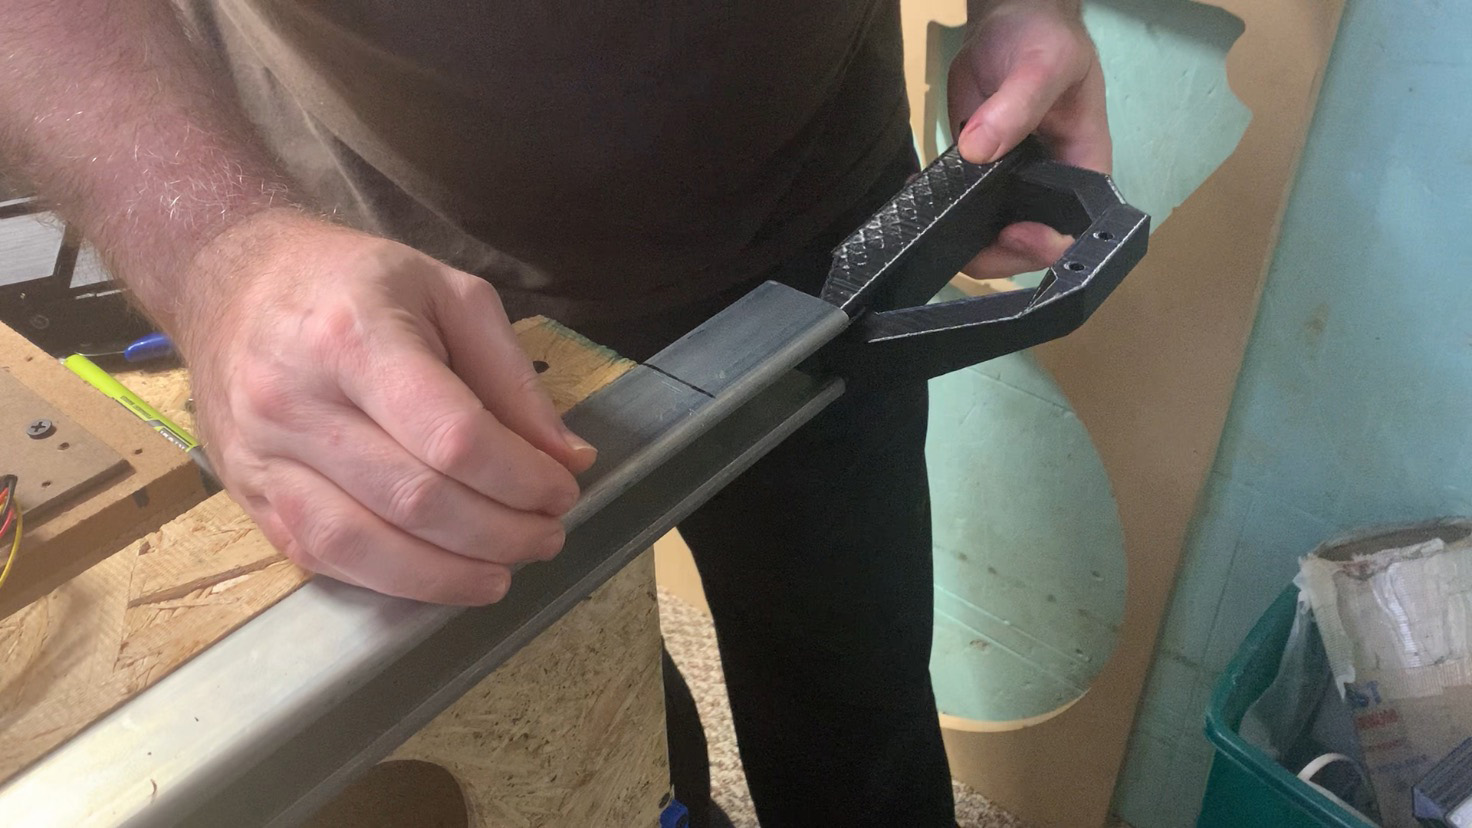
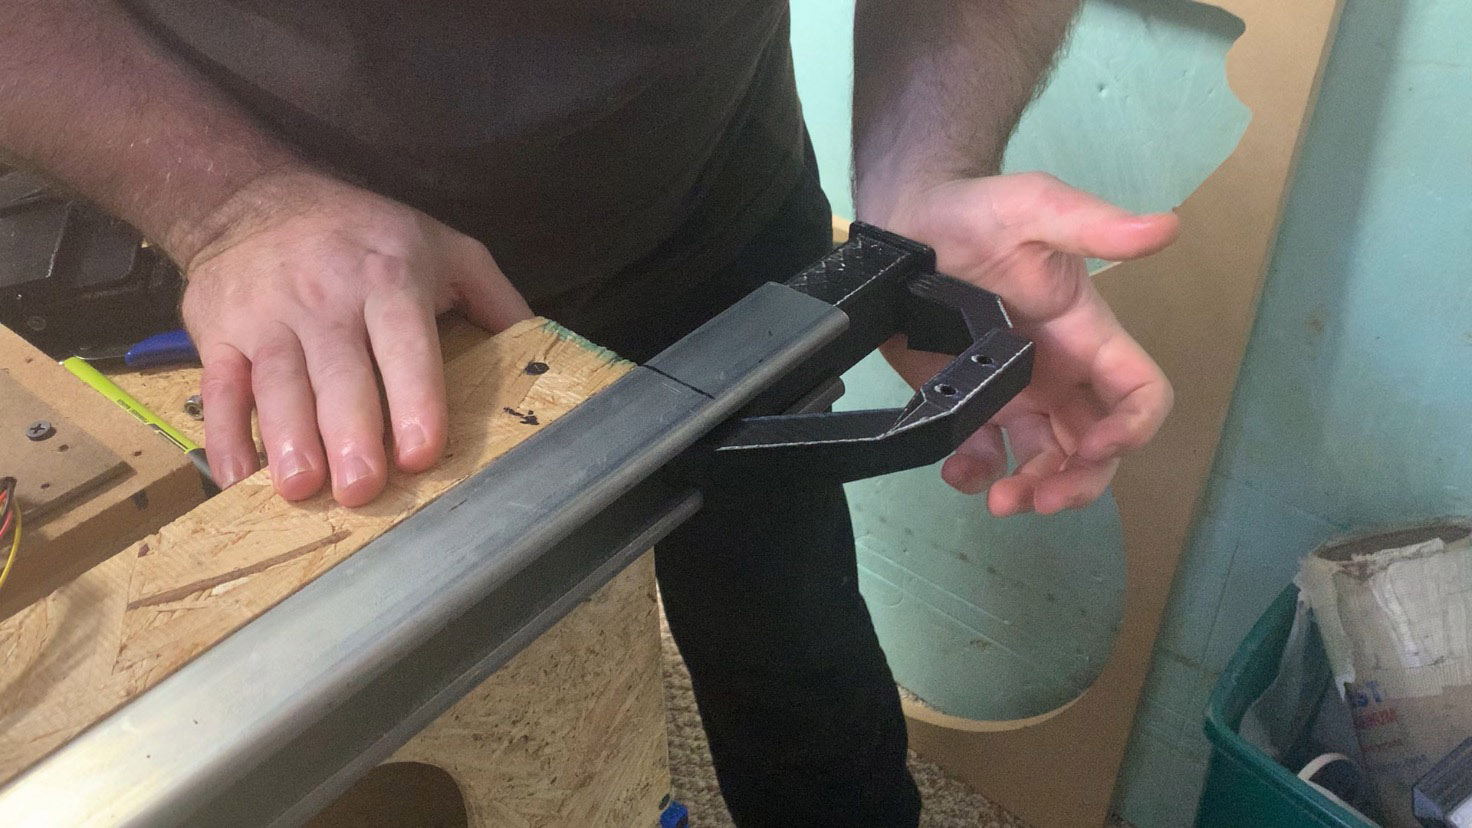
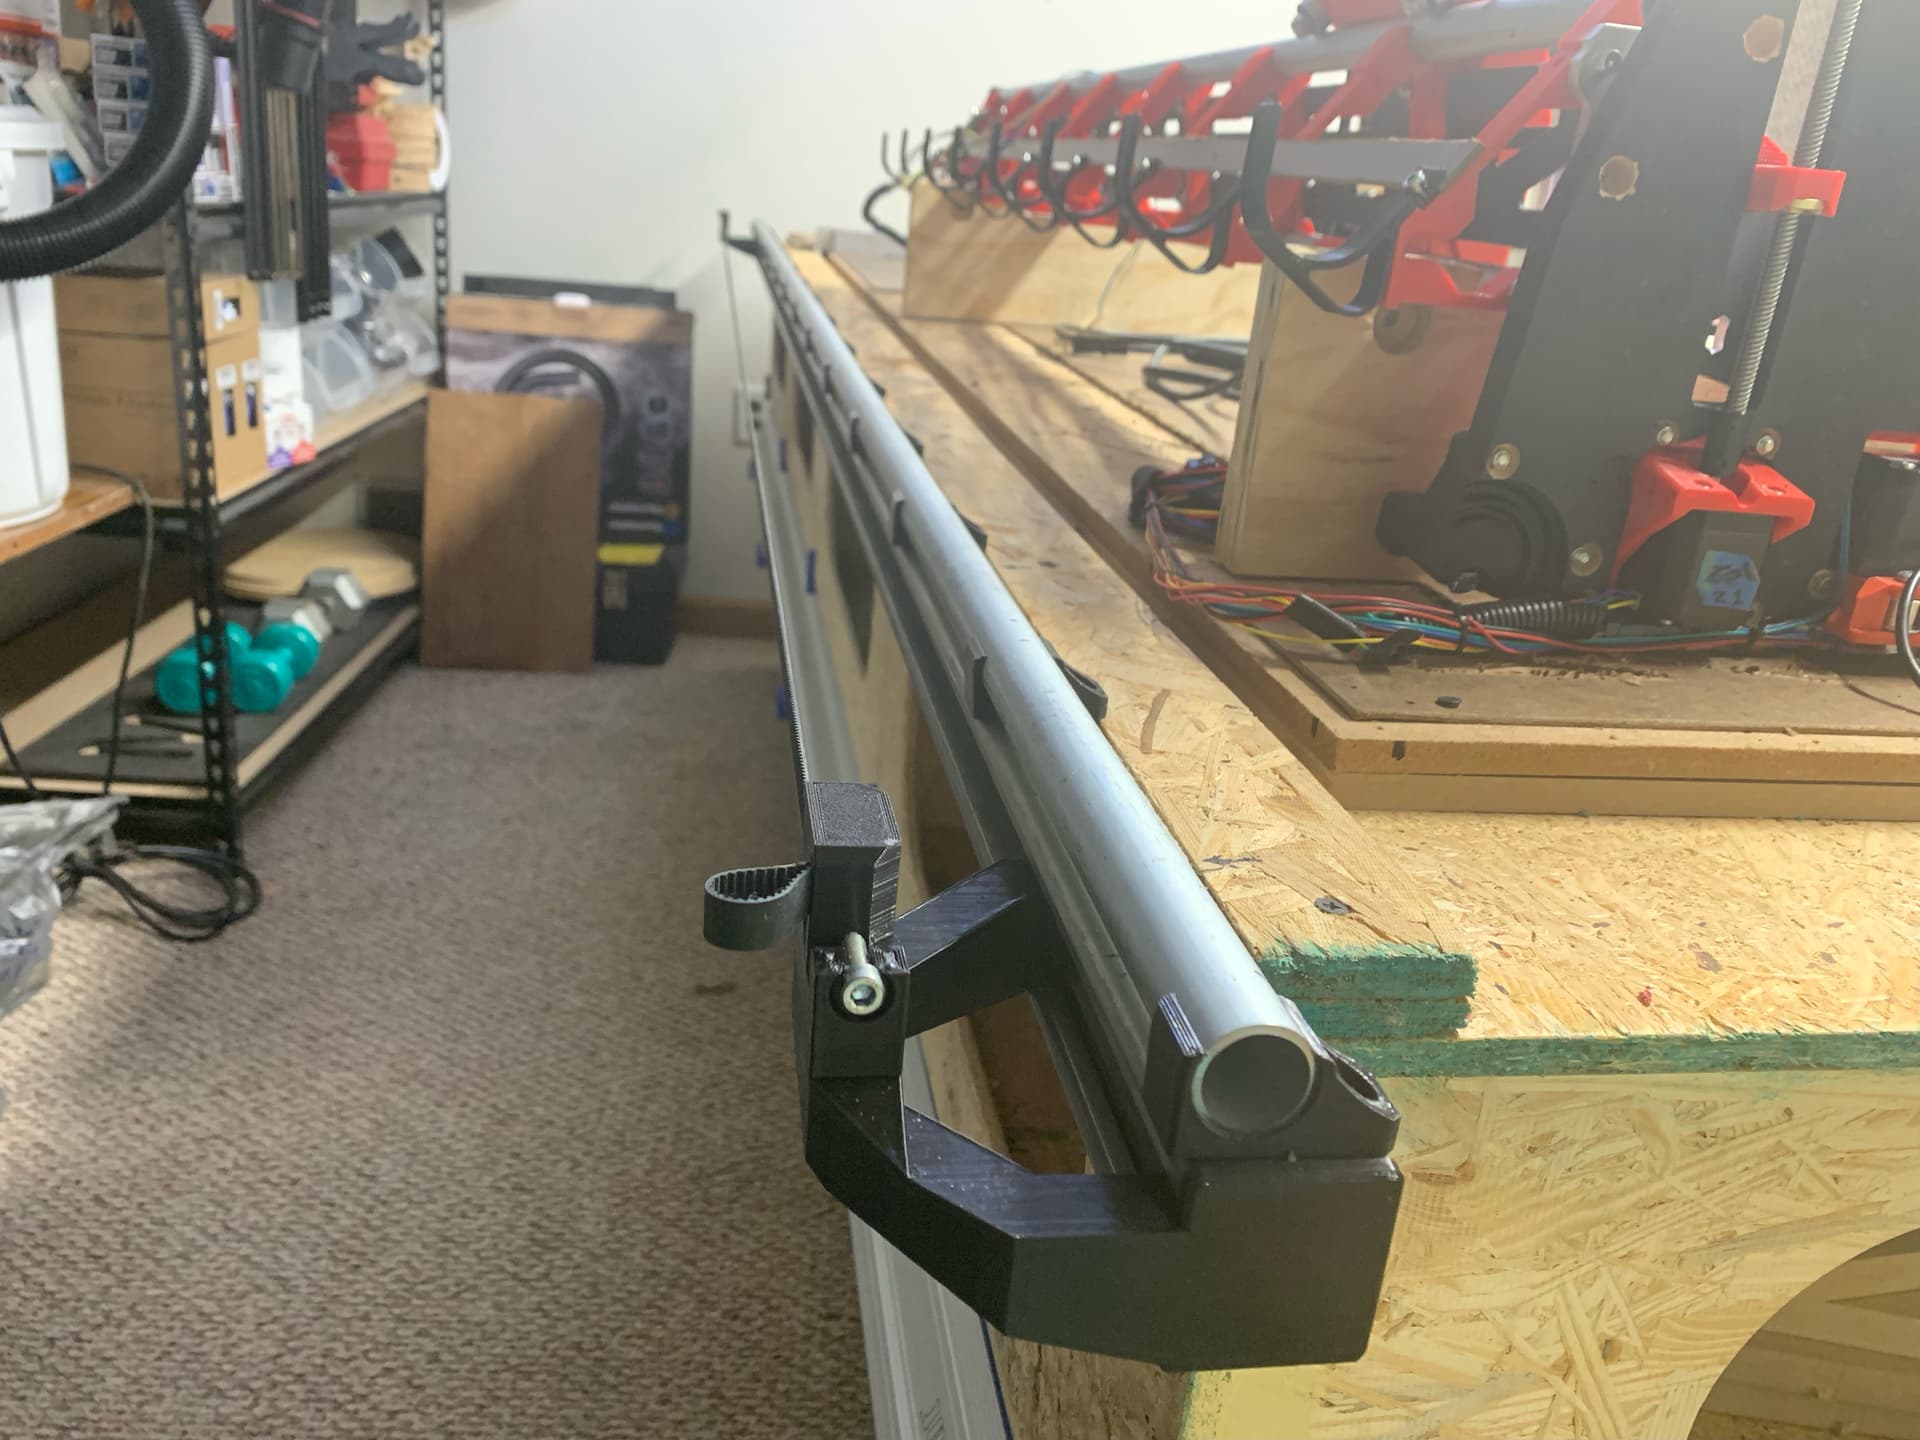
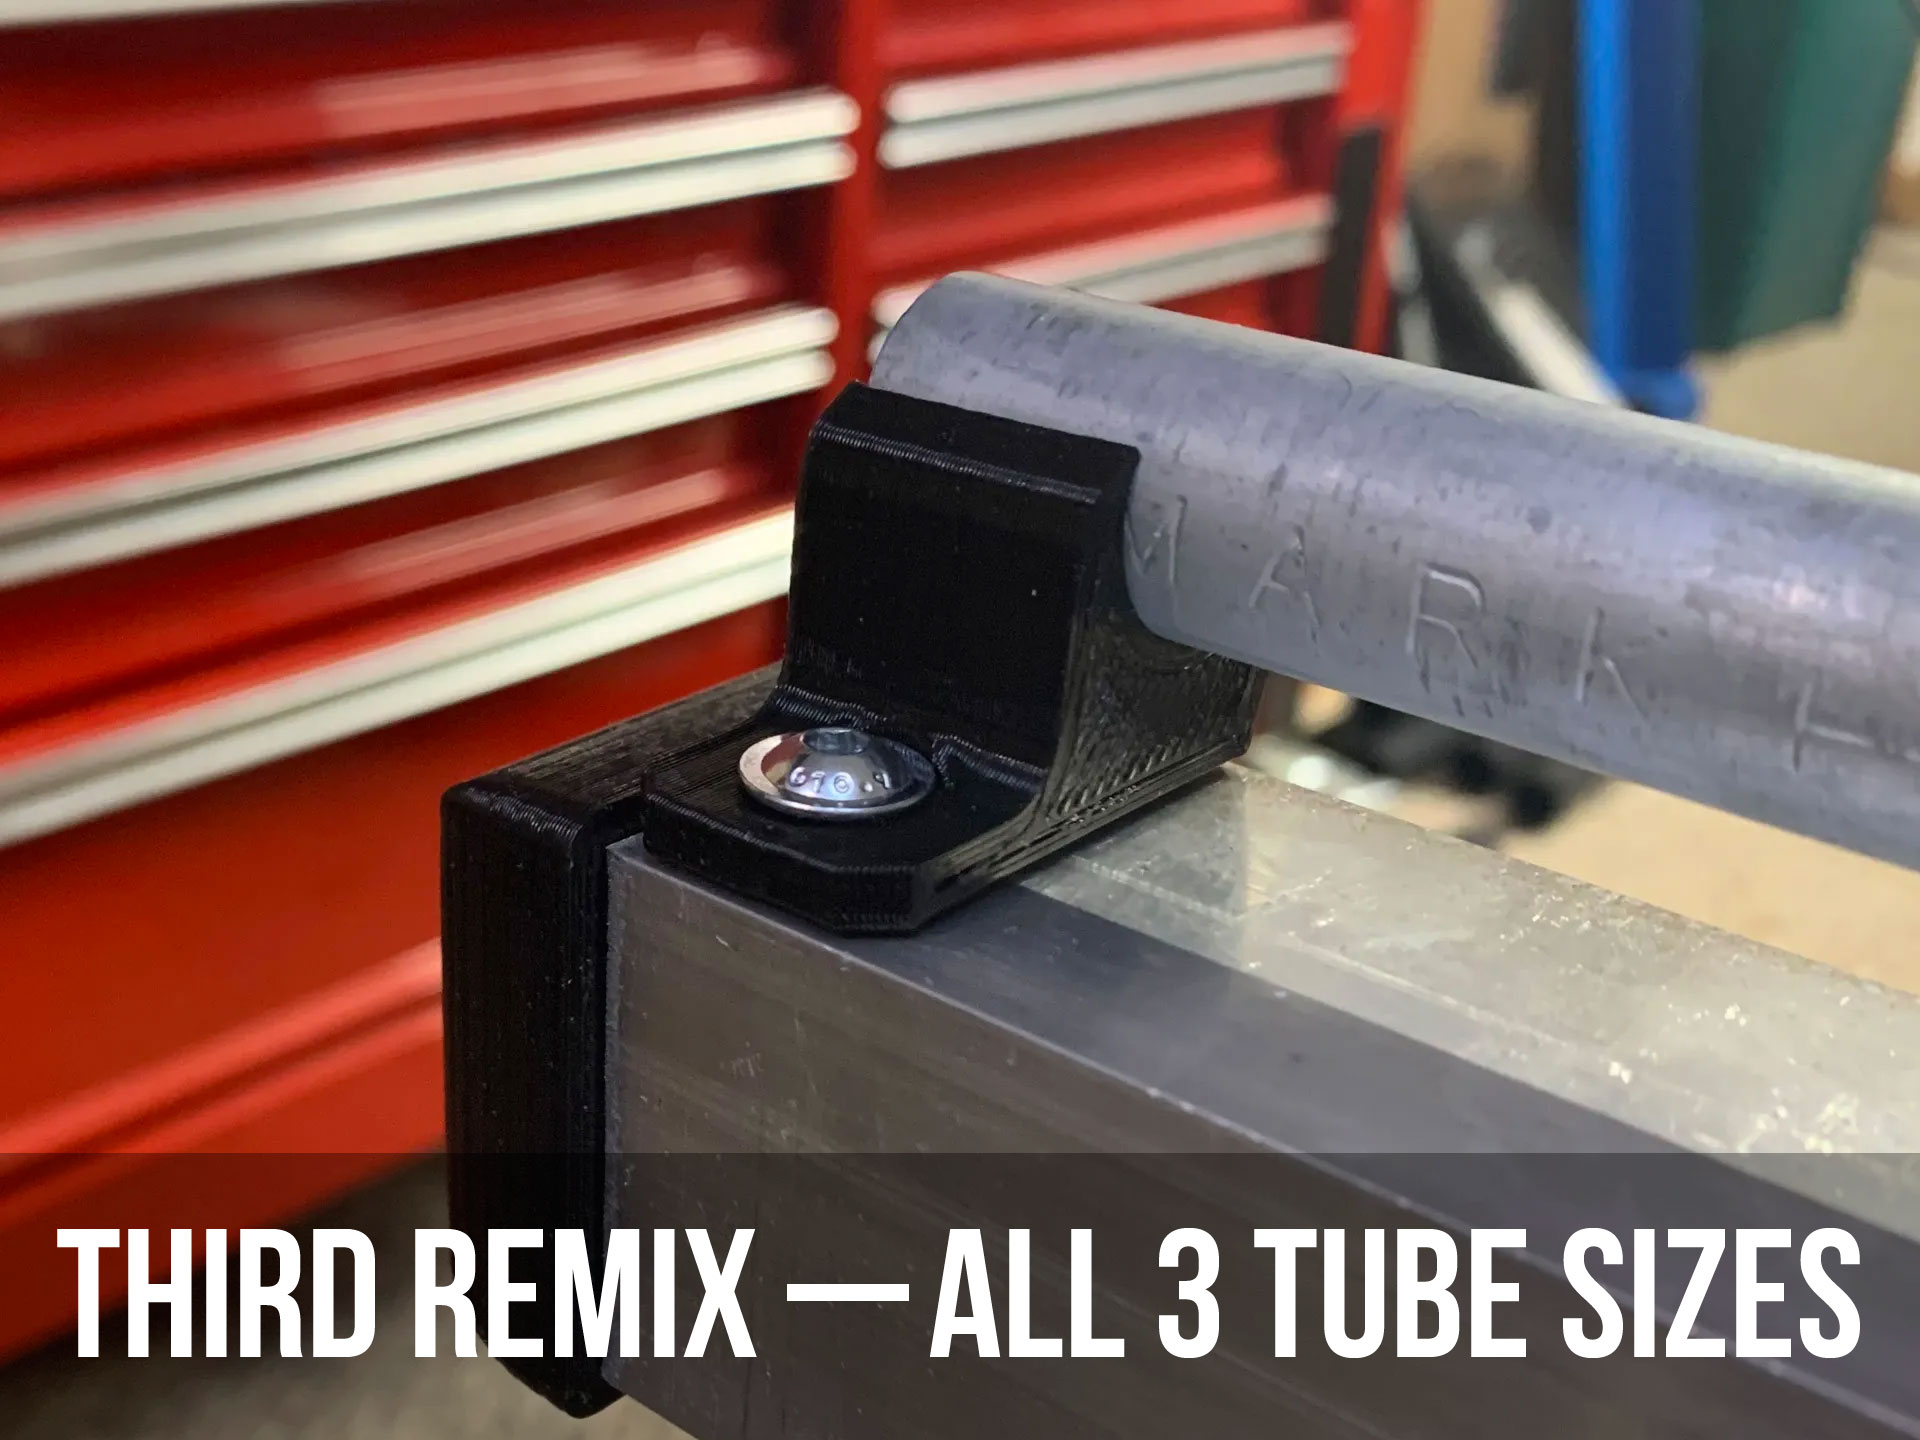
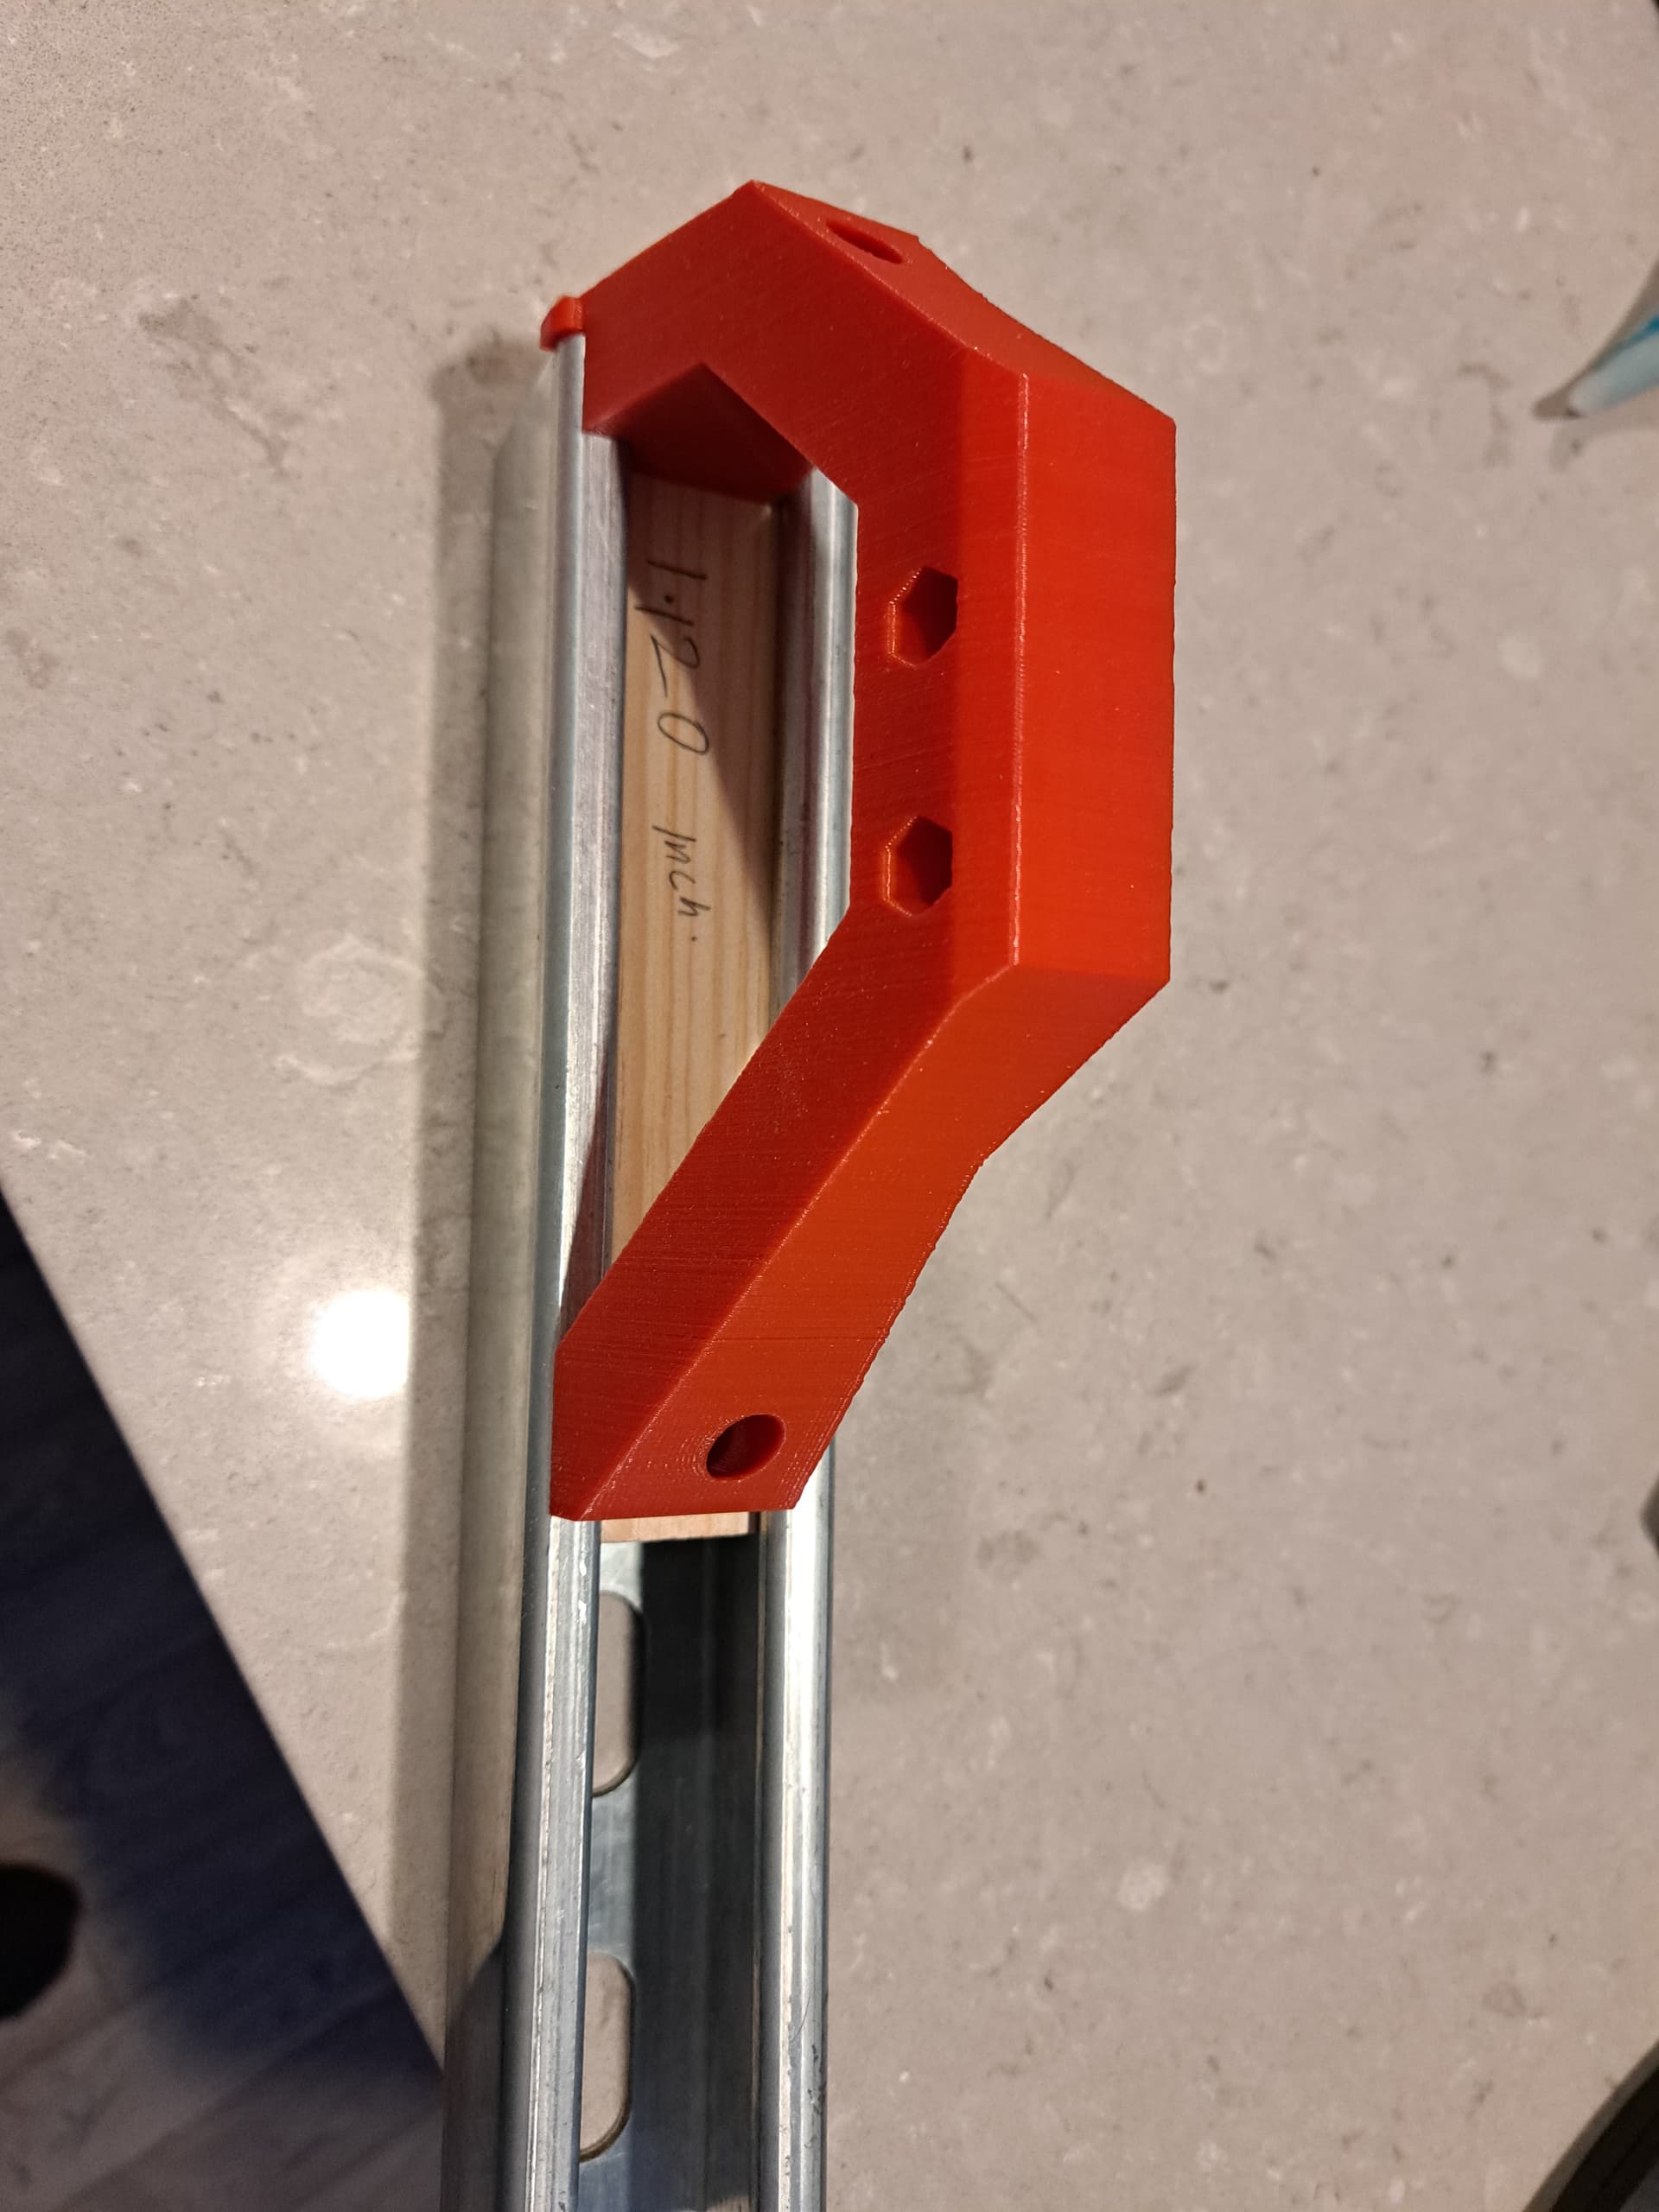
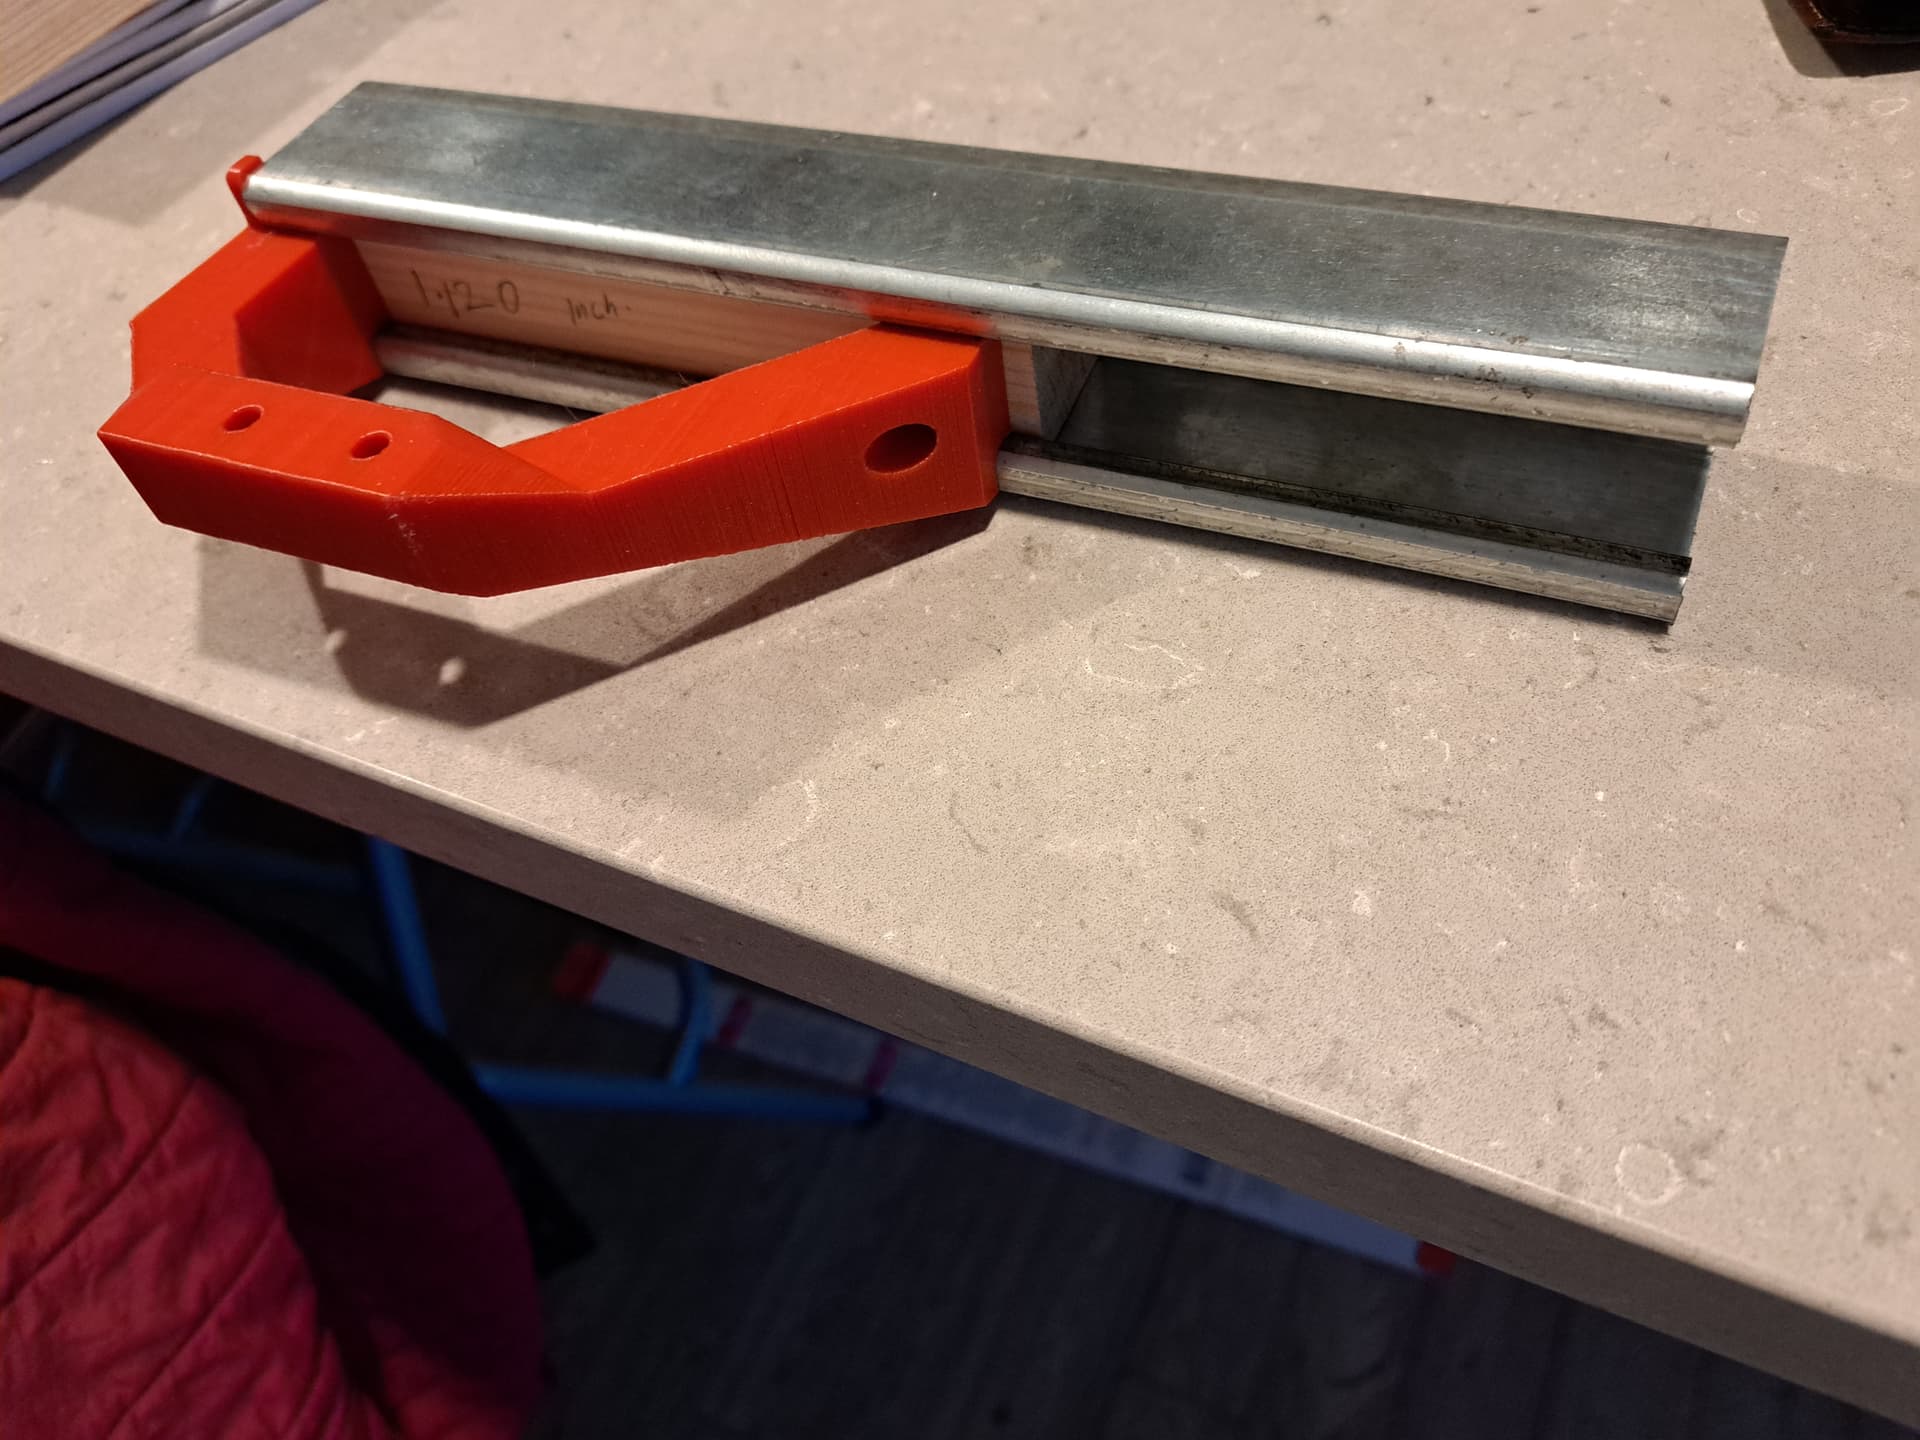
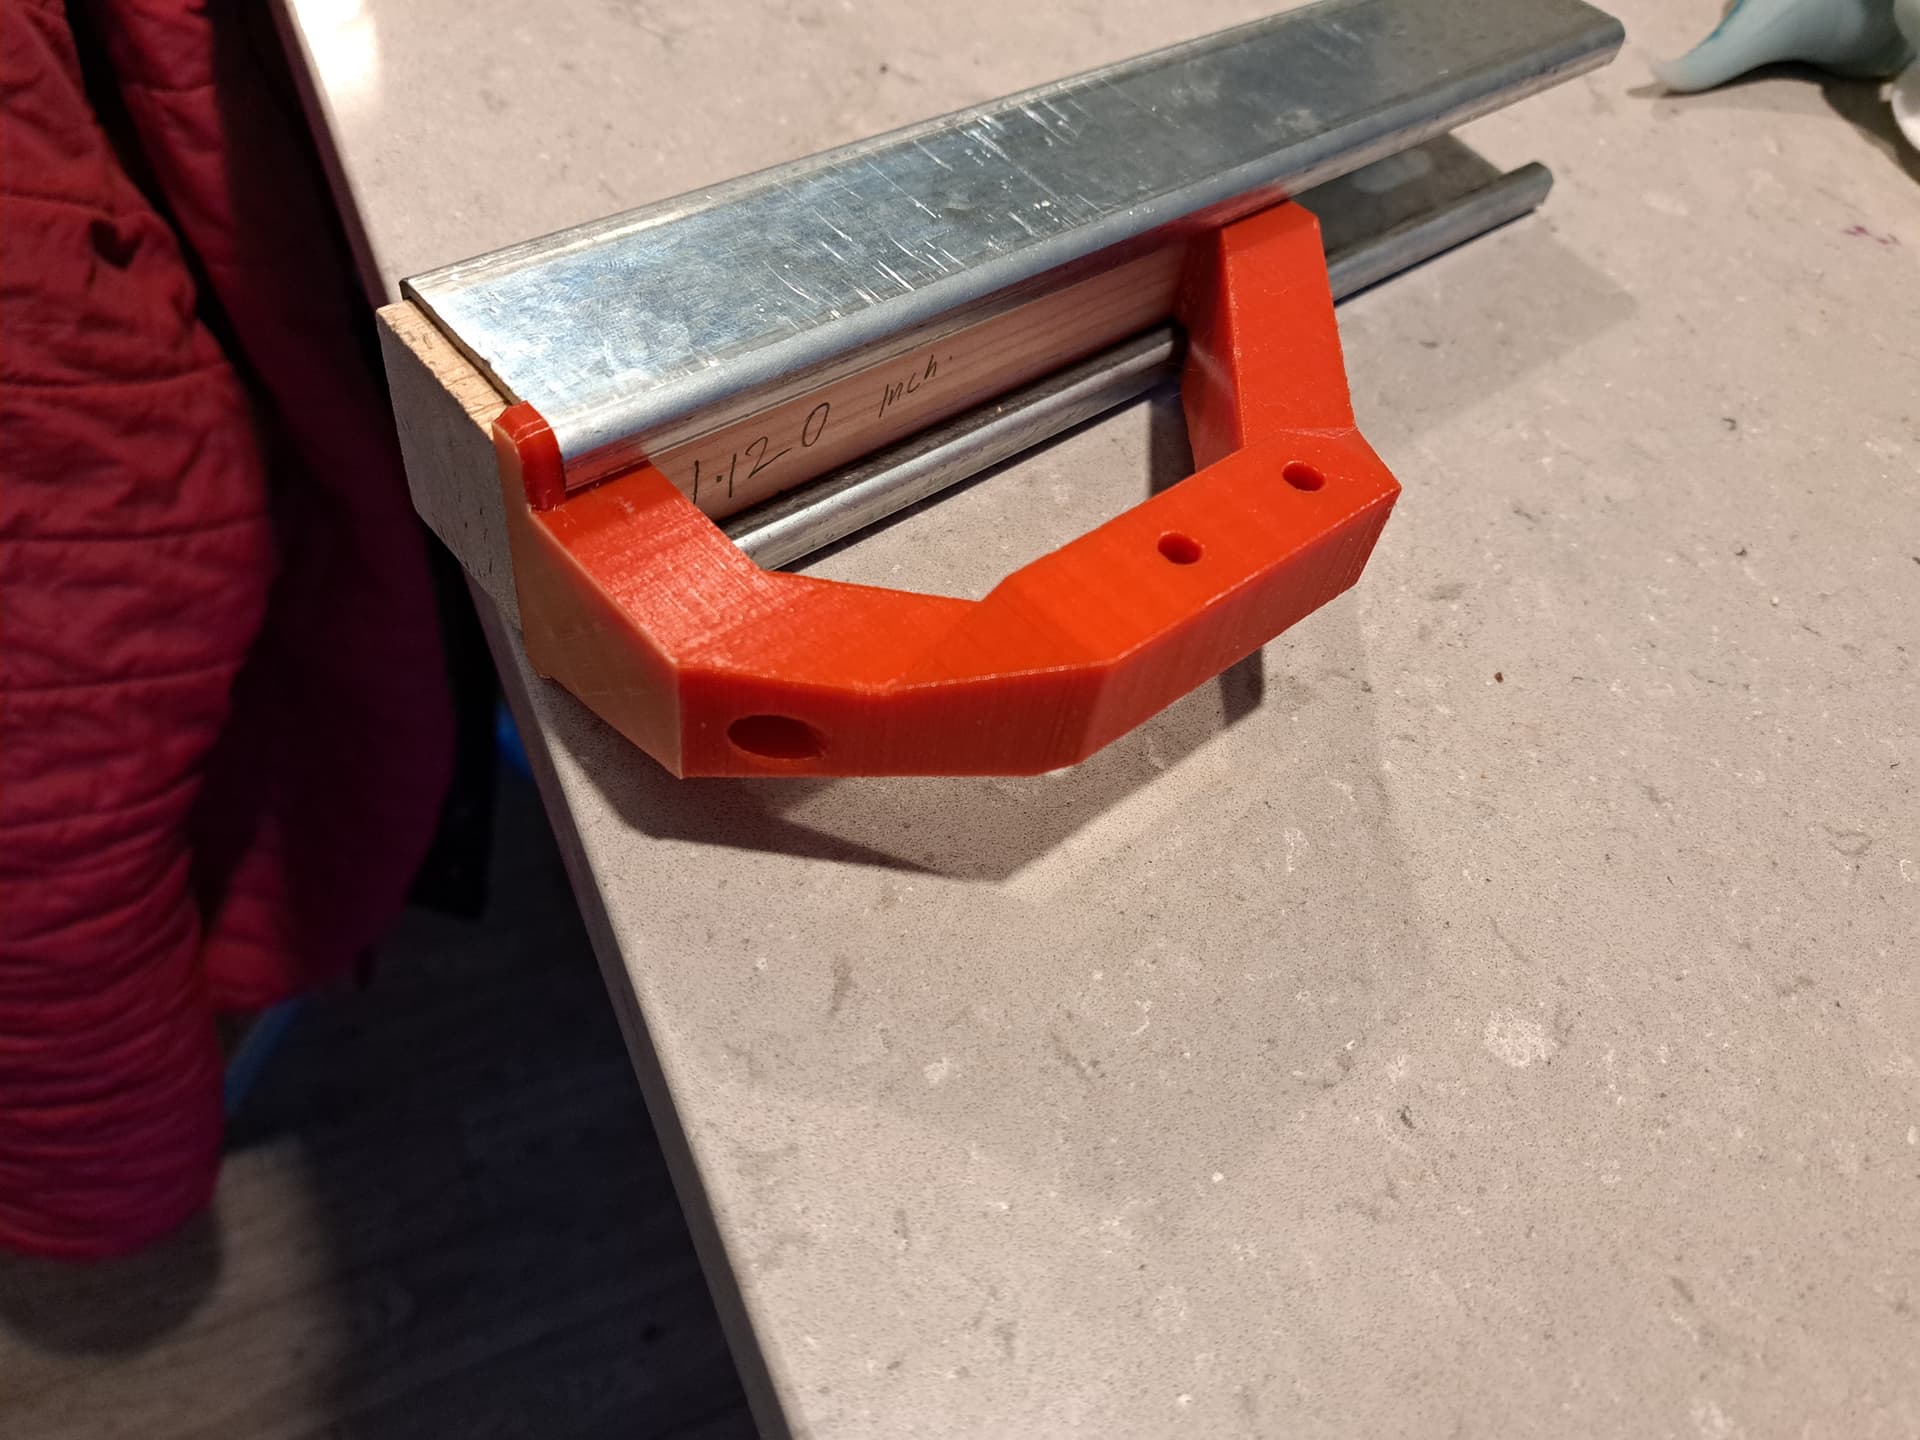
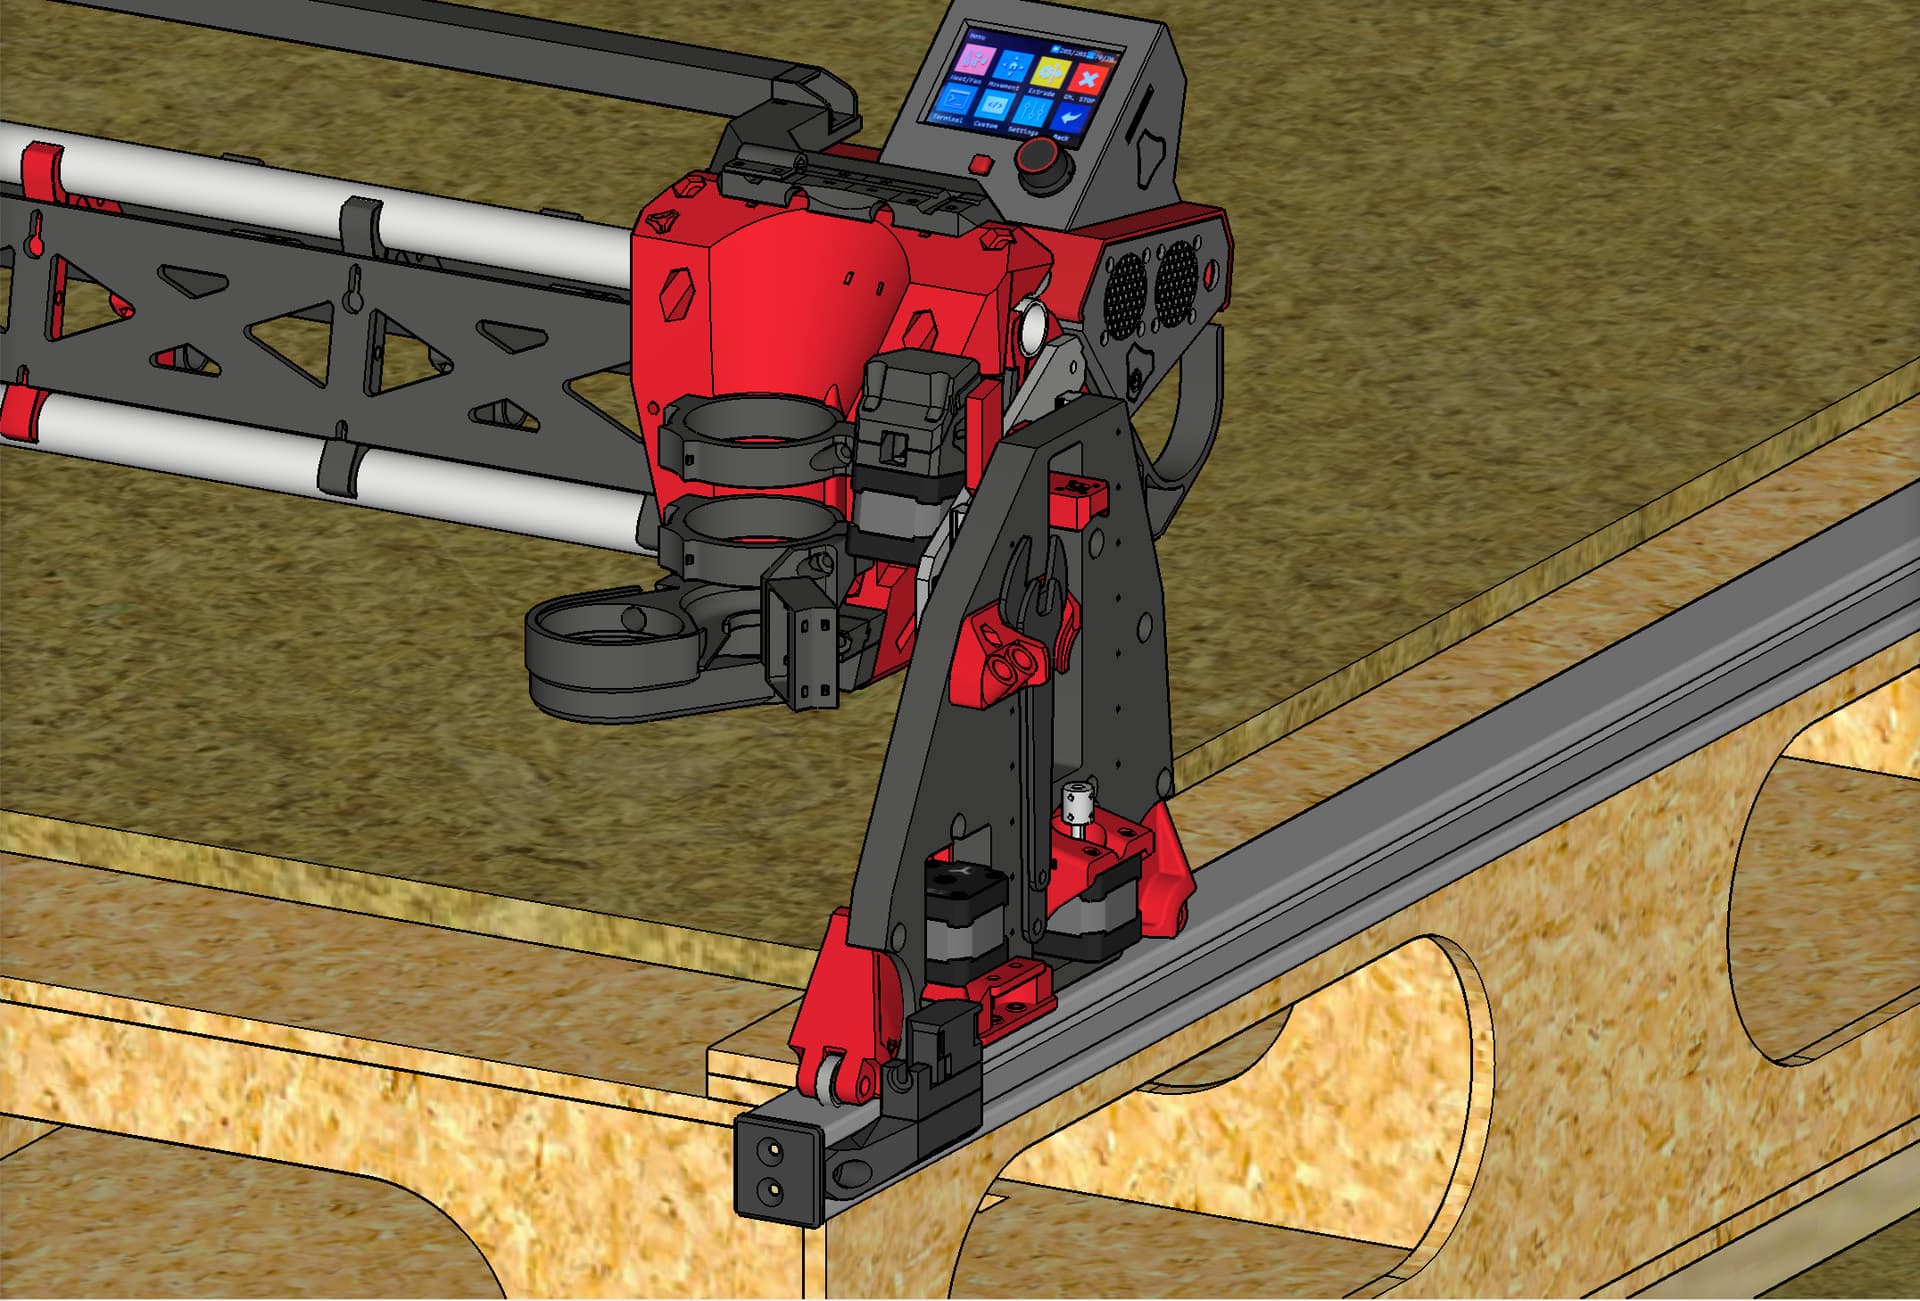
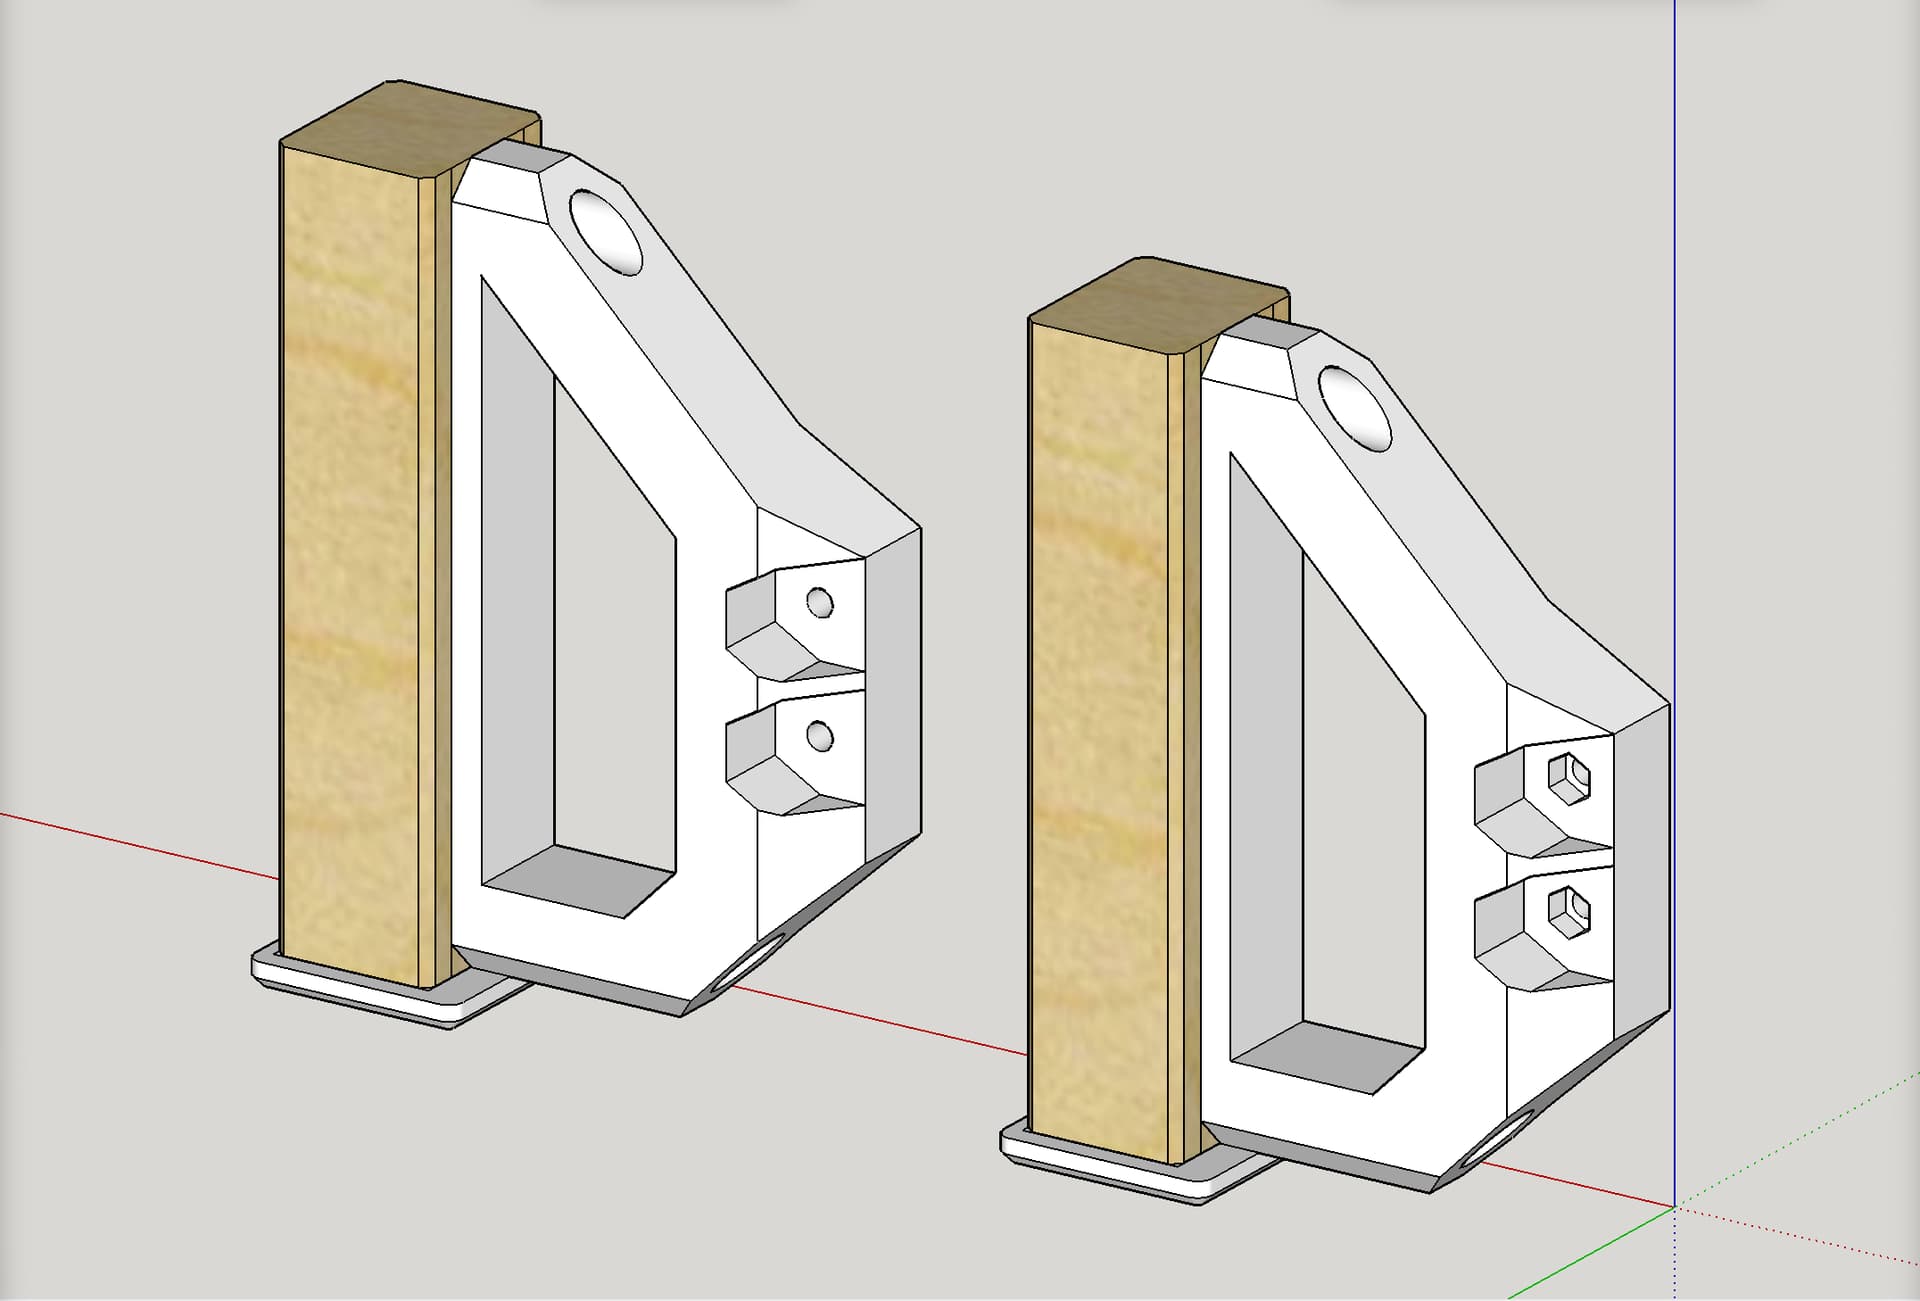
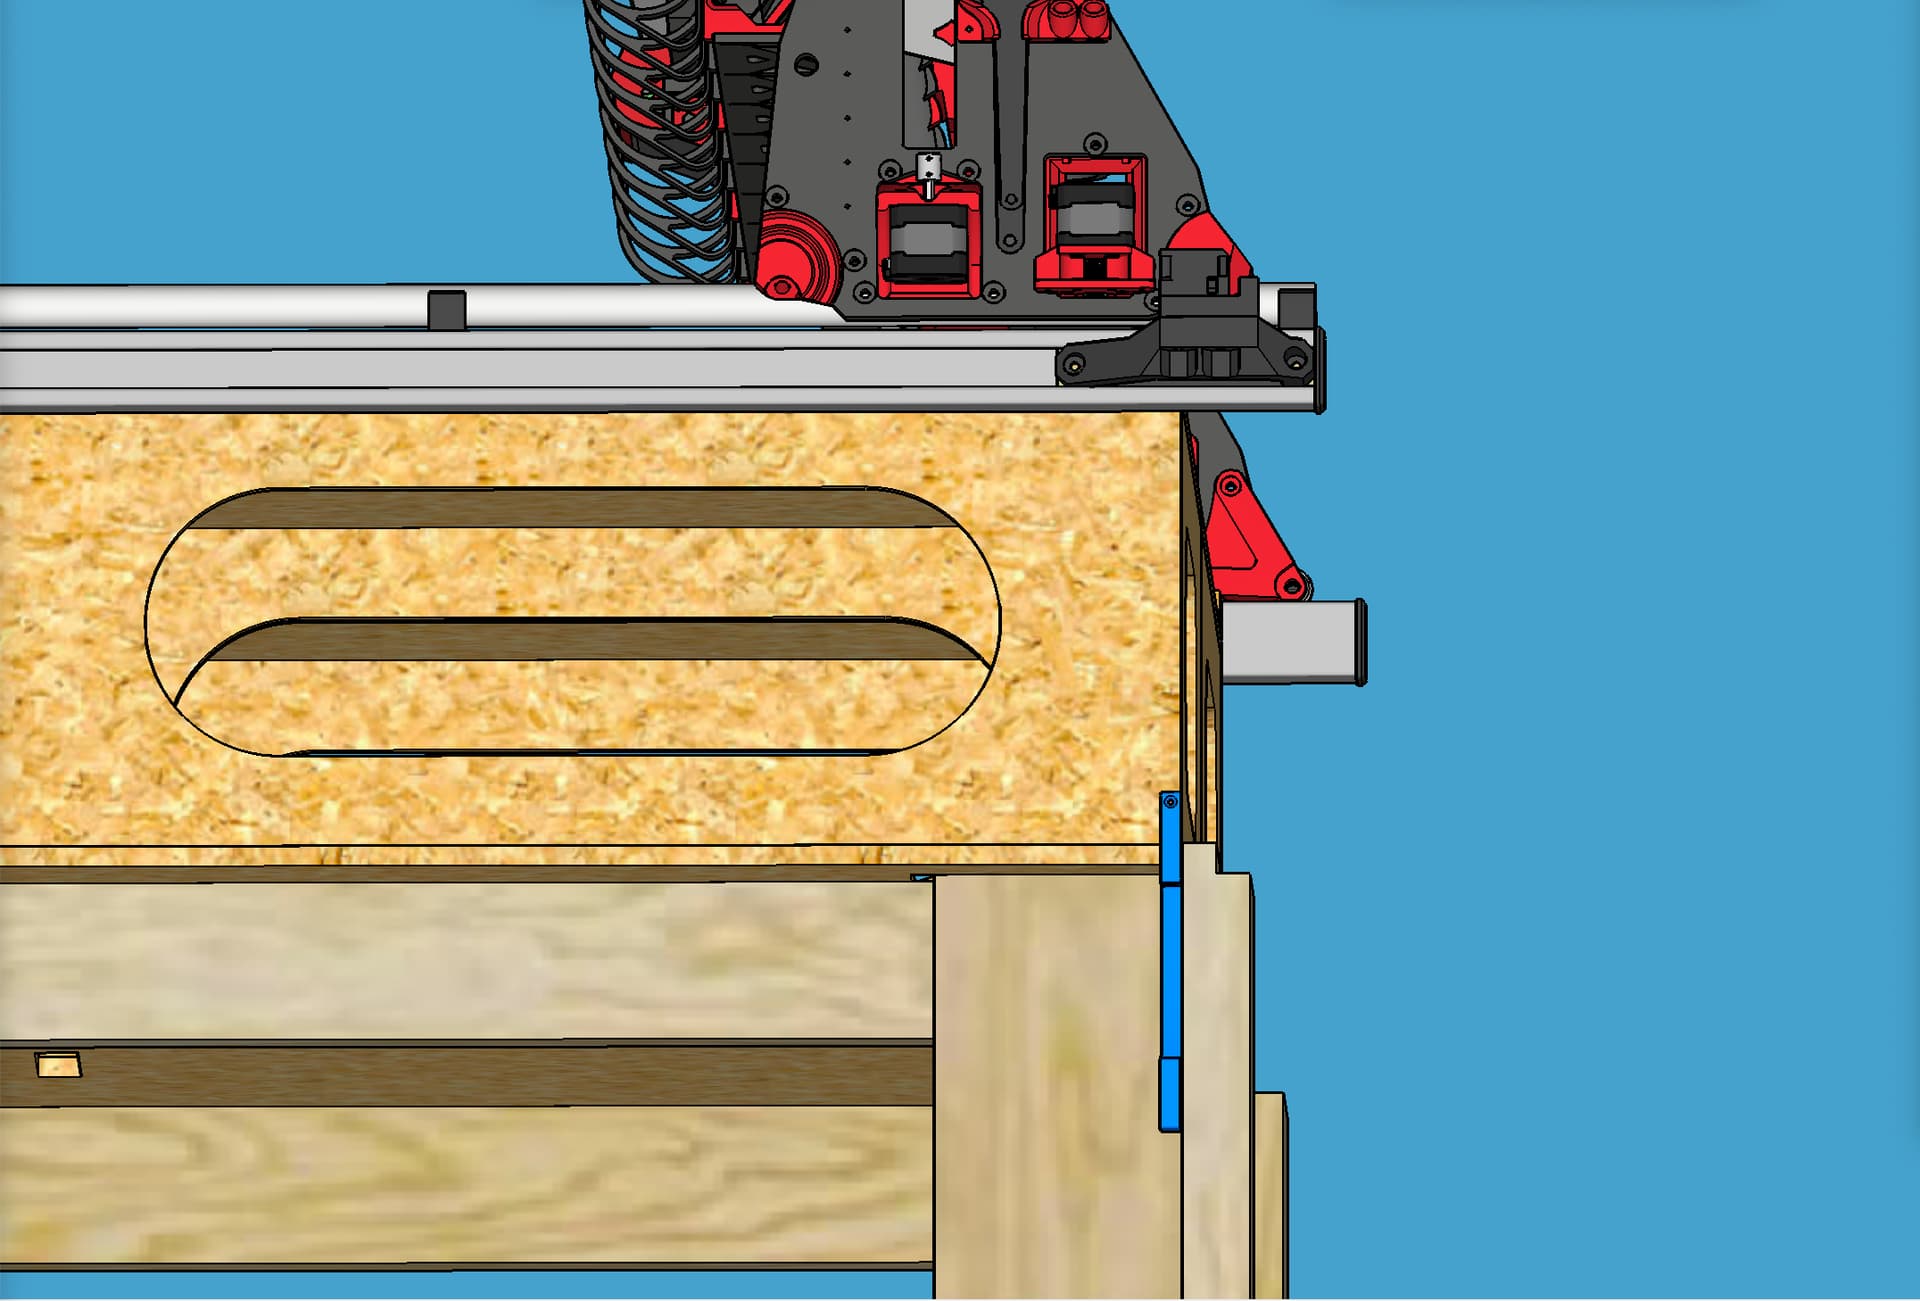
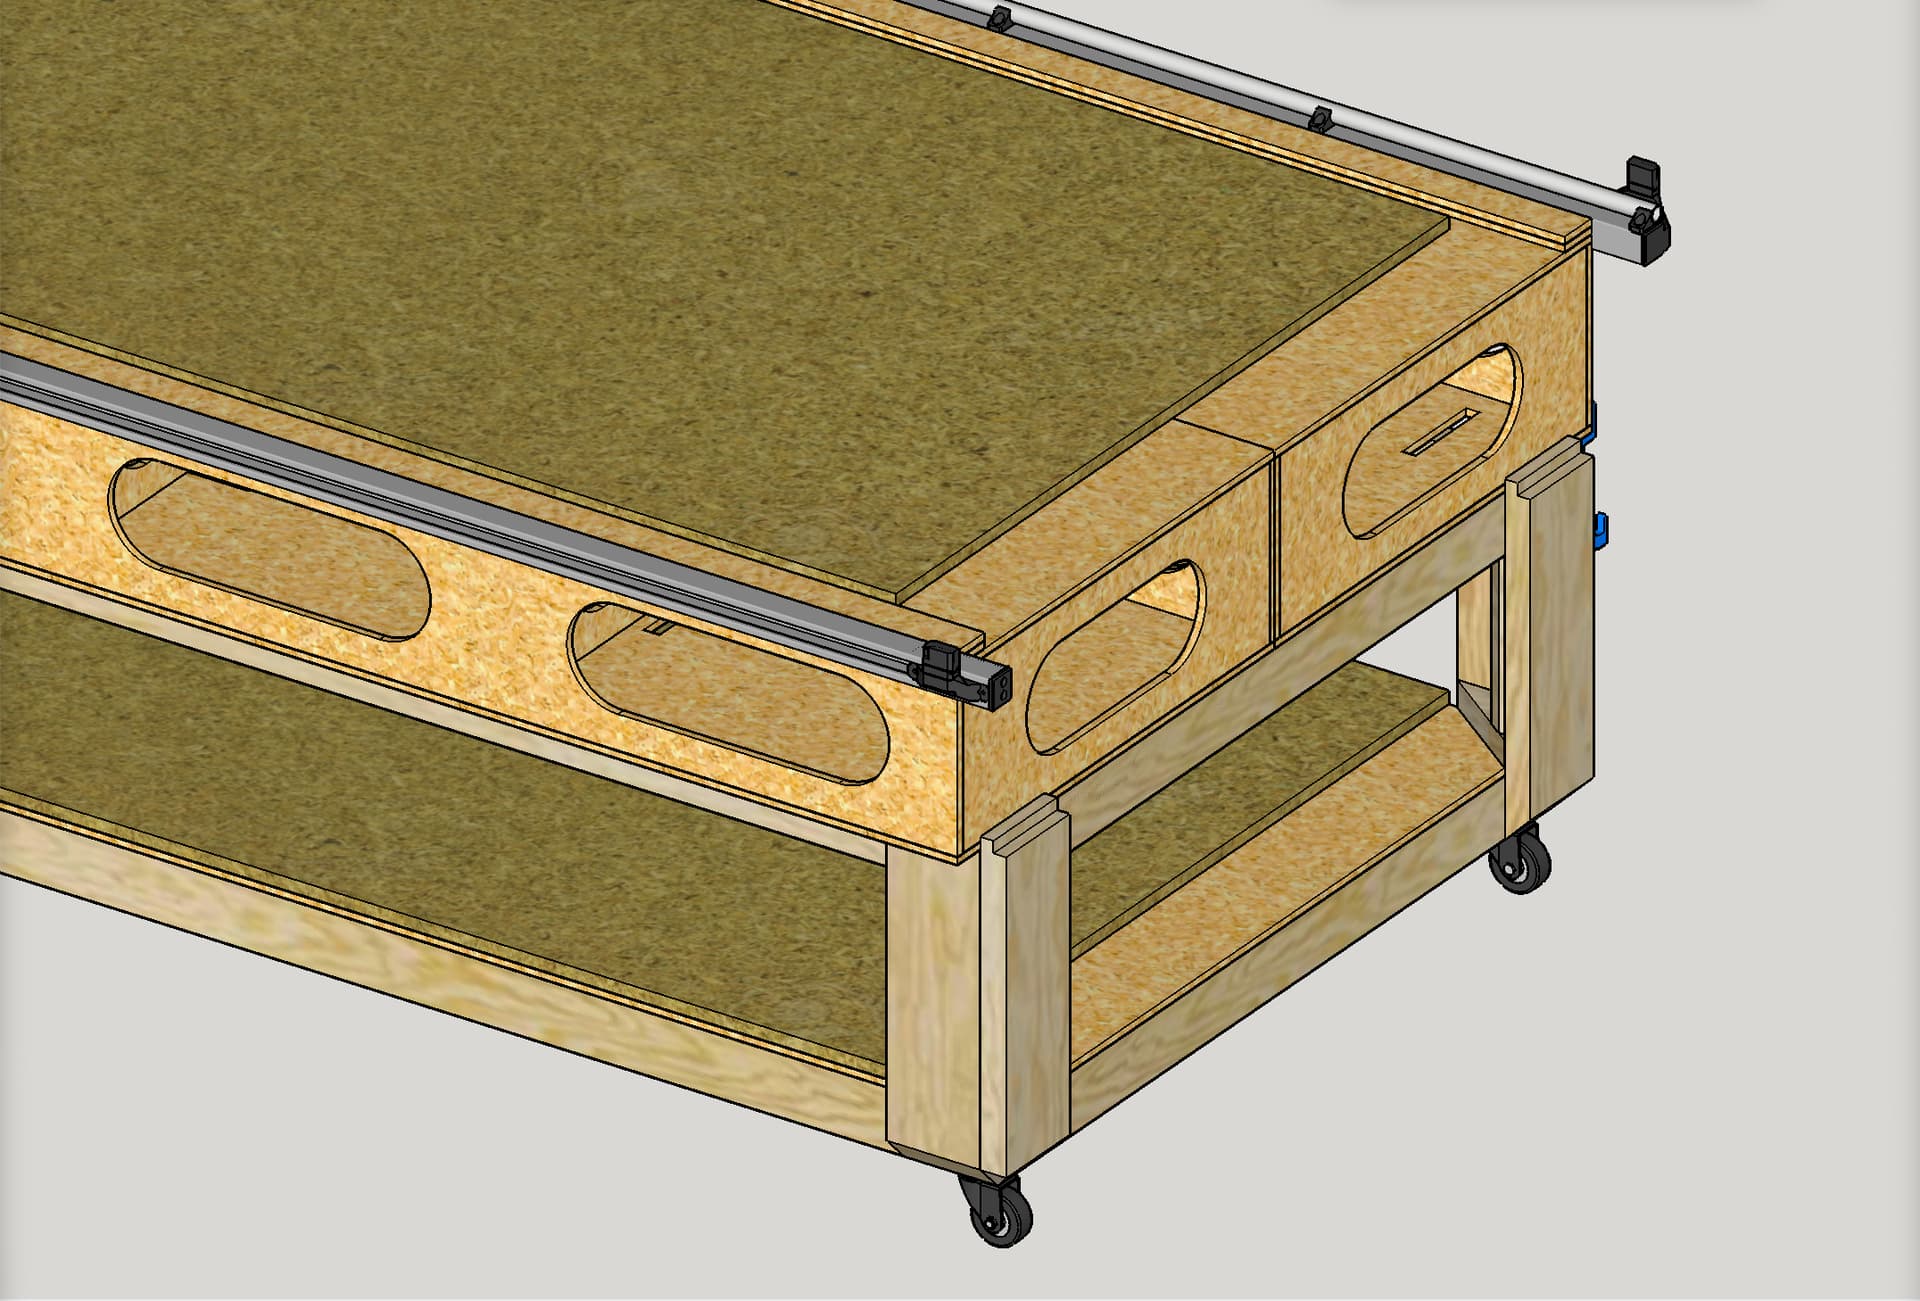
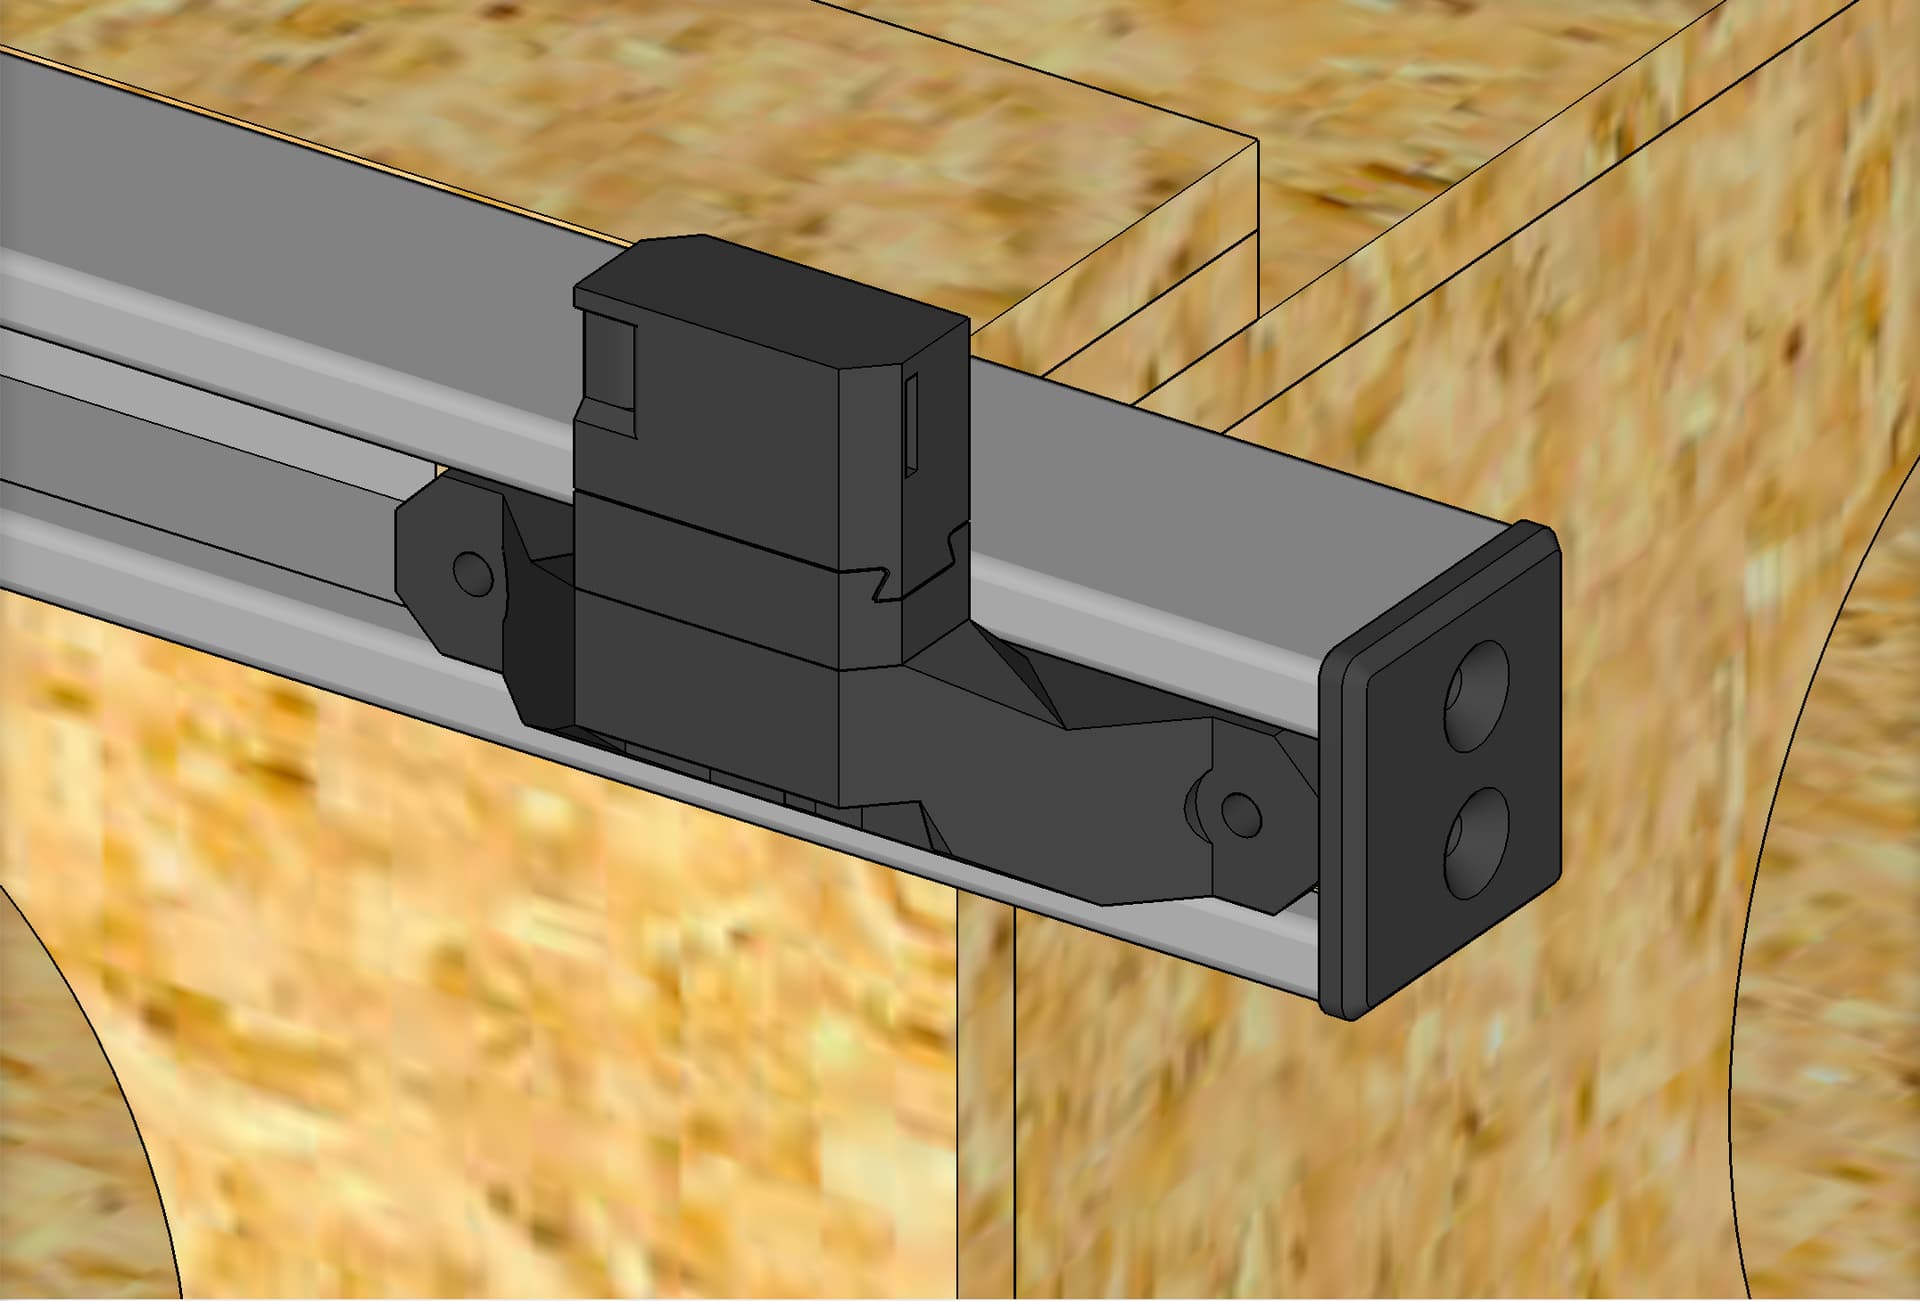
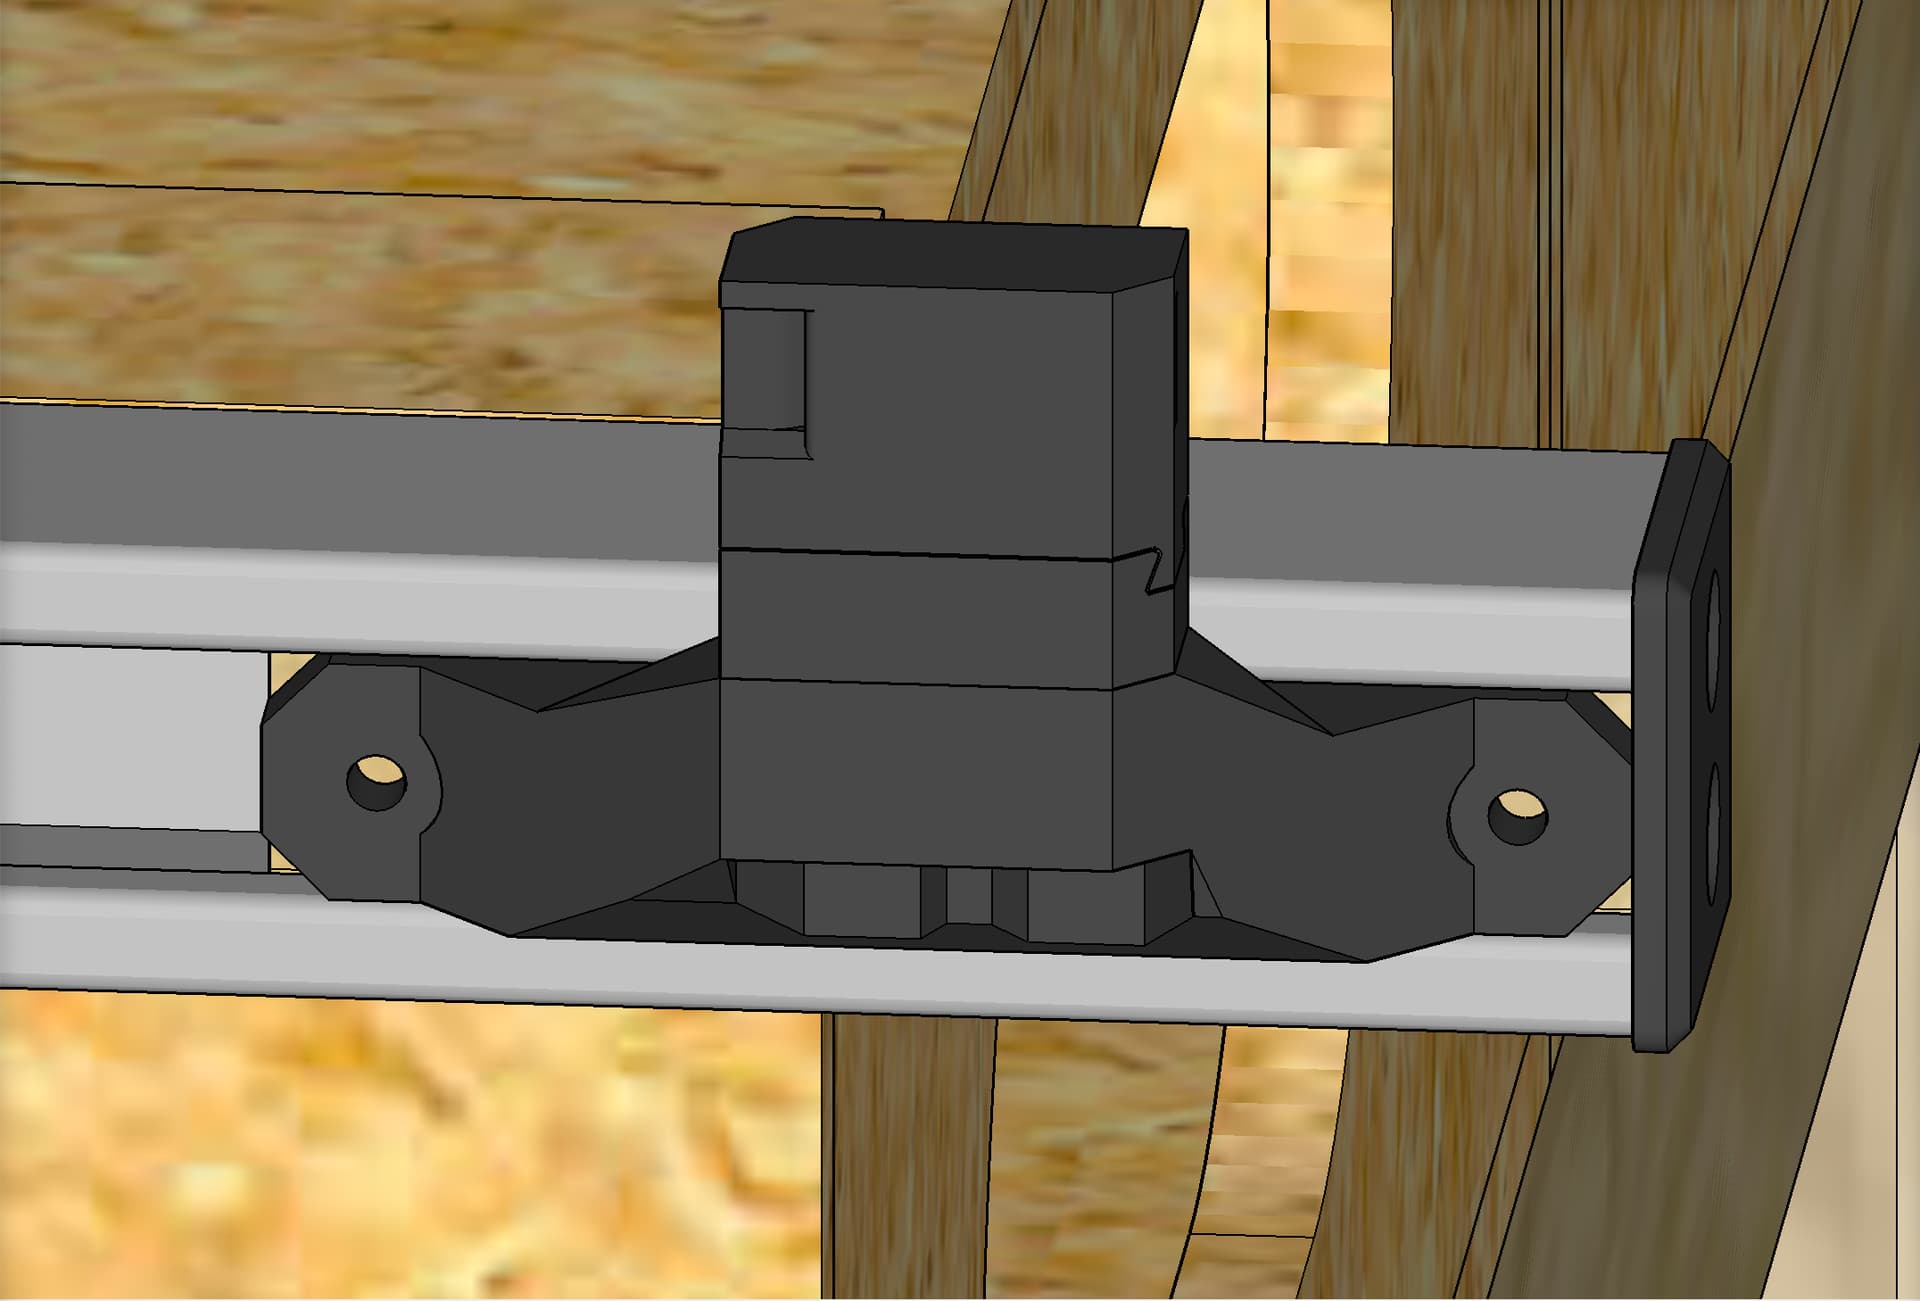
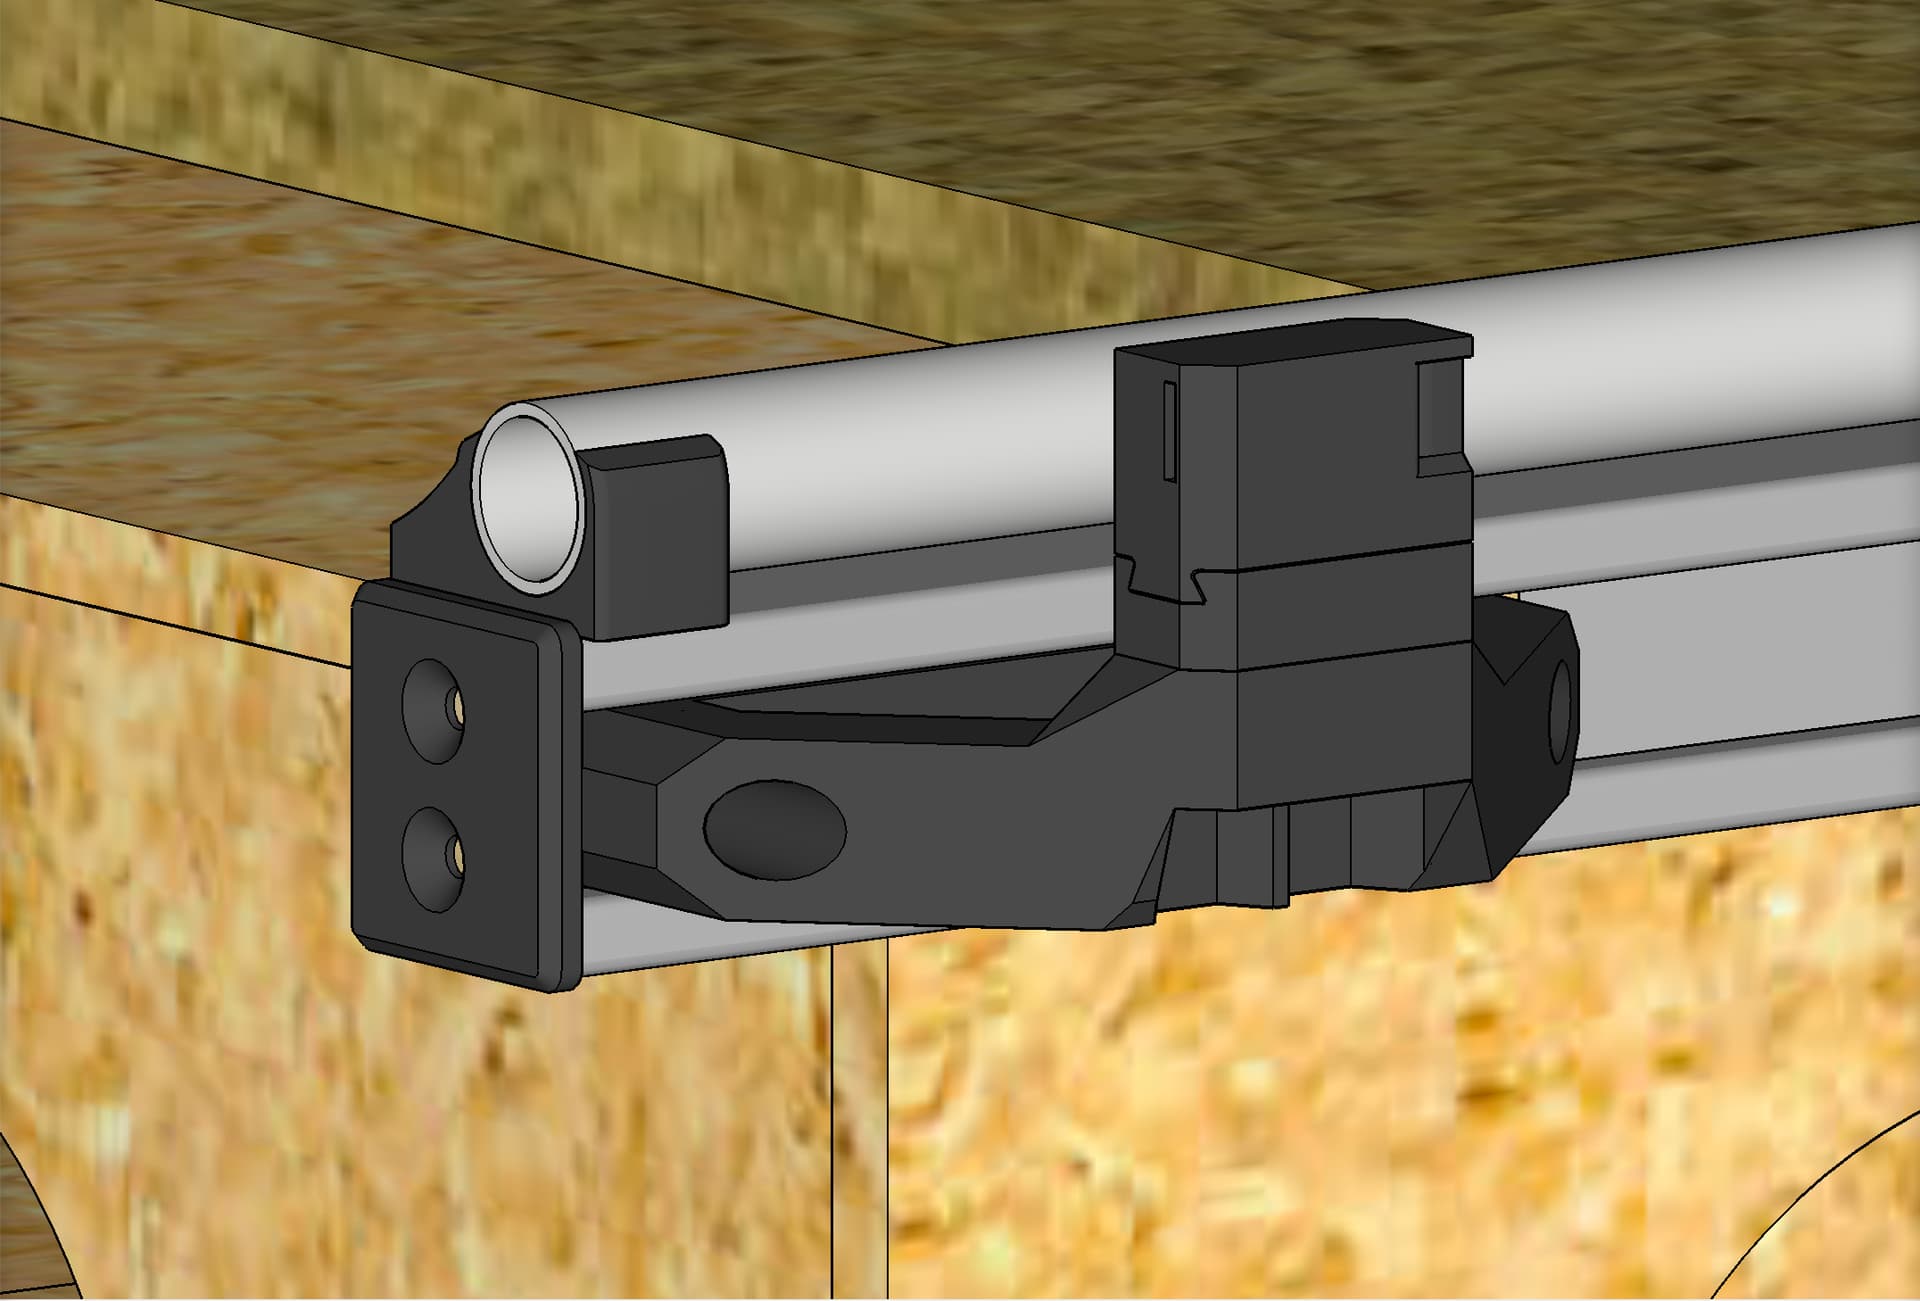
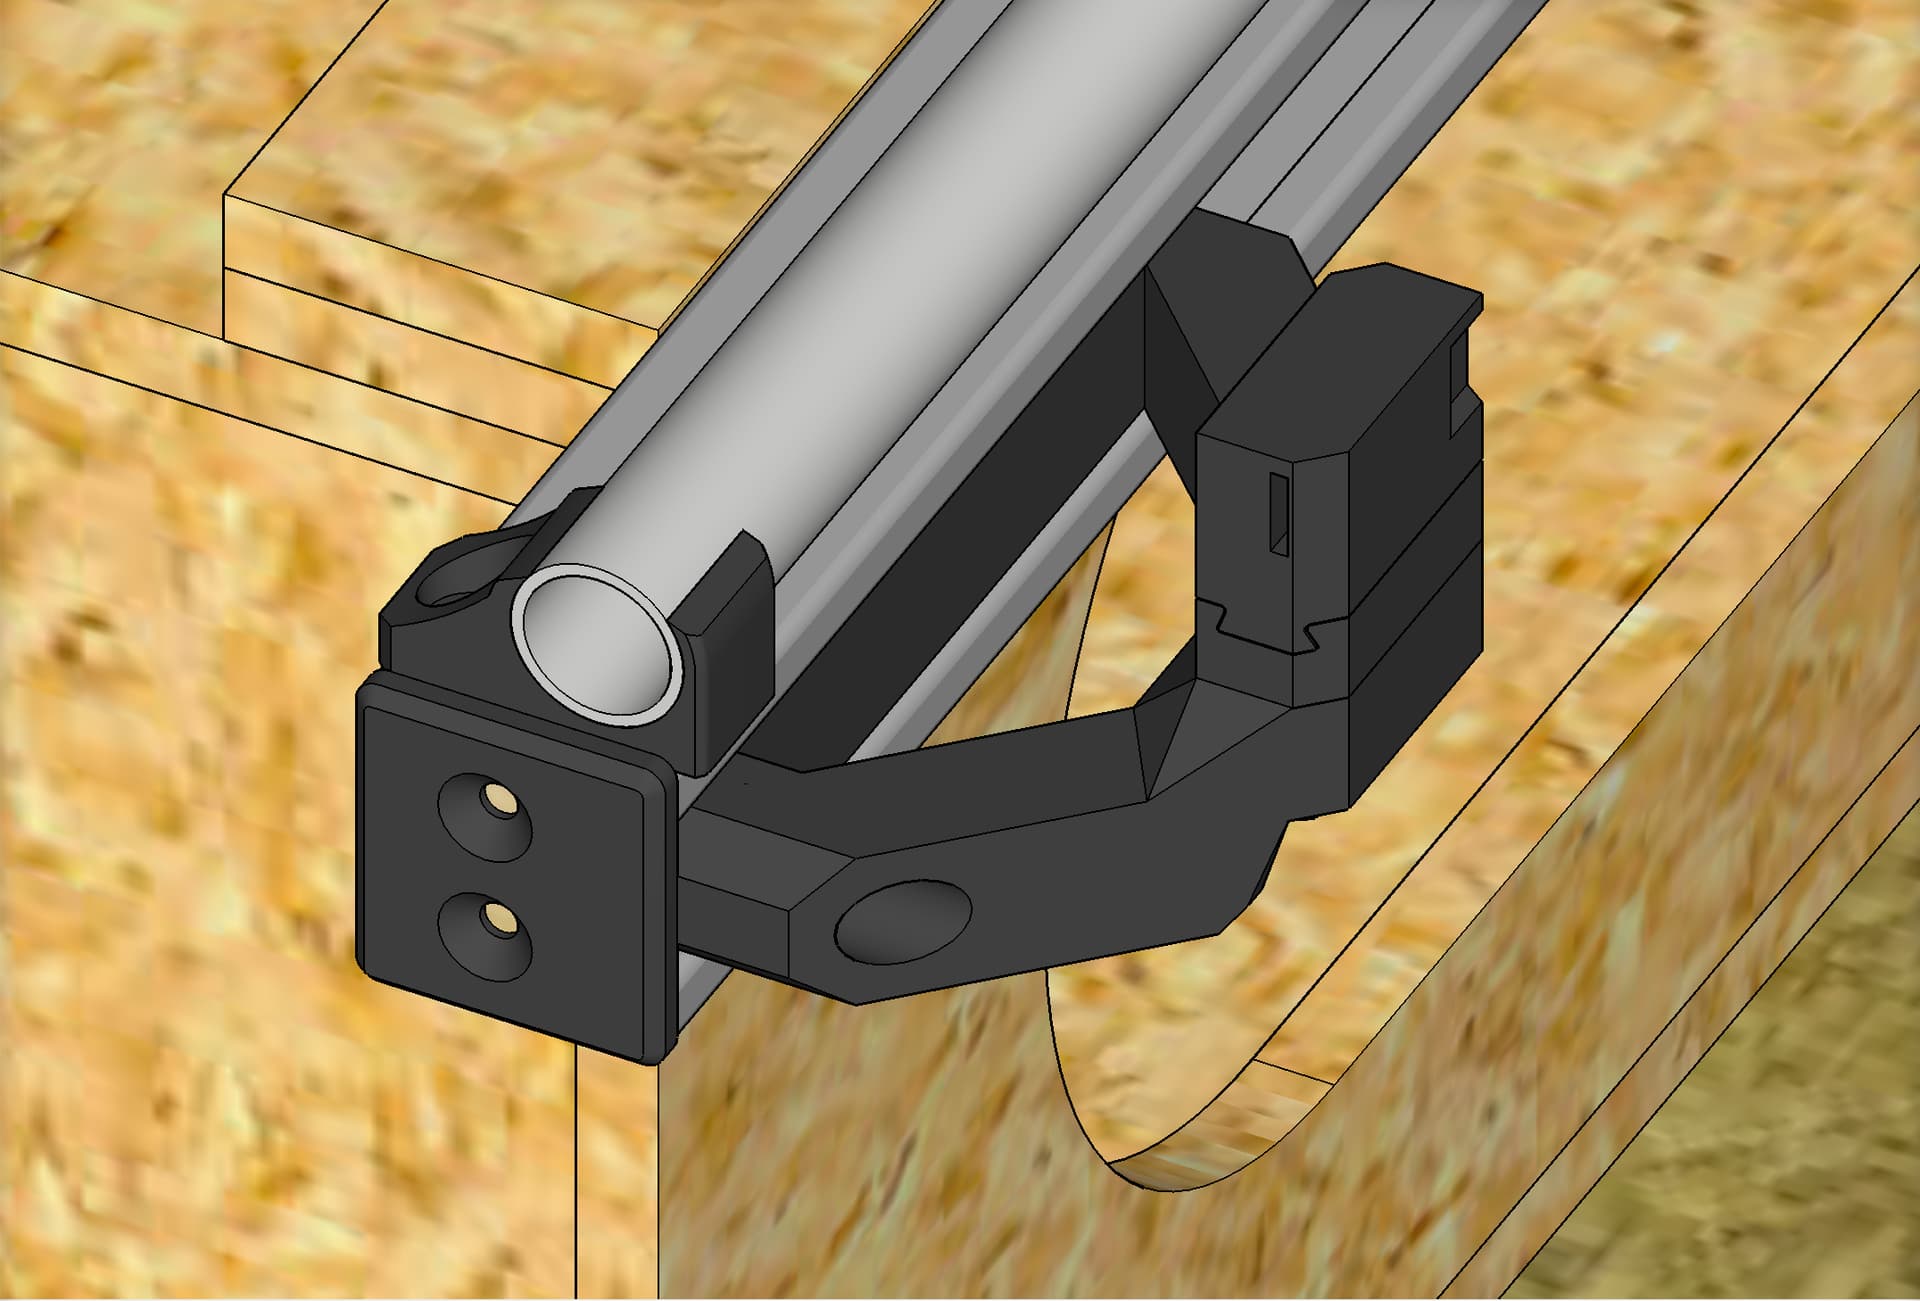
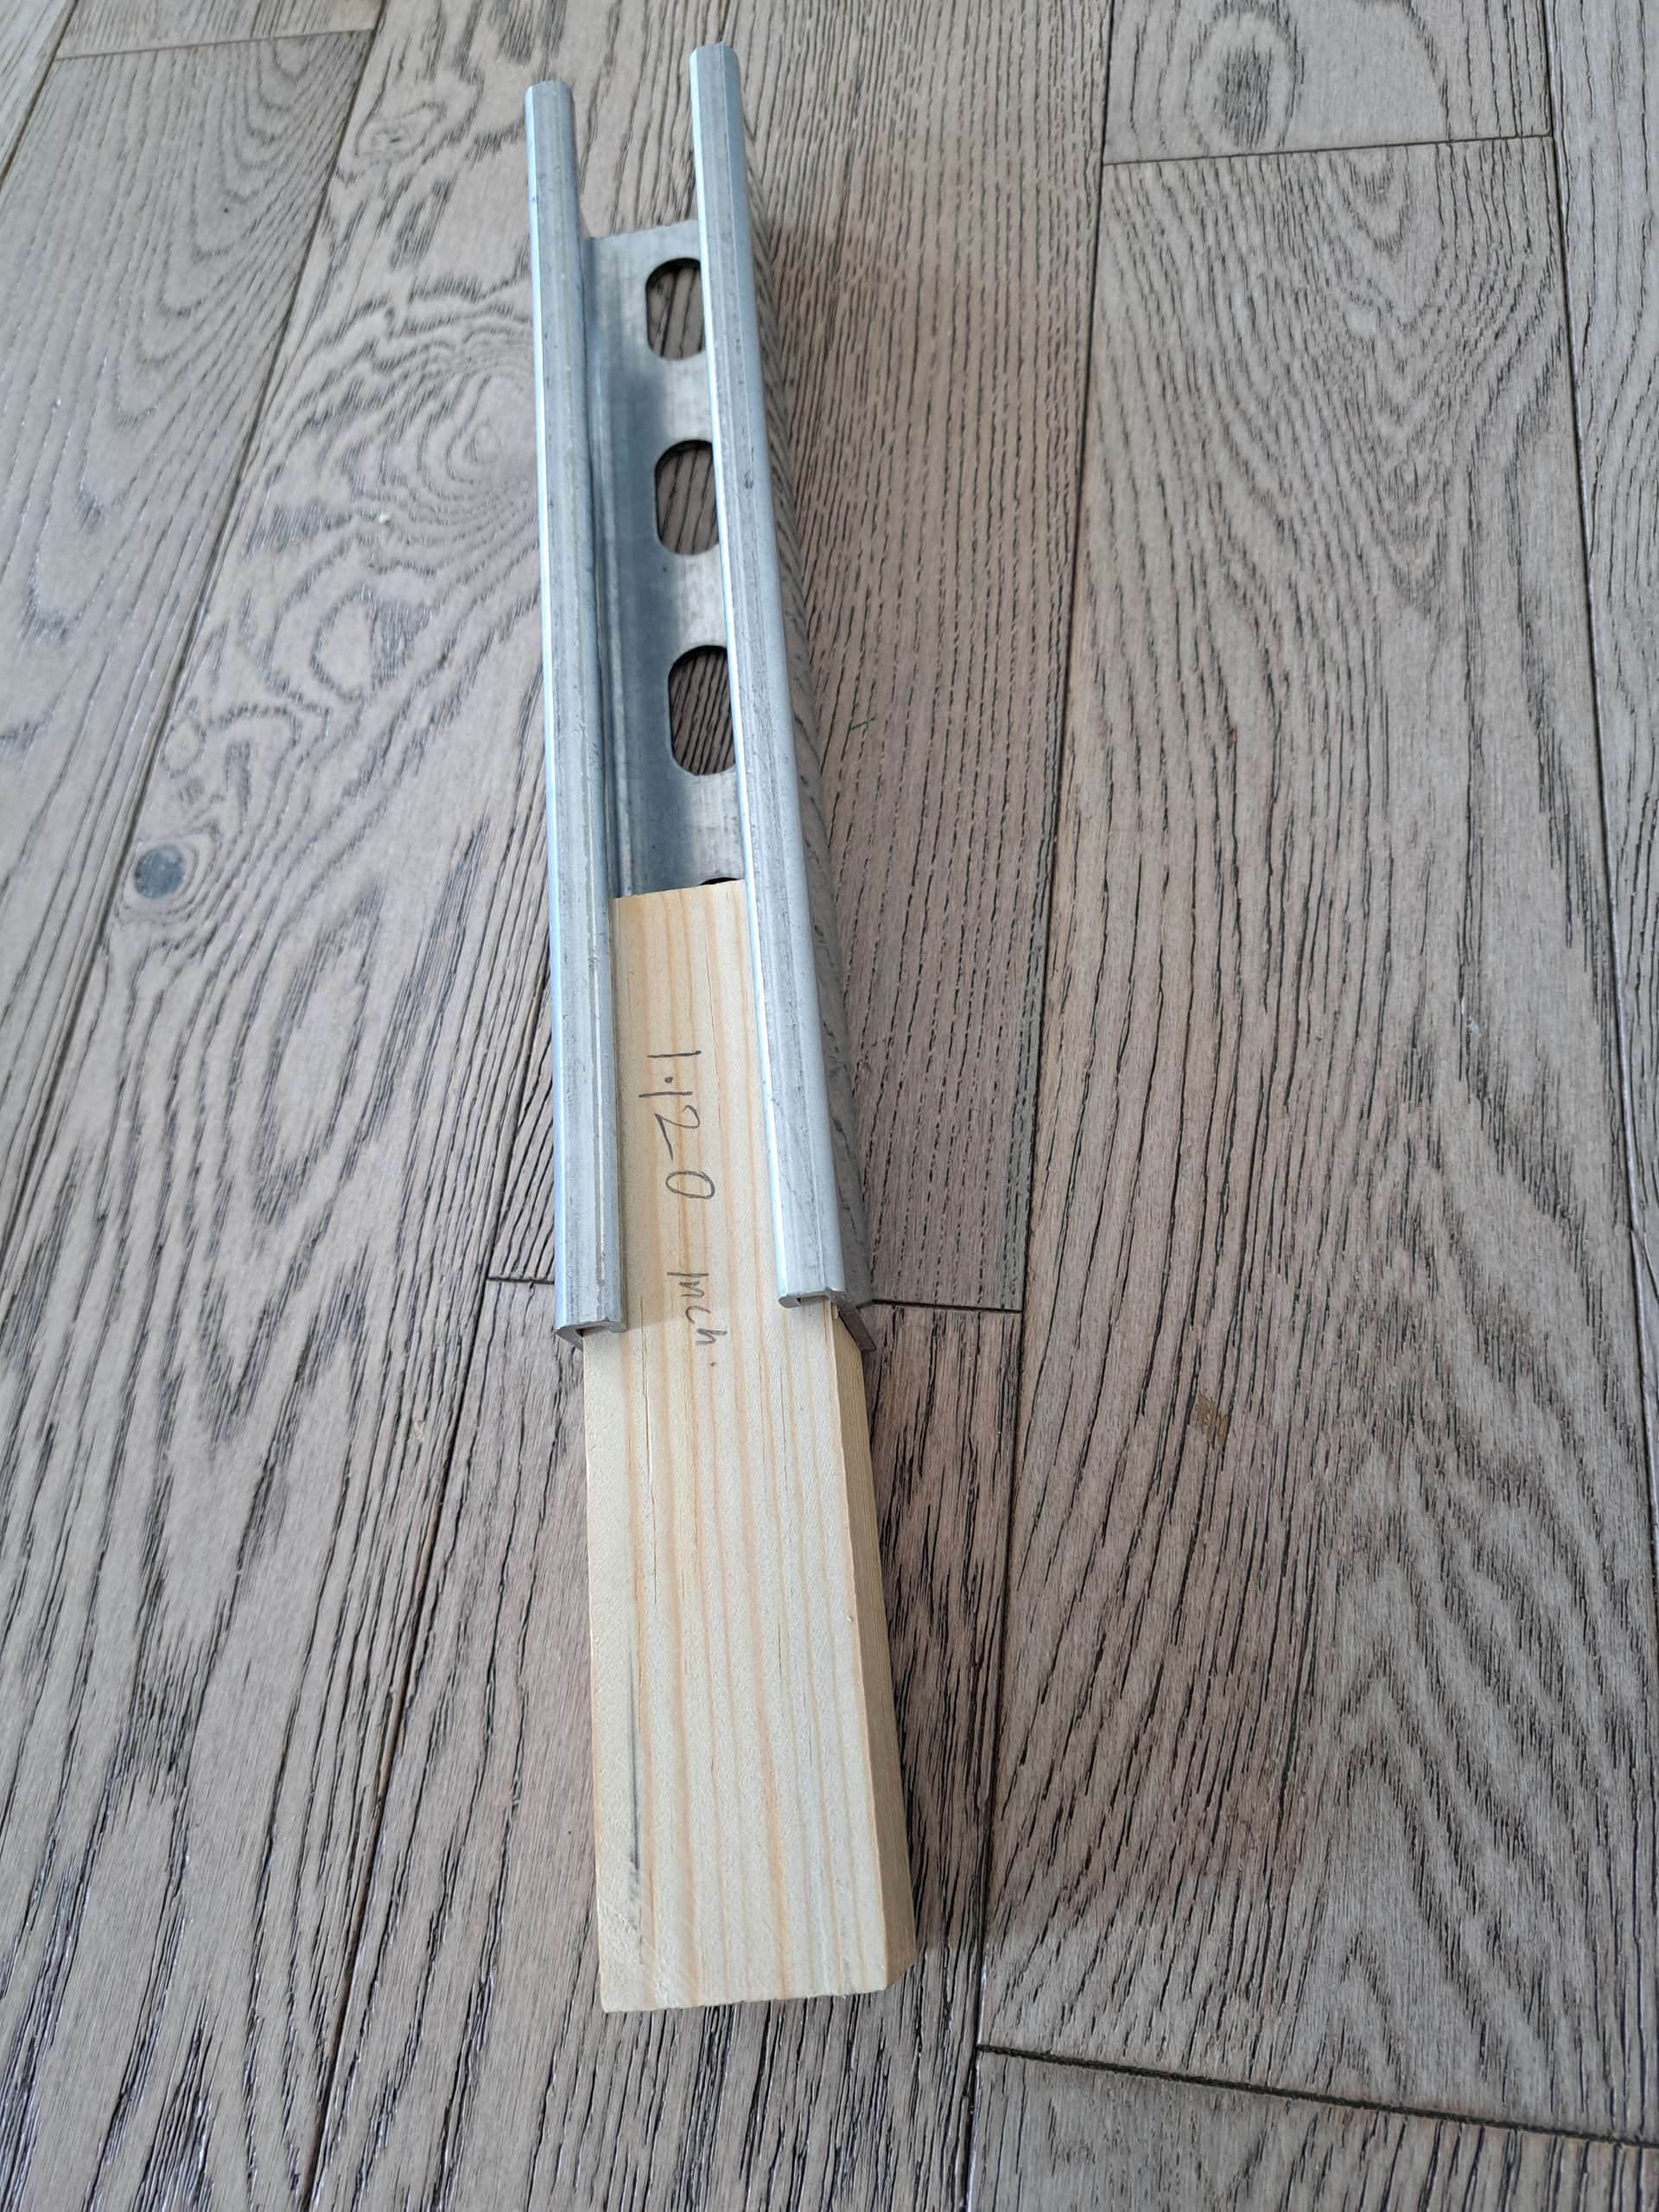
I upgraded my LowRider v2 to LowRider v3. Normally this means a wider table is needed if you want to maintain the same cutting area. However, if you have metal struts on your LowRider 2 table, then you can add these “end-caps” I designed in order to widen your table’s “reach” and thus use your existing table without widening it. With these extenders I can still cut 49" x 97" MDF sheets.
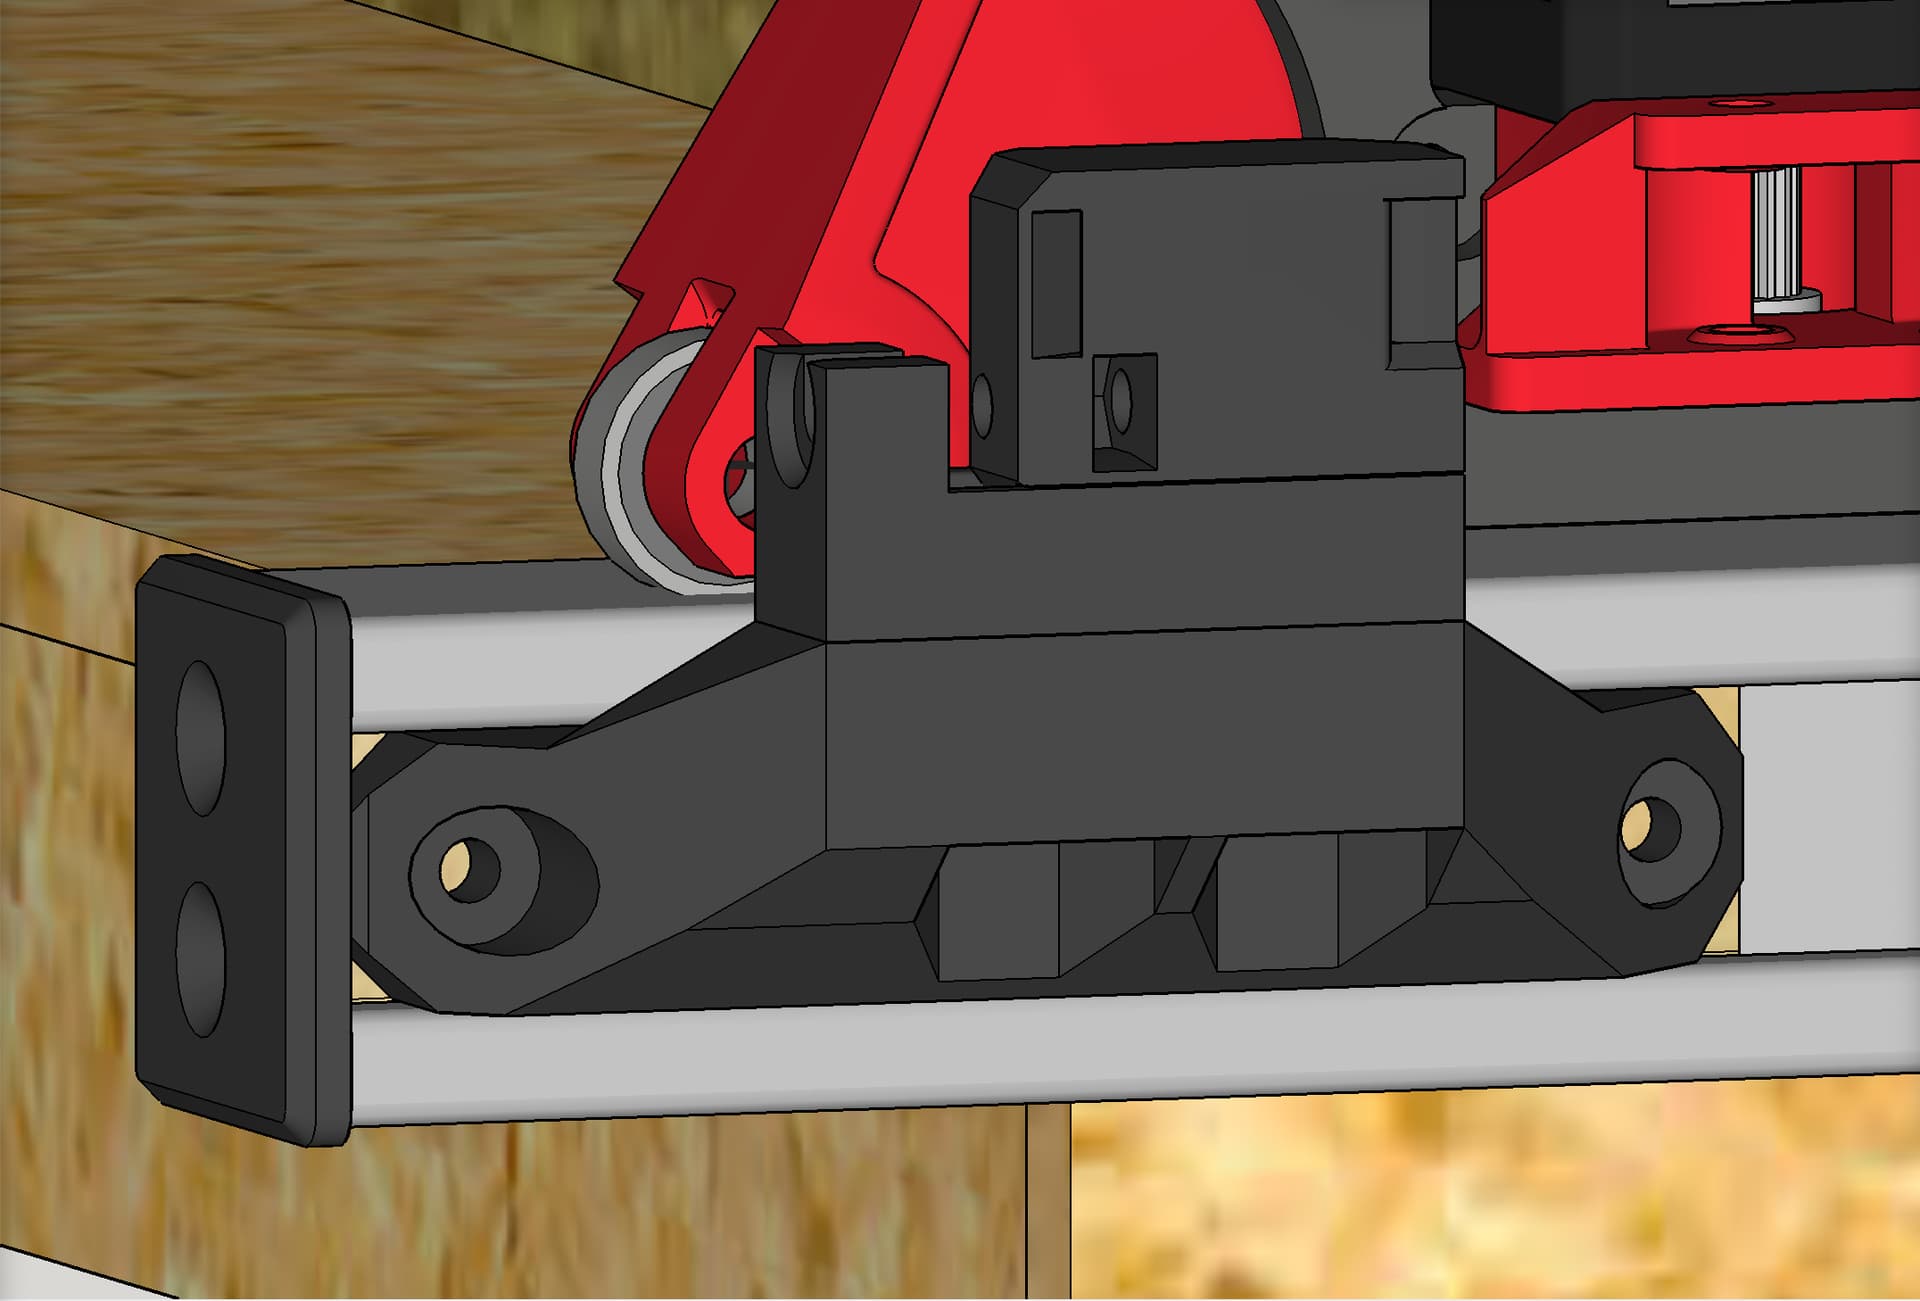
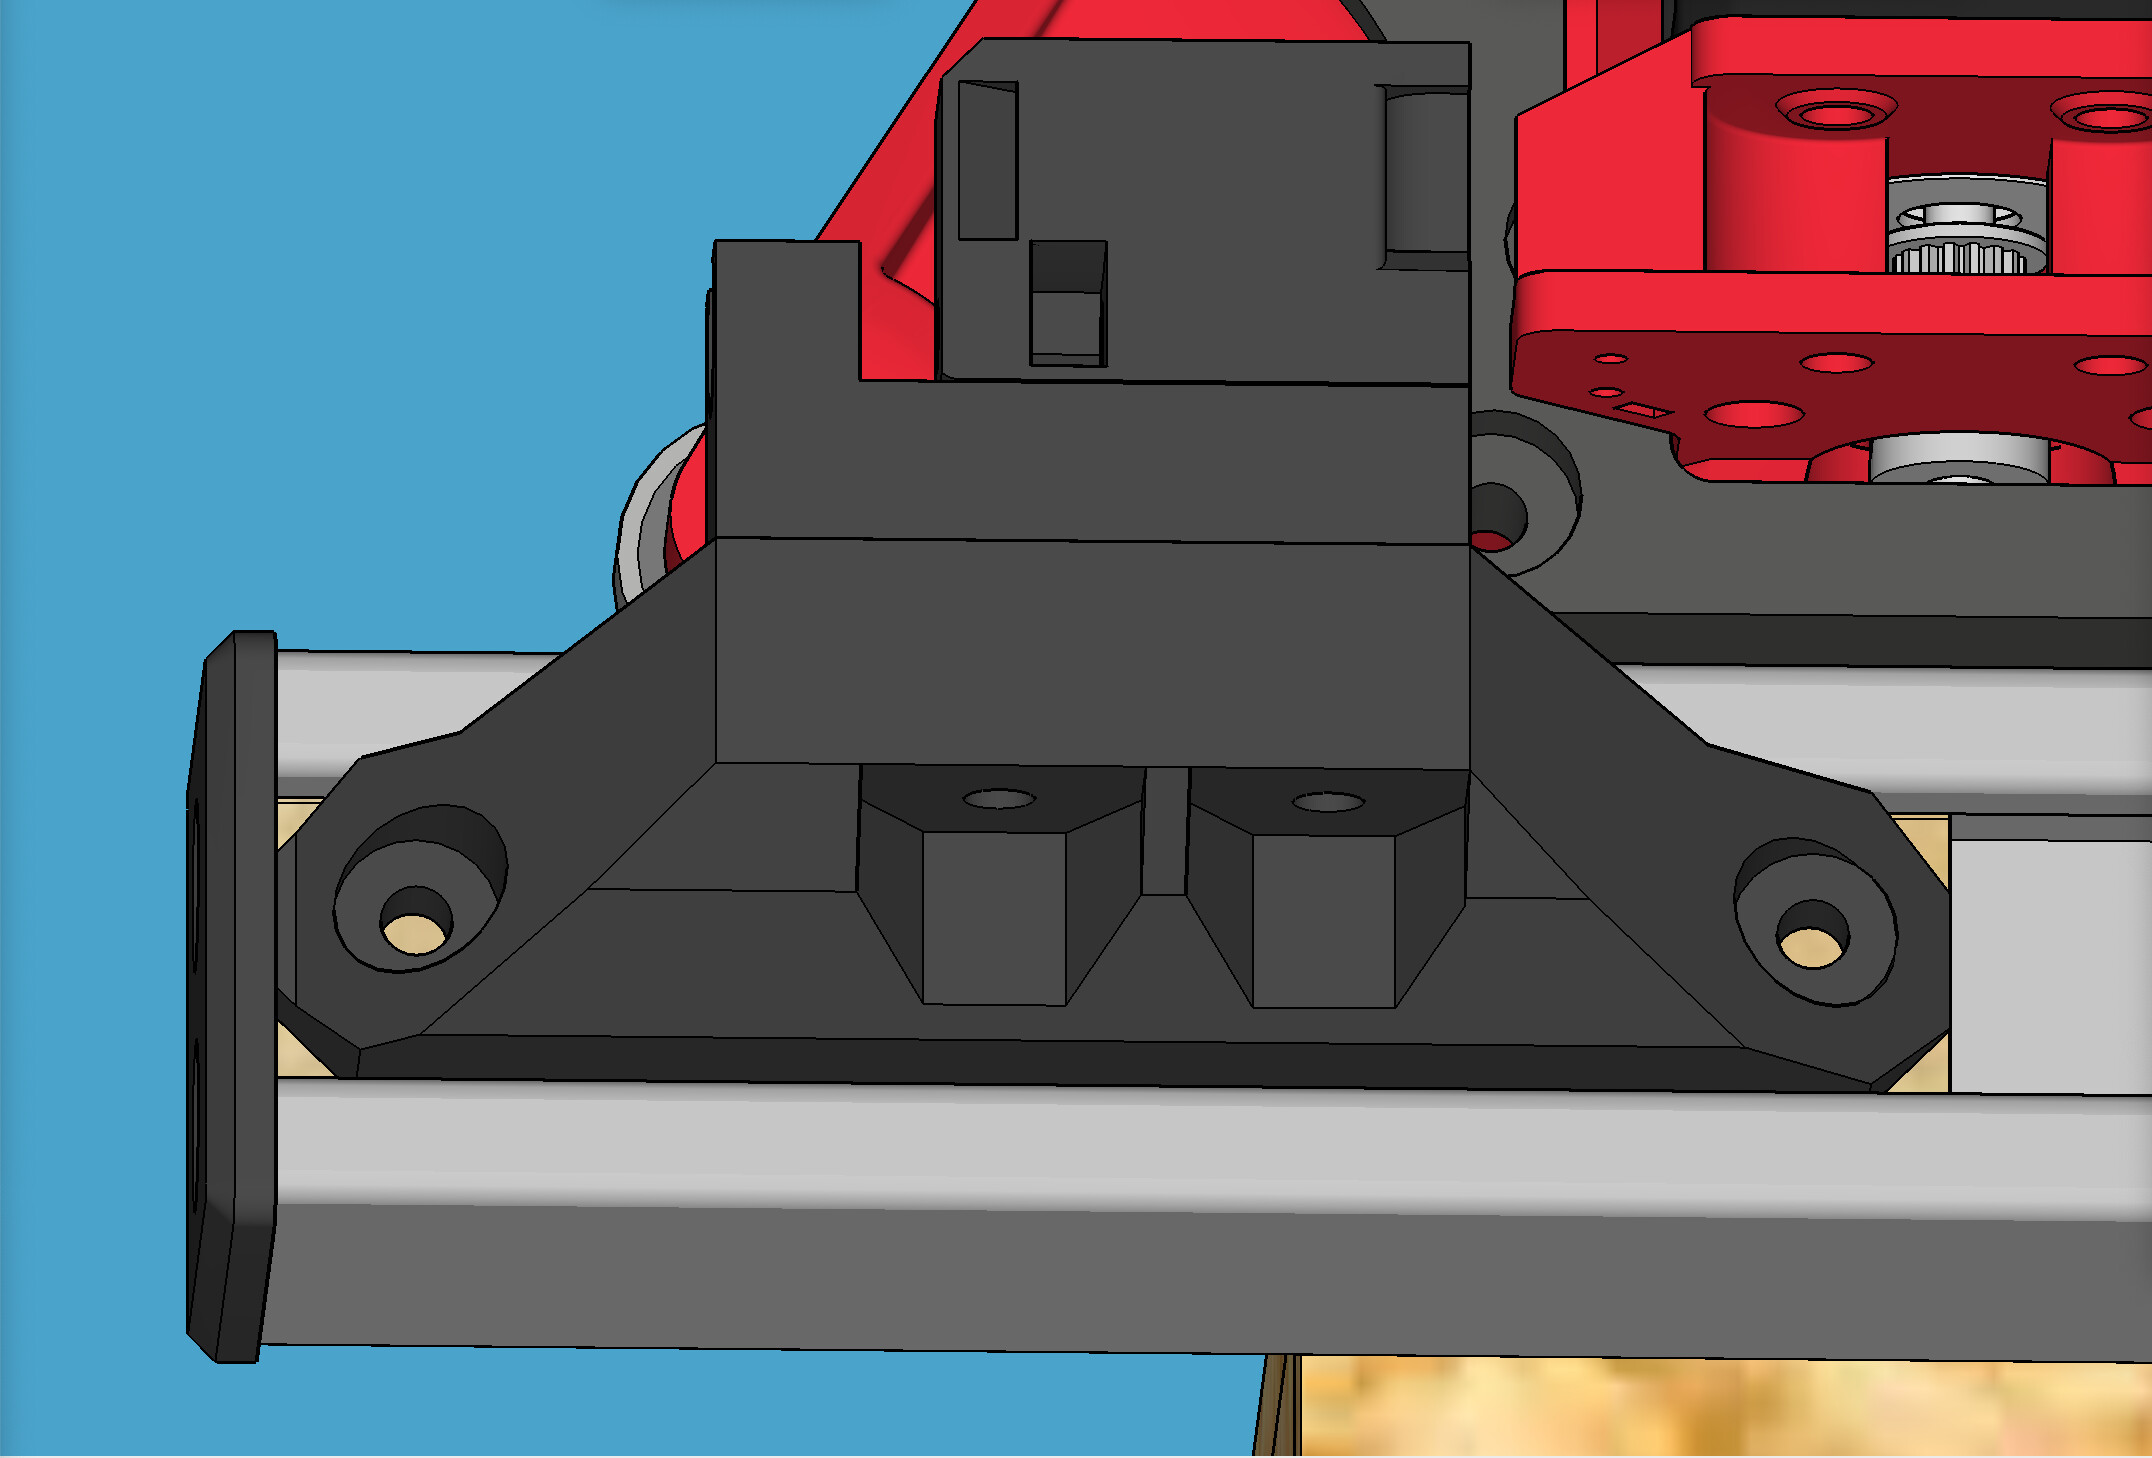
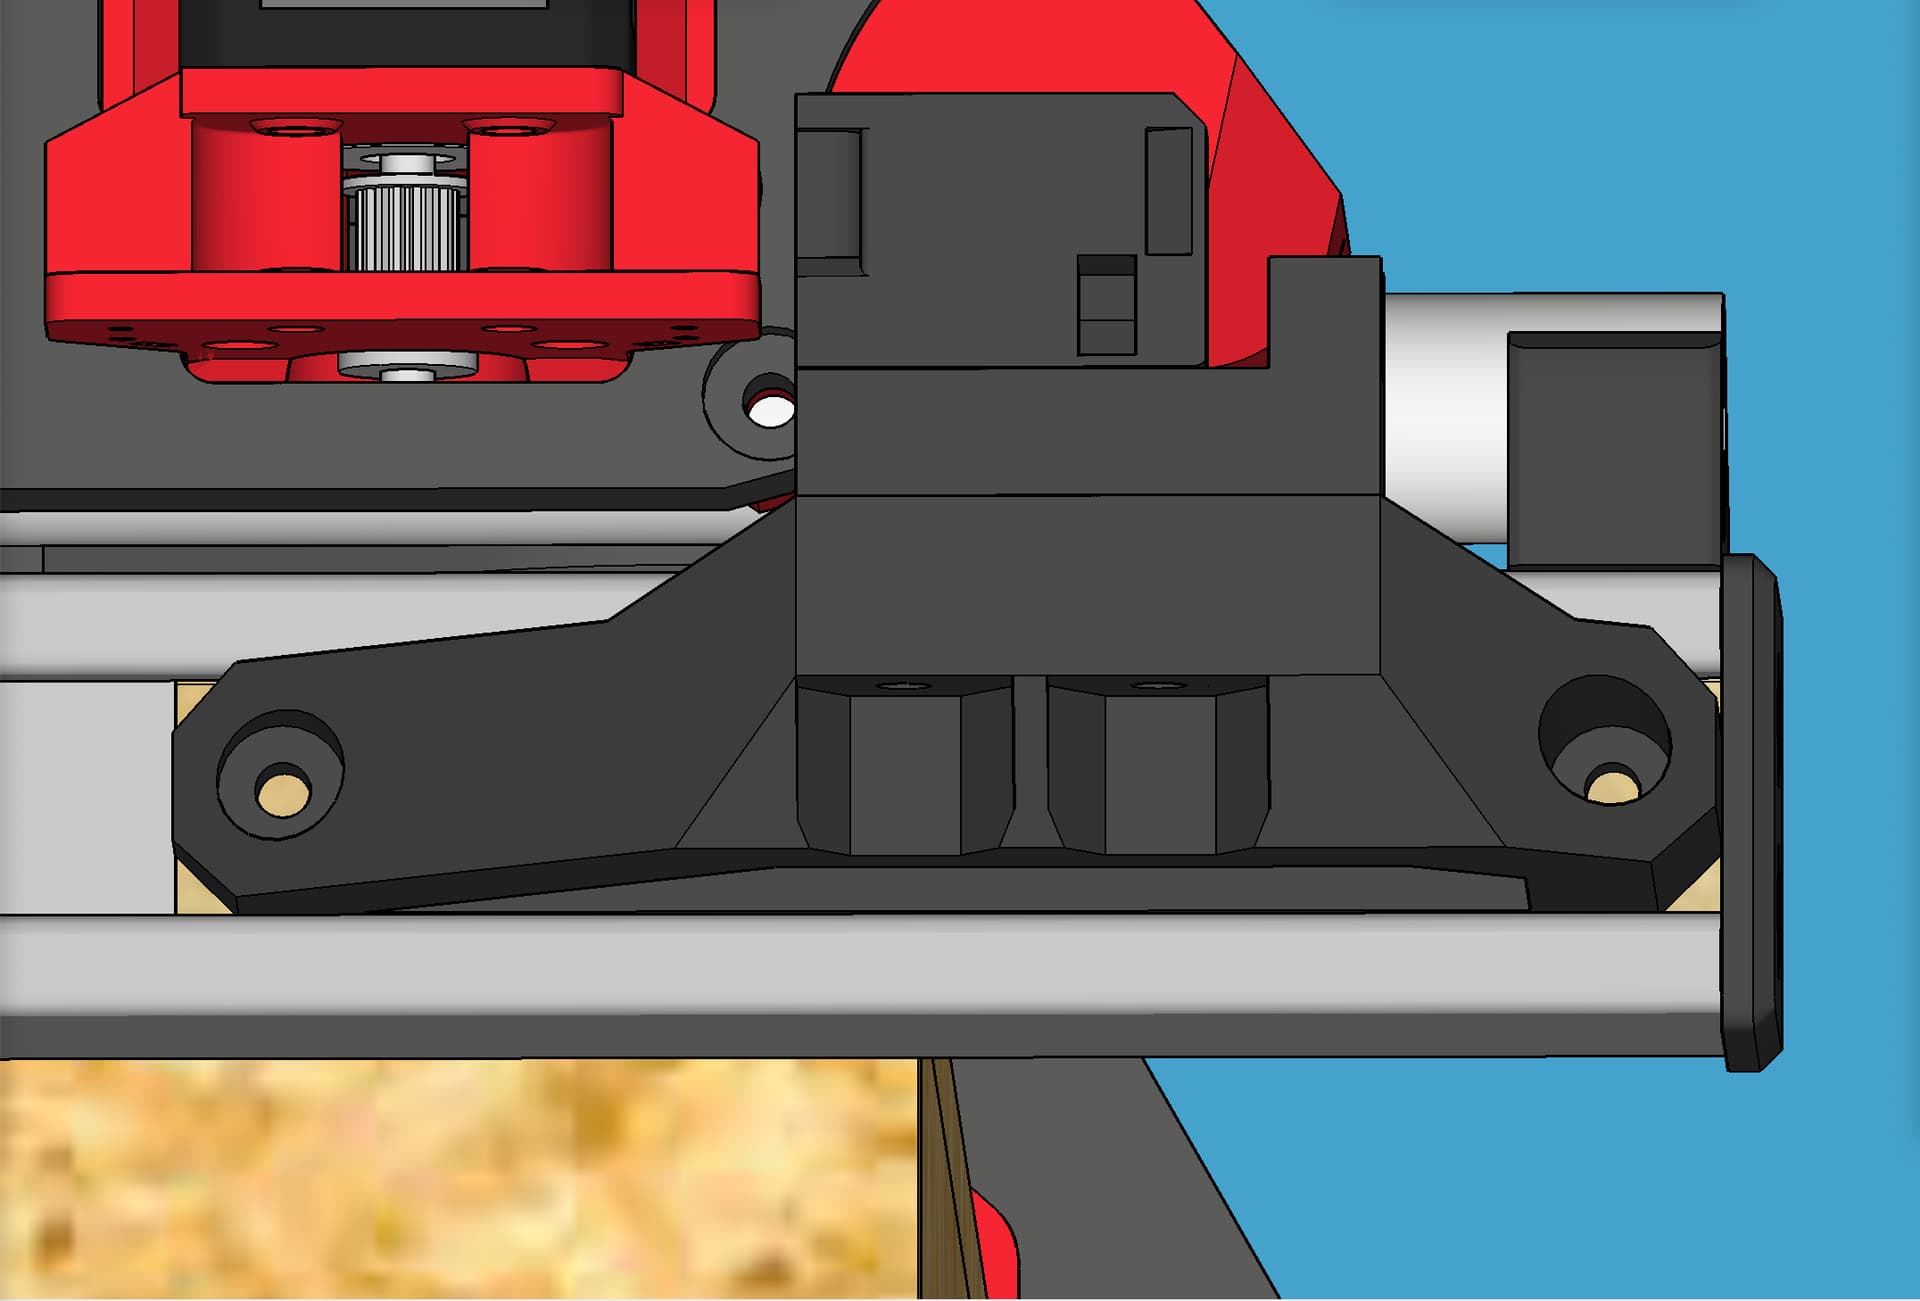
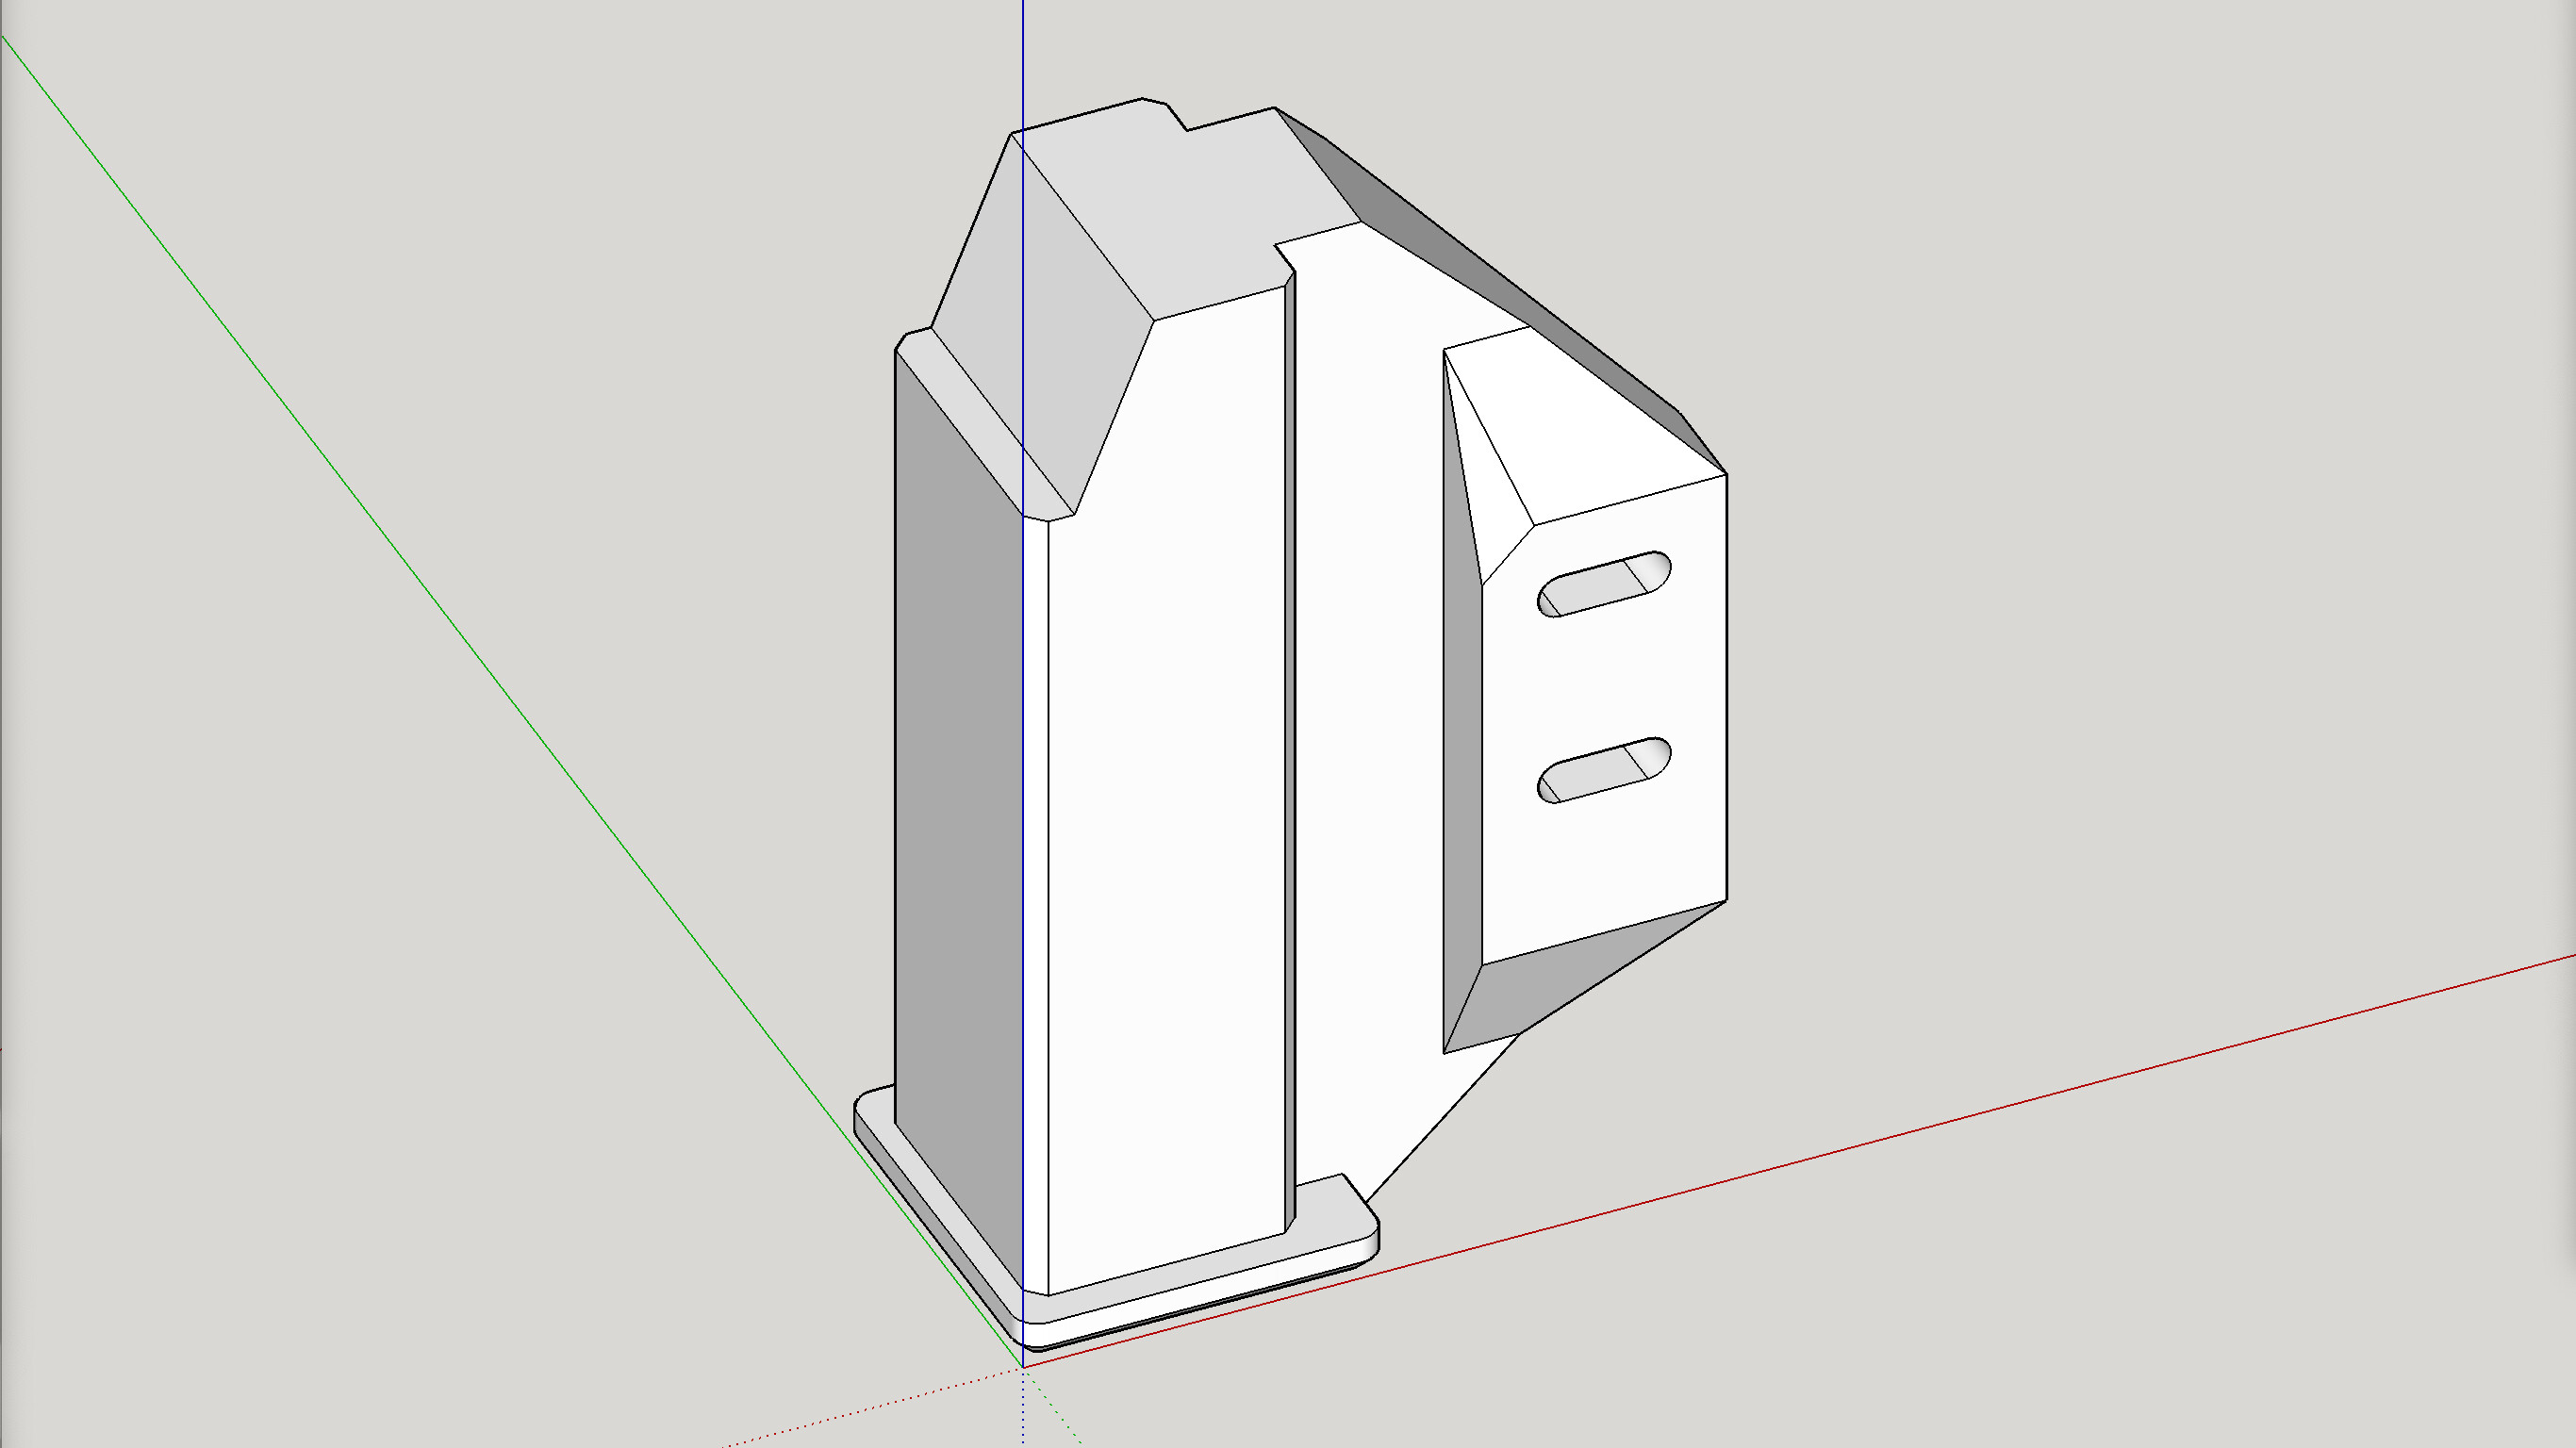
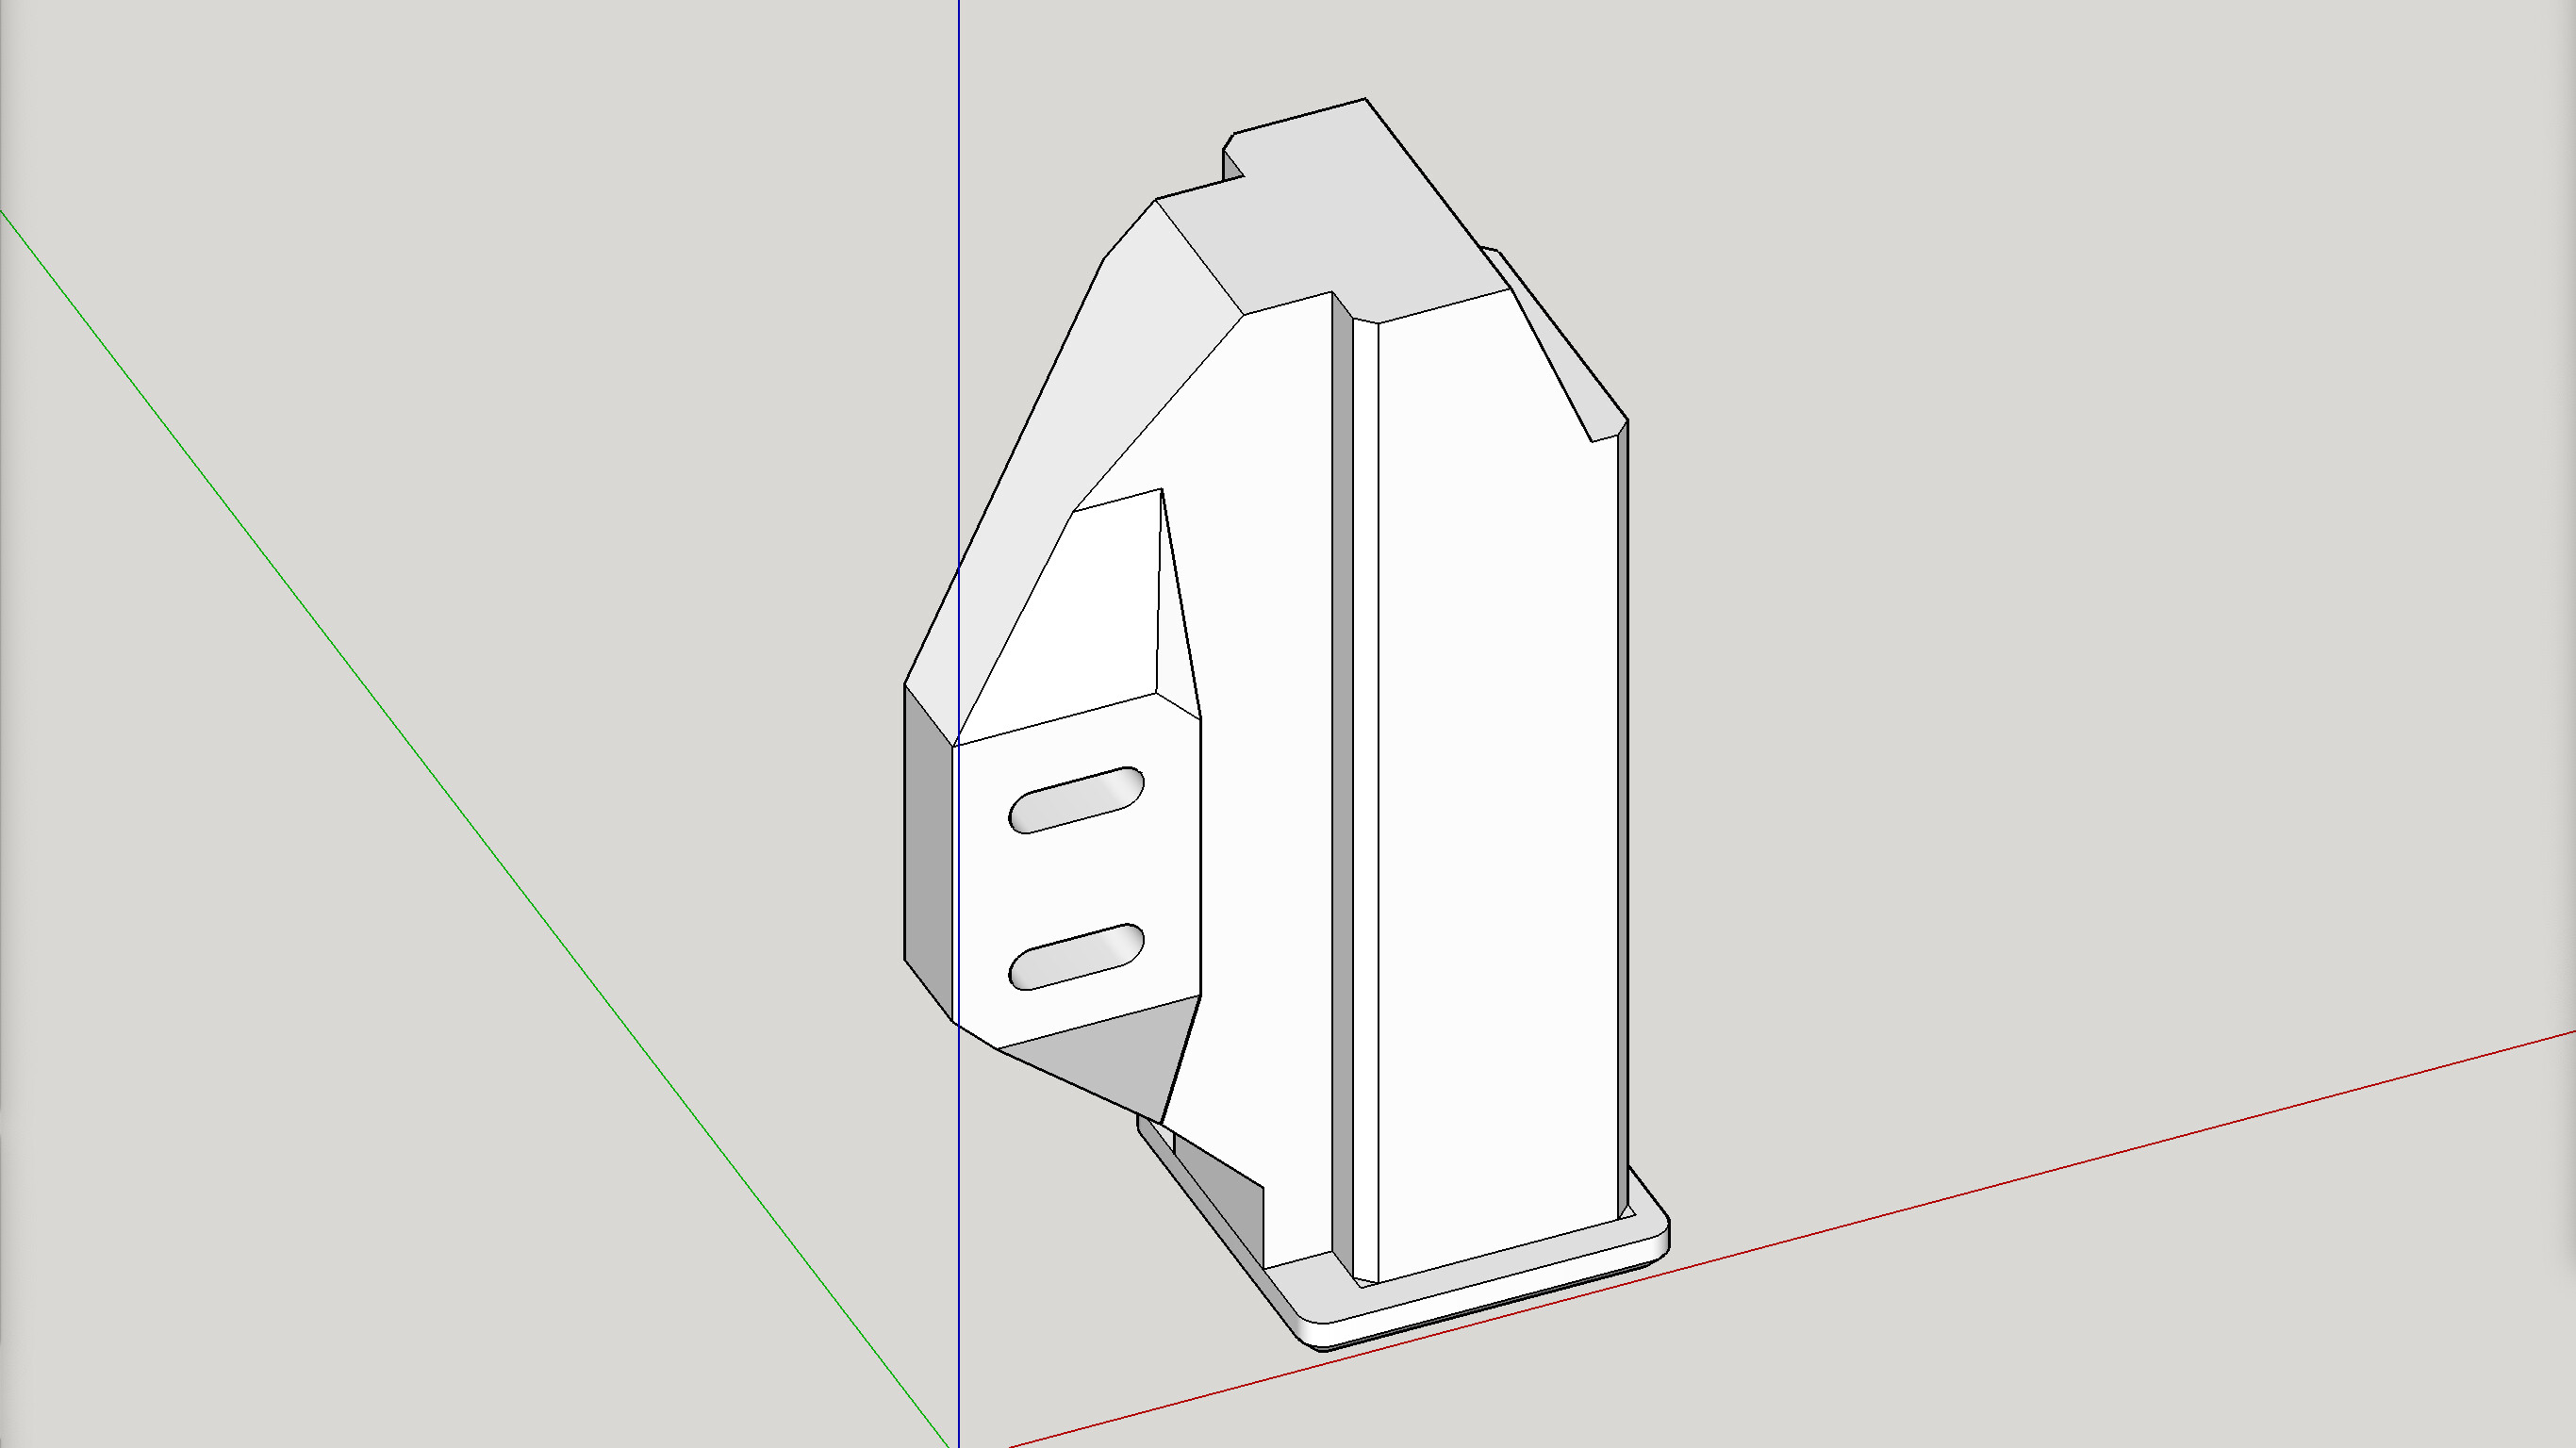
The original V1 Engineering LowRider 3 tensioner bases and tensioner mounts attach directly to these. Caveat: the original V1 Engineering LowRider 3 tensioner bases have holes intended for slightly thinner screws, and I drilled them out to accept M5.
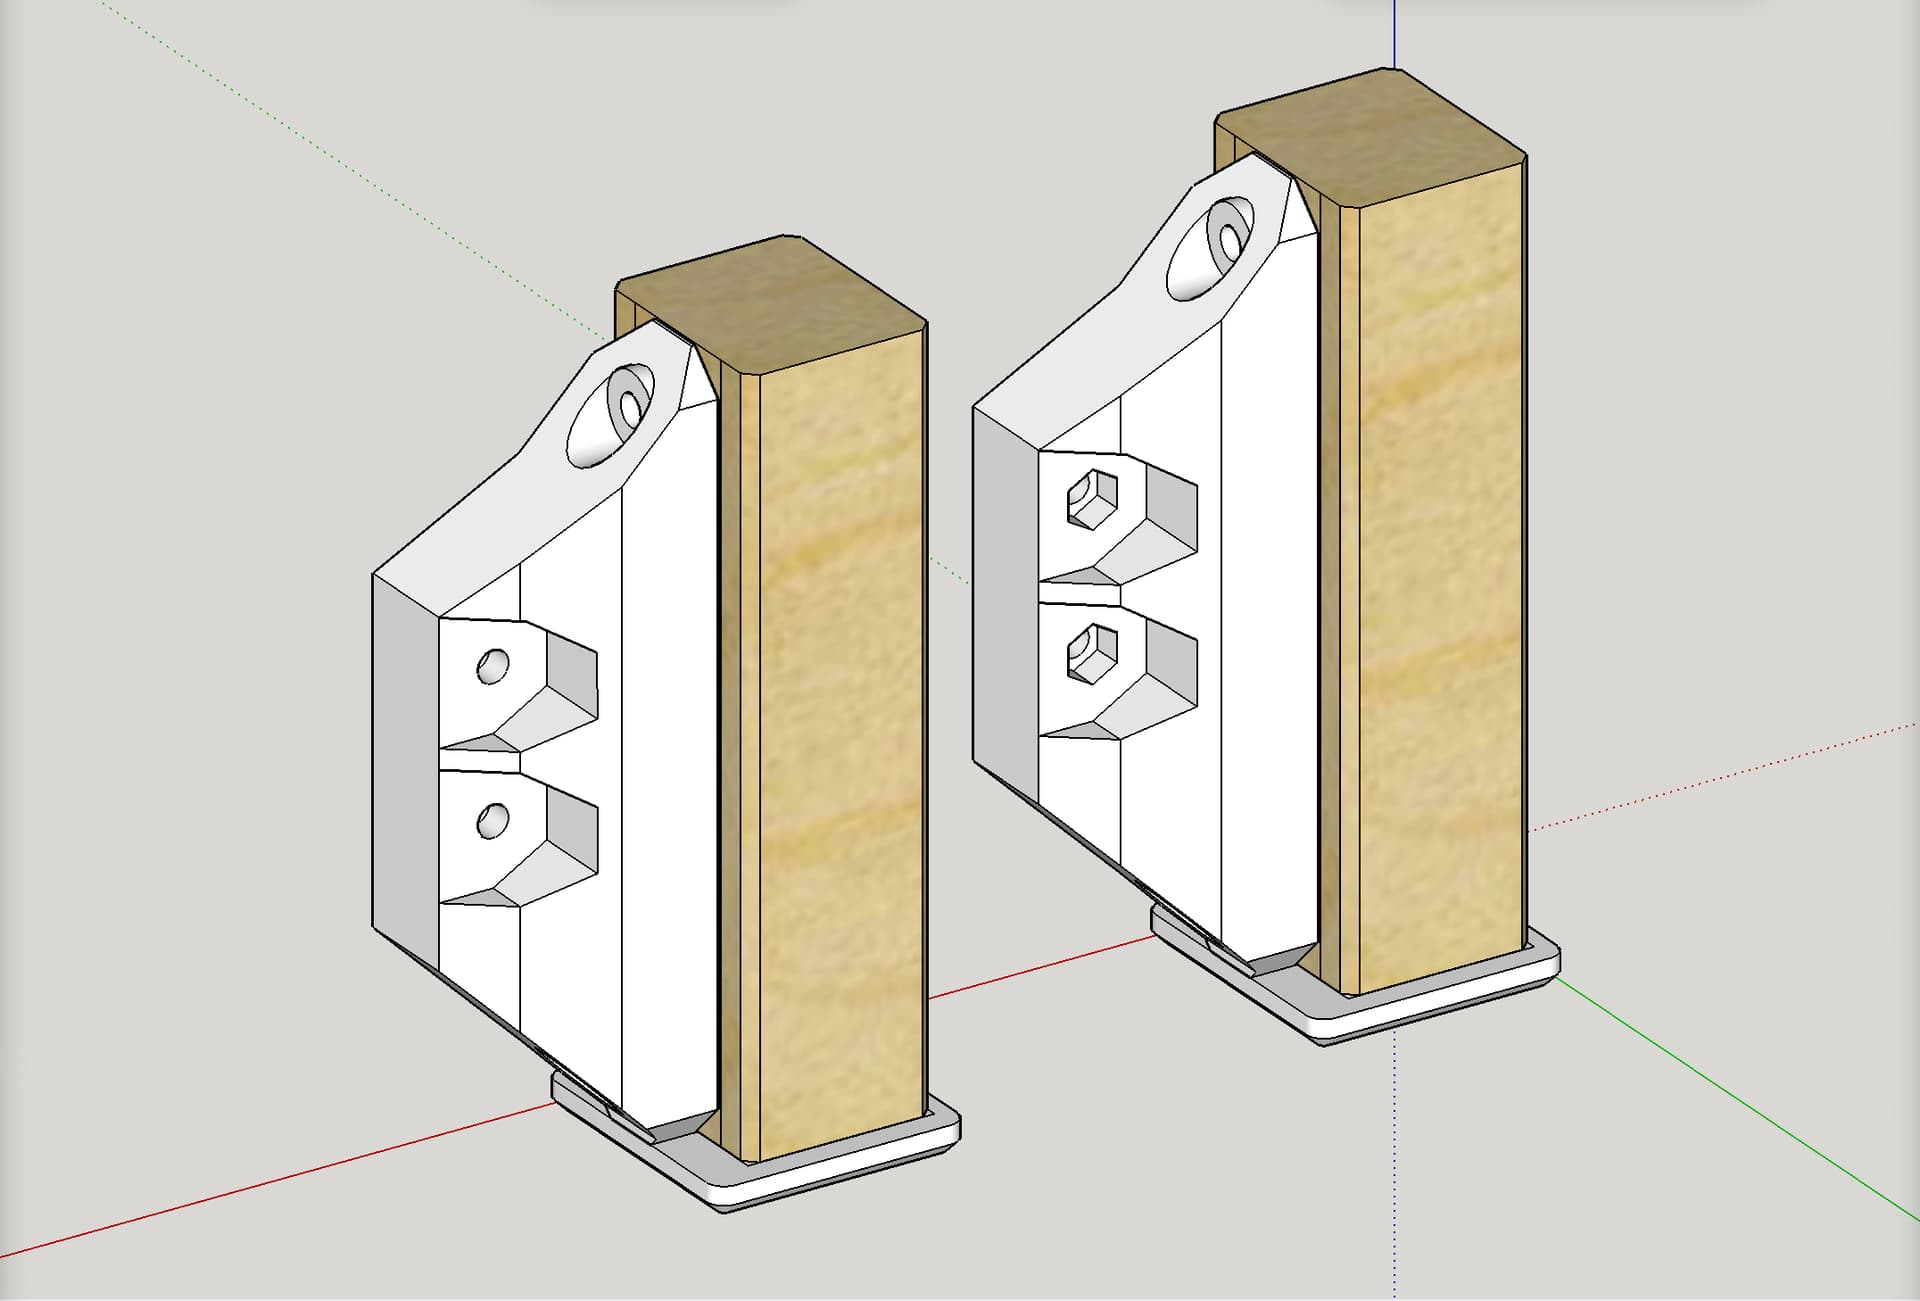
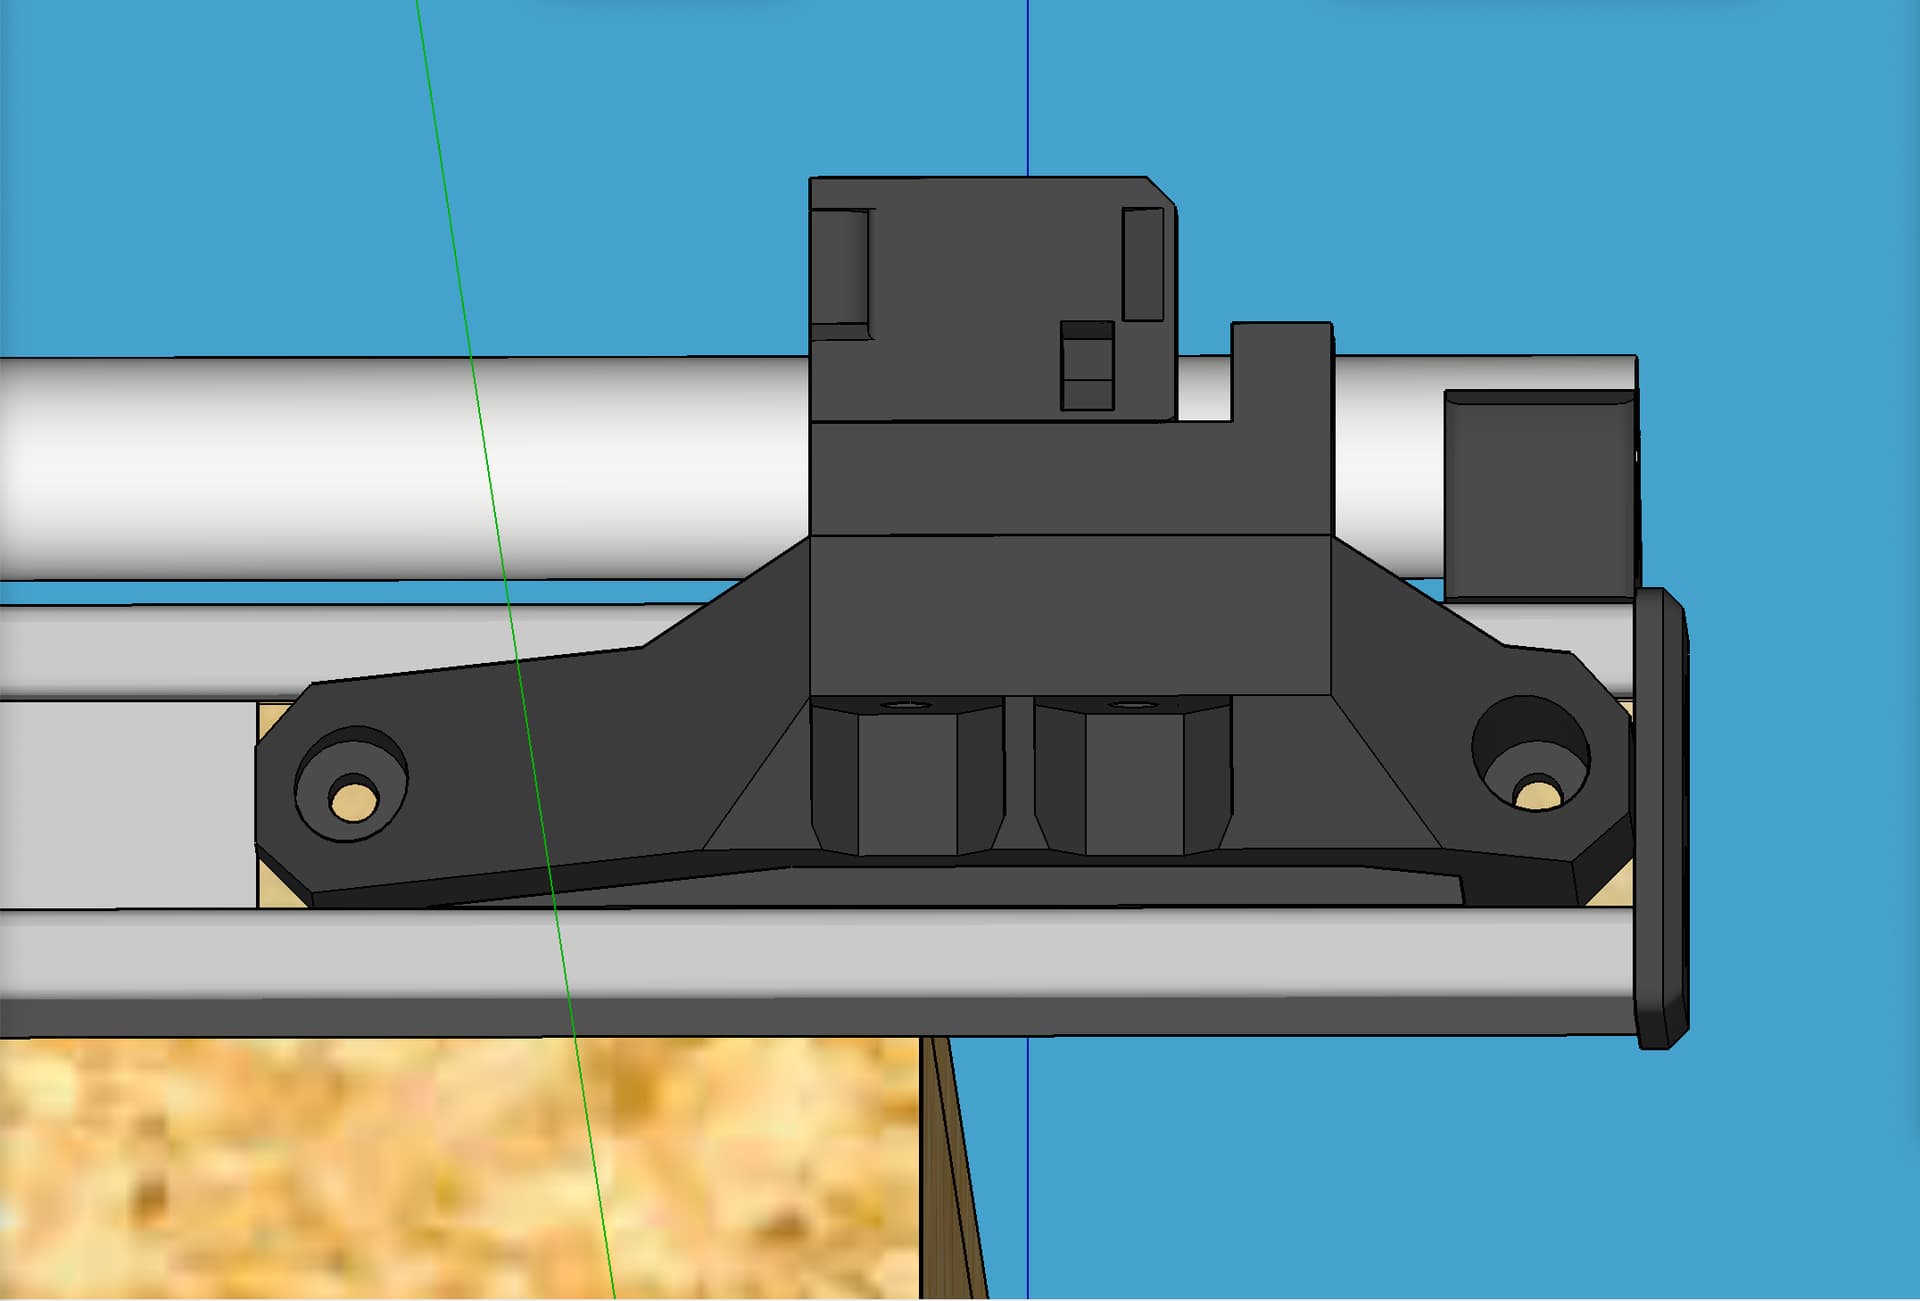
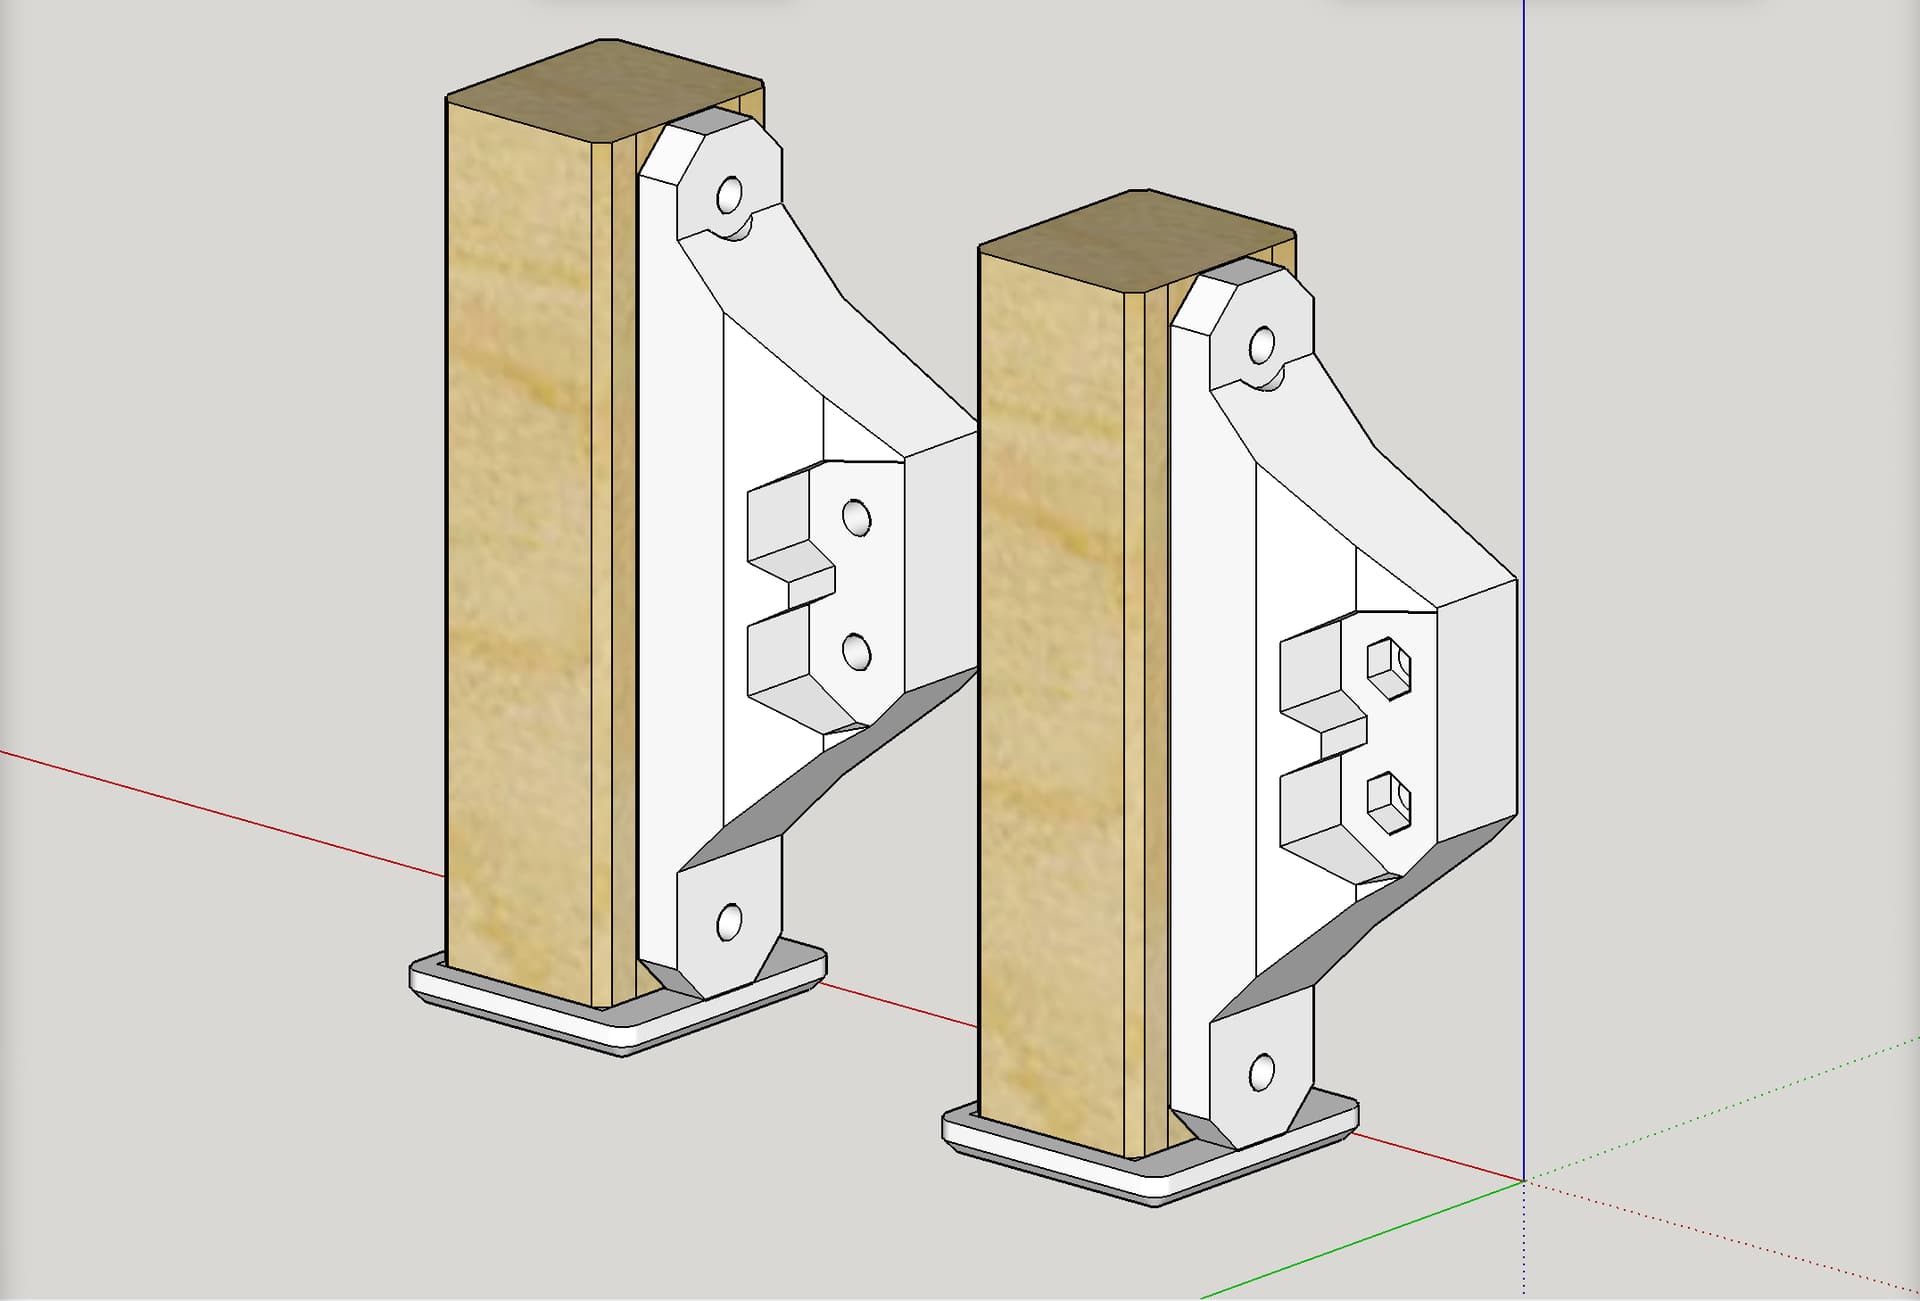
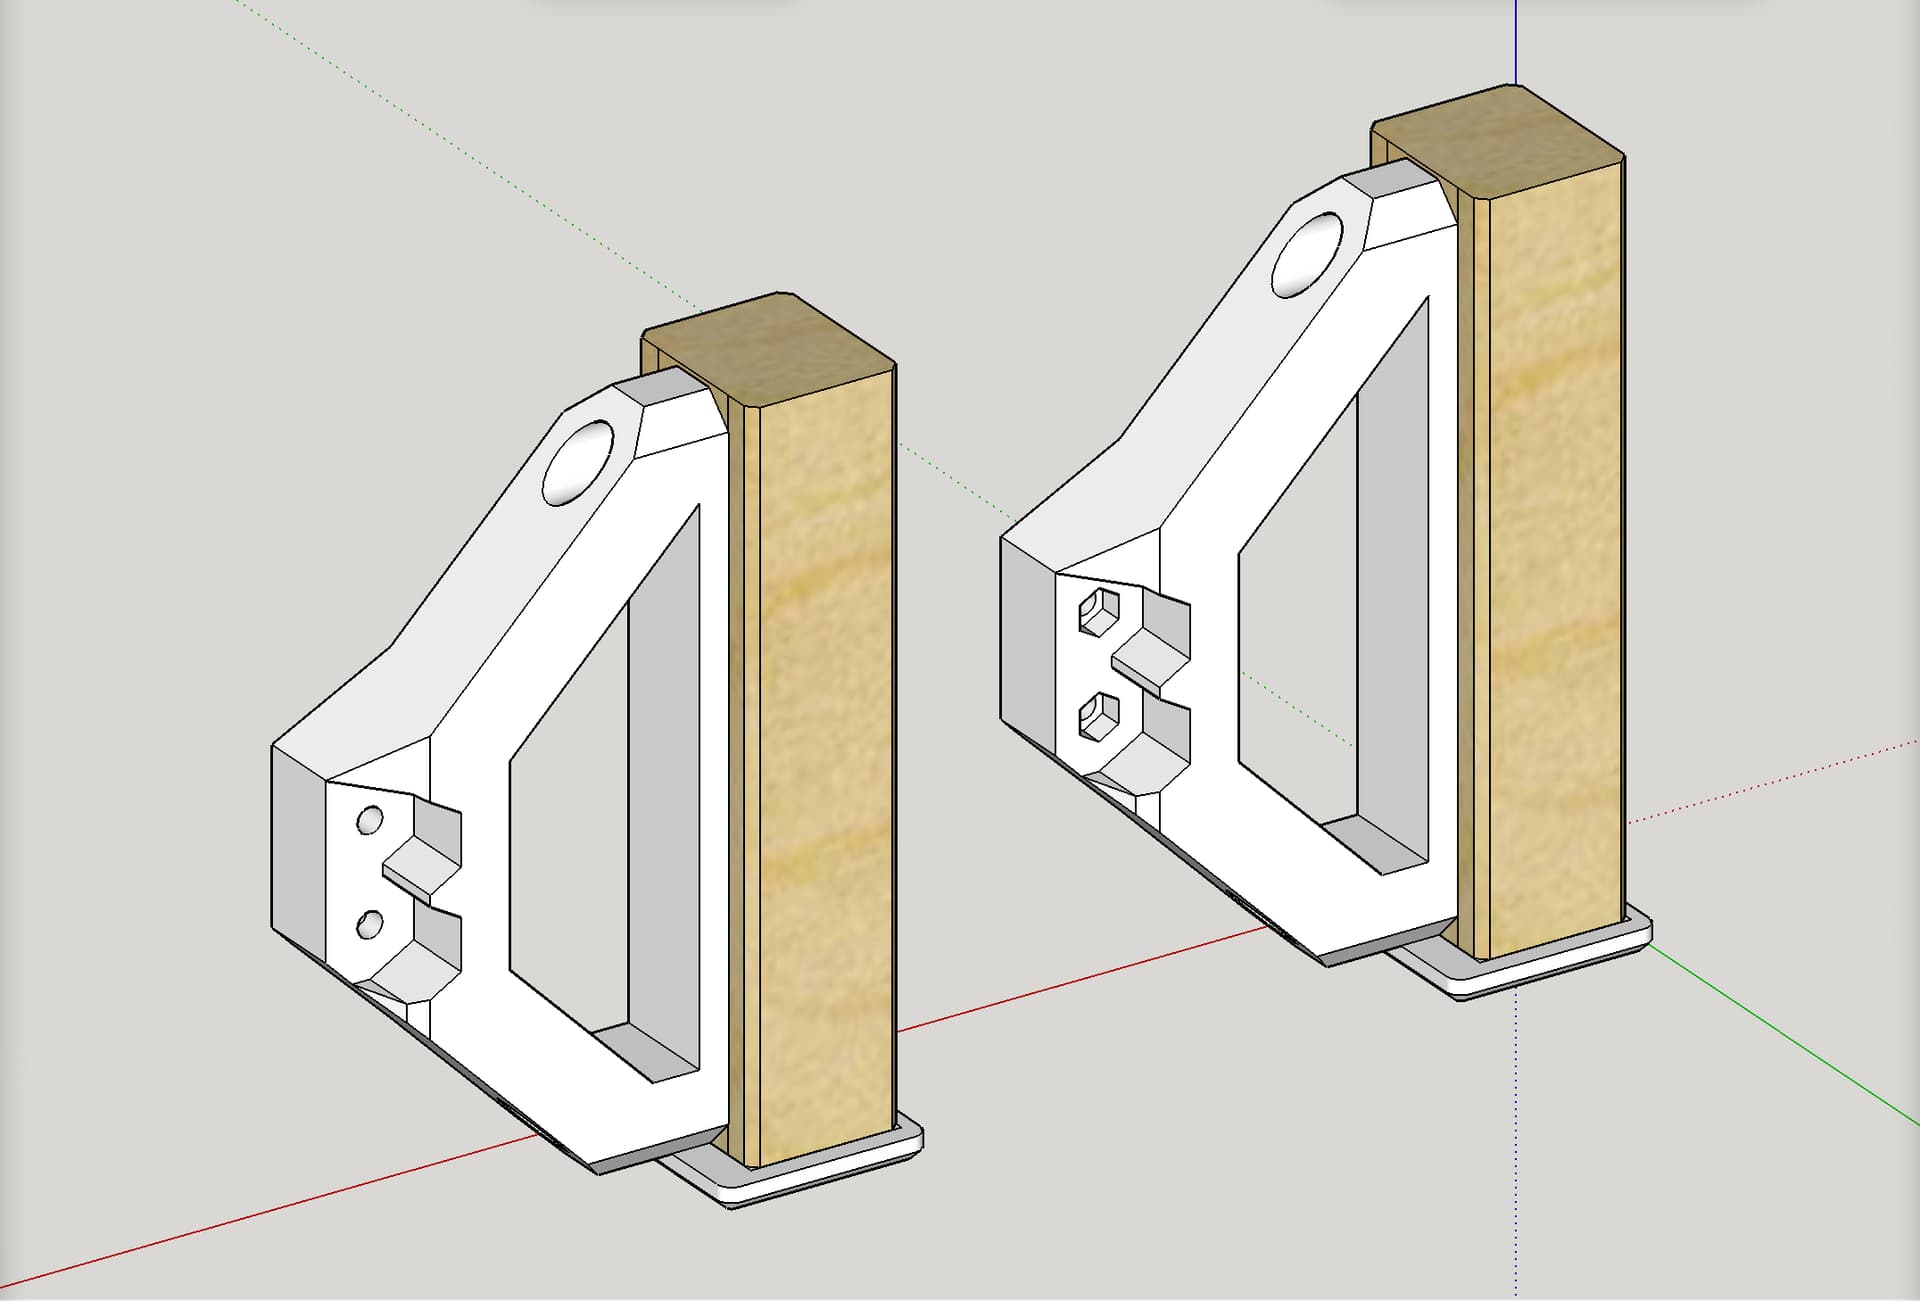
There are nut capture slots on the bottom sides of each, which accept two M5 nuts per corner, and then you can attach the tensioner bases to these.
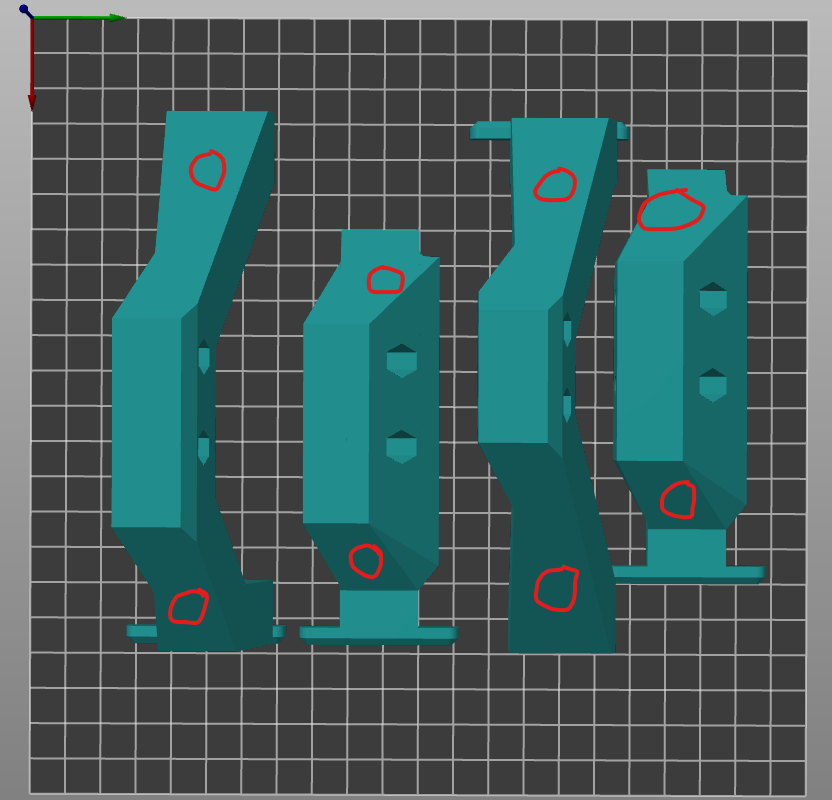
You want these strong, not so much to avoid breaking but primarily to avoid flexing. I printed these with 1.8mm thick walls, which is the equivalent of 4 ½ perimeter walls —if using a 0.4 nozzle at normal settings. I do only 3 walls and have it be as thick as 4.5 walls, because I print with walls that are 0.6mm thick instead of 0.4mm thick. Stock 0.4 nozzles can handle this if your extruder can keep up. I have two printers with 0.6 nozzles and several others with 0.4 nozzles. I run them all at 0.3mm layer height and 0.6mm wall thickness.
If you like my work, please consider buying me a cookie via my PayPal tip jar: PayPal.Me
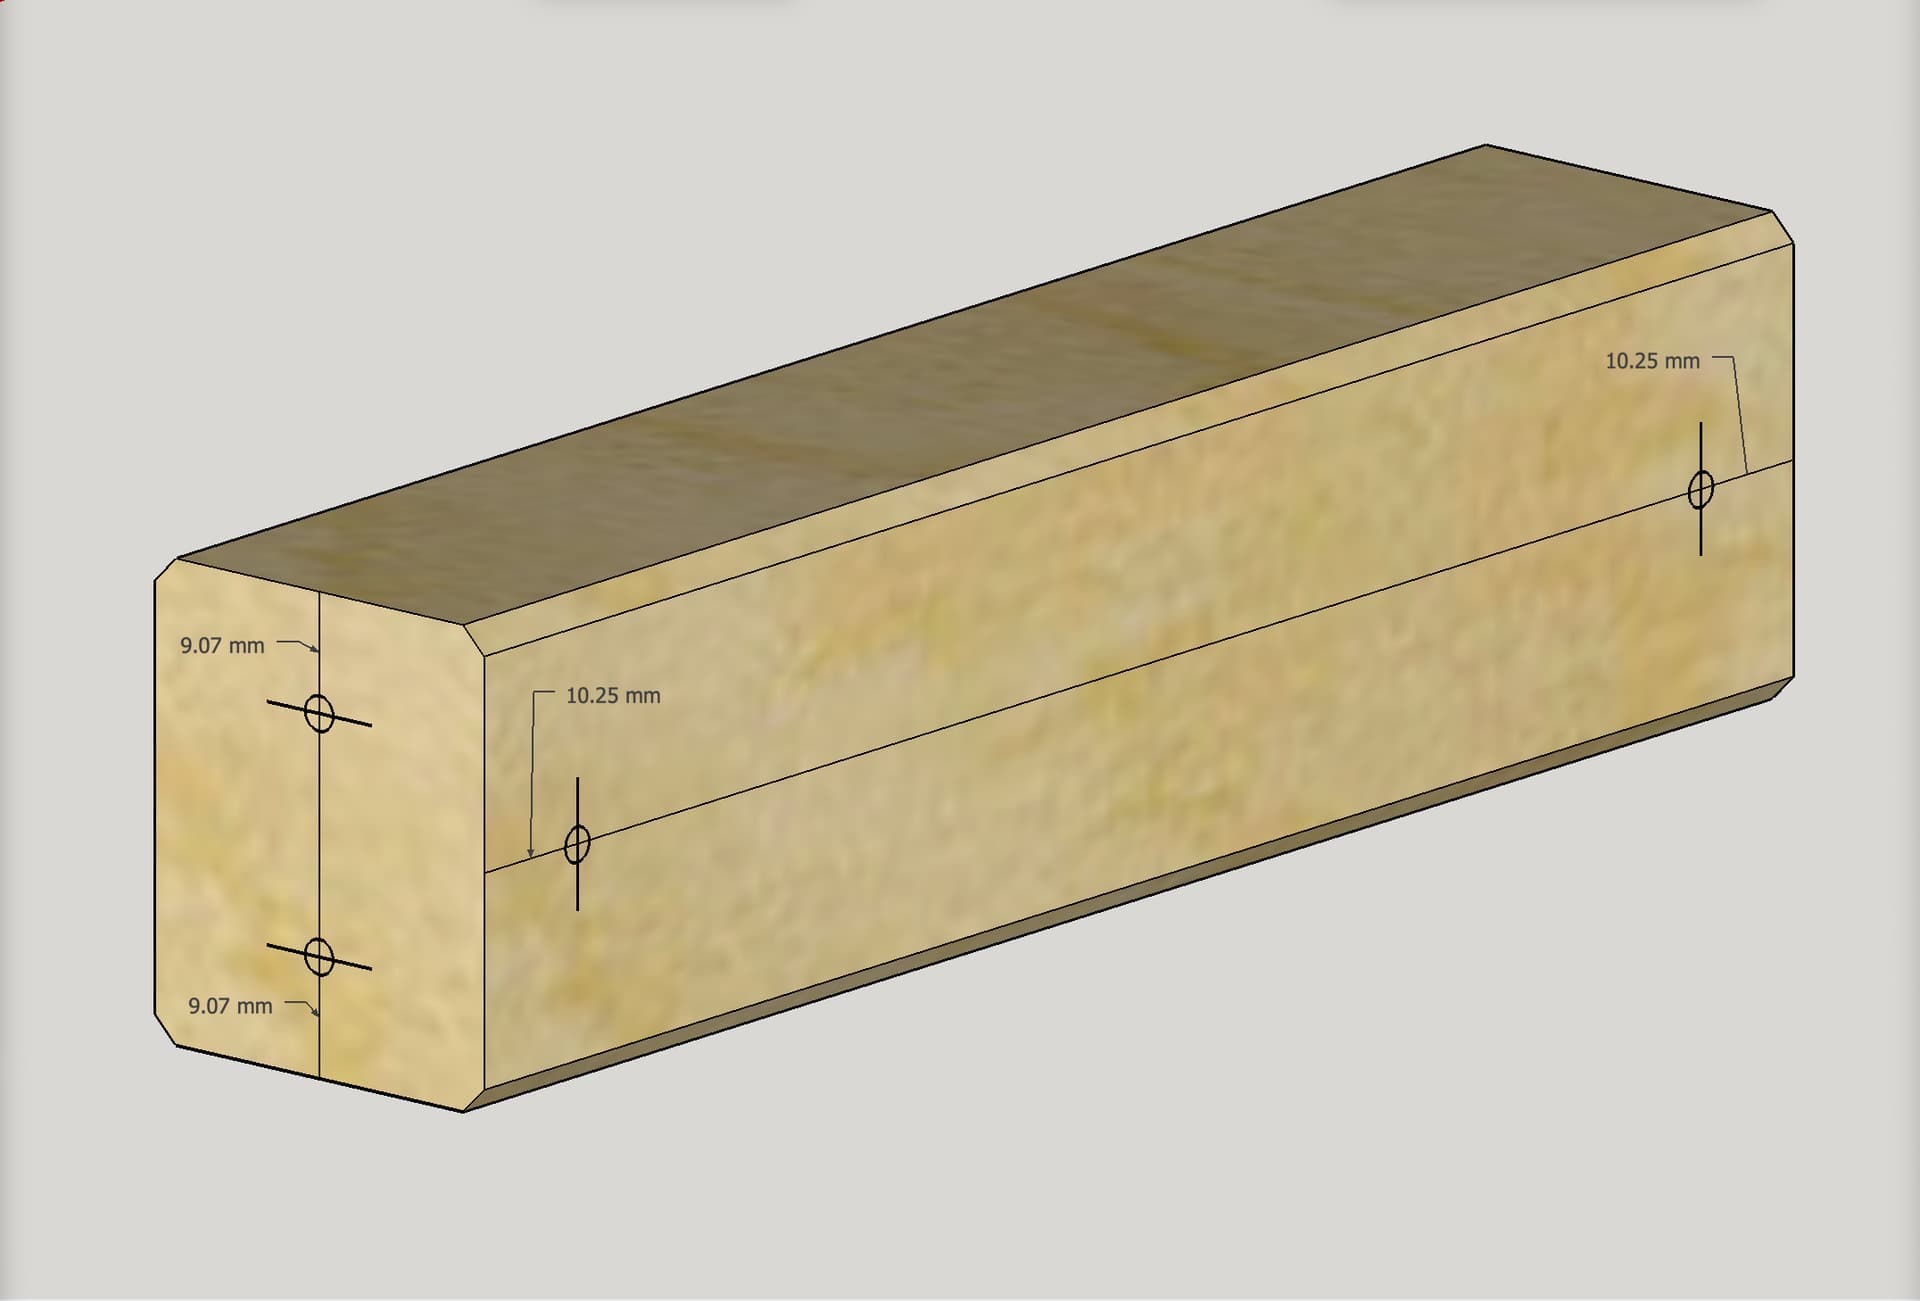
Looks like I might need to do something similar to my table - Could you tell me the dimensions for the metal strut, I’m assuming it’s the standard ‘unistrut’ we have in New Zealand.
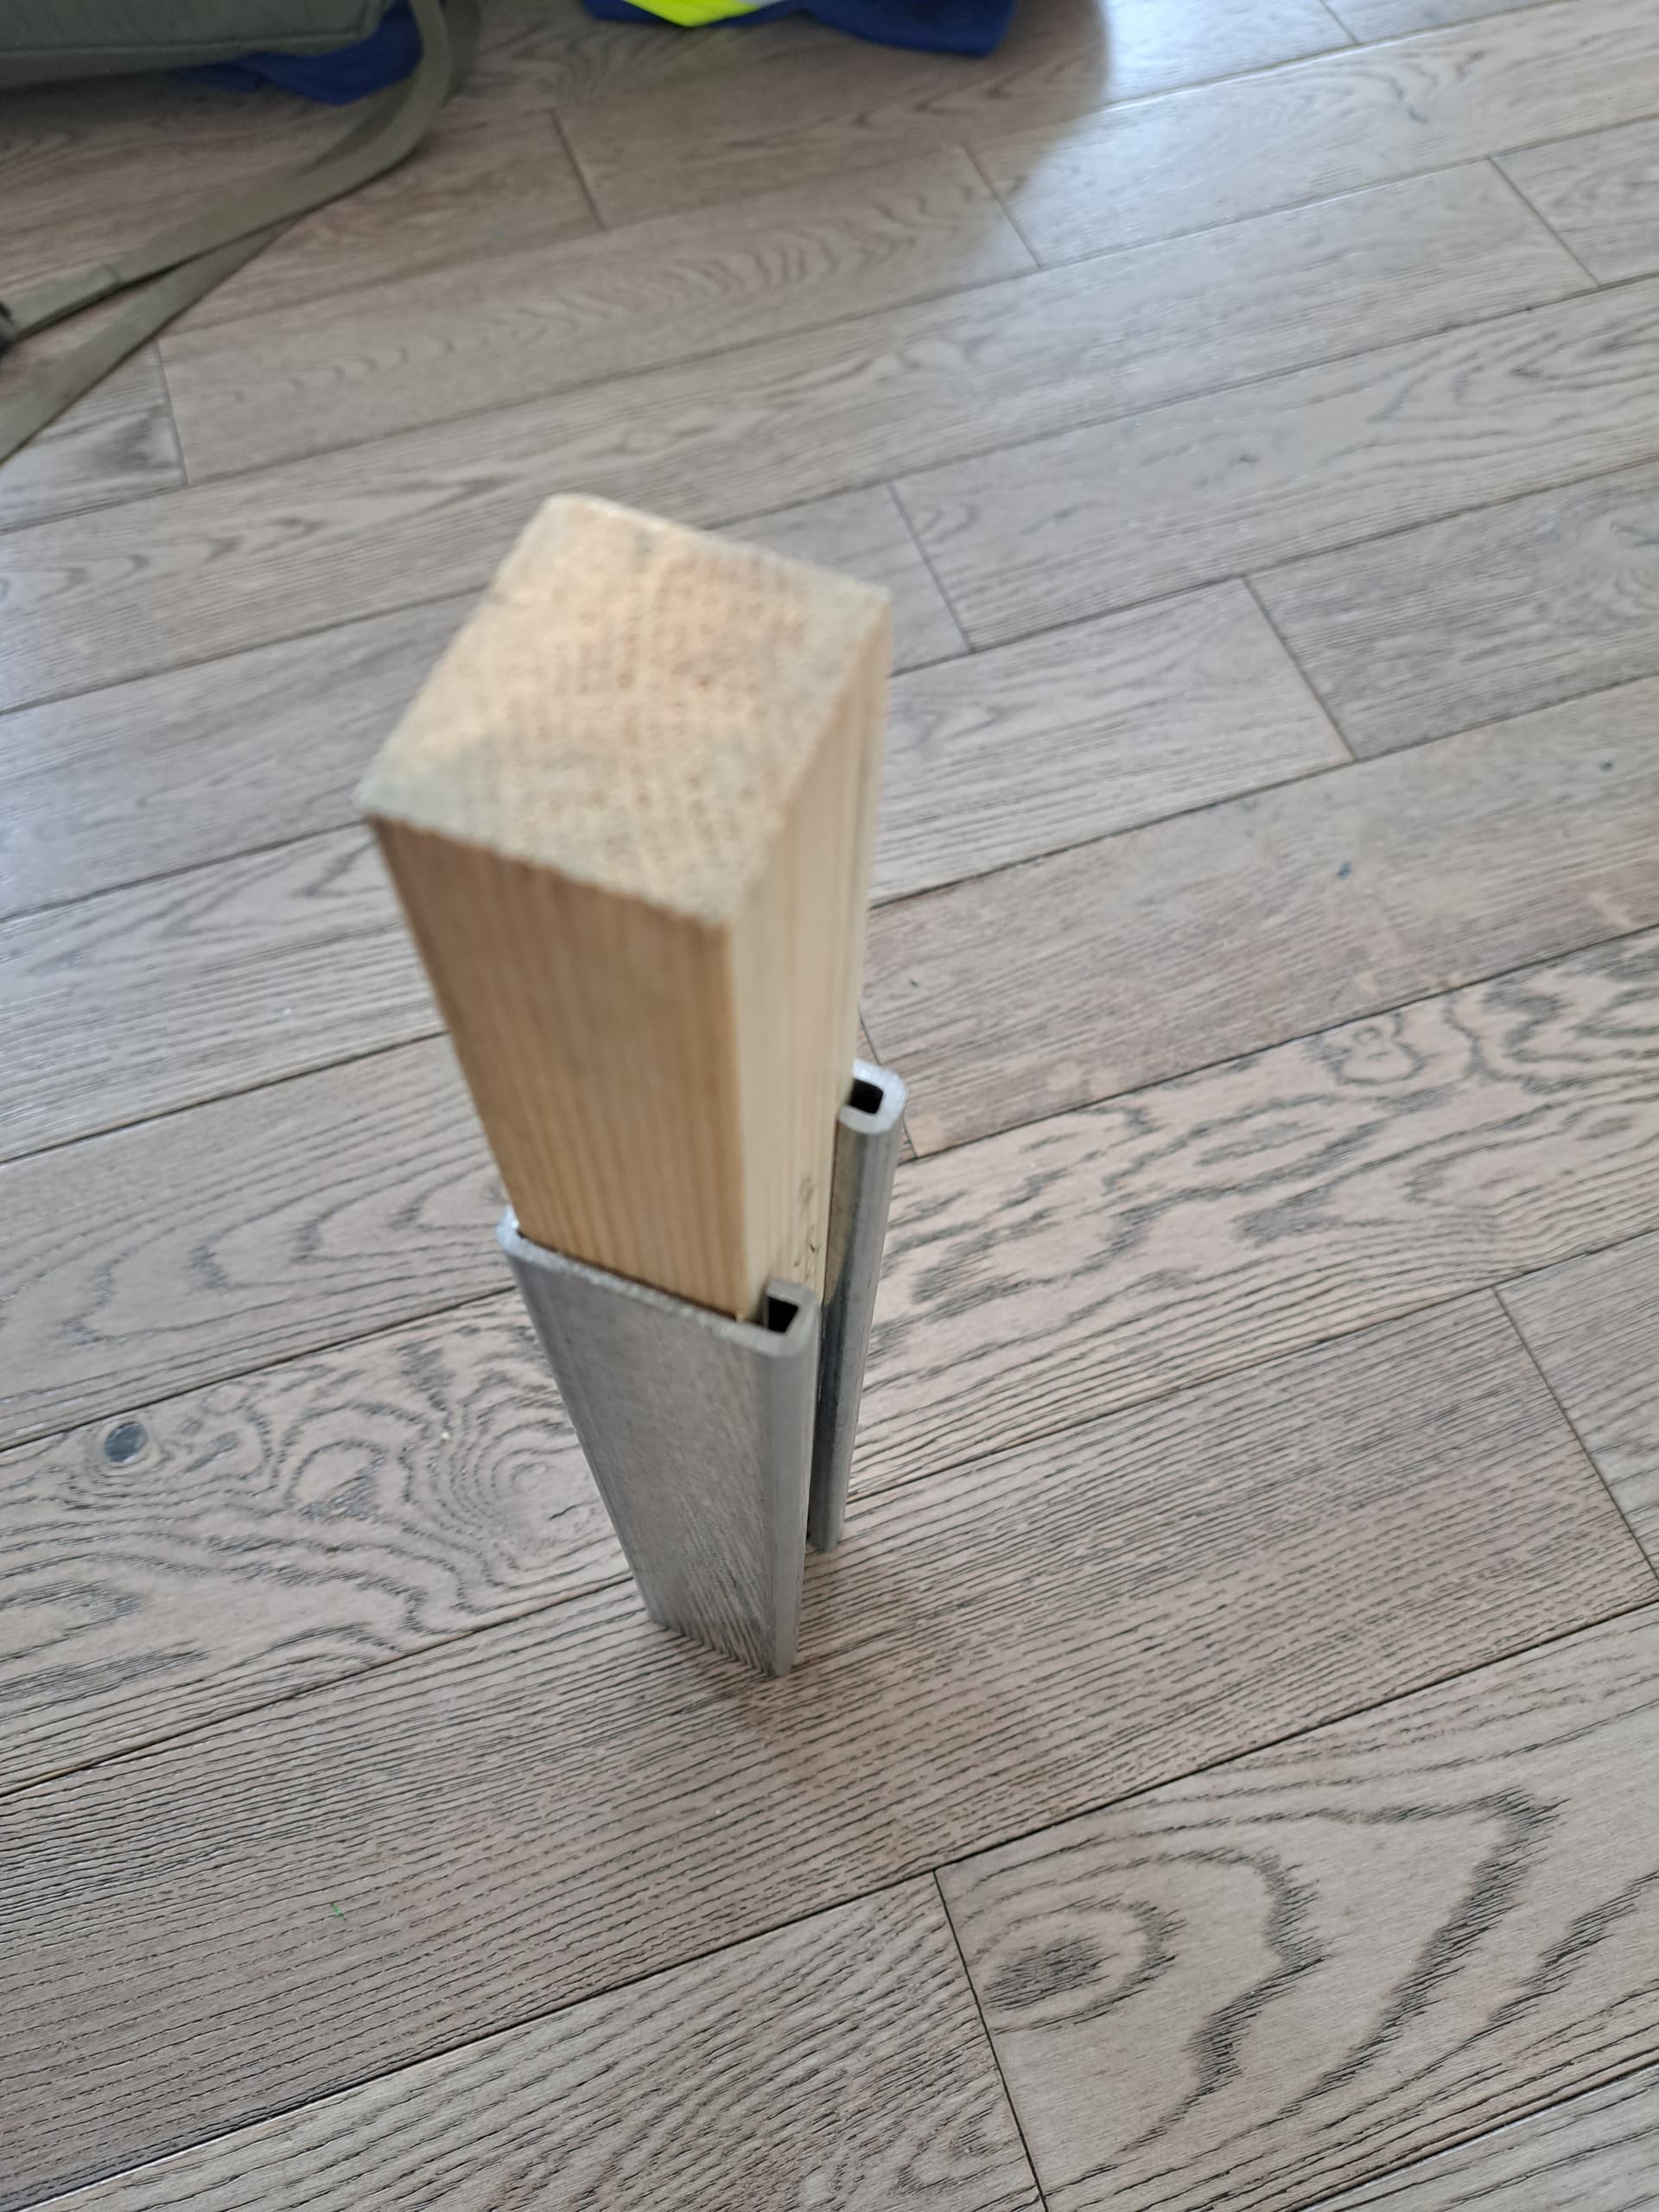
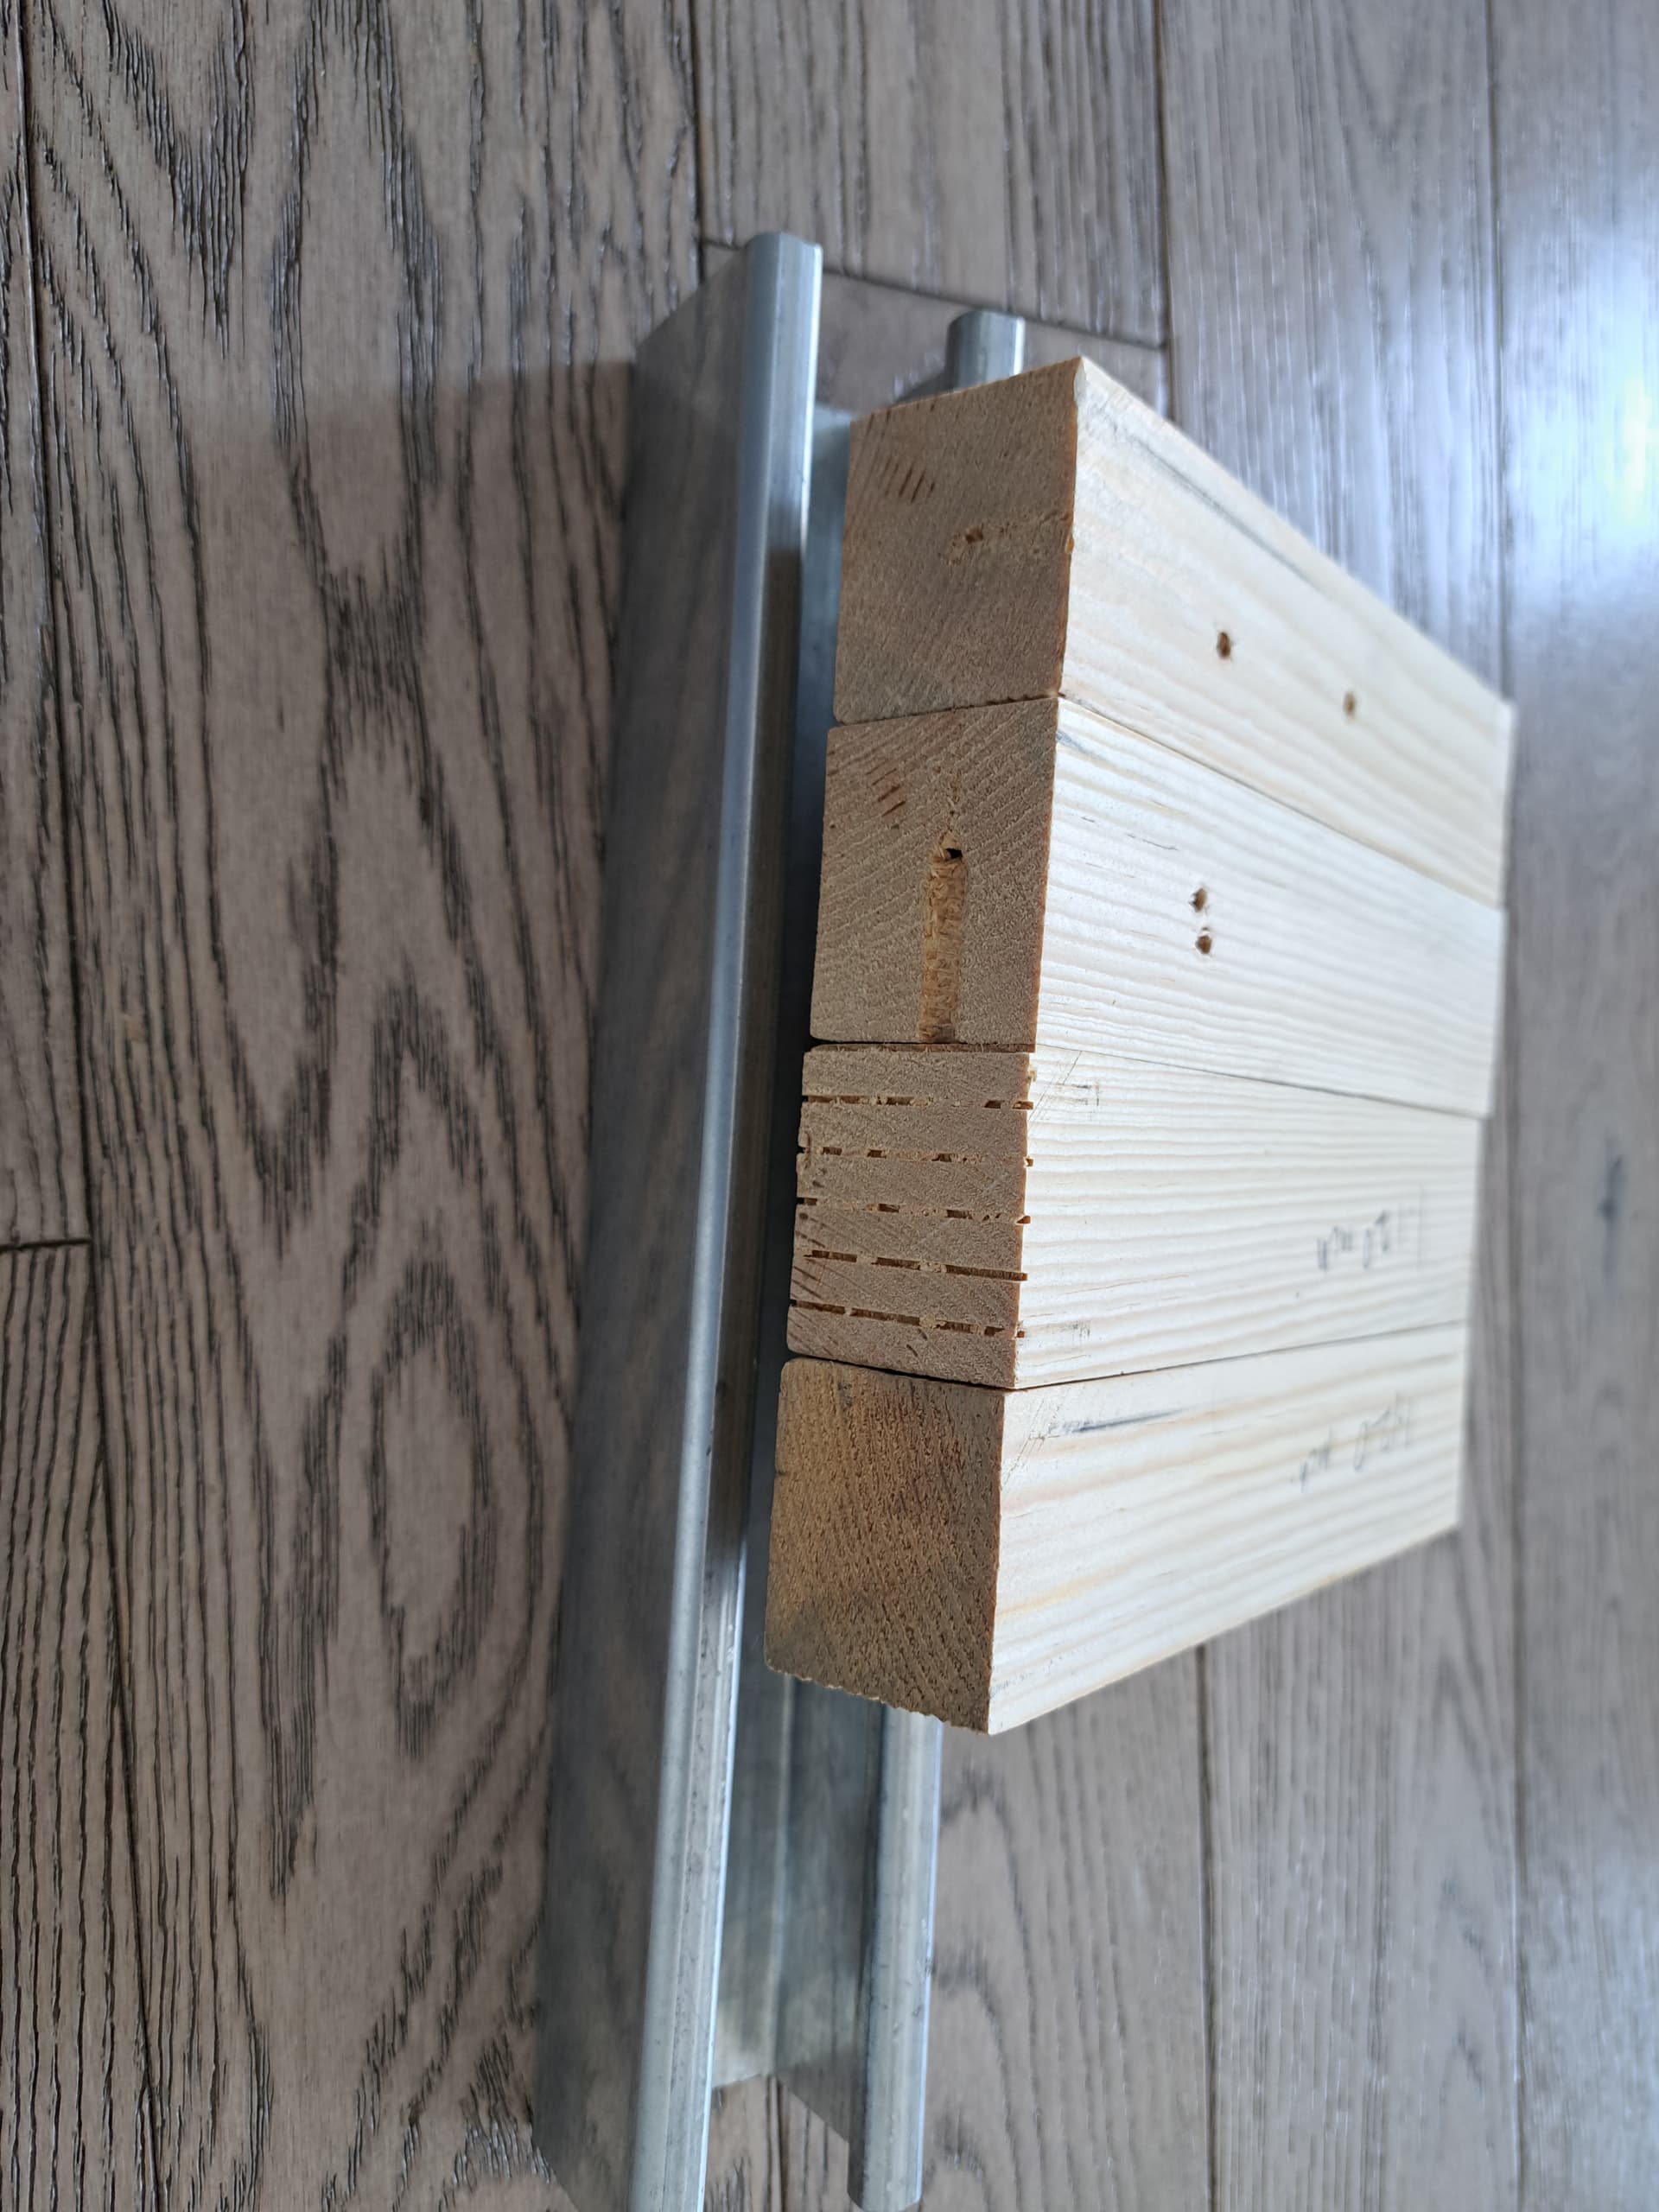
Have you consider cutting the insert that goes into the strut out of wood and then 3D printing the outside - with some modification (Holes through ) the 3D printed parts you can attach it to the wood . It could potentially save 15 hours on printing .
kk I just need to figure out how I can modify your drawings to me able to insert the holes for wood screws and one last question do you have stl for the 25p4 shout rail attachment on the top of the struts .Thanks
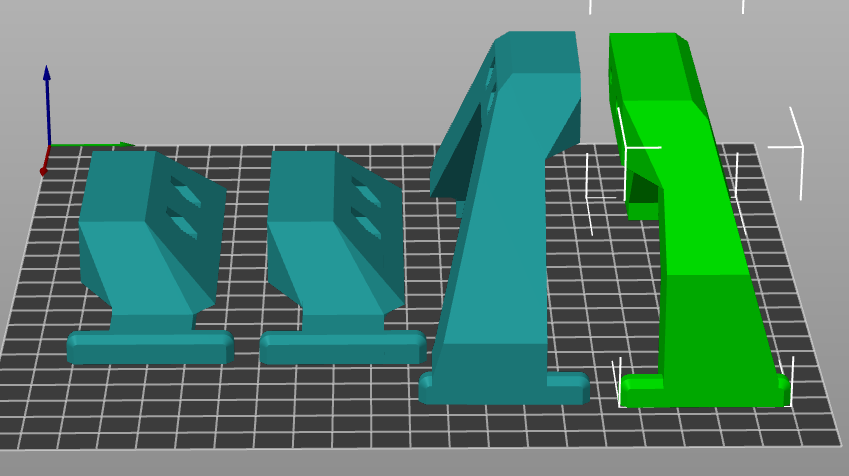
I have just now created the shortened rail block remix (third version of my remixes) in all three sizes. Previously I had only the 18p1 third remix. Now I have all three sizes. Will post to Printables soon.
NOTE: In September, 2023, a fellow V1E maker (@stevedon the V1E forum ) needed a little bit of adjustability on the location of the right-side belt-tensioner+endstop mounts in his metal-strut-based LowRider, so I made this v1.1 remix of the original design, which provides 10mm worth of adjustability. If your LR3 X gantry is a bit too long (not more than 10mm too long), you can use this new v1.1 version. The only changed parts are the two right-side mounts (“LR3 Tensioner Extender Front RIGHT” and “LR3 Tensioner Extender Rear RIGHT”).