@aeversme Thank you! Looking forward to seeing the model. @DougJoseph I was wondering if a top mount for the spindle can be integrated with the cable chain mount that you designed a year ago, cable chain already on my LR3. I think that such an addition will be great!
2 Likes
Today, I worked on the Linear Rail Mount with a slide latch. I re-drilled the four rail holes on the mount to 4mm to accommodate brass M3 inserts, and it was so easy not to think about nuts during installation!
I also cut the EVA Form bristles with my daughter Cricut, which makes it easy and fast. Laser will come later on LR3 using the Kinematic tool mount.
1 Like
That’s great. You’re up on me there because I did not worry about nuts or inserts. I just let M2.5 screws cut their own threads in the plastic and called that good.
HEADS UP to anyone helping test this or planning to
I need to remix and reprint the “shoe” itself (that’s the same part that gets the EVA foam bristles inserted into it). Hoping to get to that today.
Last night / wee hours of the morning, I finally got to some more progress on prepping for trying this out.
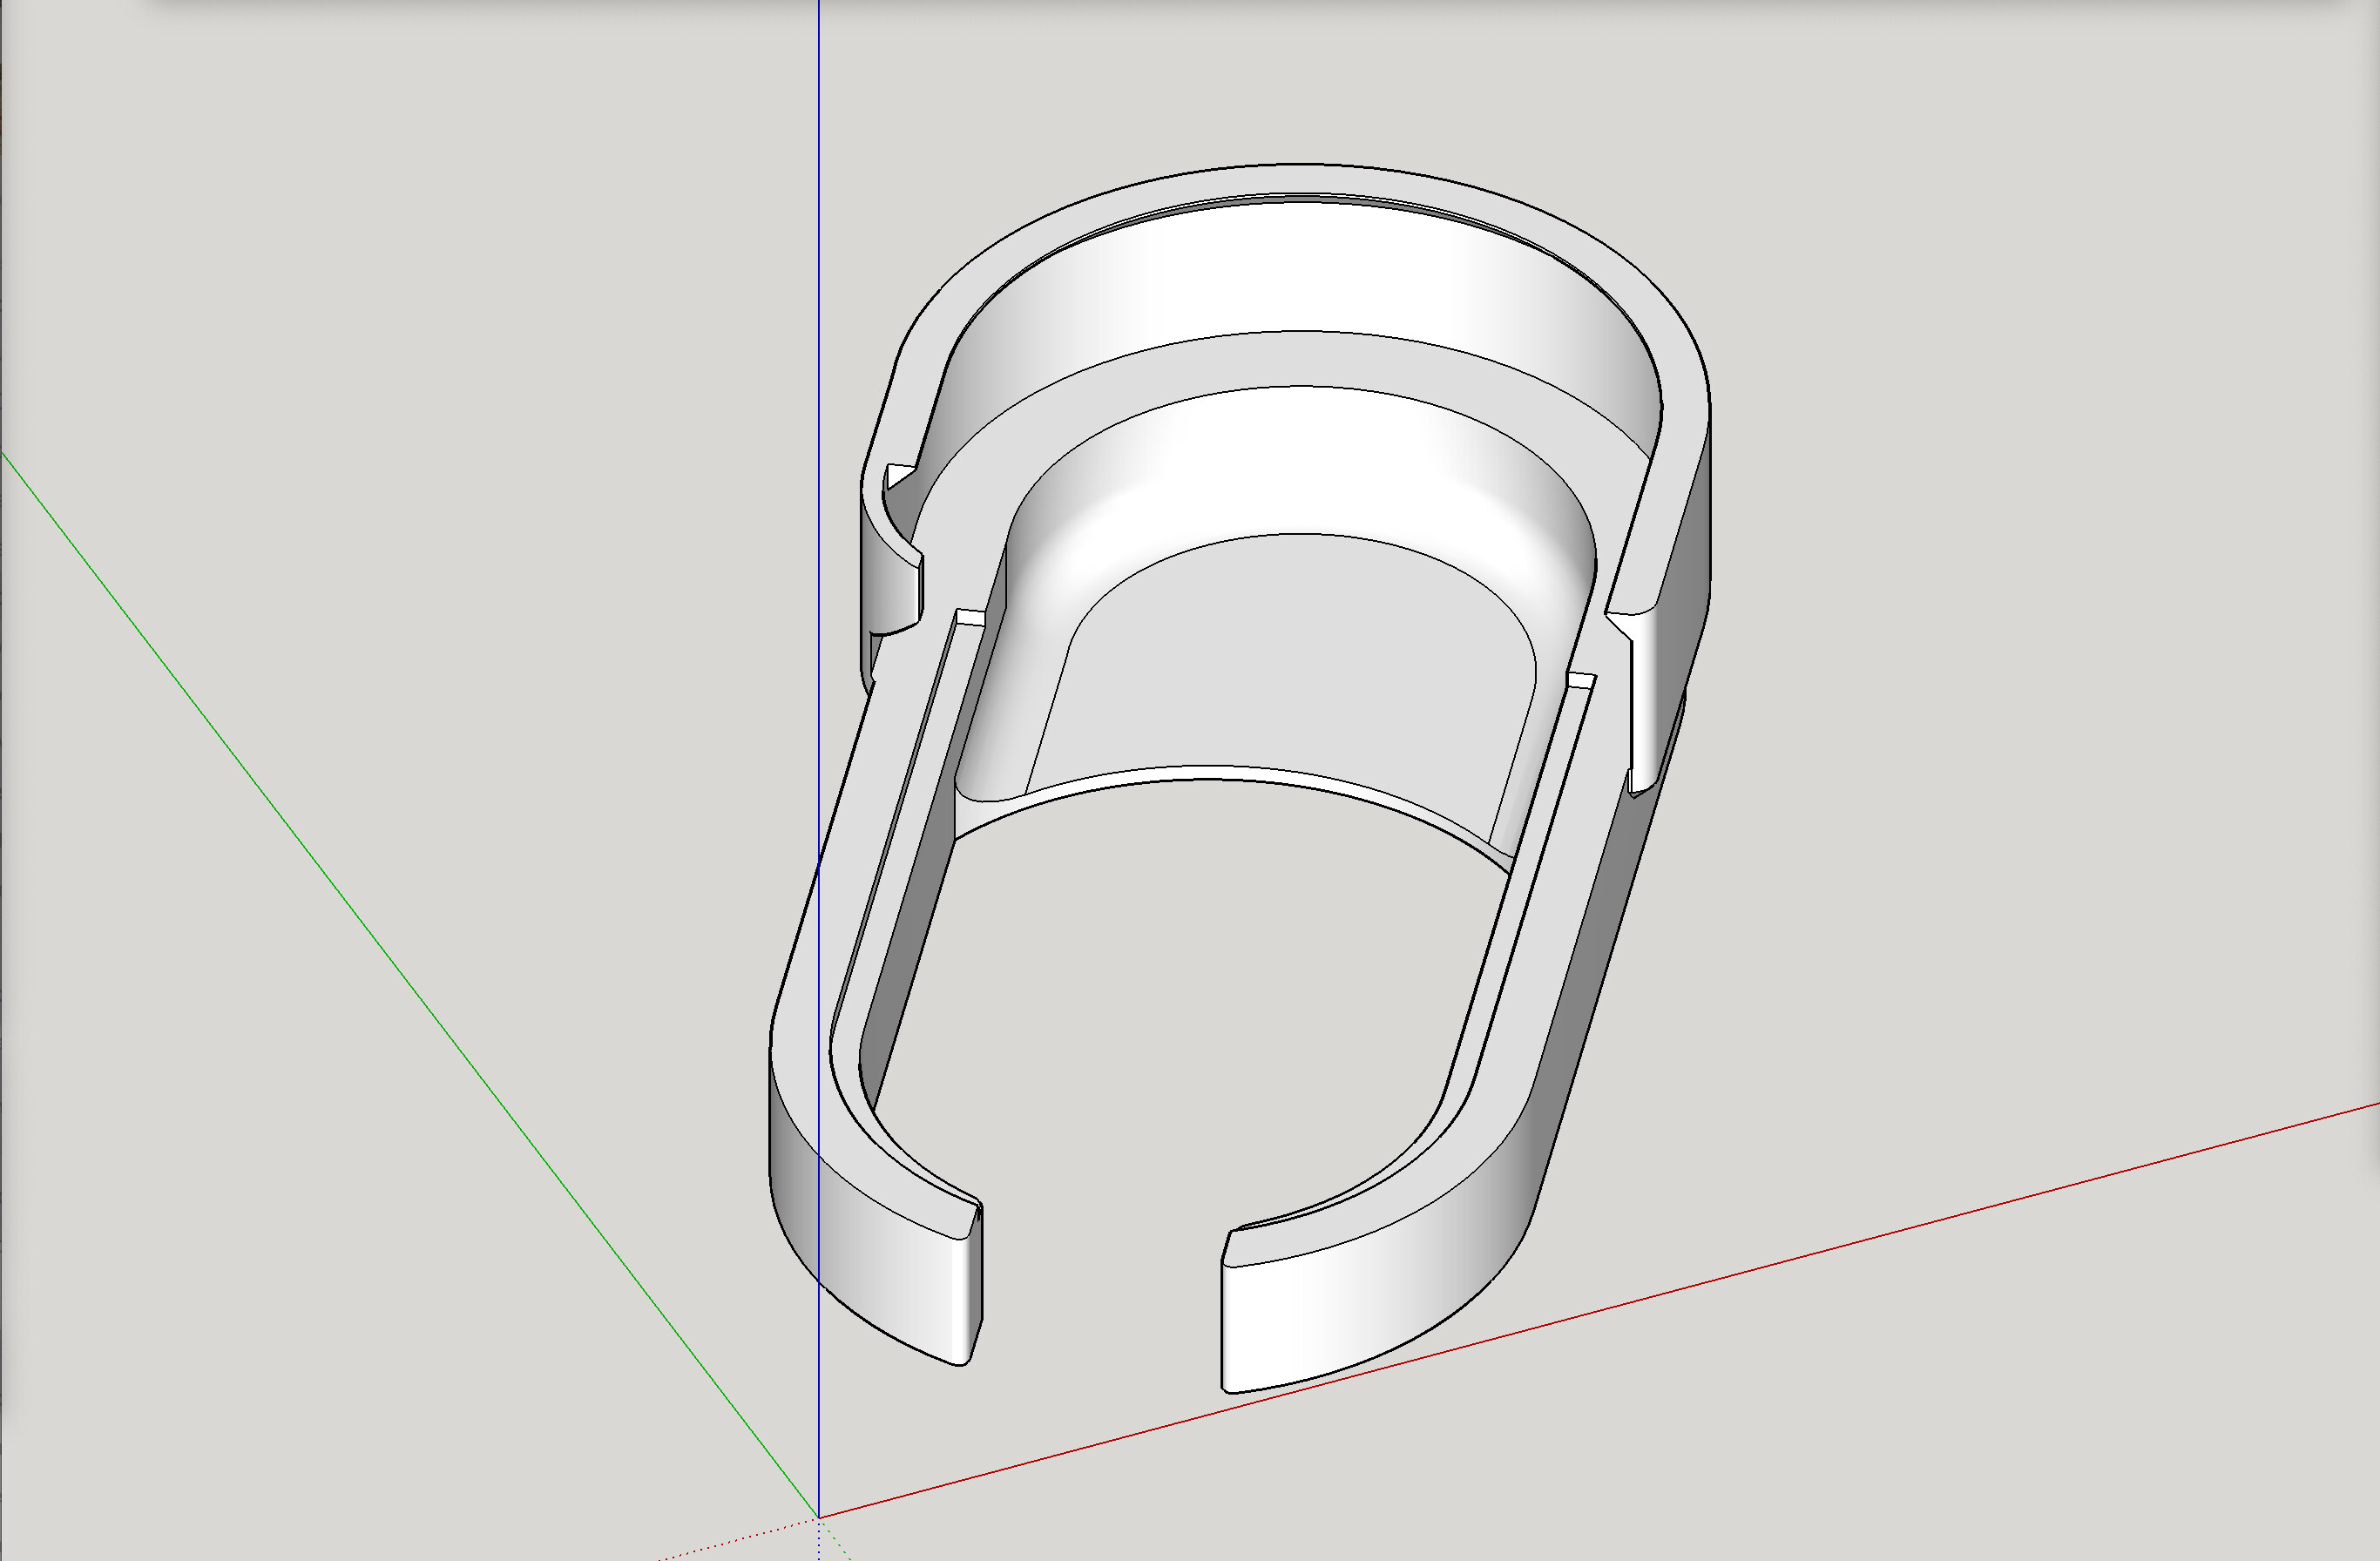
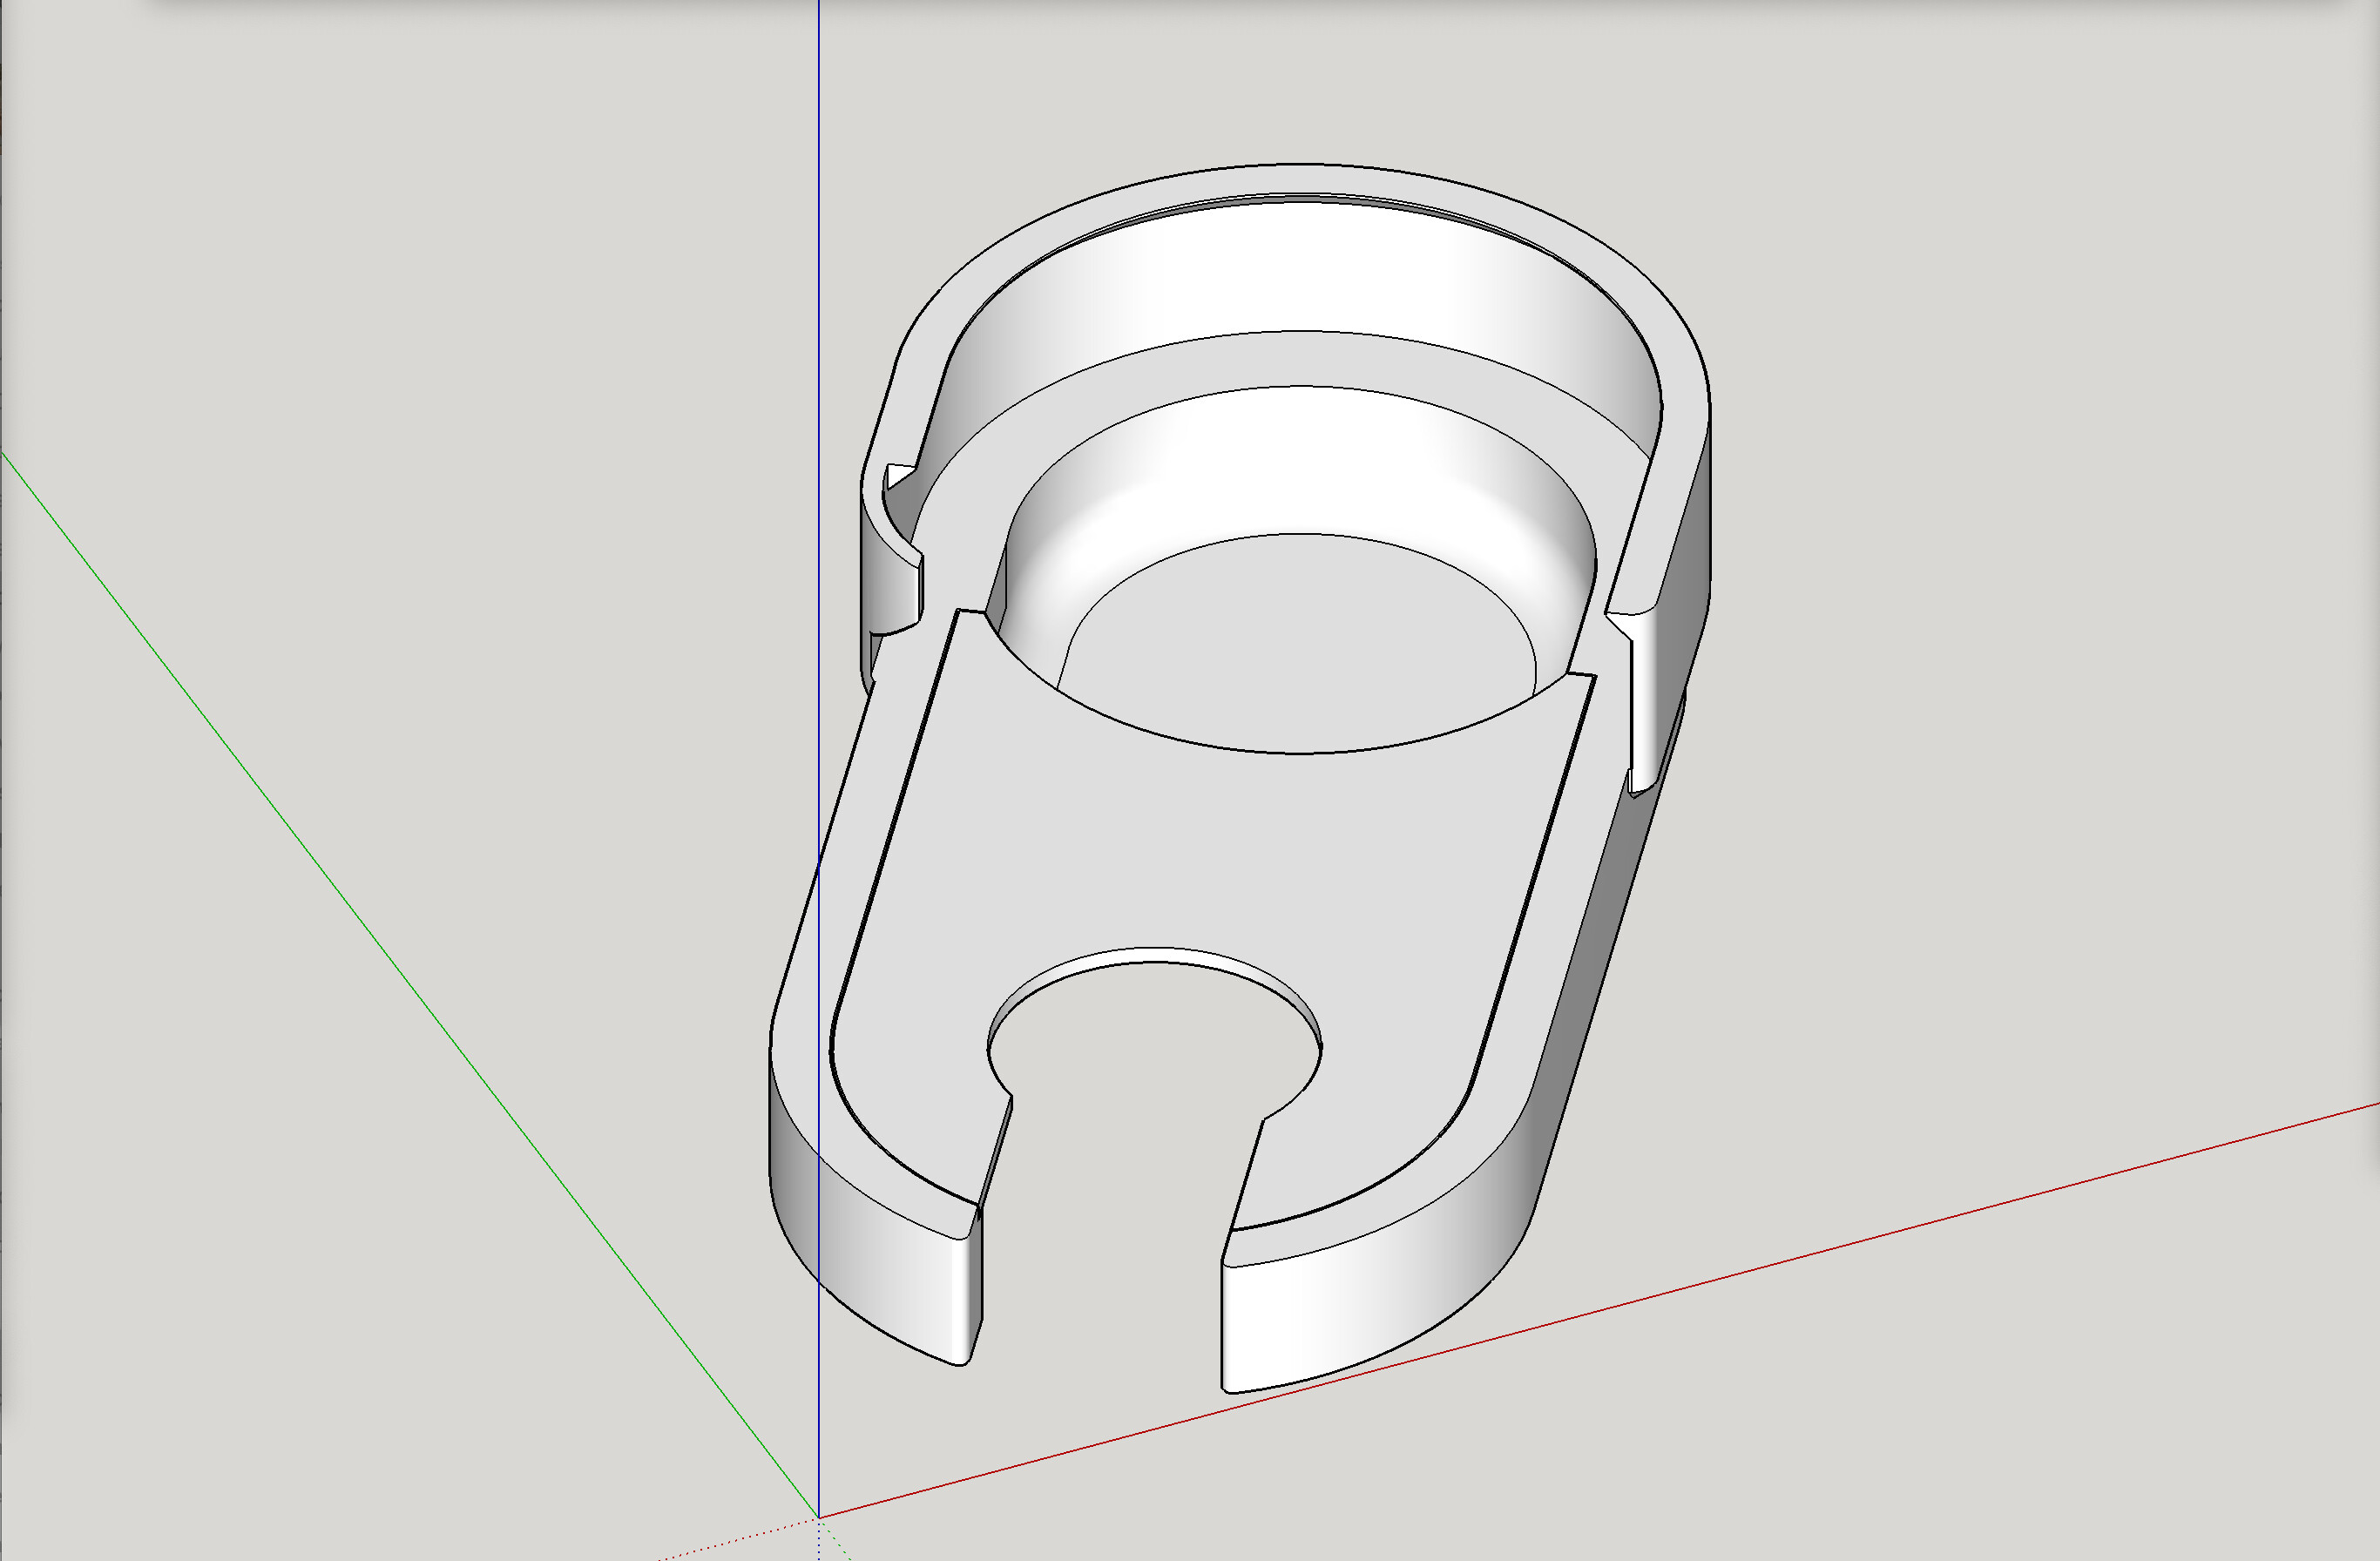
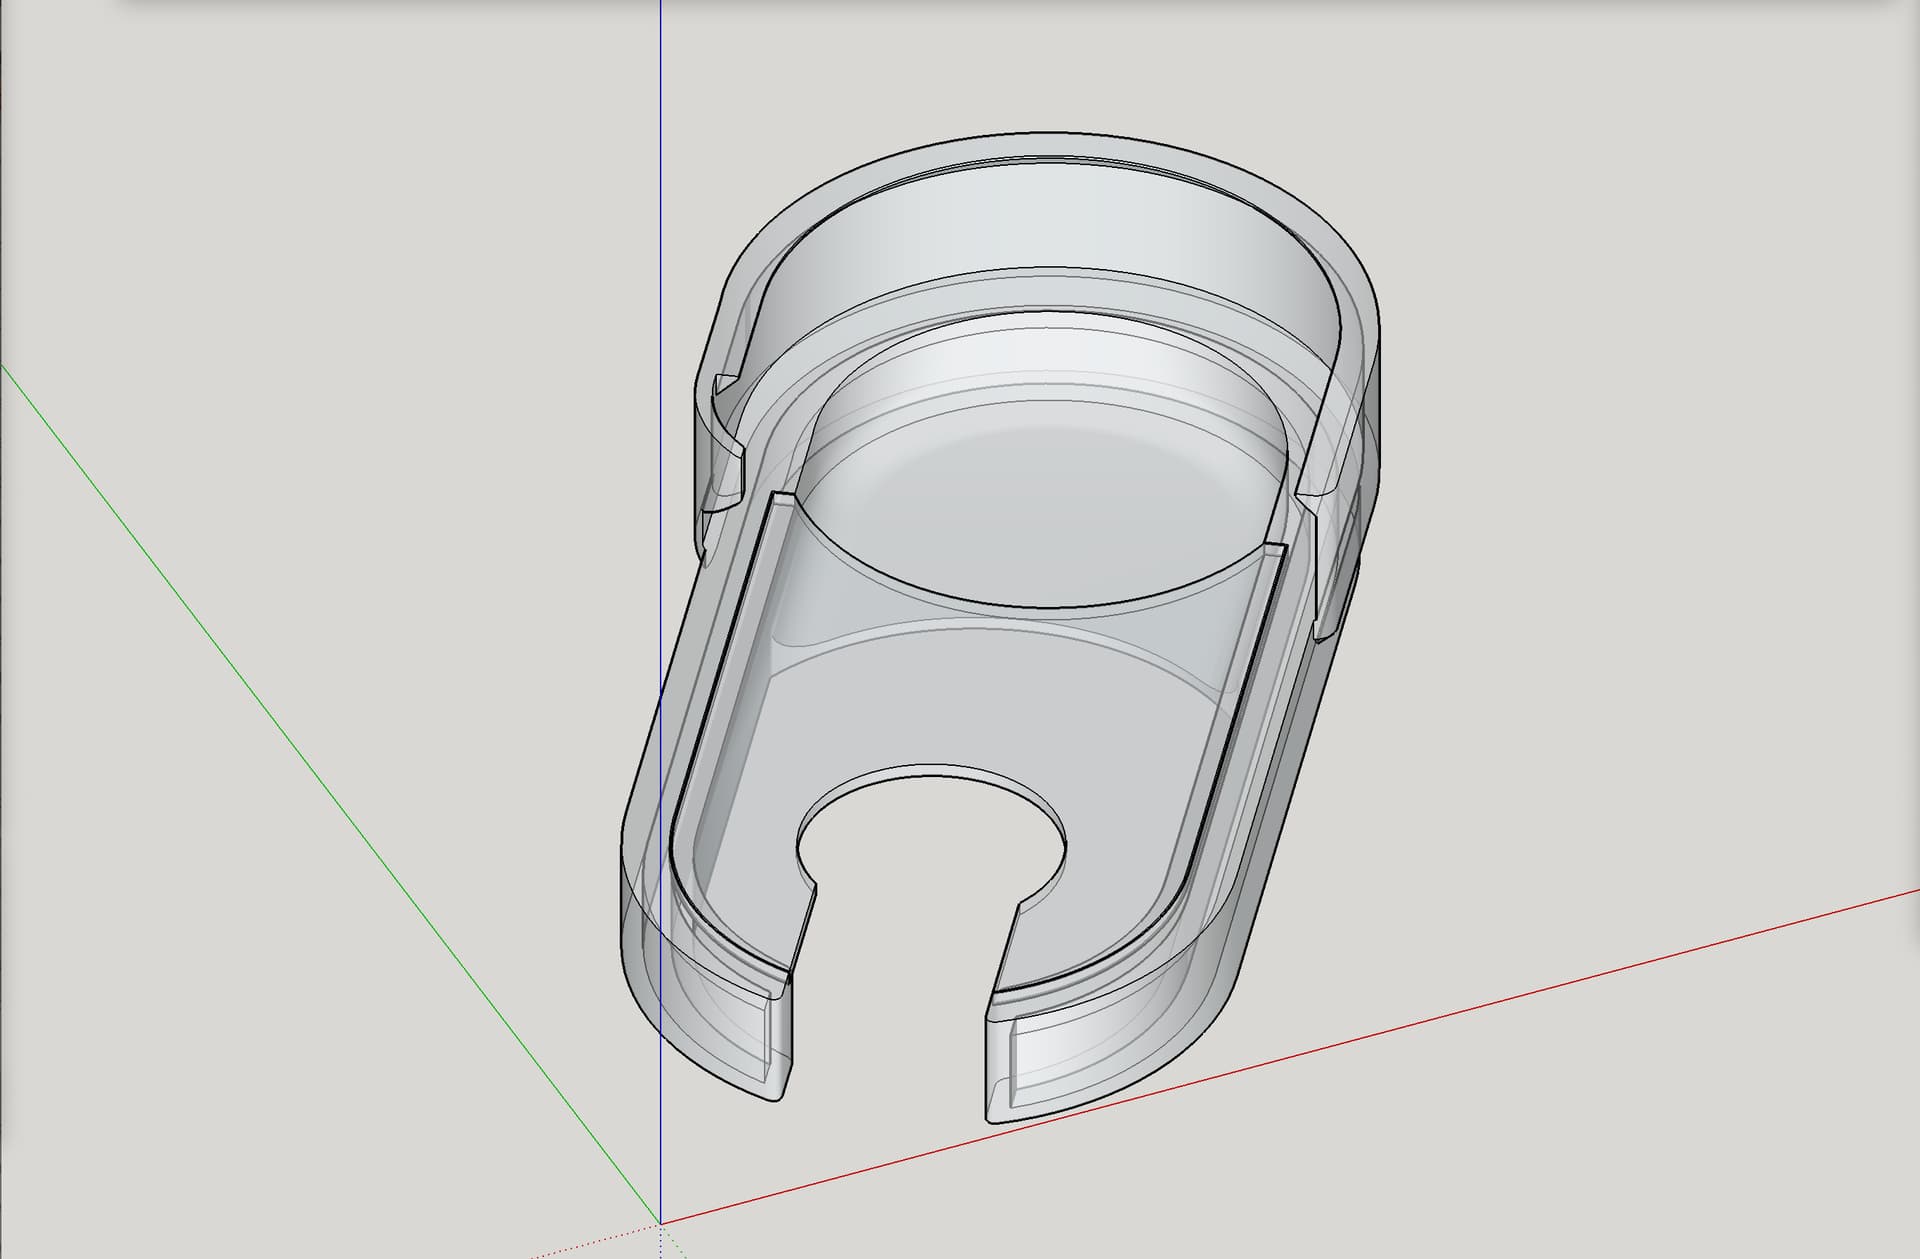
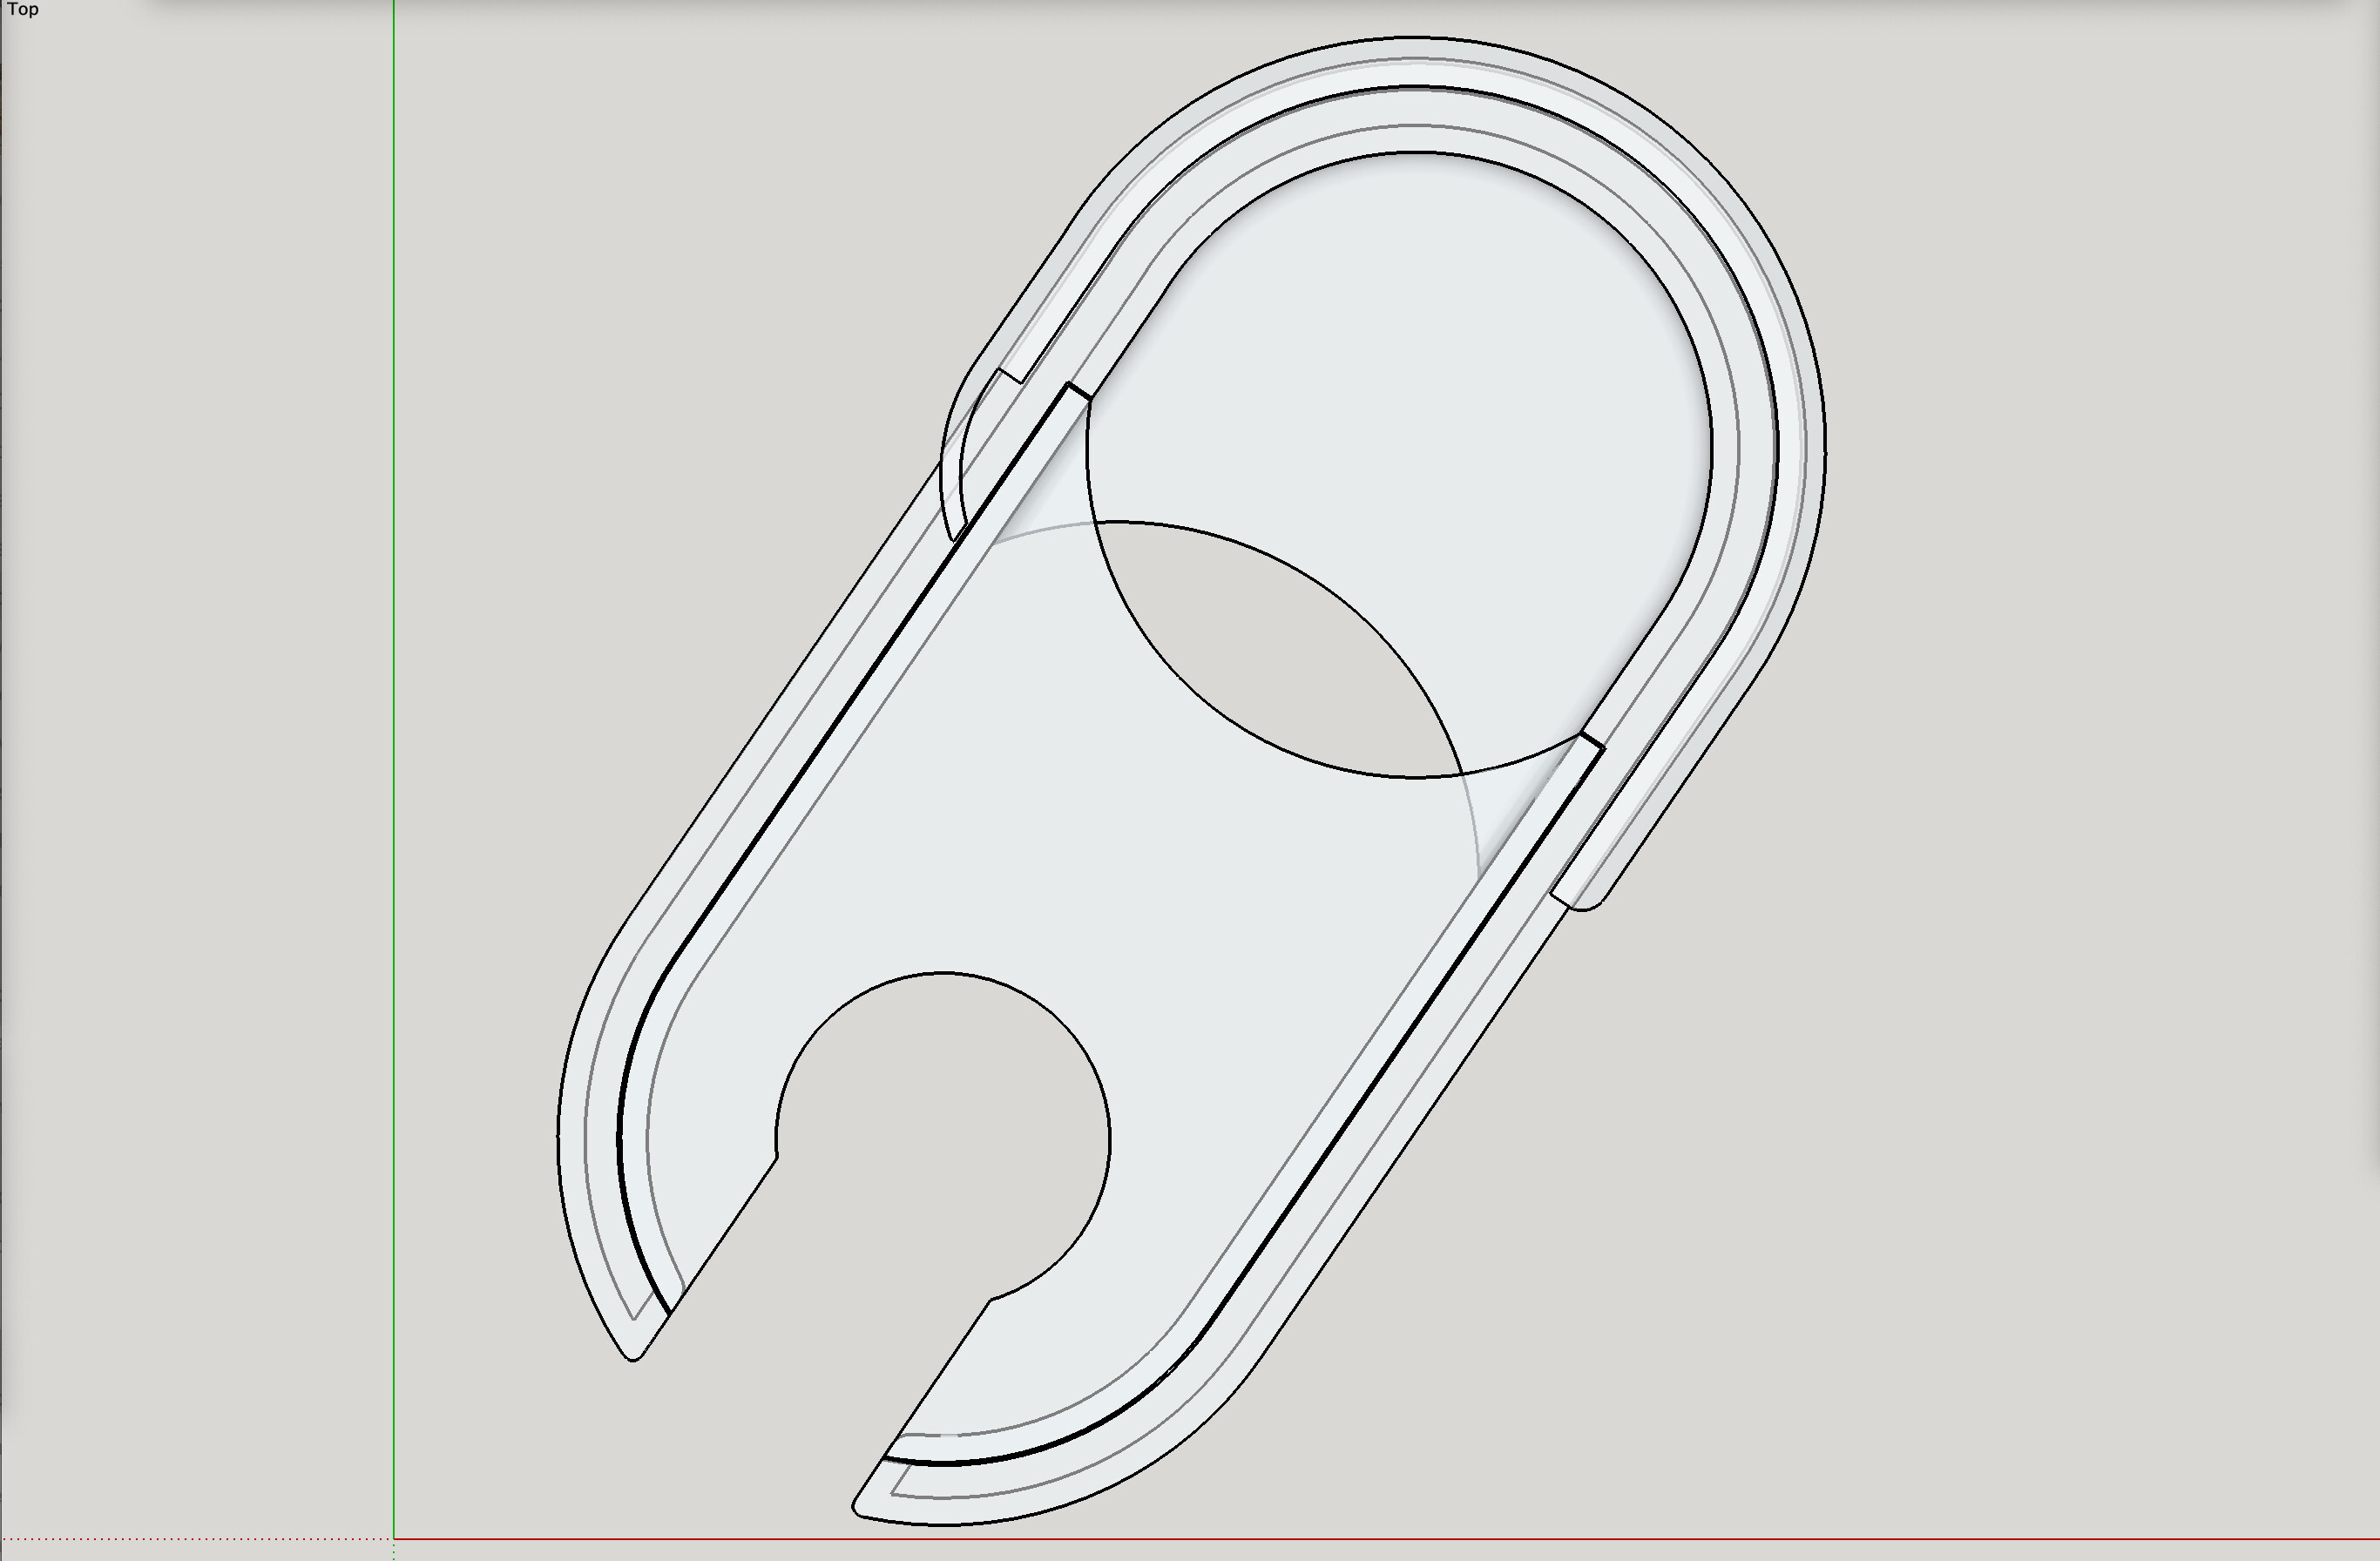
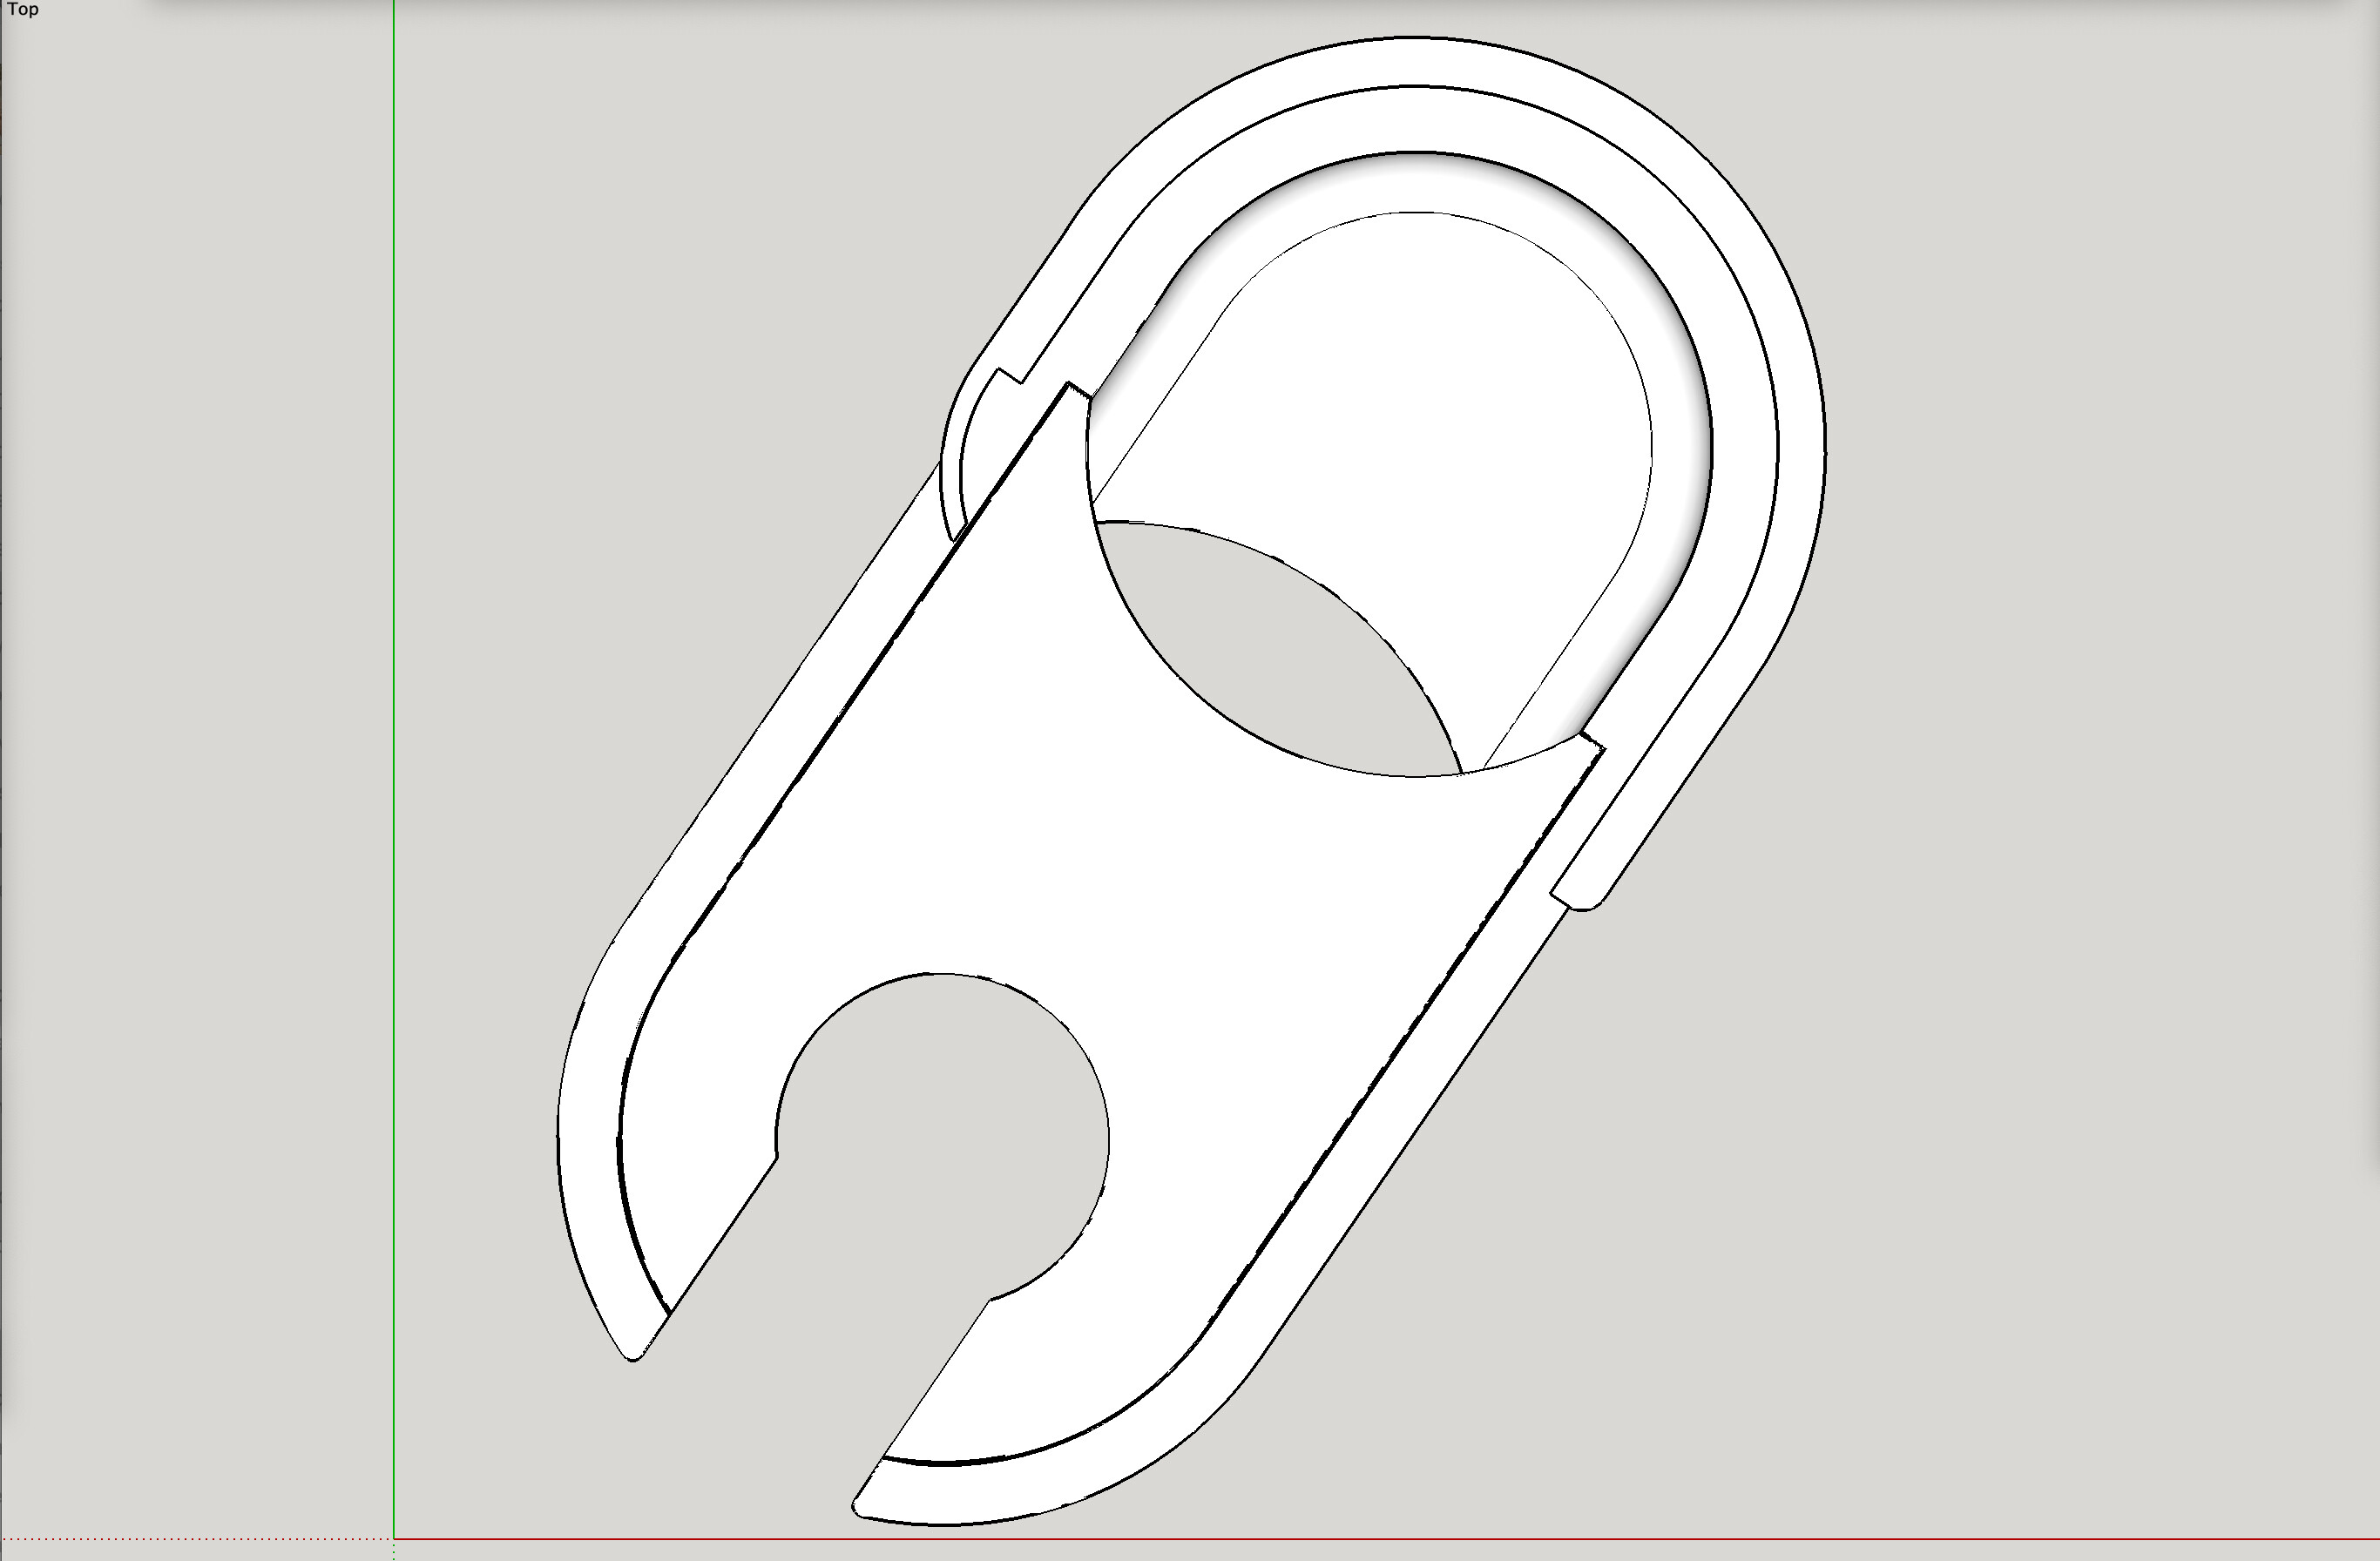
The shoe itself, once slid on, is long, and the business end of it is hanging out there, acting like a bit of a lever. It can get shifted around (laterally, “leftwards and rightwards,” in the same XY plane as the material) pivoting from the point back on the end of it that “slides on.” This means it can collide with the core when it is getting “retracted” upwards. I need to remix it to have more clearance.
Just wanted to mention this now, even before I remix it, in case someone is prepping to print it, so they know to hold off a bit.
2 Likes
Thanks, Doug. I am postponing the printing of it until you give the OK.
1 Like
Looking forward to checking out the remix!
I have posted my hose adapter here: Printables. The slots for the c-clip are a little large; if someone wants to remix it to be more precise in relation to the c-clip and in terms of distance between the c-clip holes at the hard stop in the dust shoe mount, feel free. It’s probably not as slick an interface as a shop vac hose, but it ought to do the trick. Haven’t tested it live, though, since progress has been slow and my LR3 is not back on its rail yet.
1 Like
Cool! Thanks!
1 Like
I’m trying to publish the remixes, and currently hitting a license roadblock. I have posted a question to Ryan about it.
OK, I went ahead and revised the license on all my upstream remixes to match what Ryan’s original Makita mount currently shows as its license, which is the “Share Alike” one. I was then able to get past the roadblock and set the newest revision on this latest remix to the same.
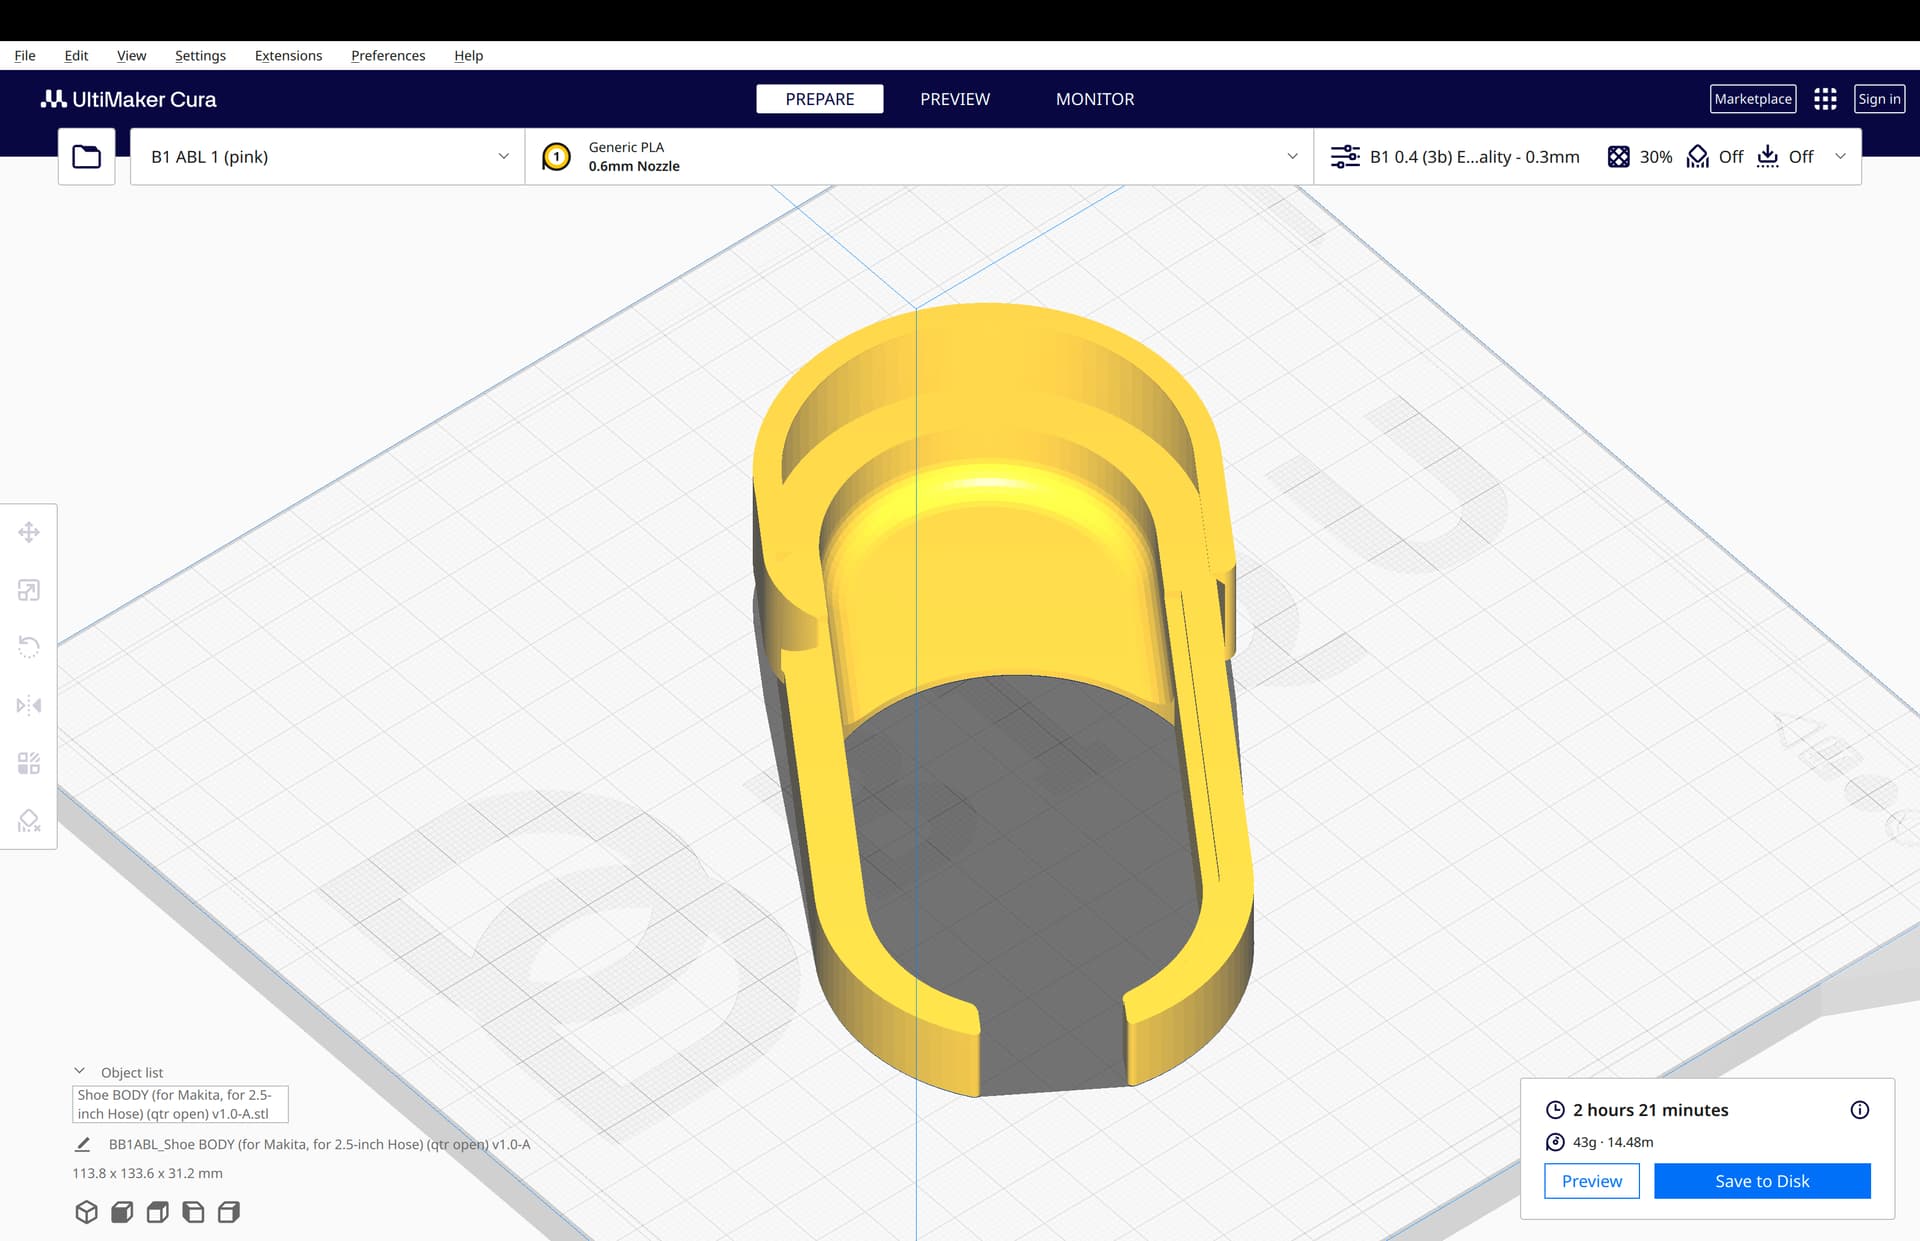
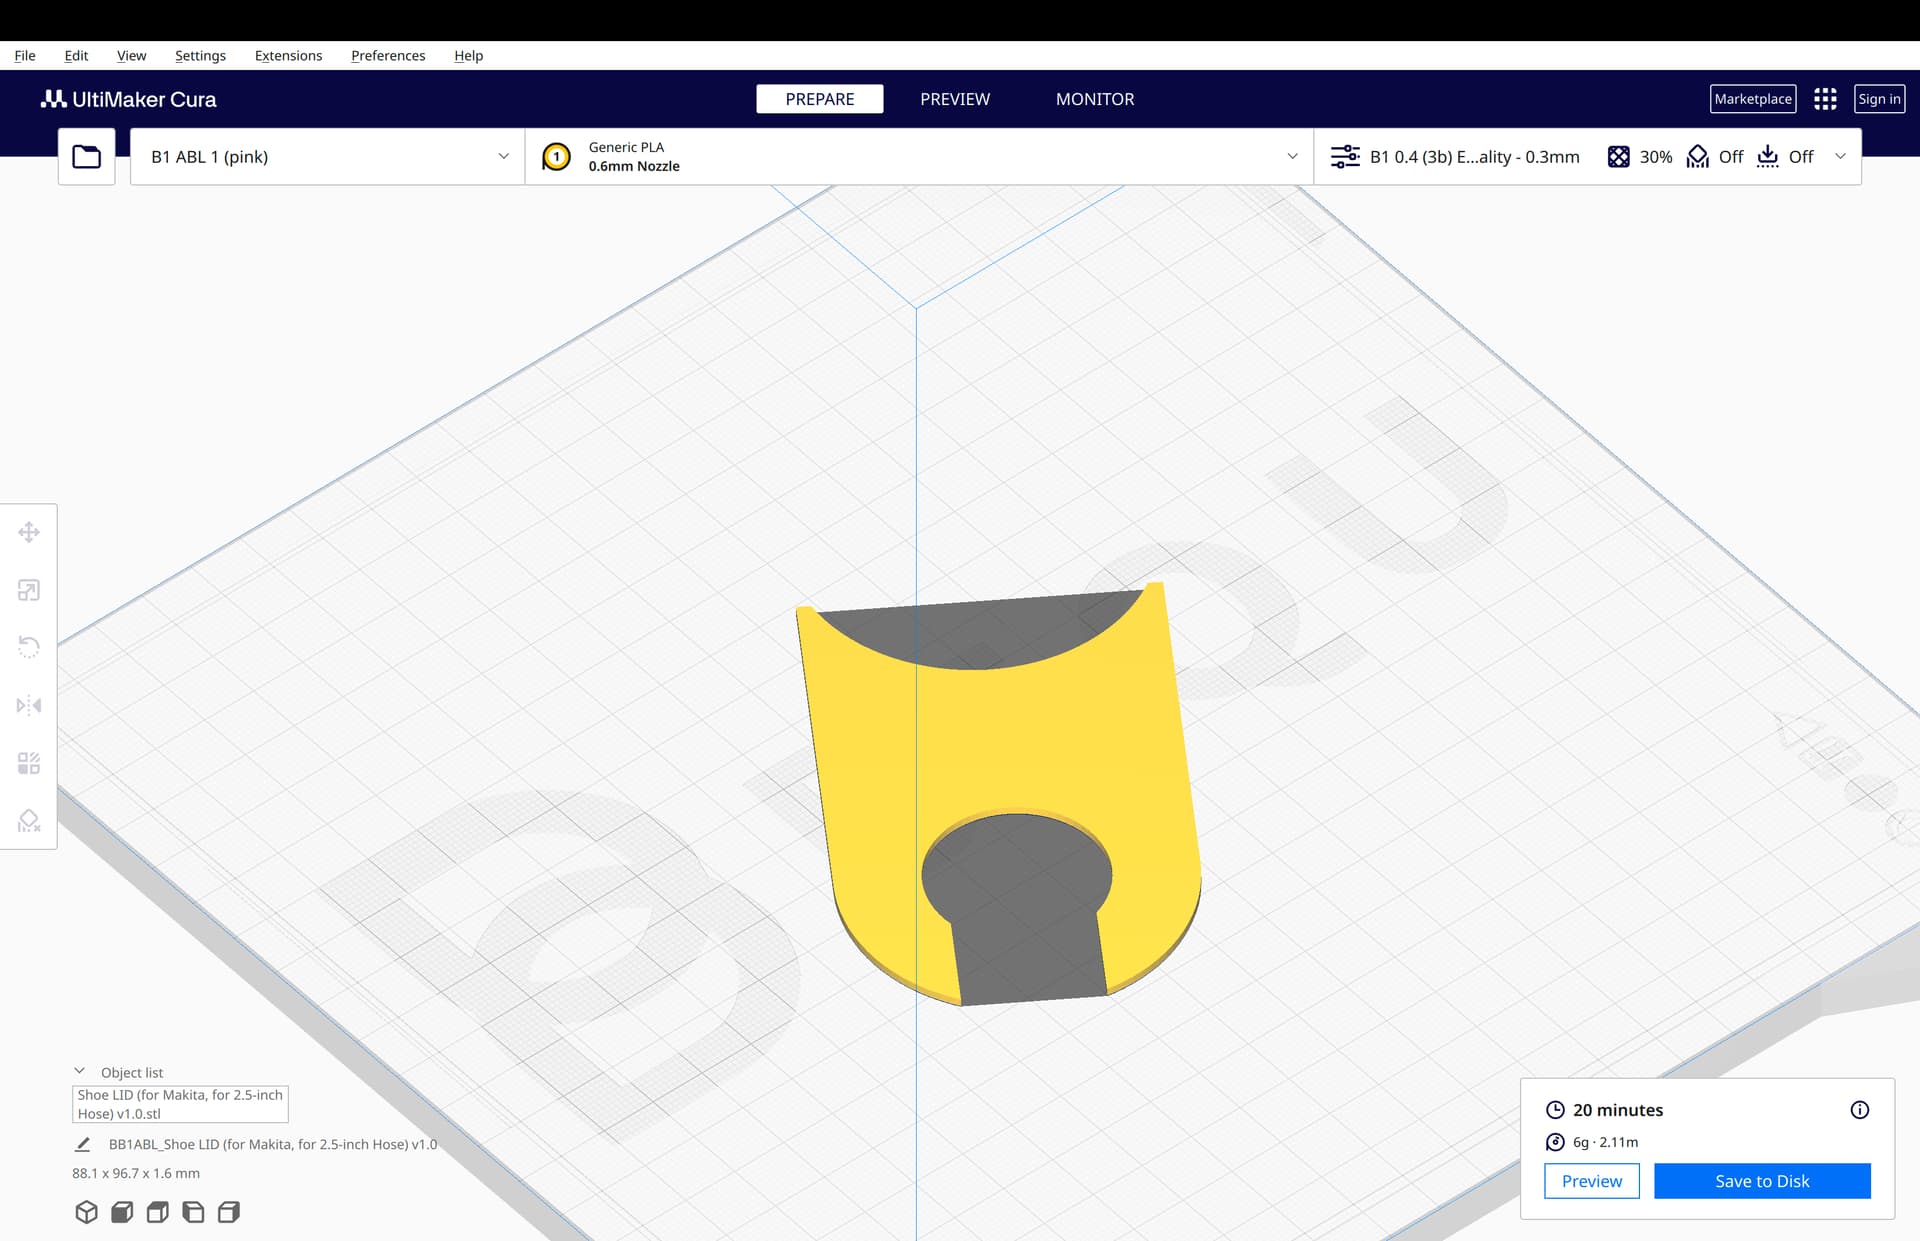
Download the latest files here: LowRider v3 Floating-Z Dust Shoe and Makita Router Mount, for 2.5-inch Vac Hose (VacMaster Shop Vac) v1.0 by Doug Joseph (design8studio) | Download free STL model | Printables.com
Change log:
- October 3, 2023 — Revised the Shoe Body and Show Lid based on actual testing. The shoe itself, once slid on, is long, and the business end of it is hanging out there, acting like a bit of a lever. It can get shifted around (laterally, “leftwards and rightwards,” in the same XY plane as the material) pivoting a little bit. This means it can collide with the core when it is getting “retracted” upwards. This remix added more clearance, to help with that. I also revised the Slide Latch part, again based on actual testing. I made the “hook” part of the latch stronger, longer, thicker, etc. To reiterate, these are the revised parts:
- Shoe BODY (for Makita, for 2.5-inch Hose) (qtr open) v1.0-A.stl
- Shoe BODY (for Makita, for 2.5-inch Hose) (half open) v1.0-B.stl
- Shoe BODY (for Makita, for 2.5-inch Hose) (full open) v1.0-C.stl
- Shoe LID (for Makita, for 2.5-inch Hose) v1.0.stl
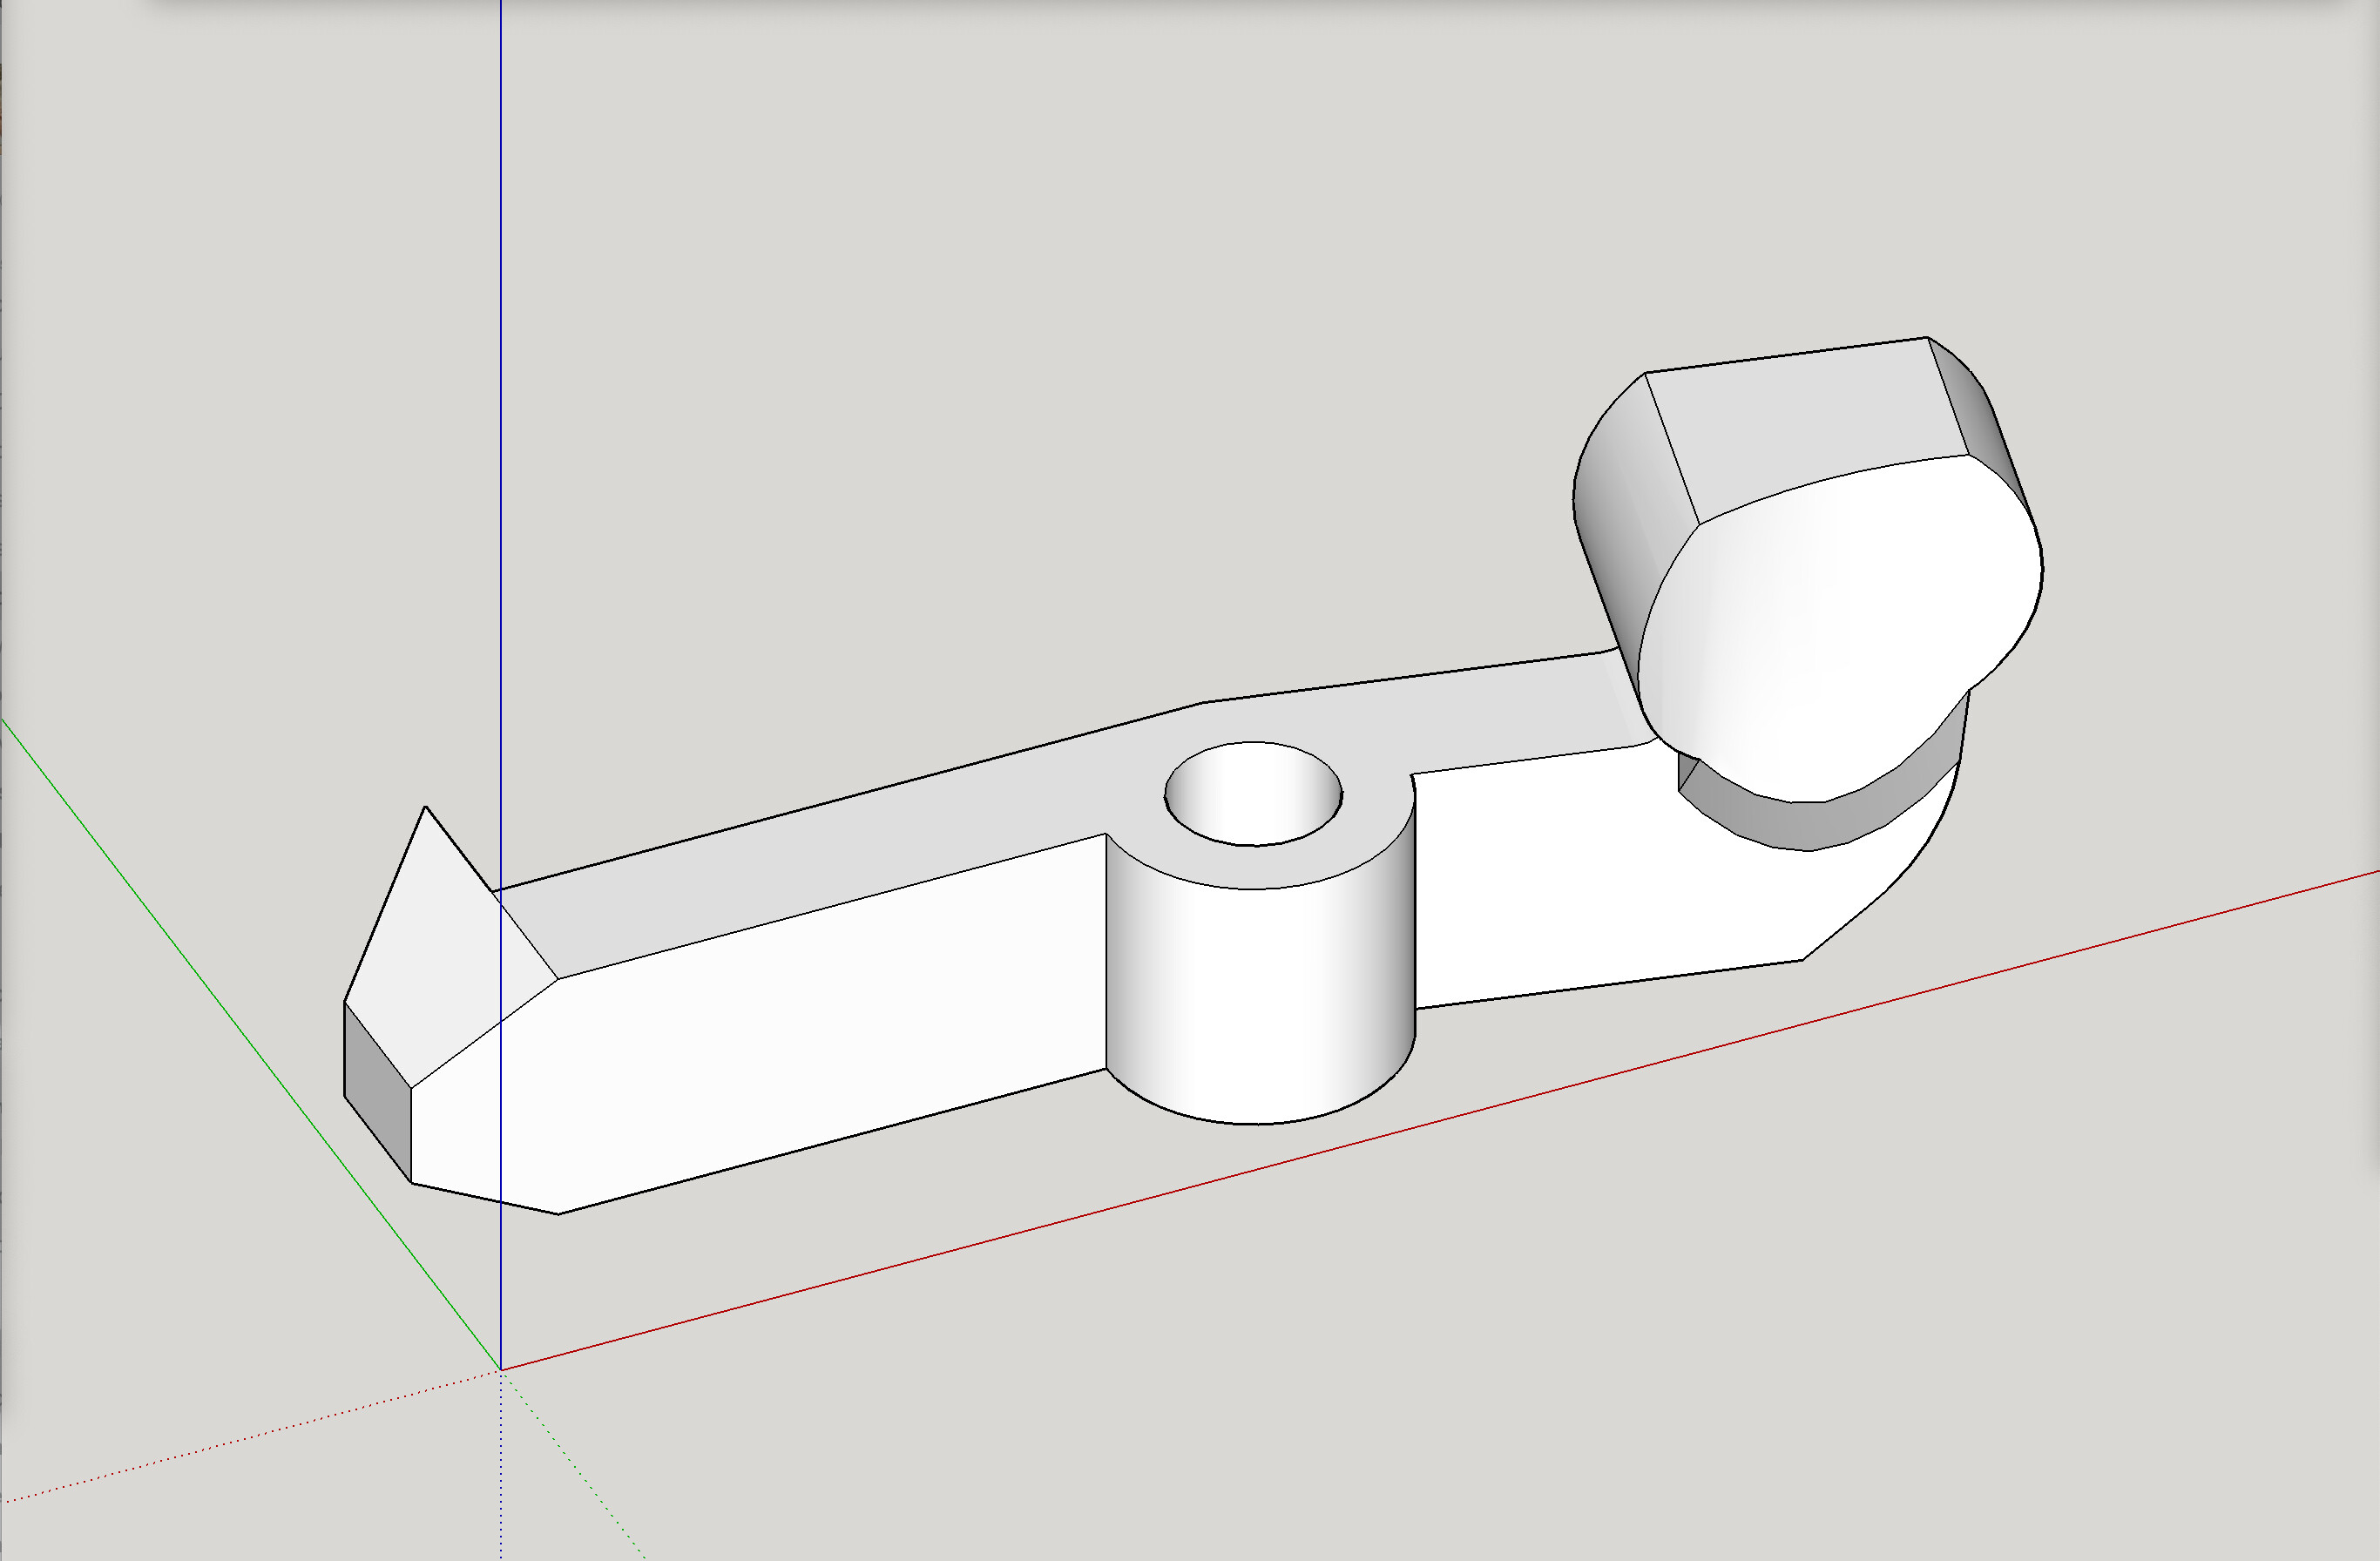
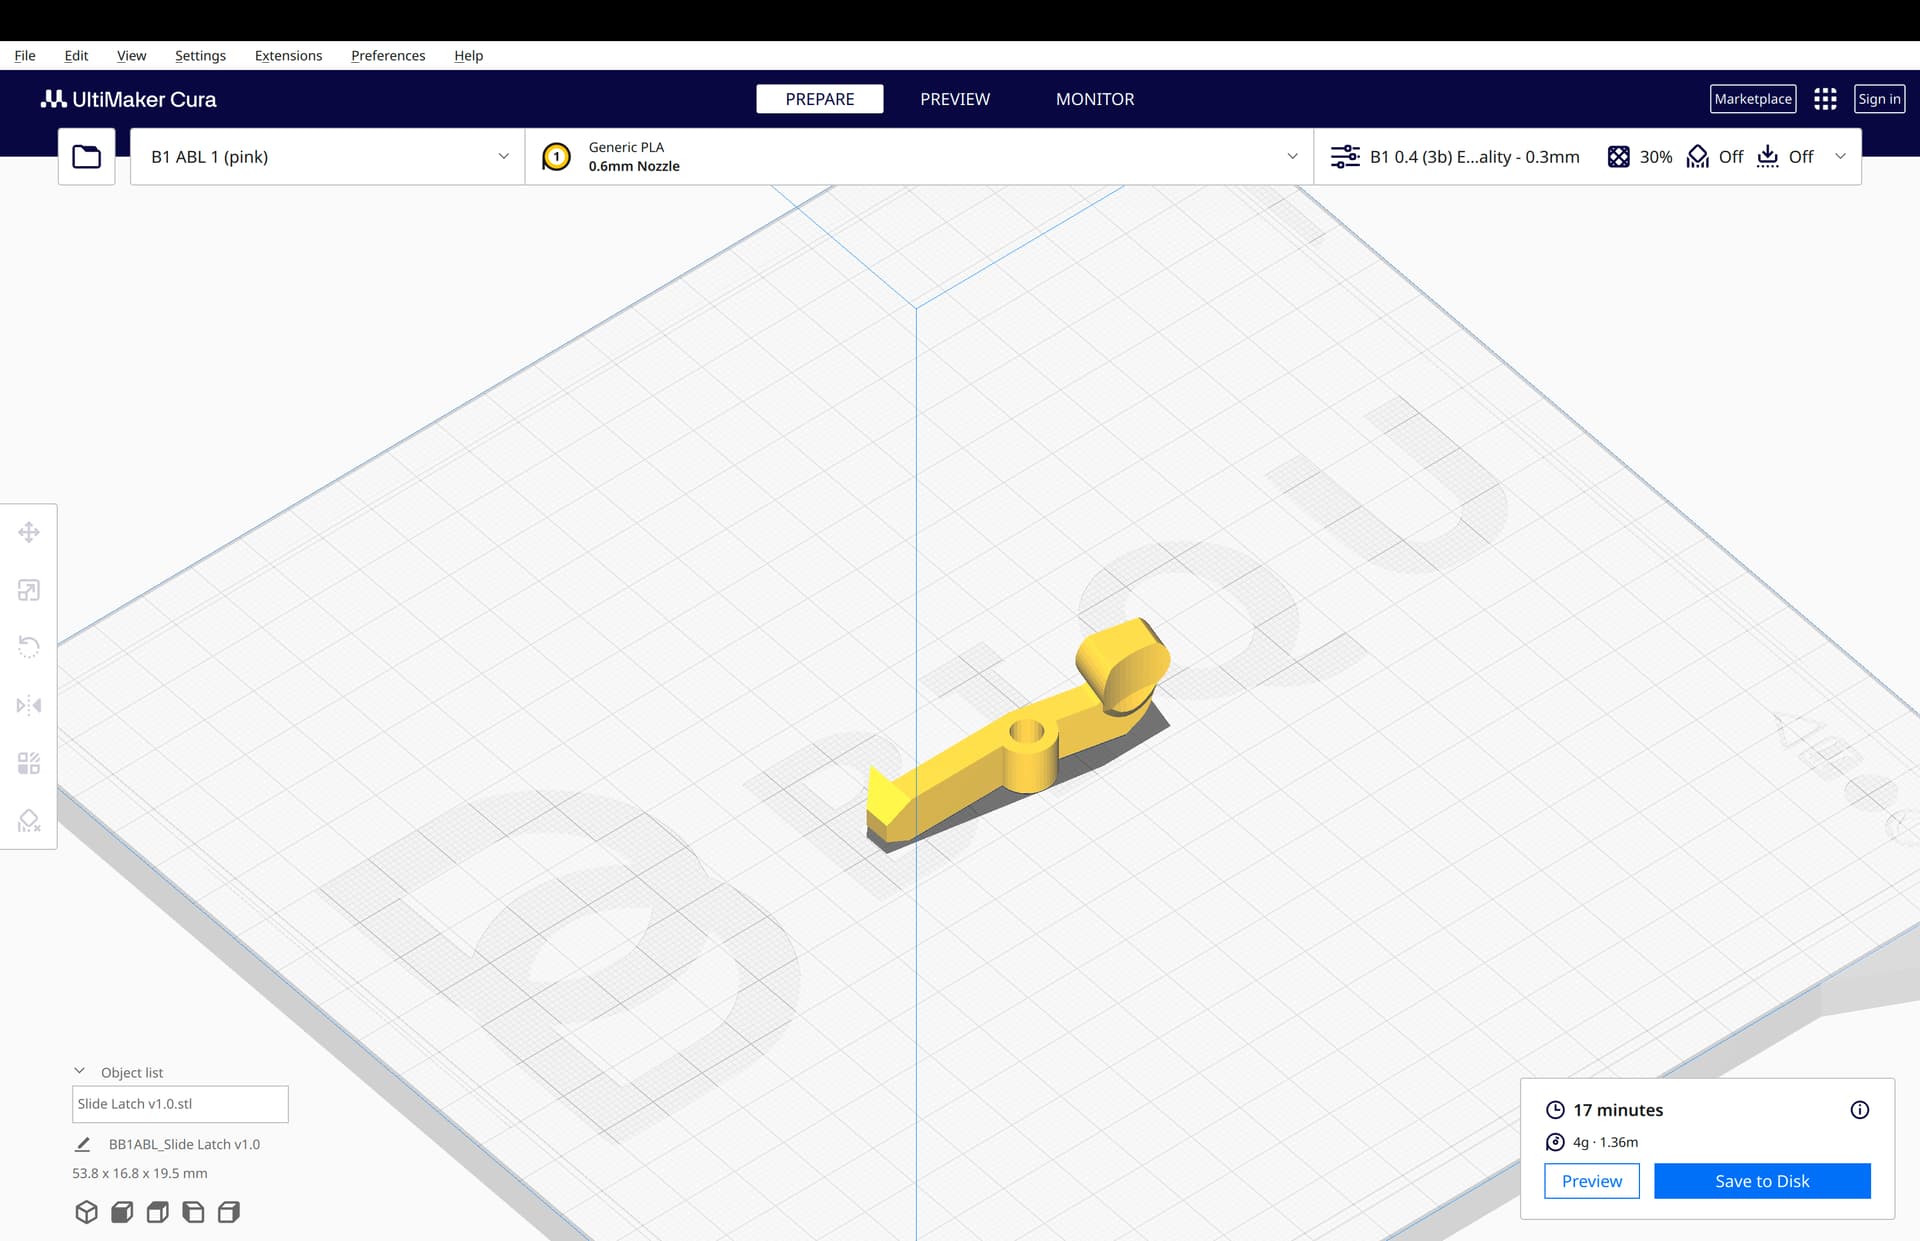
- Slide Latch v1.0.stl
1 Like
Thanks, Doug. Printing them now.
1 Like
Just completed my first couple of test cuts with the new floating Z dust shoe arrangement. Video forthcoming (part 3). Definitely all but eliminates wood chips / saw dust getting out onto the table/workpiece. Whether or not this “sled shoe” approach is good for the long run will be known over time. If a maker with this setup happens to be doing a job that is likely to have some of the cut pieces “pop up” out of their slots and potentially collide with the shoe, then using the built in latch to hold the shoe up would probably advisable. For now, I’m thrilled with its functionality.
3 Likes
ive try it and it work like a charm in a dewalt 611 with a bit a modifications i made my hose from tpu
thx lot for your work doug
1 Like
@Liam_Garcia Thanks!!!
Thank you! On its way to the printer ![]()
1 Like
I just finished editing the Part 3 video on this, and it’s currently rendering. My initial testing with the “1/4 open” shoe has led me to think the best option is a shoe with the very same amount open as on Ryan’s original @vicious1 design, so I won’t be testing the “1/2 open” or “full open” options. Just a heads up. The video will hopefully be published later today, as soon as I can get it uploaded and processed. I’ll also be making a thumbnail image for it.
1 Like
The video is currently being uploaded and processed by YouTube’s servers. As of 11:40 am (Eastern US), it’s not live yet, but when it is soon, it will be at:
LowRider v3 DIY CNC - new floating-Z dust shoe - completion & test - part 3

4 Likes
Nice! I have only printed the “full open” shoe so far, but I’m going to print a “1/4 open” shoe right now. Once my LR is cutting (someday! sheesh), I’ll try them both out for giggles.
1 Like
Another great video Doug - I would love to race out and just build one, but I’m going to stick to my guns and start with the stock approach for now.
I am really interested in “dust” collection efficiency so need to have a baseline before I start - it’s all a bit fascinating!!
1 Like
Thanks!
To see my baseline, consider the video evidence I published in part 1, starting at about 54 seconds in:

I’m world’s ahead of that baseline.
Update
Printables listing was just updated.
As of October 4, 2023 — build and install now complete, and testing done (see video, part 3), and as a result, I am removing the prior three options of dust shoe (¼ open, ½ open, and full open) and replacing them with a single shoe that has about the same amount of opening on the bottom as Ryan’s original design.
1 Like