@jamiek is exactly right, and I concur. (And I mentioned those problems in my video.)
I had tried washers first, and the only reason I switched to magnet to magnet (flipping magnet on one side) was because my washers were non-ferrous (not subject to magnetism), and I only later found out that a certain type of stainless steel is non-ferrous, and often used in washers. For ordering washers online, the easiest way I have found for making sure they are subject to magnetism, is to buy ones that say “zinc coated”!
I bit my tongue, as I’m not trusting what I’m about to share (and I’ve not done any testing either).
But I watched a YouTube video, that said doubling the number of magnets, depth wise, increased their holding strength. In other words, instead of two magnets, in position one, having 4, in position one. Two on each piece, one on top of the other.
In my mind it doesn’t work that way, and I’ve been meaning to test that theory for my own curiosity.
I think it was for a vacuum quick disconnect, made out of wood. Same overall design, as the 3D printed ones. But it could have been something RC related as well. Can’t remember.
Just thought either someone is going to be able to confirm that tuber is wrong, or it might be an option. Again, sounds not right to me…
Actually, in my experience it would greatly increase the holding strength to double up the magnets. I don’t know about “double” but I can agree to much increase.
Also, in my experience it increases the holding strength to increase the thickness of the amount (mass) of non-magnetic yet ferrous metal being mated to the magnets.
Thanks for that info Doug.
Sounds like the ferrous metal on one side is still stronger, but for those who have plenty of magnets and depth to work with….
The magnets I used, are strong enough when using one magnet and one washer, stronger with one magnet and two washers (double the washers not the magnet) and very very strong when using two magnets, but only when one of the two magnets is flipped.
Not all magnet products are equal in strength. It really matters which kind you get. Magnets have an “N” rating of their strength. Higher is better. Also, look for the word “neodymium” — stronger, better.
It pretty much does work that way - someone posted quite a detailed explanation (might even be on this thread) about distances etc.
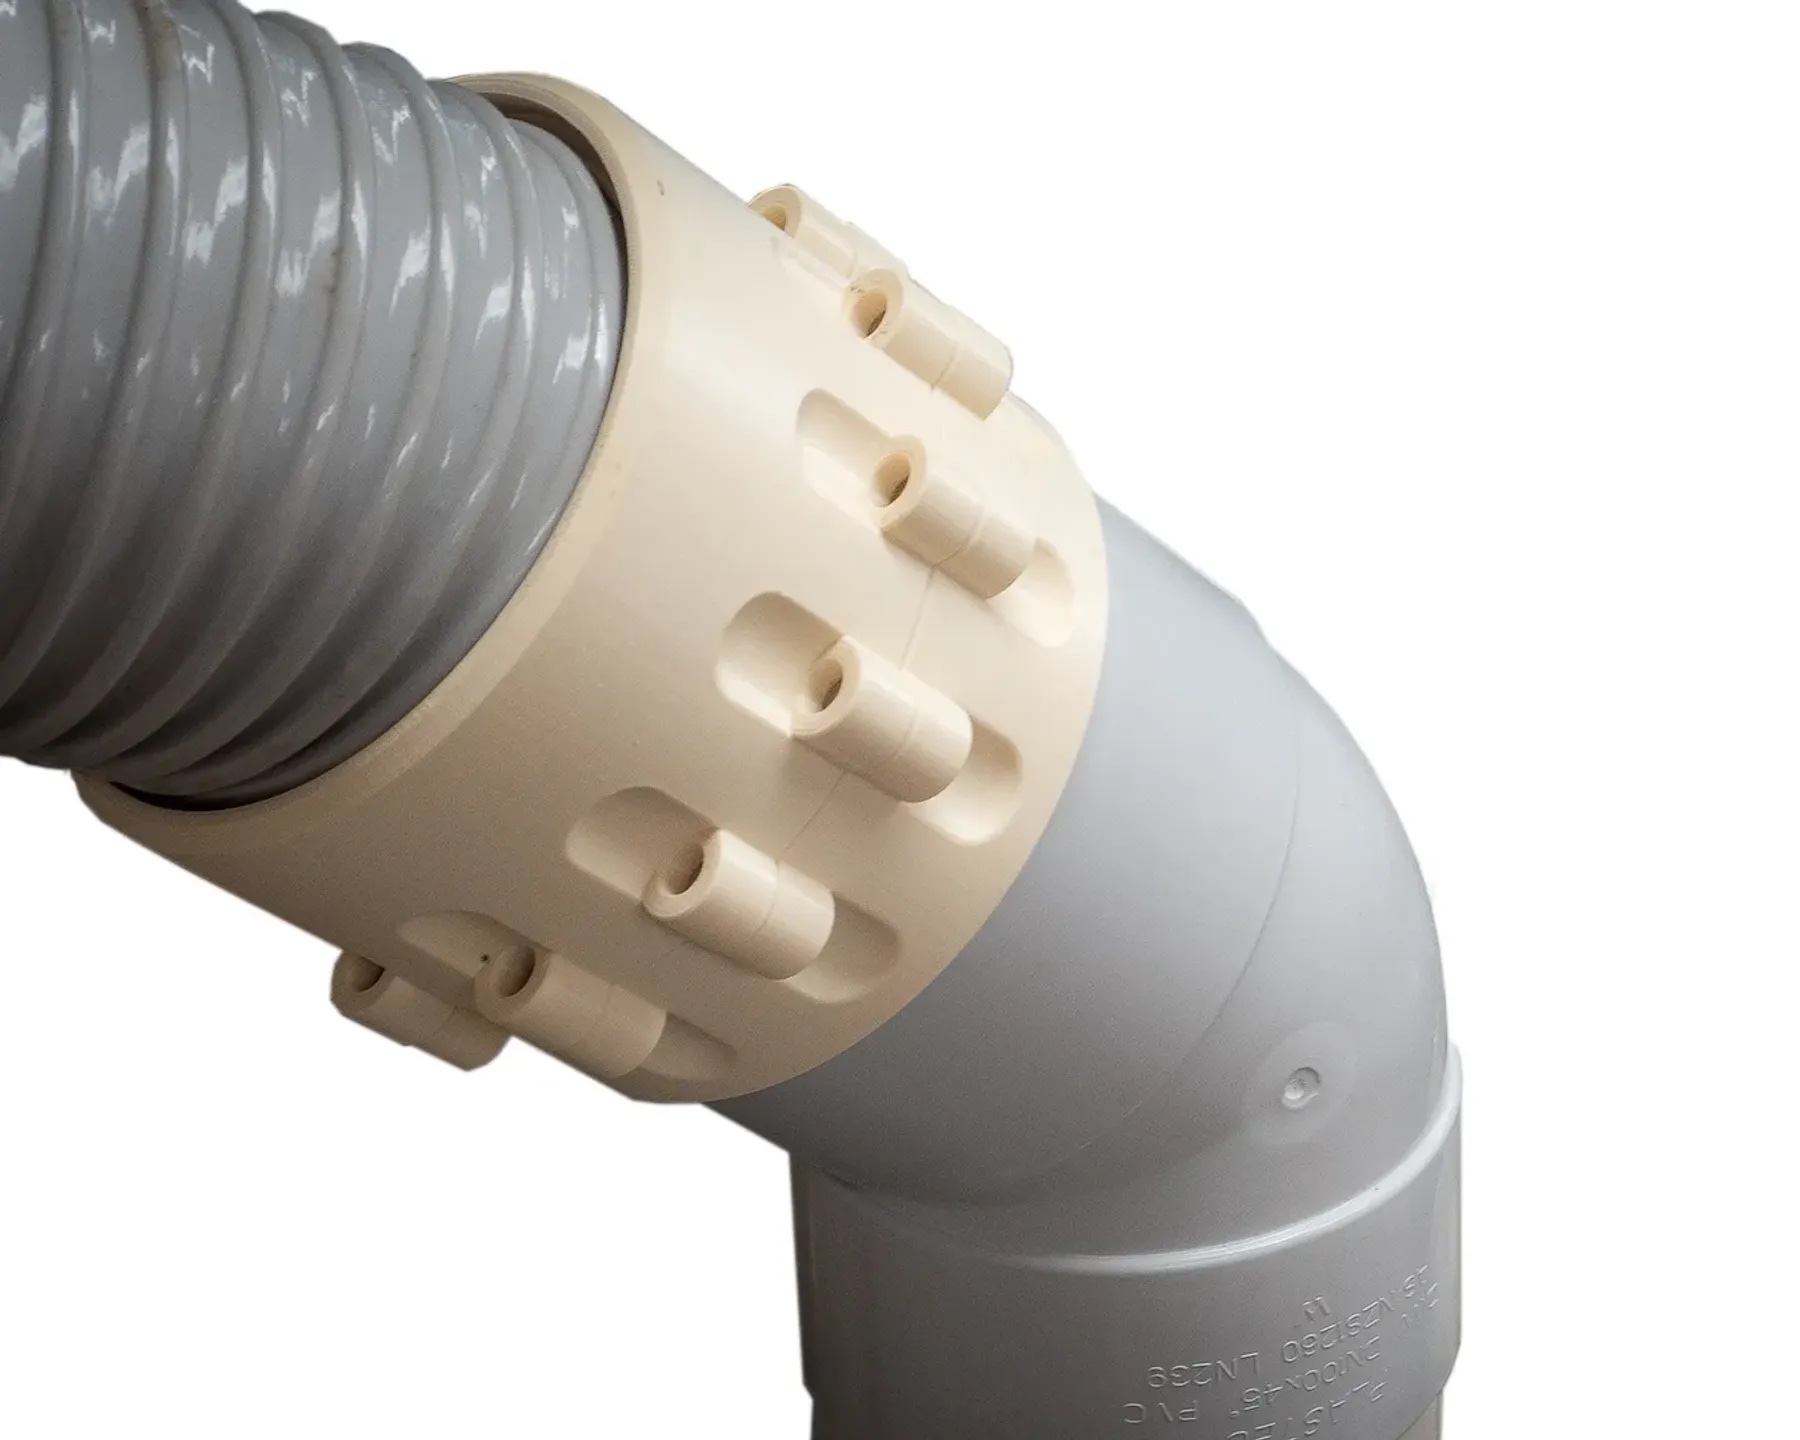
I designed my workshop dust collection fittings, probably along the lines of the wood ones you mentioned, so that I could add extra magnets from behind if they were necessary - they weren’t, but doubling them on both fittings had spectacularly noticeable effect.
Just another simple tip - if you are using magnets in an array like this, alternate polarity - all you need is a slight twist to get them apart and that when they come into range of the adjoining magnet they repel - if that description makes sense!
@DougJoseph how in the world did you flip these magnets??? I bought the ones direct from your amazon link and I’ve broken 2 fine tip flathead screwdrivers trying to pry them out to flip them and I cant get a pick to grab. Any suggestions??? Working on a mount for my mist coolant using this and need/want the extra holding power of 2 magnets
Ugh. It’s been a while, but I seem to remember reaching into the center hole with an allen-key type driver tip, the kind that has the little lip around the tip. Sorry I cannot remember for certain. I guess I was “determined.”
Model still needs some refinement for sure. Wish I could figure out how to get it turned 45° so it would face forward but not a big deal like it is. All in all it will be much better on that side. Mounted hard on the other side gives me problems homing x if I don’t remember to move the tube just right.
I’m re-doing the LR3 laser mount and thought I’d look at this, but since I don’t have the right magnets, it will have to wait a little. I have many 1/2" magnets, and considered rigging these as a 3-pack that should fit inside the 32mm circle. At least I think it would…
Anyway, I just got fed up with the rigamarole of swapping out the router for the laser, and if the drag knife and pen holders work out, so much the better.
I will say you should like it a lot! So far I have only used it for a Pen mount and I made a mount for my mist coolant but it has worked perfectly for both of those!!!
The previous version uses a cam lever type approach, and can work, although design is impacted by dimensionality of prints (under or over extrusion) so tweaks may be needed.