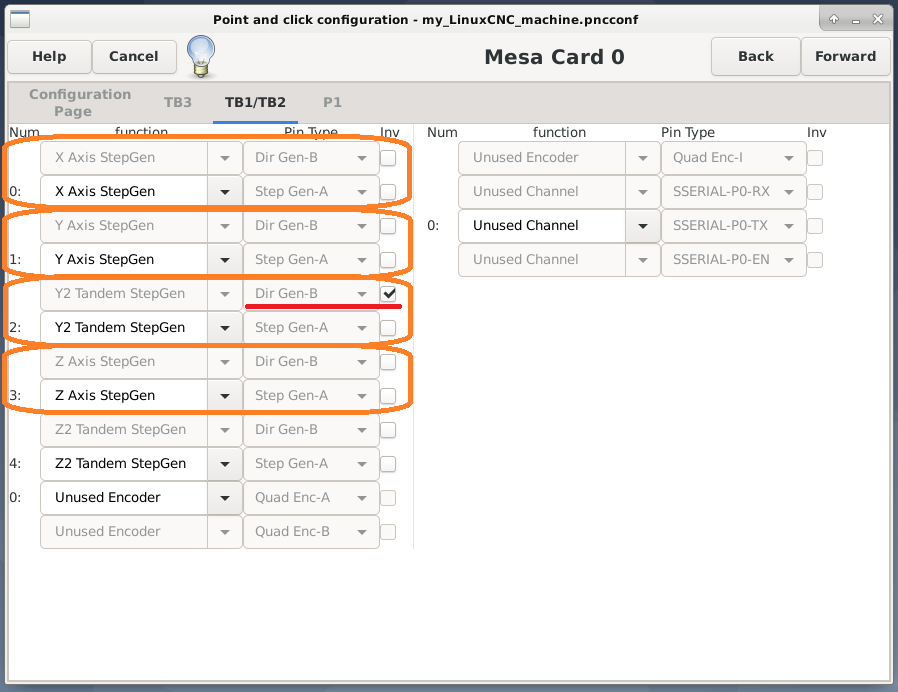
For TB1/TB2, step generators, I’d check the invert button next to the comboboxes that say ‘Dir Gen-B’ where needed. (it very well might work checking either ‘pin type’ but this makes the most sense to me intuitively)
For TB3, I’m flying by the seat of my pants here as I haven’t configured homing switches before. I could be wrong but I would think that inverting the switches here in pncconf just inverts the signal as presented to the linuxcnc software from open to closed and vice versa. I wouldn’t think intuitively that it has anything to do with homing direction. That said there’s plenty in linuxcnc config that doesn’t work in a way I would have thought to have been intuitive…
Yes, you are correct about the inversion of switches. I had to do that on only my Floating Z switch.
When I was trying to invert the direction of stepper motors in the PNCconf wizard, I check marked the “Step Gen-A” option, but that seemed to get no perceivable result! So maybe it is supposed to be the “Dir Gen-B” box that needs checked.
Anyhow, I was able to make it where no inversions were needed in PNCconf and no manual edits needed in INI file, and I have a fully working motion control system, functional exactly as expected — pressing “-” goes toward left on X, toward front on Y, and toward downward on Z, and “+” does the opposite, exactly as hoped. The kicker for me is that my “home towards” choices in the PNCconf pages all had to be the opposite of what I was advised. Home towards positive for X and Y, and home towards negative for Z.
That reminds me: for a period of time when I was going through this an update broke this functionality in pncconf, the invert checkboxes did nothing for changing motor direction. The fix at the time was just to multiply the stepper scale by -1… Maybe it has been broken again?
I’m so close to being able to cut… the last two wiring patches to test and verify are:
the one that tells the plasma machine to turn the torch on (and conveys “Arc OK” signal back to control board), and
the one that conveys to the THC the arc current levels (to raise or lower torch as needed).
In order to test the “Torch on / Arc OK” wiring, today I actually set up for a complete test cut. If the wiring was all correct, I’d have actually cut a tiny circle. Alas, the torch did not turn on. So, I have to trace that wiring, make sure all is routed correctly, and test for continuity. Sigh, so so close!
I just double checked my wiring schematic versus my mapping setup in LinuxCNC, and it seems the is issue is just a mapping error. When I did the mapping in the LinuxCNC PNCconf setup wizard, I made the mistake of forgetting a mapping change was needed because Peter C Wallace, founder of Mesa Electronics, had recommended switching the “Torch On” wires from SSR Output 0 to OUTM output 4, because there was better EMI noise isolation/protection (that is a change only relevant for use of MESA 7i96-S, not the previous 7i96). I had followed Kyle’s guide and mapped the “Torch On” to 0 instead of 4. Easy fix! Wish me success!
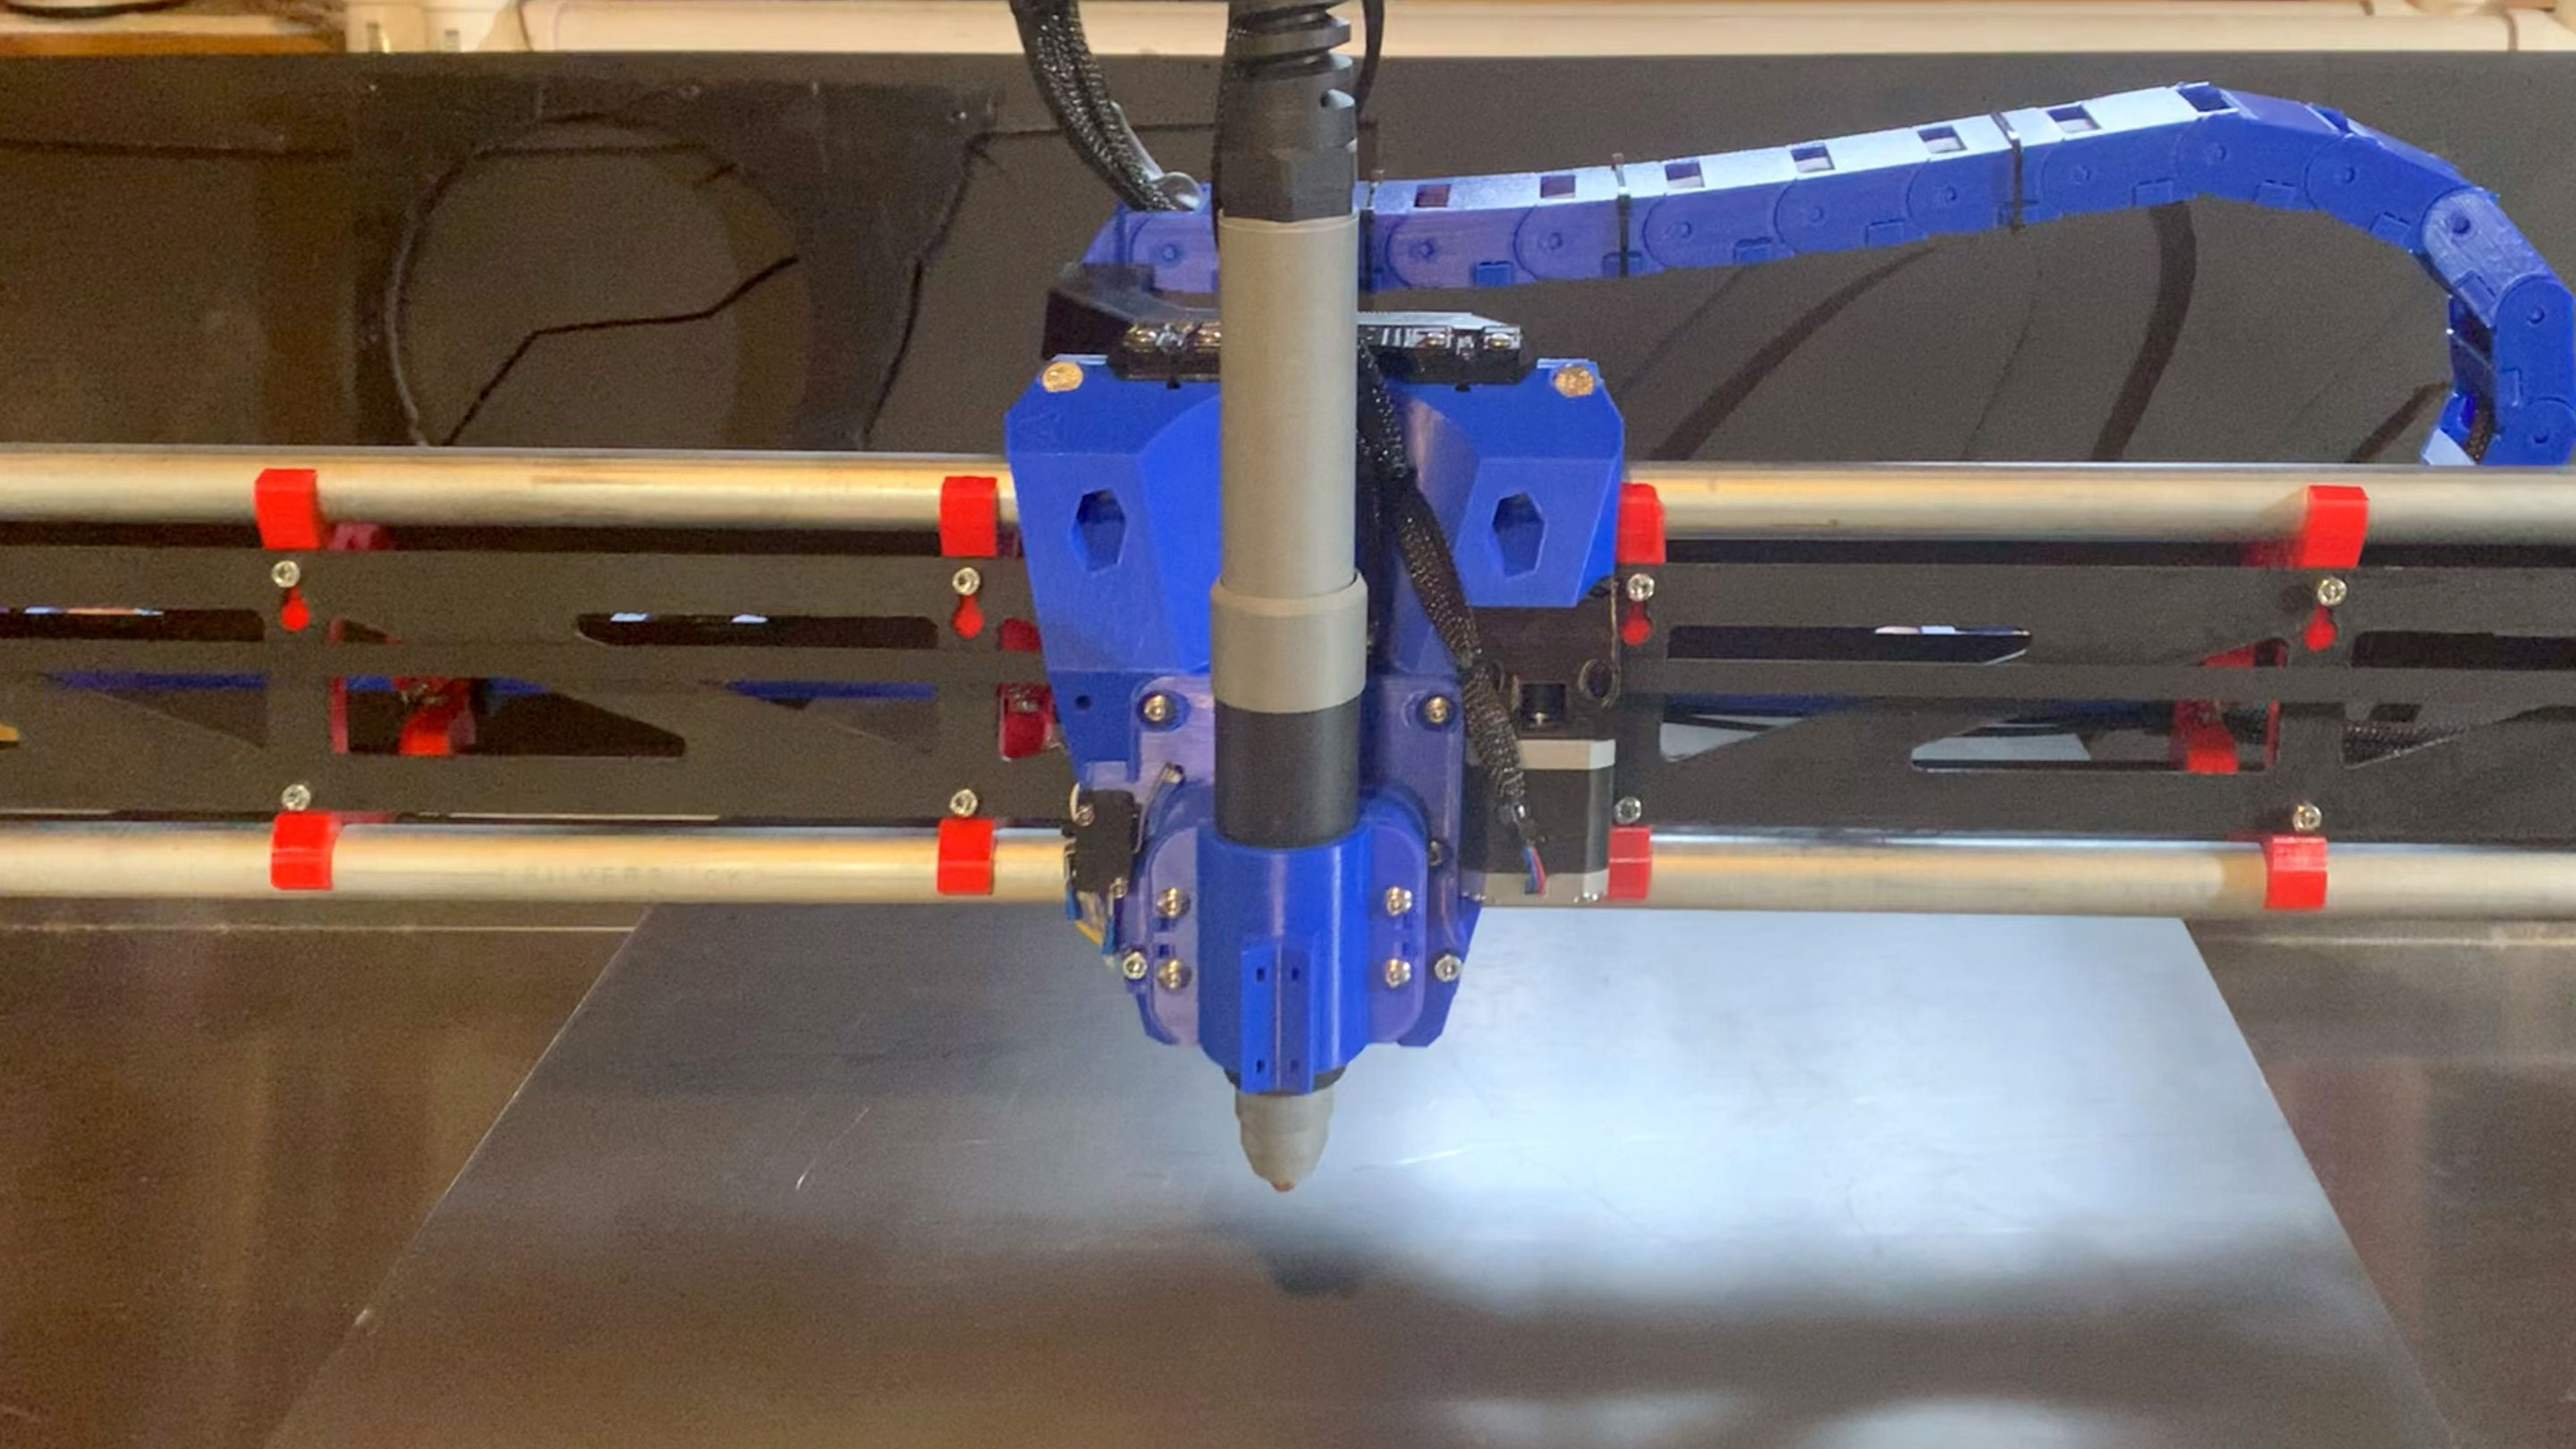
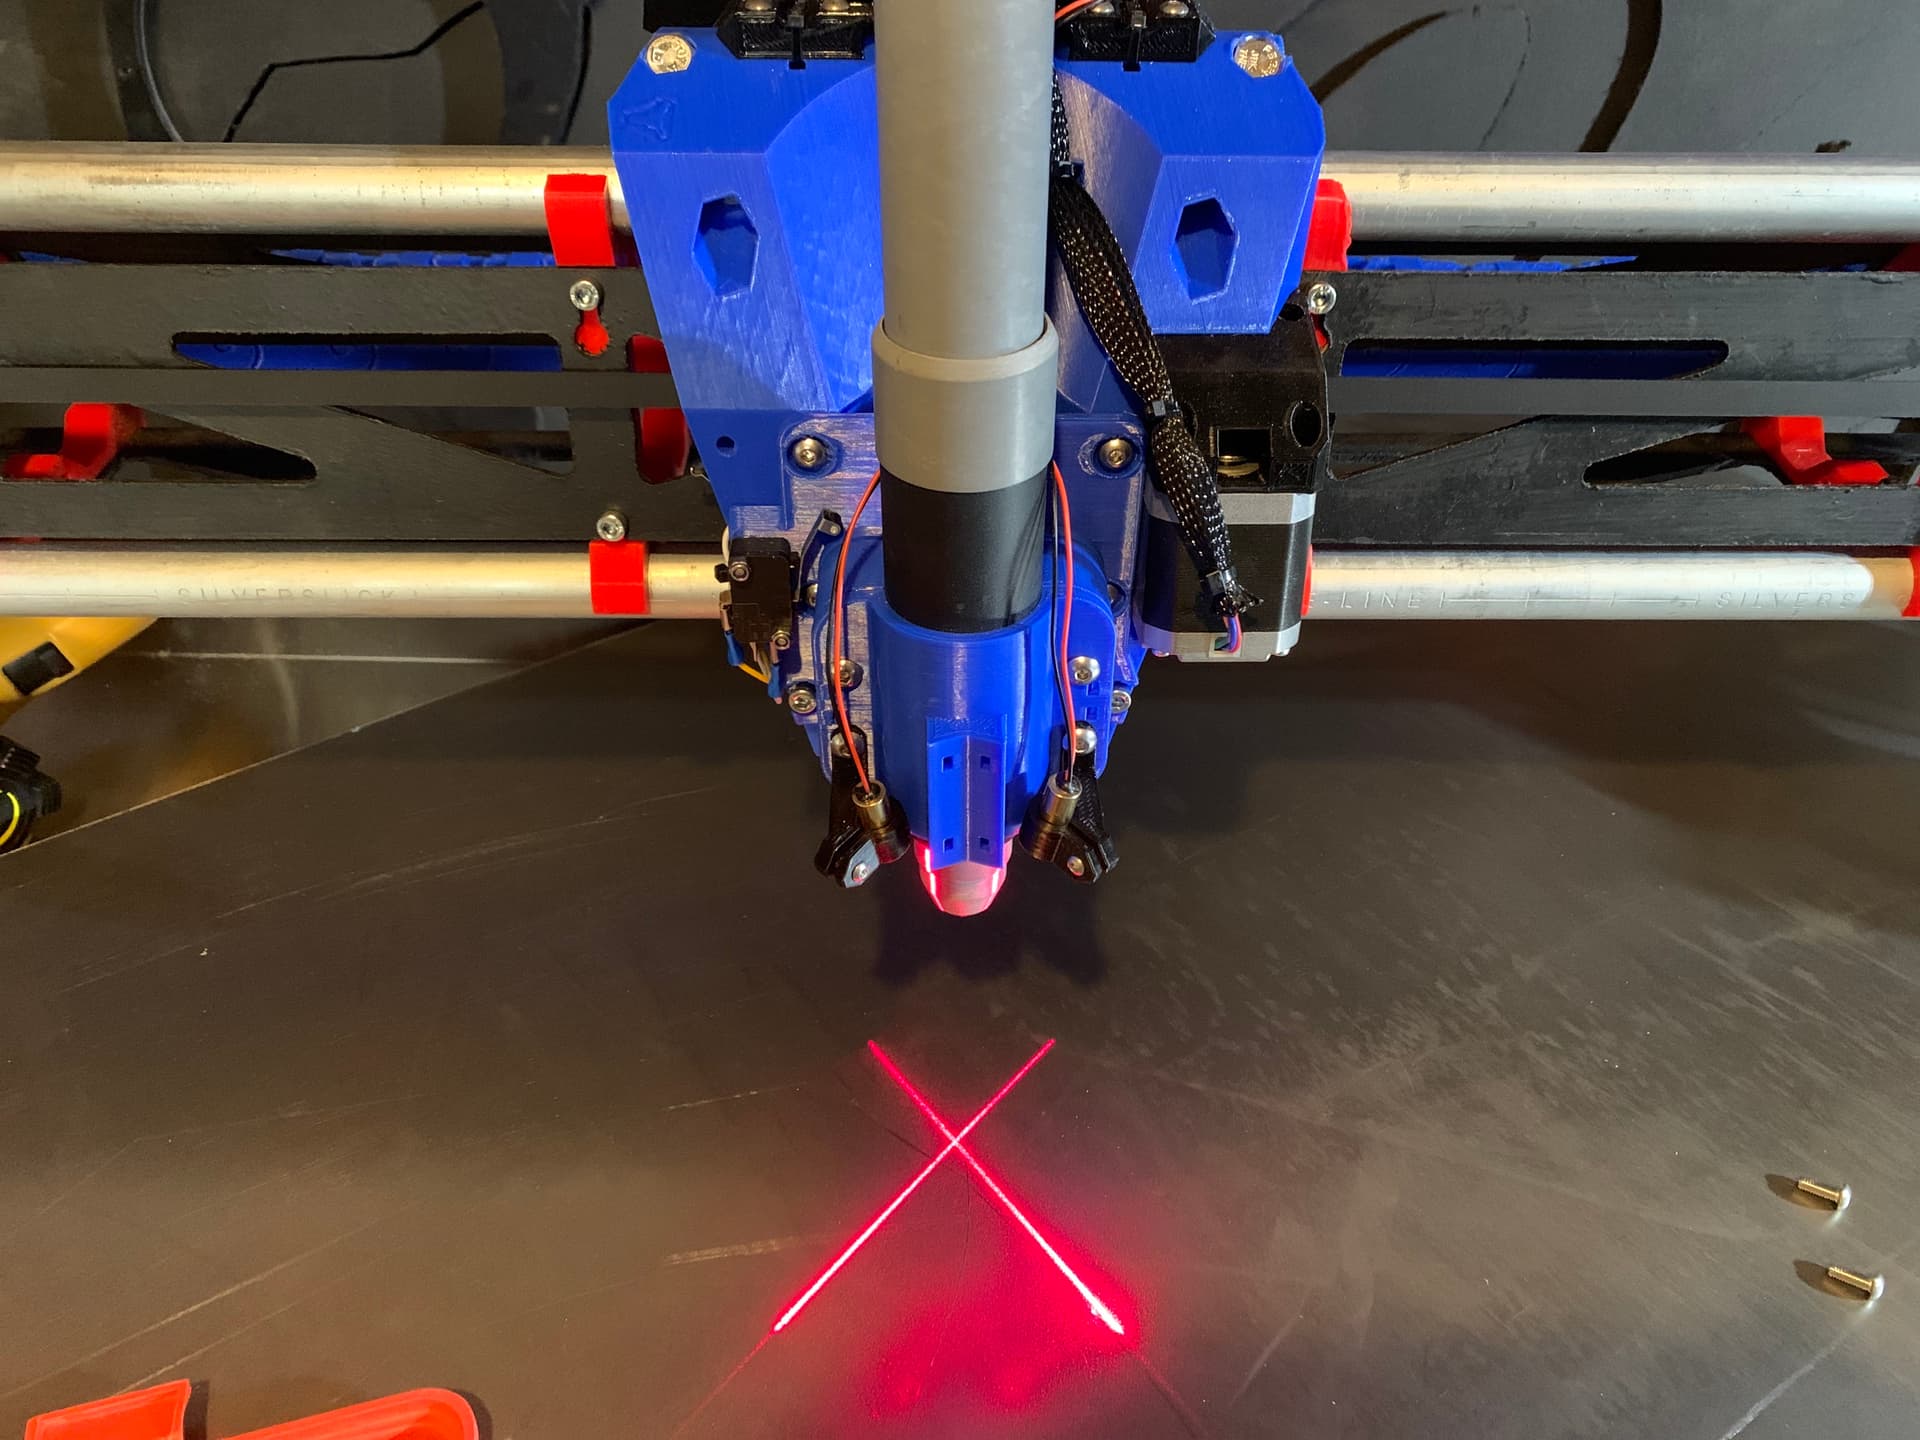
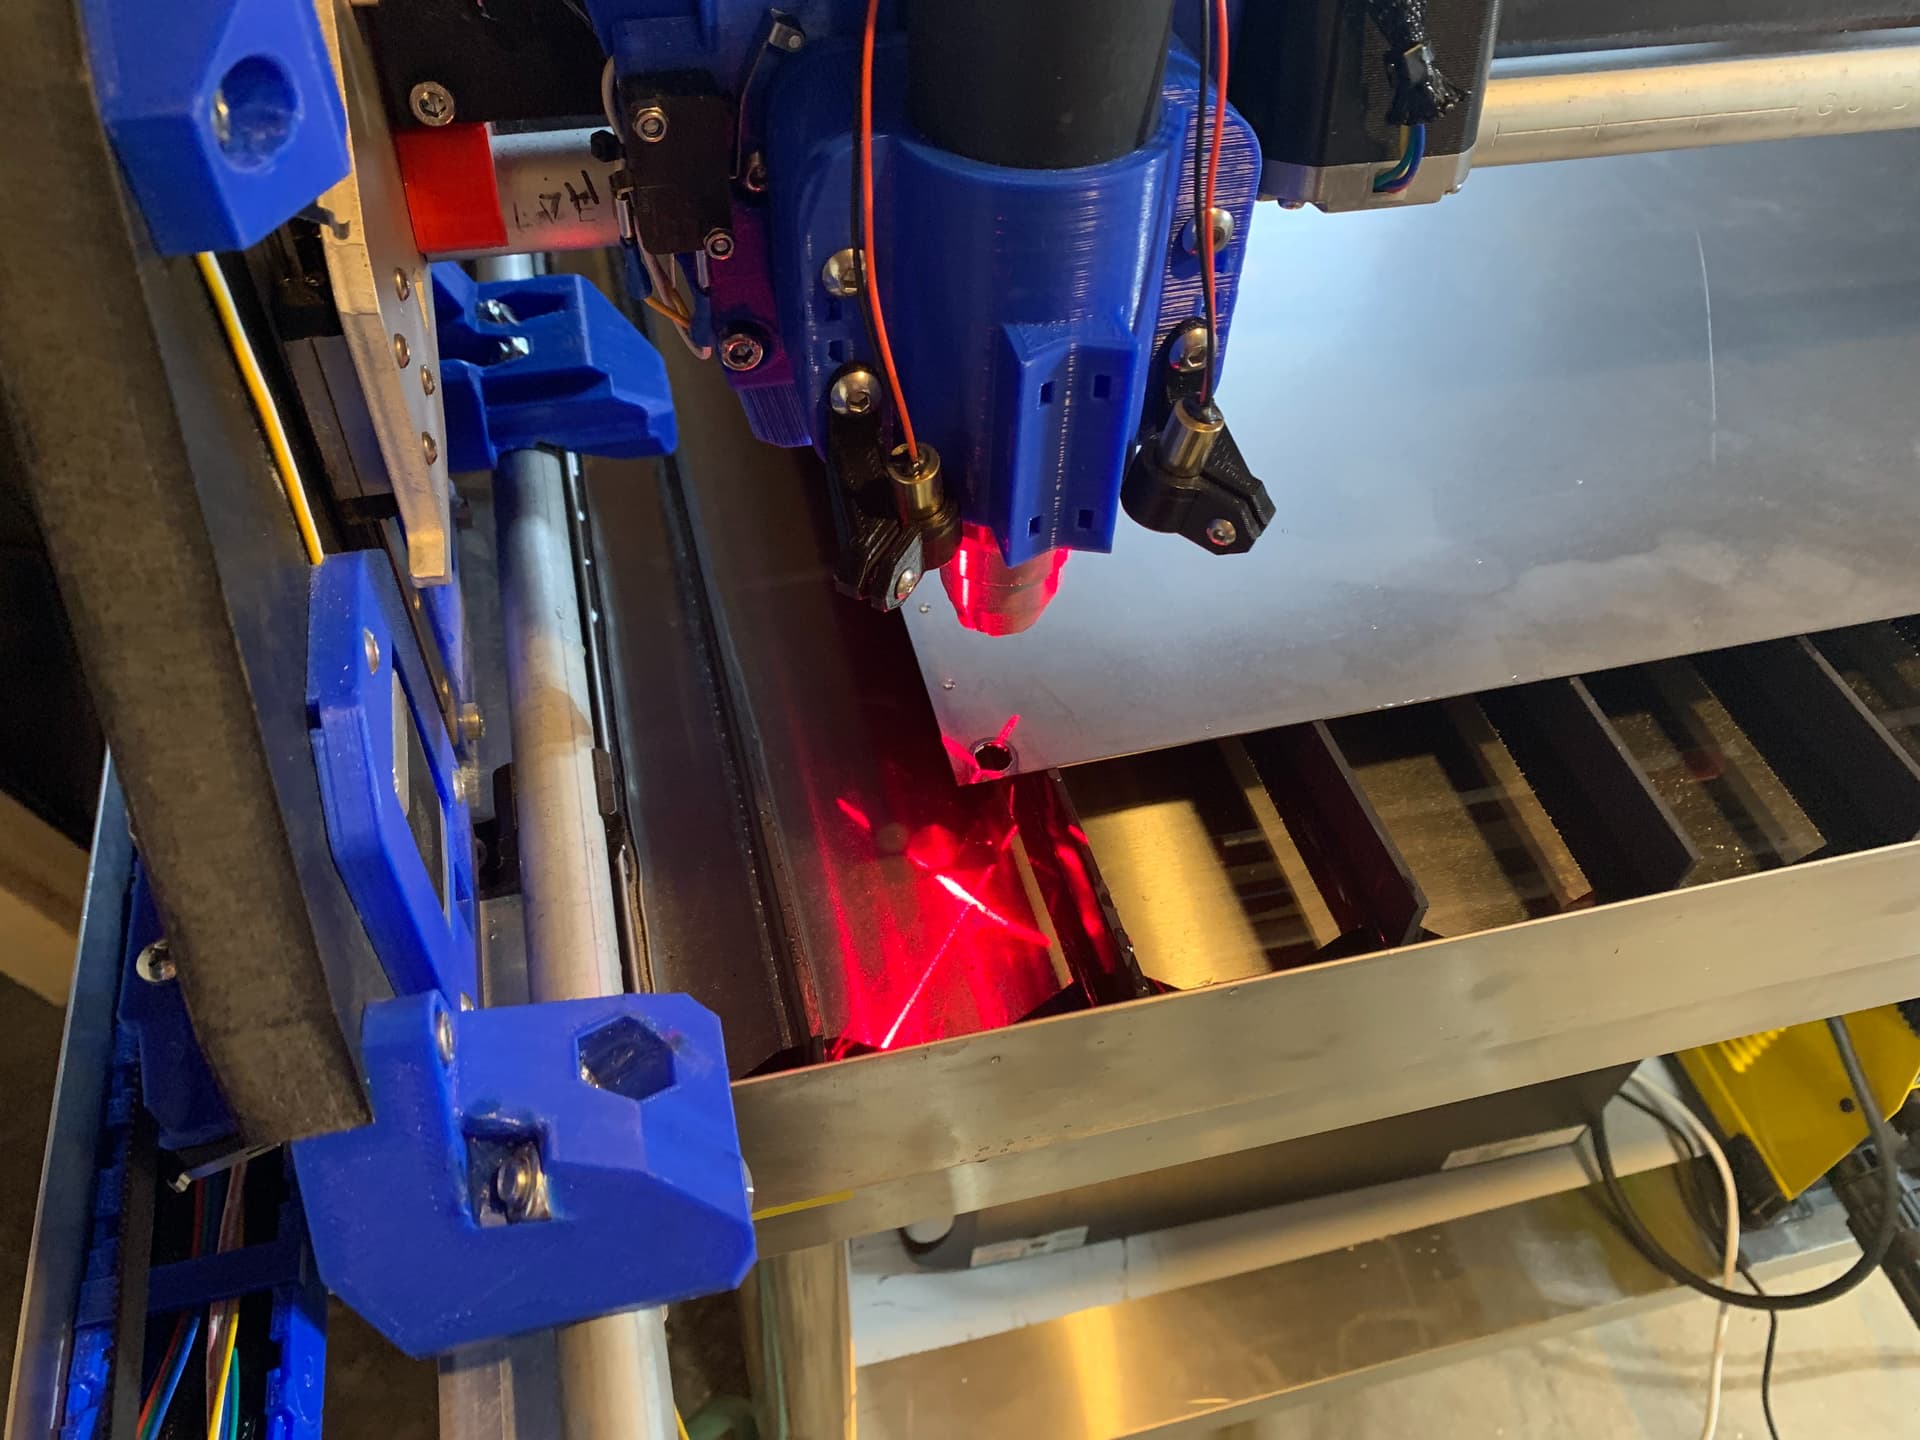
Full success on my first ever CNC plasma cut! I’m beyond excited. Video forthcoming! For now a couple pics. There was almost no slag on this cut. As per charts for cutting thin stuff, 30 PSI on air, 20 amps on the plasma machine. I have it setup for 240V, for full access to cutting thick, even though I don’t even own any thick sheets of steel yet. HUGE thanks to all of you who helped me so much, especially @vicious1 and @kd2018. THANK YOU!
Over on the LinuxCNC forum, I’m getting some helpful info in replies to the video above posted there, including that I should have accounted for my floating Z travel distance elsewhere (instead of lumping it in with pierce height and cut height), so that the pierce height and cut height could be actual distances, and they should be.
Now I need to get down to actually learning how to use LinuxCNC, actually doing real probe test, and properly setting floating Z travel, figuring out to do material settings, with their own integrated changes to cut height and pierce height, etc, etc.
I had not even settled on that. I did (during some advance research) find and get ahold to a post processor for Fusion 360. Honestly I don’t know yet. I think Ryan said it can be done with ESTLcam. If so I just need to figure out how.