I was too lucky to brake two tappers in the two bottom holes in a metal YZ plate. I grinded it flush, but cant take them out. Is it still ok to use it with 4 screws, or should I have a new plate cut? The other row of holes is ok.
For the linear rails? You are fine a few screws short.
2 Likes
Hell, we are ![]()
6 Likes
Yep. Phew! Thanks
What’s pro/cons of using 3/4" vs 1/2" EMT for Y-Axis?
About to print Y Axis rail blocks, in US, so deciding between Home Depot’s 1/2" EMT (rail-block-18p1.3mf) or 3/4" EMT (rail-block-23p4.3mf). Docs “Printed Parts” notes recommends US 1/2" EMT ( LowRider CNC V3 - V1 Engineering Documentation ). Asking why, because I assumed a larger Y Axis fixed rail would be sturdier/better? LR3 is my first V1E build, but 2nd CNC, so I know close to nothing.
V1E stamped USPS box arrived today. Freakin excited, birthday gift to myself. Cheers!
2 Likes
I understand Ryan’s earlier comment about 1/2" Y-Axis having larger easier to clean gap underneath. Any other reasons to not use 3/4" EMT (if you have already, or are ok with cost being bit more than 1/2") ?
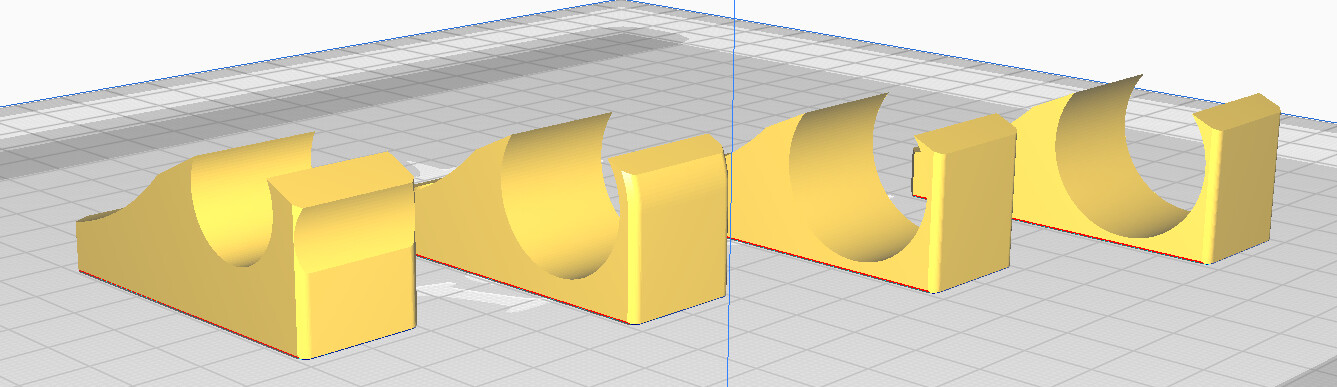
Rail blocks from left to right, 18p1, 23p4, 25, 25p4
1 Like
There is very little load on the Y axis. No performance difference to any of the options.
1 Like
Cheers!
2 Likes
1/2" EMT is cheaper, handles any reasonable load adequately, and the slight increase in gap underneath means it should trap fewer chips in the way of the machine. You do need to be careful with your selection of pieces, because it’s kind of noodly and most pieces at my local Home Despot were bent. The best piece I found still needed a bit of straightening when Iaid out the Y rail.
3/4" EMT means slightly easier shopping for materials, maybe a bit more resilience when the machine is not on the table, and you are using it as a shop bench. It is less likely to have an inherent bend to it when you do your initial assembly.
1 Like
Thanks for the tips @SupraGuy. Brought a printed brace when buying EMT, initial intent was to just verify fit. But like you said, realized EMT quality varies, so was useful to run a brace along entire length of the EMT to help check for EMT deformations before buying. Cheers!
1 Like
Couldn’t find it mentioned yet, but I was wondering if the LR3 would be stiffer than a birly MPCNC at say a 24inx24in wide cutting envelope. Coming from a primo build I realized I actually don’t need a bigger CNC (limited by shop space), but something that’s slightly more capable at cutting aluminum would be worth an upgrade. The LR3 has more than enough Z height for me (even my primo is short to improve rigidity). I know the Lowrider would take up a bit more space for the same cutting area and that’s not a problem for me if it’d cut aluminum better.
I don’t think so. I can’t be certain, though. If you built the Primo as short as possible and raised up your bed to the minimum, I think something like 1/4" AL should be within reason. You can move fast and shallow or deep and use lots of air and maybe a mist to get the best results.
1 Like
Thanks Ryan. Idk why I mixed up burly and primo, currently have a burly and was about to start on the upgrade to a primo and came across your LR3 release notes. Really like the design! May still go the LR3 route, trying to figure out my workspace a bit. Being able to store the gantry on the shelf and still use the work table is appealing.
1 Like
I´ll probably be using a 32mm hose for my LR3. Are there any remakes of the dust shoe for smaller diameters, or can I just print a simple adapter fo fit the original?
Adapter, would be easy.
1 Like
I ended up settling on shallower passes, bigger stepovers, and much higher feeds. Very reliable, and the carbide never seemed to care about wear in the aluminum, similar MRR to deep passes, much more reliable (on my machine).
I do like having the second x stepper on the mpcnc, but I’m not sure how much performance it lends over tje lr3 single stepper.
What lengths should endstop wiring be (4’x8’ build) for folks needing to crimp/solder wiring with SKR boards? For the dupont-to-spade connected SKR-to-endstop wiring.
Didn’t see wiring length list in LowRider CNC V3 - V1 Engineering Documentation, or, on LowRider V3 Calculator - V1 Engineering Documentation if wiring length varies with build dimensions.
Currently skipping wiring of micro switch endstops for Core and Y/Z drives, until I have enough assembly done to measure actual length needed.
Initially, late night ordered kit with SKR, had enough sense to explicitly add Endstops and wiring items. But now, being several weeks later… Was stumped for a bit during Core’s microswitch step until I realized/remembered only Rambo comes with endstop wiring with spade connecters.
1 Like
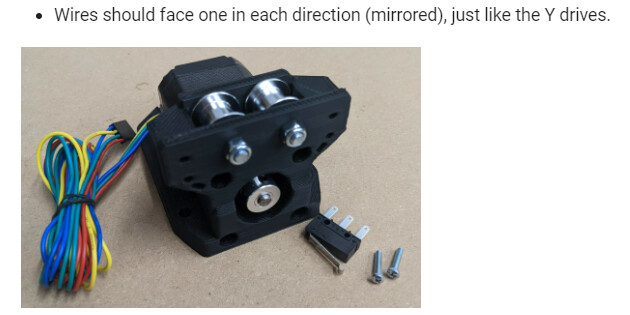
this does not work well if the steppers have connectors instead of just wires coming out… the connector is hidden behind the YZ MDF plate and isnt enough room for the connector even if you pre-install.
I pointed mine out as theres enough clearance that way if anyone cares.
1 Like
Can you include a picture? I am having trouble visualizing where the interference is.