Oh and it makes it faster, airfoil, laminar flow, calculus…all very complicated.
13 Likes
speed grooves.
1 Like
The core and wheels mention using M5s for the bearings, but guessing they should be the M8s?
No mention of M8 elsewhere in the instructions 
1 Like
Let me take a look. Thanks for letting me know.
I just call the larger ones bolts. Screws everywhere else and “bolts” for the 5/16" or M8.
1 Like
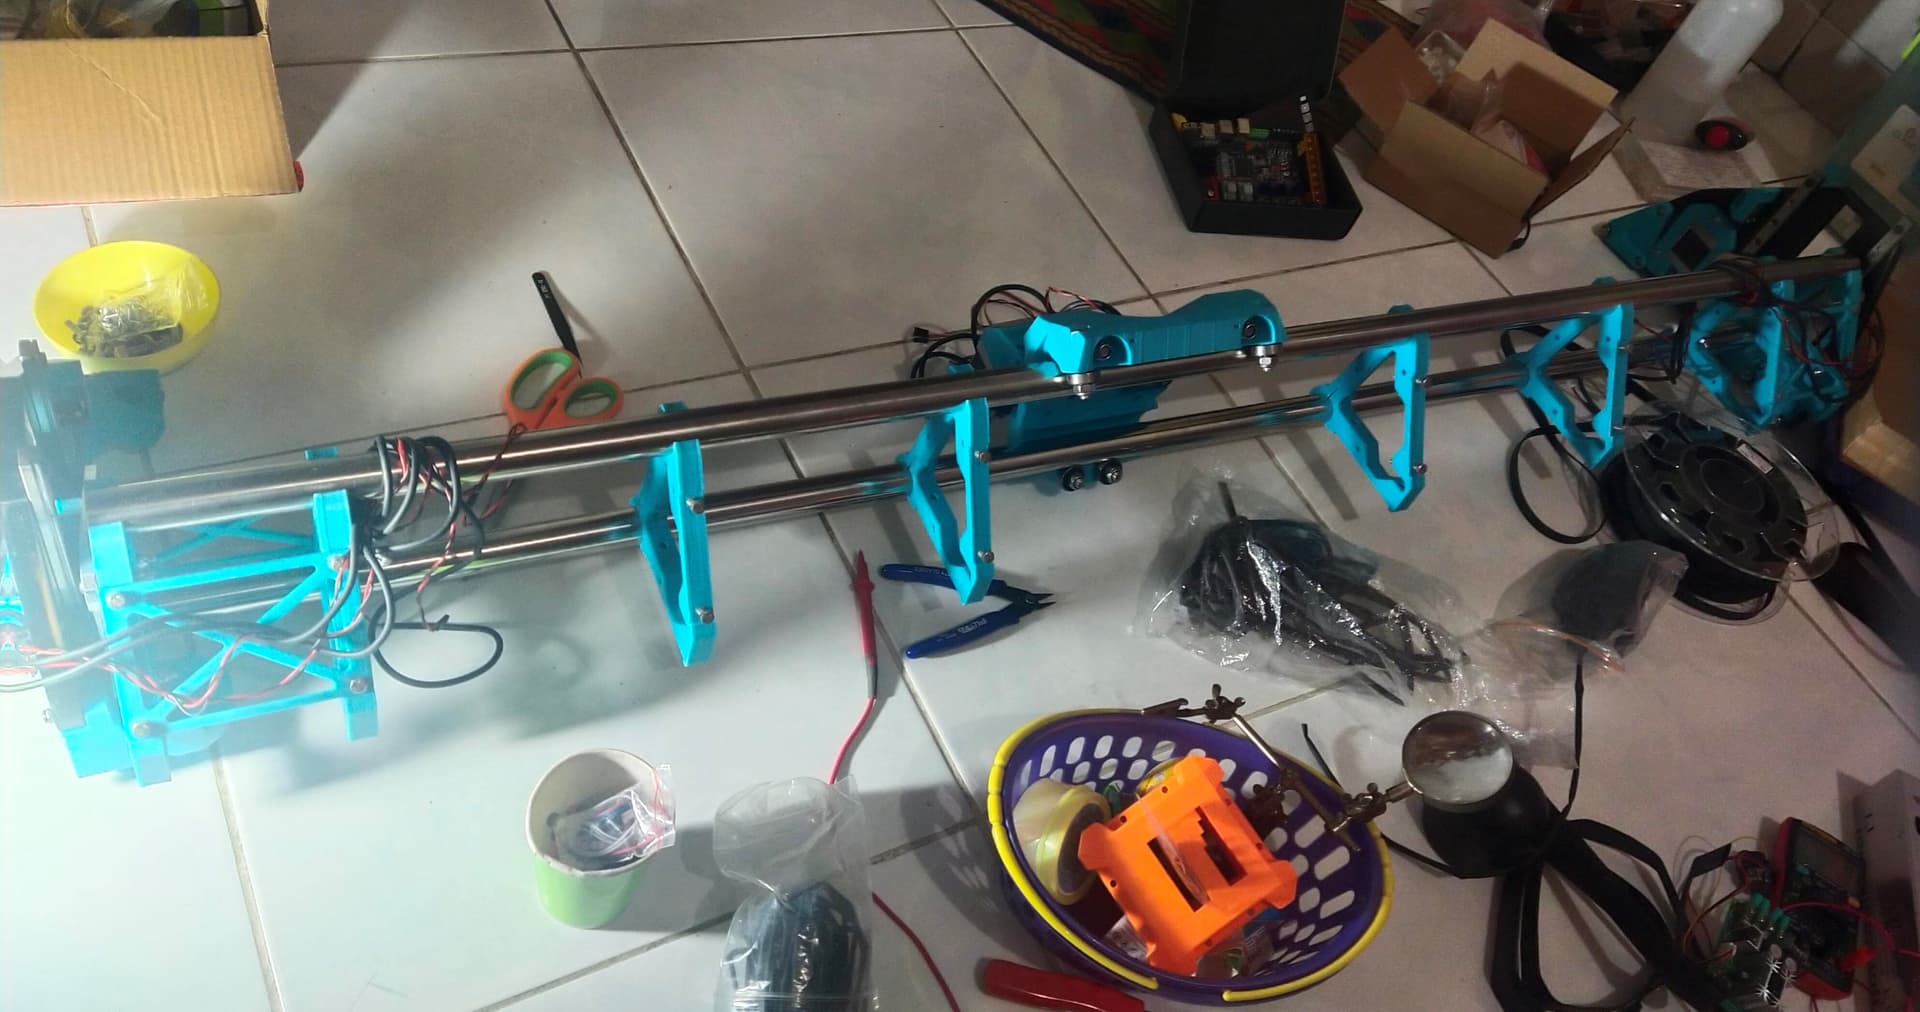
Hi everyone. Having a blast making my LR3. Kinda having challenges as kinda new to CnC. After printing the parts and trying to put em together, i really find those parts are all masterpiece crafted. Finished my rails and making my full foldable table now.
I need help with a few last steps to finalize the build, total newbie here with basics of 3d printing so any advice is greatly appreciated:
I tried finding the router in my country, and all online stores sells only ‘trimmer’, that resembles the Dewalt / Makita router as recommended. The thing they call ‘router’ here in my country (Indonesia) is somewhat bulky and not mountable i guess on the LR3, so i opted for a spindle with 12,000 rpm and about 300-500 watts at 48v.
I have no prior experience with spindles, much in 3d printer extruder though, there are the last few challenges i face:
- Firstly, is there are spindle mounts design that may fit into LR3? Mine is 50mm diameter. Rather than trying to make it myself, if there is any that suits the nicely transformer shaped x gantry for LR3 will be super nice.
- How do you usually connect a spindle to SKR 1.2? Will it just be normally separated with 48v psu and rpm control, or will it be better to connect thru the SKR 1.2 directly and how do it do that? Been trying to find any guides but kinda hard to find compared to 3d printing guides.
- I’m considering adding laser later on to try cut acrylics, if there is a good youtube guide for newbies like me please share.
Thanks so much for the wonderful build Ryan and V1 team. I cant wait to start trying it out.
3 Likes
You might want to start a new thread as it sounds like there is a lot to cover.
Here is a quick overview.
1-No 50mm mount yet that I know of. There is a cad model available to edit. If you have no experience in that you could post pictures and exact dimensions of whatever you bought and one of us can try to make you an edit. (please do this in a new thread).
2-I would start by not connecting it. You would need to edit the firmware and CAM to make that work. The cheap spindles are notoriously dirty with EMI and need careful grounding, so best to start separate.
3- There is information overload on lasers. I am not much of a pro in this regard so maybe someone else has a good recommendation.
Ah ok. Thanks for the quick tip. Sorry for the long post. I’d start a new thread then.
Just for reference the smaller routers are often called “trimming routers” or “trimmers” because they were originally developed for trimming the edges of hand laminated or veneered panels.
Anything called “trimmer” will be more or less the right size.
1 Like
Ah thanks. I was afraid it wasnt up to the spec as i tried comparing the specs of ‘trimmer’ and the LR recommended routers, and In here it was only used for trimming the wood edges.so i went for spindles.
Does the 'trimmer’s actually work? I did buy a trimmer for woodworking and it does have 35k rpm.
1 Like
Yes - here is the exact description of the Makita 700 in an Australian Tool shop - many people are using all kinds of generic versions:
# Makita Router 1/4" 710W Variable Speed Trimmer - RT0700CX
2 Likes
“Stand back and admire what you have accomplished. Feel free to get a loved one or neighbor and tell them you designed the entire thing from scratch”
I just wanted to say that the hardest part of building any V1 machine has been trying to convince my mum and dad that I haven’t designed the machine myself.
3 Likes
Let them think you did!
4 Likes
I will liberally borrow from design ideas that I find good, no matter where I find them.
So there are many of the things that “I’ve designed” that look similar to things that Ryan has designed in some aspect I’ve borrowed design elements from things on Printables.com or Thingiverse.com.
So for people who see my 3D printed stuff, it’s sometimes difficult to tell the stuff that I’ve designed from stuff I got elsewhere that I liked. I’m still reasonably careful to attribute the design where it belongs.
3 Likes
Can someone add that you need 3 strut plates? not overly clear unless you have the parts in front of you
also confirming (maybe add to instructions as well) that the strut plates are same length as tube lengths? for those making it fit whatever size table they already have
edit, found it “X rails, also the strut plate width” in tube length, but maybe add a note to the strut section also
2 Likes
Looks like I need to finish up that section of the instructions. I have been working pretty hard on a side project, V1 related, but need to finish up the instructions ASAP.
Added a few notes for now.
6 Likes
I created a way to support my Y belts out away from my table. Posted on hardware dev thread. Files on Printables. Could be remixed to screw onto side of wood.
That’s what I did. Scaled 1400 to 1425. No problem
1 Like
Now mostly used by drywallers to ruin wiring… ![]()
6 Likes