Saw someone mention the LaserTree 10w earlier in the thread. I picked it up when it first launched as a kit for about $230 on Prime Day (listing on Amazon was for LT-80W-AA 12V Kit A which included the mount bracket I use). It’s plug and play, just 12v source and a direct connection to the SKR Pro 1.2. Has been working really well so far.
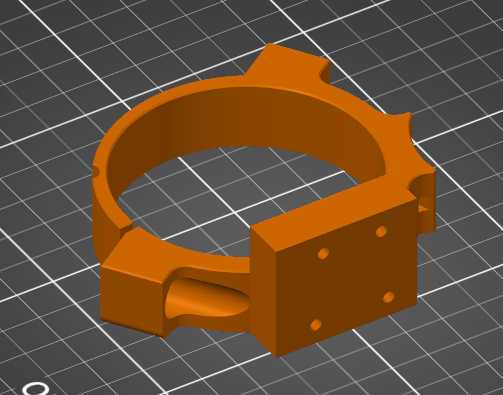
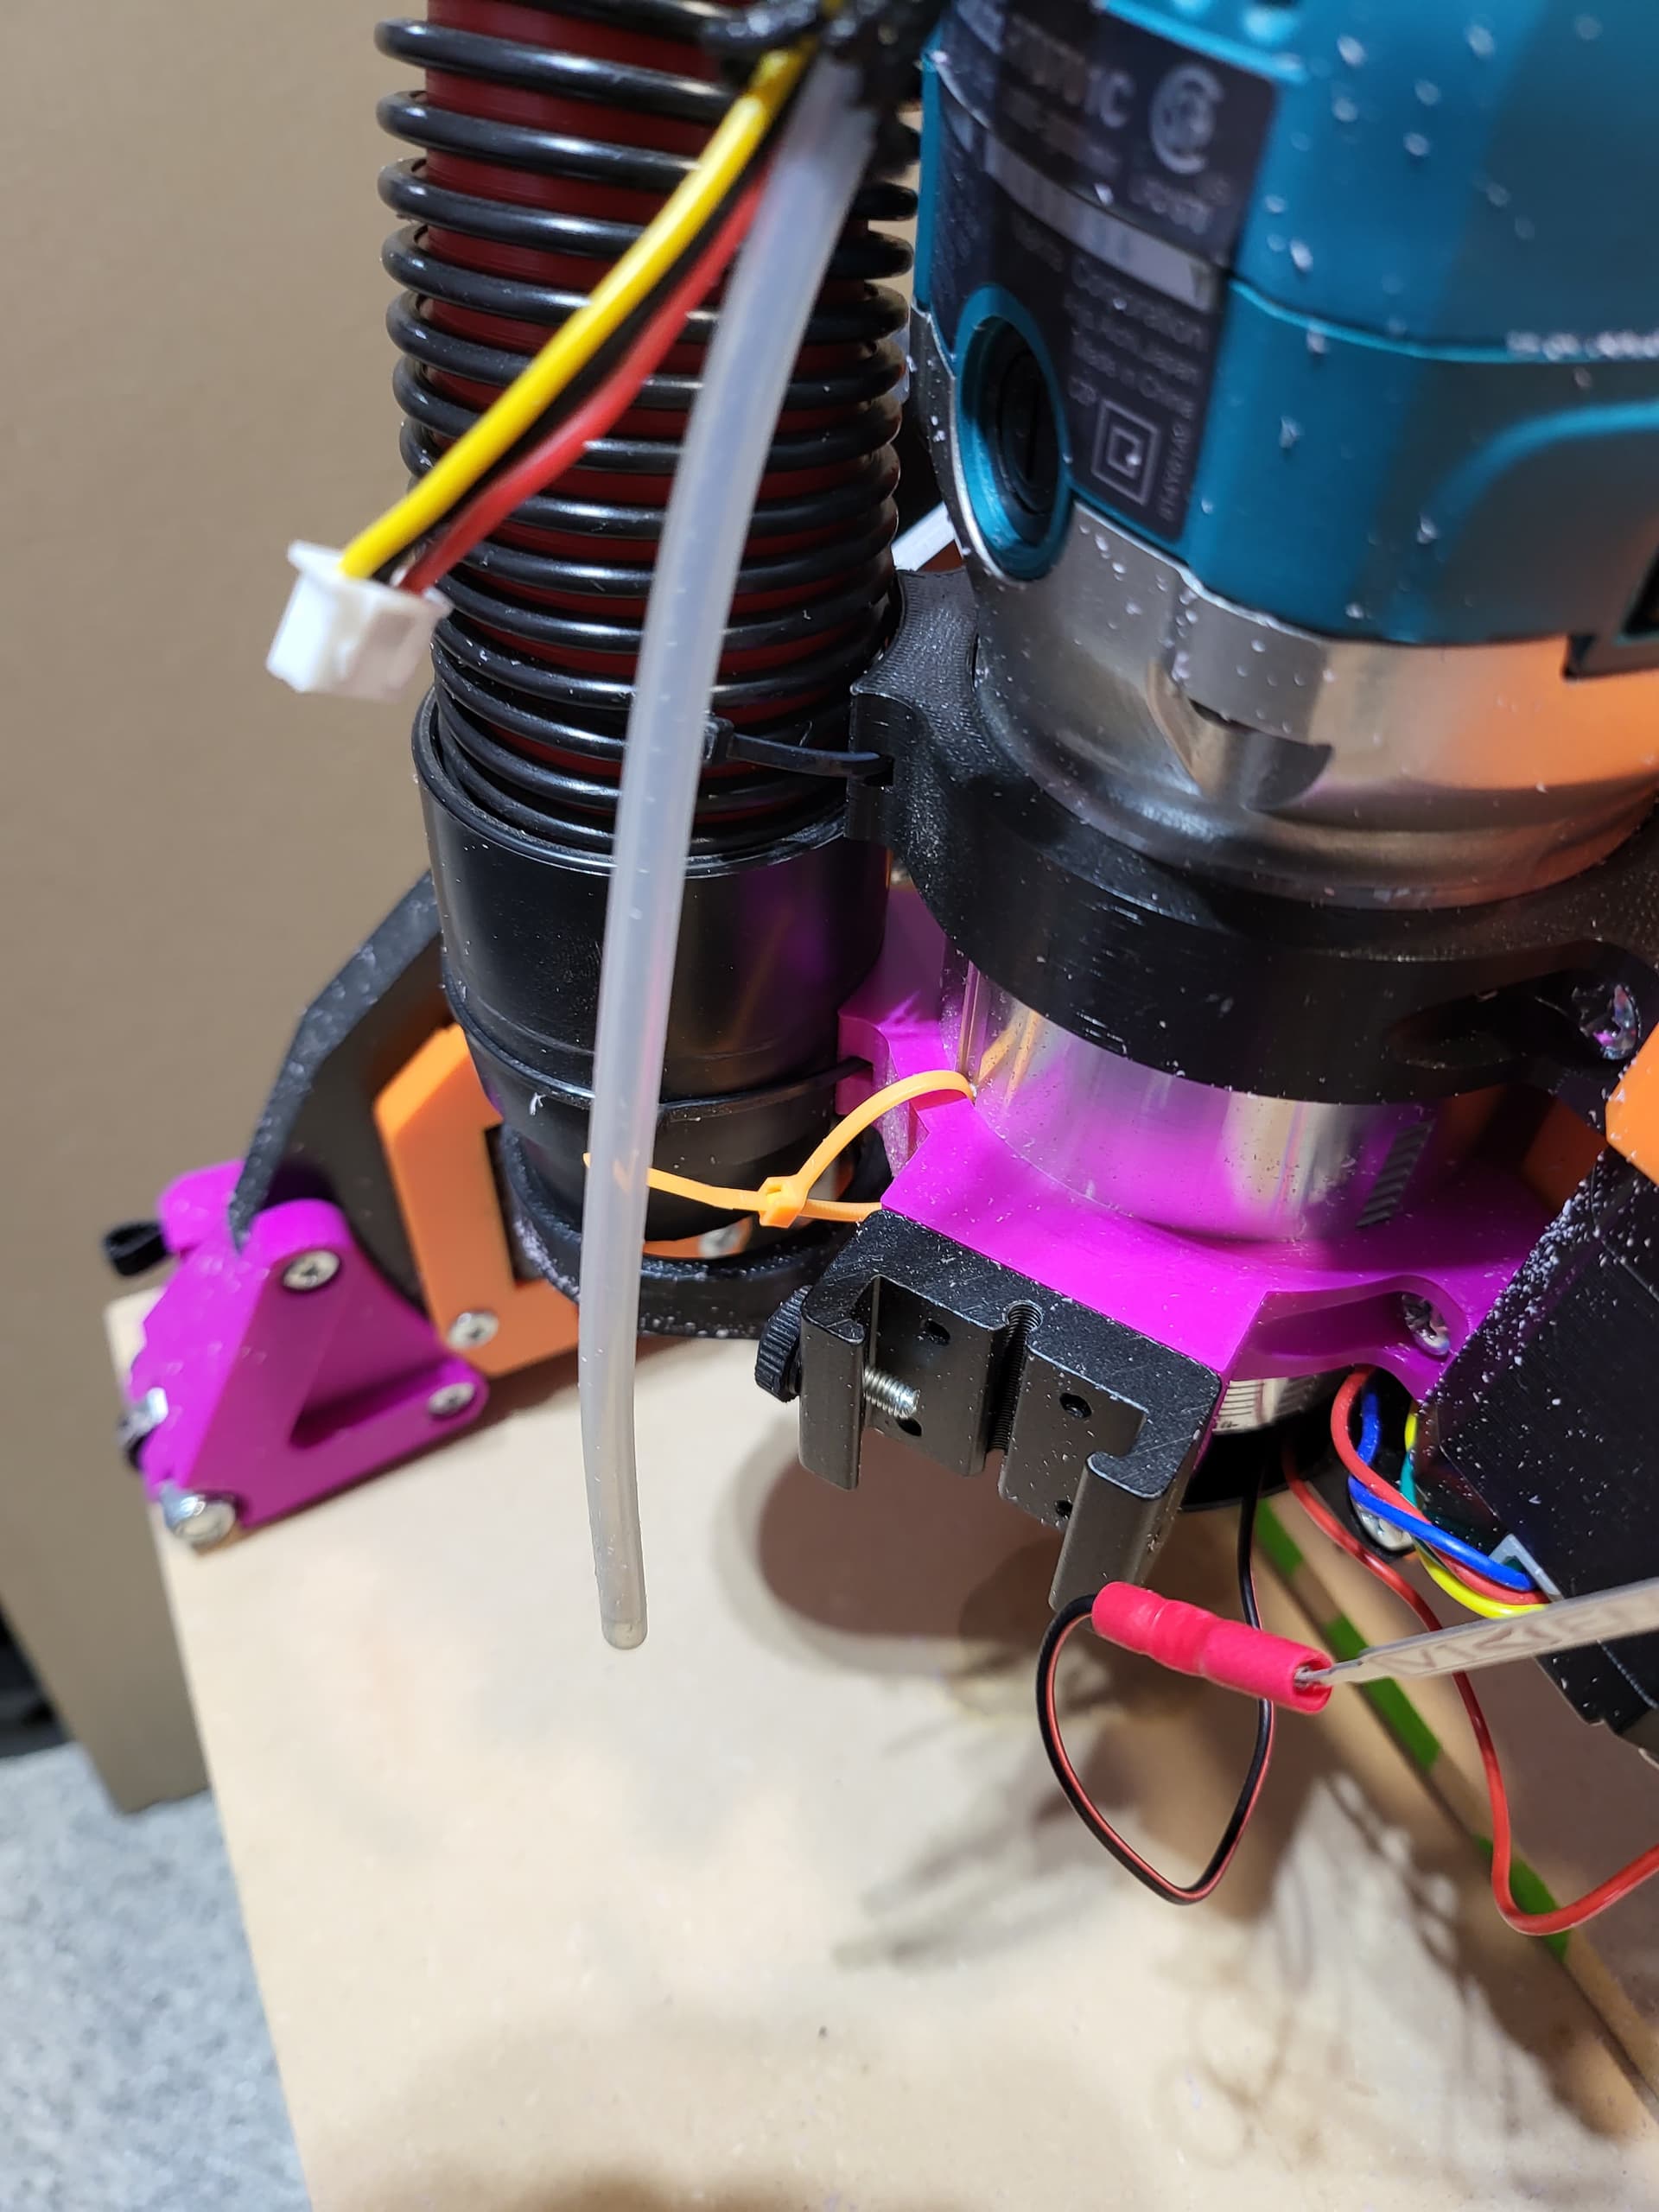
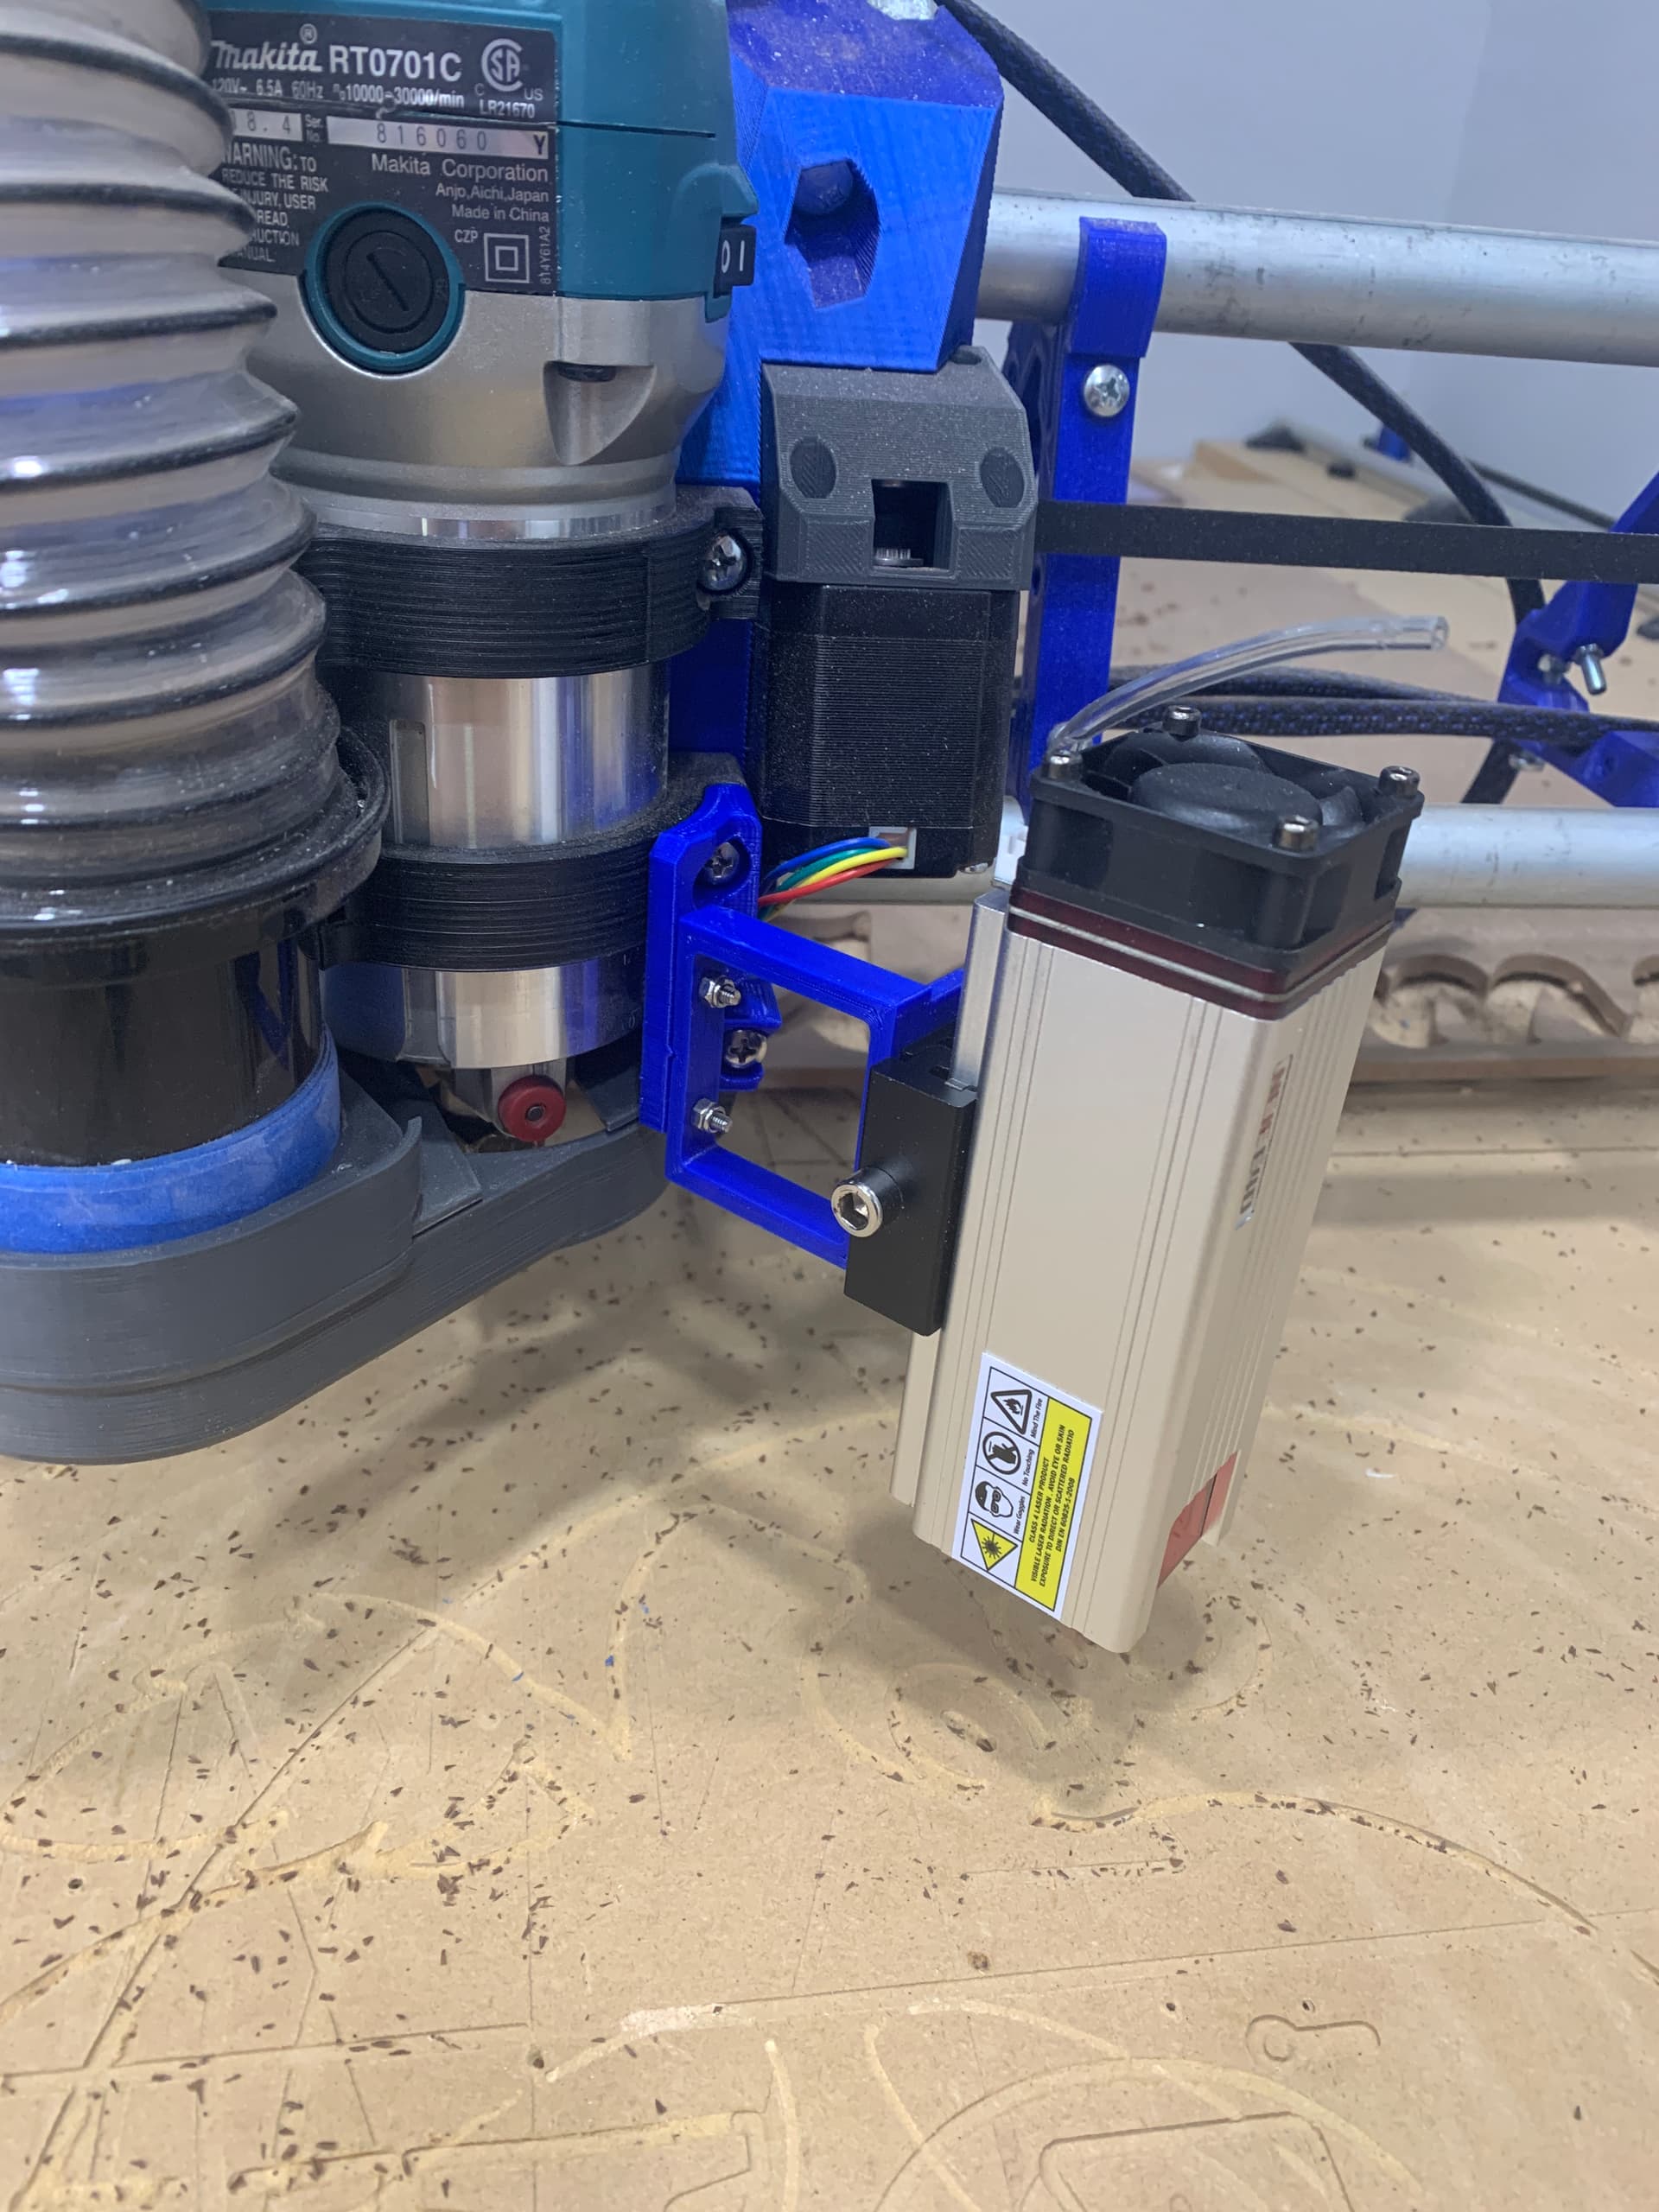
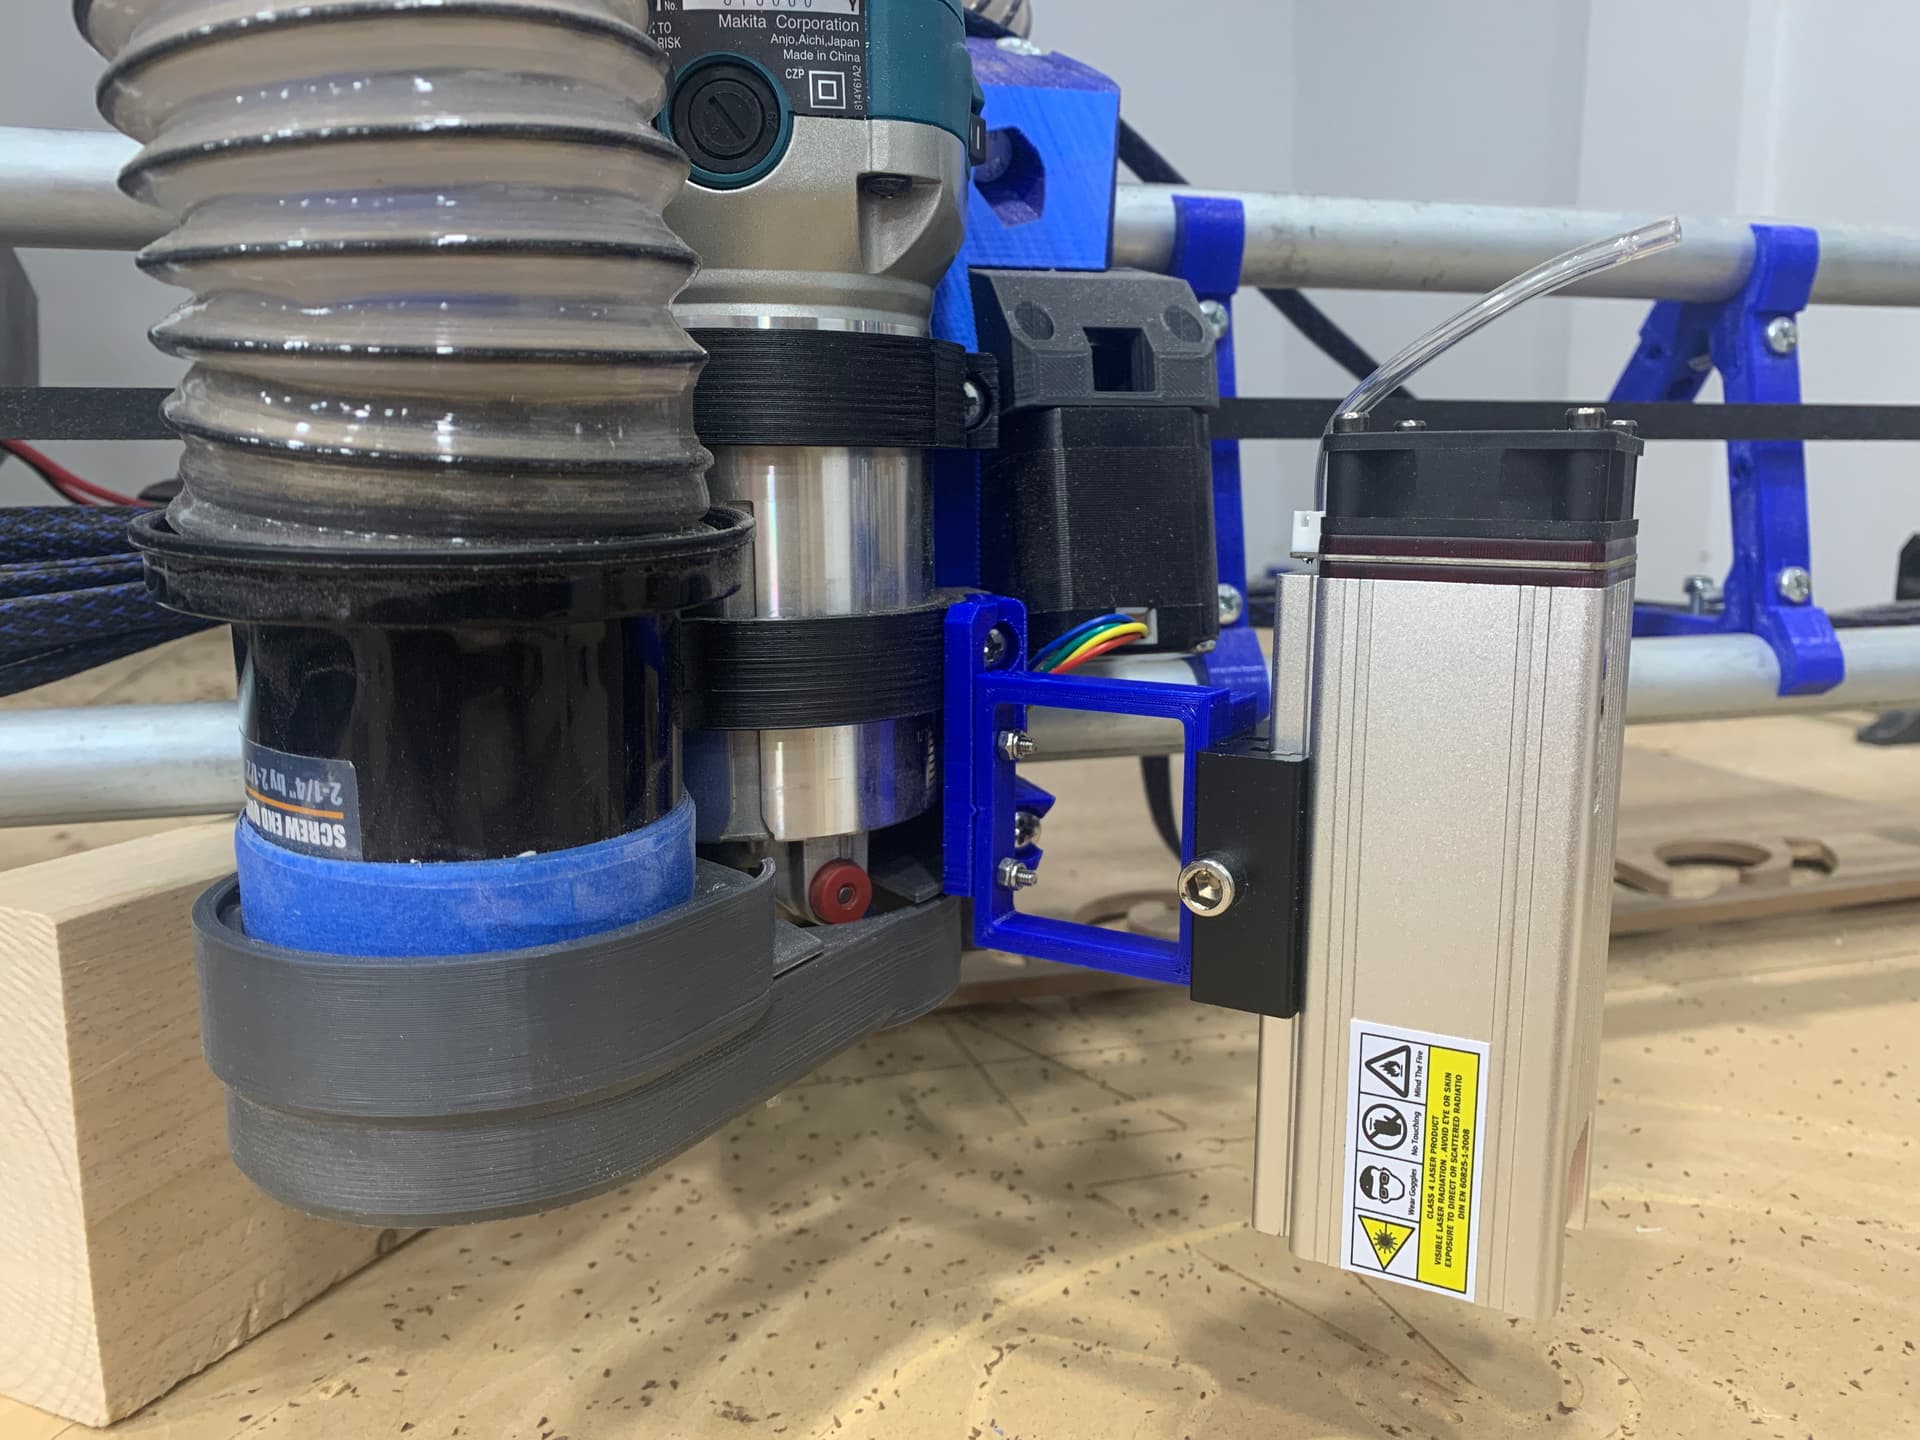
I mixed the Makita lower holder ring to accept their mount plate and it fits well:
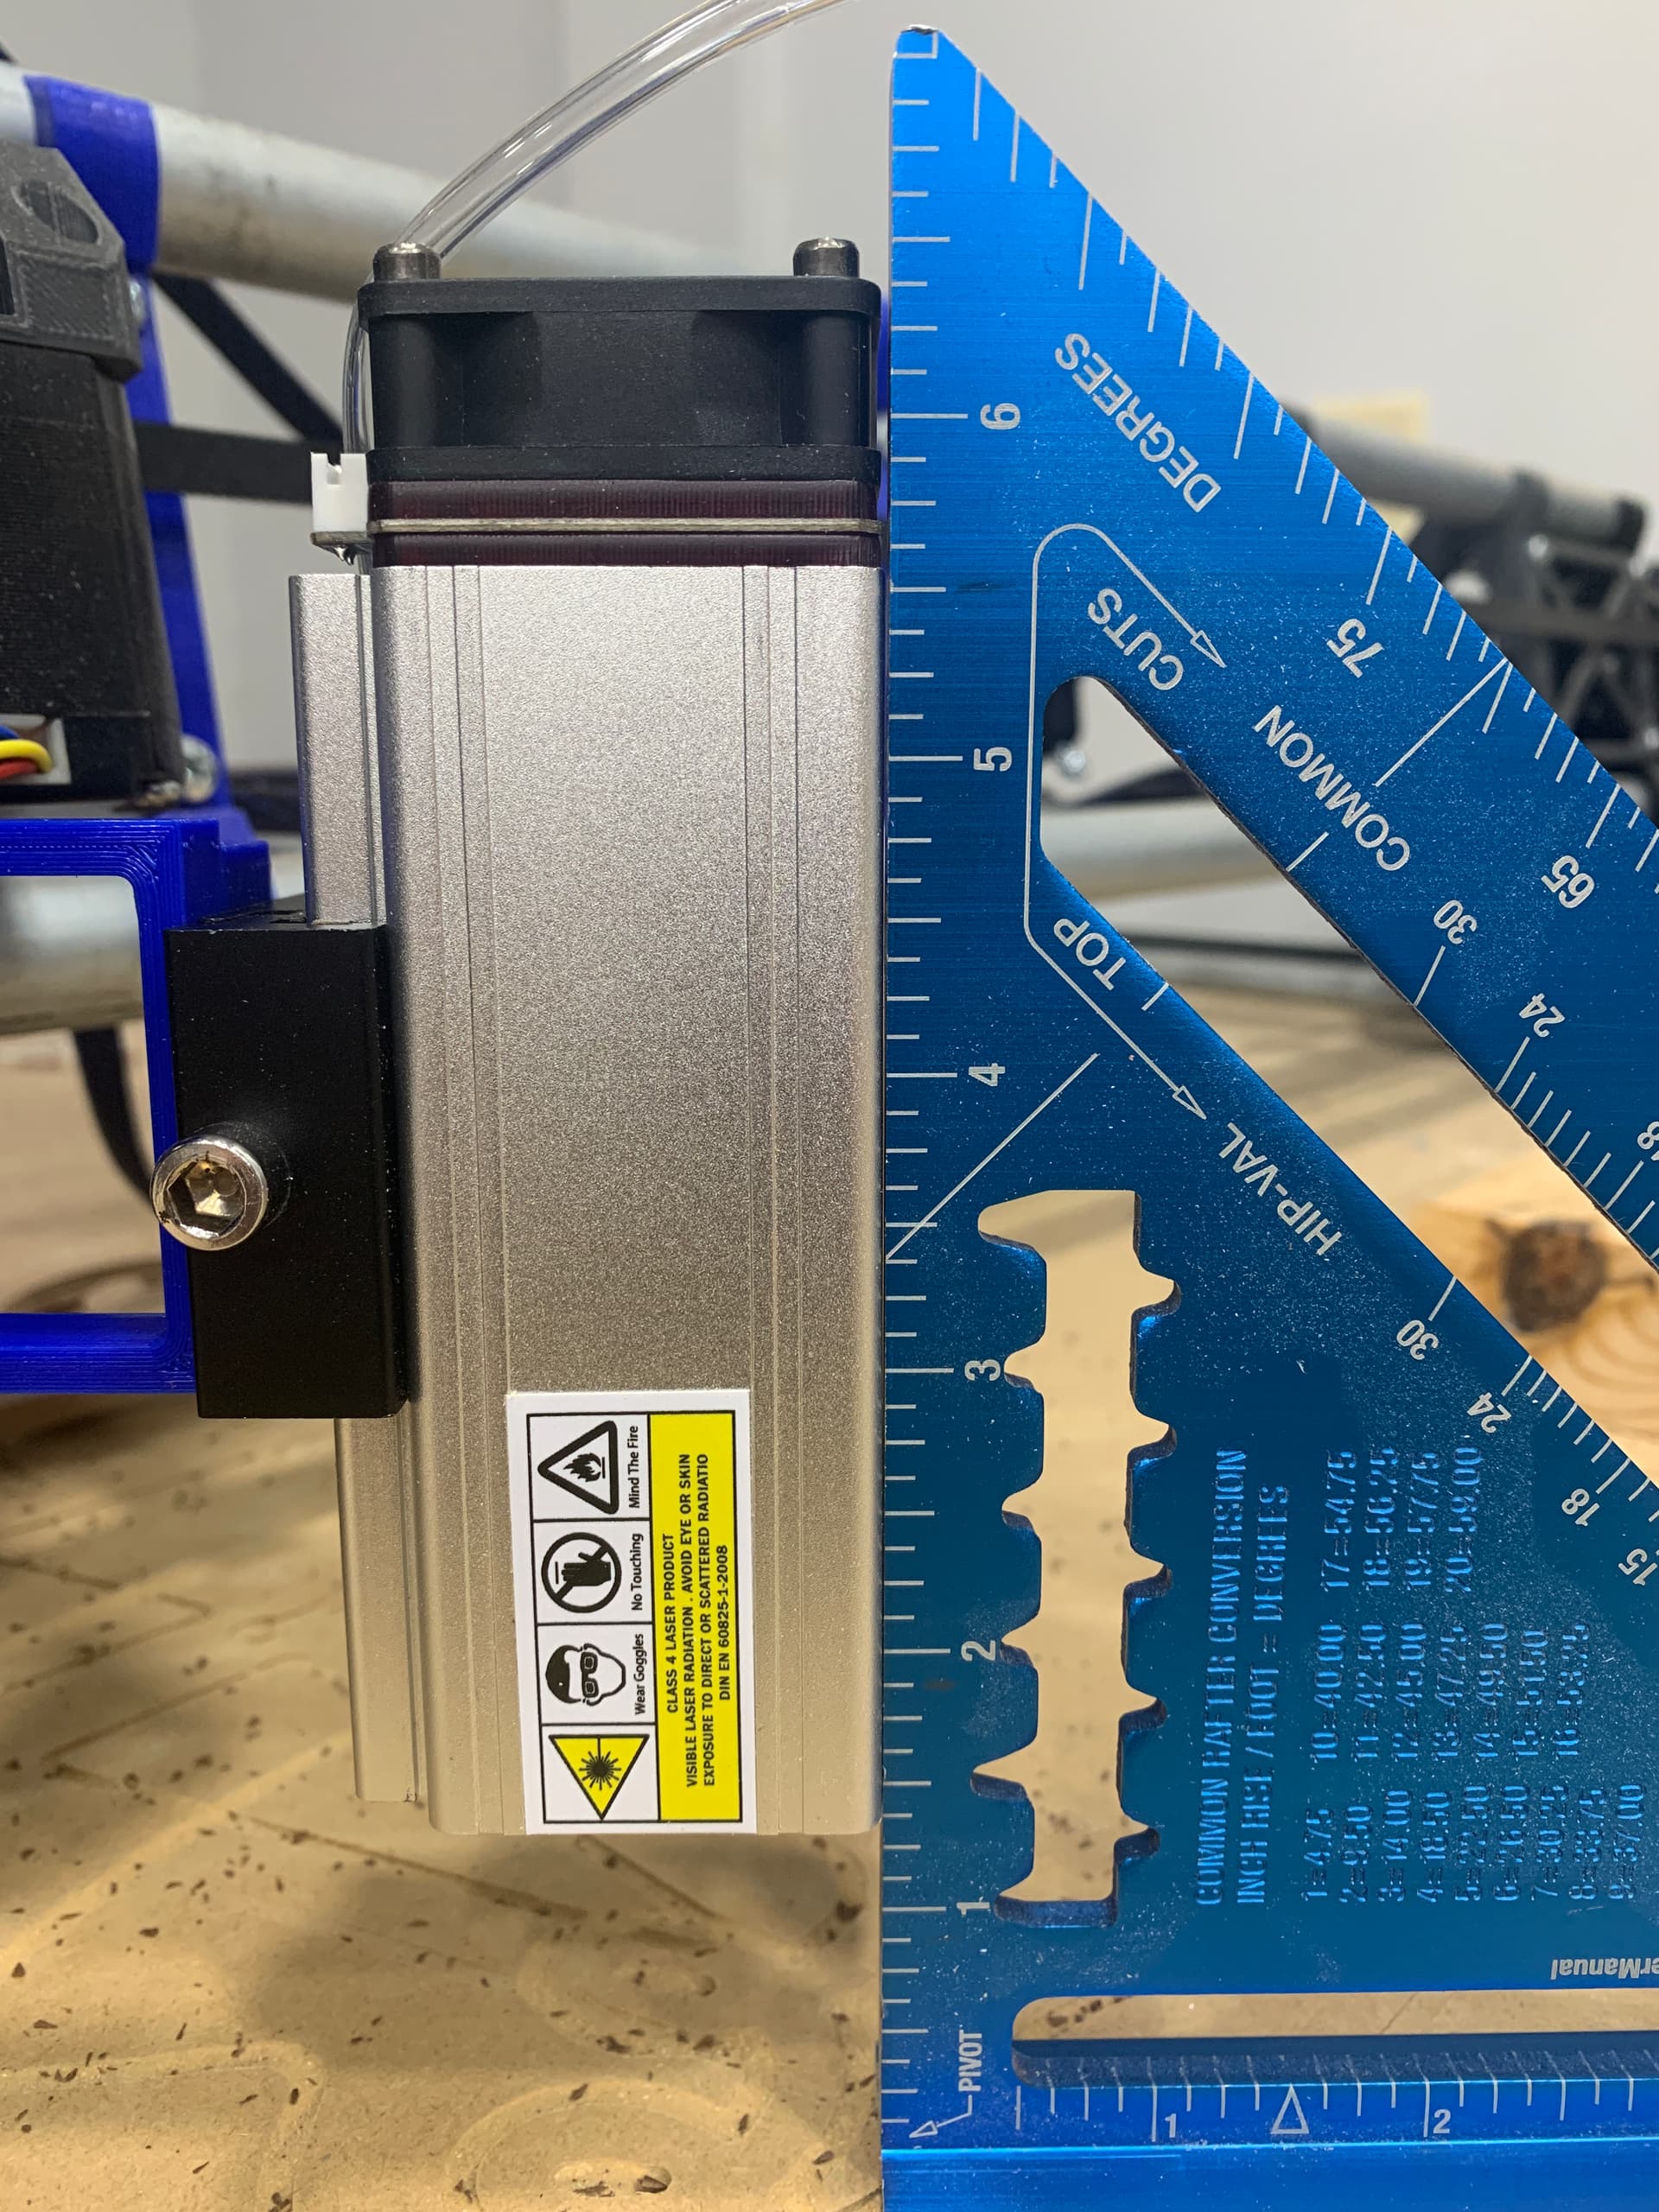
Just the one thumbscrew to set/remove it, pop in the cable and air assist tube (fed by the Atomstack F30 cylinder-shaped pump, mounted down the gantry by the control box) and it’s ready to go:
Awesome to see you guys moving along and having fun with this! That is a long cantilever, but yeah as long as you’re not accelerating much it probably won’t wiggle enough to notice… if not easy enough to beef it up to make it stiffer.
@bbue09 , these new high power dual diodes are impressive when it comes to through cuts. However burning raster images with them in most materials is like using a 50lb jackhammer, where a 12oz ball peen is warranted. So I wouldn’t spend a whole lot of time trying to get images perfect with a neje laser. A 2-2.5W or so laser is a far better tool for doing raster images, mostly due to better control of power at the low end (where wood burns) which allows more reasonable feedrates. You’ll find it much easier to get the results you’re after with one. Also you have to factor in the short life of doide lasers. Neje aren’t cheap… much higher $/hr vs the smaller diodes.
Not that it matters, but I started off before Neje was available, with a 2.5W doide. Now I have owned both for some time, my neje doesn’t come out often… just when it suits a through cut better than the router. I use the 2.5W for all raster images. There are others on these forums who do a lot more burning than I do, and they say similar things.
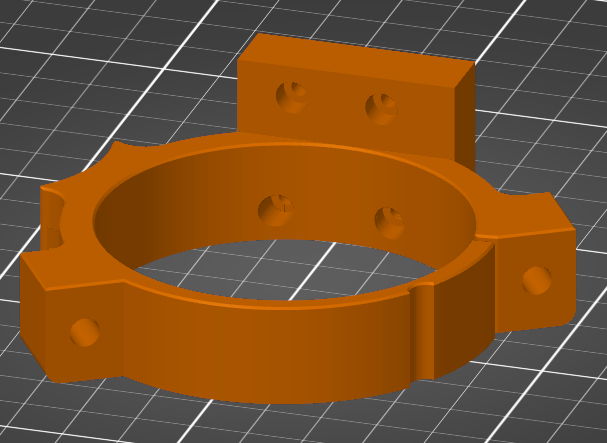
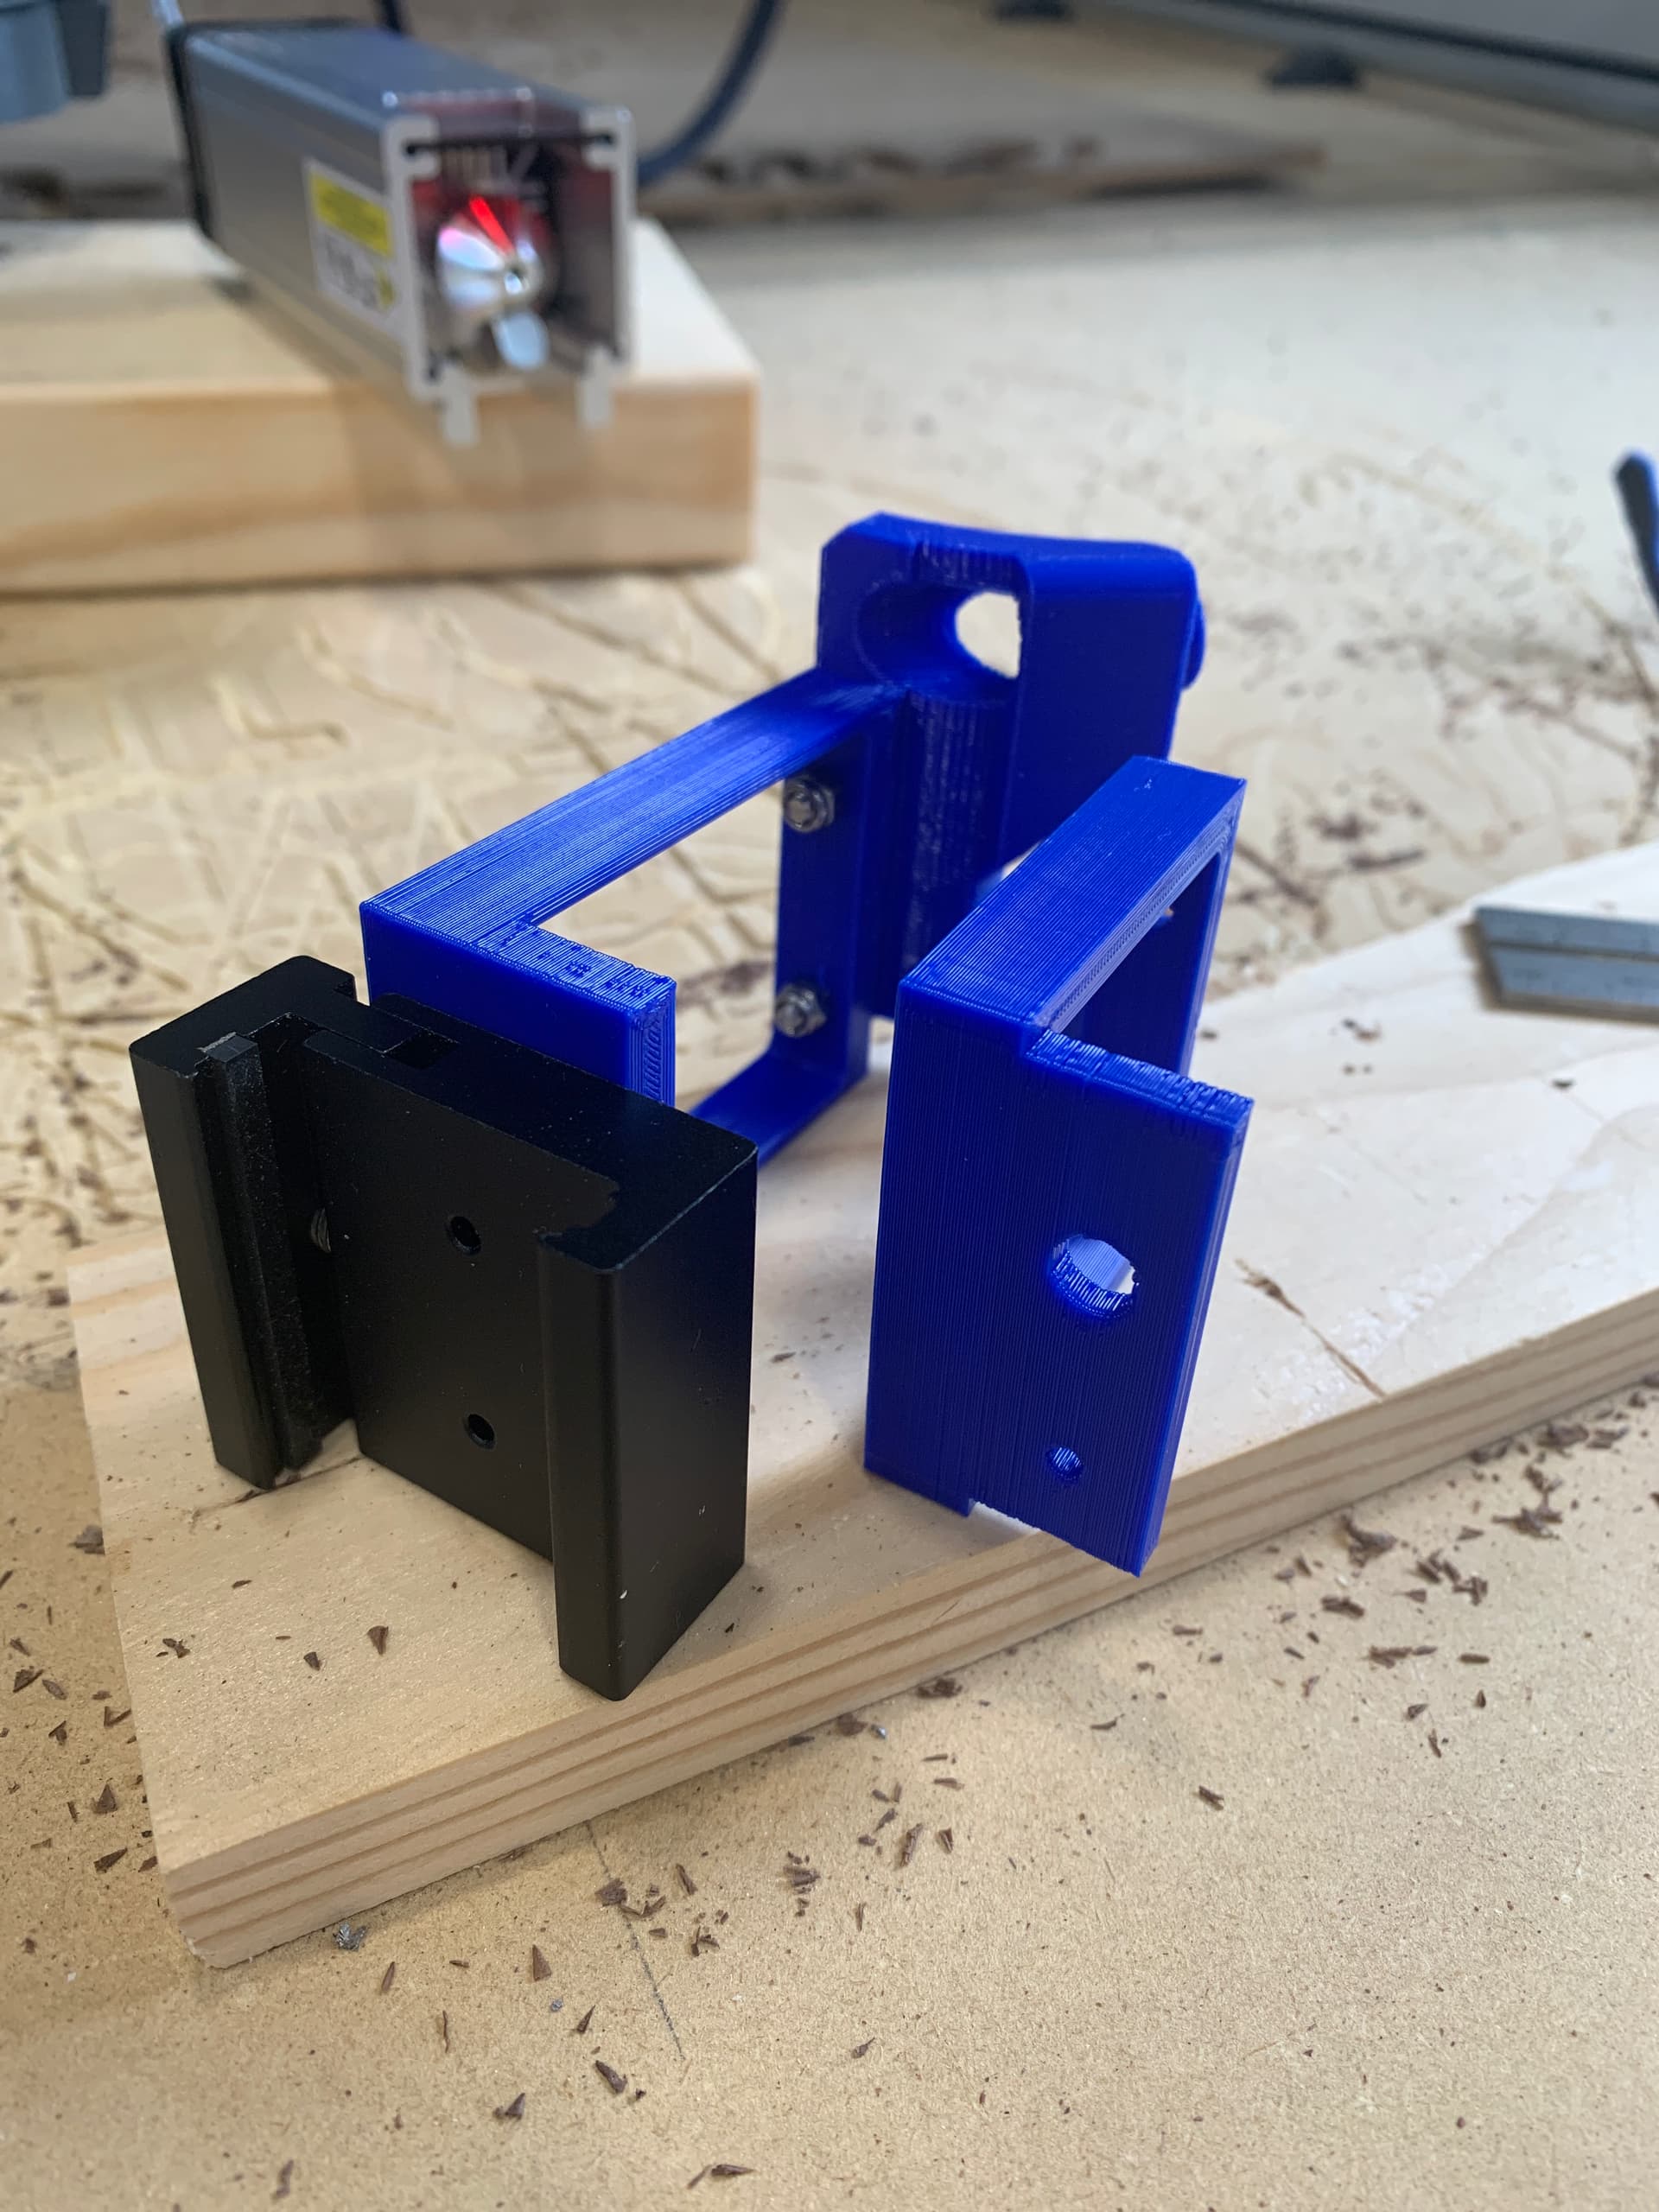
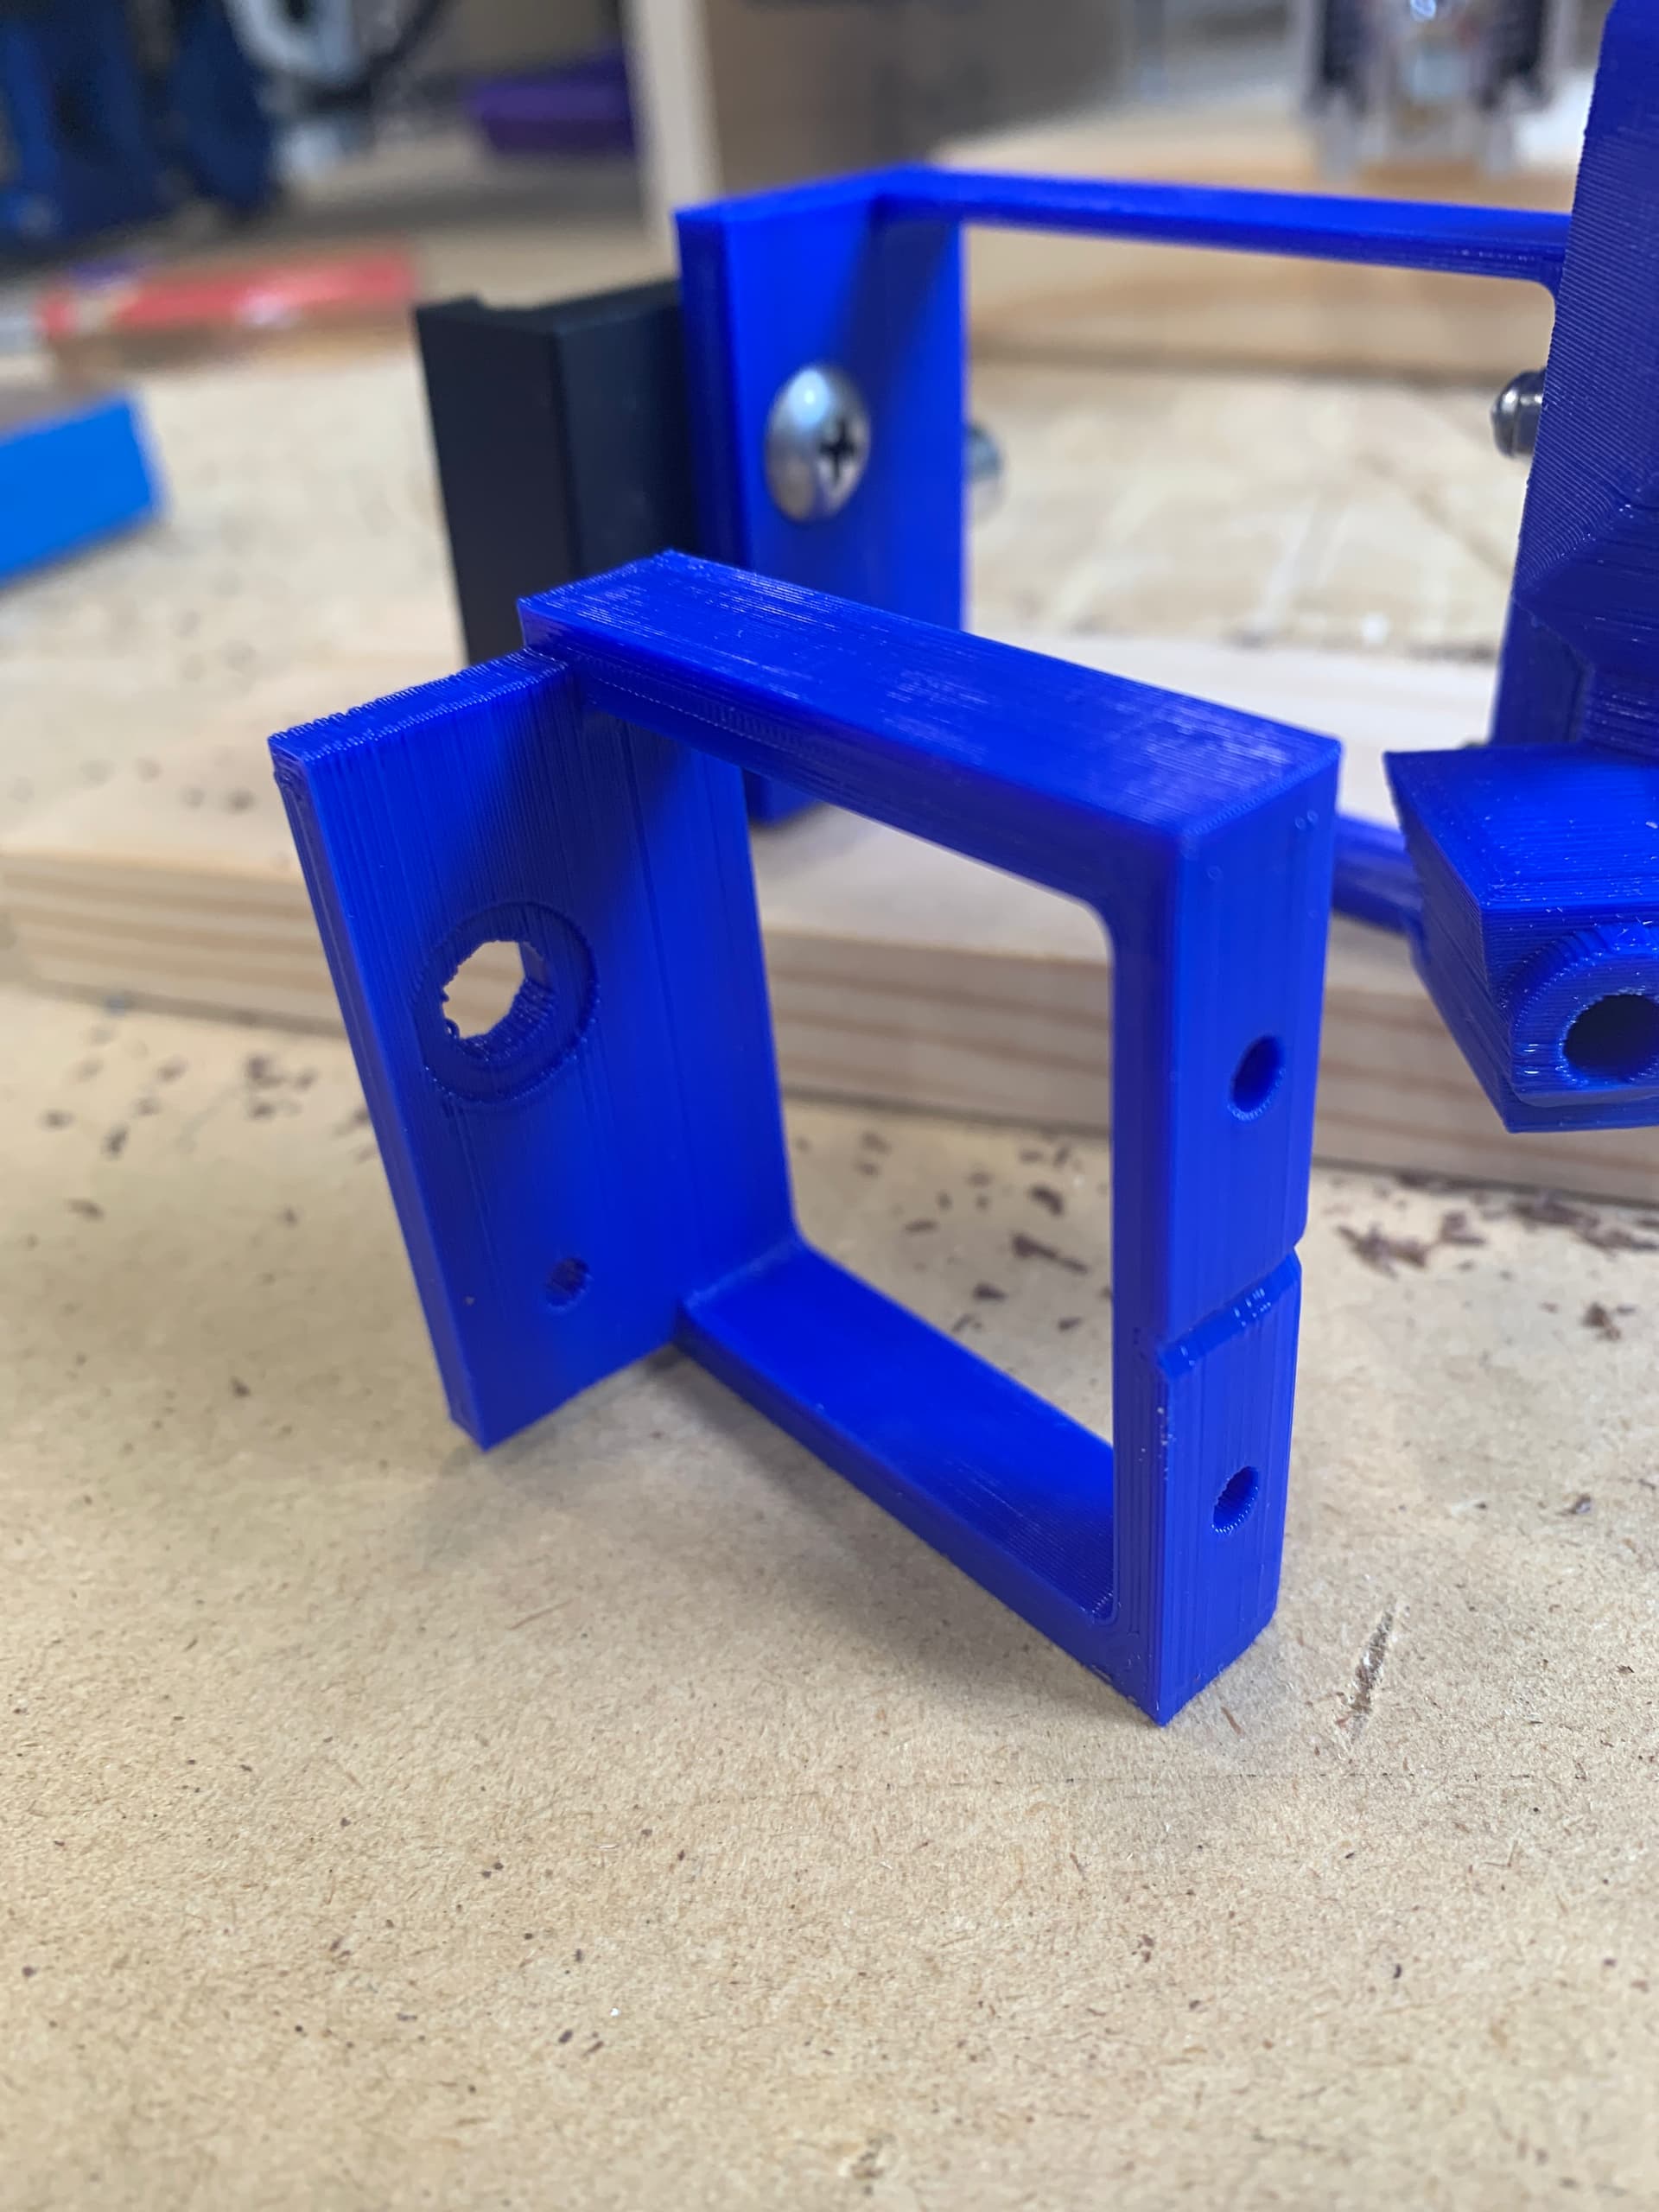
I just did my first remix using Tinkercad- reduced the length to 40mm (gives 28mm clearance for bolts, and I added 2mm thickness to the ‘springs’ to improve rigidity
Already got it printed, looks like it will work great
I got my neje for through cuts on 1/8 and 1/4 ply, after having a really crappy time trying to cut 1/4” Home Depot ply with the router. It’ll be great for times when I’m cutting signage.
at first I was worried about it taking longer than the router, but when you consider 1 pass at 4mm/s for laser and then 4 passes at 20mm/s, it kinda washes out. But the laser leaves a cleaner edge, so I don’t have to sand, and I don’t have to remove tabs. It’ll also let me get tighter corners, which has limited me with some font thus far.
I’ve seen some people who have a higher power laser attached using a mount, and use neodymium magnets to temp attach the 2.5w engraver. Seems like a clever way to quick attach when needed
Yep- getting lightburn as soon as I clear off my old laptop.
I have Hd some concerns about the E40 for engraving- I got it primarily as a cutter.
But I do want to engrave the company logo on some maple/ walnut coins, for inlay into projects. And I’m sure the wife will have plenty of engraving projects once it’s dialed in
Would be great if you could share some basic engraving settings
@bbue09 sorry just realized what I use is a 3.5W diode. I doubt you’ll see much a diff between the various diodes in the sub 5W class when it comes to images (they all are a huge improvement over a Neje), but generally for these smaller single diode lasers, the lower the watt output the smaller the size of the focal point. The reason is most have the same lens/focal distance, and they just use larger diodes to increase output (ie, output power per area is the same). Minimizing the size of the dot is what you want for burning images; for that, smaller power diodes are better in general. Here’s the 3.5W I use:
Had I known smalller is better for images when I started, I probably would have a 1.6W instead. However as I mentioned, I started before Neje was around and got the 3.5W with high hopes for cutting (don’t bother… a 40W double diode is the way to go for cuts). 1.6W is plenty of power to burn dithered images on anything a 3.5W could etch an image on to, but the smaller dot size makes it possible to get a more crisp/pleasing image.
I recently tossed out my hardwood laser test matrixes for my a40640, but I did find some lightburn files that were used to burn some images with it after the matrixes were burned. The parameters on those files show 5000-7000mm/sec, at 20% power for raster fills. I do clearly remember playing all the way down to 5% output before the laser started to sputter (no turn on consistently), and the burn was still too dark with those high feedrates. Still, those values should get you off to a good start.
The problem you run in to trying to increase feedrate to lighten the image, is marlin/grbl serial comms start to choke. Even at 5000mm/sec feedrate, you’ll only get an average of 1000-2000mm/sec actual feedrate when marlin/grbl slow things down from the serial buffer running out. When this happens, marlin/grbl also reduce laser PWM to compensate… so you get issues with sputtering using lower PWM values. I share this not to confuse anyone with uneeded details… more so if you’re headed down the road, some things to watch out for. Besides small dots, this is another reason small lasers are good for images… they can do at or near 100% PWM raster fills without running out of PWM to drop when buffers run out. So they keep burning evenly regardless how stuttery the motion gets.
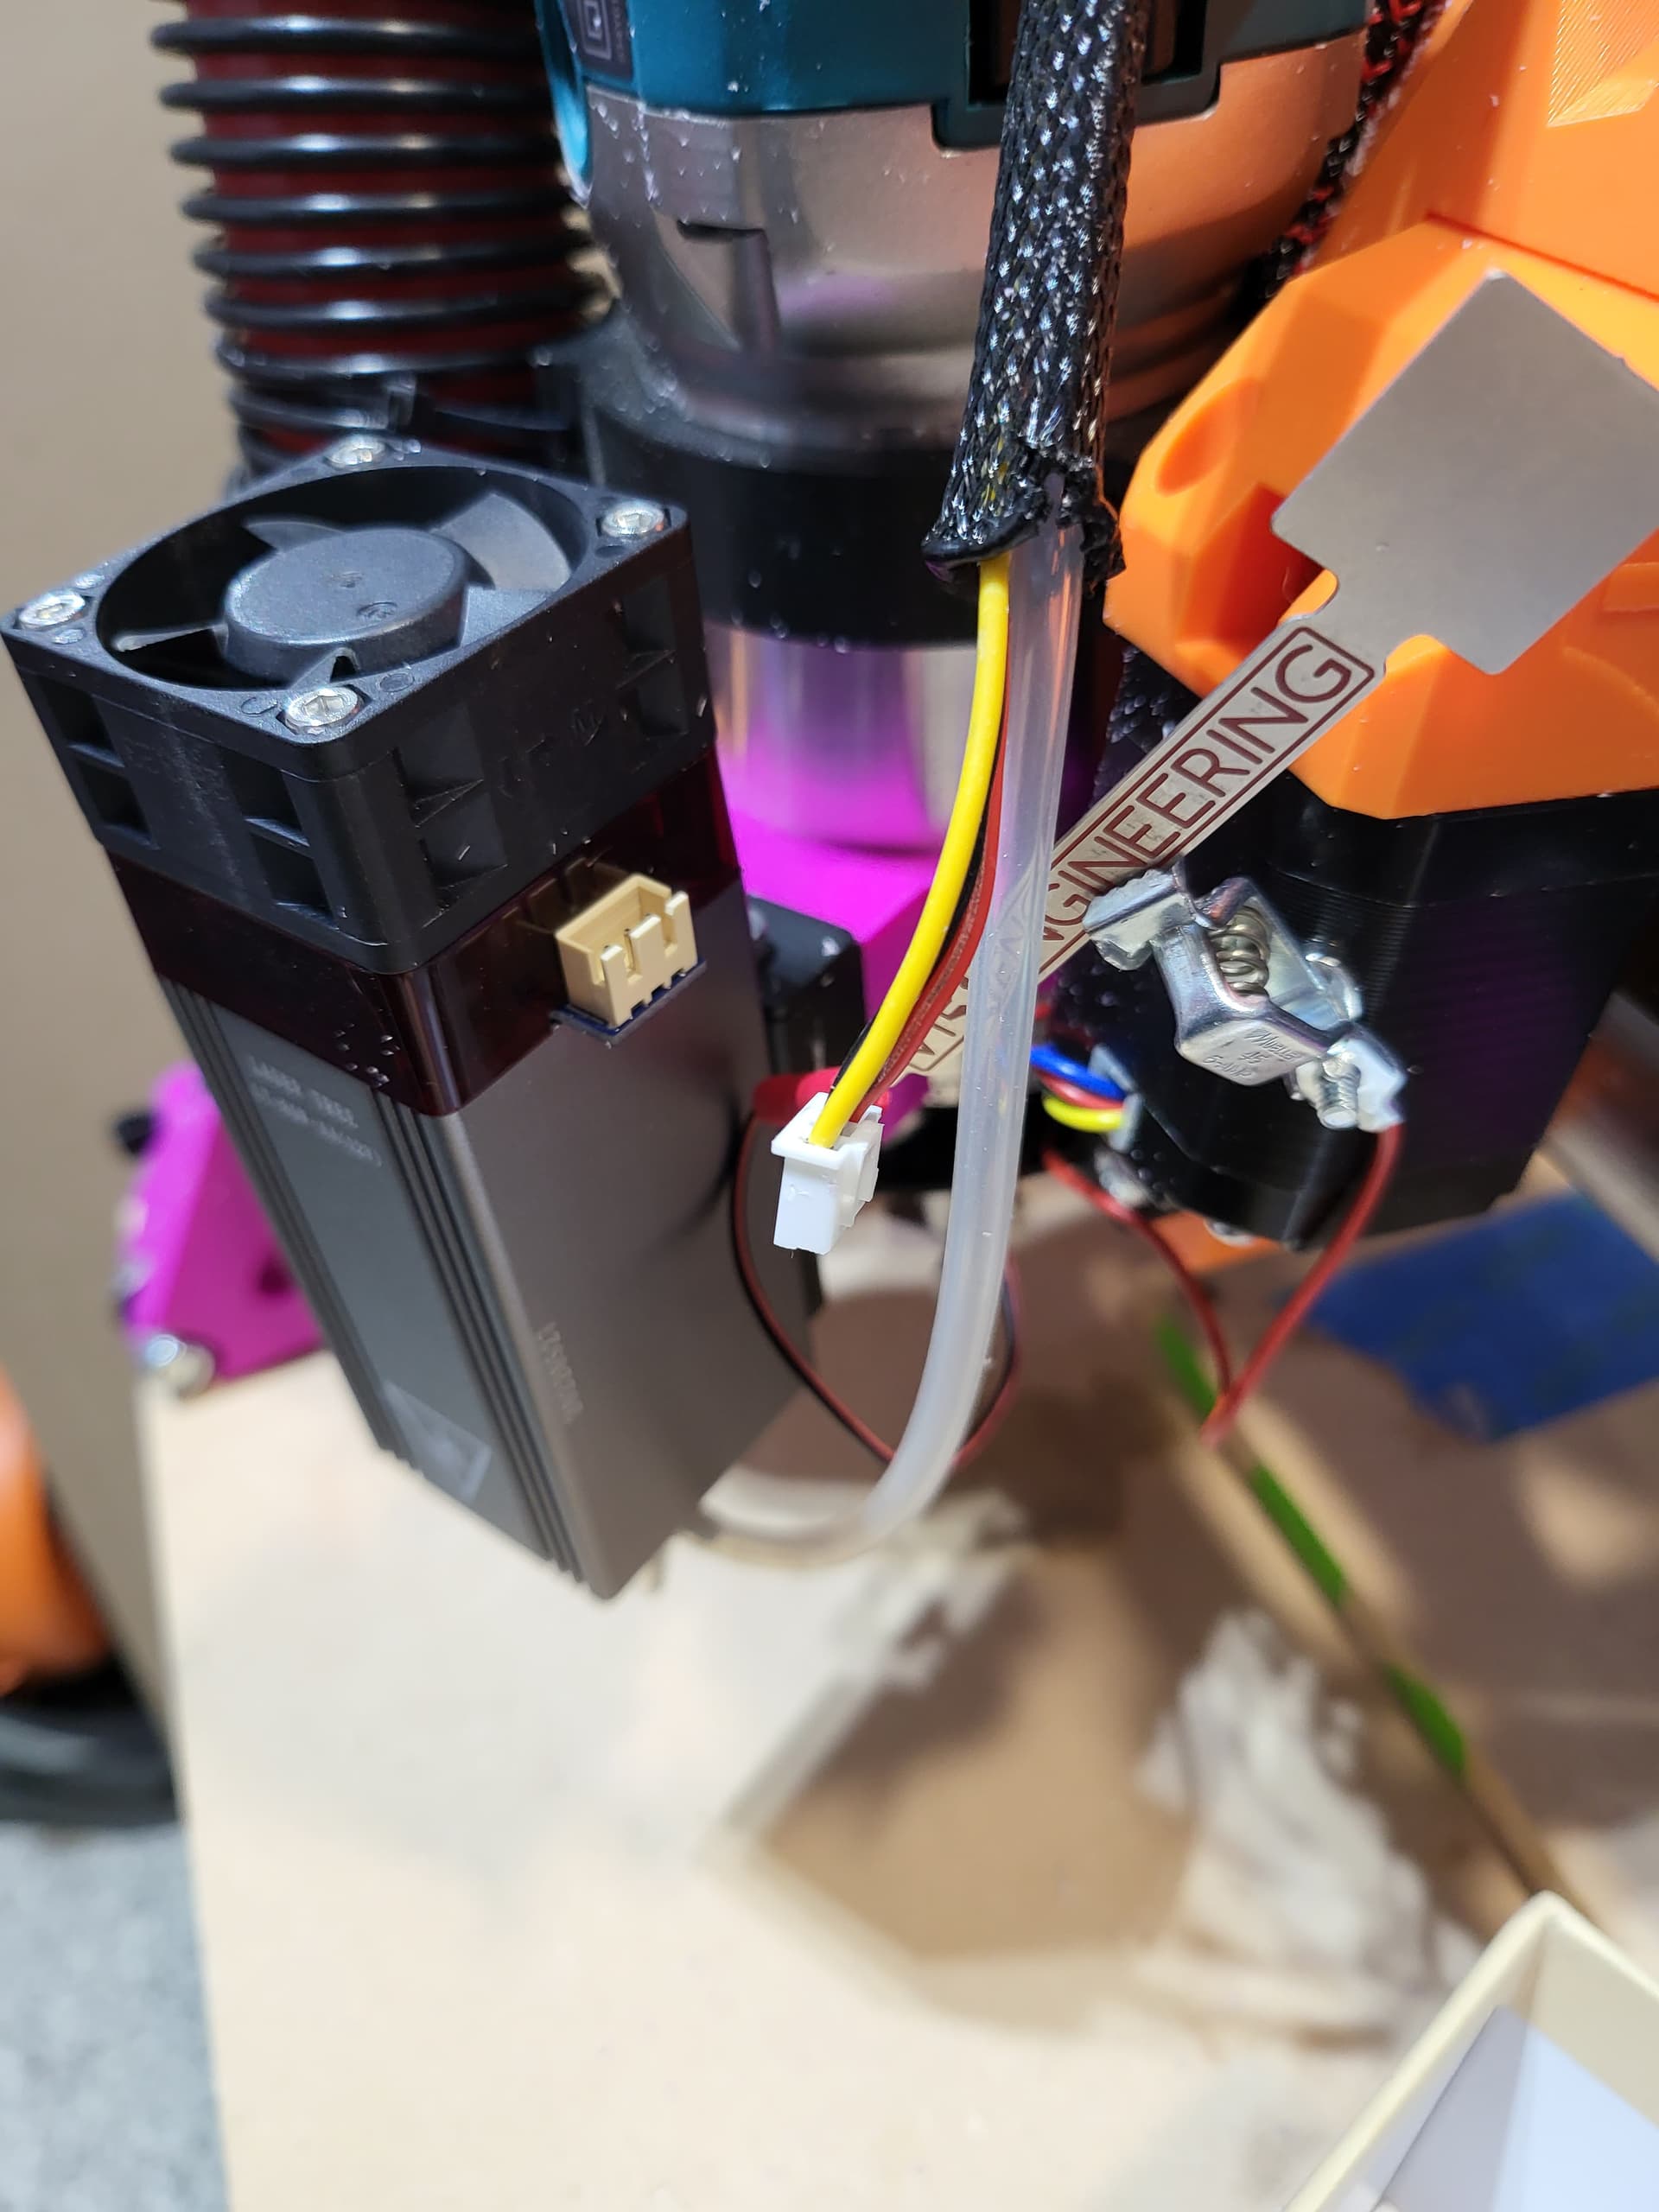
How do you have the laser control board mounted? Any thoughts on how to protect it?
I was going to wire it up directly, but having it plug and play and ready to go using the board appeals. I’m just not finding a case for it in the usual places
I have mine mounted via zip tie currently using one of the slots for cabling at the top of the lr core. Trying to design a little snap together box for a cover currently