Seen the swing a stick a see what you hit method?
Edit: Never mind, ignore me, you’re working to way higher tolerances/quality than me. For anyone interested, was referring to this basic tram method…

Seen the swing a stick a see what you hit method?
Edit: Never mind, ignore me, you’re working to way higher tolerances/quality than me. For anyone interested, was referring to this basic tram method…
I think I will attempt to tram the router, I was surfacing with a 23mm bit today and I was getting quite bad ridges on the surface.
I’m hoping that surfacing the frame of the table has taken the whole sheet to within 1-2mm, but it does seem that the router isn’t completely adjacent(?) To the plane of the table.
Once everything is trammed, I could probably do another quick surface of the frame if needed.
Carved this today, a prototype, and my cam needs a lot of work. Machining time was probably only 20-30 minutes, and that was with me being terrified.
I forgot about finishing passes and proper work holding which was the real issue!
Love the look of the clear acrylic!
I think this tramming approach has potential, however wouldn’t it be thrown off drastically if the holes that get drilled (that get the bits inserted in them) were not perfectly straight? And drilling perfectly straight manually is pretty easy to mess up.
EDIT:
On second thought maybe any inconsistency will simply be mirrored equivalently in all directions. I’m a bit sleepy so I’m not sure I’m considering it fully.
You can use a bent wire hanger, the curve /angle/bend doesn’t matter. The sweep stays the same.
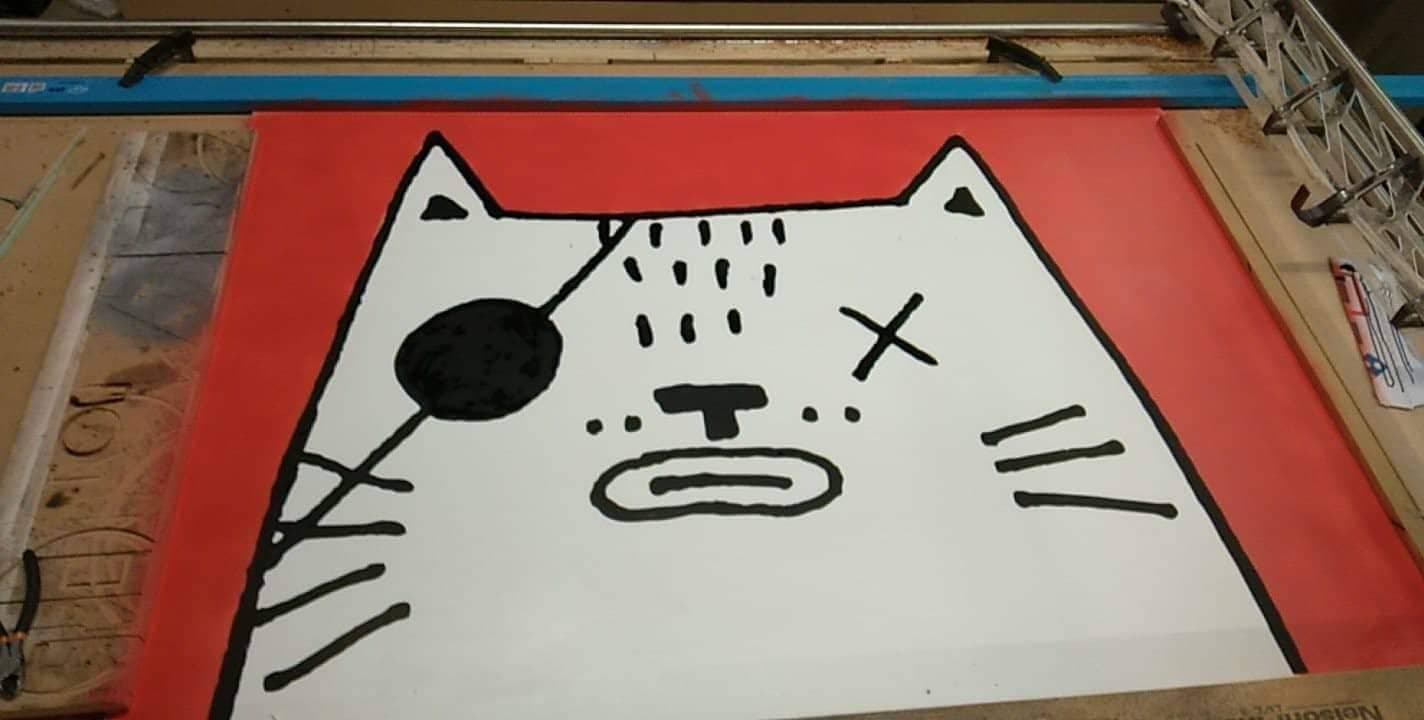
The image was handrawn and vectorised, so the pen followed the inside of the digitized pen lines with the part/hole setting in ESTLcam - trying to retain the hand sketched lines.
This left gaps on the inside of the digitised pen line, which were filled with a large chisel poska pen. The red was straypainted before the plotting began (but after the trial run with a whiteboard marker so I knew where the edges were!)
I mistakenly set the clearance plane to 2mm, but the pen didn’t touch the table anywhere it shouldn’t have, so I think the surfacing worked. There could be a bit of an issue with the welded Y rail being slightly warped, but the surfacing may have cleared that up too…
My 1.2mm sheets of polycarbonate arrive at the beginning of April, so that will be the real test!
This is the drawing in location, in the window of our dumb little record store in Christchurch, New Zealand!
Whoaaaa that window really puts a new perspective in it. How big is it? That is great!
only 1300*1000mm, I’ve got to plot out the second window too.
I’ve got the touch plate working - took a bit of figuring out but got there in the end.
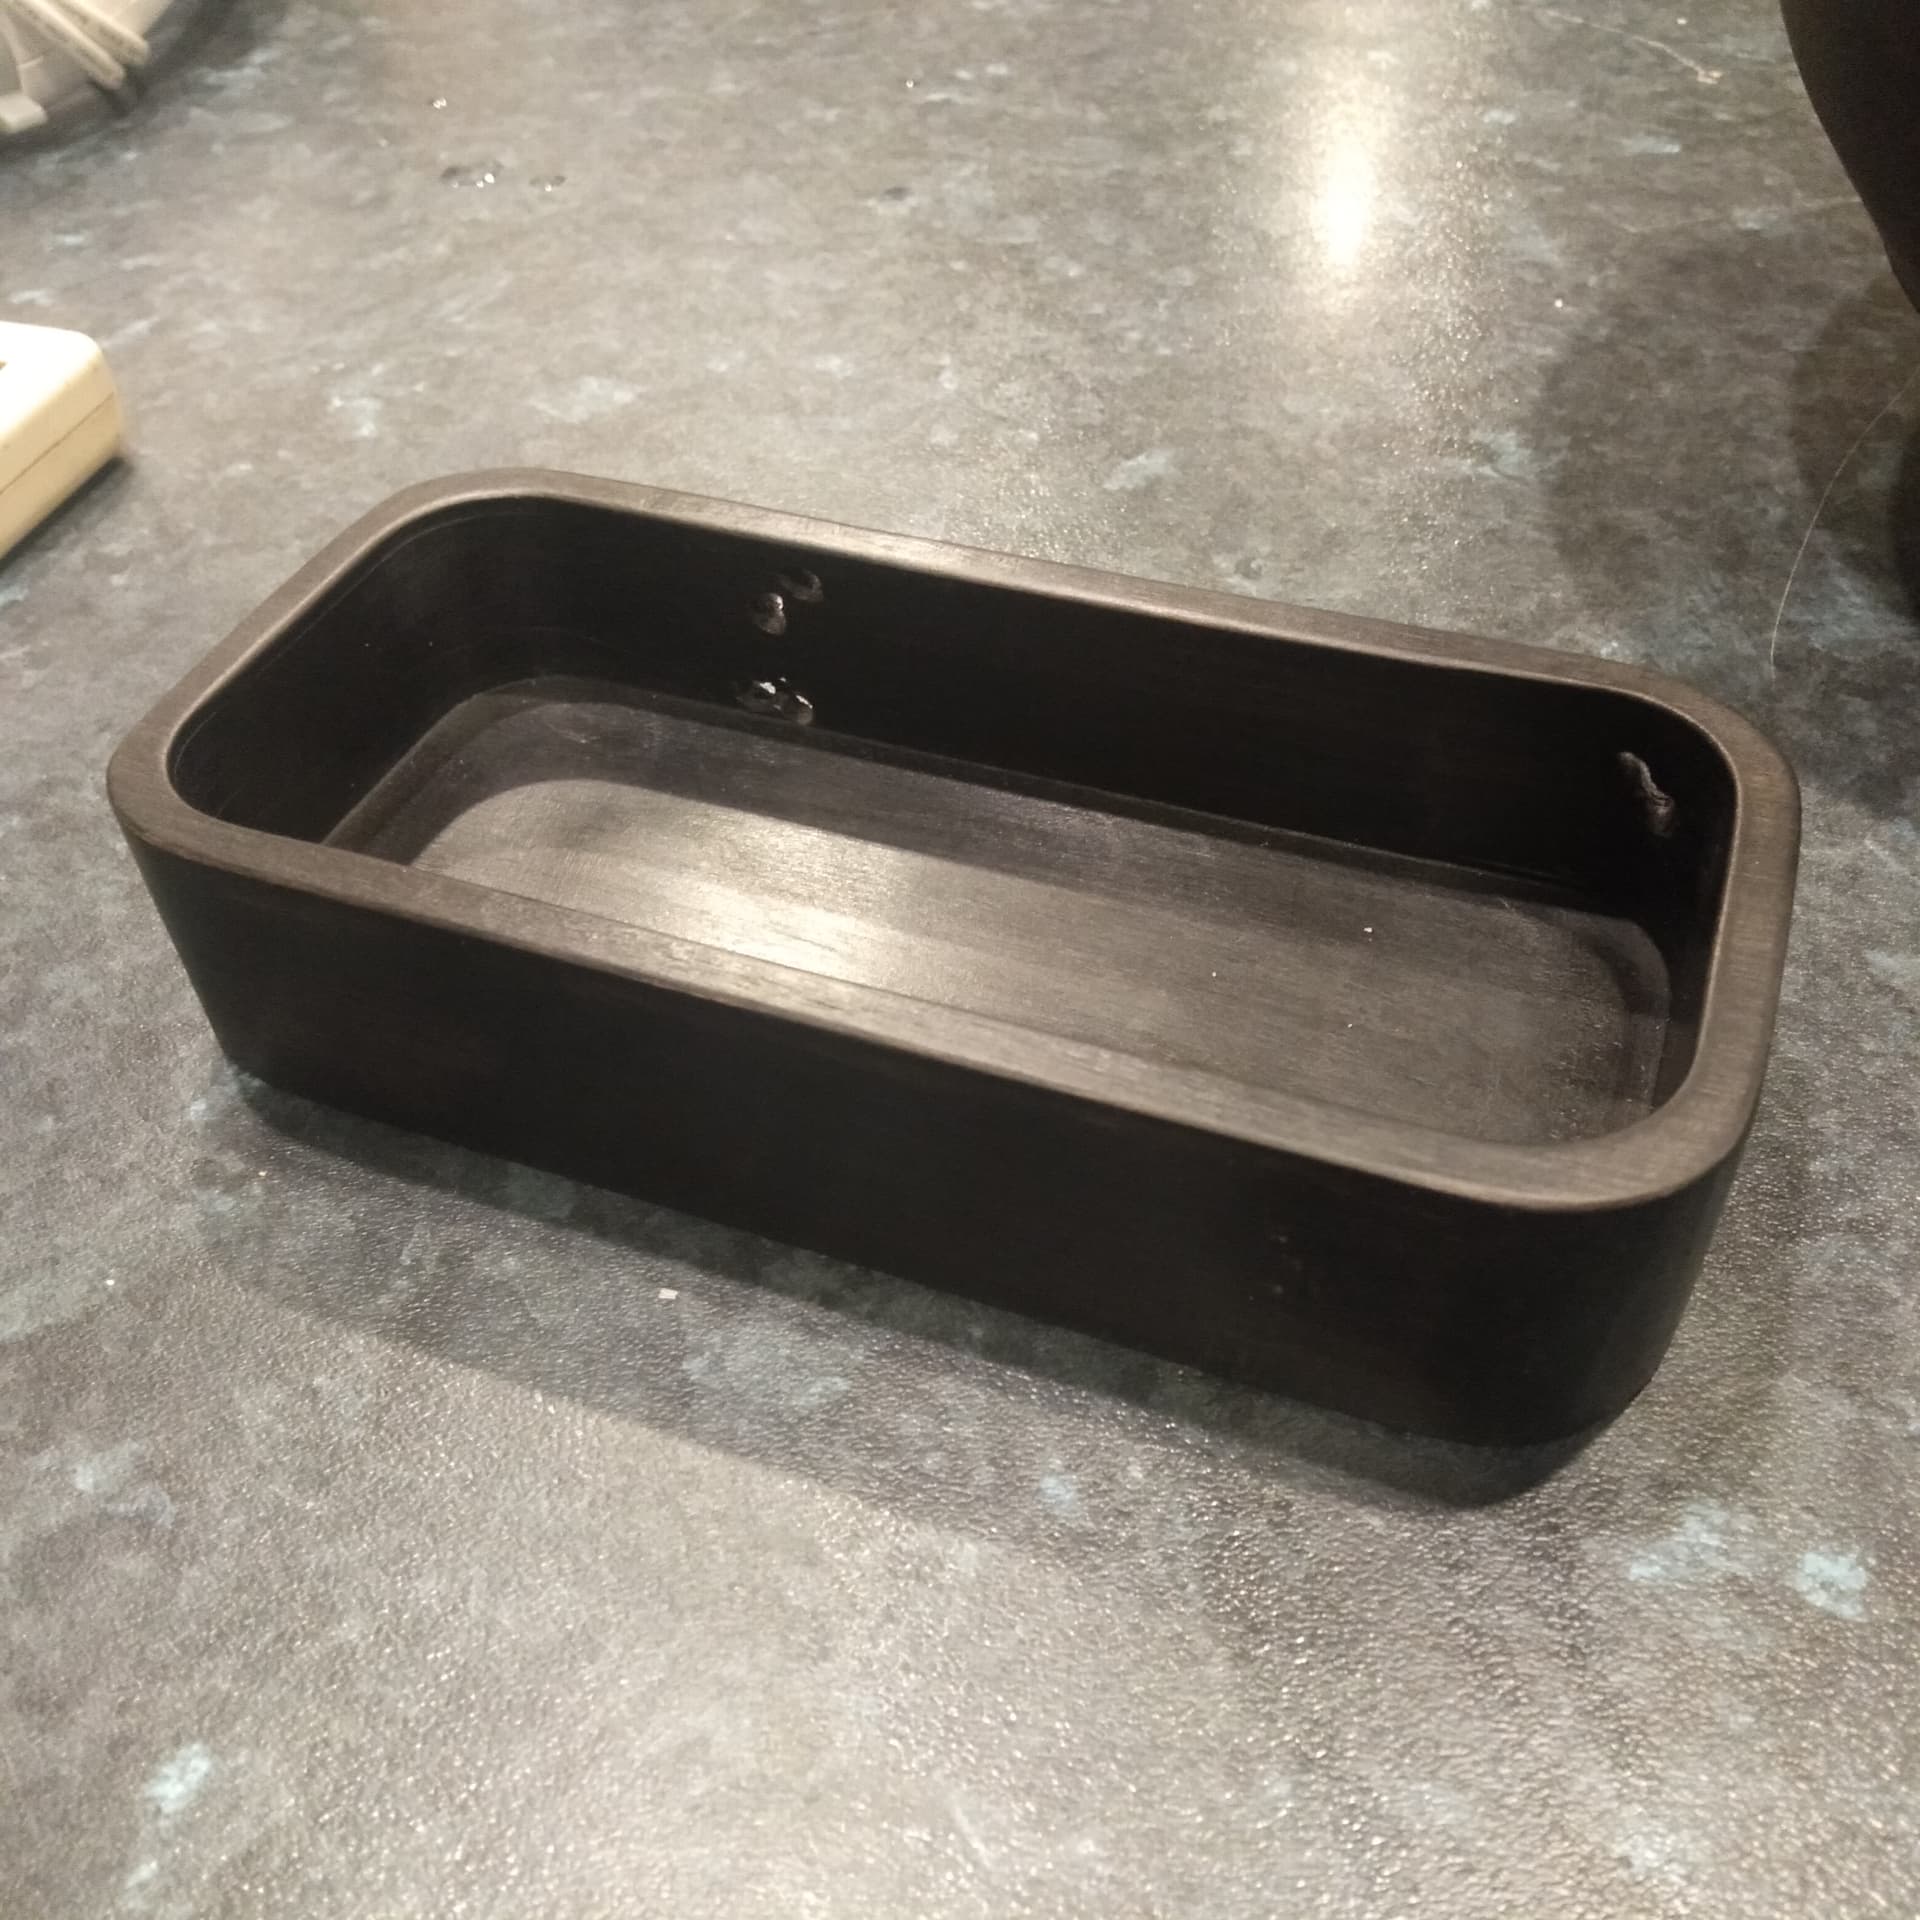
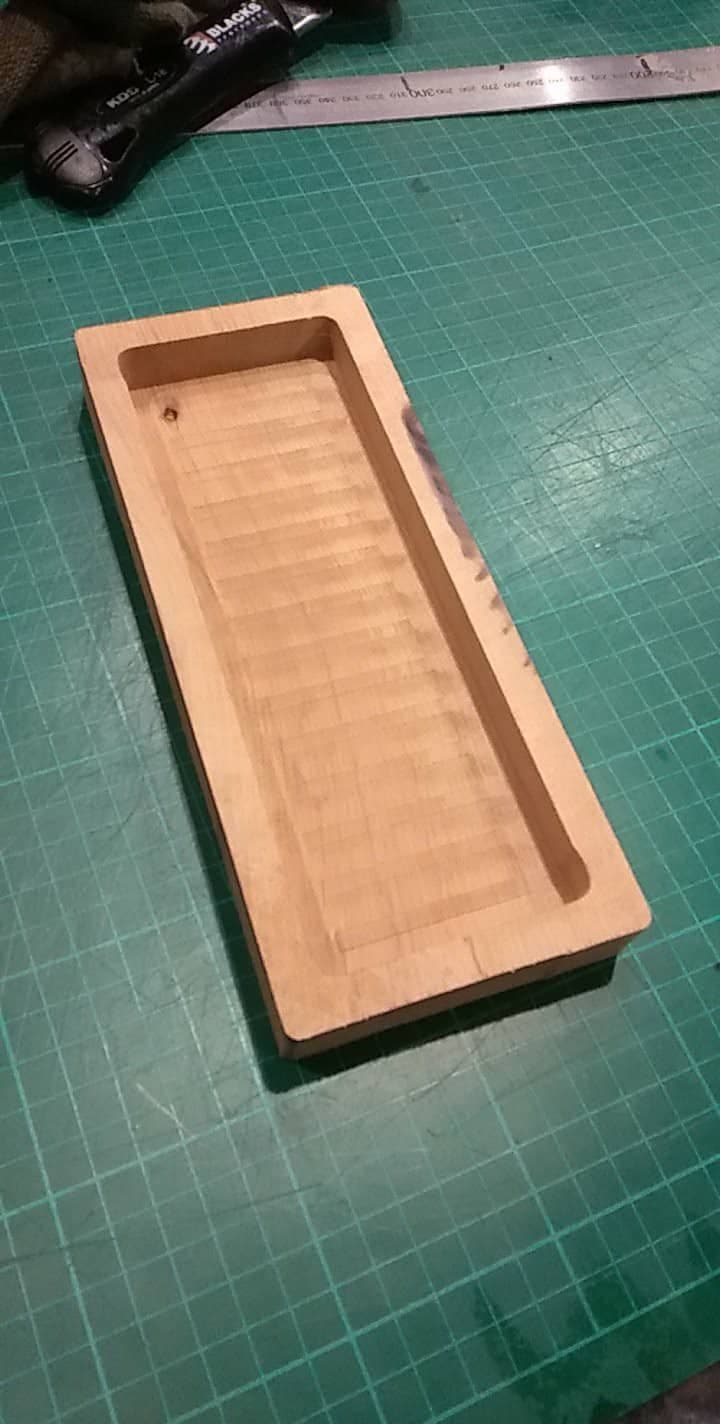
I’ve been making these wooden carved trays…it’s a bit of a baptism by fire, but machine time is around 15 minutes with tool changes.
The screws fell out of my linear rail blocks, I put them back in and tightened them up fully this time, there doesnt seem to be issues with the gantry’s lifting, I have noticed I sometimes get wood chips above the Z nut part that connects to the side plates, this means sometimes the Z won’t lift high enough to trigger the limit switches.
The real show stopper is the Z axis motors - I used the ones I purchased from the V1 Shop on a job before I built the LR3, so have been temporarily using some steppers that I had lying around - they’re from aliexpress and I think they may be a bit dicky.
On the part above, the z axis dropped on one side before I could do the final finishing pass on the inside, so I had to pull the power before anything went really bad…you can see the scorch marks for the collet.
Even still, this machine is so much nicer to use than the LR1+LR2
Using the dust shoe? I might need to revamp it to add a flexible skirt. I tested it with just a tape skirt and it does help a little bit.
I think most any 40oz/in plus steppers should work. Make sure you have free leadscrew movement with no binding. Make sure your Z rapids and movements are within reason. They should be at least 4x slower than your XY. You should be able to move your Z axis at 15mm/s no problem with any stepper. Larger ones are required for faster speeds.
I might try a tape skirt - I initially had the dust-shoe on, but it didn’t seem to pick up much chip, so I took it off.
My Z-moves are set to 380mm/m in ESTLcam. It feels like it could be a momentary loss of power, as it was quite sudden. I don’t really trust those steppers at all and I’m thinking it could be a dodgy connection.
I have put another order in with the V1 Store for some more steppers, so hopefully that fixes it.
nice!
how deep is that?
15mm inside pocket and 25mm outside cut out.
Inside pocket is roughed with a 9mm 2 flute straight cut bit, the outside and finishing passes are done with a 3.18mm 2 flute spiral from the V1 store.
I also finished the second part of the sign
Had issues with the poska pen causing spots/faint lines this time, I think it’s because I tried to wipe down the board with detergent and methylated spirits before hand.
The first attempt I cleaned it with water and shelite/naptha
Oh wow…
Got the new steppers installed yesterday and this machine is a beast!
I’ve been cutting 1.2mm polycarbonate with a 3.18mm double flute;
X/Y @ 7000mm/min
Z @ 800mm/min
That’s what ESTLCam is telling me, and I’m pretty sure I correctly bumped up the limits in marlin…
they’re pretty small circles so the accelerations might be slowing it down but this machine can move!
I’m certain my issues with the Lowrider(s) have always been cheaping out on the stepper, the Nema17’s from the V1 Shop seem to be much more powerful than anything else I have used.
I surfaced the table with a 25mm surfacing bit (1.5mm DOC and 12000mm/m, again, maybe a bottleneck somewhere else?)

Surfacing

Polycarbonate cutting
I’ve got a heap more sheets of PC to cut, so I might try squeeze a little more speed out of it…(125 sheets x 4 minutes saved is something like… 8 hours in time saving?)
Over the moon with this now that it’s all working.
Next task is building the Brutus CNC!
It has taken a little while for the momentum on the LR3 to build. I feel like the results are starting to come in, and it is overwhelmingly positive. Build issues are also pretty low. Glad you are loving it.
Those speeds are nuts!!! At some point, a deeper cut will make more sense than moving faster.
Tuned it in a little more…

11 minutes per full sheet, thats 82 175mm circles with a 7.2mm centre hole…
This machine keeps making me happier and happier.
I need to make more clamps as I’m struggling to move the clamps and remove the blanks and the machine cuts.
So I won’t be pushing it any further until I’ve sorted that. I’ve got 120 (actually, probably more like 98) sheets to get through.
That thing is really moving!
What do you use at the guard for the dust collection?
It’s a piece of fabric - used for raincoats/aprons etc. The joys of your better half being a tailor!
However, It doesn’t do a tremendous job. I would like to upgrade to a brush.
I first used a brush that I glued together myself but it was a hot mess preparing it. Now I am using a piece of felt, but it gets sucked in as well so it doesn’t really help. I want to try a piece of translucent plastic from a tablecloth (don’t know the proper English name), but I guess I must agree with you that a brush would be best.